10 Perennials New York Gardeners Should Divide Before the Snow
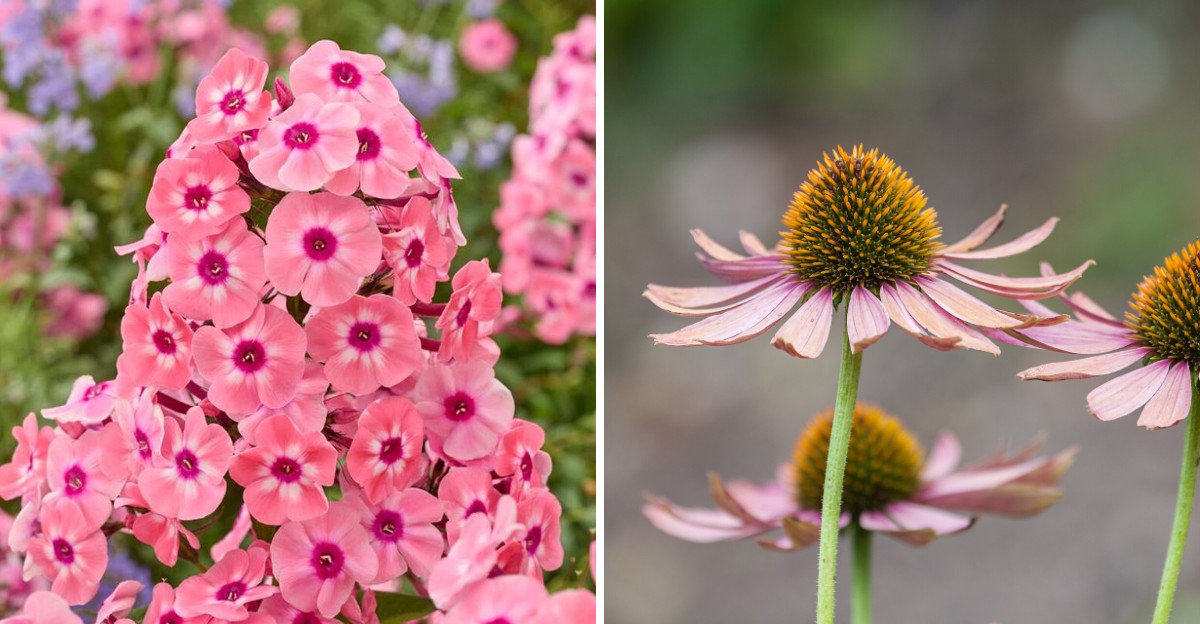
Your crowded flower beds might be hiding a secret stash of free plants right under the soil today. October in New York is the perfect month to dig up that hidden treasure and claim it.
I’m pretty sure the best garden bargains come from plants you already own and love every single summer. Many tough favorites get crowded after a few years, and their flowers start to shrink or fade away.
A quick fall split gives them fresh elbow room and a stronger show next year in your yard. The autumn soil stays warm enough for roots to settle before the first real snow reaches the region.
New York winters are tough, so timing matters more than fancy tools or expensive bags of compost. Ten hardy perennials below are ready for your spade, and a few of them might honestly surprise you.
1. Hosta
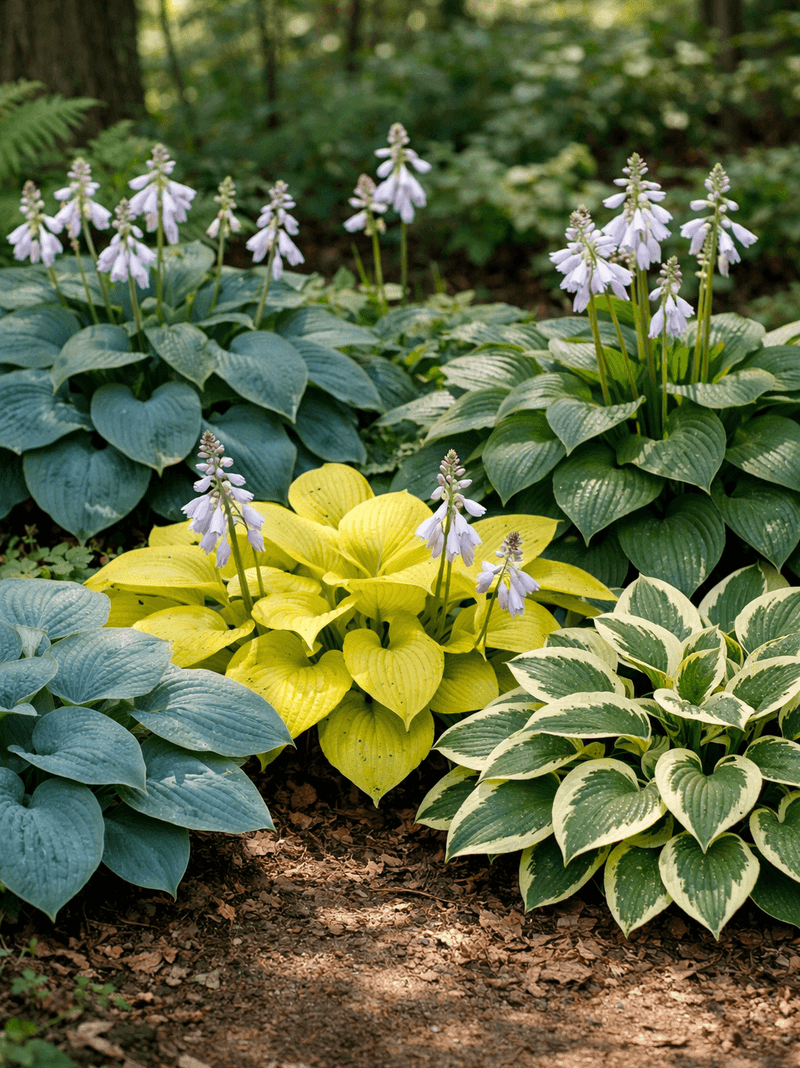
Few shade plants forgive a clumsy gardener quite like a hosta, and I mean that as a real compliment. You can slice a big clump with a sharp spade, and it usually bounces back with barely a sulk.
Hostas are hardy in USDA zones 3 through 9, so they handle cold winters across the state with ease. Their thick roots store plenty of energy, which helps them recover quickly after you cut them apart in autumn.
Over the years, a single plant can turn into a wide mound with a hollow or crowded center. Splitting it every few years keeps the leaves looking full and gives you extra plants for empty shady corners.
Early fall works well because the soil is still warm and the weather has finally cooled down a lot. Try to finish the job about four to six weeks before the ground freezes so roots can settle in.
Dig around the whole clump first, then lift it out and look for natural gaps between the crowns. Each new piece should keep a few healthy eyes or shoots, along with a generous handful of roots attached.
Replant the divisions at the same depth they grew before, and water them well to remove air pockets. A light layer of shredded leaves over the soil helps protect young roots from sudden freezing and thawing.
I am sure the deer will notice your new hostas next spring, so plan a little protection ahead of time. Even so, a shady bed filled with fresh green mounds is worth that small extra effort every year.
2. Daylily
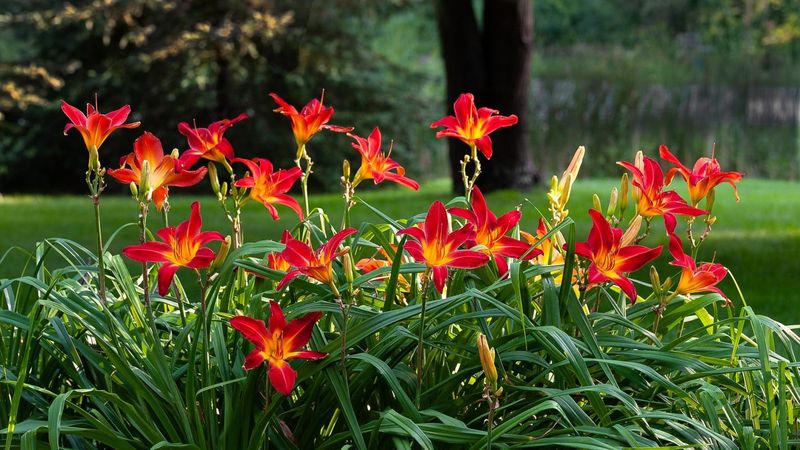
Each daylily flower opens for just one day, yet a healthy clump keeps the show going for weeks. When those blooms start getting fewer and smaller, your plant is quietly asking for more room to grow.
Daylilies grow well in zones 3 through 9 and shrug off many soil types, from sandy beds to heavier clay. That easygoing attitude makes them one of the simplest perennials for a beginner to divide with real confidence.
Most clumps benefit from a split every three to five years, once the center gets crowded and woody. You will notice tighter fans of leaves pushing against each other, with flower stalks that look thin and tired.
Your New York Garden Changes Every Week. Your Plan Should Too.
Gardening in New York changes quickly throughout the season. Every Friday you’ll receive a simple weekly plan showing exactly what to plant, prune, fertilize, harvest, and protect so you never miss the right timing.
Early October still gives daylilies enough time to grow new roots before the ground turns hard and cold. Aim to finish within the first half of the month if you garden in a colder northern area.
Lift the whole clump with a garden fork, then shake or rinse away loose soil to see the fans. Pull or cut the clump into sections that each hold two or three fans with plenty of roots attached.
Trim the leaves back to about six inches so the plant spends energy on roots instead of foliage. Set each piece with the crown about an inch below the surface, then water deeply to settle the soil.
Extra divisions make wonderful gifts for friends who want a tough plant that rarely needs fussing over. I can’t imagine a cheaper way to spread summer color around your yard or neighborhood next year.
3. Bearded Iris
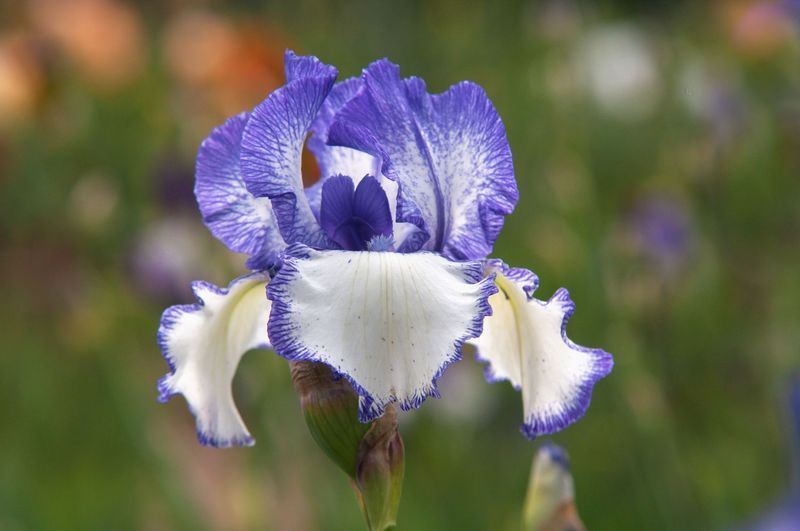
Bearded irises grow from thick rhizomes that sit right at the soil surface, almost like sunbathing potatoes. That odd habit matters, because burying them too deep is one of the most common mistakes gardeners make.
These showy flowers are hardy in zones 3 through 9 and prefer full sun with soil that drains quickly. Soggy ground can lead to soft rot, so a sunny raised spot often gives them the best results.
Experts usually recommend dividing bearded irises from midsummer into early fall, after the spring flowers fade. Early October is near the end of that window in cold regions, so you definitely want to act quickly.
Crowded clumps often stop blooming well after three or four years, with old rhizomes piling up in the middle. Those older pieces in the center rarely flower again, so they can head straight to your compost pile.
Dig up the clump and cut the younger outer rhizomes apart with a clean, sharp knife. Keep pieces that have at least one fan of leaves, and check for soft spots or holes from iris borers.
Trim the leaves into a short fan about six inches tall, which reduces wind rocking during the winter. Plant each rhizome with its top barely showing, and point the fans in the direction you want growth to go.
A late division might bloom lightly next spring, but the following year usually brings a much bigger reward. I believe that patience pays off when those ruffled petals finally open in shades you forgot you owned.
4. Siberian Iris
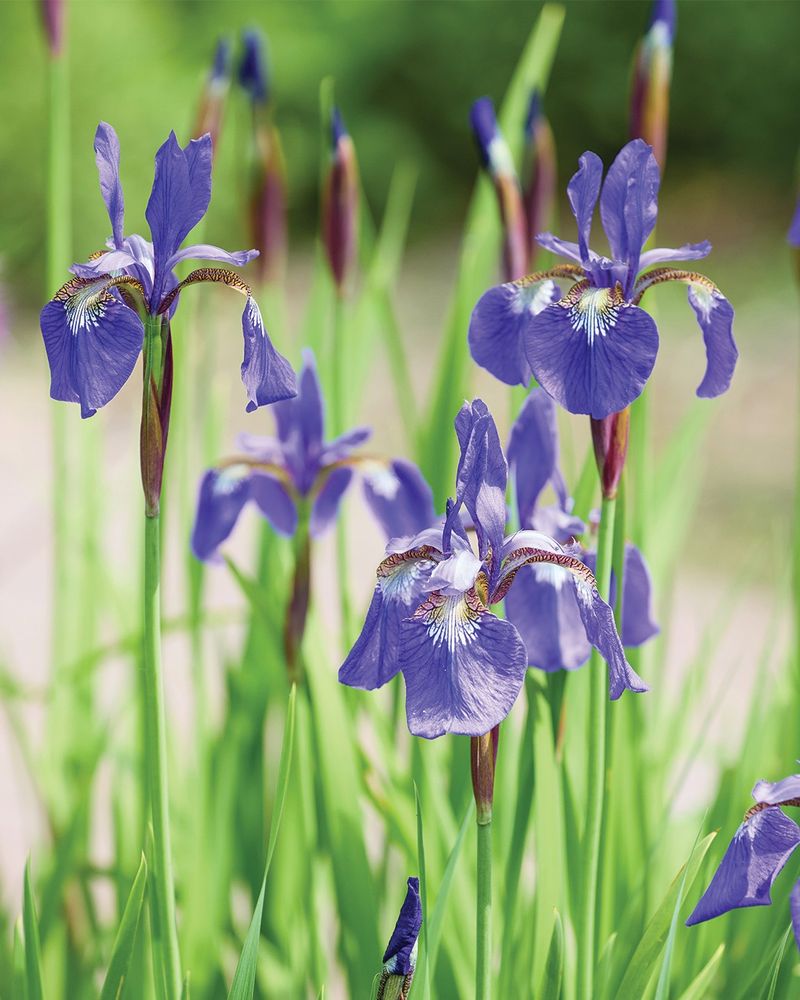
Siberian irises look delicate, with slender petals floating above grassy leaves like tiny purple flags in the breeze. Underneath that soft look, though, hides a stubborn root mass that can challenge even a strong spade.
These irises are cold hardy, and many sources list them for zones 3 through 8 across northern gardens. They handle damp soil better than bearded types, which makes them great near rain gardens or pond edges.
A classic sign of crowding is a ring of leaves with a bare, empty spot in the center. When that donut shape appears, the clump is ready for a fresh start and a little more breathing room.
Many growers prefer dividing them in late summer or early fall, giving roots several weeks to settle. Get this task done early in October so the new pieces can anchor themselves before frost arrives.
You may need a sharp spade or even a small saw to cut through the tough, fibrous root clump. Each division should keep a healthy chunk of roots and several shoots, rather than one lonely little fan.
Replant the pieces about one to two inches deep, then water them thoroughly and keep the soil evenly moist. Unlike bearded irises, these plants like their roots kept damp, especially during their first weeks in a new spot.
Leave the foliage standing a while, since it often turns a lovely golden tan as autumn deepens. That warm color adds quiet charm to the garden when most other plants have already faded for the year.
5. Garden Phlox
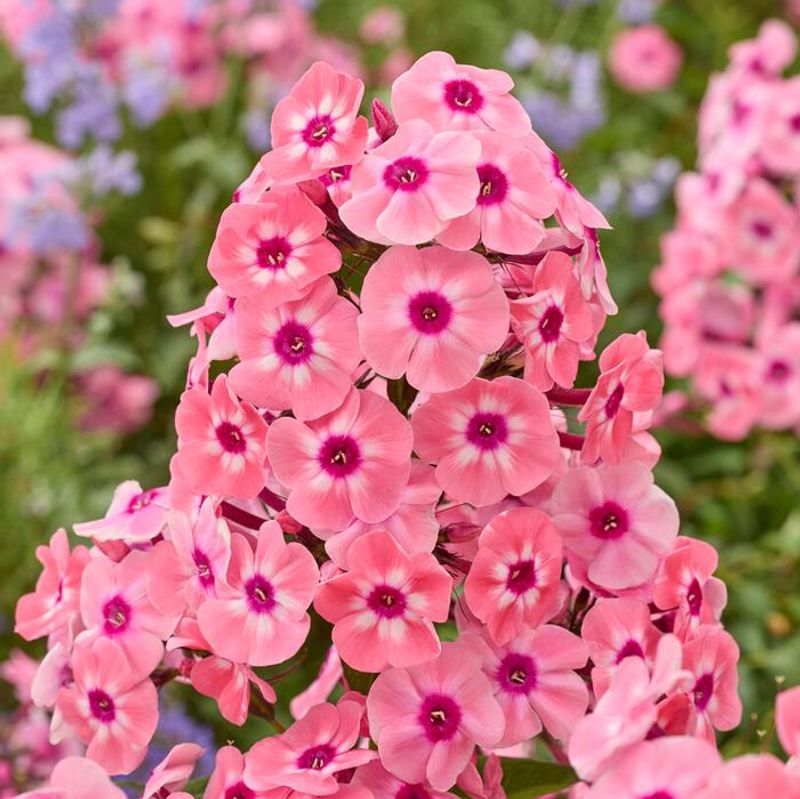
Walk past garden phlox on a warm evening, and the sweet fragrance can stop you right in your tracks. Those big flower clusters are butterfly magnets, but crowded clumps often pay a price in late summer.
Phlox paniculata is the tall, old-fashioned species most people grow, and it handles cold northern winters very well. It prefers full sun and rich, moist soil, which helps the plant produce those heavy, colorful flower heads.
Powdery mildew is the biggest headache for this plant, covering leaves with a dusty white coating in humid weather. Splitting thick clumps improves airflow between stems, which can help reduce how badly mildew spreads next season.
Plan to divide phlox every three or four years, or when the center looks weak and thin. Early fall works nicely, as long as the plants have at least a month before the soil freezes solid.
Cut the stems down first, so you can clearly see the crown and work without getting tangled. Dig up the clump, then slice it into chunks that each have several healthy shoots and a good root ball.
Toss away the woody center pieces and keep the younger, outer sections that look strong and vigorous. Space the new plants generously, since crowding them again would undo the airflow you just worked hard to create.
Look for mildew-resistant varieties like David if you want extra help fighting that dusty coating. I’m sure the hummingbirds and butterflies will thank you for the fresh clumps when blooms return next year.
6. Shasta Daisy
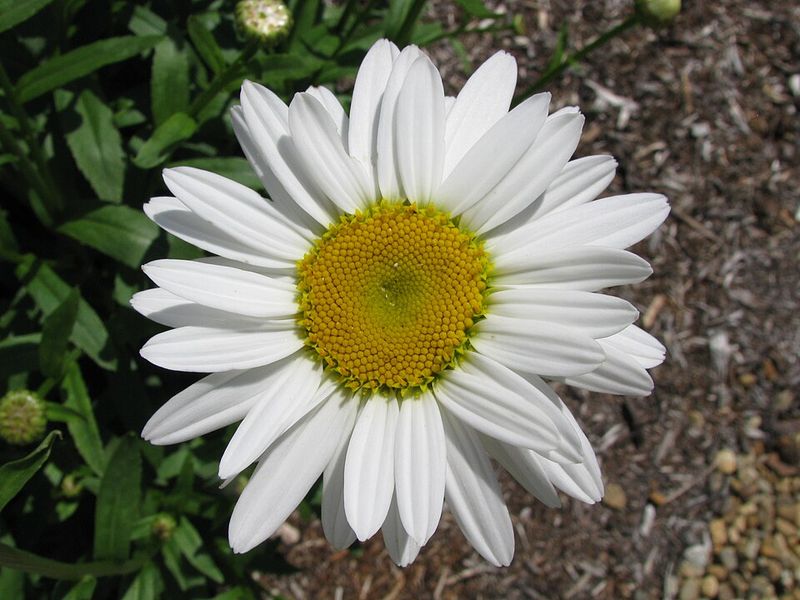
Shasta daisies look cheerful and simple, but they are actually a hybrid created by plant breeder Luther Burbank. He worked for years to develop those crisp white petals, and gardeners have loved them ever since.
These classic flowers grow best in zones 5 through 9, so colder spots in the state need extra care. Good drainage matters a lot, because wet winter soil is one of the main reasons they struggle and decline.
Shasta daisies often live only a few years unless you refresh them with regular division. Splitting the clump every two or three years keeps the plant young, lively, and full of fresh, healthy growth.
A crowded clump tends to bloom less in the middle, with flowers circling a sparse, tired center. Early fall gives you a chance to fix that problem while the soil still holds some of summer’s warmth.
Lift the clump with a fork and gently pull apart the rosettes of leaves with your hands. Keep the vigorous outer pieces, each with roots attached, and discard the older, woody section from the middle.
Choose a sunny spot with loose soil when you replant, and avoid low areas where water tends to collect. Water the divisions well, then add a light mulch after the ground starts to cool down in late fall.
Fresh plants will reward you with bright bouquets next summer that last a long time in a vase. I believe few flowers make a kitchen table look happier than a simple jar of these white daisies.
7. Black-Eyed Susan
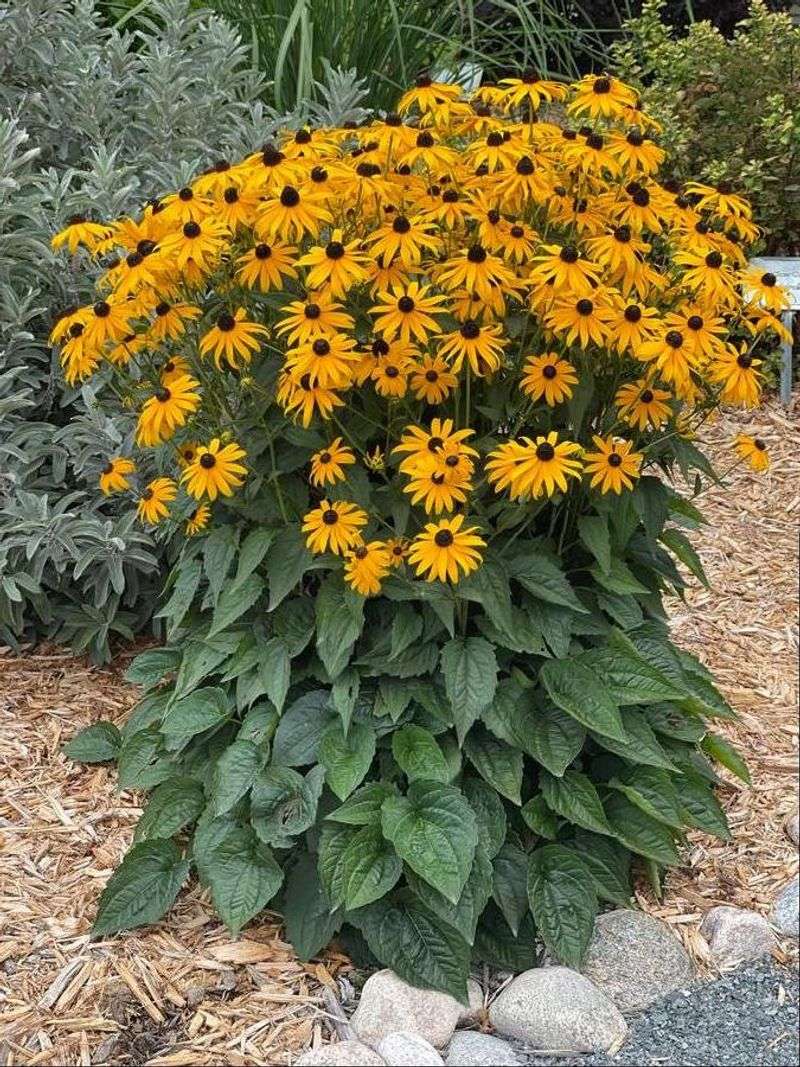
Those golden petals with dark brown centers are still glowing in many gardens right now in early October. Black-eyed Susans keep blooming late into the season, which makes them easy to spot and divide this month.
Rudbeckia fulgida is the perennial type most often divided, while Rudbeckia hirta usually acts like a short-lived plant. Both are native to eastern North America, so they support local bees and butterflies throughout the warm months.
The perennial kind spreads by underground stems and can fill a bed faster than you might expect. Dividing clumps every three or four years keeps them tidy and helps prevent floppy, crowded stems next summer.
You can wait until most blooms fade, but try to finish while the soil still feels workable. Roots need several weeks to settle in, especially in colder northern regions where frost often arrives quite early.
Dig up a clump and pull apart the root mass with your hands or a sharp spade. Each piece should hold a few healthy shoots, and small divisions usually grow surprisingly fast in their new home.
Consider leaving a few seed heads standing on the remaining plants through the cold winter months. Goldfinches love picking at those dark centers, and watching them is a sweet bonus on a gray morning.
Extra divisions are perfect for filling sunny gaps along fences, mailboxes, or the edge of your driveway. I wonder how many golden patches you could create from just one healthy clump in a single afternoon.
8. Astilbe
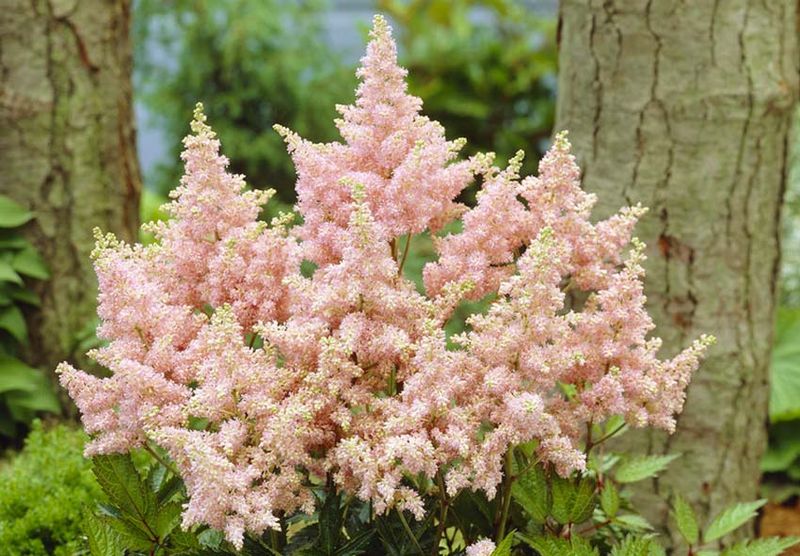
Astilbe plumes look like soft, fluffy feathers, and the dried heads stay pretty well into the fall season. Those faded plumes can be left standing for winter interest, so you do not need to rush trimming them.
Astilbes love partial shade and moist soil, and they are commonly rated hardy in zones 4 through 8. Dry soil is their weak spot, often causing crispy brown leaf edges during hot spells in late summer.
After three or four years, the crowns tend to rise up and form a woody center. Fewer plumes and patchy growth are clues that the plant would enjoy a fresh start in loosened soil.
Spring division is often preferred, but early fall can work if roots get time to settle. Finish the job in early October, and keep the new pieces well watered until the ground starts to freeze.
Lift the clump and use a sharp knife or spade to cut through the tough crown. Each division should keep several buds and a solid bundle of roots, since tiny pieces often struggle through winter.
Replant at the same depth, then cover the soil with shredded leaves or compost to hold in moisture. That mulch also helps prevent frost heaving, which can push shallow crowns right out of the ground.
I’m sure your shady corners will look brighter next summer with extra clumps of colorful plumes. Pair them with ferns or hostas for a soft, layered look that feels cool even on muggy days.
9. Bee Balm
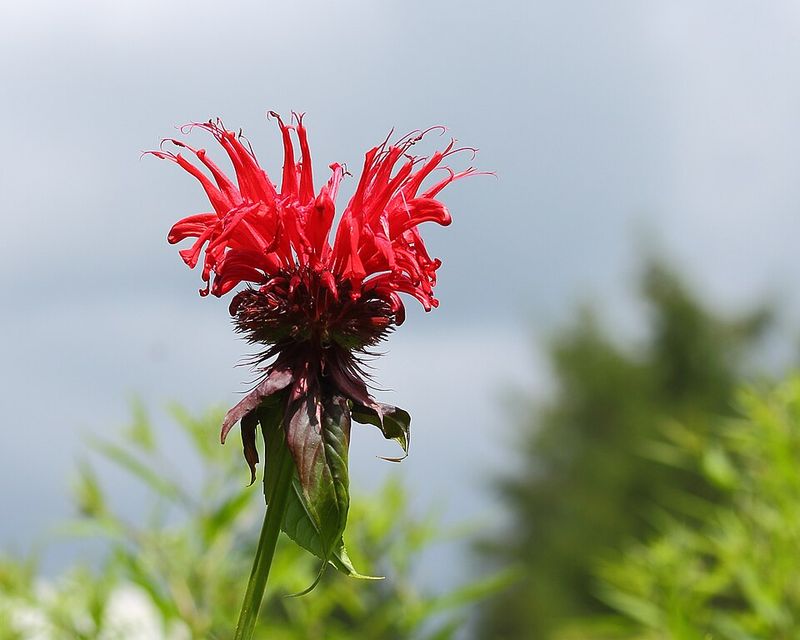
Rub a bee balm leaf between your fingers, and a minty, spicy scent fills the air right away. That aroma comes from its relation to the mint family, which also explains its love of spreading.
Monarda didyma, the scarlet bee balm, is native to eastern North America and grows well in zones 4 through 9. Its tubular red flowers are famous for drawing hummingbirds, which visit again and again during summer.
Bee balm spreads through shallow underground stems, so a small patch can become quite large in a few years. The middle often thins out while new shoots crowd the edges, leaving an odd ring of growth behind.
Dividing every two or three years keeps the patch healthy and under better control in your flower bed. Early fall gives roots time to settle, and the cooler weather makes digging much more pleasant for you.
Lift the clump and discard the old, woody center, which usually has weak shoots and fewer roots. Replant the young outer pieces, giving each one plenty of space so air can move freely between the stems.
Good airflow matters, because powdery mildew often coats bee balm leaves during humid summers. Some varieties, such as Jacob Cline, are known for better mildew resistance, making them a smart choice for crowded gardens.
Leftover pieces can go to friends who want a pollinator magnet of their own. I believe a garden buzzing with bees and hummingbirds next summer is one of the happiest sights around.
10. Coneflower
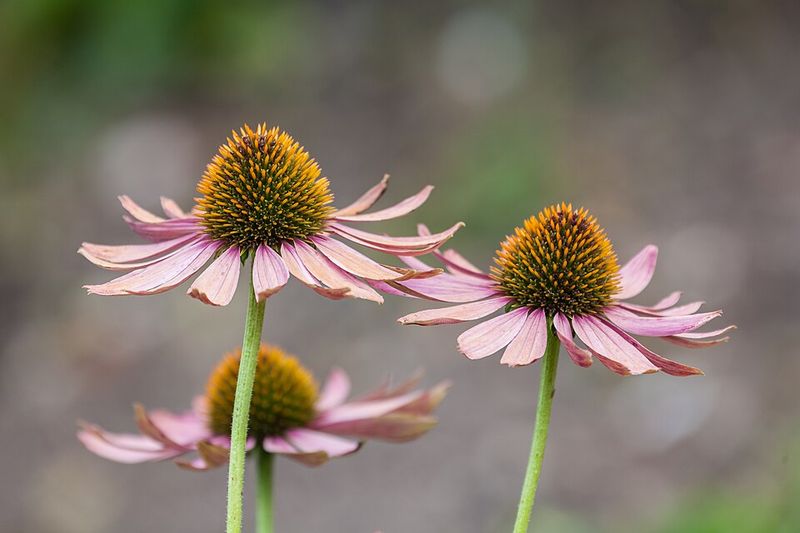
Coneflowers earned their spot at the end of this list for a sneaky reason worth knowing. Unlike most plants here, many coneflowers dislike root disturbance, so you should divide them only when truly needed.
Purple coneflower, Echinacea purpurea, is native to the central and eastern United States and grows in zones 3 through 9. It handles heat and dry spells well once established, making it a favorite for sunny, low-fuss beds.
Many plants have a deep, carrot-like root system that does not enjoy being chopped apart. Clumps that spread with several crowns divide more easily, while single-crown plants often do better when left alone.
If your clump has grown wide and crowded after four or more years, early fall division can still work. Handle the roots gently, and make sure each piece has a solid crown along with healthy roots attached.
Water the new divisions deeply, then add mulch once the soil cools to protect them through winter. Some newer hybrid varieties are less vigorous, so many gardeners simply buy new plants instead of splitting them.
Leave the dark seed heads standing on your remaining plants after the petals fall off. Goldfinches love those seeds, and you will often spot them perched on stems during crisp autumn mornings.
Coneflowers also drop seeds that can sprout new plants on their own in the following year. I can’t imagine an easier way to grow more coneflowers than letting nature handle part of the work.