Protect Your Outdoor Spigots And Garden Hoses Before The First Hard Freeze In New Jersey
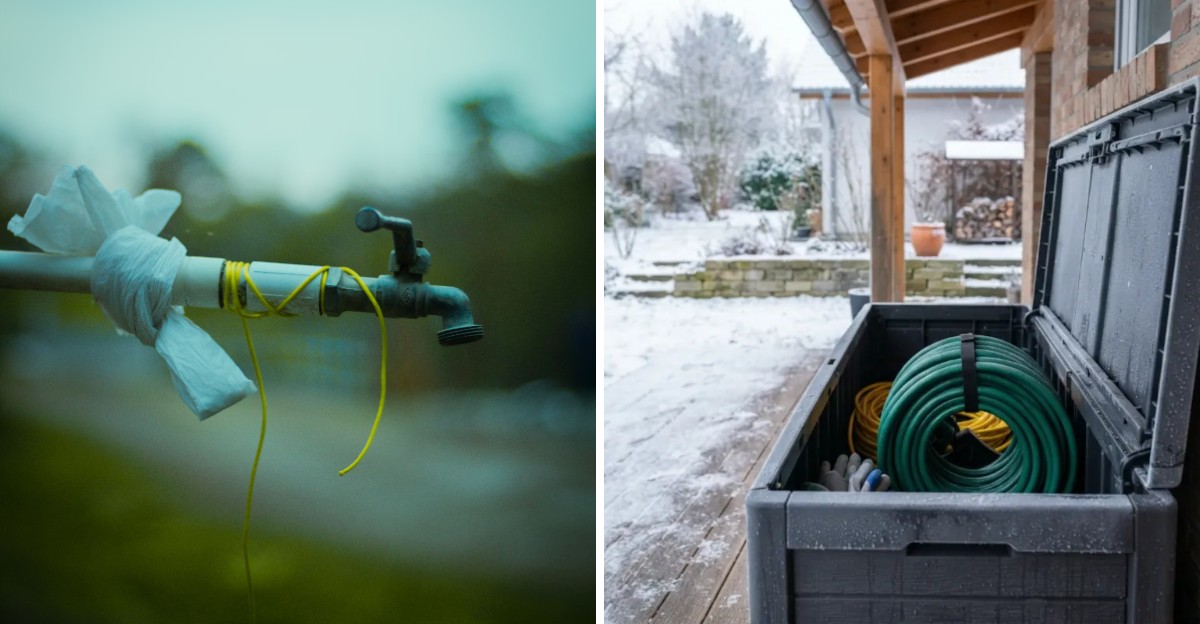
A cracked pipe from winter often hides inside the wall, waiting quietly until spring to flood a basement. Plumbers see it every March, when someone turns on an outdoor faucet and hears water rushing somewhere strange.
Water swells about nine percent as it turns to ice, and that push can split copper like a peanut shell. Across New Jersey, the first frost usually shows up in mid to late October, earlier in the northwest hills.
I skipped my fall chores one year and paid a plumber more than my entire seed budget that spring. You build your garden all season, so protecting the water that feeds it feels like a fair final favor.
The fixes take one lazy Saturday afternoon, and most cost less than a bag of good compost. Protecting your outdoor spigots and hoses takes just a few simple steps.
But one everyday habit, leaving a hose attached to the faucet, can quietly cause real trouble come winter.
1. Disconnect Every Garden Hose From The Outdoor Faucet
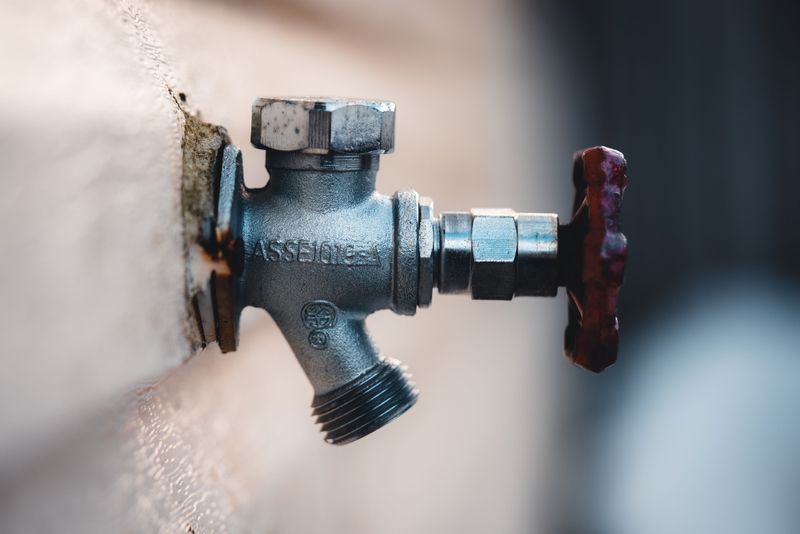
My favorite hose spent one winter attached to the house, and the faucet behind it cracked like an eggshell. That little connection looks harmless in October, yet it traps a plug of water right where the cold bites hardest.
When the hose stays attached, water cannot drain back out of the spigot body or the pipe behind it. Ice then forms inside the line, pushing outward until the metal splits somewhere you probably cannot see.
Frost-free faucets share the same weakness, since their clever design depends on water draining freely out the spout. Leave a hose connected, and that frost-free label suddenly means very little once temperatures sink below freezing.
Unscrew each hose by hand, and use a rubber grip pad if the coupling feels stuck after a long summer. Avoid yanking with pliers, because twisting too hard can loosen the faucet from the pipe inside the wall.
Splitters and hose timers deserve removal too, since each one can hold water and crack open in the cold. Battery timers also dislike freezing weather, so bring them indoors and pop the batteries out for winter.
Across New Jersey, I like doing this job in early to mid October, before frost advisories start popping up. Northwest counties like Sussex and Warren often chill down sooner, so gardeners up there should start a bit earlier.
Keep one short hose handy if you still water fall mums, but disconnect it each evening after use. That small nightly habit protects your plumbing while letting your late season pots stay happy and hydrated.
2. Drain Garden Hoses On A Gentle Slope
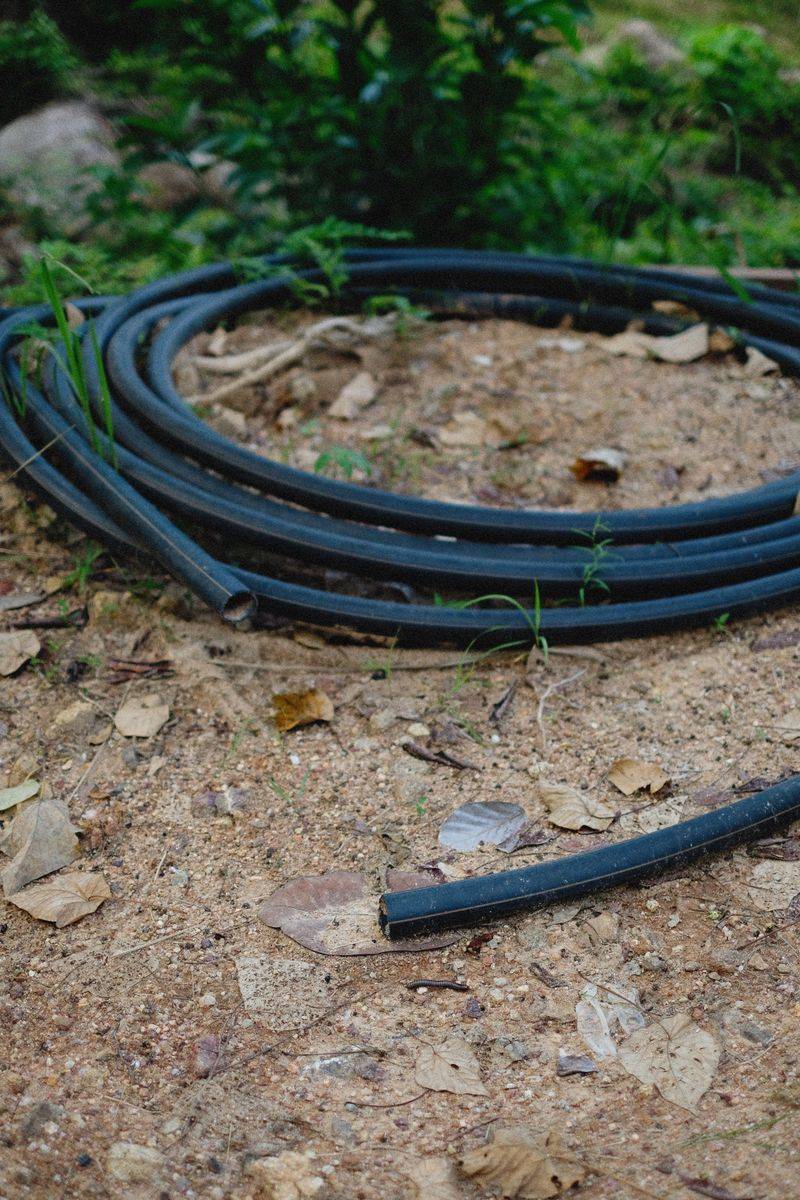
A hose lying flat on the lawn can still hold surprising amounts of water tucked inside its sagging low spots. I learned this lifting mine in a New Jersey November and getting a cold splash right across my sneakers.
Stretch each hose out fully on a driveway or lawn that tilts slightly downhill toward the street or garden. Gravity does most of the work, pulling water toward the lower end and out through the open coupling.
Your New Jersey Garden Changes Every Week. Your Plan Should Too.
Gardening in New Jersey changes quickly throughout the season. Every Friday you’ll receive a simple weekly plan showing exactly what to plant, prune, fertilize, harvest, and protect so you never miss the right timing.
Remove nozzles and sprayers first, since a closed nozzle blocks the exit and keeps water sealed inside the hose. Those metal or plastic heads can crack too, especially during a New Jersey freeze, so give them a shake and store them somewhere dry.
Next, start at the high end and lift the hose over your shoulder, walking slowly toward the open end. You will hear water gurgling ahead of you, which feels oddly satisfying after a long summer of watering chores.
Repeat the walk once or twice, since stubborn pockets often hide near kinks and the middle of the hose. Longer hoses, especially the hundred foot ones, usually need an extra pass before they finally run dry.
Rubber hoses stay flexible in cold weather longer, while cheaper vinyl ones turn stiff and crack more easily. Either type lasts longer when emptied, because trapped ice stretches the inner walls and weakens them over time.
Pick a sunny, mild afternoon for this job, since warm hoses bend easily and drain much faster than chilly ones. Let them rest stretched out for an hour afterward, so the last few drips can escape before storage in your New Jersey garage or shed.
3. Coil And Store Hoses Inside The Garage Or Shed
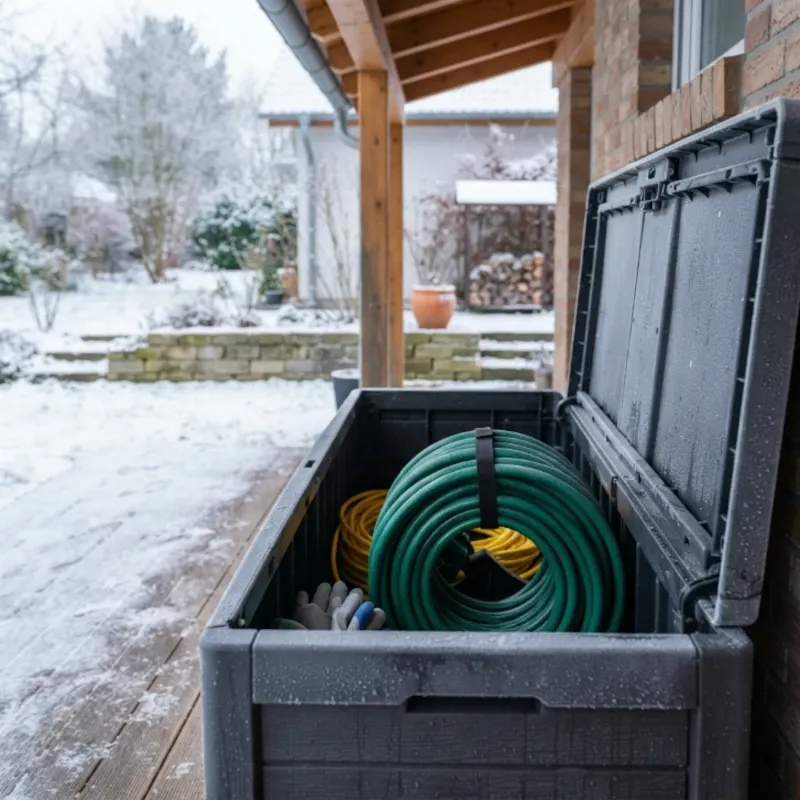
Hoses are a bit like garden gnomes, since they look tough outside but honestly prefer spending winter somewhere sheltered. Sunlight and freezing temperatures slowly break down hose materials, leaving them stiff and prone to splitting by spring.
Once your hoses are drained, coil them in wide, loose loops about two feet across instead of tight circles. Tight coils create stubborn kinks that can weaken the walls and leave your hose twisting every time you use it.
A garage or basement makes a cozy winter home, protected from snow piles and the harshest winter winds. Hang hoses on a wide wall bracket, which keeps them off the floor and away from sharp tools.
Hose reels work nicely too, but roll them into storage rather than leaving them parked beside the house. I keep mine tucked behind the lawn mower, where it waits patiently until the first warm April morning.
Mice sometimes explore open hose ends, so I cap them together by screwing the two couplings into each other. That simple trick also keeps spiders and dust out, saving me from surprising critters when spring watering begins.
Before storing, inspect washers inside the female coupling, because worn ones cause those annoying leaks at the faucet. Replacement washers cost very little, and swapping them now means one less chore during busy spring planting days.
Soaker hoses and drip lines deserve the same treatment, since their tiny pores can crack when ice forms inside. Lift them gently from the beds, shake out loose soil, and store them right alongside your regular hoses.
4. Close The Indoor Shutoff Valve For Each Spigot
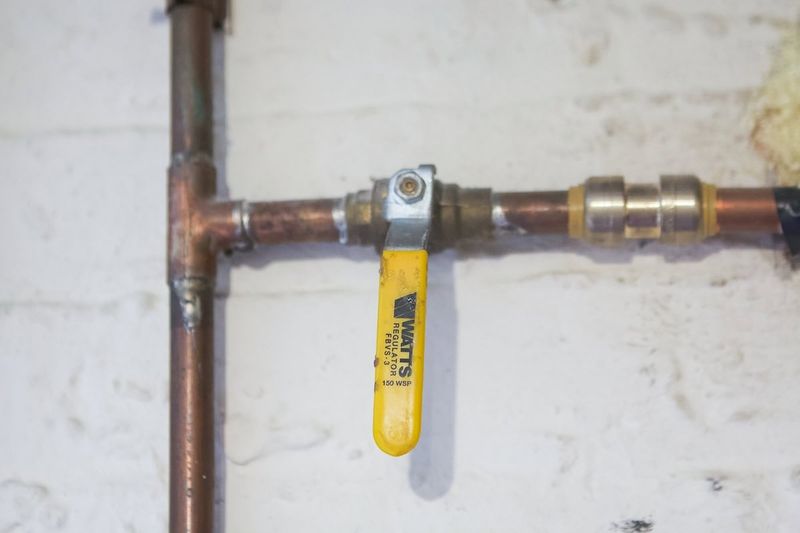
Hidden somewhere in your basement, there may be a little valve that quietly controls the whole outdoor faucet situation. Finding it feels like a scavenger hunt, but the reward is a pipe that stays safe all winter.
Many older homes use standard spigots, which need water shut off from inside to stay protected during freezing weather. The shutoff valve usually sits on the pipe directly behind the outdoor faucet, often near a basement ceiling.
Follow the pipe from the wall toward the main line, looking for a small round handle or lever. Some homes hide these valves in crawl spaces or utility rooms, so bring a flashlight and some patience.
Turn a round handle clockwise until snug, or rotate a lever so it sits crossways to the pipe. Avoid forcing a stubborn old valve, because cranking too hard can snap the stem and cause an indoor leak.
Once I found mine, I tied a bright garden label to each valve with its location. That tag saves everyone in the house from guessing, especially when a sudden cold snap arrives late at night.
Valves that drip or refuse to close fully are worth fixing now, before plumbers get busy with winter calls. A licensed plumber can replace a worn valve quickly, and the cost is far lower than repairing water damage.
Shutting the valve isolates the outdoor line from your home’s pressurized supply, which is the real heart of protection. Without that pressure, any leftover water has room to expand, and the next step clears out what remains.
5. Open The Outdoor Spigot And Let It Drain
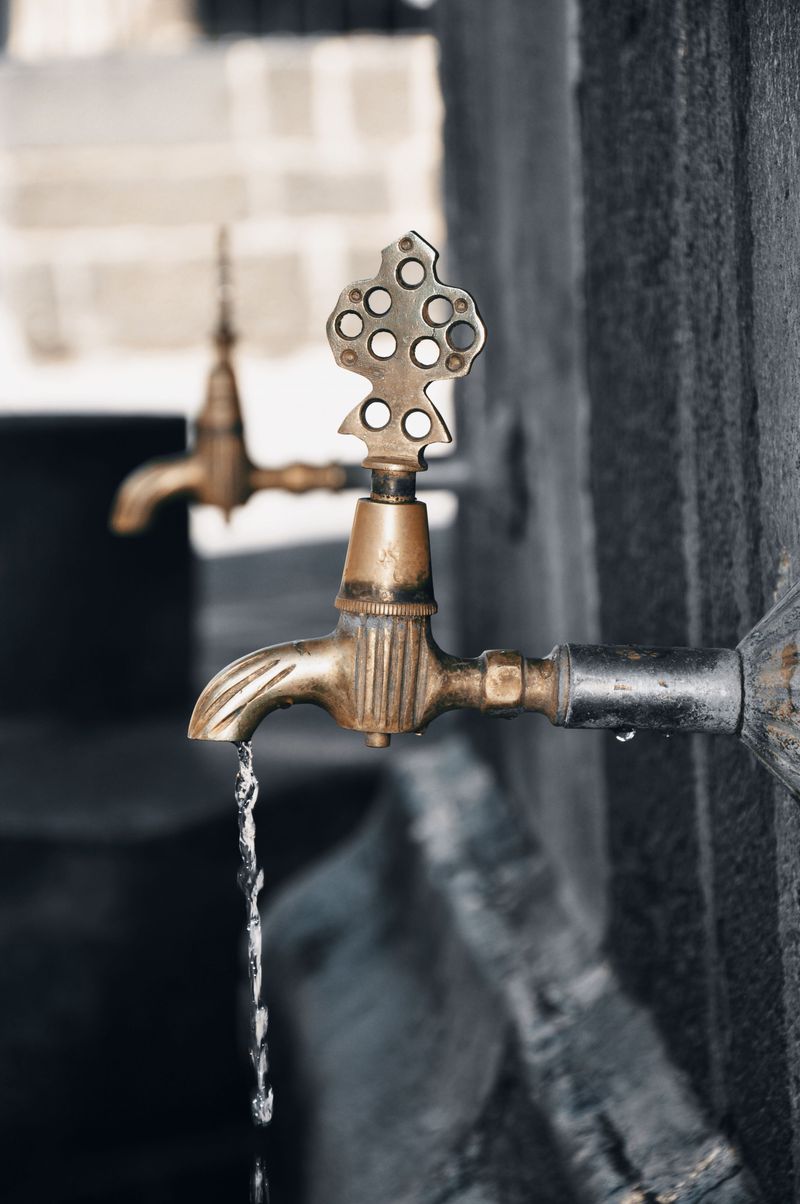
A little gush of water from a spigot in October sounds strange, but it is exactly what you want. That rush tells you the line is emptying, which means far less water left behind to freeze and expand.
After closing the indoor valve, walk outside and open the outdoor spigot fully, turning the handle as far as it goes. Expect a strong stream at first, followed by a slow trickle and eventually just a few lazy drips.
Many indoor shutoff valves include a tiny brass cap on one side, often called a bleeder or drain cap. Loosen that cap over a bucket, and air rushes in, helping the last water drain from the outdoor pipe.
Keep a towel nearby, since that bleeder can spit out a surprising cup or two of cold, rusty water. Once draining stops, tighten the cap back snugly so it does not drip onto your basement floor all winter.
Leave the outdoor spigot open through the cold months, which gives any leftover moisture space to expand safely. Most plumbers recommend this open position for standard faucets once the indoor supply is closed off.
I check my spigots again after the first real freeze, just to confirm nothing is quietly dripping. A steady drip from an open faucet usually means the indoor valve is not sealing, which needs quick attention.
Mark your calendar for spring, because you will need to close the outdoor spigot before reopening the indoor valve. Skipping that order sends water spraying across the yard, which is funny only when it happens to someone else.
6. Slip A Foam Cover Over Each Outdoor Faucet
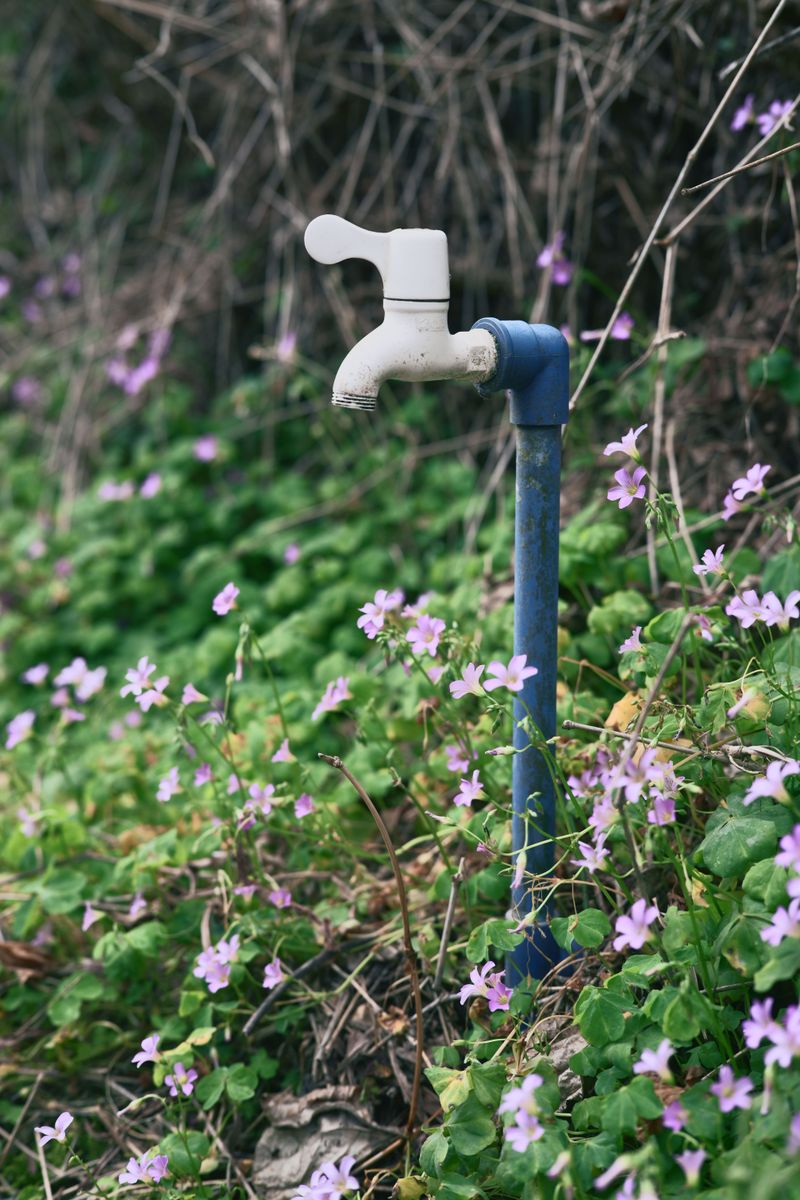
Those puffy foam domes on neighbors’ faucets look like tiny winter hats, and honestly they serve a similar purpose. A faucet cover traps a pocket of warmer air around the spigot, slowing how fast cold seeps inward.
Covers are cheap, usually just a few dollars at hardware stores, and installing one takes less than a minute. Most slip over the faucet and hook onto it with a loop, then tighten flat against the siding.
Disconnect the hose first, since a cover cannot fit over a coupling or protect water trapped inside. Make sure the foam sits flush against the wall, leaving no gaps where icy wind can sneak inside.
Think of these covers as a backup layer, not a replacement for shutting off and draining your spigots. They work best during sudden cold snaps, especially on faucets facing north or exposed to strong winter winds.
Hard plastic covers with foam lining tend to hold up longer than plain foam ones that crack in sunlight. I replace mine every few seasons, once the foam starts crumbling or the strap loses its tight grip.
During very harsh spells, an old wool sock tucked under the cover adds a cozy extra layer of insulation. Several plumbers share this trick, and it costs nothing if your sock drawer has a few lonely singles.
Check covers after storms, since strong gusts and curious pets sometimes knock them loose or crooked. A quick glance while taking out the trash keeps your faucets protected without adding another chore to your list.
7. Wrap Exposed Pipes With Foam Pipe Insulation
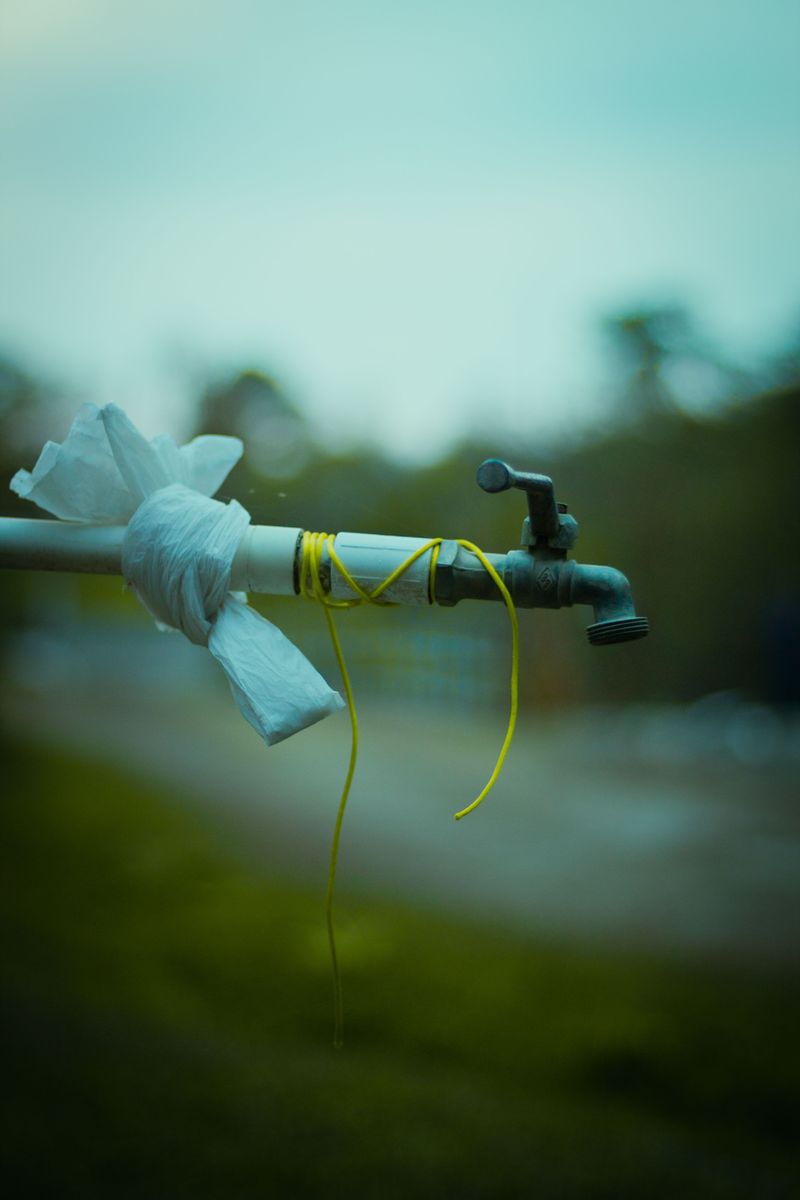
Pipes running through a chilly crawl space are like campers without sleeping bags, shivering all night long. Those spots often freeze first, even when the rest of your house feels warm and comfortable inside.
Pipes feeding outdoor spigots frequently pass through unheated garages or crawl spaces before reaching the faucet outside. Wrapping those sections with foam pipe sleeves slows heat loss and lowers the chance of ice forming inside.
Foam sleeves come pre-slit, so you just cut them to length with scissors and press them over pipes. Seal the seams with the built-in adhesive strip or wrap them with tape to keep cold air out.
Pay extra attention to elbows and joints, which leave awkward gaps that cold air loves to find. Cut sleeves at an angle for corners, and fill small openings with scraps so no metal peeks through.
For pipes with a history of freezing, self-regulating heat cable offers steady warmth beneath the foam insulation. Follow the manufacturer’s instructions carefully, and plug it into a grounded outlet to keep things safe and reliable.
Insulating hot water lines matters too, since they can freeze when water sits unused during long cold nights. I wrapped mine on a rainy October weekend, and the job took less time than planting my tulip bulbs.
Old insulation can crumble or slip over the years, so inspect existing sleeves while you are down there. Replacing damaged pieces now beats crawling around a frigid basement in January with a flashlight between your teeth.
8. Check Frost-Free Sillcocks For Proper Drainage
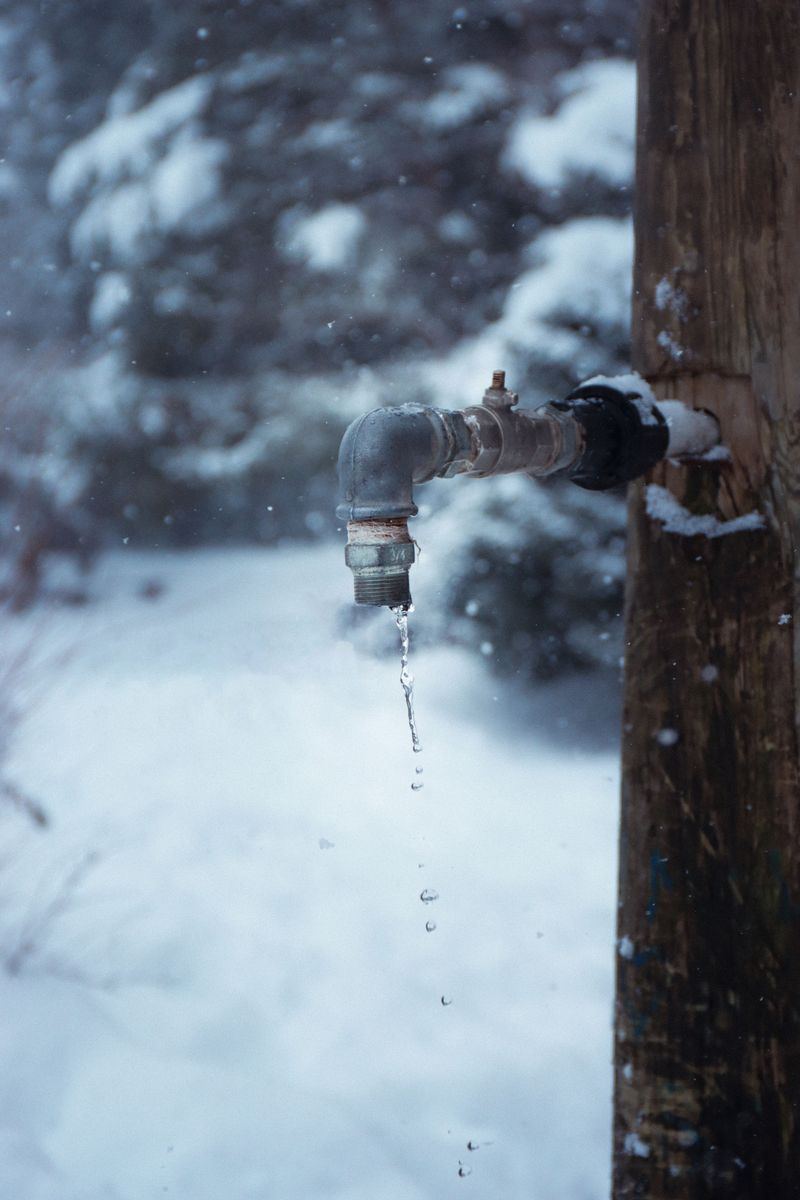
Frost-free faucets have a clever secret, since their actual valve sits several inches inside the warm house. When you turn the handle off, water drains from the long stem, leaving little behind to freeze outside.
Those handy fixtures, often called sillcocks, usually have a longer pipe body hidden inside the wall behind the faucet. Many homes in New Jersey built in recent decades include them, though plenty of older houses still use standard spigots.
To check yours, look for a faucet with a long stem or a small vacuum breaker cap on top. If you are unsure, follow the pipe indoors and see whether it extends well past the inside wall.
Proper installation matters, because a frost-free faucet needs a slight downward tilt toward the outside to drain well. After turning it off, a short trickle from the spout means water is draining exactly the way it should.
Hoses remain the biggest threat to these faucets, so disconnect them every fall without exception before freezing weather. A connected hose blocks drainage, and a split inside the wall might stay hidden until spring watering begins.
Listen for drips after shutting the handle, since a leaking washer can keep water sitting where it should not. Replacing that washer is a simple fix, and many hardware stores sell repair kits for common faucet brands.
A foam cover still helps during bitter cold snaps, especially on windy sides of the house facing north. I add one to mine each October, and that small habit gives me peace of mind until spring arrives.