8 Steps To Propagate Geraniums Now For More Blooms Next Year
The cheerful red flower on countless porches actually traces its family roots to the coast of South Africa. Plant explorers carried it to Europe in the early 1600s, and gardeners have been snipping pieces ever since.
Botanists even moved it into its own genus, so the name on the plant tag is technically a nickname. Those warm-weather roots explain why it sulks once nights drop toward freezing and frost creeps across the lawn.
I skipped buying fresh flats one spring and grew every pot from a few stems I saved indoors. You might notice your own summer plants looking leggy right now, which happens to be perfect timing.
A single healthy plant can hand you a dozen free copies before the first hard frost arrives. So how many sunny windowsills in your house are ready to host a little green nursery this winter?
1. Grab Clean Pruners And Small Pots Before You Snip
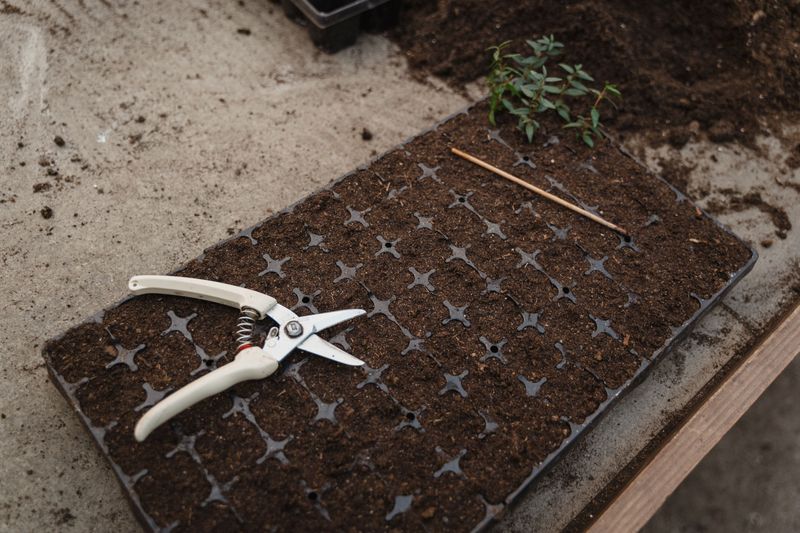
My first batch of cuttings rotted because I used rusty scissors from the junk drawer and a dirty pot. Clean gear sounds boring, but it quietly decides whether your stems root or slump into brown mush.
Start with sharp bypass pruners or a clean knife, since dull blades crush stem tissue instead of slicing cleanly. Wipe the blades with a household disinfectant between plants to avoid spreading bacterial problems from one geranium to another.
Next, gather small pots around three or four inches wide, and make sure each has open drainage holes. Recycled nursery pots work well if you scrub them with soapy water and rinse them before reuse.
For the rooting mix, skip heavy garden soil and choose a light seed starting mix or soilless potting blend. Many growers stir in perlite or coarse sand so extra water drains away quickly from the tender stem.
A spray bottle helps too, along with plant labels and a waterproof marker for tracking each variety you save. Trust me, every pink bloom looks identical in February when you are trying to remember which plant was which.
Rooting hormone is optional, because zonal geraniums usually root easily without help from any powders or gels. I keep a small jar handy anyway for stubborn varieties like fancy-leaf types that sometimes seem slower to root.
Set everything up on a tray near your sink before cutting, so the stems spend little time waiting around. A tidy workspace makes the whole job feel calm, and it usually takes less than an hour for several plants.
2. Pick Sturdy Geranium Stems Without Flowers Or Buds
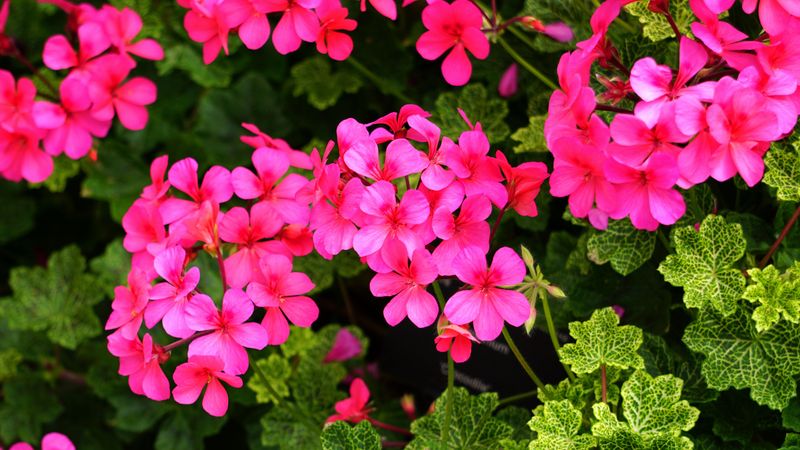
Your healthiest geranium is about to become a parent, so choose it the way you would choose a strong team captain. Look for a plant with deep green leaves and firm stems, with no yellow foliage or mushy brown patches.
Disease travels inside cuttings, so a sickly mother plant often passes its troubles straight to the babies you grow. University extension services warn about bacterial blight in geraniums, which spreads easily through infected stems and tools.
Ideal stems are semi-ripe, meaning they snap crisply rather than bending like rubber or feeling hard like a twig. Fresh tip growth from the outer edges of the plant usually offers the best mix of energy and firmness.
Skip stems carrying flowers or swelling buds, because the plant pours energy into blooms instead of building new roots. If every stem has buds, simply pinch them off and use the stem anyway, which works just fine.
I like taking cuttings in late summer or early fall, well before the first frost turns the leaves to mush. In many regions, that first frost often arrives in October, so earlier cutting gives you a safer window.
Water the parent plant a day before cutting so the stems are plump and hydrated rather than limp and stressed. A well-watered stem holds up much better during the first few days, before any roots form to help it.
Cuttings grow into exact clones, so favorite colors and quirky leaf patterns carry forward without any guessing at all. Seed-grown geraniums can surprise you with different traits, but cuttings keep your beloved variety just the way it is.
3. Snip Geranium Cuttings Just Below A Leaf Node
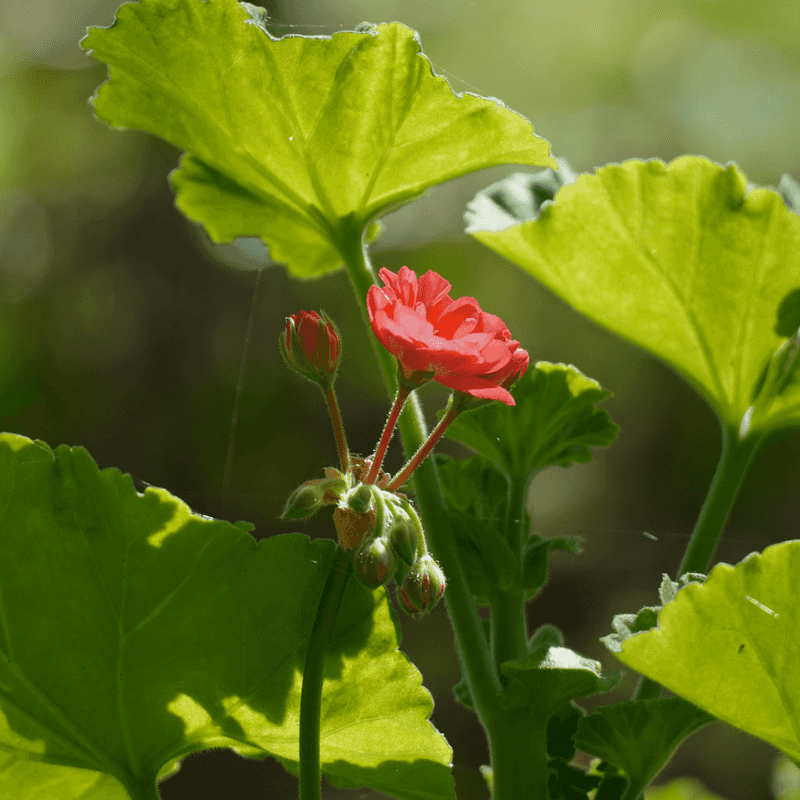
Every geranium stem is dotted with little bumpy joints called nodes, and those bumps hold the magic for new roots. Roots form most readily right at those nodes, which is why your cut placement matters more than you might expect.
Measure about three to five inches down from the growing tip of a healthy stem using a ruler or eyeball. Then make a clean cut about a quarter inch below a node, where a leaf joins the main stem.
Cuttings that are too long tend to wobble and lose moisture, while very short ones may lack enough stored energy. That middle length gives each piece enough leaves to make food without asking too much from a rootless stem.
Use one smooth motion with your blade so the stem stays round and firm instead of squished at the end. Crushed tissue invites rot, and I have lost more cuttings to sloppy snips than to any pest or chill.
Some growers cut at a slight angle, though a straight cut also roots well for most zonal varieties. Pick whichever feels comfortable, and focus on keeping the blade sharp and the cut close to that node.
After cutting, the parent plant will branch out from the remaining stem, which can make it bushier next season. So you gain new baby plants and give the original a helpful trim at the same time, which feels wonderful.
Take several more cuttings than you need, since a few may rot or stall no matter how careful you are. Extras make wonderful gifts for friends, and most neighbors happily accept free flowers when early spring rolls around.
4. Strip The Lower Leaves And Let Geranium Stems Callus
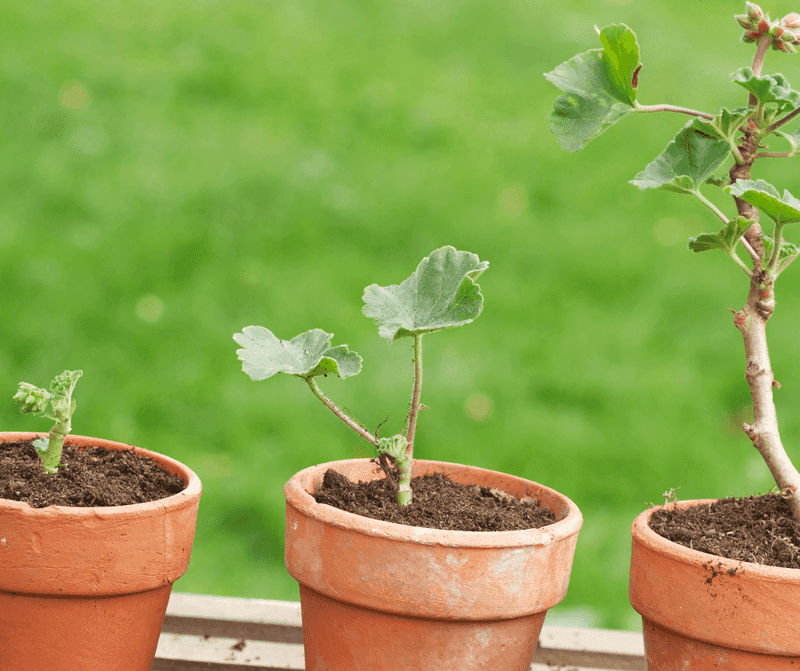
Fresh geranium cuttings look a bit like tiny palm trees once you finish trimming them, and that silly look is correct. Pull or snip away every leaf from the bottom half of the stem, leaving just two or three at the top.
Buried leaves tend to rot in moist soil, and that decay can spread quickly into the tender stem tissue. Removing them also exposes the lower nodes, where the first white roots will eventually push out into the mix.
Large leaves at the top can be trimmed in half if they seem floppy or too big for the cutting. Less leaf surface means less water loss, which helps the rootless stem stay perky while it builds its support system.
Pinch off any flower buds hiding near the tip, even if they show a hint of gorgeous color already. I know it hurts a little, but those blooms will return in larger numbers once the plant has roots.
Next comes a step many beginners skip, which is letting the cut ends dry and seal for several hours. Geraniums store a fair bit of moisture in their stems, so a short rest helps form a protective callus.
Lay the cuttings on a paper towel in a shady, airy spot indoors, away from hot sun or drafts. Some growers wait overnight, while others plant after a few hours, and both approaches seem to work well.
You will notice the cut tip turning slightly dry and pale, which signals that the stem is ready for planting. Avoid leaving them sitting for days, though, because the leaves start wilting and the stems lose their strength.
5. Dip Geranium Stems In Rooting Hormone If You Like
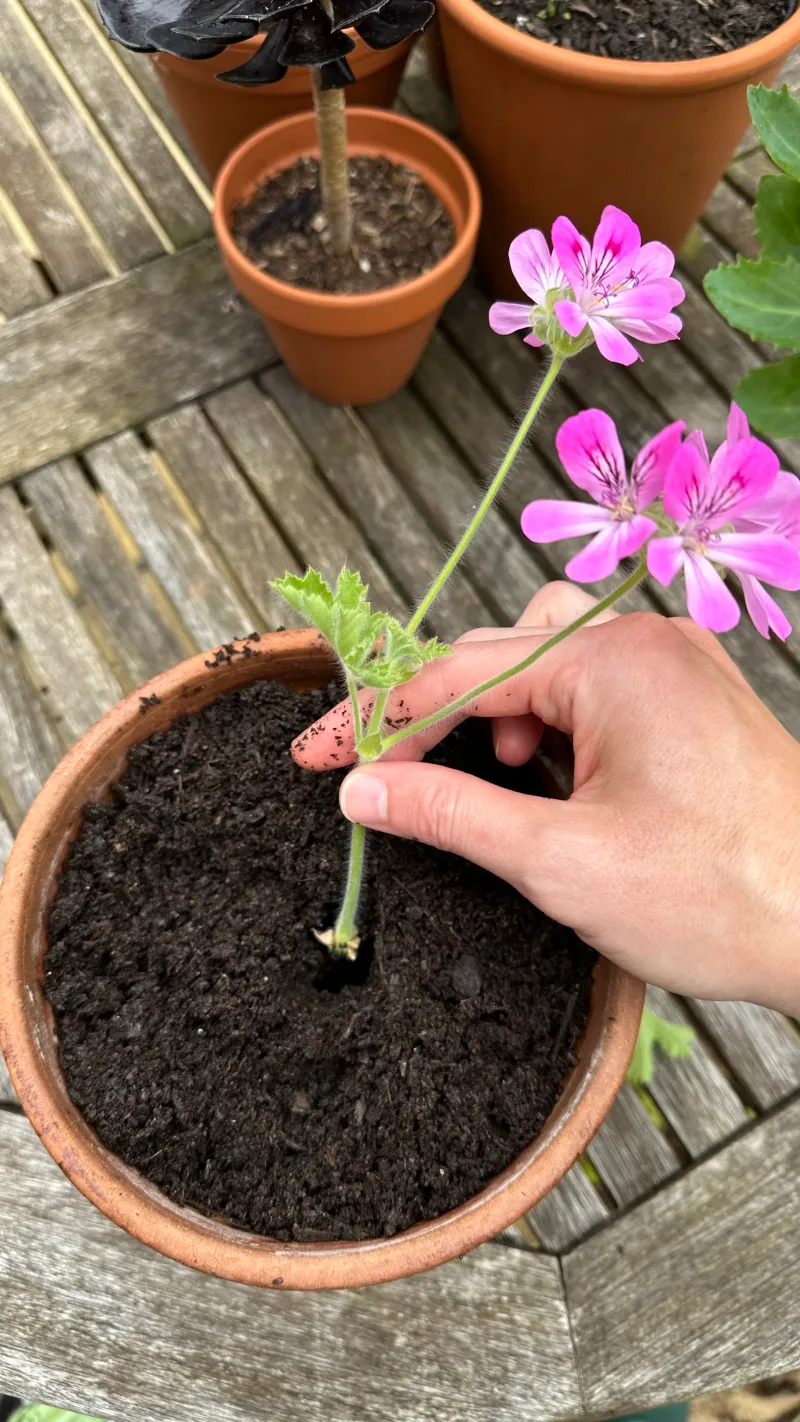
Zonal geraniums are famous among gardeners for rooting so easily that many growers treat hormone powder as optional. Even so, a light dusting can speed things along, especially if your house runs cool during fall and winter.
Rooting hormones contain synthetic compounds similar to auxins, which naturally signal stems to produce new root cells. Iowa State and other extension sources note that these products can encourage faster, more uniform rooting in many cuttings.
Pour a small amount into a separate dish rather than dipping straight into the jar, which keeps the supply clean. Dip the bottom half inch of the stem, then tap gently so only a thin coating remains on the tip.
Too much powder can actually slow rooting, so think of it like seasoning food rather than frosting a cake. A light hand works best, and leftover powder in the dish belongs in the trash, not back in the jar.
Some gardeners prefer honey or cinnamon as homemade helpers, though research support for those options is limited and mixed. I treat them as fun experiments rather than guaranteed boosters, and plain stems often root just as nicely anyway.
Wear gloves when handling commercial rooting products, and read the label for any safety tips the manufacturer recommends. Keep the container sealed and stored out of reach of kids and pets in a cool, dry cabinet.
Fancy-leaf and scented geraniums sometimes root more slowly than common zonal types, so they may benefit most from hormone. Try a side-by-side test with a few treated and untreated cuttings, then see which pot surprises you first.
6. Tuck Geranium Cuttings Into Moist Well-Drained Mix
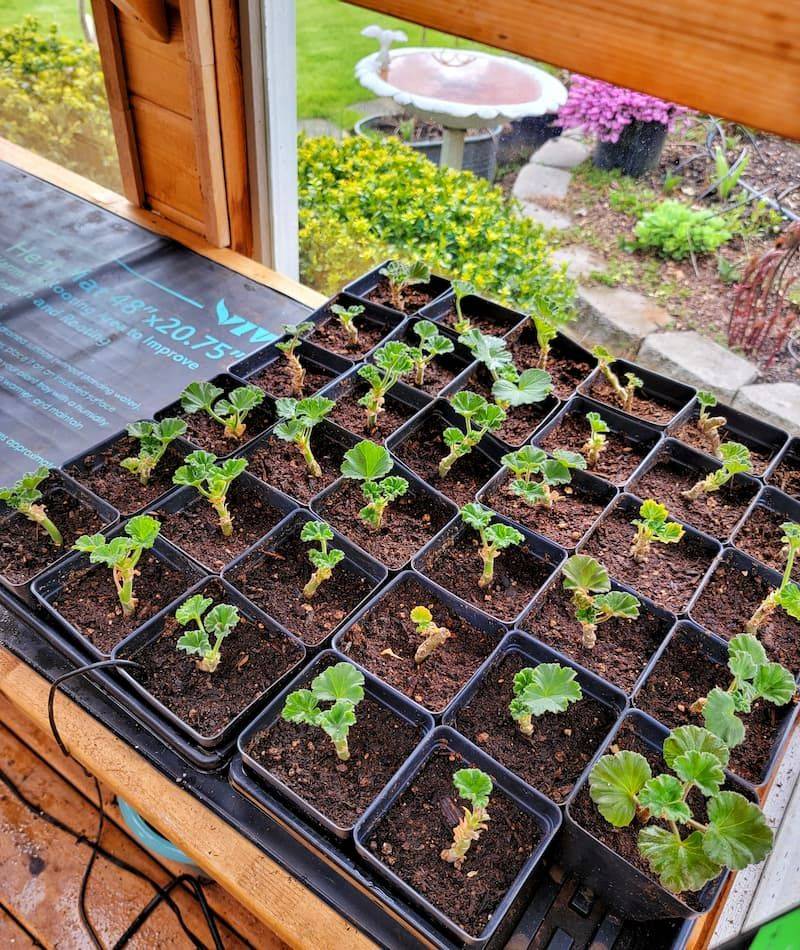
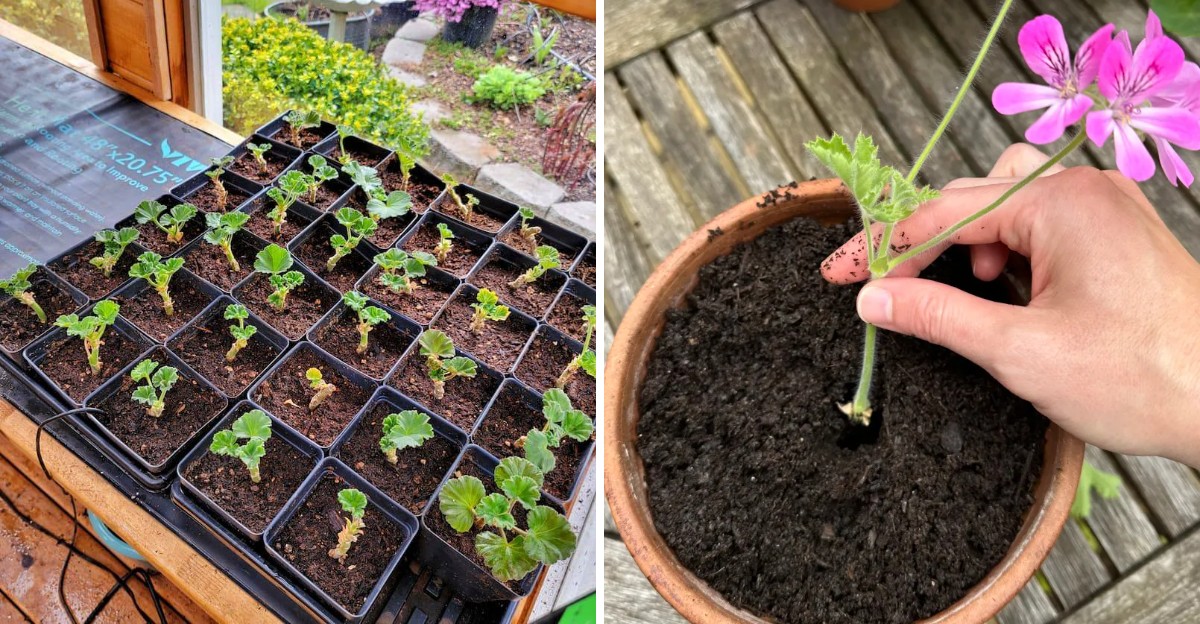
Planting a cutting feels a lot like tucking a sleepy kid into bed, with gentle hands and no rough pushing. Fill each small pot with your light rooting mix, then water it until the mix feels evenly damp, not soggy.
Poke a hole about one to two inches deep with a pencil or chopstick before sliding the stem inside. Pre-made holes protect the callused tip and keep any hormone coating from rubbing off during planting.
Make sure at least one or two bare nodes sit below the surface, since those spots will sprout the roots. Press the mix lightly around the stem so it stands upright and makes good contact with the moist medium.
You can fit three or four cuttings around the edge of one larger pot when windowsill space runs tight. Separate pots make transplanting easier later, but shared pots work fine if you leave a few inches between stems.
Hold off on watering again until the top of the mix feels dry when you touch it with a fingertip. Geraniums dislike soggy feet, and overwatering ranks among the most common reasons cuttings turn black and collapse at the base.
Skip fertilizer for now, because a stem without roots cannot use those nutrients and may even be harmed by salt buildup. Once fresh leaves appear and roots fill the pot, a diluted feeding becomes helpful for steady, healthy growth.
Label each pot right away with the variety name and the date you planted, so tracking progress stays simple. I love checking those dates later and realizing how quickly a bare little stick turned into a leafy plant.
7. Set Potted Geranium Cuttings In Bright Indirect Light
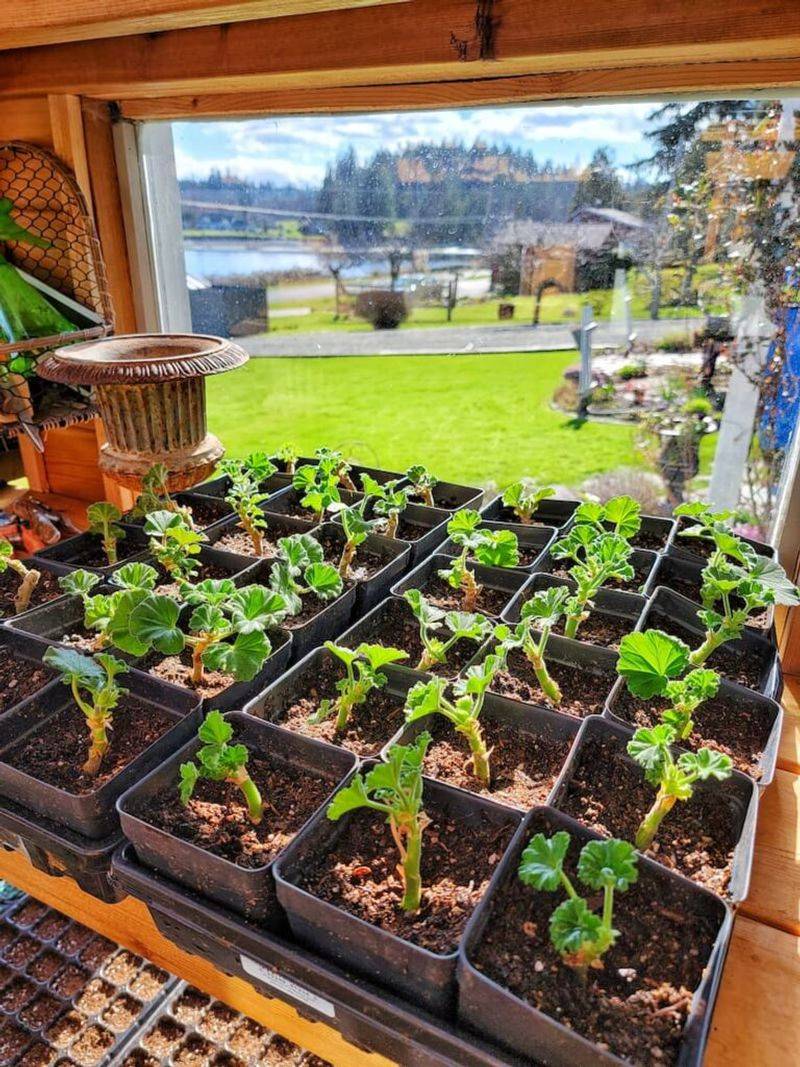
A south or east window can turn your kitchen into a cozy geranium nursery once the outdoor air turns crisp. Bright, indirect light helps cuttings make food without scorching leaves that have no roots to replace lost water yet.
Harsh afternoon sun pressed against glass can overheat young cuttings, so a sheer curtain makes a handy buffer. Once roots form, the plants can handle more direct sun, which keeps their stems short and sturdy over winter.
Room temperatures between roughly 65 and 75 degrees Fahrenheit suit rooting well, according to many extension and nursery guides. Keep pots away from cold drafty doors and blasting heat vents, since sudden swings stress the delicate stems.
Unlike many cuttings, geraniums usually prefer open air instead of plastic domes or bags that trap heavy humidity. Their fleshy stems rot easily in damp, stuffy conditions, so good airflow matters more than misting or extra moisture.
If leaves wilt slightly during the first few days, that is normal while the stem adjusts to life without roots. Most cuttings perk up within a week, and wilted leaves that turn yellow can simply be plucked away.
Short winter days can leave plants stretching toward the glass, with long stems and pale, widely spaced leaves. A simple LED grow light set on a timer for about fourteen hours daily can solve that problem nicely.
Rotate each pot a quarter turn every few days so the plants grow evenly instead of leaning in one direction. I treat that little turn as my morning ritual, and it gives me a quick chance to check the soil.
8. Pot Up Rooted Geraniums And Harden Them Off In Spring
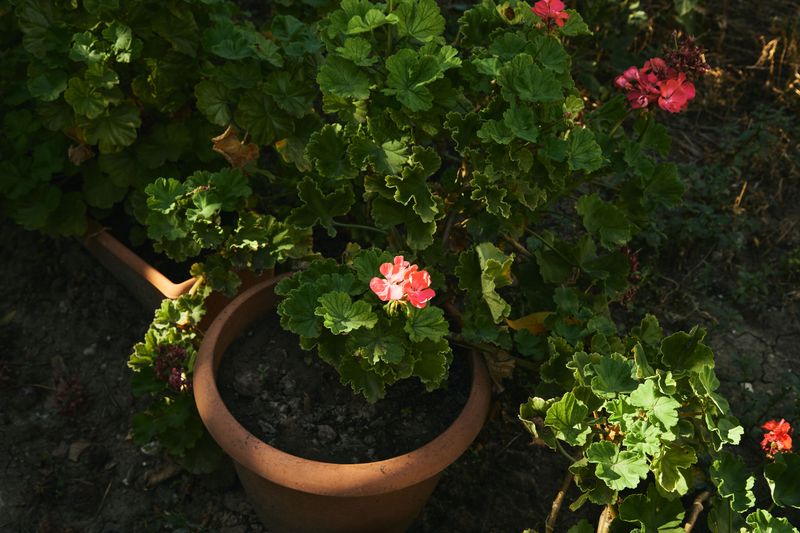
Few garden moments beat that first gentle tug when a cutting resists, telling you roots have finally grabbed the soil. Most geranium cuttings root within about three to six weeks, though cooler rooms can stretch that timeline a bit.
Once white roots peek from drainage holes, move each plant into a slightly bigger pot with regular potting mix. Choose a pot only an inch or two wider, since oversized containers hold extra water that young roots cannot use.
Pinch the growing tips every few weeks during winter to encourage branching and a fuller, rounder shape by spring. It feels odd to remove healthy growth, but those pinches create more stems, and more stems carry more flowers.
Feed lightly with a balanced fertilizer at half strength once growth picks up in late winter as days lengthen. Strong light and modest feeding together produce compact plants that bloom far better than stretched, hungry ones.
Around mid-spring, start hardening off by setting plants outdoors in a sheltered, shady spot for an hour or two. Gradually increase their time outside and their sun exposure over about seven to ten days before planting them out.
Wait until frost danger passes and nights stay near 50 degrees, often around mid-May in many regions. Northern counties may need a little extra patience, so check your local frost dates before moving plants into beds.
Watching saved stems burst into summer color feels like a reward you grew with your own two hands. Next fall, you can repeat the whole cycle and keep your favorite varieties going for many years to come.