7 Steps To Winterize Your Sprinkler System Before Pennsylvania’s First Hard Freeze
Water swells by roughly nine percent when it turns to ice, and that push can split buried pipe. A single frosty night in Pennsylvania can turn a forgotten irrigation line into a spring repair bill.
Gardeners usually call it a hard freeze when air drops to about 28 degrees for several hours. That deeper chill reaches valves and fittings faster than most of us expect after a sunny autumn afternoon.
I have to admit my first winter here taught me that lesson with a cracked valve and soggy mulch. You can skip that headache with one free afternoon and a few simple tools from the garage.
Across Pennsylvania, the first frost often lands in October, though mountain towns usually feel it sooner than Philadelphia. So how ready is your yard for the cold night when the thermometer finally sinks below 32 degrees?
1. Close The Main Irrigation Shutoff Valve In The Basement
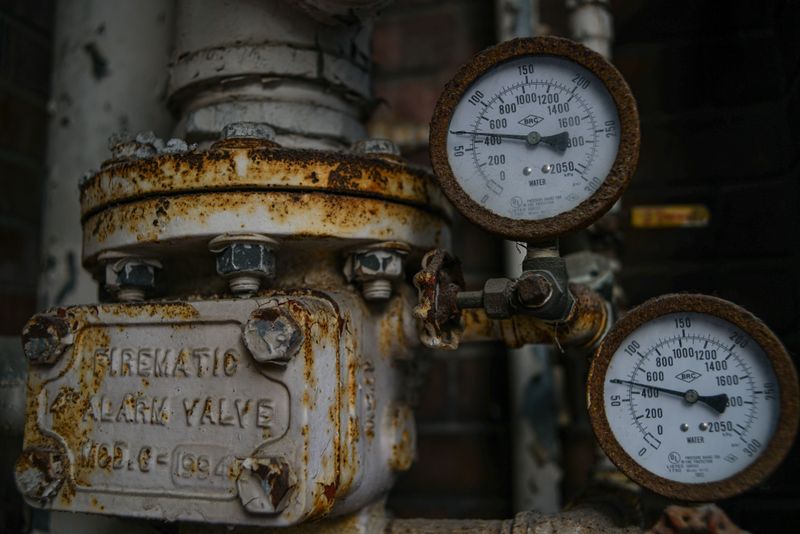
The quietest hero of your whole sprinkler setup is often a brass valve hiding behind the basement furnace. I spent twenty minutes hunting for mine with a flashlight before I found it near the water meter.
Most systems branch off the main household line, so the irrigation shutoff usually sits close to where water enters. Some homes place it in a crawl space, while others tuck it into an underground box near the meter.
Turn a gate valve handle clockwise until it stops, and give a ball valve handle a quarter turn. A ball valve is closed once its lever sits crosswise to the pipe instead of running along it.
Shutting this valve first matters because every later step depends on keeping fresh water out of the lines.
Blowing air through pipes that keep refilling wastes your time and leaves pockets of water behind for winter.
Personally, I like to tie a bright ribbon around the handle so my family knows to leave it alone. You might also snap a quick phone photo, which makes finding it next spring much easier for everyone.
Some older valves include a small bleeder cap on the side that lets trapped water drain out after closing. Open that cap over a bucket, and leave it slightly loose until you restart the system in spring.
A stubborn or leaky valve deserves attention now rather than during the first warm weekend of the year.
Call a licensed plumber if the handle refuses to budge, because forcing it can snap an old stem.
2. Open The Manual Drain Valves At Low Points In The Lawn
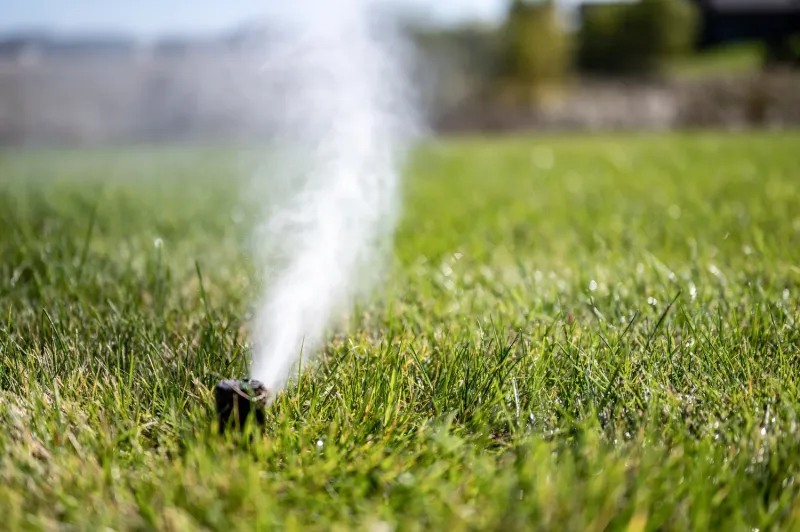
Gravity does surprising work in a sprinkler yard, pulling water downhill toward the little drain valves at each low spot.
I love how a steady trickle from a drain valve tells you the system is emptying the way it should.
Manual drain valves usually sit at the lowest ends of each line, sometimes hidden under a small gravel pocket. Open each one slowly, and let the water flow until the stream fades to a few lazy drips.
Automatic drains work differently, popping open on their own once pressure falls after you close the main supply. You may still need to loosen the solenoid or bleed screw on each zone valve to release trapped water.
Remember that drained pipes can still hold small puddles in sagging sections, especially where tree roots shifted the soil.
For that reason, many irrigation pros in colder states treat draining as a helpful start rather than the finish.
The stop-and-waste valve is another option, found on some older systems where the shutoff includes its own drain port.
Closing that valve releases water from the supply side, though the zone lines may need extra attention afterward.
Keep a shallow bucket and an old towel nearby, because the first gush can surprise you on a chilly morning. My knees have learned to appreciate a foam garden pad while I crouch over those muddy little valve pits.
Check your installation papers or the manufacturer website if you are unsure which drain style your system uses.
Knowing the setup now saves a lot of guessing when the forecast suddenly turns bitter next week.
3. Blow Out Sprinkler Lines With An Air Compressor
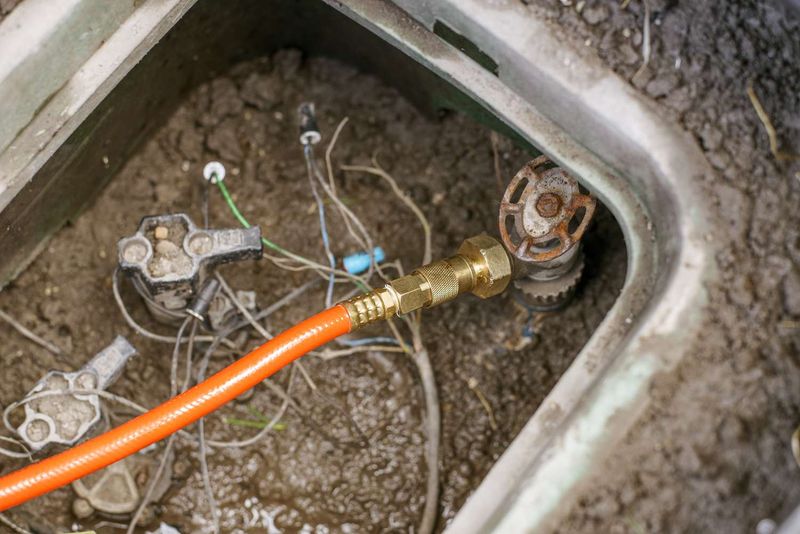
Nothing feels quite as satisfying as watching a sprinkler head sputter water and then finally puff out pale mist. Compressed air pushes water out of buried lines far more thoroughly than gravity can manage by itself.
Hook the compressor to the blowout port located after the backflow preventer, rather than through the device itself.
Air forced backward through a backflow preventer can damage its internal parts and lead to an expensive replacement.
Pressure matters a lot here, so check the guidance for your pipe type before you open the air valve.
Many experts suggest staying at or below about 50 PSI for flexible poly pipe, while rigid PVC can often handle somewhat more, up to about 80 PSI.
Run one zone at a time from the controller, starting with the zone farthest from the compressor hookup.
Stop once the heads release only mist, because spinning parts can overheat from friction when no water cools them.
Safety glasses belong on your face for every minute of this job, and nobody should stand over a sprinkler head. I keep curious pets and grandkids indoors, since a popping head can launch grit across the lawn.
Plenty of homeowners rent a large compressor, but a small pancake model often lacks enough air volume for big zones. Hiring a local irrigation company is a smart choice if your system covers a sprawling yard.
Once every zone runs clear, close the air supply and let the remaining pressure bleed out slowly through the heads.
Then disconnect the compressor hose and cap the blowout port before you head inside to warm up.
4. Wrap The Backflow Preventer In A Foam Insulation Cover
That odd brass contraption sticking out of the ground near your foundation protects your drinking water from yard runoff. A backflow preventer stops irrigation water from sliding backward into household pipes, which is why many towns require one.
Sadly, its above-ground position makes it one of the most freeze-prone parts of the whole system. Brass bodies can split with very little warning once trapped water expands inside on a frigid January night.
Start by closing its shutoff valves, then open the small test cocks with a flathead screwdriver to release water.
Many technicians leave the ball valve handles at roughly a 45-degree angle so water cannot hide inside them.
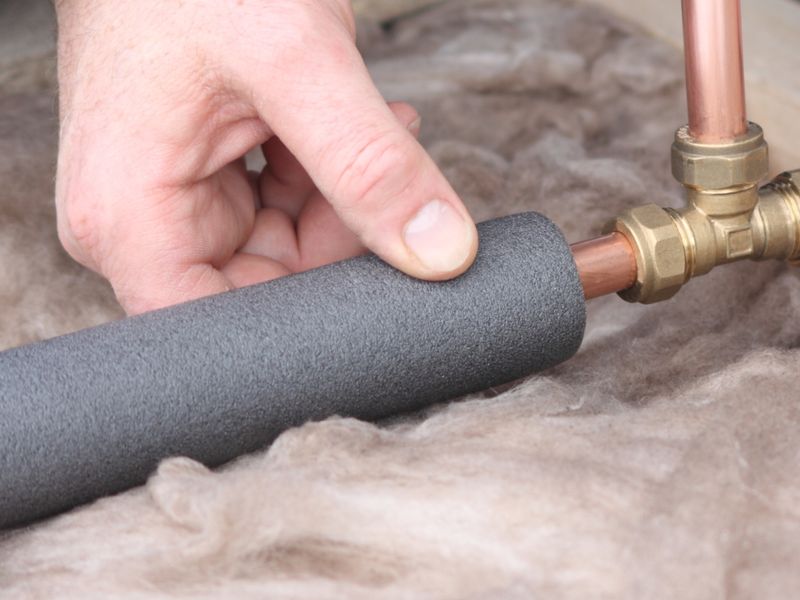
Next, wrap the device in foam pipe insulation or slip on an insulated pouch sold for backflow units.
Leave vents and drain openings uncovered, since blocking them can trap moisture right where you hoped to keep it out.
Some homeowners remove the backflow preventer for winter and store it in a heated basement until spring.
Personally, I prefer insulation because reinstalling the unit takes care, and loose fittings can leak once water returns.
Water suppliers in Pennsylvania often require yearly testing for these devices, so check with your local authority.
Scheduling that test for spring startup lets a certified tester confirm everything survived the cold months in good shape.
You might notice some covers resemble little puffy jackets, and honestly, they look rather charming beside the shrubs. Keep the wrap snug with zip ties or tape, so strong gusts cannot tug it loose during storms.
5. Switch The Sprinkler Timer Controller To Rain Mode
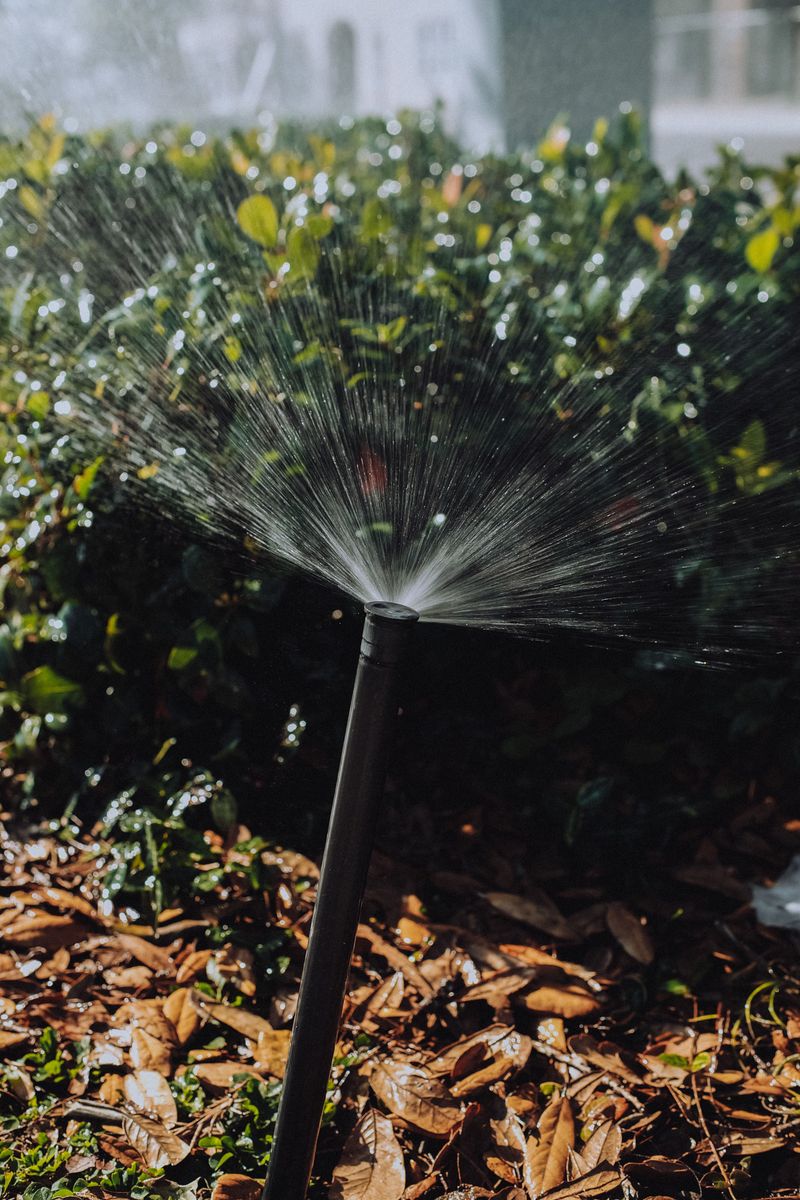
Your sprinkler timer has no idea that winter arrived, and it will happily try to water a frozen lawn. I can’t imagine a sillier sight than sprinkler heads trying to spray onto a crusty layer of frost.
Most modern controllers offer a rain or off setting that stops watering while keeping your programs safely stored.
Choosing that option means you skip the tedious job of rebuilding every zone schedule when warm days return.
Unplugging the controller is another choice, though some older models lose the clock and settings when power disappears. Check whether your unit has a backup battery before you pull the plug for the long cold season.
Systems with a pump need extra care, because a pump that starts without water can overheat quickly.
Some manufacturers suggest disconnecting the master valve and pump start wires so nothing triggers by accident over winter.
Smart Wi-Fi controllers usually include a seasonal shutdown or pause feature right inside the phone app. I like how a quick tap from the couch handles the job while snow piles up outside the window.
Simple hose-end timers deserve attention too, since their plastic bodies crack easily when leftover water freezes inside.
Unscrew them from the spigot and pull out the batteries before storing them on a dry garage shelf.
Rain sensors and soil moisture sensors can stay mounted, though a quick wipe keeps them clean for spring. Jot down any odd error codes now, because remembering them months later rarely works out well for me.
6. Insulate Exposed Pipes And Valve Boxes Around The Yard
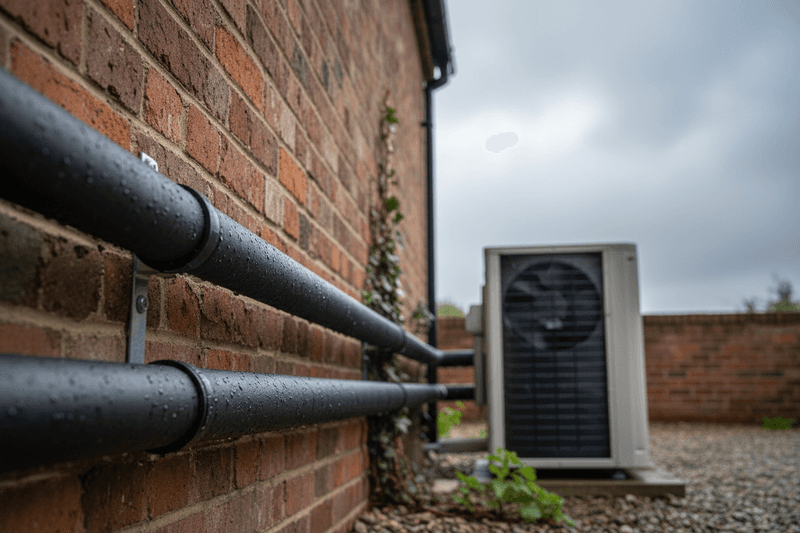
Bare pipes poking out of the ground near a house wall catch every icy breeze that rolls across the yard. Even after a careful blowout, a thin film of water can linger in fittings and elbows above the soil.
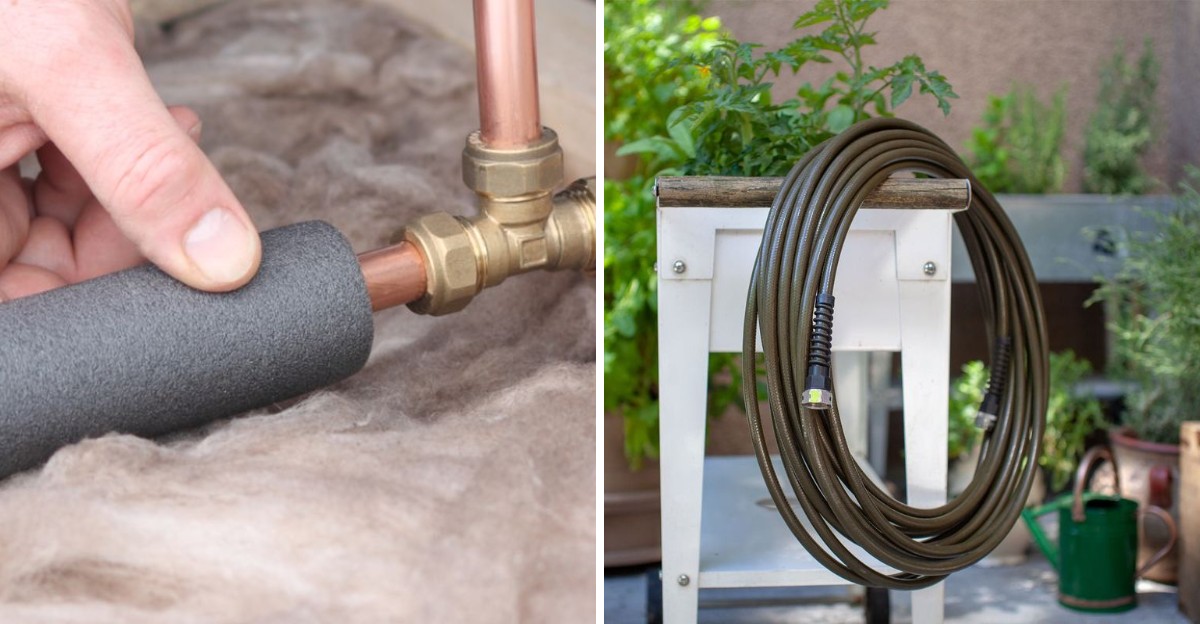
Foam pipe sleeves with a pre-cut slit slide on easily, and they cost very little at hardware stores. Seal the seams with insulation tape, paying extra attention to joints where cold air likes to sneak inside.
Valve boxes buried in the lawn hold the zone valves, and their lids offer surprisingly little protection from frost. Some gardeners tuck a foam pad or a layer of dry leaves inside the box before replacing the lid.
Watch for mice, though, because cozy valve boxes stuffed with soft material can turn into tiny winter apartments. Personally, I use rigid foam board cut to size, since rodents seem less eager to nest inside it.
Hose bibs on the side of the house benefit from snap-on foam covers that trap a bit of wall warmth. Frost-free spigots work best when the hose is removed, allowing water inside the stem to drain properly.
Pennsylvania winters bring repeated freeze and thaw cycles, so check your coverings after big storms or long cold stretches.
Heavy snow and gusty winds can shift insulation, leaving a small gap exactly where the cold hits hardest.
I keep a spare roll of foam tape in my shed, and quick repairs take only a minute or two. That tiny habit has saved me from more than one frustrating spring surprise near the back porch.
7. Drain And Coil Green Garden Hoses For Indoor Storage
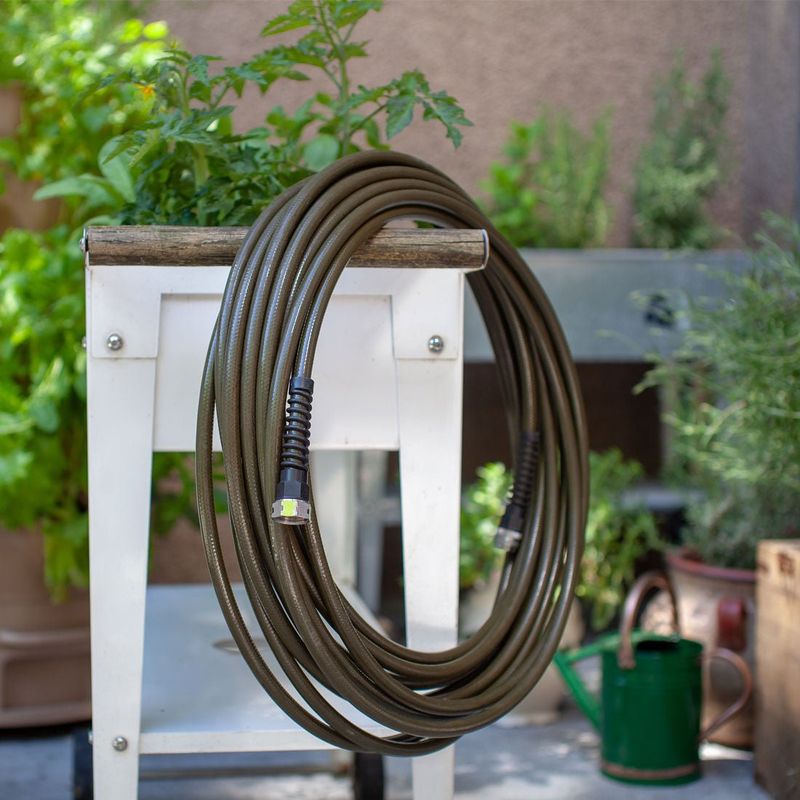
A garden hose left on the spigot can act like an ice plug, pushing frozen water back into the faucet. That backup can crack the pipe inside your wall, which is a far bigger mess than a split hose.
Disconnect every hose from outdoor spigots and stretch it across a sloped driveway so water runs out the low end.
I like to walk the hose hand over hand toward the bottom, squeezing the last stubborn trickle free.
Coil the empty hose loosely in large loops, since tight kinks can weaken rubber and vinyl walls over time. A hose reel or a wide bucket helps it keep a gentle shape through the long winter months.
Store hoses in a garage or shed where harsh sunlight and freezing wind cannot reach them all winter.
Rubber hoses especially appreciate a sheltered spot, and they often last many extra seasons with this small kindness.
Spray nozzles and quick-connect fittings deserve a spot indoors too, because water hides inside their small chambers. Personally, I toss mine into a labeled bin so I can find everything quickly when spring planting begins.
Pressure regulators and filters from drip lines can freeze as well, so unscrew them and empty them carefully.
Drip tubing can often stay in garden beds, though opening the end caps lets lingering water escape.
Finally, take a slow lap around the yard with a cup of cocoa and admire your tidy work. Your lawn may sleep under snow for months, but your sprinkler system will be ready when it wakes.