9 Things to Do in Your Virginia Garden Before Thanksgiving
Garlic cloves planted in autumn usually grow bigger heads than cloves planted in spring, and cold soil deserves the credit. Those chilly weeks trigger the bulb splitting that gives us plump, separate cloves at harvest time next summer.
Many spring bulbs share that same quirk, needing a long stretch of cold before they bloom with any real gusto. Virginia gardens usually supply that chill naturally between November and February, which feels like a free gift from nature.
Personally, I love how late fall feels quieter, with crunchy leaves underfoot and a cool breeze carrying woodsmoke. You might notice the soil still feels workable, even when your fingers beg for gloves and hot cocoa.
That soft window closes faster than most of us expect, especially once the holiday rush fills every weekend. So which jobs deserve your time before the turkey lands on the table in your Virginia home this year?
1. Tuck Tulip And Daffodil Bulbs Into Cool Soil
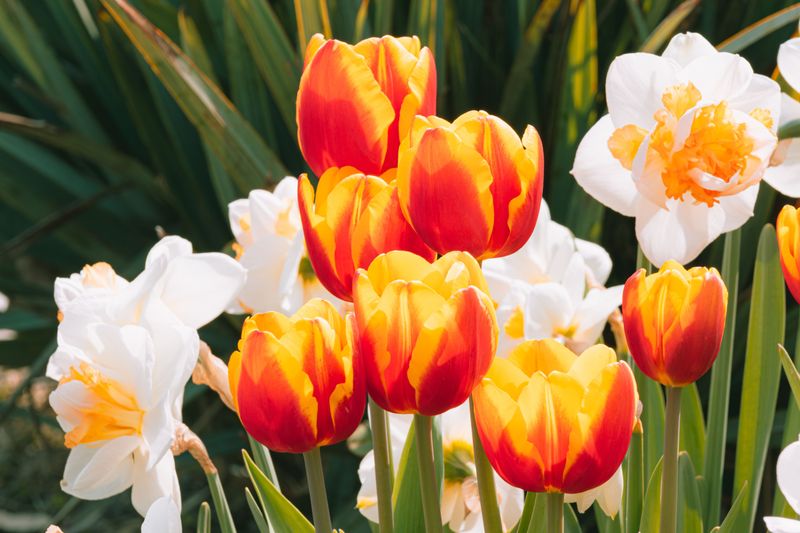
Few garden chores feel as hopeful as dropping a papery brown bulb into the ground and walking away. Those humble lumps hold next spring’s flowers already, folded up inside like a tiny packed suitcase waiting for travel.
Tulips and daffodils need a long chilly rest to bloom well, and late fall soil supplies it nicely. Most experts suggest planting once soil temperatures dip below about 60 degrees, which usually happens after the first light frosts.
I like to dig each hole about three times deeper than the bulb is tall, pointy end facing up. A little bone meal or bulb fertilizer in the hole helps roots settle in before the hard cold arrives.
Daffodils deserve extra love because deer and voles mostly leave them alone thanks to their bitter, toxic sap. Tulips, on the other hand, can look like a snack bar to hungry critters roaming your yard at night.
You can protect tulips by laying chicken wire over the planting bed or mixing sharp gravel into each hole. Some gardeners simply grow tulips in pots near the porch, where curious animals feel less comfortable poking around.
Planting in clusters of ten or more looks far more natural than spacing them in one stiff row. Bold drifts of yellow daffodils catch the eye from the street and lift your mood on gray March mornings.
After planting, water the bed well so the soil settles snugly around each bulb and roots start growing. Then cover the area with a light mulch layer and let winter handle the rest of the hard work.
2. Plant Garlic Cloves For A Summer Harvest
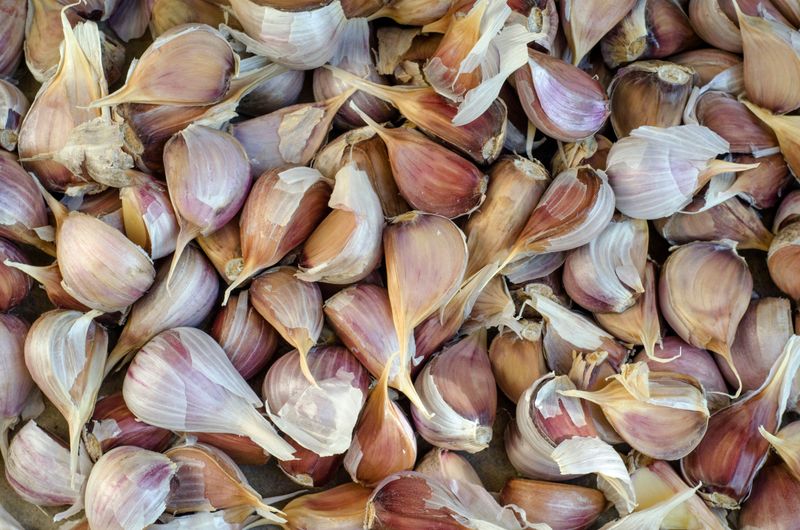
Garlic might be the easiest crop you plant all year, and it asks for almost nothing until next June. I have to admit there is a sneaky thrill in planting something now that you will harvest months later.
Virginia Cooperative Extension suggests planting garlic in the fall, roughly from mid October through November in most of the state. Cool soil encourages the cloves to grow roots right away while the green tops stay small and tough.
Buy seed garlic from a garden center or local farm rather than using grocery store bulbs from far away. Store garlic is sometimes treated to stop sprouting, and it may not suit our climate as well either.
Hardneck types like Music handle cold winters beautifully and send up curly flower stalks called scapes in late spring. Softneck varieties store longer in the pantry and often perform well in the milder southeastern corner of the region.
Break bulbs apart just before planting, and push each clove about two inches deep with the pointy end up. Space cloves roughly six inches apart in loose, well-drained soil that gets plenty of sunshine throughout the day.
After planting, spread several inches of clean straw over the bed to shield cloves from wild temperature swings. That straw blanket also blocks weeds, which matters because garlic struggles against pushy competition for nutrients.
Green shoots may poke through during warm winter spells, and that early growth is perfectly normal for garlic. Pull the straw back a bit in early spring, feed the plants, and watch those bulbs swell.
3. Pull Spent Tomato Vines From The Vegetable Bed
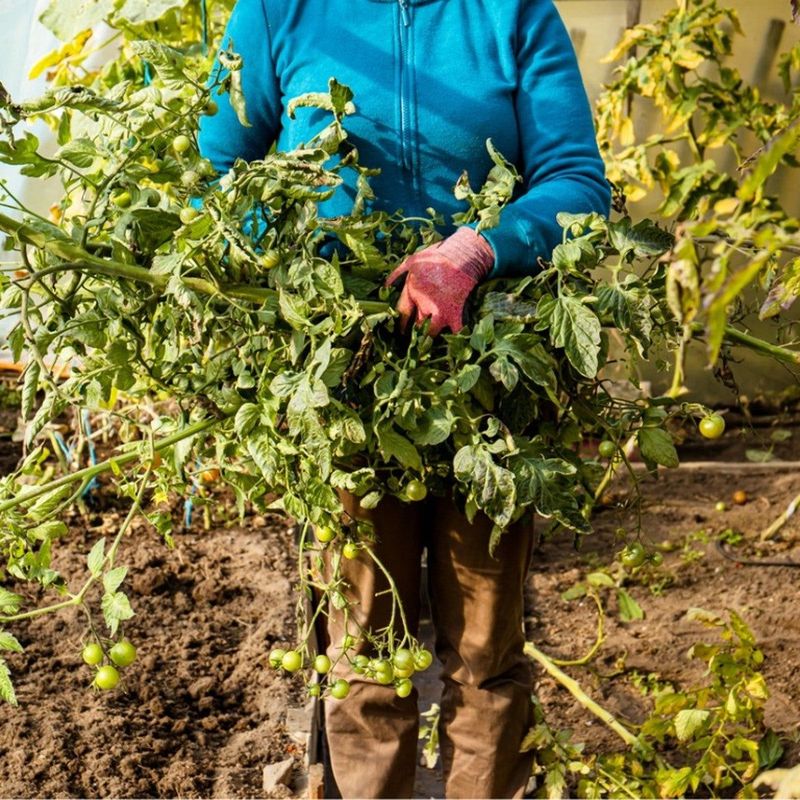
Those blackened tomato vines sagging on their cages are more than an eyesore at this point in the season. Fungal spores from diseases like early blight can rest on old leaves and stems, waiting quietly for next spring.
Pulling spent plants now removes hiding spots for pests that prefer spending winter tucked into garden debris. Squash vine borers and cucumber beetles are notorious for overwintering in or near the soil of last year’s beds.
Personally, I find this job oddly satisfying, like clearing dishes after a big family meal with plenty of leftovers. Grab gloves and a wheelbarrow, then work row by row until the bed looks tidy and ready for rest.
Healthy plant material can go straight into the compost pile, where it will break down over the winter months. Chop larger stems into smaller pieces first, since thick chunks take much longer to decay in a cool pile.
Diseased plants should be bagged and placed in the trash instead of the compost bin with your other scraps. Home piles rarely get hot enough to neutralize stubborn pathogens, so tossing sick foliage keeps problems from spreading.
Before you call it finished, dig up any lingering carrots or beets that are still hiding in the soil. Some hardy crops like kale and collards can stay put, since a light frost actually sweetens their leaves.
Jot down which crops grew in each bed this year so you can rotate families next season. Moving tomatoes to a fresh spot helps reduce disease pressure and gives tired soil a welcome break from them.
4. Sow Crimson Clover And Cereal Rye On Bare Beds
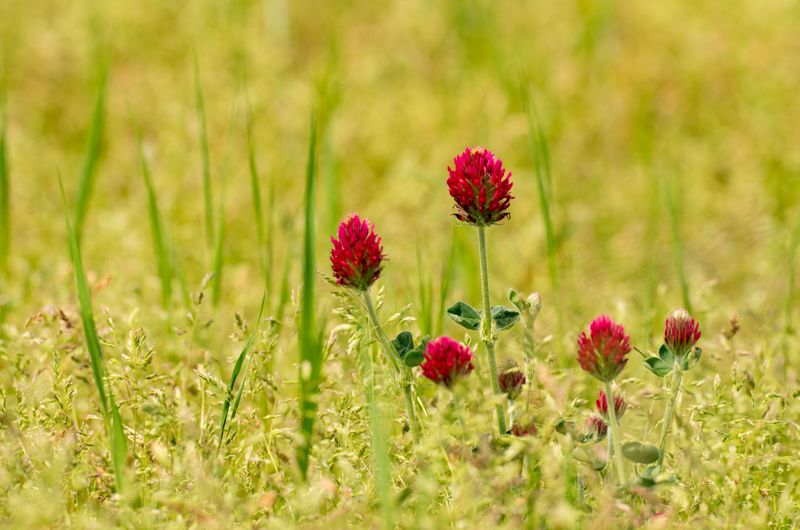
Bare soil over winter is a bit like leaving your front door wide open during a rainstorm. Heavy rains wash away precious topsoil, and empty beds invite tough winter weeds like henbit and chickweed to move in.
Cover crops solve that problem by growing roots that grip the soil and leaves that soften pounding raindrops. Many gardeners call them green manure because they feed the soil once you turn them under in spring.
Crimson clover is a favorite of mine, with fuzzy red blooms that bees adore when they open next April. As a legume, it pulls nitrogen from the air and stores it in its roots for future crops.
Timing matters, though, since clover establishes best when sown by early or mid October in much of the region. Late November sowings often fail to root deeply enough before the coldest weather settles over the garden beds.
Cereal rye is the late bloomer’s best friend, sprouting in cool soil when other cover crops hesitate. Its dense, fibrous roots hold soil firmly and help break up compacted clay, which many local gardens fight.
Simply rake the bed smooth, scatter seed by hand, and rake lightly again so the seeds touch soil. A gentle watering helps, though autumn rains usually take care of moisture without much extra effort from you.
Cut the cover crop down in early spring, a few weeks before planting, and let it break down. You will notice darker, crumblier soil after a few seasons, and earthworms seem to multiply in those beds.
5. Grab A Soil Sample For Testing
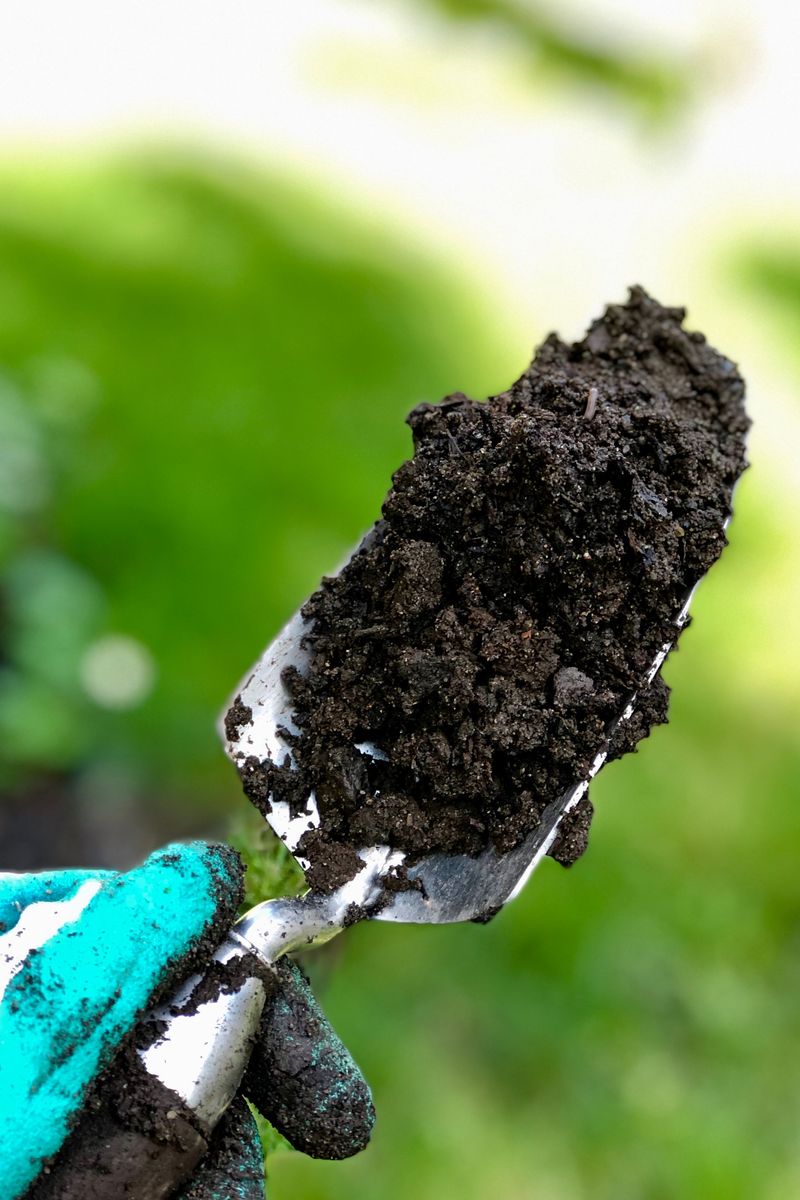
Guessing what your soil needs is a little like seasoning a stew without tasting it first. A soil test removes the guesswork and often saves money on fertilizer and lime you might not need.
Virginia Tech runs a soil testing lab, and local extension offices hand out sample boxes and instruction forms. Routine tests check pH along with key nutrients like phosphorus and potassium, giving you clear recommendations for each bed.
Fall is a smart time to test because labs are less busy than during the spring planting rush. Lime also reacts slowly, so adding it now gives it months to adjust pH before next year’s planting season.
Many soils across the region lean acidic, which explains why lime appears in so many local test results. Blueberries and azaleas prefer that acidity, though, so test their beds separately instead of mixing samples together.
Use a clean trowel or soil probe to collect small samples from about ten spots across one area. Dig down roughly six inches for gardens and four for lawns, then mix everything together in a clean plastic bucket.
Let the mixed soil air dry on newspaper before filling the sample box to the marked line. Avoid galvanized or brass tools, since they can add zinc or copper and skew your results in odd ways.
What surprises me most is how often tests reveal plenty of phosphorus already sitting in established home gardens. Knowing that keeps you from adding more, which protects nearby streams and the Chesapeake Bay from excess nutrients.
6. Give Evergreen Shrubs A Deep Drink
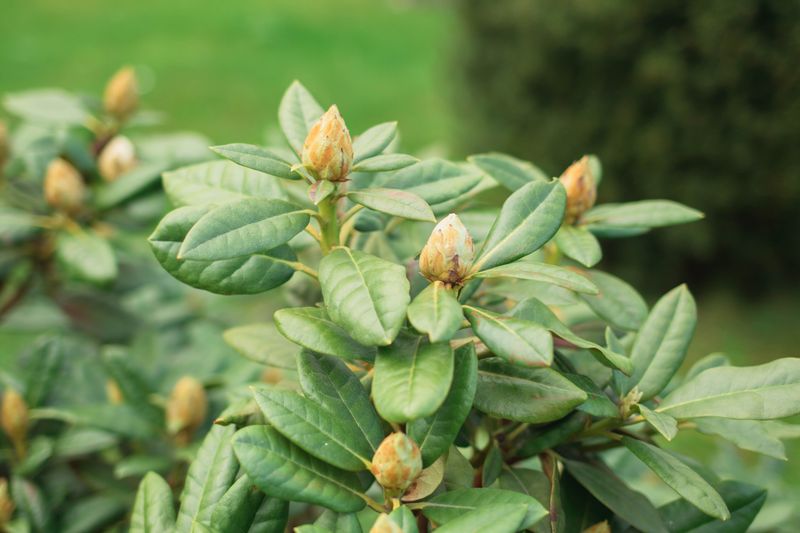
Hollies and boxwoods keep their leaves all winter, which means they keep losing moisture even on frosty days. Cold wind and bright sun pull water from those leaves while frozen ground makes refilling the tank much harder.
That combination causes winter burn, the crispy brown edges you sometimes spot on evergreens around late February. A deep watering session before the ground freezes helps plants head into winter with full, well-hydrated tissues.
Newly planted trees and shrubs need the most attention, since their roots have not spread far beyond the planting hole. Anything planted within the last year or two deserves a slow, thorough soak whenever fall rains come up short.
I like to lay a hose at the base and let it trickle gently for twenty or thirty minutes. Slow watering soaks deep into the root zone rather than running off across the surface and down the driveway.
Aim for about an inch of water each week, including rainfall, until the soil temperature drops near freezing. A simple rain gauge stuck in the lawn makes tracking that amount surprisingly easy and even a little fun.
Rhododendrons and young conifers benefit greatly from this extra care, especially when they sit in sunny, windy spots. A layer of mulch over the root zone holds that moisture in place and keeps soil from drying quickly.
Water during the warmer part of the day so moisture soaks in before nighttime temperatures dip below freezing. Your future self will thank you when those shrubs greet spring looking glossy and green instead of scorched.
7. Drain Garden Hoses And Outdoor Spigots
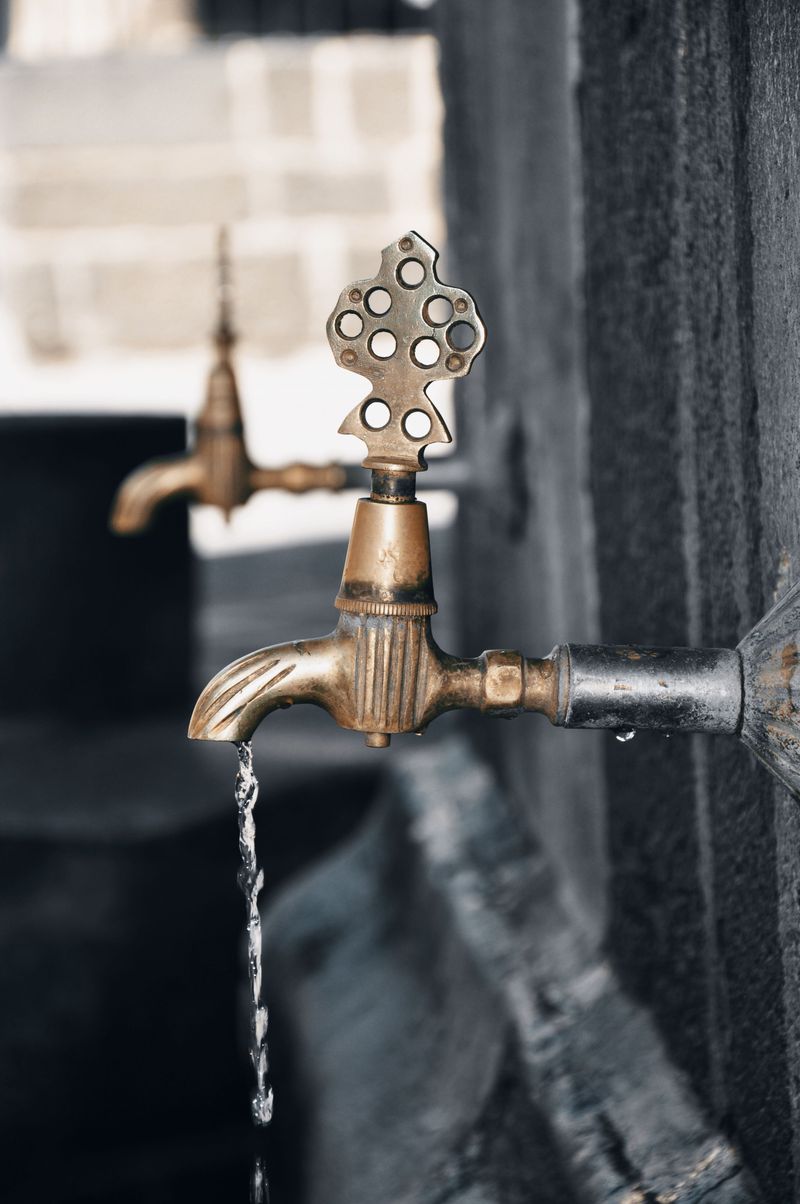
Water expands by roughly nine percent when it freezes, and that small change can split a hose wide open. I learned this lesson the hard way after finding a garden hose shaped like a frozen pretzel one January.
Overnight temperatures across much of the state often slip below freezing by late November, sometimes much earlier in the mountains. Getting hoses and spigots ready ahead of time spares you cracked fittings and soggy surprises when spring arrives.
Start by disconnecting every hose from outdoor faucets, since an attached hose traps water inside the spigot itself. Even frost-free faucets can freeze and burst when a hose stays connected through a hard cold snap.
Stretch each hose down a gentle slope, then walk it hand over hand to push the remaining water out. Coil it loosely and store it in a garage or shed where sunlight and freezing temperatures cannot reach it.
If your home has an indoor shutoff valve for outdoor faucets, close it and open the outside tap to drain. Leaving that outdoor tap open lets any trapped water expand safely instead of putting pressure on the pipes.
Insulated foam faucet covers cost very little at hardware stores and add another layer of protection on exposed walls. They slip over the spigot in seconds and work especially well on north-facing sides of the house.
Drip irrigation lines and soaker hoses need draining too, along with any timers or pressure regulators attached to them. Bring the timers indoors, since their plastic housings and electronics can crack when ice forms in tiny chambers.
8. Clean And Sharpen Pruners And Shovels
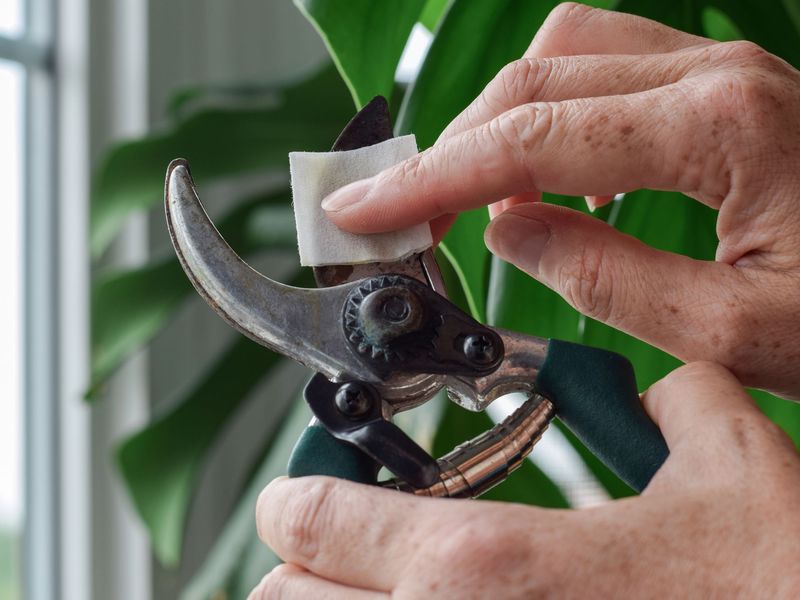
A trusty pair of pruners can last decades with care, and fall is the ideal time to show appreciation. Mine has trimmed more roses than I can count, so it gets a spa day before winter.
Begin by scraping caked mud from shovels and hoes with a stiff brush or a flat wooden paint stirrer. Dried soil holds moisture against metal, and that moisture encourages rust to creep along blades over the winter.
Wipe pruner and lopper blades with a household disinfectant to remove sap and any disease organisms clinging to them. This step matters most if you cut diseased branches this year, since spores can hitch a ride on dirty tools.
A small sharpening file or whetstone restores a clean edge, and clean cuts heal faster than ragged, crushed ones. Follow the original bevel angle with smooth strokes, working in one direction instead of sawing back and forth.
Rub a light coat of oil over metal parts to create a barrier that keeps moisture away from steel. Some gardeners keep a bucket of sand mixed with oil and plunge shovels in a few times after cleaning.
Wooden handles appreciate attention too, especially if they feel rough or show tiny cracks along the grain. Sand away splinters, then rub in boiled linseed oil and let it soak overnight before storing the tools.
Hang tools on a wall rack in a dry shed or garage, keeping them off damp concrete floors. You will be glad come March, when your gear is sharp, clean, and ready for the first spring chores.
9. Move Potted Rosemary And Tender Plants To Shelter
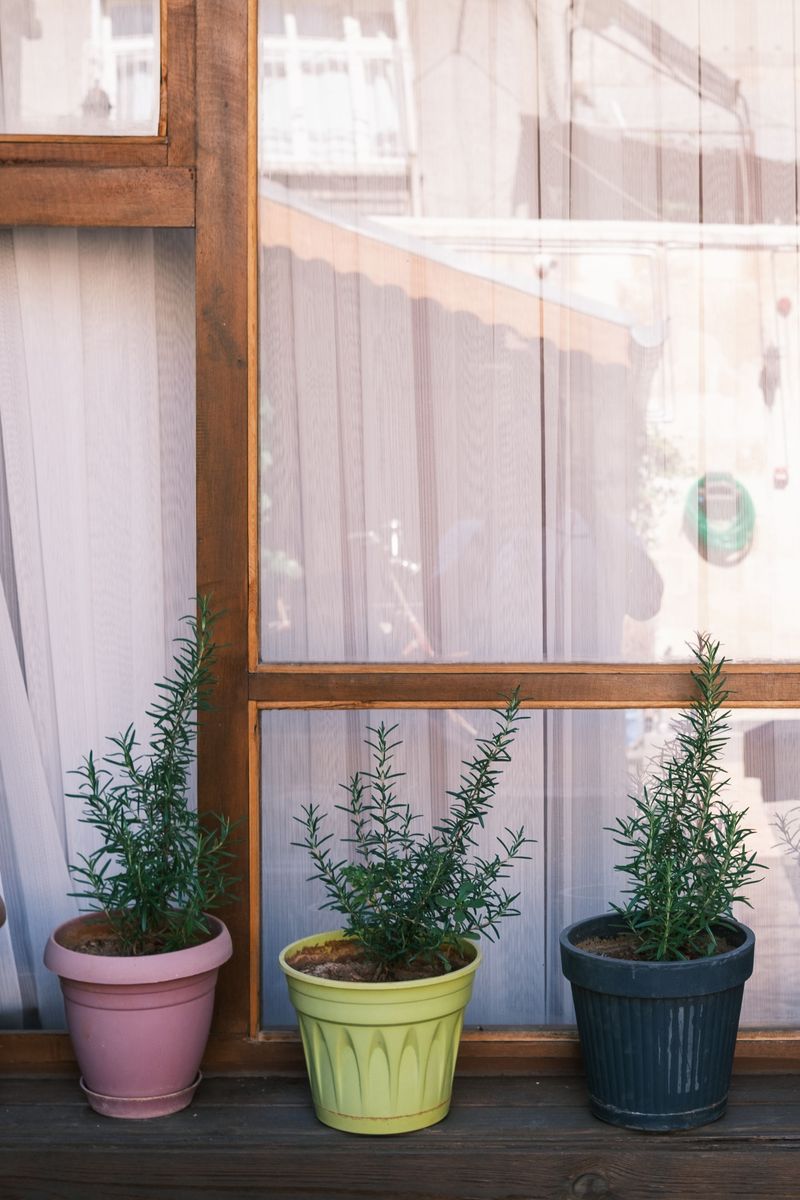
Rosemary often survives winter outdoors in much of Virginia, but potted plants face a tougher challenge than garden ones. Roots in containers sit exposed to cold air on every side, while roots in the ground stay much warmer.
Hardier rosemary varieties like Arp and Hill Hardy tolerate colder temperatures than many common types sold at stores. Even so, a sheltered spot near the house helps potted rosemary handle icy winds and sudden temperature drops.
Tender favorites like geraniums and tropical hibiscus need a trip indoors before the first hard freeze arrives each year. I like to check plants for aphids and other hitchhikers before carrying them inside to a sunny window.
Hosing down leaves and inspecting the undersides helps keep pests from spreading to your houseplants over the winter. A few days in a shady spot outside first can ease the shock of moving into lower indoor light.
Hardy perennials in pots can stay outdoors, but grouping them together against a wall offers extra warmth. Some gardeners wrap containers in burlap or bubble wrap, which adds insulation without blocking air from reaching the foliage.
Terra cotta and thin ceramic pots may crack when wet soil freezes, so empty or store them before winter. Sturdy plastic or thick resin containers usually handle cold weather better and can stay outside without much worry.
Remember that potted plants still need occasional water in winter, especially during dry spells with chilly winds. A quick check every couple of weeks keeps roots from drying out while plants rest through the shortest days.