The Old Paper Bag Trick Indiana Gardeners Use to Keep Geraniums Through Winter
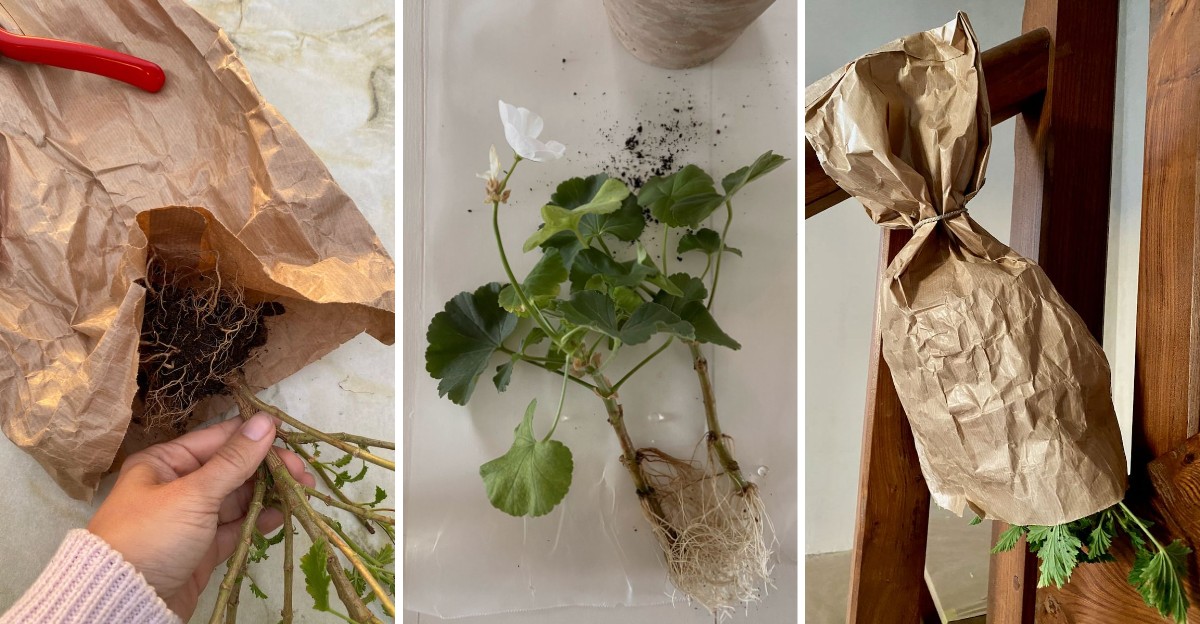
A grocery sack in a cold basement can hold a plant with no soil, no pot, and no light for five months. When spring comes, that same leafless bundle can push out fresh green shoots.
I’ll be honest, the first time I heard this, I laughed. It sounded like something a great-aunt made up to save a few dollars. Then I learned that Purdue Extension describes a similar bare-root storage method.
Here in Indiana, our winters are too cold for these sunny porch favorites to stay outside. Most of us toss them on the compost pile each October and buy new ones in May. That habit adds up fast at the garden center.
Call me stubborn, but I hate paying twice for the same red blooms. So what does it take to tuck a summer plant into a paper bag and wake it up again come spring?
That Brown Paper Bag In Your Basement Holds A Sleeping Geranium
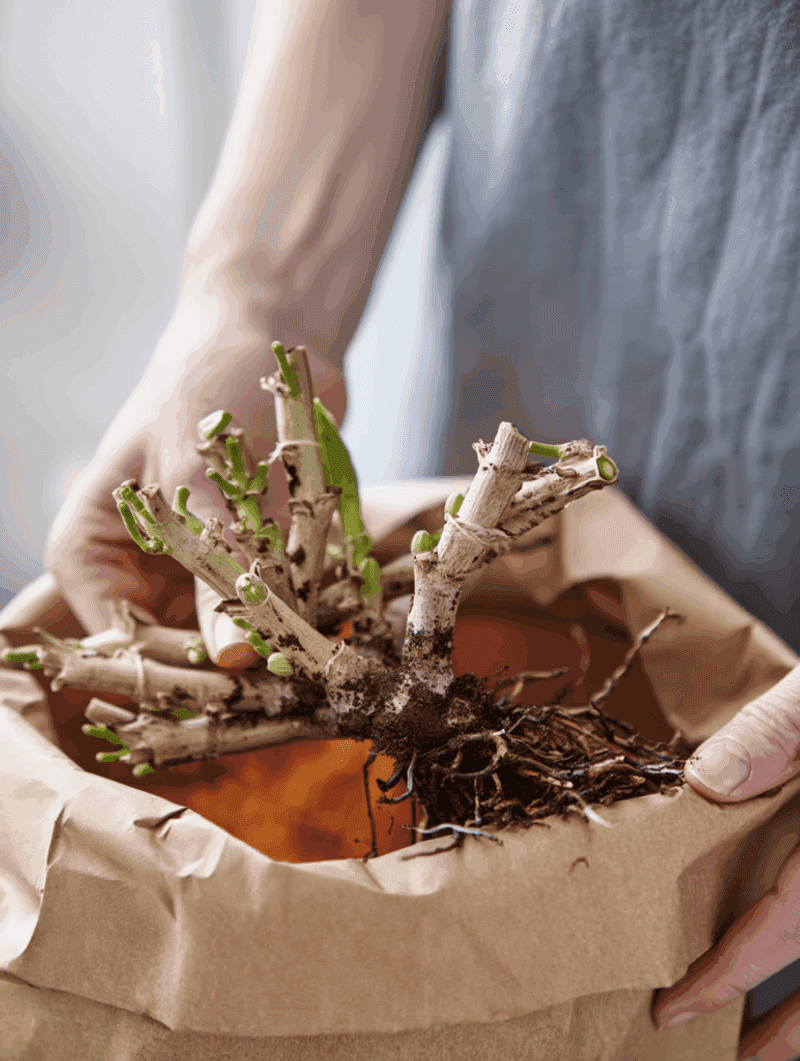
Grandma’s basement hid a strange secret every winter. Tucked behind the canning jars sat a row of folded brown bags, each one holding a leafless geranium. Nobody thought twice about it, because it worked year after year.
The trick is simple. You dig up the plant before a hard frost, shake off the soil, and store it bare-root in a paper bag somewhere cool and dark. The plant slips into dormancy and lives off the energy stored in its thick stems.
Iowa State Extension describes this paper-sack method for gardeners in cold states, and Purdue Extension describes similar cool, dark bare-root storage. It fits Indiana well, since our winters regularly drop far below what these plants can handle outdoors.
Paper matters here. Unlike plastic, it lets moisture escape, so the stems stay dry and mold has a harder time getting started. A folded top keeps out light while still letting the bag breathe.
I love how low-tech it is. No grow lights, no daily watering, and no crowded windowsills full of leggy plants. You just need a few sturdy bags, a cool spot, and a little patience.
Come spring, those dry-looking stems can wake up and grow again. That surprise still makes me grin.
Those Porch Geraniums Are Actually Pelargoniums From South Africa
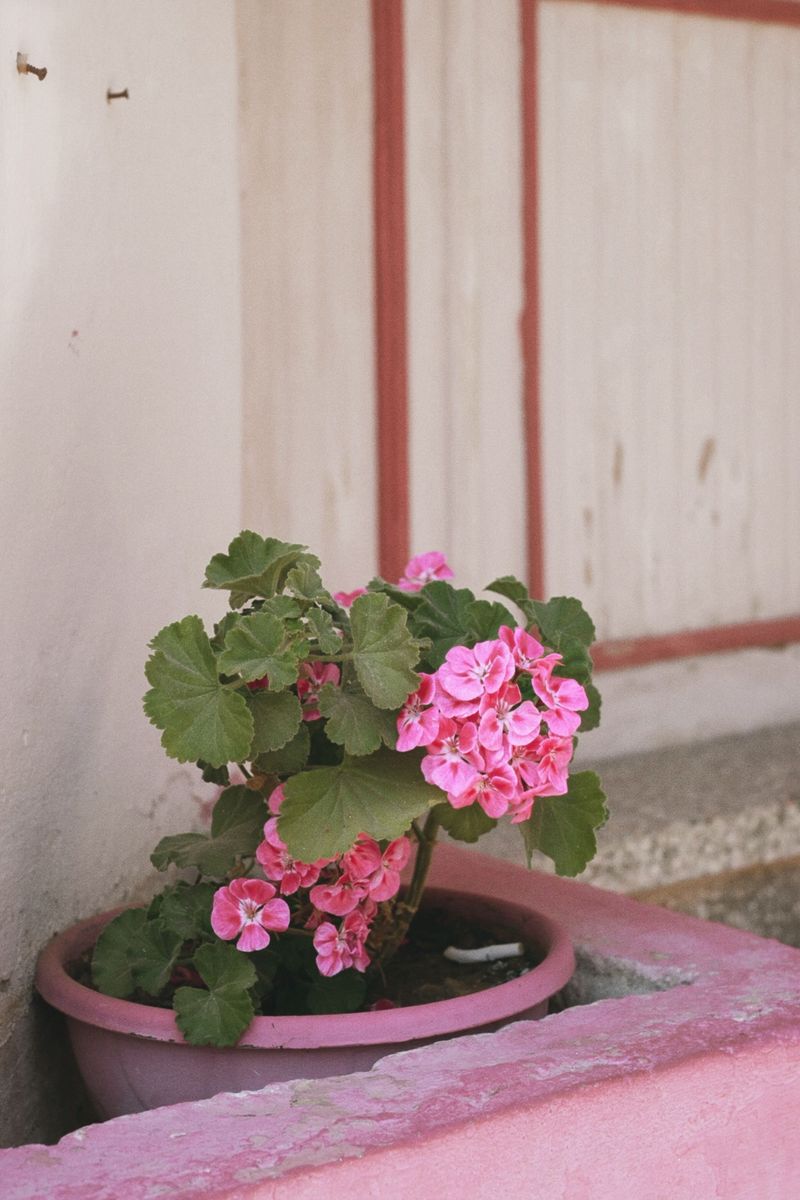
Here’s a fun bit of plant trivia to share at your next garden club meeting. The bright red geraniums on most porches are not true geraniums at all. They belong to a group called Pelargonium, and many of their wild relatives come from southern Africa.
That warm-climate background explains a lot. Pelargoniums are tender perennials, which means they can keep growing for years, but they cannot handle freezing weather. One hard frost turns their leaves to mush.
True geraniums are a different story. These are often called cranesbills, and many types are hardy perennials that come back on their own in Midwest gardens. You can leave those in the ground all winter with no fuss.
So the paper bag trick is meant for the pelargonium kind. Think zonal geraniums with ball-shaped flower clusters, ivy geraniums that trail from hanging baskets, and scented-leaf types.
Not sure which one you have? Check the flowers and leaves. Pelargoniums usually have thick, fuzzy, or fragrant leaves and big rounded flower heads.
Cranesbills tend to have smaller, cup-shaped blooms and finely cut leaves. Knowing the difference saves you from digging up a plant that was fine right where it was.
Dig Up Your Geraniums Before The First Hard Frost Arrives
Timing is the part most people get wrong. I once waited one weekend too long, and a sudden cold snap turned my favorite coral geraniums into soggy stems overnight.
Plan to lift your plants before the first hard frost. In much of Indiana, that often lands from early to late October, with northern counties usually getting cold sooner than the southern part of the state. Keep an eye on your local forecast as fall nights start dipping.
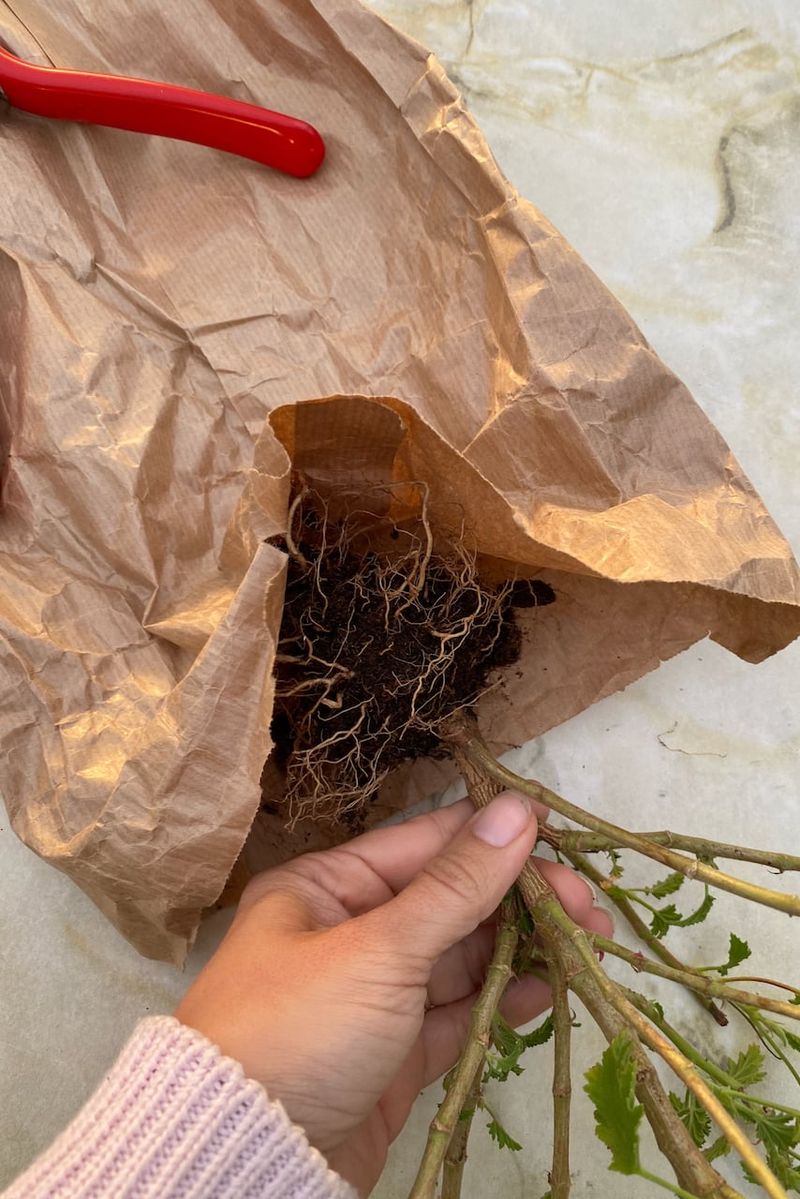
Pick a dry day if you can. Loosen the soil around each plant with a garden fork or trowel, then lift it out with the root ball mostly in one piece. Potted geraniums can simply be tipped out of their containers.
Gently shake off as much soil as possible. A few light taps against your boot usually do the job. Leftover dirt holds moisture, and moisture is the enemy in storage.
Choose only your strongest plants for this project. Healthy, thick stems carry more stored energy, which gives them a better shot at making it through months in the dark.
If you have more plants than space, save your favorite colors first. Fresh ones are easy to buy, but a special variety can be hard to find again.
Check Geranium Stems And Roots For Pests And Rot First
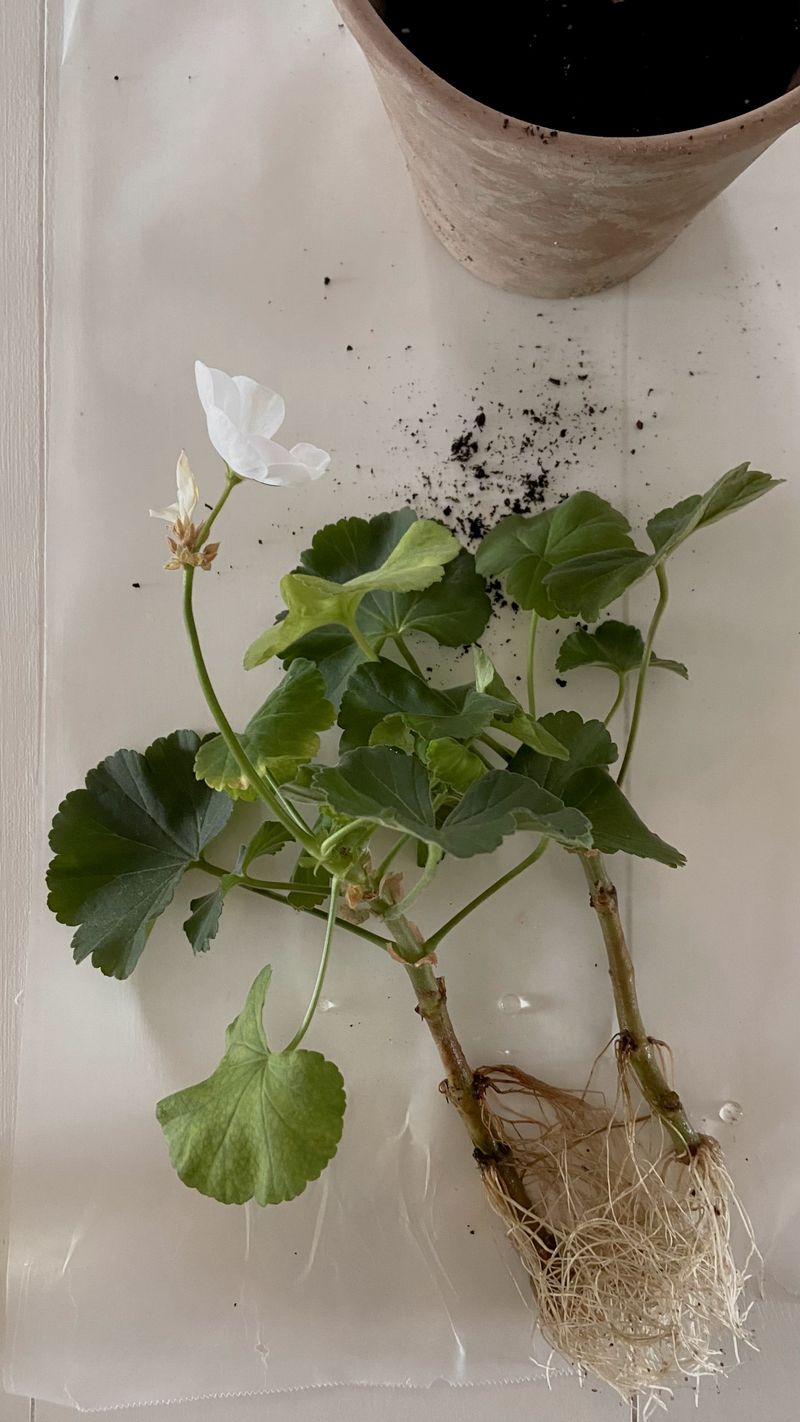
Think of this step as a quick health checkup. One sick plant in a bag can turn into a moldy mess, and nobody wants that surprise in February.
Look over every stem and root carefully. Soft, black, or mushy spots are a warning sign of rot, so those plants should go to the compost pile. Firm, light-colored stems are what you want to see.
Flip the leaves over too. Whiteflies, aphids, and spider mites love to hide on the undersides, and they can hitch a ride indoors. A gentle spray of water can knock off light infestations before storage.
Leaf spots and fuzzy gray growth deserve extra attention. Gray fuzz often points to botrytis, a common fungus on geraniums in damp weather. Plants with heavy signs of it are better left behind.
I’m the first to admit it feels hard to toss a plant. Still, saving three healthy geraniums beats losing six because one carried trouble into the bag.
Snip off any flowers and buds while you’re at it. They hold moisture and tend to rot during storage. A clean, simple plant has the best chance of resting quietly until spring.
Let Bare-Root Geraniums Air Dry In The Shade For A Few Days
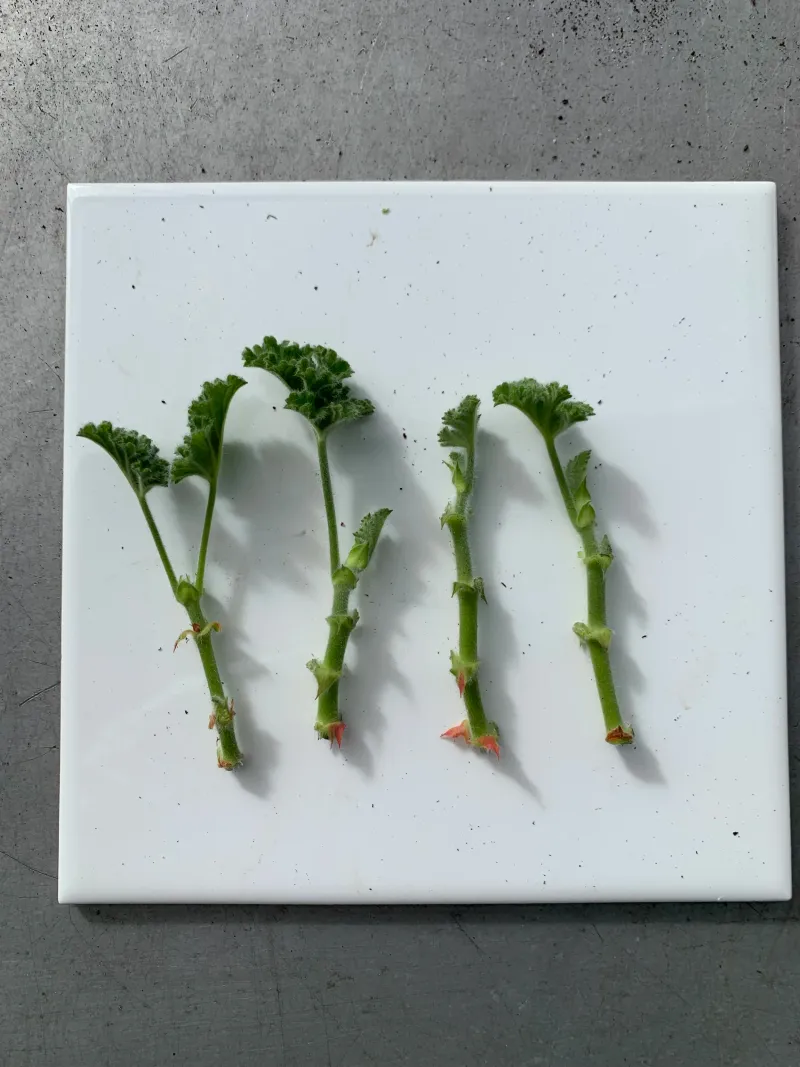
Patience pays off right here. Freshly dug geraniums still hold plenty of water in their roots and leaves, and bagging them too soon invites mold.
Spread your plants out in a shady, dry spot for a few days. A garage floor lined with newspaper, a covered porch, or a garden shed works nicely. Keep them out of direct sun so the stems don’t scorch.
Give each plant some breathing room. Crowding them together traps humidity, and that defeats the whole purpose of this step. A little airflow from an open door helps a lot.
You’ll notice the roots start to feel papery and the soil bits dry out. The leaves may droop, and that’s fine. Your goal is a plant that feels dry on the outside but still has firm, sturdy stems.
Watch the weather during this time. If a freezing night is coming, bring the plants somewhere a bit warmer, like a mudroom or basement. Frost can still harm them at this stage.
Once they feel dry to the touch, shake off any remaining dirt one last time. Now they’re ready for their winter nap in the bag.
A Cool Basement Or Garage Keeps Bagged Geraniums Happy
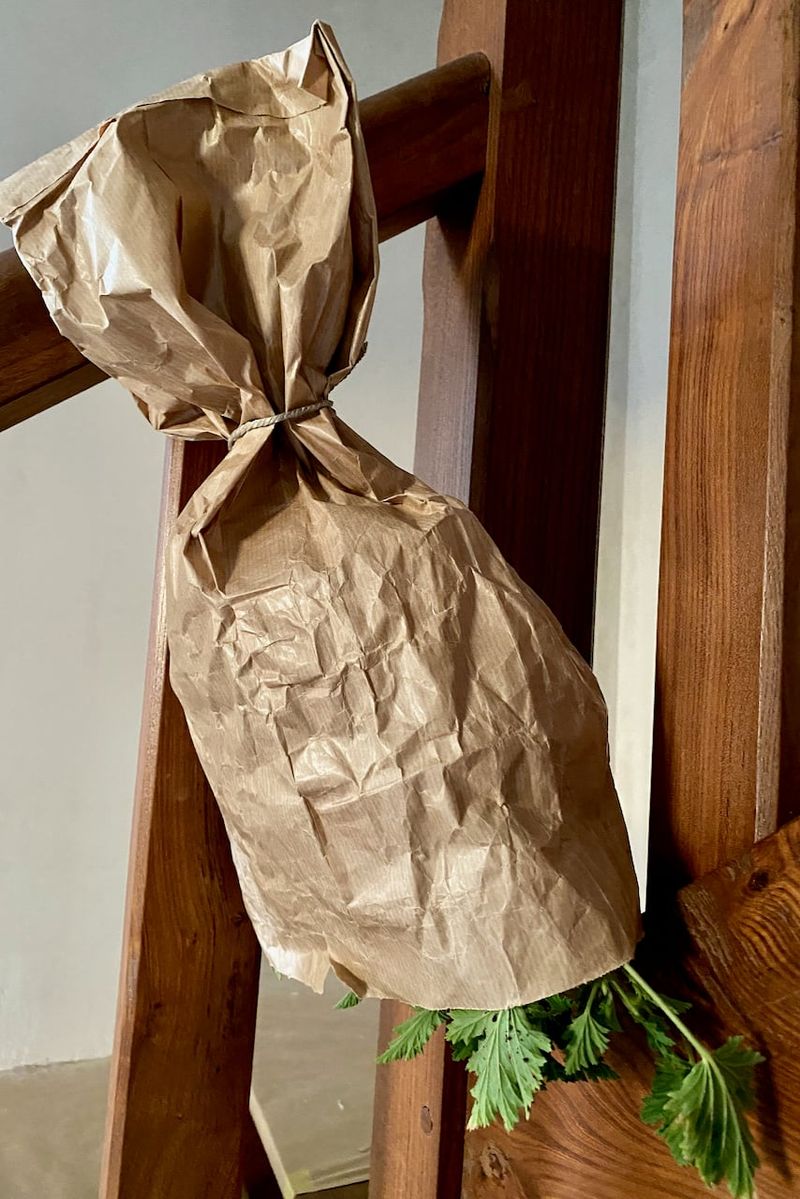
Bagging geraniums takes about two minutes. Place one or two plants in a large paper grocery bag, roots down, and loosely fold the top over. Skip the tape so a little air can still move.
Where you put the bag matters just as much. Aim for a dark spot that stays between roughly 40 and 55 degrees Fahrenheit. That range keeps the plants resting without letting them freeze.
A cool basement is often the best choice in Indiana homes. Unheated garages can work too, but only if they stay above freezing during cold snaps. An enclosed porch or root cellar might also fit the bill.
A cheap thermometer is worth every penny here. I keep one on the shelf next to my bags, and it has warned me more than once when a corner got too chilly.
Too warm creates a different problem. Plants stored near a furnace may sprout pale, weak shoots long before spring.
Fair warning for pet owners too. Pelargoniums are listed by the ASPCA as toxic to dogs, cats, and horses. Set your bags on a high shelf where curious noses can’t reach them.
Soaking Geranium Roots Once A Month Can Prevent Shriveling
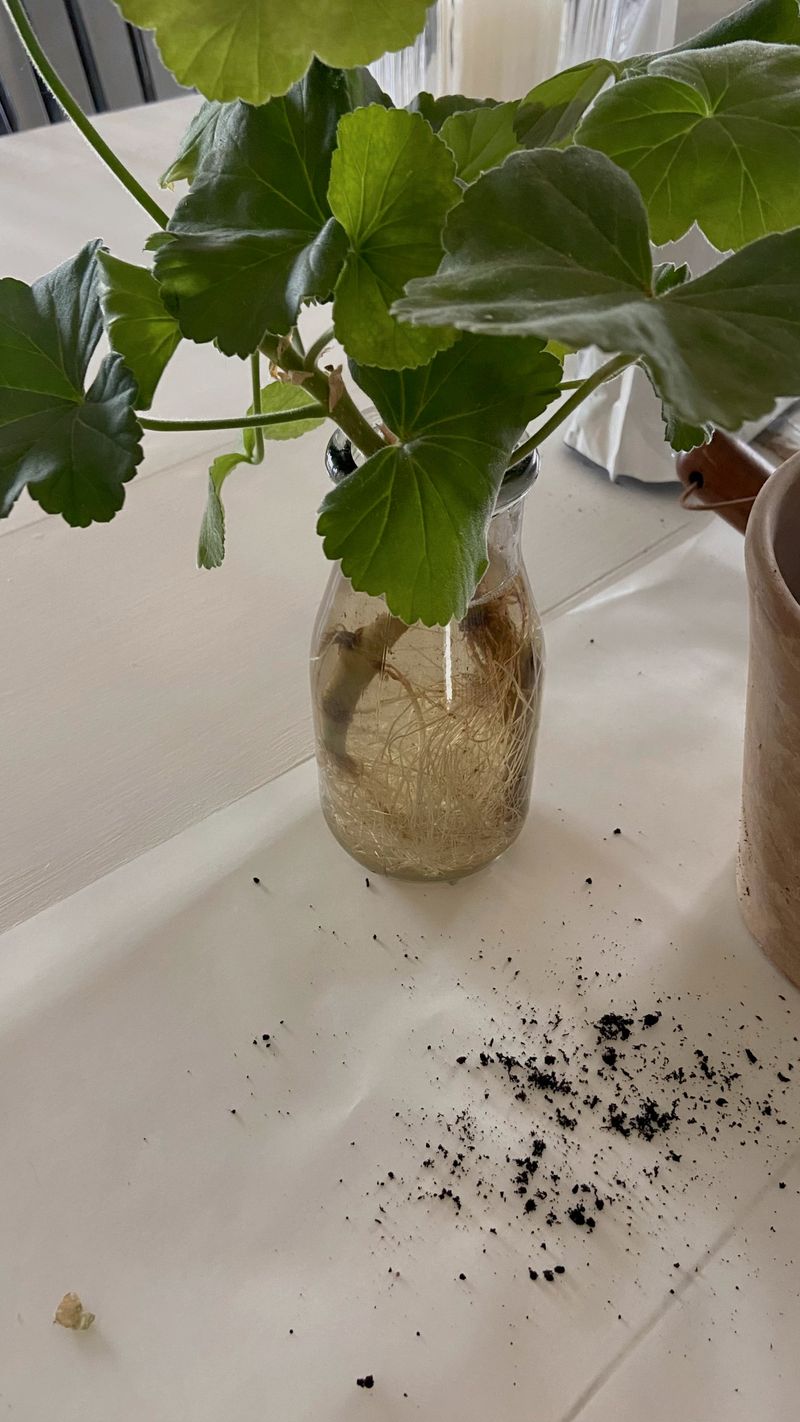
Don’t panic when you peek in the bag after a few weeks. Most of the leaves will turn yellow, dry out, and drop off. That’s a normal part of dormancy, not a sign of trouble.
The stems are what you should check. Firm, solid stems mean the plant is resting well. Badly wrinkled or hollow-feeling stems suggest the plant is losing too much moisture.
Iowa State Extension suggests a simple fix. About once a month, take the plants out and soak their roots in water for one to two hours. Then let them air dry before tucking them back into their bags.
Some gardeners skip this step altogether and still have success. Results can depend on how dry your storage area is. A dry, furnace-warmed basement may call for monthly soaks, while a damp cellar may need none.
I mark the first of each month on my calendar as soak day. It takes only a few minutes and gives me a quick chance to spot problems.
Toss any stems that turn black or mushy. Removing a troubled plant early protects the others sharing that cozy corner of your basement.
Wake Up Your Geraniums In March With Pruning And Fresh Potting Mix
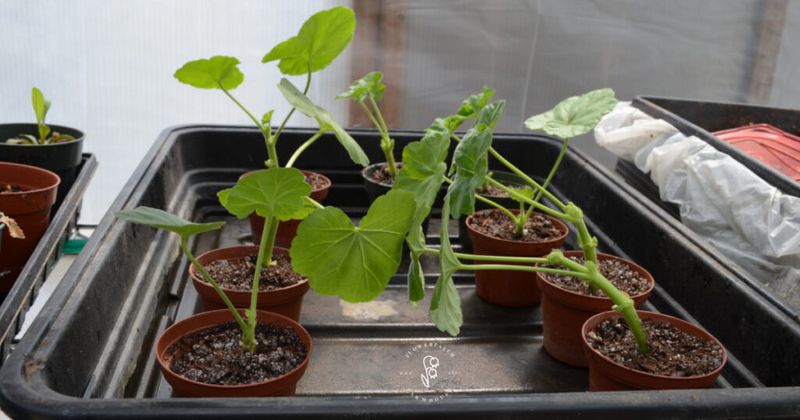
March is my favorite moment in this whole process. Pulling those dry bundles out of their bags feels a bit like opening a time capsule.
Start by pruning. Cut each stem back until you see firm, green tissue inside, and remove anything shriveled or brown. Plants may look like bare sticks afterward, but that’s expected.
Next, pot them up in containers filled with fresh potting mix. Water thoroughly, then let the soil dry slightly between waterings. Soggy soil can cause rot just as fast as a damp storage bag.
Place the pots in your brightest, sunniest window or under grow lights. Within a few weeks, small green buds often pop out along the stems. That first sign of growth never gets old.
Hold off on moving them outdoors until frost danger passes. In Indiana, that’s usually around early to mid-May, a bit later up north. Harden them off first by setting them outside for a few hours each day over about a week.
The payoff is real. You save money, keep favorite colors, and start the season with bigger plants than most nursery packs. Not bad for a grocery bag.