9 Steps New York Gardeners Take to Bring Faded Mums Back Bushier Next Fall

Those scraggly brown stems on your porch flowers are secretly doing a winter job most of us overlook. Research from the University of Minnesota found that unpruned plants often survived cold winters better than trimmed ones.
I have to admit that I used to toss my faded autumn pots straight into the compost bin. Across New York, plenty of gardeners do the same thing every November without realizing what they are losing.
Your tired plants can actually return next year with more stems and far more buds than before. You mostly need good timing and a few simple habits that reward you when cooler weather arrives again.
What surprises me most is how much of the real work happens months before a single flower opens. So, are you ready to discover which small, easy steps make the biggest difference by next October?
1. Leave Faded Mum Stems Standing Through Winter

Those crunchy brown stems look messy, but they act like a tiny snow fence around the sleeping crown. I love how something so scruffy can quietly hold insulating leaves and snow right where the roots need them.
Garden mums, known botanically as Chrysanthemum morifolium, form new shoots at the base for next year’s growth. Those shallow buds sit near the soil surface, which makes them more exposed to bitter cold than deeper roots.
Minnesota research showed that mums left unpruned through winter survived at higher rates than plants cut to the ground. Many extension services now suggest waiting until spring before you trim the old stems away from the crown.
You might notice the stems flopping a bit after heavy snow, and that is perfectly fine for the plant. Bent stems still trap fallen leaves, creating a loose blanket that softens sudden swings between freezing and thawing.
If the brown look bothers you, trim only the top few inches while leaving most of each stem in place. Clean pruners matter here, because ragged cuts can invite fungal trouble during wet late fall weather.
Personally, I tuck a small plant marker beside each clump so I remember where the crowns rest under snow. That little label saves me from stepping on hidden shoots when the first warm days of spring arrive.
Patience pays off with this step more than any other on the list for northern gardens. Those untidy stems are a gift to your future fall display, so let them stand until spring cleanup.
2. Spread Straw Mulch Around Mums After The Ground Freezes

A fluffy pile of golden straw might be the coziest winter coat your mums will wear all year. I have to admit, it feels a bit silly tucking plants in, but the roots truly appreciate it.
Timing matters more than most people expect, so wait until the top inch of soil freezes before mulching. Mulching too early can keep the ground warm, which invites mice to nest right beside tender crowns.
In much of upstate New York, that freeze usually arrives sometime between late November and mid December. Long Island and New York City gardens often freeze later, so watch your own soil rather than the calendar.
Spread four to six inches of clean straw or shredded leaves loosely around and over each plant crown. Whole maple leaves can mat down into a soggy layer, so run them over with a mower first.
The goal is steady cold rather than real warmth, since repeated thawing can heave shallow roots from the soil. Frost heaving lifts crowns upward, leaving them exposed to drying winds that sweep across bare gardens in February.
Windy yards may need a few evergreen boughs laid on top to keep the mulch from blowing away. Old holiday tree branches work nicely for this, and they give your winter beds a cheerful touch.
Pull the mulch back gradually in early spring once new growth starts showing at the base of the plant. Leaving it too long can trap moisture against the crown and slow those fresh shoots down.
3. Move Potted Mums Into A Cool Unheated Garage
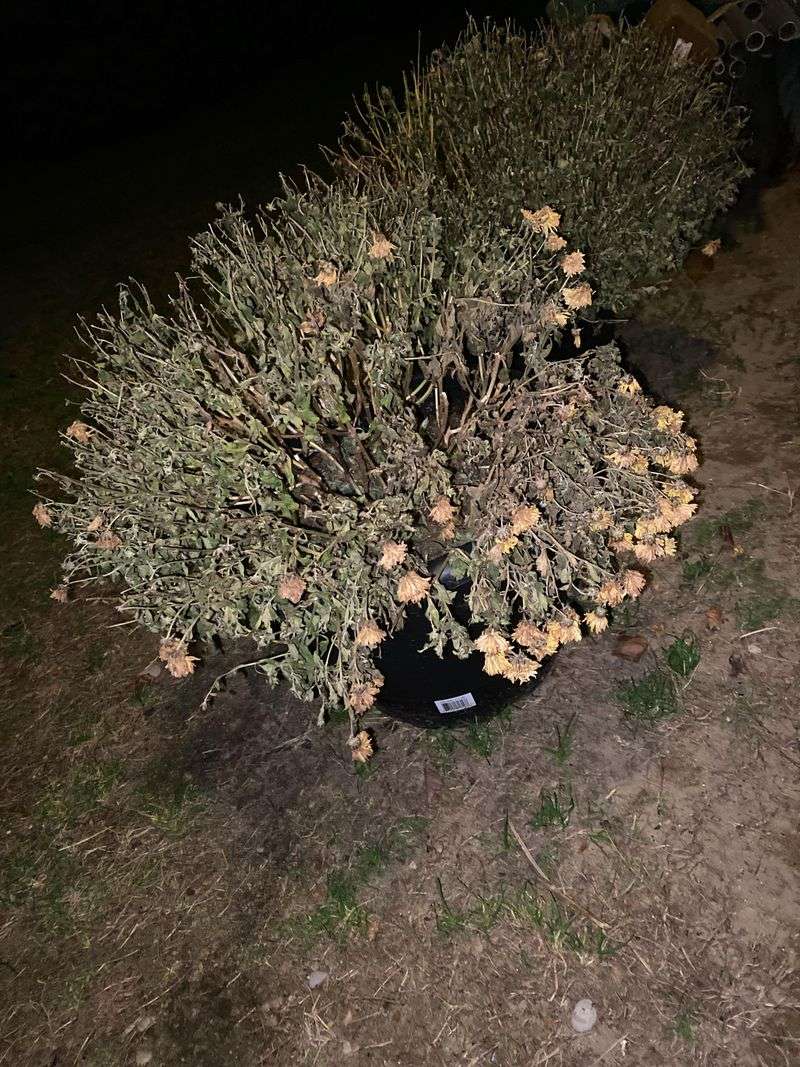
Containers turn into ice cubes fast, and roots in a pot feel the cold far more than roots in soil. Personally, I think the unheated garage is the unsung hero of keeping potted mums around for another year.
Plant roots are much less cold hardy than stems, so a pot sitting on a porch offers little protection. Ground soil holds warmth and buffers temperature swings, while thin pot walls let freezing air reach roots quickly.
After the blooms fade and frost blackens the leaves, trim the stems down to roughly four to six inches. Then slide the pot into an unheated garage or cool basement that stays chilly without dropping far below freezing.
Temperatures between roughly 32 and 50 degrees Fahrenheit keep the plant resting quietly without encouraging weak, pale new growth. Bright warm rooms tend to wake the plant too early, and those shoots usually stretch thin and floppy.
Check the soil every few weeks and give a small drink whenever the mix feels dry an inch down. Soggy pots are a bigger problem than dry ones in winter, so err on the side of less water.
Another option is sinking the whole pot into a garden bed and mulching over it like an in-ground plant. You can also pop the plant out of its plastic pot and replant it into the soil in early fall.
Once spring frosts ease up, move the container outside to a shady spot for about a week first. Slowly shifting it into more sun helps the leaves adjust without scorching, and soon the plant takes off again.
4. Clear Old Mum Stems When Green Shoots Appear In Spring
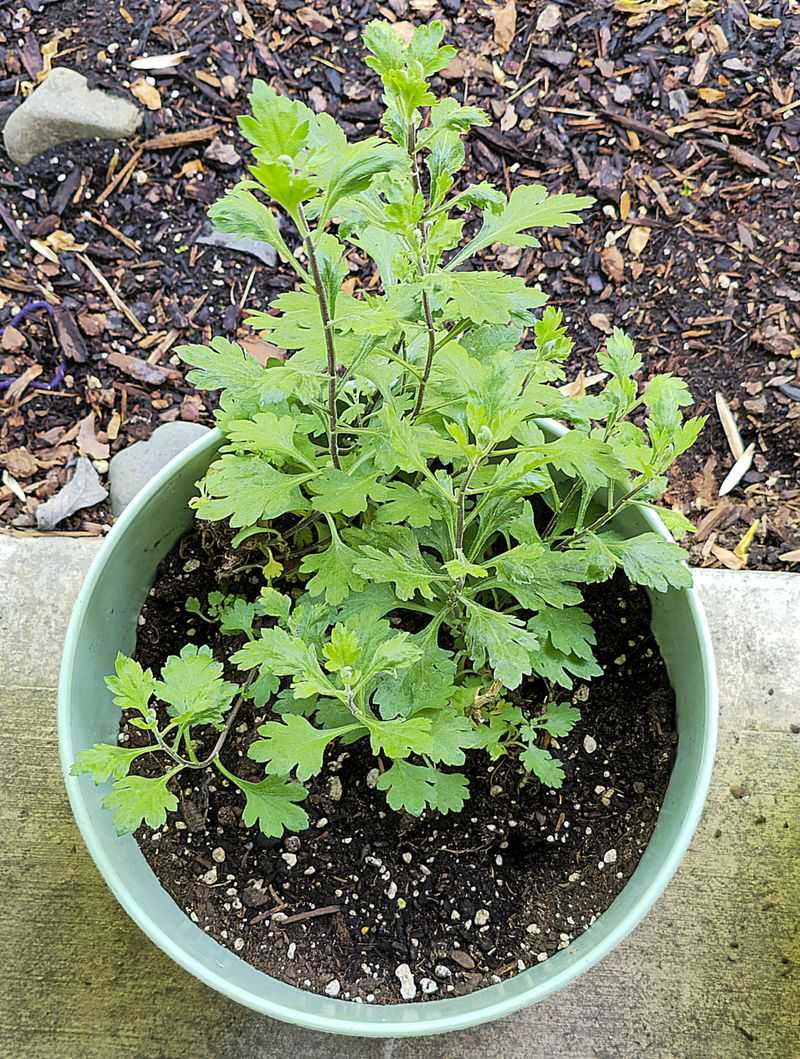
Few garden moments beat spotting those first fuzzy green rosettes pushing up through brown stems in April. You’re in for a big surprise if you look closely, because the clump often looks wider than last fall.
That spreading happens because garden mums send out underground stems called stolons, which pop up as new shoots nearby. Each little rosette can become a full flowering stem, so handle them carefully during your spring cleanup.
Start by raking away the winter mulch slowly, leaving a thin layer if nights are still dipping well below freezing. Mid to late April works for many regions, though colder northern counties may need to wait until May.
Next, snip the old brown stems down to the ground, just above the fresh growth at the base. Sharp, clean pruners give tidy cuts that heal fast and leave fewer hiding spots for fungal spores.
Toss those old stems in the trash rather than the compost if your plants had leaf spots last year. Some fungal diseases can survive on old plant debris and splash back onto fresh leaves during spring rains.
Once the bed is clean, scratch an inch of finished compost into the soil surface around each clump. I like how this gentle boost feeds soil life slowly, without pushing soft growth too fast in cool weather.
Take a moment to count how many healthy shoots appeared, because that number guides your next big decision. Crowded clumps with weak centers are ready for division, which happens to be the very next step.
5. Divide Crowded Mum Clumps Every Few Springs
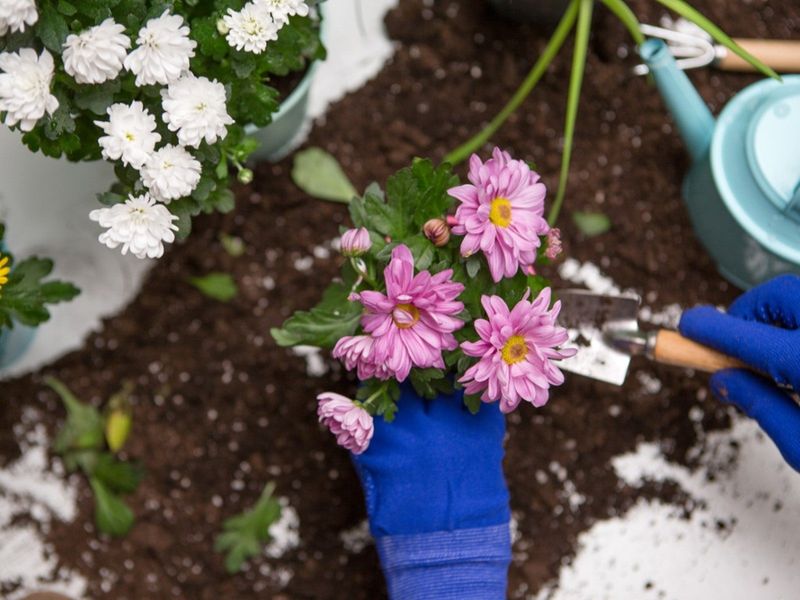
A mum clump with a hollow, empty middle is basically waving a flag that says it needs splitting. I believe division is the most underrated trick for turning one tired plant into several eager ones.
Older clumps often grow woody in the center while fresh, vigorous shoots crowd toward the outer edges. Many extension guides recommend dividing garden mums every two to three years to keep them vigorous and full.
Spring is the best time, ideally when new shoots stand only a few inches tall and the weather is cool. Cloudy days are perfect, since divisions lose less moisture while their roots settle into new homes.
Dig around the whole clump with a sharp spade, then lift it gently from the soil in one piece. You will see the outer shoots attached to their own small roots, almost like separate little plants.
Pull or cut those outer sections apart, keeping pieces with a few healthy shoots and a good root mass. The old woody center can go straight into the compost pile, since it rarely blooms well again.
Replant each division at the same depth it grew before, spacing plants about eighteen to twenty-four inches apart. Water them deeply right away, then keep the soil evenly moist for the next couple of weeks.
Extra divisions make wonderful gifts for neighbors or friends who admired your autumn display last year. Honestly, sharing plants is half the fun, and it keeps your own beds from becoming overcrowded again.
6. Pinch Young Mum Shoots When They Reach Six Inches

Snapping off the tip of a perfectly healthy shoot feels wrong the first time, yet it builds amazing mums. That tiny pinch turns one stem into two or three, and the effect multiplies each time you repeat it.
Plants grow taller partly because the top bud releases hormones that keep side buds sleeping quietly below it. Removing that tip lets lower buds wake up, which is why gardeners call this process breaking apical dominance.
Start pinching when shoots reach about six inches tall, which often happens in late May for many gardens. Use your thumb and finger to remove the top inch, just above a set of healthy leaves.
New side branches will appear within a couple of weeks, each one heading off in its own direction. Once those branches grow about six inches, pinch their tips again to keep the plant low and dense.
Most gardeners repeat this every two to three weeks, which keeps stems short and sturdy instead of tall and floppy. Short stems hold flowers upright better, so you rarely need stakes when heavy autumn rains roll through.
Some newer garden mum varieties branch naturally and need less pinching, so check plant tags if you know the name. Even those selections usually look tidier with one or two light pinches early in the season.
I love how the pinched tips can even root in moist potting mix, giving you free baby plants. Just stick a few in a shady pot, keep them damp, and watch roots form within a few weeks.
7. Give Garden Mums A Full Sun Spot

Mums are sunbathers at heart, and a shady corner turns them into lanky plants reaching sideways for light. I can’t imagine growing them anywhere but my brightest bed, where the afternoon glow lasts the longest.
Most extension sources recommend at least six hours of direct sun daily for strong stems and plentiful flowers. Eight hours or more is even better, especially in northern gardens where the growing season runs on the shorter side.
Plants grown in too much shade often stretch tall and produce fewer buds, then flop over under the weight. Shady spots also stay damp longer after rain, which gives powdery mildew and leaf spots an easy foothold.
Watch out for streetlights and bright porch lamps, because artificial light at night can delay mum blooming. Since these plants measure night length, a lamp shining on them may confuse their internal flowering clock.
Before replanting divisions, spend a day noticing where sunlight lands in your yard from morning through late afternoon. Trees leaf out in late spring, so a sunny April spot might become shady by the middle of June.
Container mums give you a little flexibility, since you can move pots to follow the sun as seasons shift. Turning pots a quarter turn every week keeps growth even, so plants avoid leaning toward one side.
Good airflow usually comes along with an open, sunny spot, and that combination keeps leaves healthy all season. Sunshine works like the fuel tank for next fall’s flowers, so give your plants a generous fill-up.
8. Water Mums At The Base And Feed Them Lightly

Shallow roots make mums a bit dramatic, and they wilt quickly when a hot July week skips the rain. Personally, I treat a droopy mum as a friendly reminder to check every bed, not just the obvious ones.
Aim for roughly an inch of water each week, counting rainfall, and give extra during long dry stretches. Deep, less frequent soaking encourages roots to grow downward, which makes plants sturdier during summer heat waves.
Water at the base whenever possible, since wet leaves overnight can encourage powdery mildew and other fungal troubles. A soaker hose snaking through the bed makes this easy and saves plenty of water along the way.
Mums are hungry plants during their active growth, and they respond well to regular feeding from spring onward. A balanced fertilizer such as 10-10-10, applied lightly every few weeks, supports strong branching after each pinch.
Slow-release granules mixed into the soil in spring are another option if you prefer a simpler schedule. Follow the label carefully, because extra fertilizer can burn roots and push soft growth that attracts aphids.
Stop feeding once flower buds start forming in late summer, since late nitrogen can delay blooms and weaken winter hardiness. Plants need to toughen up as autumn approaches, and fresh tender growth struggles more when frost arrives.
A two-inch layer of shredded bark or compost through summer helps hold soil moisture between waterings. Just keep that mulch a few inches away from the stems, so the crown stays dry and breathes freely.
9. Improve Drainage So Mum Roots Stay Healthy

Wet feet in winter are a bigger threat to mums than cold air, a fact that surprised me early on. Soggy soil around a sleeping crown can lead to rot long before any spring shoots get a chance to appear.
Heavy clay is common across many New York yards, and it holds water like a sponge after snowmelt. Mums prefer loose, well-drained soil rich in organic matter, which lets extra water slip away quickly.
Before replanting divisions, loosen the soil about eight to twelve inches deep with a garden fork. Mix in several inches of compost or well-rotted leaf mold to improve both drainage and fertility.
Raised beds or gentle mounds work wonders in low spots, lifting crowns above the water that settles there. Even raising the planting area by four inches can make a surprising difference in spring survival.
Garden mums grow best in slightly acidic to neutral soil, with a pH around 6.0 to 6.5. Cornell Cooperative Extension offices across the state can help you test soil and interpret the results accurately.
Avoid planting right next to downspouts or along driveways where snowmelt and road salt tend to collect. Salt-laden runoff can harm roots, and constant puddles there invite the very rot you are trying to prevent.
You might notice that well-drained beds warm up faster in spring, which gives new shoots an earlier start. That head start often translates into extra branches by midsummer and a fuller crown of fall blooms.