A Budget-Friendly Winter Cover That Keeps Frost From Ruining Hydrangea Blooms
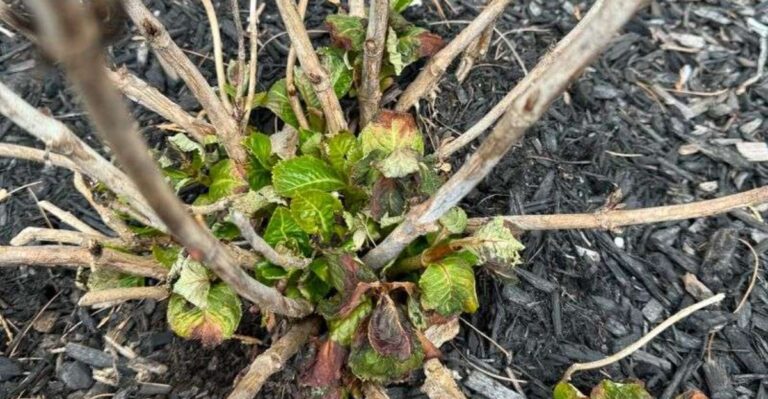
Next summer’s flowers are already sitting on those bare brown stems right now. They are tucked inside fat little buds, waiting out the cold like tiny packed suitcases.
I learned the hard way how fragile those buds can be. One January, a deep freeze followed a warm spell, and my shrub came back as a big green bush with zero flowers. All leaves, no show.
Truth is, the fix cost me almost nothing. A few stakes, some chicken wire, and a pile of fallen leaves from my own yard did the heavy lifting. No fancy kits or pricey wraps required.
So why do some shrubs sail through winter while others sulk all summer? And what simple pile of yard scraps could change your next bloom season?
Those Fat Hydrangea Buds Are Hiding Next Summer’s Flowers
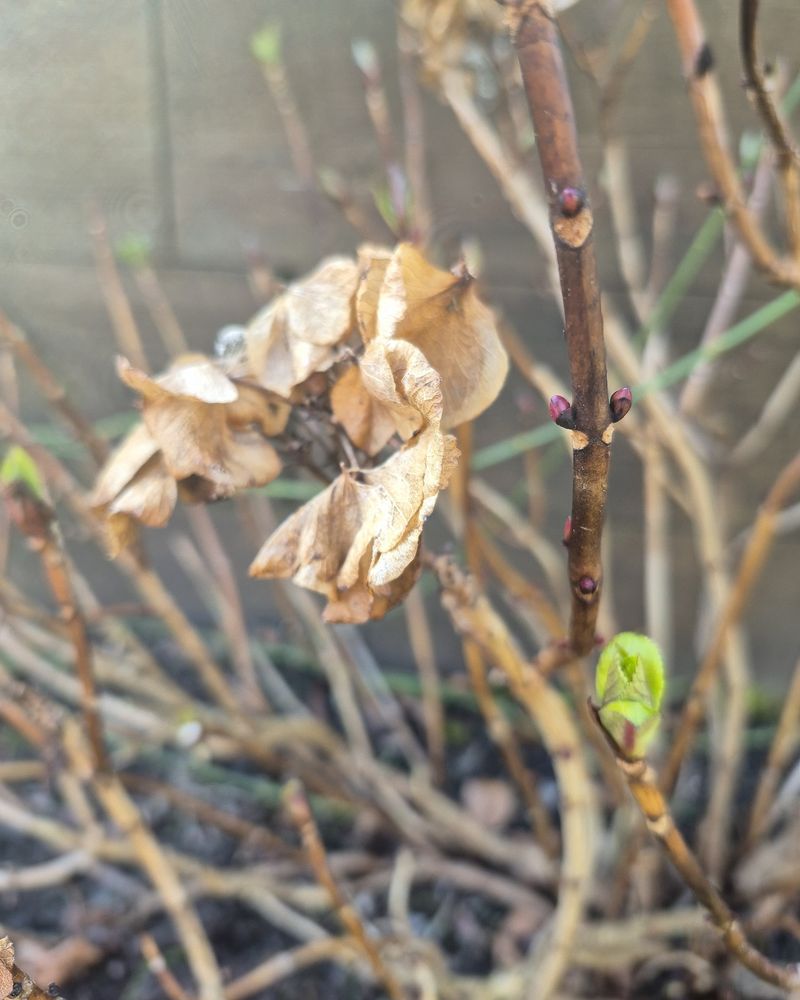
Grab a bare stem in November and look closely. Those plump buds near the tips hold next year’s mophead or lacecap flowers, already formed back in late summer.
Bigleaf hydrangeas, mountain hydrangeas, and oakleaf hydrangeas bloom on what gardeners call old wood. Their flower buds must make it through the whole winter on last year’s stems. If cold, wind, or a surprise freeze harms them, the shrub still leafs out, but the flowers simply skip a year.
Smooth hydrangeas like Annabelle and panicle types like PeeGee work differently. They bloom on new wood, meaning fresh stems that grow each spring. Even if winter nips them back, they usually flower on schedule.
So the first step costs nothing at all. Figure out which kind you have before you buy a single roll of burlap. Check the plant tag, look up the variety, or notice when and where it bloomed last year.
Rebloomers such as the Endless Summer series bloom on both old and new wood. They can bounce back after bud damage, but protecting the old stems gives you earlier flowers and a fuller display. Fair warning, that early show is the best part.
A Chicken Wire Cage Stuffed With Leaves Works Wonders
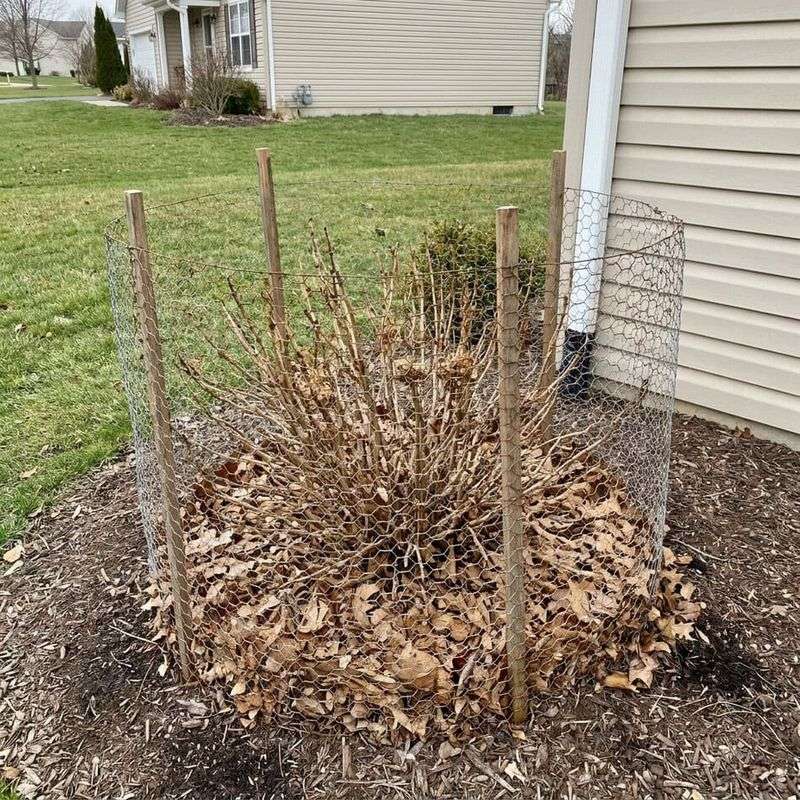
Call me cheap, but my favorite hydrangea cover is basically a leaf sandwich. It works because dry leaves trap air, and trapped air is a terrific insulator.
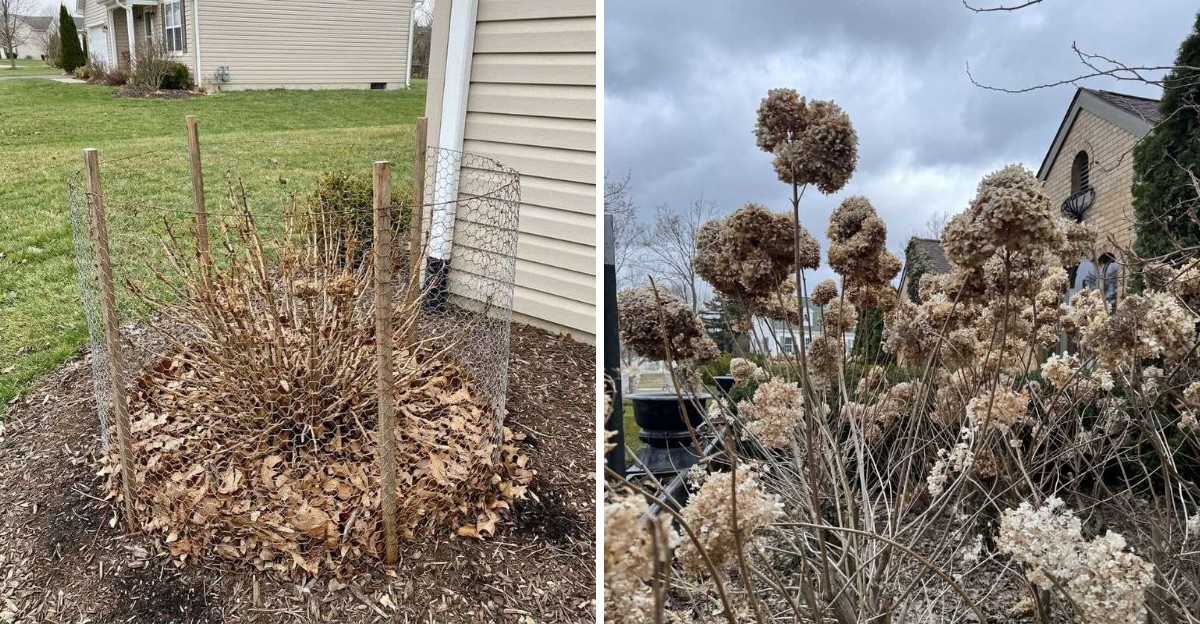
Start by pushing three or four sturdy stakes into the ground around the shrub. Bamboo, scrap wood, or fiberglass rods all do the job. Wrap chicken wire or plastic garden fencing around the stakes to make a cylinder a bit wider than the plant.
Make the cage about 6 inches taller than the highest buds. That extra space lets insulation sit above the most valuable part of the plant.
Next, fill the cage loosely with dry material. Oak leaves are ideal because they stay fluffy and don’t mat down like maple leaves. Pine straw or regular straw also works well.
Gently work the leaves down between the stems with your hands. Go slow, since those buds snap off more easily than you’d expect.
The whole setup often costs less than ten dollars if you buy the wire. Many gardeners already have stakes in the shed and leaves on the lawn. Rake, stuff, and walk away until spring.
Wait Until Hydrangea Leaves Drop Before Covering Up
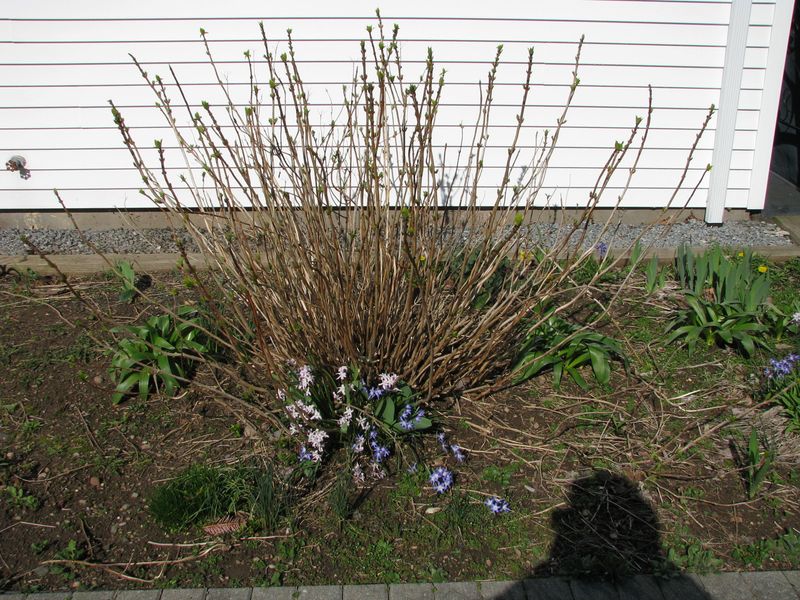
Timing trips up more gardeners than materials do. I’m the first to admit I once wrapped my shrubs on a warm October weekend, and it backfired.
Covering too early traps heat and moisture around the stems. That can invite fungal trouble or nudge the plant to stay active when it should be settling down. Hydrangeas need to go fully dormant first.
The best signal comes from the plant itself. Wait until the leaves drop naturally. In many areas, that lands around mid-November, or once temperatures regularly dip into the 23 to 28 degree range.
Northern gardeners in places like Minnesota or Maine may be ready earlier. Folks farther south might wait until December or skip heavy covers in milder zones.
Spring timing matters just as much. Remove covers gradually once the danger of hard frost has passed for your area. Your local extension office can share average last frost dates.
Taking things off in stages helps the plant adjust. Pull the top layer first, then the wrap, then the leaves over a week or two. Rushing the reveal can expose tender new growth to a nasty cold snap.
Burlap and Old Bedsheets Beat Plastic Every Time
Plastic sheeting looks like a smart shortcut. In reality, it holds moisture against the plant, which can lead to rot or ice damage on the very buds you’re trying to save.
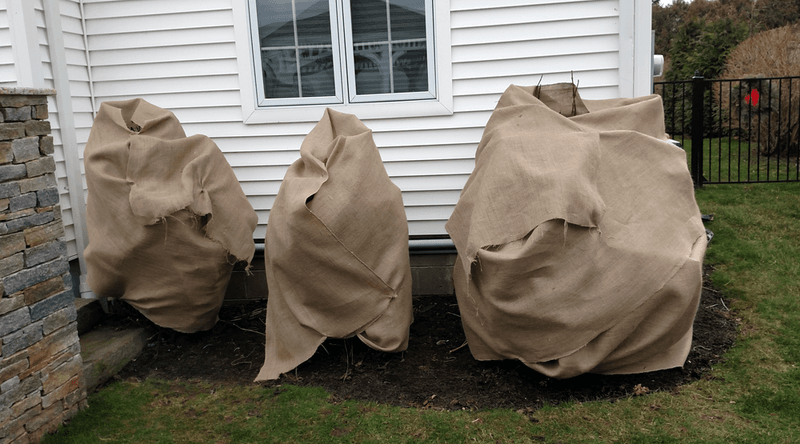
Breathable fabrics do a far better job. Burlap is cheap at garden centers and hardware stores, and a few layers block drying winter wind nicely. Frost fabric, also called row cover, works too.
Got an old cotton sheet or worn blanket in the closet? Put it to work. These are perfect for short frost warnings, especially in spring.
Wrap the fabric loosely around the shrub or the outside of your leaf cage. Tie it with twine or zip ties so wind can’t whip it around. Loose fabric that rubs against branch tips can scrape off buds.
For a fast overnight fix, drape a sheet over the plant in the evening and pull it off the next morning. Small plants can even get an upside-down cardboard box or 5-gallon bucket for one chilly night.
If plastic is all you have during an emergency, use it only overnight. Remove it during the day so the plant can breathe and heat doesn’t build up inside.
A Thick Mulch Blanket Keeps Hydrangea Roots Cozy
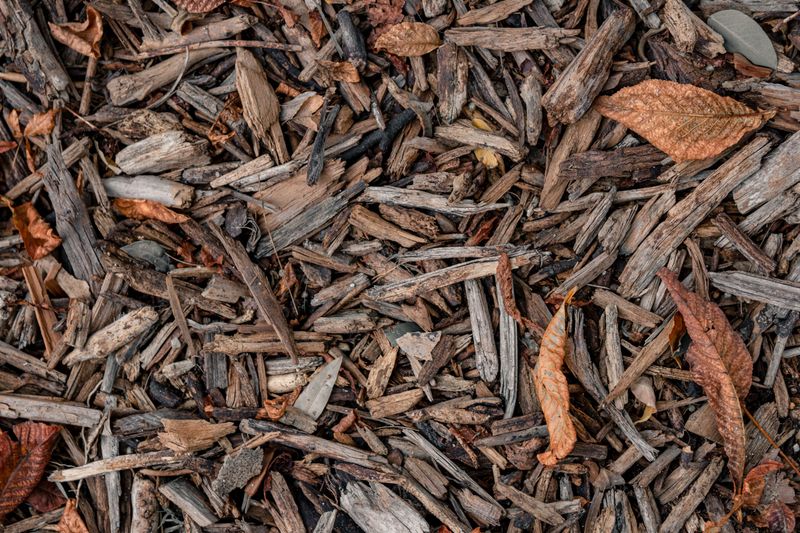
Roots don’t get much attention, but they deserve a warm winter coat too. A thick layer of mulch helps steady soil temperatures and protects the crown where new stems emerge.
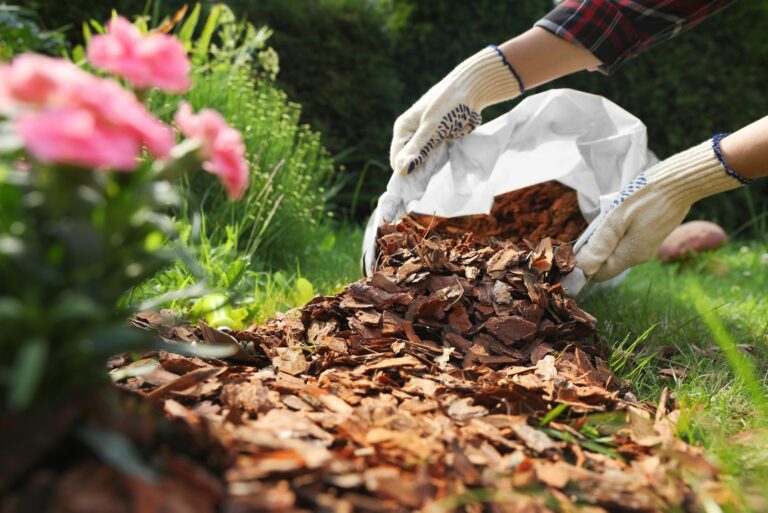
Shredded leaves are free and easy. Run a mower over a pile of fallen leaves, and you’ve got instant mulch. Pine straw, regular straw, wood chips, and homemade compost all work as well.
Aim for a layer 4 to 8 inches deep. Spread it after the ground has cooled or started to freeze, usually in late November or early December.
Keep the mulch a few inches away from the stems. Piling it right against the bark holds moisture and gives voles and mice a cozy hiding spot near tasty stems.
Mulch alone won’t save old-wood buds high on the branches. It shines as a partner to a cage or wrap, though, and for new-wood types like Annabelle it may be all the protection needed.
Here’s a bonus most folks love. Come spring, that leaf mulch breaks down and feeds the soil. You get winter protection and free soil improvement from the same pile of yard scraps.
Snow Can Crush Your Hydrangea Cage Without a Simple Lid
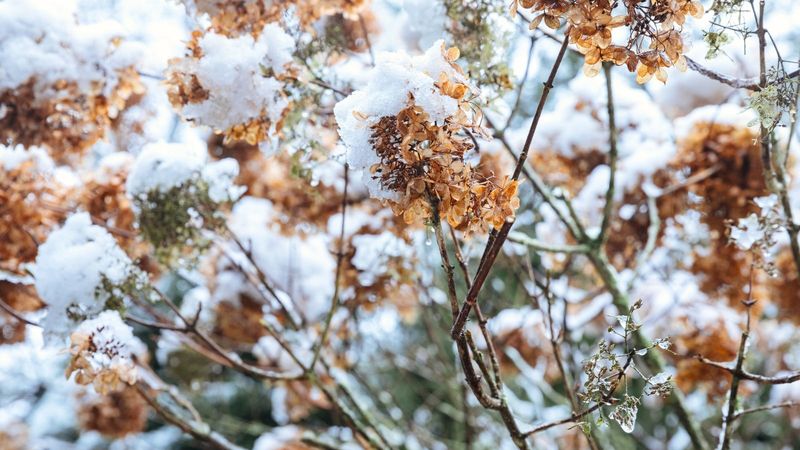
One heavy snowfall taught me this lesson. My leaf cage flattened like a pancake, and the soggy leaves pressed right down on the buds.
A lid fixes that problem cheaply. Lay a piece of Styrofoam, plywood, or scrap lumber across the top of the cage and secure it with twine or wire. The lid sheds rain and snow, so the insulation stays dry and fluffy.
Wet leaves lose their insulating power fast. Keeping them dry matters as much as packing them in.
In snowy regions, an A-frame offers even sturdier protection. Old wooden pallets, often free behind local stores, can be pulled apart and nailed into a tent shape over the shrub. Always ask before taking pallets.
An A-frame also keeps snow sliding off roofs or plowed from driveways from snapping branches. Hydrangeas planted near walkways or foundations take a beating from shoveled snow.
You can drape burlap over the A-frame for extra warmth. Secure the edges with rocks or bricks so wind can’t lift it. It isn’t pretty, but those mophead blooms in July make up for a few months of backyard construction.
Put Down Those Pruners Before You Snip Off Hydrangea Buds
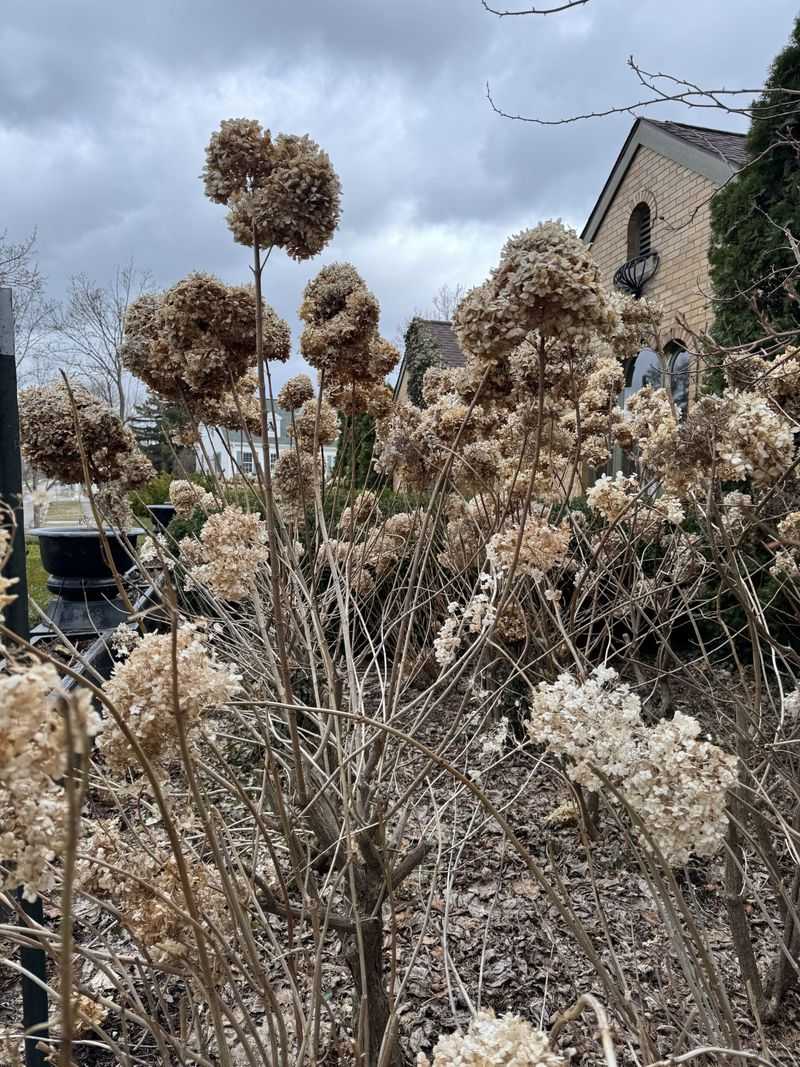
Guilty as charged, I used to tidy up every shrub in fall. With old-wood hydrangeas, that habit cut off next summer’s flowers before winter even started.
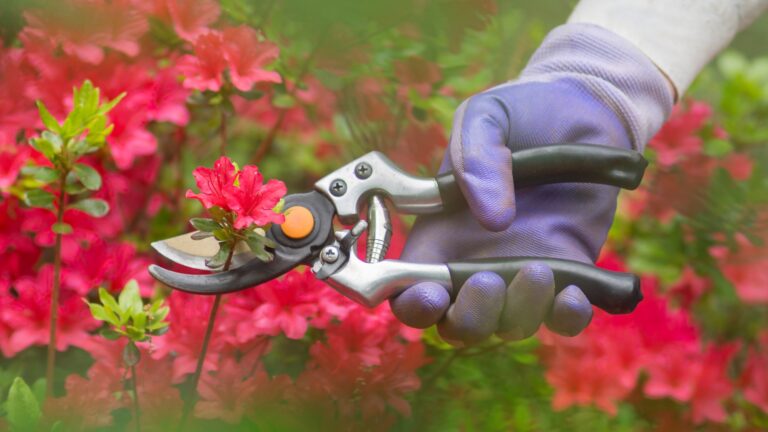
Bigleaf and oakleaf hydrangeas set buds in late summer and fall. A fall or winter haircut removes them. Trim only stems that are clearly broken, diseased, or no longer alive.
Leaving the old flower heads on can even help a little. Many gardeners like how they catch snow and add winter interest.
Water is another free tool. Moist soil holds heat better than dry soil, so give hydrangeas a deep drink in early to mid-afternoon before a predicted freeze. Only water when air and soil sit above 40 degrees.
Rabbits can also chew stems and buds in winter. A ring of hardware cloth around the base of your cage keeps them out.
In windy areas, some gardeners spray stems with an anti-desiccant product. It forms a coating that helps reduce moisture loss. Rake up messy debris near the base as well, since it can harbor disease and hide hungry rodents.
Potted Hydrangeas Need a Chilly Garage and a Spring Frost Plan
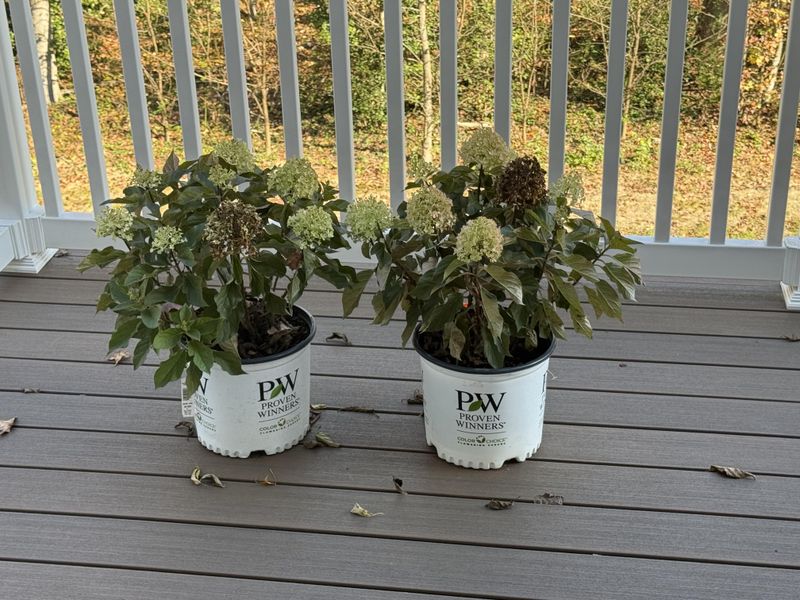
Container hydrangeas face tougher odds than shrubs in the ground. Roots in a pot sit above the ground, so they feel the cold much sooner.
Move potted plants into an unheated garage, shed, or sheltered porch where temperatures stay between about 32 and 40 degrees. Wrap the pots in bubble wrap or old blankets for extra padding.
Skip the cozy living room, though. Hydrangeas need a cold rest period, and a heated house confuses them.
Water sparingly, roughly once a month, on days above 40 degrees. The soil should stay barely moist, not soggy.
Spring brings its own surprises for every hydrangea, potted or planted. A warm March can wake buds early, and an April or May frost can then zap the new growth.
Keep an old sheet or frost fabric near the back door from April through May. When forecasts dip near freezing, drape it over the plant at dusk and remove it in the morning.
That small habit, plus a leaf-stuffed cage and good timing, turns a few dollars of materials into a summer full of big blue, pink, or white blooms worth bragging about.