How To Save Your Overwatered Christmas Cactus Before It’s Too Late
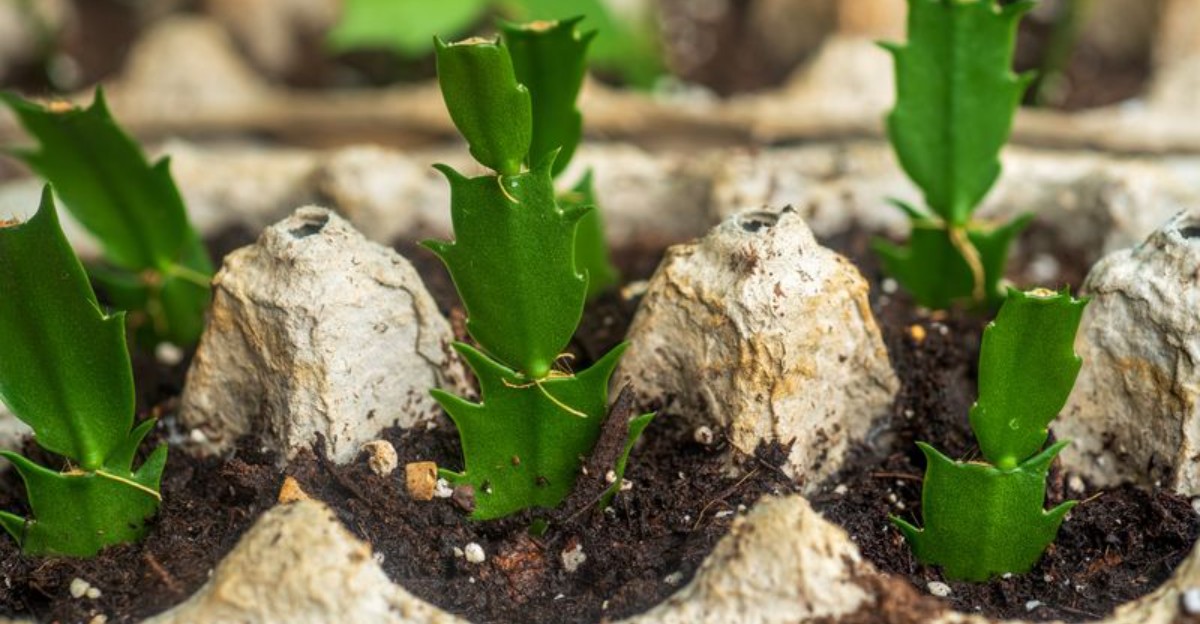
That festive plant on your windowsill descends from wild ancestors that perch on tree branches in Brazilian mountain forests. Their roots grip mossy bark and catch quick rain showers, then dry out fast in the moving air.
Botanists call these plants epiphytes, which means they live on other plants without stealing any nutrients from them. So a pot of heavy, soggy soil feels nothing like home to those thin, airy roots.
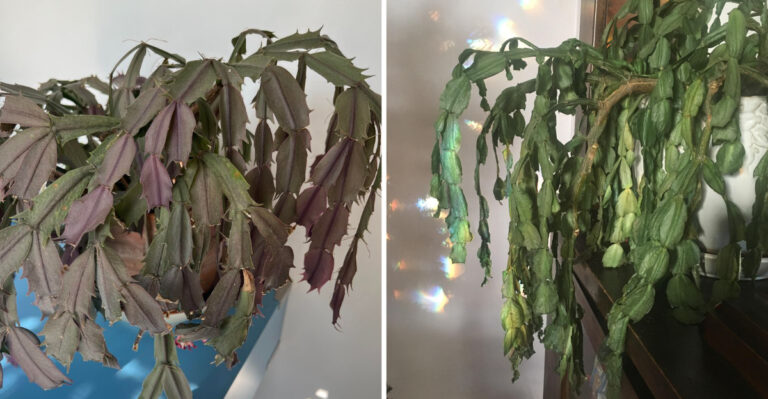
I learned this the hard way when my favorite plant turned limp and pale right before the holidays. You might notice the same sad droop and assume it needs more water, which only deepens the trouble.
Soft stems and soggy soil are warning signs, yet many plants bounce back with quick and careful help. So how do you tell a rescue case from a lost cause, and what should you do first?
1. Squeeze Christmas Cactus Segments To Check For Mushy Stems
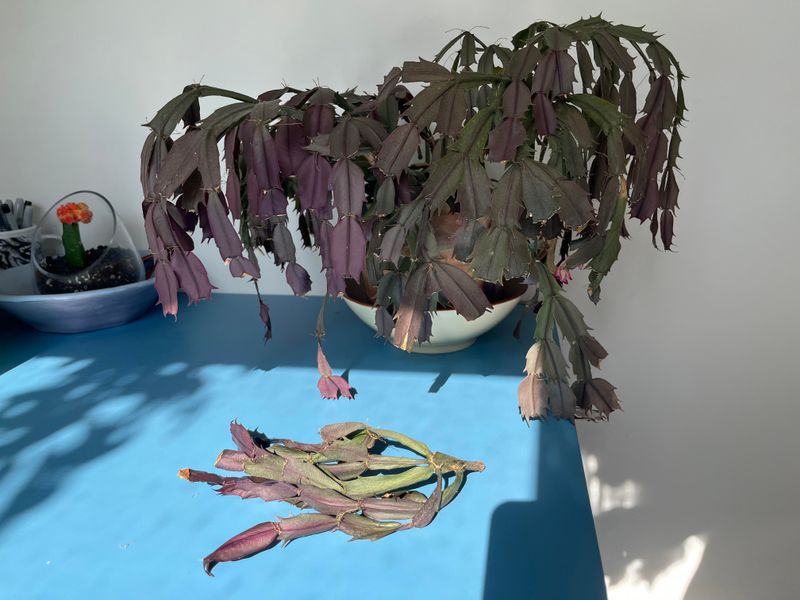
A healthy Christmas cactus segment feels like a firm snap pea, plump and springy between your fingers. When I gently pinch an overwatered one, it feels squishy and floppy, almost like a wet noodle.
Strangely enough, a soggy plant often wilts just like a thirsty one, which fools plenty of caring owners. Roots sitting in wet soil run short on oxygen, so they stop sending water up to the stems.
Look closely at the base of the plant where the main stem meets the soil line. Brown or water-soaked tissue there often points to stem or root rot spreading upward from below.
Flower buds can also give you clues, because overwatered plants frequently drop their buds before they open. Yellowing segments or a reddish, wrinkly look can show stress too, though cold or bright sun cause similar changes.
Now check the soil itself by pushing a finger about an inch down into the pot. If it still feels damp days after watering, you have likely found the real source of the trouble.
White fuzz on the soil surface or tiny fungus gnats buzzing around also hint at lingering moisture. A sour, swampy smell rising from the pot is another clue I have learned to take seriously.
Jot down what you see before moving on, since it helps you judge how hard to act. A few soft segments call for patience, while a mushy base calls for a quick trip out of the pot.
2. Put Down The Watering Can And Let The Soil Breathe
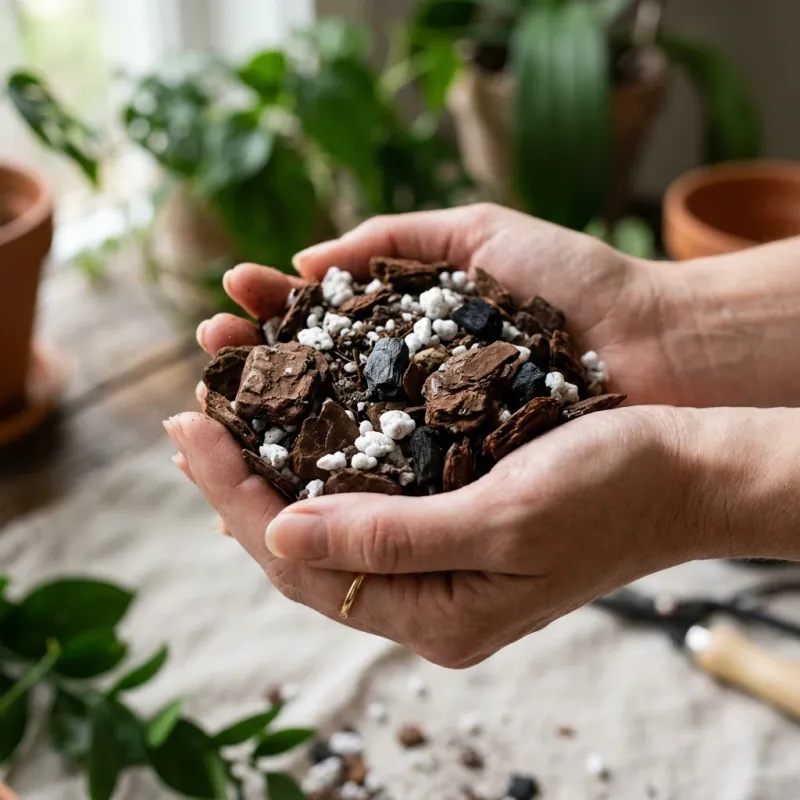
My watering can sat on the shelf for almost two weeks once, and my plant thanked me for it. Stopping water right away is the simplest rescue move, and it costs you nothing at all to try.
Soggy soil fills the tiny air pockets that roots need, so they slowly drown in standing moisture. Water molds such as Pythium and Phytophthora love those conditions and infect weakened roots with real gusto.
Empty any saucer or decorative cover pot right away, because trapped water keeps the bottom soil soaked. Those shiny foil wraps from the store are sneaky culprits, so I peel them off or poke holes.
Next, move the plant to a bright spot with gentle air movement and no harsh afternoon sun. Room temperatures in the sixties or low seventies help the soil dry without stressing the tender stems.
Skip fertilizer during this pause too, since weak roots cannot use extra nutrients and may get burned. Feeding can wait until you spot fresh green growth, which signals the roots are working well again.
Tilting the pot gently on its side for an hour can help extra water drain from the bottom. Some gardeners also press paper towels against the drainage holes to wick away a little more moisture.
Mild cases often perk up within a week or two once the soil finally dries out properly. If segments keep softening during this break, though, the roots underneath need a closer look right away.
3. Slide The Christmas Cactus Out Of Its Pot To Inspect The Roots
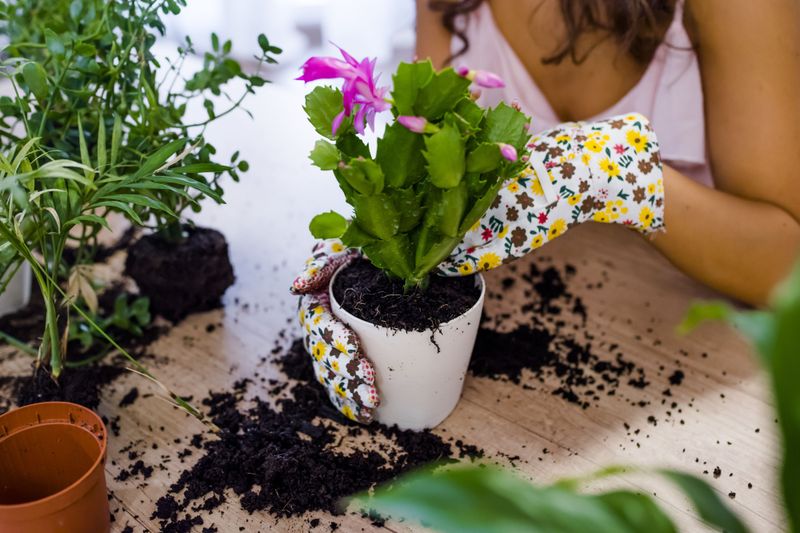
Roots tell the real story, and I find unpotting a plant oddly satisfying, like opening a mystery box. If soft stems or soggy soil linger after a week, it is time to peek below the surface.
Lay down newspaper first, then tip the pot sideways while supporting the base of the plant with one hand. Tap the rim against a table edge or run a butter knife around the inside to loosen things.
Pulling on the stems is tempting, but the segments snap easily at their joints, so go slowly. Once the root ball slides free, crumble away the old wet soil gently with your fingertips.
A quick rinse under lukewarm running water can help reveal the roots when the soil clings stubbornly. Avoid cold or hot water, since sudden temperature swings add stress to an already struggling plant.
Healthy roots look white or light tan, and they feel firm and slightly springy when touched. Rotted roots turn brown or black and feel slimy, while the outer layer often slips off like a sleeve.
Your nose helps here too, because decaying roots usually smell musty or sour instead of earthy. I compare the healthy and damaged roots to estimate how much of the system can still be saved.
Plants with plenty of firm roots have great odds, while plants with very few may need backup cuttings. Either way, knowing what you are working with makes every next step much easier to plan.
4. Trim Brown Mushy Roots With Clean Sharp Scissors
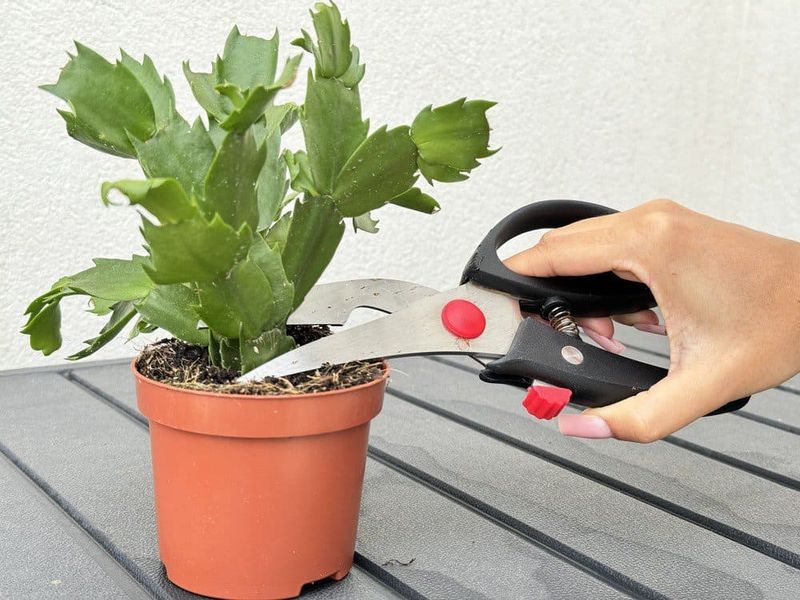
Snipping away rotten roots feels a little like giving your plant a haircut, and honestly, it helps just as much. Rot can keep creeping into healthy tissue, so removing it gives the clean roots a fair chance.
Start by wiping your scissors or pruners with a disinfecting wipe or a diluted bleach solution. Clean blades help prevent spreading fungus or bacteria from the rotten parts into the fresh cuts.
Cut each brown or slimy root back until you reach firm, pale tissue that looks clean inside. Wipe your blades again between cuts if the rot looks heavy, since it spreads easily on metal.
Next, check the stems closely for soft or translucent segments sitting near the old soil line. Remove those segments at the joint, or slice into firm green tissue if the damage runs higher.
I have seen folks dust cuts with cinnamon, and many gardeners swear by it as a mild antifungal. Research support is limited, though, so treat it as an optional extra rather than a guaranteed cure.
Losing a big chunk of roots looks scary, but a smaller healthy system beats a large rotten one. You can also trim a few top segments to balance the plant against its reduced root system.
Save any firm, healthy pieces you remove, because they can become new plants later on with ease. Toss the mushy scraps in the trash rather than the compost pile to avoid spreading disease around.
5. Let Trimmed Christmas Cactus Roots Dry On Paper Towels
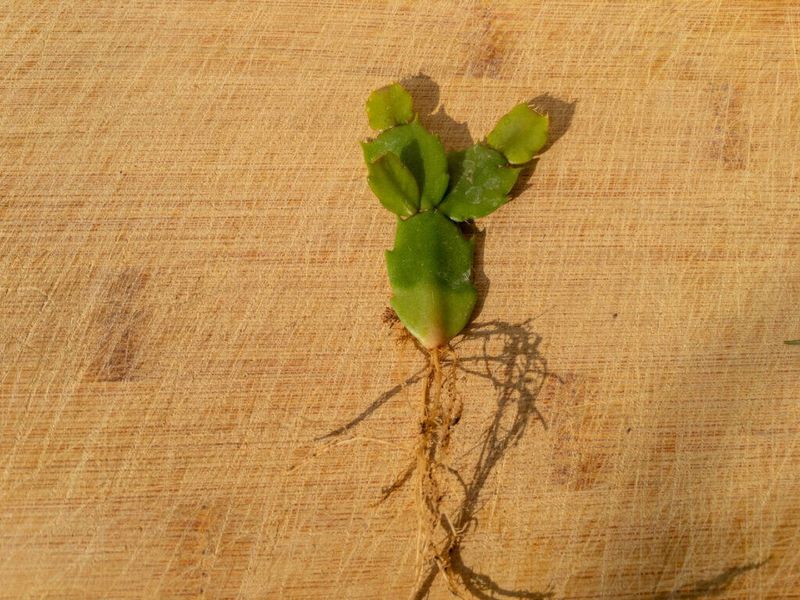
Fresh cuts on a succulent stem are a bit like a skinned knee, needing time to scab over. Gardeners call that protective layer a callus, and it helps keep new infections from sneaking inside.
Set the trimmed plant on dry paper towels or newspaper in a shaded room with good airflow. A kitchen counter away from the stove or a quiet shelf works nicely for this short break.
Most plants need somewhere between one day and several days, depending on how wet the roots were. I check the cut ends each morning and wait until they look dry and slightly firm.
Keep the plant out of direct sunlight during this stage, since bare roots scorch and shrivel quickly. Heaters and drafty windows are poor choices too, because hot or icy air dries delicate tissue far too unevenly.
A little wrinkling in the segments is normal while the plant waits, so try not to panic. Christmas cacti store water in their flattened stems, which carries them through a few dry days.
Use this break to scrub the old pot with soapy water and rinse it with diluted bleach. Leftover soil can carry rot organisms, so a clean container gives the roots a fresh start.
I also like to shop for fresh potting mix now, so everything is ready once the cuts heal. A little planning ahead means your plant spends less time bare and more time settling into its new home.
6. Repot The Christmas Cactus In A Snug Pot With Fast Draining Mix
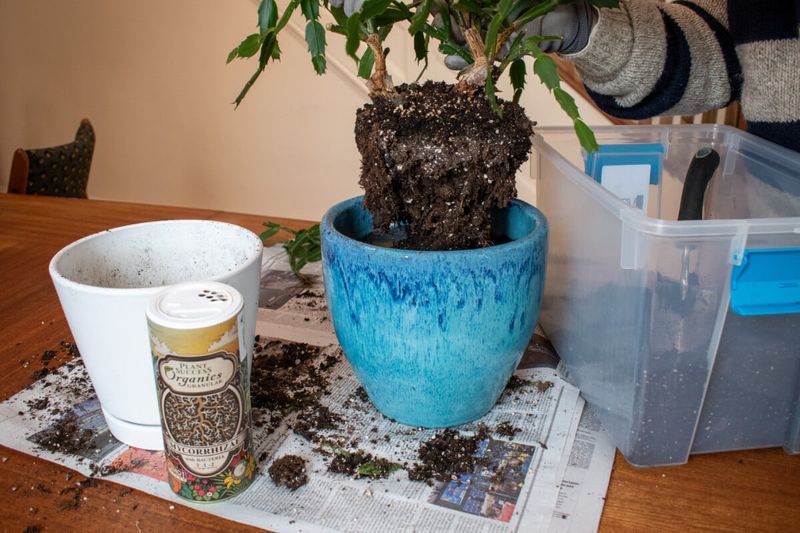
Christmas cacti actually enjoy being a little cramped, which surprised me the first time I read it. A pot that is too large holds extra soil, and extra soil holds extra water for days.
Pick a container just slightly bigger than the trimmed roots, or even size down after heavy pruning. Drainage holes are a must, and unglazed terracotta helps by letting moisture escape through its walls.
For soil, these forest dwellers like a loose and slightly acidic mix that drains quickly but holds some moisture. A bagged cactus mix works, though I like to blend in extra perlite or orchid bark too.
A simple homemade recipe uses about two parts potting soil and one part perlite for better airflow. Avoid heavy garden soil, since it packs down tight and smothers roots that are trying to recover.
Add a layer of mix to the pot, then set the plant at the same depth as before. Fill around the roots gently and tap the pot to settle the mix instead of pressing hard.
Leave a little space below the rim so future watering does not spill over the edges. If the plant wobbles, a couple of small stakes or chopsticks can hold it steady for now.
I like slipping a mesh square over the drainage hole, which keeps the mix in place nicely. Skip the old trick of adding gravel to the bottom, because research shows it actually raises the soggy zone.
7. Water The Recovering Christmas Cactus Sparingly In Bright Indirect Light
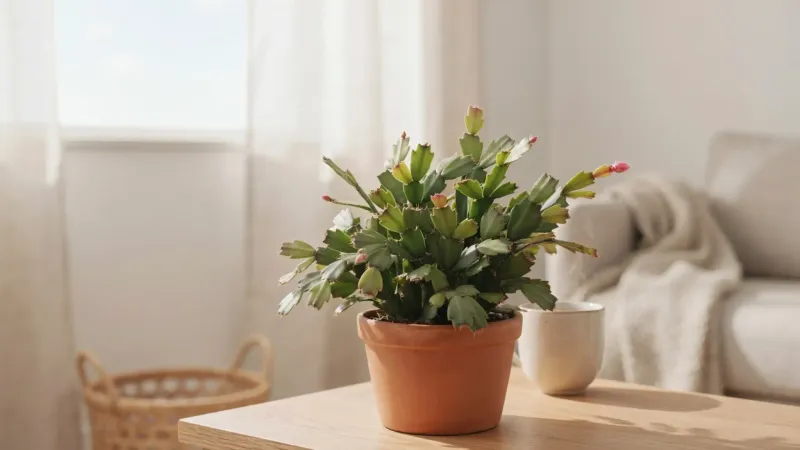
Holding back water after repotting feels strange, yet it might be the kindest thing you do all week. Many growers wait about a week, giving any small root wounds extra time to seal before getting wet.
When you do water, pour slowly until a little drains out, then empty the saucer right away. Light, frequent splashes can leave the bottom dry and the top soggy, which quietly confuses the roots.
After that, let the top inch or so of soil dry before reaching for the watering can again. University extension experts suggest this finger test instead of a strict calendar, since homes vary so much.
Bright, indirect light suits a healing plant best, such as an east window or a filtered spot. Harsh midday sun can bleach the segments red or yellow, so a sheer curtain helps a lot.
Keep the plant away from heat vents and cold drafts, since sudden changes can trigger bud drop. If your plant is setting flowers this season, expect a few buds to fall during recovery anyway.
Hold off on fertilizer for about a month, or until you notice new segments forming at the tips. Then a half strength houseplant feed once a month during active growth keeps things moving along.
I keep a little sticky note on the pot with the last watering date written on it. That silly habit has saved me from double watering more times than I would like to admit.
8. Root Healthy Christmas Cactus Cuttings As A Backup Plan
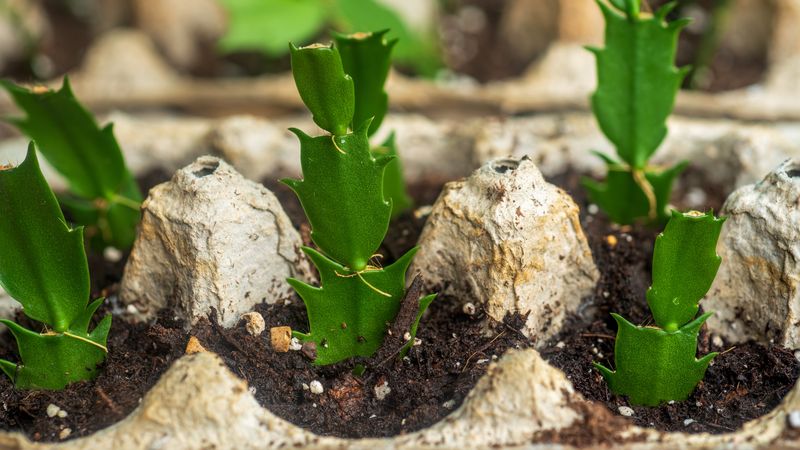
Every firm segment you snip off holds the power to grow into a brand new plant for you. I treat cuttings like a little insurance policy, especially when the main roots looked pretty rough during inspection.
Choose healthy pieces with two or three segments, and twist them off gently right at a joint. Plump, deep green segments root best, while wrinkled or soft ones usually struggle to get going.
Let the cuttings rest in a shaded spot for a day or two so the ends can callus. Skipping this pause invites rot, which is the last thing you want after all this careful effort.
Push the bottom segment about a quarter of its length into lightly moist, well draining mix. Several cuttings fit nicely in one small pot, which also makes a fuller plant down the road.
Some gardeners prefer rooting in water, keeping just the tip of the bottom segment submerged in a small jar. Change the water every few days, then move the cuttings to soil once roots reach about an inch.
Bright, indirect light and warm room temperatures help roots form, often within about three to four weeks. A gentle tug that meets resistance tells you the cuttings have anchored themselves firmly in the mix.
Christmas cacti often live for decades, and many families pass rooted cuttings down through several generations of gardeners. Spare pieces also make sweet gifts, so a soggy setback might end up spreading joy around.