10 Creative Ways To Reuse Pumpkins After Halloween
Every fall, millions of carved jack-o’-lanterns and porch gourds across America end up in landfills.
Beneath layers of trash, cut off from air, that soft orange flesh breaks down and releases methane, a gas that traps heat in our sky.
I learned this fact one November while hauling my slumped jack-o’-lantern toward the curb with a sigh. That soggy grin suddenly looked less like garbage and more like a free gift for my garden.
After I tested a few easy tricks, my yard gained richer soil and plenty of chattering feathered visitors. You can do the same thing here in our state, even with a tiny patio or balcony.
Porches across our state are still glowing right now, so October offers the perfect moment to plan ahead.
So what could your grinning porch guest become once the candy bowls are empty and the costumes are packed?
1. Toss Pumpkin Chunks Into The Compost Bin
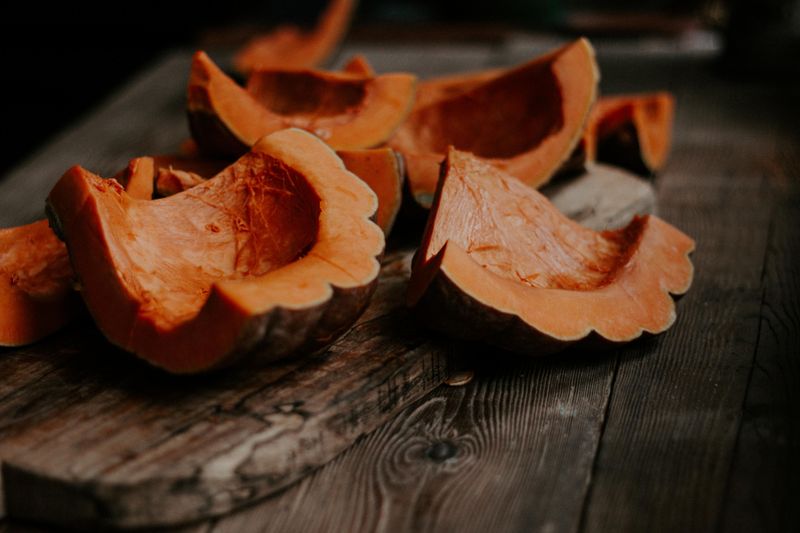
Few things break down faster in a compost bin than a soft, slumping jack-o’-lantern full of water. Pumpkins are roughly ninety percent water, so they collapse quickly and feed hungry microbes in a hurry.
Before tossing anything in, pull out candle stubs and wax drips, plus any painted or glittered pieces. Those extras do not break down, and some can leave unwanted residue in your finished compost.
I like smashing mine into fist-sized chunks with a shovel, which honestly feels like great stress relief. Smaller pieces give microbes more surface to work on, so the pile heats up and finishes sooner.
Pumpkins count as green material, so balance them with brown stuff like dry leaves or shredded cardboard. October usually hands you plenty of fallen leaves, which makes this pairing easy and almost free.
Bury the chunks in the middle of the pile to discourage curious raccoons and reduce any sour smells. By spring, you should have dark, crumbly compost ready to spread around next year’s tomatoes and peppers.
Seeds can sprout if your pile stays cool, so roast or save them first unless you enjoy surprises. A hot, active pile usually reaches temperatures high enough to stop most seeds from sprouting later on.
2. Set Out Pumpkin Pieces For Backyard Squirrels And Deer
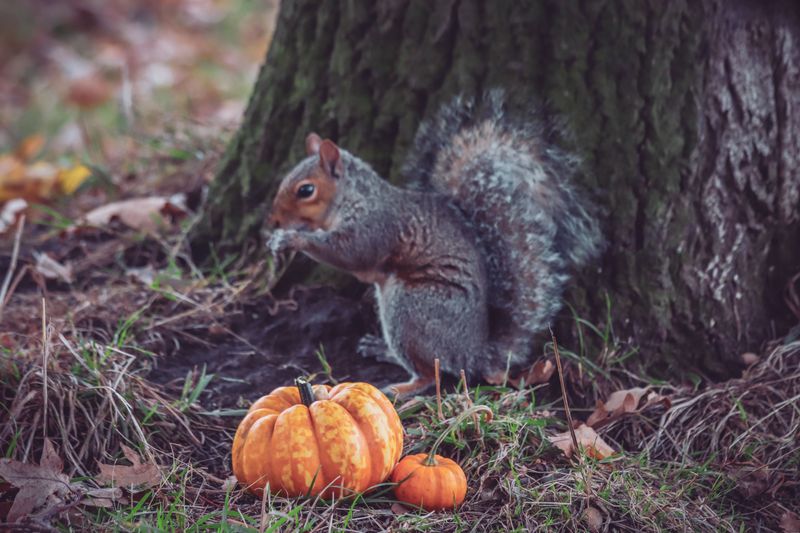
Squirrels treat an uncarved pumpkin like a giant orange snack bar, and watching them work is pure comedy. I once saw a gray squirrel chew a doorway into one and then sit inside eating.
Many animals nibble pumpkin, including deer, chipmunks, and several birds that pick at the seeds and stringy pulp. Offering one occasionally gives visitors a seasonal treat without making them depend on your yard for food.
Only share plain pumpkins that have no paint, wax, glitter, or chemical sprays on their skin. Skip any that are moldy or mushy, since spoiled food can upset an animal’s stomach just like ours.
Cut the pumpkin into halves or chunks so smaller critters can reach the soft flesh more easily. Place pieces far from your house and driveway, ideally near shrubs where shy animals feel safer.
Wildlife experts often caution against regular feeding, because crowds of animals can spread disease and lose natural caution. A single pumpkin or two after Halloween is a modest treat, not an everyday buffet line.
Check local rules too, since some areas restrict feeding deer to slow chronic wasting disease and reduce crashes. Remove leftovers after a few days so rotting scraps do not attract rats or neighborhood complaints.
3. Turn A Pumpkin Shell Into A Songbird Feeder
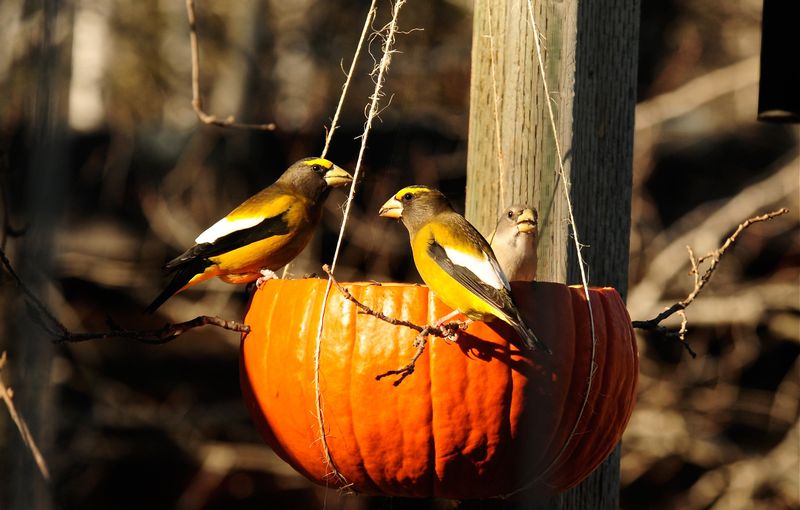
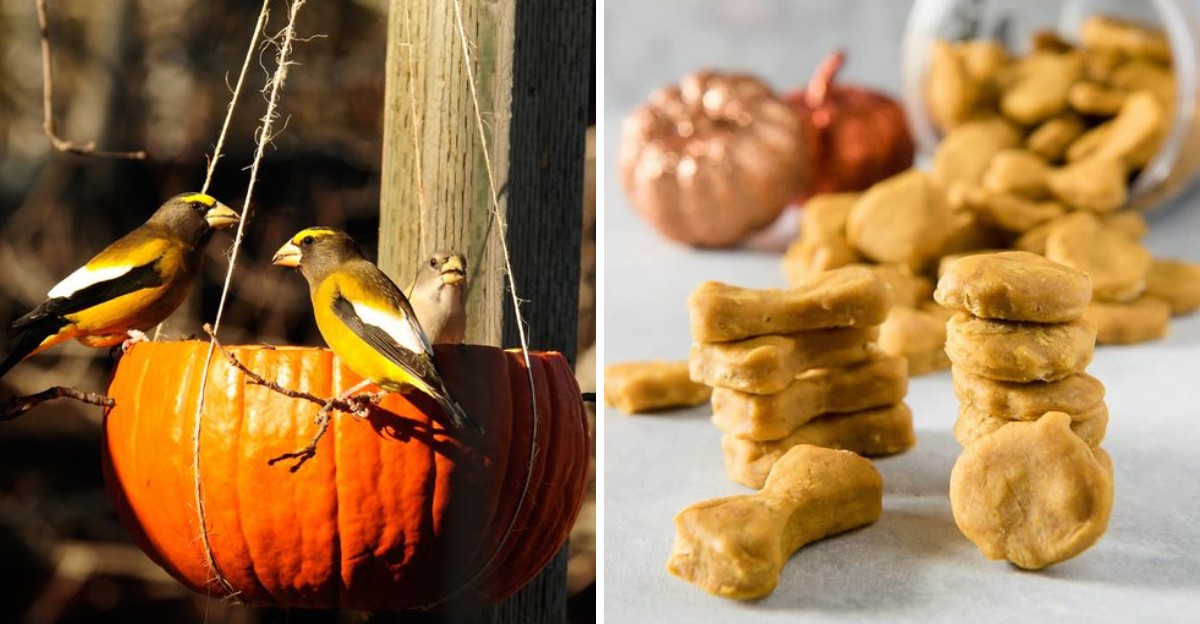
Chickadees do not care that your pumpkin feeder looks a little lopsided, and that honestly makes it charming. A hollow pumpkin half becomes a sturdy seed bowl that fits right in with autumn leaves.
Slice a small pumpkin in half around its middle, then scrape out the seeds and loose stringy pulp. Poke a few small holes in the bottom so rainwater drains away instead of turning seed into mush.
Push two sturdy sticks or wooden dowels through the sides, a couple inches below the rim, for perches. Birds like a spot to land and look around before they commit to grabbing a sunflower seed.
Fill the bowl with black-oil sunflower seeds, which attract a wide variety of backyard songbirds in fall. Tie twine to the dowels and hang it from a branch, or set it on a stump.
My favorite moment is spotting a nuthatch hopping upside down on the shell, inspecting every corner. Cardinals and sparrows may also stop by, depending on where you live and what grows nearby.
Pumpkin feeders soften and mold within a week or two, especially during rainy weather or warm afternoons. Replace the seed often and move the old shell to your compost pile once it starts sagging.
4. Save Heirloom Pumpkin Seeds For Next Spring
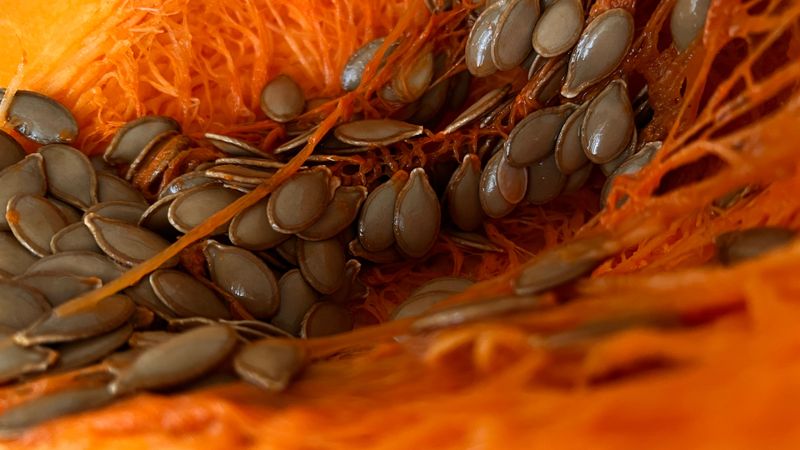
Every pumpkin seed carries a tiny blueprint, and saving them feels like tucking next summer into an envelope. Open-pollinated or heirloom pumpkins work best, because their seeds usually grow plants similar to the parent.
Hybrid varieties, often labeled F1, rarely come true from seed and might surprise you with odd fruit. Bees also cross pumpkins with other squash of the same species, so results can vary from saved seed.
Pick a fully ripe, healthy pumpkin and scoop the seeds into a bowl of cool water. Rub away the slippery pulp with your fingers, then rinse everything in a colander until clean.
Spread the seeds in a single layer on a screen or paper plate somewhere cool and airy. Let them dry for a few weeks, stirring now and then, until they snap instead of bending.
I store mine in labeled paper envelopes, because plastic bags can trap moisture and invite mold. Write the variety and year on each packet so you are not guessing when planting time arrives.
Keep envelopes in a cool, dark, dry spot, like a closet shelf or sealed jar in the fridge. Well-stored pumpkin seeds often stay viable for several years, so one pumpkin can supply many seasons.
5. Plant Fall Mums Inside A Hollow Pumpkin
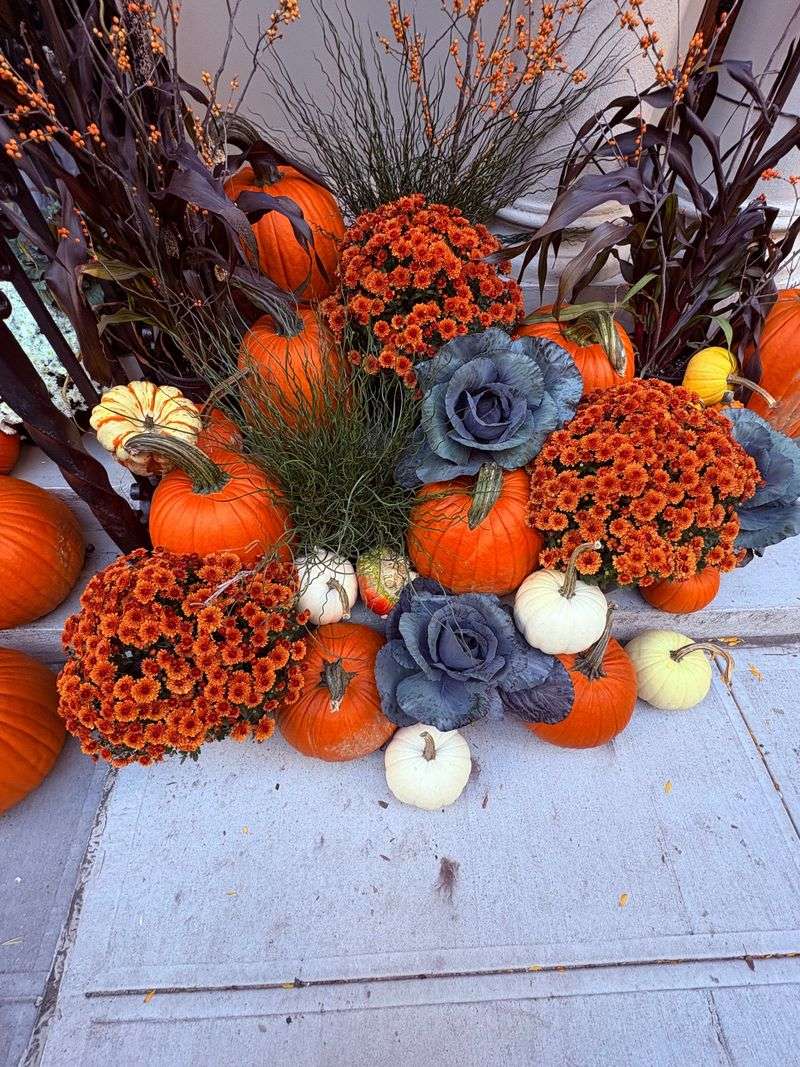
A bright yellow mum spilling out of an orange pumpkin might be the cheeriest porch upgrade around. Hollowed pumpkins make clever short-term planters, and they can carry your fall display all the way toward Thanksgiving.
Choose a firm, uncarved pumpkin with no soft spots, then cut a wide opening around the stem. Scoop out the seeds and pulp, scraping the inner walls fairly thin so a pot fits inside.
I prefer slipping a small nursery pot straight into the pumpkin instead of filling it with loose soil. That simple trick keeps damp soil away from the flesh, so the pumpkin holds its shape longer.
If you plant directly, drill several drainage holes in the bottom and use fresh potting mix. Hardy mums and ornamental kale handle cool October nights well and look lovely tucked side by side.
Water the plant gently, letting extra moisture drain before setting the pot back inside its orange home. Expect a few weeks of beauty, depending on temperatures and how firm your pumpkin started out.
When the shell finally softens, move the plant into a garden bed or larger container for winter. Then drop the pumpkin into compost, and you have a tidy fall project with almost no waste.
6. Roast Pie Pumpkins Into Homemade Puree
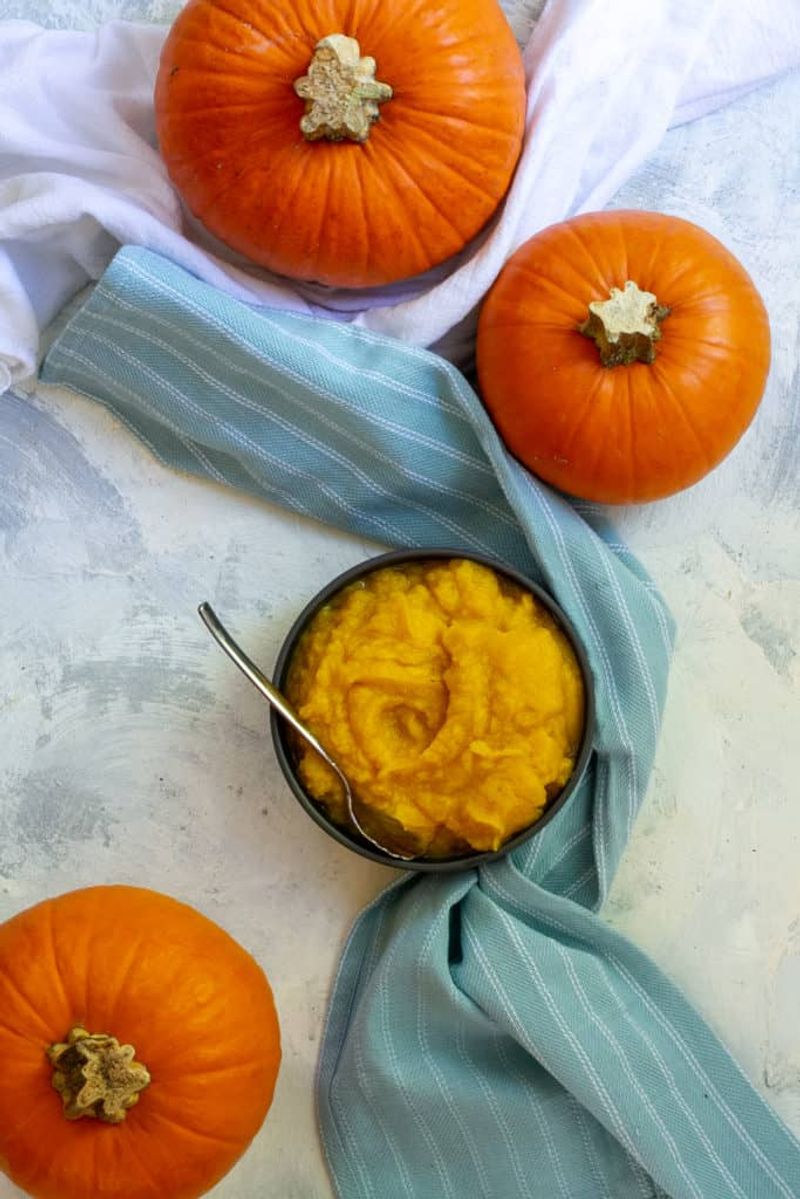
Your kitchen smells like a bakery the moment a roasted pumpkin comes out of the oven, trust me. Small sugar or pie pumpkins taste sweeter and less stringy than big carving types meant for porch duty.
Only cook pumpkins that stayed whole, unpainted, and cool, since carved ones spoil quickly and gather bacteria. A jack-o’-lantern that sat outside for days belongs in the compost, not in your pie crust.
Wash the skin, then cut the pumpkin in half from stem to bottom with a sturdy knife. Scoop out seeds and pulp, setting the seeds aside if you want a crunchy snack later.
Place halves cut-side down on a lined baking sheet and roast at about 375 degrees Fahrenheit. Most small pie pumpkins turn fork-tender in forty-five minutes to an hour, depending on their size and thickness.
Once cool, scoop the soft flesh into a blender or food processor and whirl until smooth. Homemade puree can be watery, so I drain mine in a cheesecloth-lined strainer for about an hour.
Refrigerate puree in a covered container for up to a week, or freeze it in measured portions. Food safety experts advise against canning pumpkin puree at home, so freezing is the safer choice.
7. Bake Pumpkin Biscuits For Your Dog
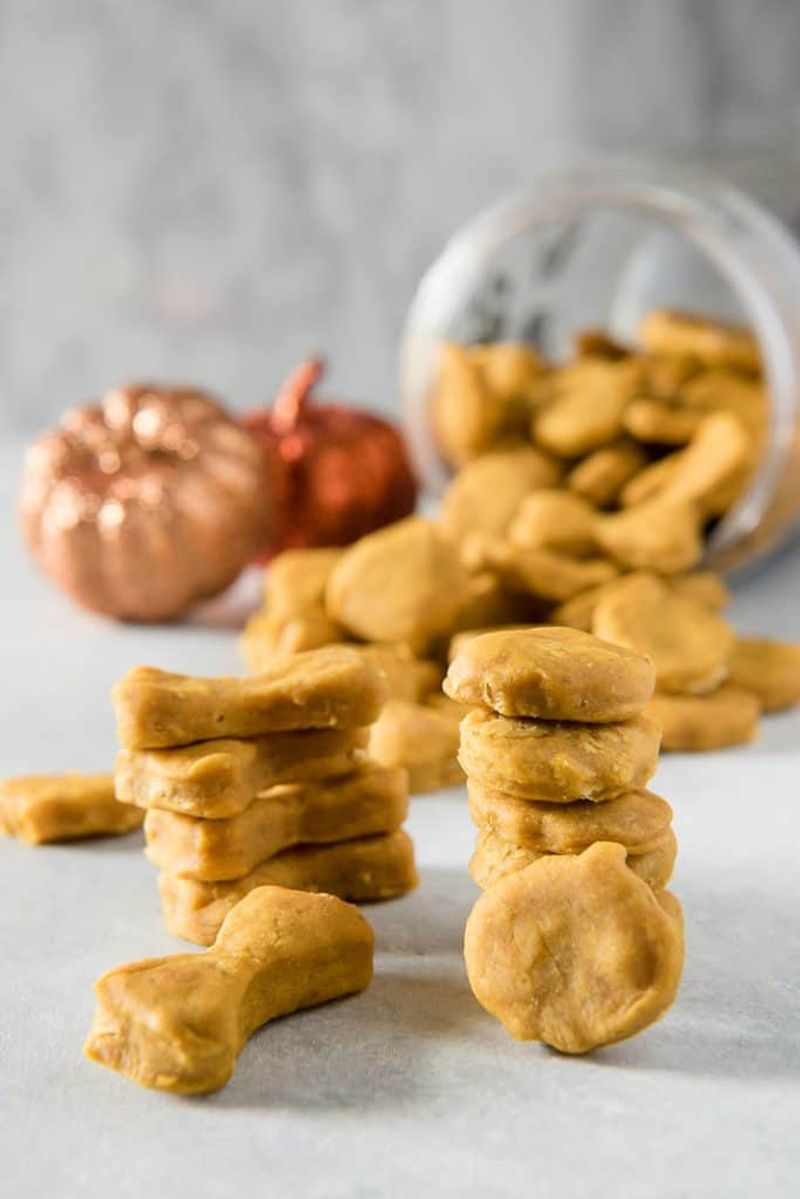
My dog sits like a perfect angel whenever pumpkin biscuits come out of the oven, which is rare. Plain cooked pumpkin offers fiber and vitamin A, and many dogs love its mild, earthy sweetness.
Start with your own unseasoned puree or plain canned pumpkin, not pumpkin pie filling with added spices. Pie filling often includes sugar and nutmeg, and nutmeg can upset dogs when they eat larger amounts.
Mix about one cup of puree with peanut butter, an egg, and enough oat flour for dough. Check the peanut butter label carefully, because xylitol is a sweetener that is very dangerous for dogs.
Roll the dough flat and cut fun shapes, like little leaves or bones, using cookie cutters. Bake at 350 degrees for roughly twenty to twenty-five minutes, until the biscuits feel firm and dry.
Let them cool on a rack, then store them in the fridge for about a week. Freezing works well too, and frozen biscuits make a cool, crunchy reward after a muddy fall walk.
Treats should stay a small part of your dog’s daily diet, so offer one or two at a time. Ask your veterinarian first if your pup has allergies or follows a special prescription diet.
8. Donate Fresh Pumpkins To Pigs And Goats
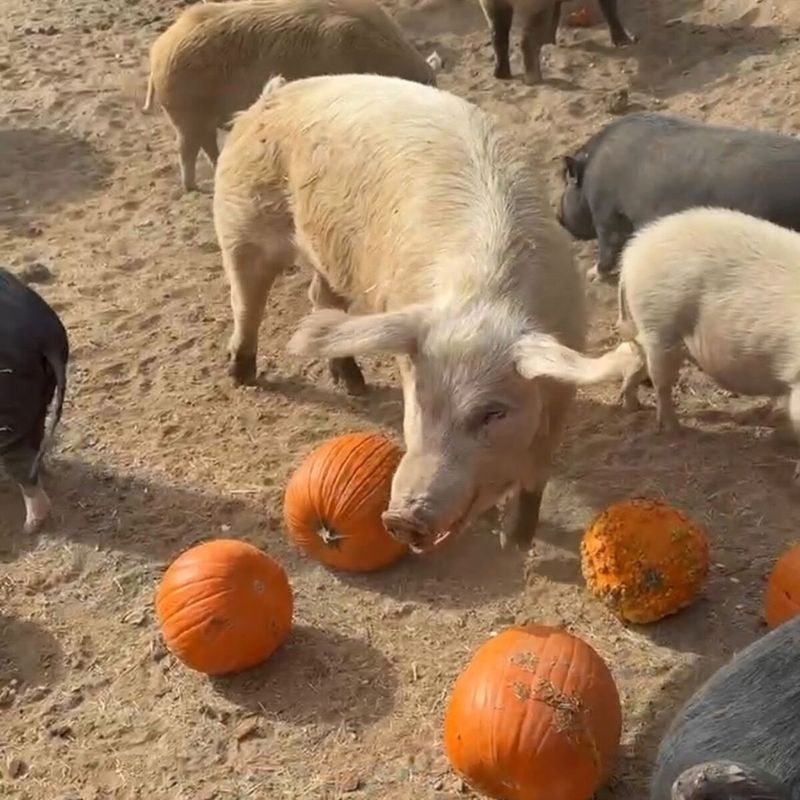
Pigs crunch through pumpkins with such joy that farm volunteers often call it the happiest snack of fall. Goats and chickens get excited too, pecking and nibbling until only a thin orange shell remains.
Many farms, animal sanctuaries, and some zoos welcome post-Halloween pumpkins as treats or enrichment for their animals. Some communities also host drop-off events, like Pumpkins for Pigs, that connect households with nearby farmers.
Call ahead before loading your trunk, since each place sets its own rules about what it accepts. Some only want whole pumpkins, while others take carved ones if they are fresh and free of mold.
Remove candles and stickers first, and skip painted or glittered pumpkins, since those coatings can harm animals. Moldy pumpkins also cause problems for livestock, so the compost bin is a better home for those.
I love this option because one quick drive turns porch decorations into a real meal for hungry animals. Kids usually enjoy the trip too, especially when they can watch goats munch the pumpkins they picked.
Ask your county extension office or local farm groups about donation spots near you each November. Social media groups for your town often share farm requests as soon as Halloween night wraps up.
9. Bury Pumpkin Pieces Right In The Garden Bed
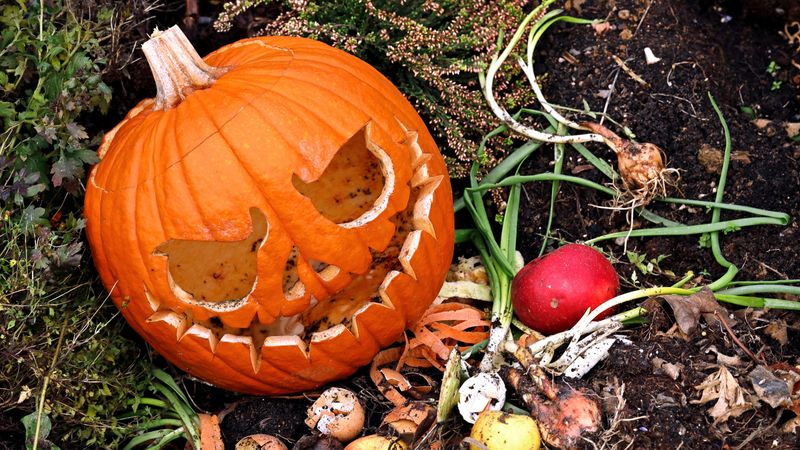
Trench composting sounds fancy, but it simply means digging a hole and letting the soil handle the rest. Worms find buried pumpkin chunks fast, and they turn that soft flesh into rich, crumbly earth.
Pick an empty bed or a spot where you plan to plant next spring, away from tree roots. Dig a trench or hole roughly a foot deep, which helps keep smells and curious critters away.
Chop the pumpkins into small pieces first, because big hunks take much longer to break down underground. Drop them in, add a few handfuls of shredded leaves, then cover everything with the soil you removed.
Over the winter, microbes and worms slowly work the pumpkin into organic matter that improves soil texture. Better texture helps sandy soil hold water and helps heavy clay drain more easily after spring rains.
Give the spot several months before planting, since fresh decomposing material can tie up nitrogen for a while. By spring, the pieces should be mostly gone, leaving darker soil ready for beans or squash.
Volunteer pumpkin seedlings may pop up next year, which feels like a fun bonus from your old jack-o’-lantern. I let one sprawl last summer, and it gave me a funny-looking mystery pumpkin by early fall.
10. Roast Crunchy Pumpkin Seeds For Snacking
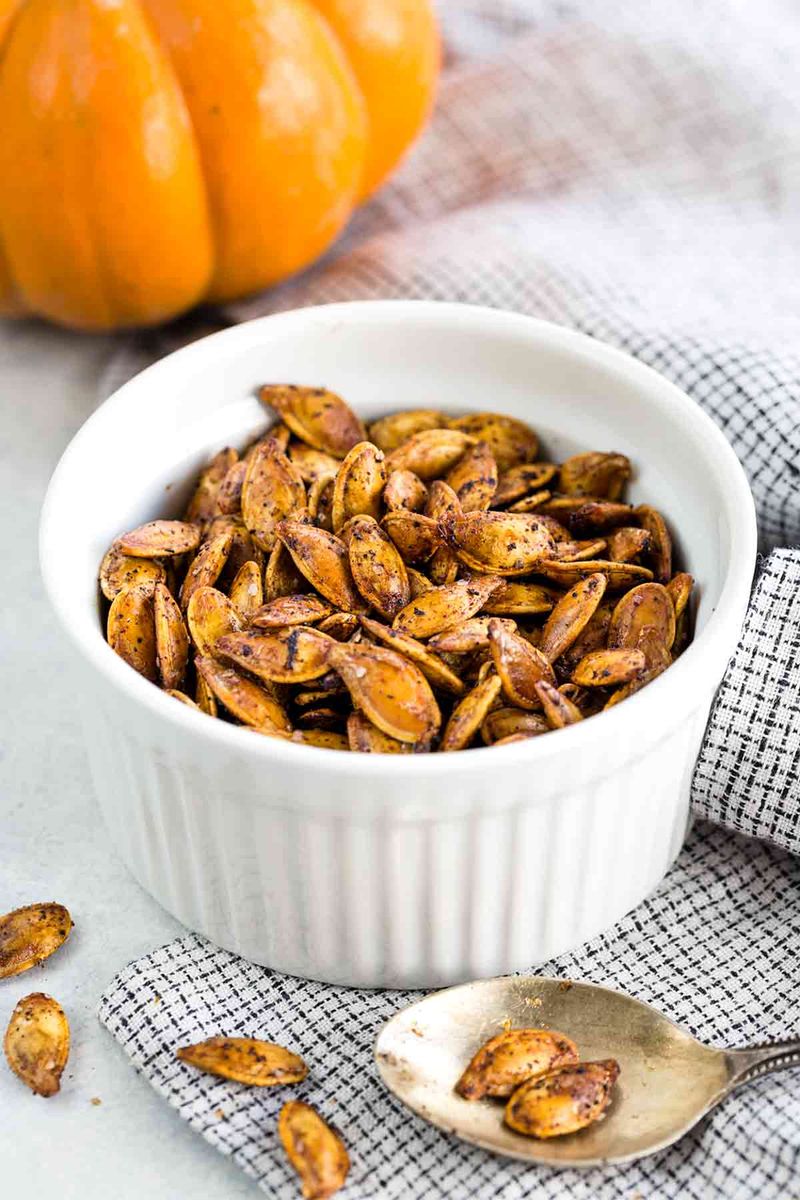
Pumpkin seeds pop and crackle in the oven, and the sound alone usually brings my family running. These little seeds pack protein and magnesium, so they make a much smarter snack than a bag of chips.
Separate the seeds from the stringy pulp, then rinse them in a colander under cool running water. A bowl of water helps too, since seeds float while heavier pulp usually sinks to the bottom.
Pat the seeds very dry with a towel, because wet seeds steam instead of turning crispy. Some cooks boil them in salted water for ten minutes first, which seasons the inside nicely.
Toss the seeds with a little olive oil and salt, then spread them in one even layer. Try smoked paprika for a savory kick, or cinnamon with a pinch of sugar for something sweet.
Roast at around 325 degrees for twenty to thirty minutes, stirring halfway so they brown evenly. Watch closely near the end, since seeds go from golden to burnt faster than you might expect.
Cool them on the pan, then store them in an airtight jar for up to a couple of weeks. Sprinkle them over salads or oatmeal, or just grab a handful while you rake leaves.