10 Disadvantages Of Worm Castings And Helpful Ways To Surpass Them
There are many benefits of organic fertilizers, and worm castings are one of the best. They’re au naturale, so you don’t have to worry about overfertilization.
However, there are several disadvantages of worm castings you should consider before either using them or making your own.
The process of producing your vermicompost is time-consuming and labor-intensive, and harvesting it isn’t exactly easy. This type of compost may also have a bad smell, attract pests, have low NPK, and be expensive to buy.
However, it’s still thought of as one of the best composts for a vegetable patch. Therefore, I’ll present a solution for each of these disadvantages so that you don’t have to go through the same troubles I did.
Let’s get started!
Disadvantage 1: Time-Consuming Production And Low Quantity
The time it takes to harvest worm castings can be anywhere between 6-8 weeks, 4-6 months, or even longer.
It all depends on the method and materials you use!
The fastest way to produce your own vermicompost is by using partly decomposed materials rich in microbes, which is what commercial producers use.
Additionally, if you constantly keep adding new materials to your compost bin, the process will never really finish and it’ll end up taking much longer than it’s supposed to. That’s why I only add fresh produce to my vermicompost once a month in order to allow the worms to finish what they’ve started.
And because this process usually takes months to complete, the amount you end up with isn’t enough for your garden, especially in the beginning.
So what can you do about it?
Solution: Patience And Early Application
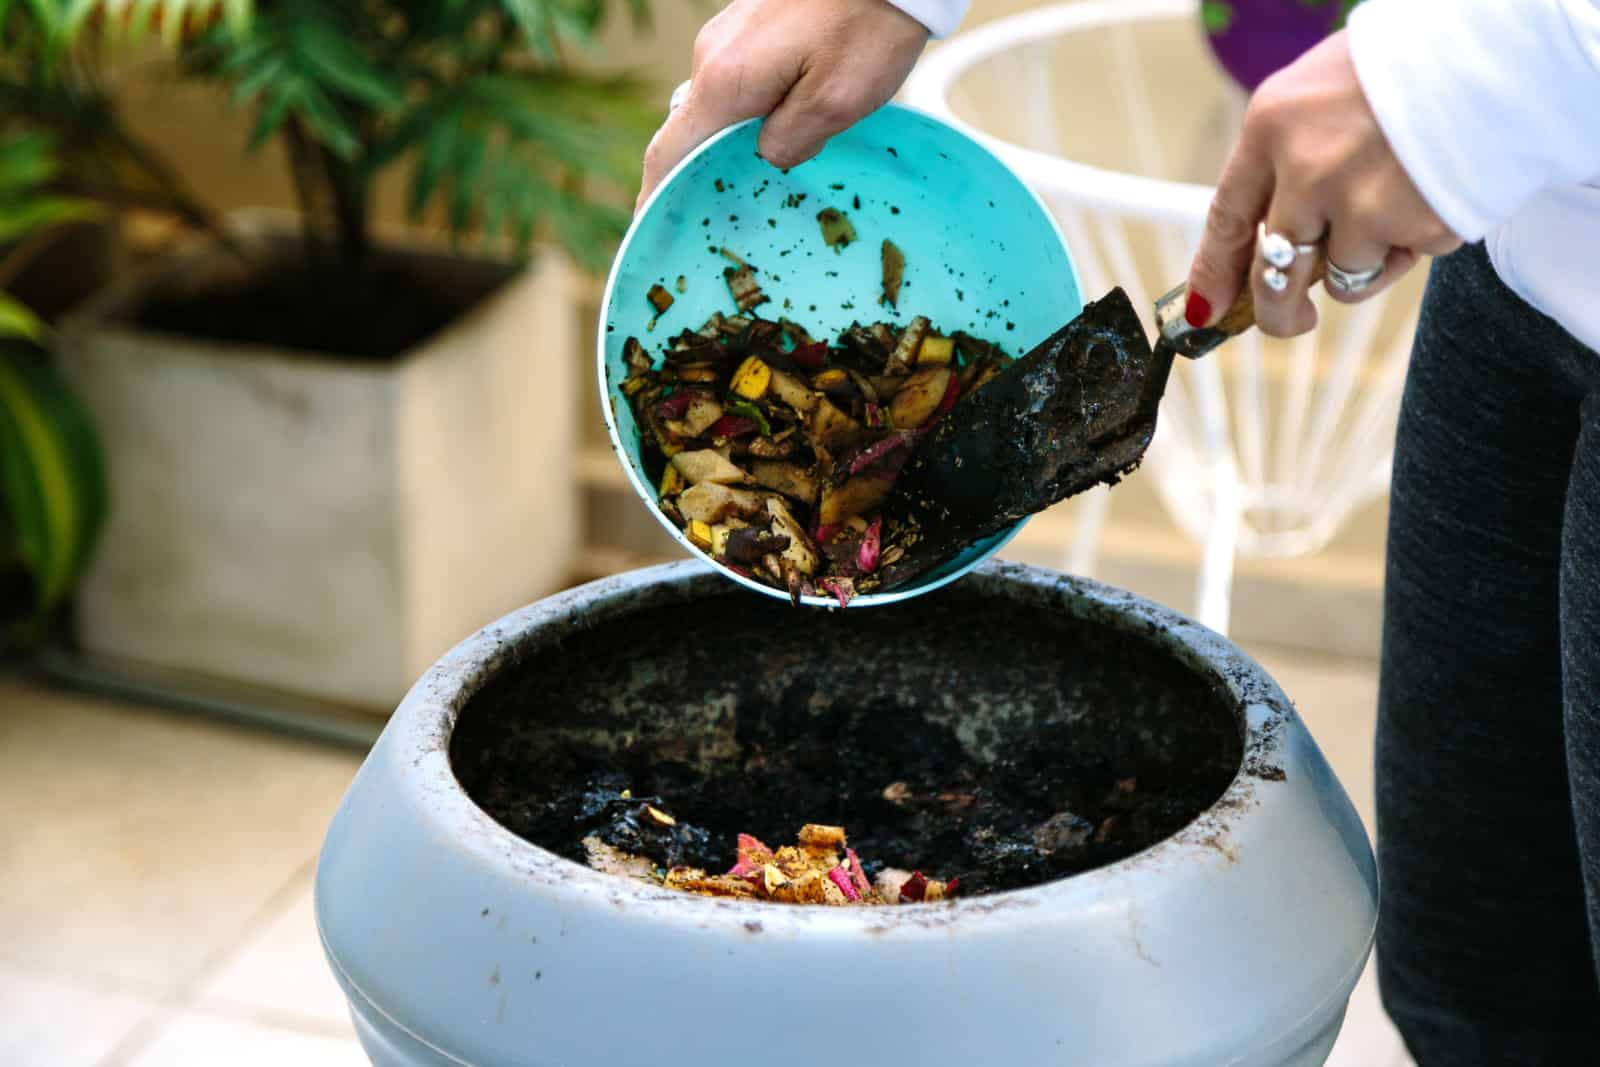
What I like to do is use the materials I have at home so that I can reduce my waste. Sometimes I’ll compost decomposed leaves (aka leaf mold). They need about 1-2 months before you can harvest the earthworm castings.
I’ll also use kitchen scraps, but fresh produce like this takes months to break down, so you’ll definitely need some patience.
I don’t feed my vermiculture every day; instead, I fill up a bucket of scraps and add it to my vermicompost every couple of days. That way, the materials will have time to decompose and I won’t unnecessarily prolong the process.
Finally, applying worm castings to your plants early in the season will encourage them to grow. This way, they will slowly release their nutrients throughout the season and you’ll be able to use the next batch for other plants, regardless of its low quantity.
Disadvantage 2: High Maintenance
Producing your own worm castings can be a tedious job because it requires a lot of monitoring and maintenance.
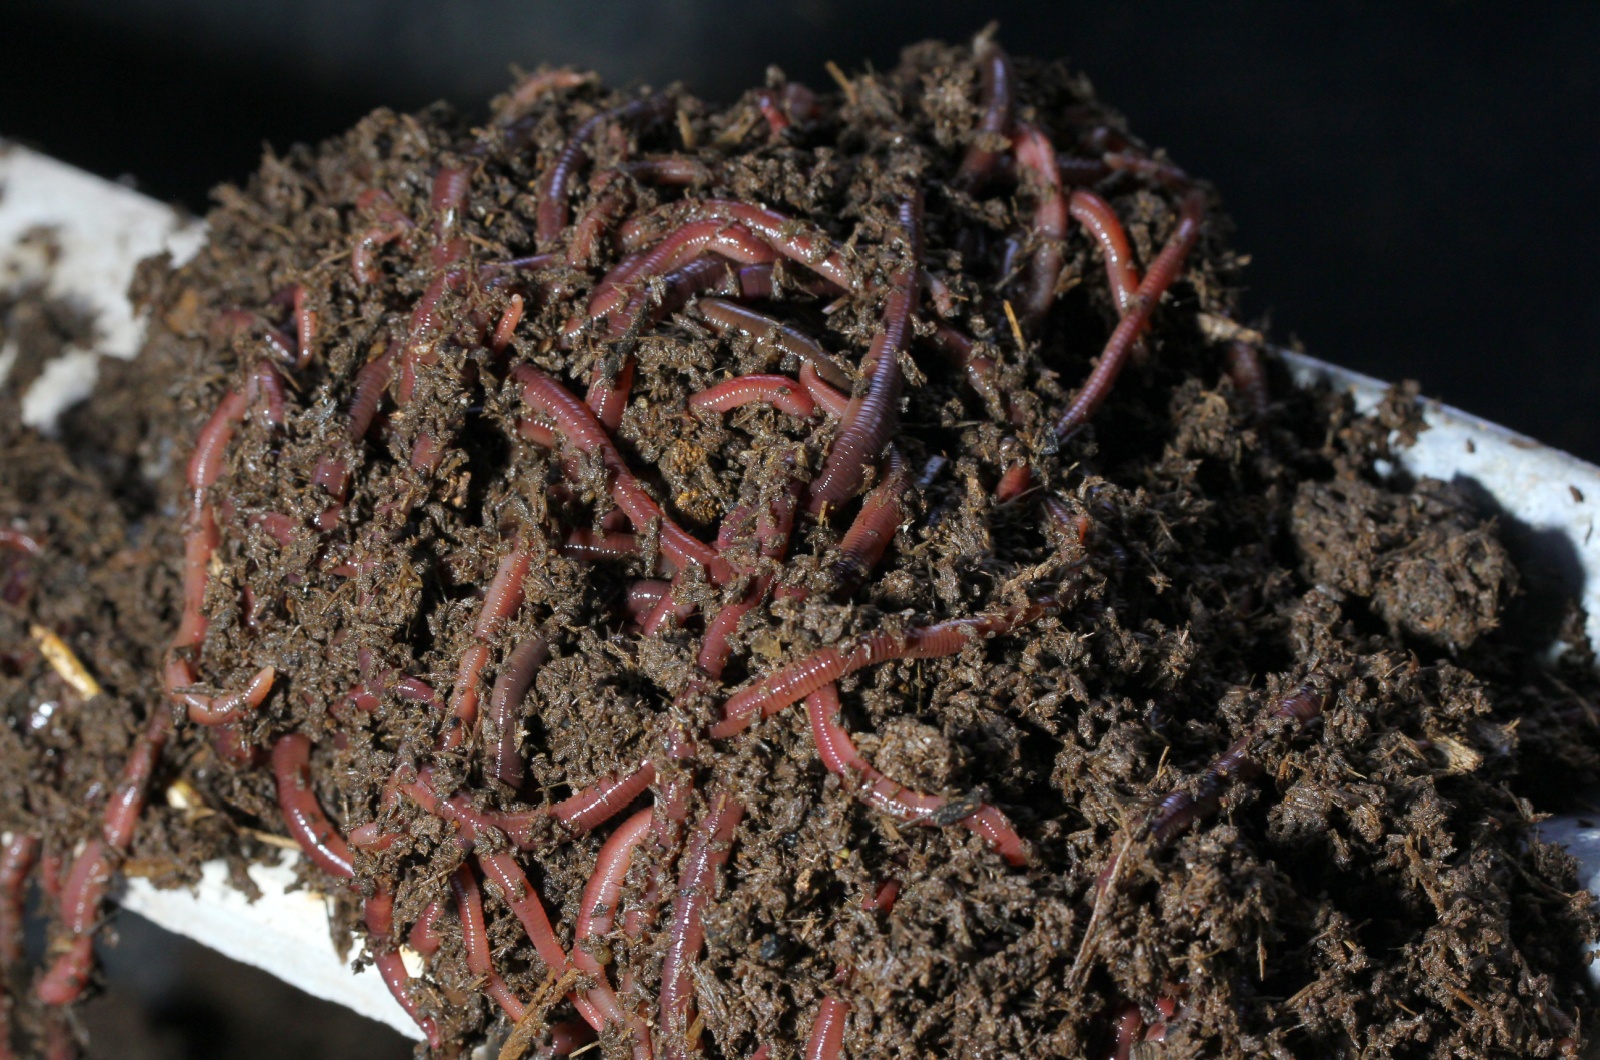
You have to pay attention to the moisture and temperature since worms are sensitive and can suffer from high heat and low water content. There are also predators such as rodents, centipedes, frogs, etc. that feed on earthworms. (1)
The best temperature for vermicompost is between 55 and 95 degrees Fahrenheit. This won’t damage the worms and will keep the reaction going.
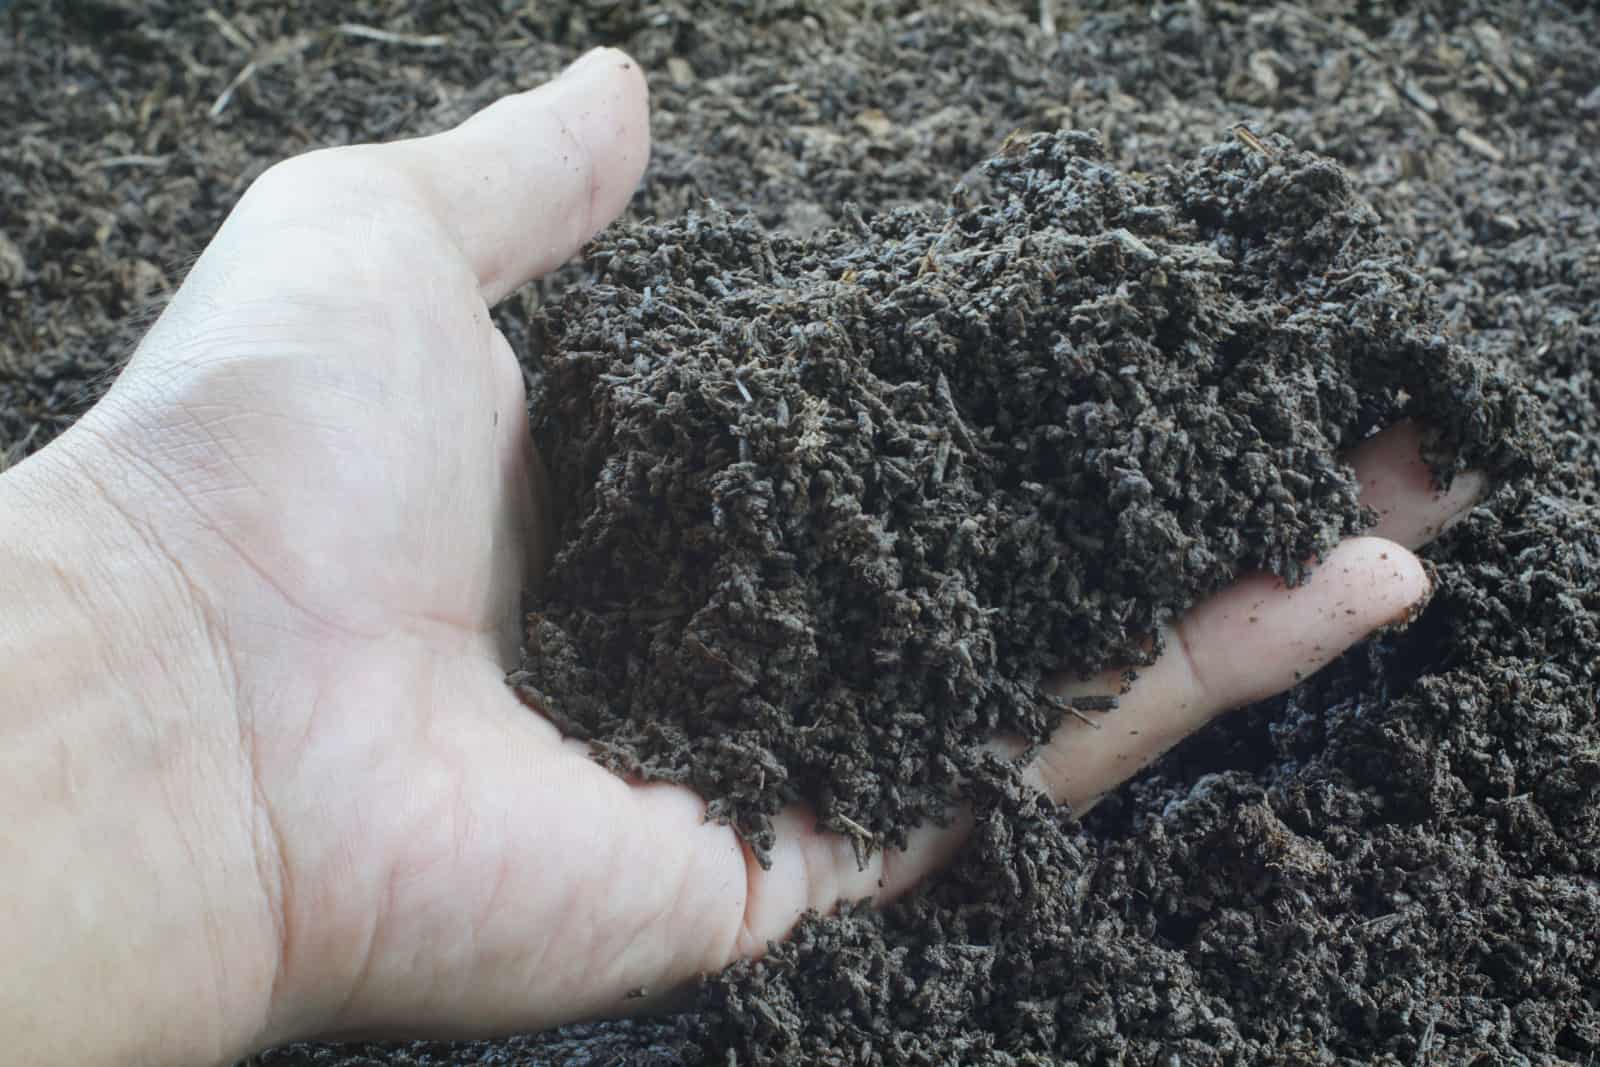
You should also keep the moisture at around 80%, but without any standing water. When you squeeze the contents of the bin in your hands, no water should drip and you shouldn’t hear any crinkling.
Finally, you need to feed your earthworms regularly to maintain the temperature and provide the materials these invertebrates need.
Solution: Devise A Plan
The best thing you can do is create a plan for how much food and water you’ll add to the bin, where you’ll keep it, and what type you’re going to use.
Earthworms are sensitive to light, and even short exposure can paralyze or kill them, according to Sherman. (2) Therefore, using opaque and dark bins could save you a lot of trouble in the long run.
Once you choose the proper bin, you can keep it indoors (a garage or shed) and forget about temperature. But if you keep it outdoors, temperature spikes might harm the worms, so keep your outdoor vermiculture in a shady location.
It’s also important to use suitable food. For instance, you can add various manures, but some you’ll have to clean of urine and dewater if they’re liquid, pre-compost, etc. Use food scraps, but not meat if it’s not pre-decomposed since that can attract wildlife. (3)
When it comes to how much food you should add, I’d say that it depends on how many worms you have. Each earthworm consumes half its weight per day. Therefore, if you have 4 pounds of worms, you should give them 2 pounds of food daily, or 14 pounds a week.
Maintaining moisture is slightly easier. All this food, whether it’s manure or food scraps, is moist, so you don’t have to water it. But if there’s high air circulation in your bin and you notice the materials dry out fast, you may want to pour some water in.
Bedding can also help you maintain vermiculture. It can soak up the excess, feed the worms, and enhance the airflow. You can use straw, coir, or cardboard. Add the bedding with every feeding, and that’s it!
Here are some more tips for maintaining vermicompost:
https://www.youtube.com/watch?v=mtlRpZlEv2s
Disadvantage 3: Difficult To Harvest
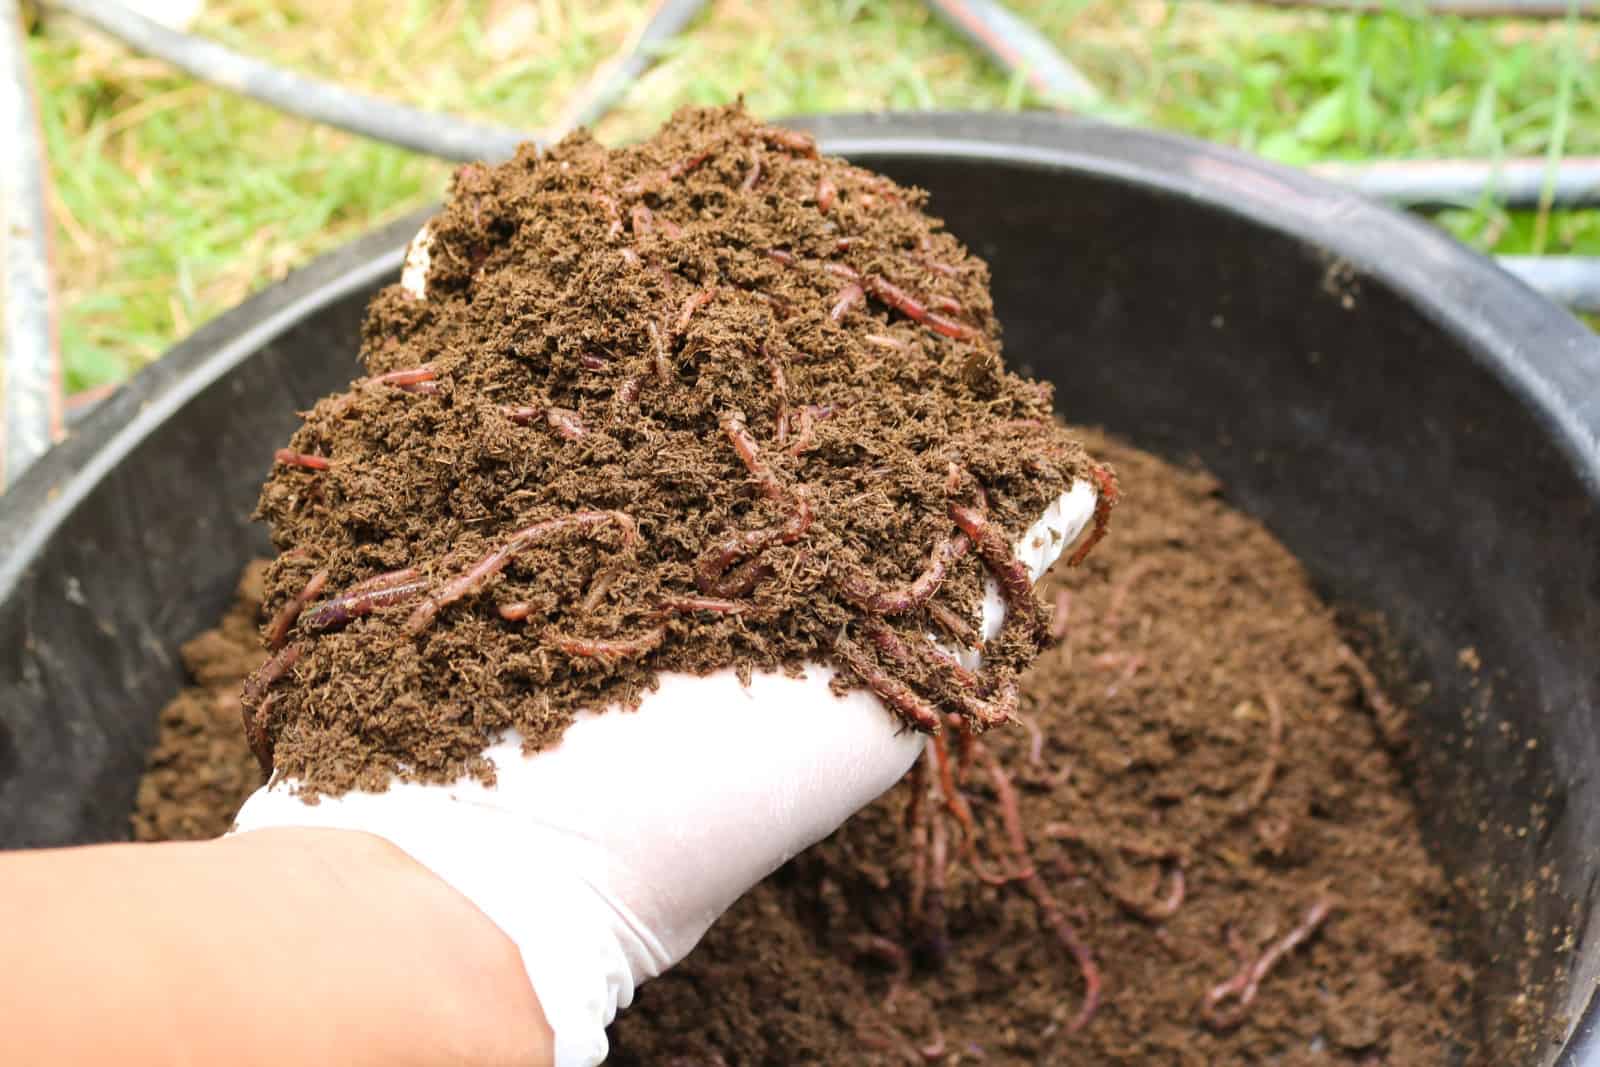
One of the things most gardeners have trouble with is harvesting their black gold.
It’s not as easy as putting a pile of compost in the ground. You have to separate the worms first, and that’s where it gets tricky.
You can’t just take a pile of vermicompost, remove the worms, and end up with 100% castings. You have to separate the bedding too, and all that can be quite laborious.
Some growers build pyramids and slowly remove the outer parts of the bedding and castings while worms seek shelter within the structure. Here’s how I do it!
Solution: Feed Half The Bin
When you first start your vermiculture, you should place the food all over it to feed all the worms. But once you notice that almost everything has broken down to castings, you can apply the food to just one half or a corner, which will make harvesting a lot easier.
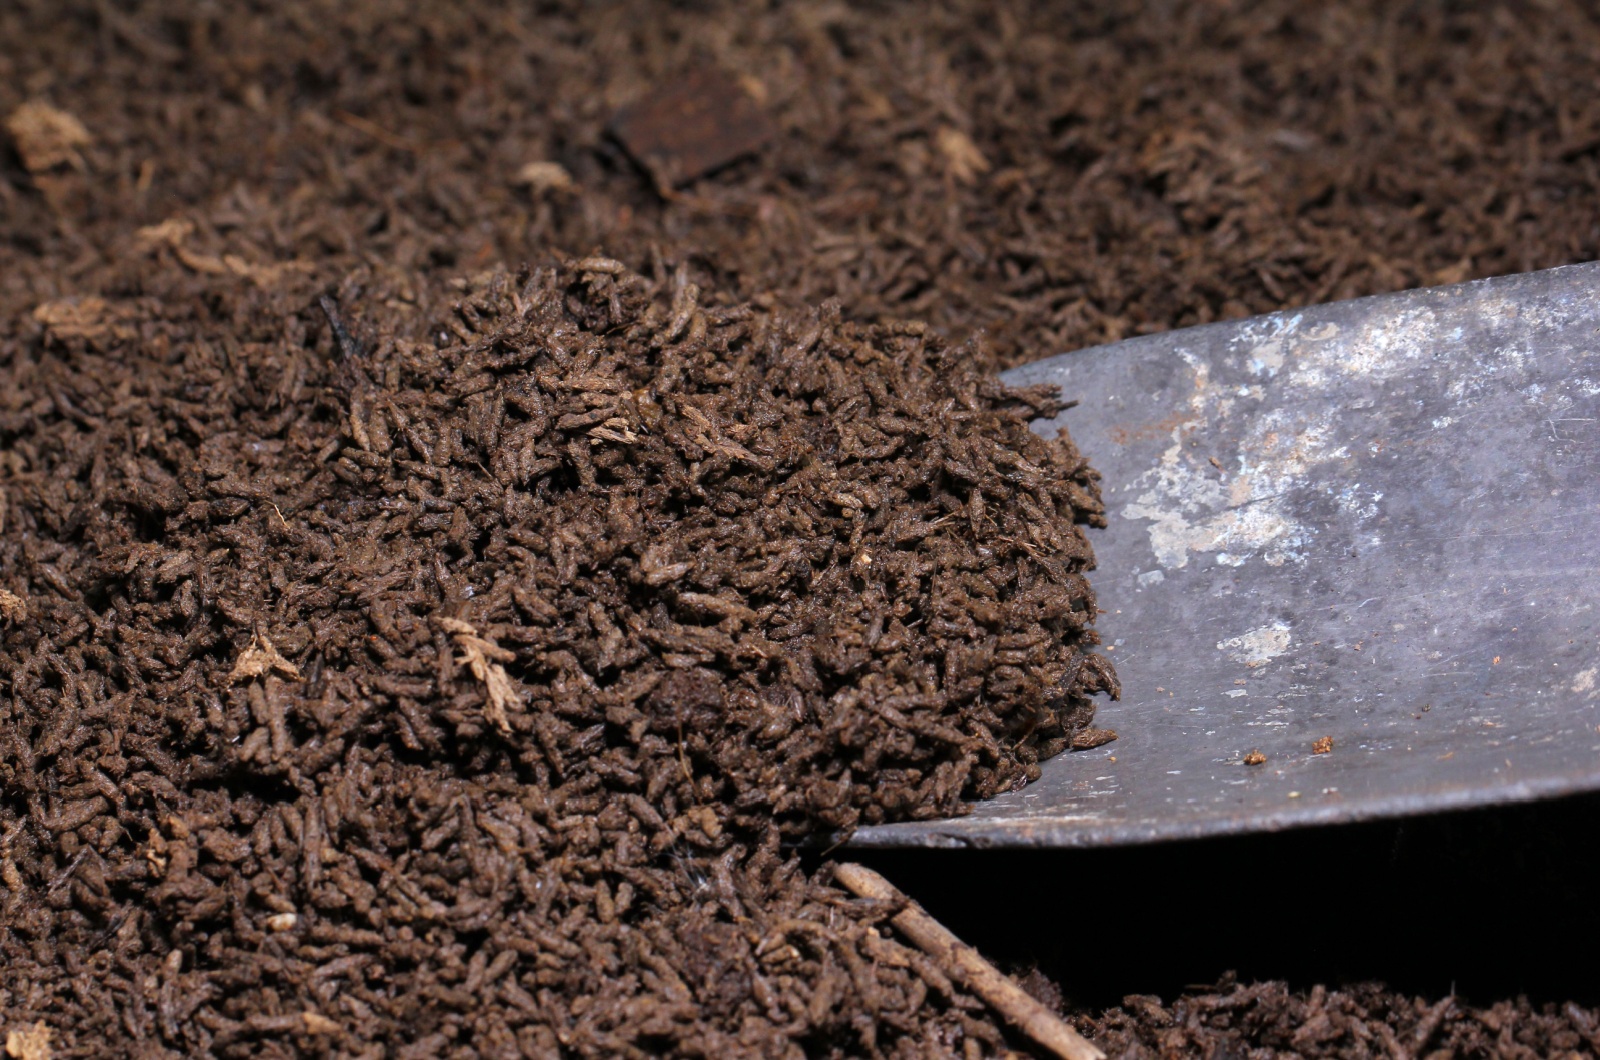
All you’ve got to do then is harvest that one finished half. If you see some chunks of food and bedding, you can use a sifter to separate them completely, and you’ll end up with 100% worm castings.
First let the castings dry out for about a day, and then sift them through a 6mm sifter before moving to a 2mm one. However, I don’t do this since it’s way too much work, and a bit of bedding and some chunks won’t harm my plants.
Here is some more information about harvesting the castings:
https://www.youtube.com/watch?v=YTQVMmGXwvo
Disadvantage 4: Unpleasant Smell
This type of composting is completely organic, which means it won’t have a particularly pleasant smell. However, the rotten odor spreading from your bin shouldn’t be too strong.
There are a couple of reasons this could happen. Too much moisture or food will result in rotting rather than composting.
Also, inadequate air circulation, using the wrong food, and an acidic pH can all lead to this issue.
How can you deal with it?
Solution: Monitor The Vermicompost
The first rule of vermicomposting is not to add too much food to your bin. If the worms can’t keep up, the food will just go to waste. Therefore, always wait until most of it is decomposed before adding more.
Excess moisture will also cause rotting and ruin all your hard work. That’s why it’s a good idea to refrain from adding too many juicy materials, or at least let them dry out beforehand. And if you already have excess moisture in your compost, add some bedding to soak it up.
Poor air circulation can lead to increased formation and emission of unpleasant odors when composting, which is why it’s important to ensure a constant oxygen supply. (4)
Also, foods such as meat and fish will quickly rot, so it’s best to avoid feeding them to your worms.
Research has correlated low pH levels with unpleasant odors, but also suggests that high aeration in the beginning, and applying recycled compost, could prevent this issue. (5)
Disadvantage 5: Attracting Pests
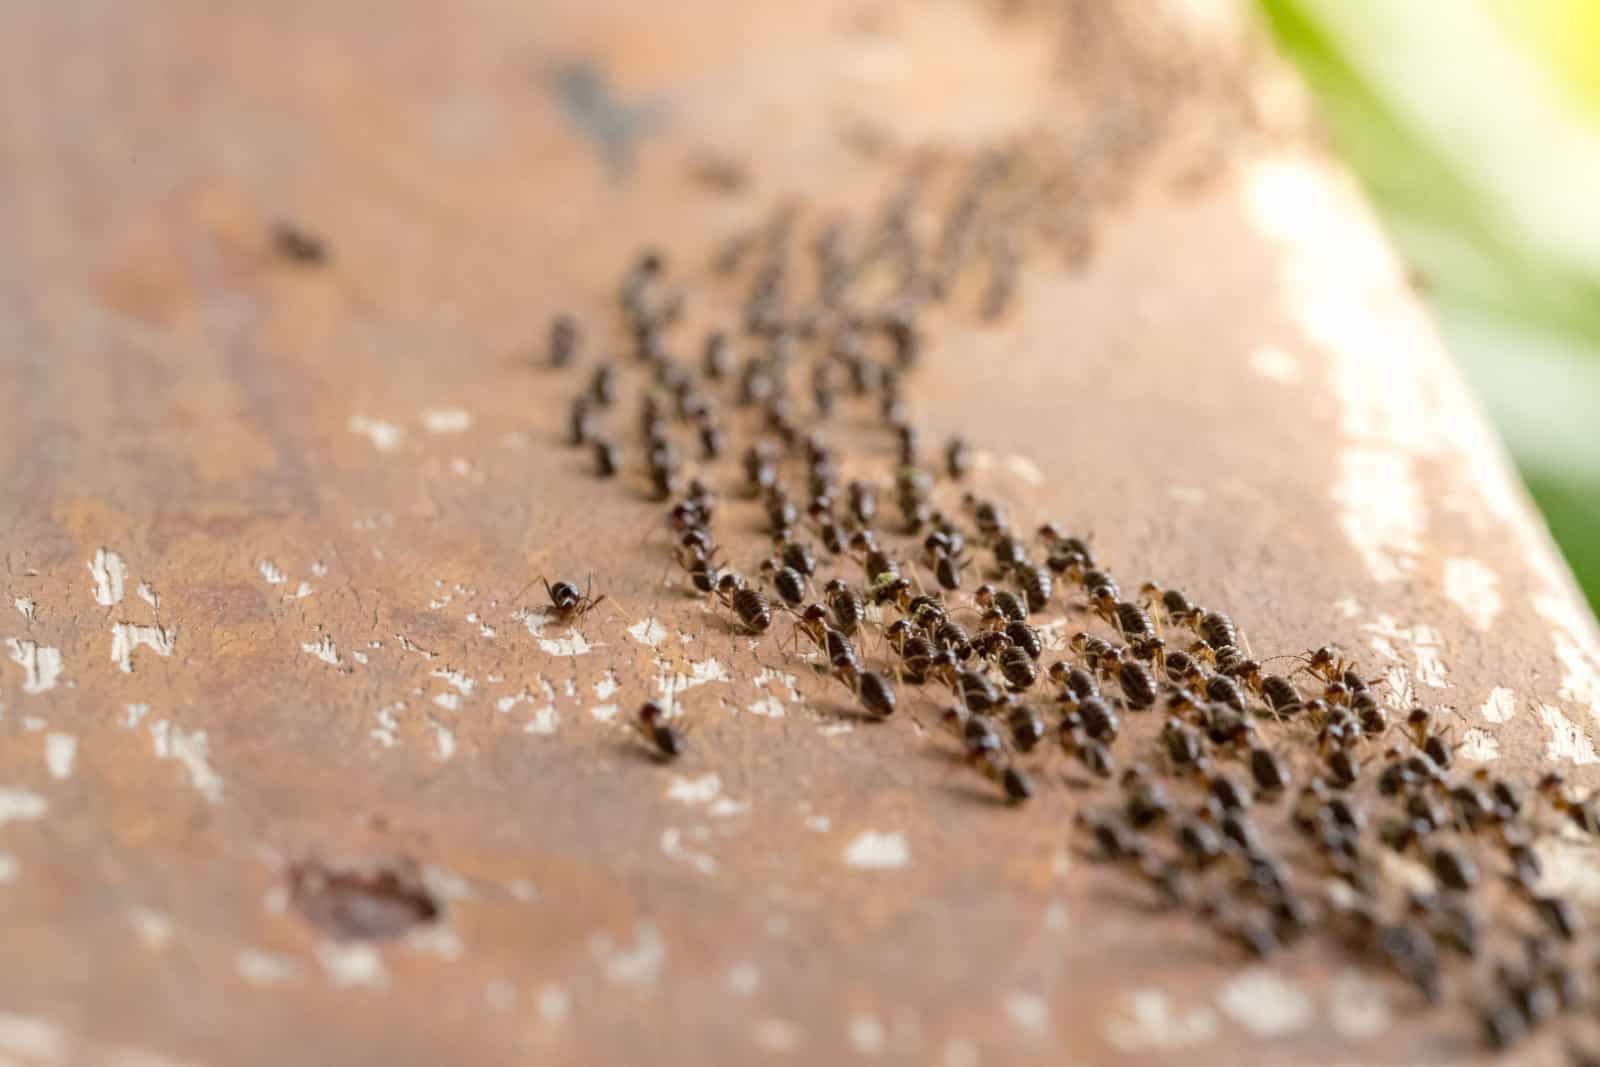
Making your own compost can attract unwanted guests, such as flies, ants, and even larger critters.
These can be a nuisance and wreak havoc on your bin, especially raccoons and larger pests.
However, what I hate the most are flies in compost. They just buzz around, get in the way, and make me think that my compost isn’t clean.
Luckily, there are some simple and effective ways to get rid of them.
Solution: The Vinegar Method
If you want to get rid of flies around your compost, you can simply place a jar of vinegar near it. This method is effective because the most common flies in composts are fruit and vinegar flies.
They’ll drown in the vinegar, and your issue will be resolved.
However, if you want to prevent this issue in the first place, make sure not to overfill your bin or add any meat so you don’t attract raccoons and larger pests.
Disadvantage 6: Not Suitable For All Garden Waste
Unfortunately, not all food and garden waste is suitable for vermicompost, although you can use many of them if you process them beforehand.
For instance, meat and fish aren’t the best options, but if you pre-compost them, you can safely add them to your worm farm.
You also shouldn’t add freshly cut grass, fresh leaves, etc. because they are too moist and can disrupt the balance of your vermiculture. However, if you dry them, you can use them as bedding; just make sure to maintain the balance.
Avoid including sticks and branches since worms won’t be able to process them.
Cedar and pine shavings are too acidic and can lower the pH of the worm farm, so I wouldn’t add those either if I were you.
Solution: Make More Than One Type Of Compost
As I mentioned, you can pre-process a lot of garden waste in your vermicompost.
However, this often seems like an additional chore and puts people off of trying this method.
That’s why I have both a traditional bin and a worm farm on my property. This way, I don’t have to wait for the grass clippings to dry out; I can simply add them to my every-day compost.
Disadvantage 7: Low NPK
Contrary to popular opinion, worm castings aren’t actually that nutritious. They usually have an NPK somewhere between 1-0-0 and 5-3-3, but it depends on the materials you feed the worms with.
For most plants, these percentages aren’t enough – especially if you have poor soil.
So, how can you fix it?
Solution: Use Supplements
The best way to give your plants all the minerals they need is by using supplemental organic fertilizer alongside worm castings.
You can make your own or you can use commercial ones such as triple 14 or some other variety, depending on your plant’s requirements.
Disadvantage 8: Unsuitable For Growing Plants In Just Worm Castings
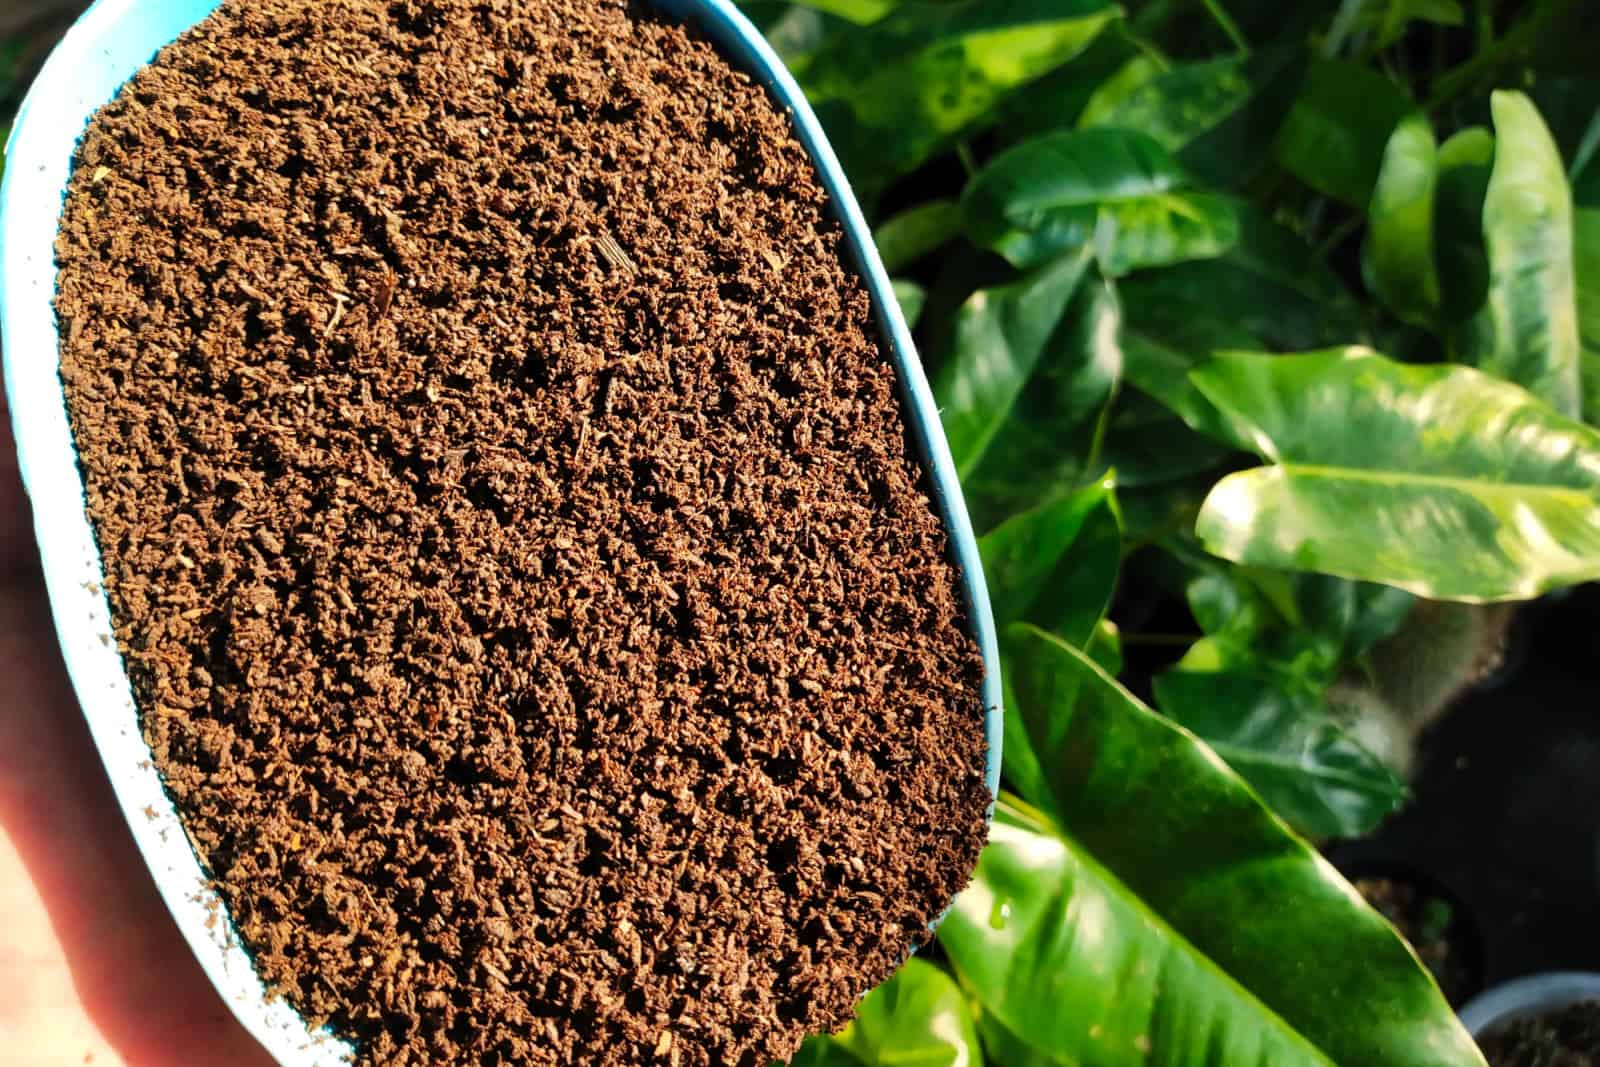
If you sift your vermicompost and remove all the chunks and bedding, you’re left with 100% worm castings.
This seems like a great thing, so why am I speaking of it in terms of a disadvantage? Well, it’s because you can’t grow your green buddies in pure vermicompost.
They are just organic matter, and plants need other things to support their growth, such as soil, perlite, coir or peat moss, etc.
You can, of course, plant your green buddies in worm castings alone because they won’t burn their roots. However, plants won’t put on much growth if you grow them in pure vermicompost. (6)
Solution: Mix With Potting Medium
Luckily, you can fix this issue quickly and easily. One way is to get ready-made potting mixes that already contain worm castings. These blends will sustain your plants for a few months, so you won’t need to feed them any time soon.
You can also add vermicompost to your in-ground plants like you would any other amendment. Work it into the topsoil, and water your green buddies.
I also like to make my own blend with vermicompost, but it depends on the plants I’m going to use it for. Sometimes I’ll make a soilless seed-starting mix with regular compost, pumice, and a handful of worm castings.
And if I want to pot my plants, I’ll also use some potting soil to support the plant growth.
Disadvantage 9: May Contain Weeds
Unlike regular compost, which gets really hot, vermicompost is fairly cool and doesn’t heat up that much. This may pose an issue because there’s not enough heat to kill those pesky weed seeds.
Some gardeners even claim that because vermicompost doesn’t heat up that much, harmful bacteria can survive.
However, research conducted on organic Municipal Solid Waste vermicompost concluded that worms can kill harmful bacteria, although additional research is needed. (7)
Solution: Make Worm Tea Or Pasteurize The Castings
The good news is that making compost tea or pasteurizing the castings can solve your weed problem.
To make vermicompost tea, you’ll need a gallon of distilled or rainwater, worm castings, and an aerator. Place a handful of vermicompost into an old cloth and use some rubber bands to tie it.
Put the castings into the water, place the aerator in it, turn it on, and let it soak for about 24 hours before using it.
Here are some more tips on making and applying worm tea:
https://www.youtube.com/watch?v=H-Rn4MdpJXw
And if you want to use worm castings in their natural form, but don’t want the weed seeds that may come with them, you can just pasteurize them.
Add a 3-4-inch layer of castings to the pan and place it into an oven preheated to 200°F. Use a thermometer to check the temperature, and once it reaches 160°F, put the castings in for half an hour. Let them cool down a bit, and use them in your garden.
Disadvantage 10: Expensive

It takes a long time to produce vermicompost, and even then the amount isn’t as large as it would be had you made regular compost.
For that reason, worm castings can be quite expensive, and one small bag, which would only treat a couple of plants, costs more than $10. Now imagine you need to feed your entire garden with it! The numbers quickly add up.
So how can you use this product without breaking the bank?
Solution: Make Your Own Vermicompost Or Use It Sparingly
The best way to save money on worm castings is by producing your own. I know it is a tedious process, especially for beginners.
However, if you have a tub you don’t use or something similar in size, simply fill it with straw or coco coir, put in the worms, and regularly add your food scraps. You can get a pound of earthworms for about $15, which pays off in the long run.
But if you don’t want to make your own vermicompost, there’s still a way of saving money.
Use it early in the season so that your plants can get that boost early on. The beneficial organisms found in vermicompost will increase soil fertility and keep your green friends fed for longer.
You can also make compost tea and use it as a foliar spray, or add it directly to your water. That way, you’ll increase the microbial activity and help out your plants at the same time.
Final Thoughts
There are quite a few disadvantages of worm castings, but this article shows that there’s a solution to every problem.
We need to practice patience when starting out since the time between adding the bedding and harvesting the first batch of castings can be quite long.
But once you start using this product, you’ll see that you can solve every possible issue. Low NPK? Not a problem; just add more organic fertilizer to the plants that need more minerals.
Bad smell? Use proper food! Weeds? Make worm tea!
Until next time!
Research:
1. Manyapu, V., Shukla, S., Kumar, S., & Rajendra, K. (2017). In-Vessel Composting: A Rapid Technology for Conversion of Biowaste into Compost. Open Access International Journal of Science & Engineering.
2. Sherman, R. (2003). Raising Earthworms Successfully. North Carolina Cooperative Extension Service.
3. Munroe, G. (2007). Manual of On-Farm Vermicomposting and Vermiculture. Organic Agriculture Centre of Canada.
4. Meena, A. L., Karwal, M., Kj, R., & Narwal, E. (2021). Aerobic Composting versus Anaerobic Composting: Comparison and Differences. Food and Scientific Reports.
5. Sundberg, C. et. al. (2013). Effects of pH and Microbial Composition on Odour in Food Waste Composting. Waste Management.
6. Ali, M., Griffiths, A. J., Williams, K. P., & Jones, D. L. (2007). Evaluating the Growth Characteristics of Lettuce in Vermicompost and Green Waste Compost. European Journal of Soil Biology.7. Soobhany, N. (2018). Preliminary Evaluation of Pathogenic Bacteria Loading on Organic Municipal Solid Waste Compost and Vermicompost. Journal of Environmental Management.