Do These Things The Moment Your Tomatoes In Pennsylvania Start Flowering
Tomato flowers are easy to walk past without giving them much thought, but that first flush of blooms is actually one of the most important moments in the entire Pennsylvania growing season.
What you do right now has a direct impact on how much fruit sets, how long your plants stay productive, and whether you end up with a strong harvest or a season full of near misses.
Pennsylvania’s growing window is shorter than most tomato growers would like, which means every week of productive flowering counts more here than it would in a longer season climate.
There is also a specific set of conditions that Pennsylvania summers create, shifting temperatures, humidity swings, and unpredictable rain patterns, that affect how well tomatoes pollinate and set fruit.
Knowing what to adjust the moment those flowers appear, and what common mistakes to avoid during this stage, can make a bigger difference in your final harvest than almost anything else you do all season.
1. Water Consistently And Deeply
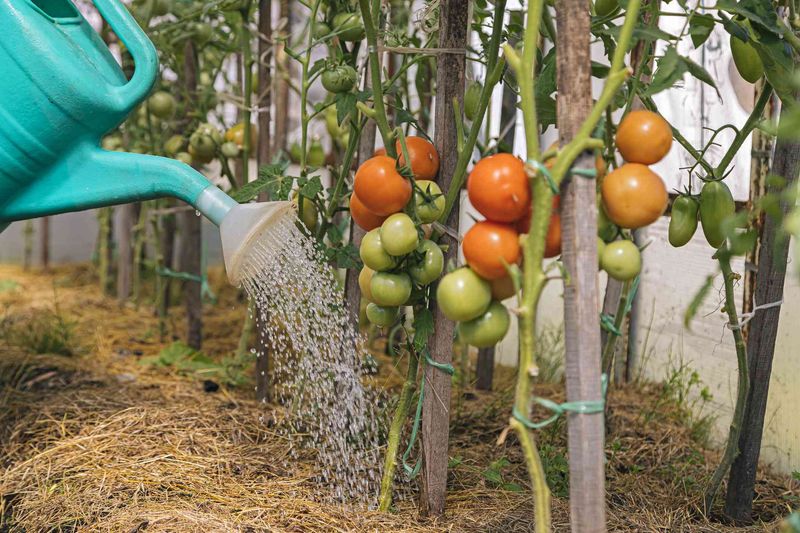
Watering your tomatoes the right way during flowering can be the difference between a bumper crop and a disappointing harvest. Uneven watering is one of the biggest reasons tomato blossoms fall off before they ever become fruit.
When the soil goes from too dry to too wet and back again, your plant gets stressed and drops those flowers fast.
Deep watering encourages roots to grow further down into the soil. Deeper roots can access more moisture on their own, which helps your plant stay steady even during dry spells.
Aim to water slowly and deeply at least two to three times per week, depending on rainfall and heat.
Always water at the base of the plant, not overhead. Wet leaves invite fungal problems, especially in Pennsylvania’s humid summers.
A soaker hose or drip irrigation system works really well for tomatoes because it delivers water directly to the roots without splashing the foliage.
Try to water in the morning so any moisture that does get on leaves has time to dry before evening. Soggy leaves sitting overnight are a recipe for trouble.
Consistent moisture also prevents blossom end rot, a frustrating condition caused by calcium not reaching the fruit properly due to irregular watering habits.
Check the soil regularly by sticking your finger about two inches deep. If it feels dry at that depth, it is time to water.
Keeping that steady rhythm going throughout the flowering and fruiting stages will reward you with healthy, full tomatoes come harvest time.
2. Mulch Around Plants Immediately
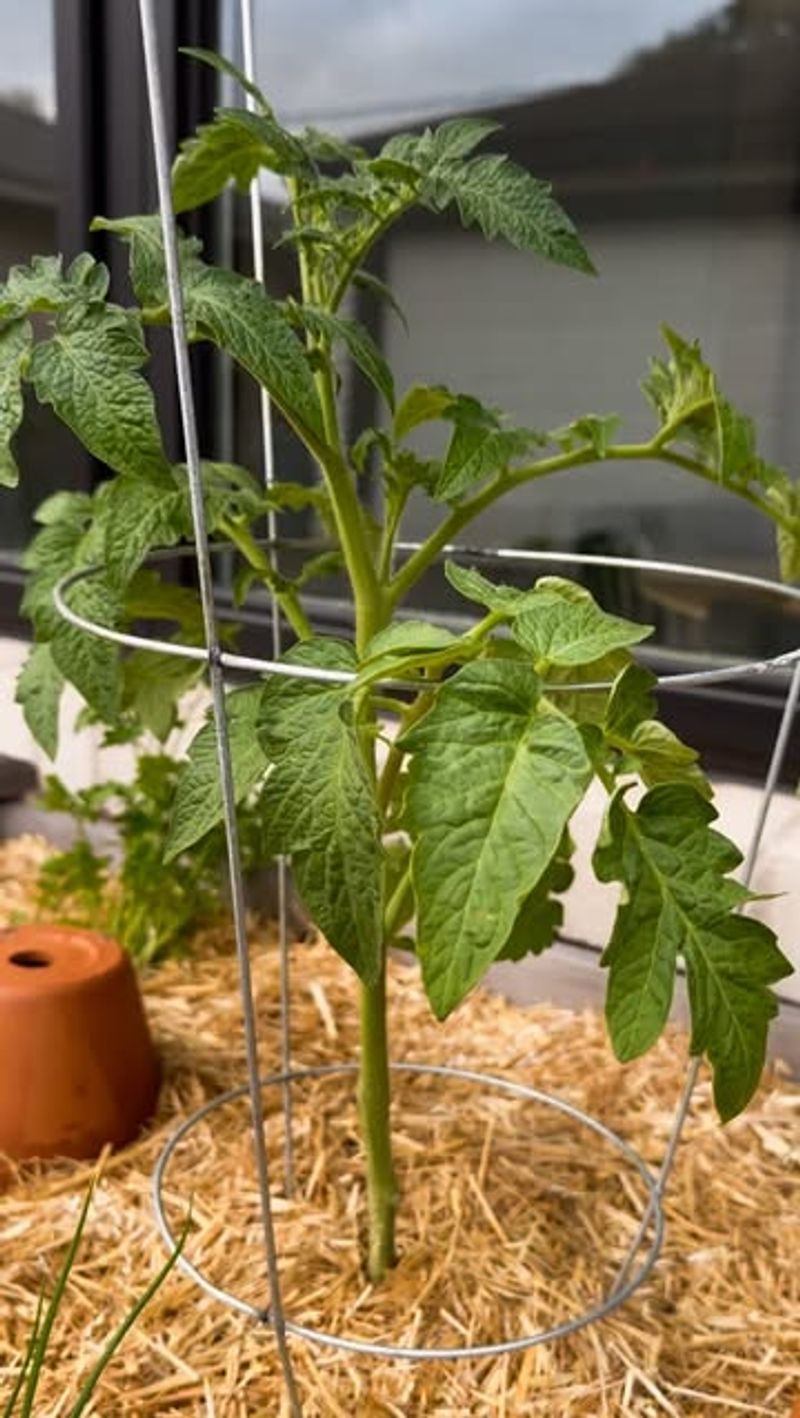
Spreading mulch around your tomato plants the moment they start flowering is one of the smartest moves you can make. Many gardeners skip this step and then wonder why their plants struggle with disease later in the season.
Mulch does a lot of heavy lifting in the garden without costing much time or money. One of its biggest jobs is keeping soil moisture steady. When the sun beats down on bare soil, water evaporates fast.
A good two to three inch layer of straw, shredded leaves, or wood chips acts like a blanket, slowing that moisture loss and keeping roots cool and comfortable.
Your Pennsylvania Garden Changes Every Week. Your Plan Should Too.
Gardening in Pennsylvania changes quickly throughout the season. Every Friday you’ll receive a simple weekly plan showing exactly what to plant, prune, fertilize, harvest, and protect so you never miss the right timing.
Mulch also stops soil from splashing up onto your plants during rain or watering. That might not sound like a big deal, but soil carries fungal spores and bacteria that can spread diseases like early blight.
Keeping that soil from making contact with your lower leaves and stems is a simple way to reduce your risk.
Another bonus is weed control. Weeds compete with your tomatoes for water and nutrients, and during the critical flowering stage, your plants need every resource they can get.
A thick layer of mulch smothers most weeds before they even get started. Organic mulches like straw or shredded leaves also break down slowly over time, adding organic matter back into the soil. This improves soil structure and feeds beneficial microbes.
Apply mulch right after watering so you are locking in moisture from the start, and top it off throughout the season as it breaks down.
3. Switch To A Lower-Nitrogen Fertilizer
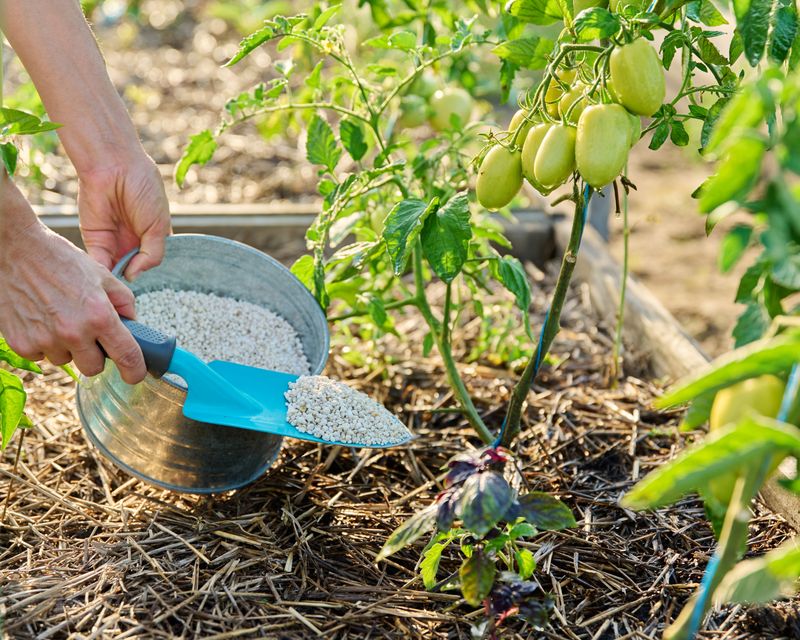
Here is something that surprises a lot of first-time tomato growers: the fertilizer that helped your plants grow big and leafy early in the season can actually work against you once flowers appear.
High-nitrogen fertilizers push plants to produce lots of green growth, but during the flowering stage, that is not what you want anymore.
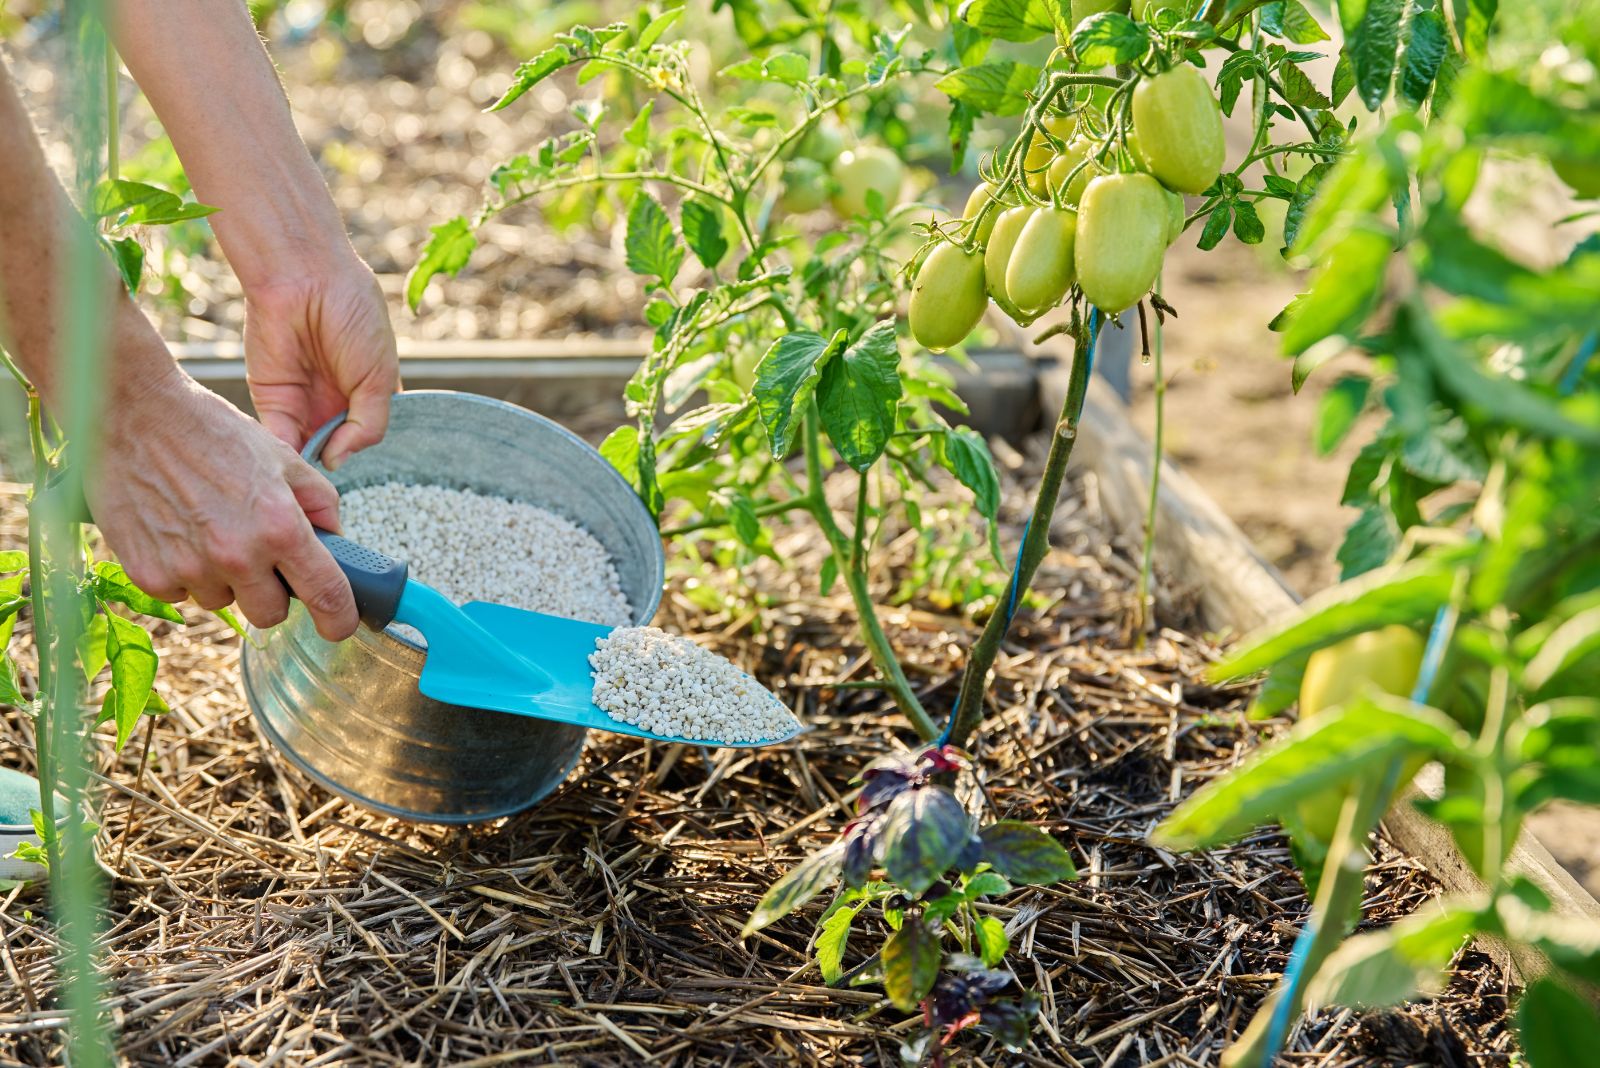
Once your tomatoes start blooming, they need energy directed toward fruit production. A fertilizer with lower nitrogen and higher phosphorus and potassium supports strong root systems, better blooms, and bigger fruit.
Look for a tomato-specific fertilizer or one labeled for fruiting vegetables, with a ratio like 5-10-10 or similar numbers.
Switching fertilizers at this stage does not mean feeding less. Your plants still need regular nutrition.
It just means giving them the right kind of fuel for the job they are doing now. Think of it like switching from carbs to protein when you need a different kind of energy.
Apply your fertilizer according to the package directions and avoid over-fertilizing. Too much of anything, even the good stuff, can harm your plants.
Over-fertilizing with phosphorus can lock out other nutrients your plant needs, so balance really matters here.
Organic options like fish emulsion, bone meal, or tomato-specific compost blends are excellent choices. They release nutrients slowly and steadily, which matches what your plant actually needs during a long flowering and fruiting season.
Pennsylvania summers are long enough to get a great harvest if you feed your plants smart from this point forward.
4. Secure Tomato Cages And Stakes Early
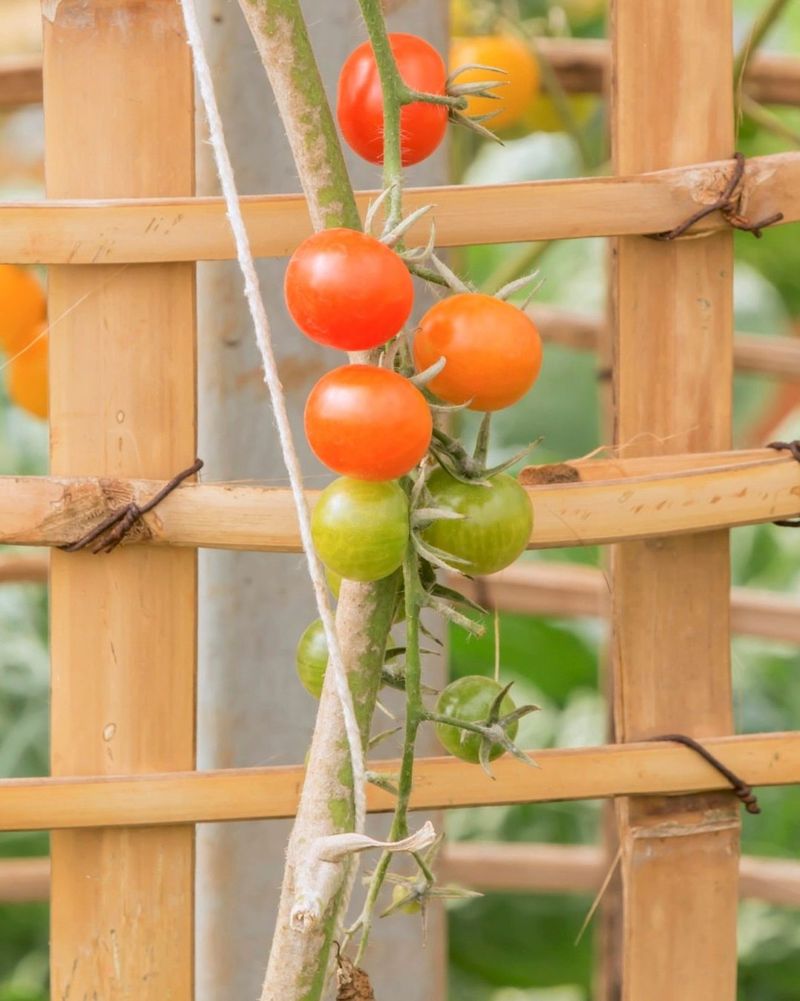
Pennsylvania summer storms roll in fast and hit hard. One night of strong wind and rain can flatten unsupported tomato plants that were thriving just hours before.
The moment your plants start flowering, you know fruit is not far behind, and fruit is heavy. Waiting until the weight builds up to add support is waiting too long.
Tomato cages work well for determinate varieties, which tend to stay more compact and bush-like. For indeterminate varieties that keep growing taller all season, sturdy stakes or a trellis system offer better control.
Whatever method you choose, the key word is sturdy. Flimsy wire cages sold at many garden centers bend and buckle once plants get heavy and tall.
Drive stakes deep into the ground, at least twelve inches, so they do not wobble or lean when the plant puts on weight. If you are using cages, press them firmly into the soil around the plant so they grip and hold.
Loose support structures cause more problems than no support at all because plants can tip over mid-season.
Tie plants to stakes using soft garden ties, old strips of fabric, or stretchy plant clips. Avoid anything that cuts into the stem.
Tie loosely enough that the stem has room to grow but snugly enough to actually hold the plant upright.
Check your supports every week as the season progresses. Stems grow quickly once fruiting begins, and a tie that was fine last week might be too tight this week.
A few minutes of checking now prevents a heartbreaking collapse later when your plants are loaded with fruit.
5. Watch Closely For Early Blight And Aphids
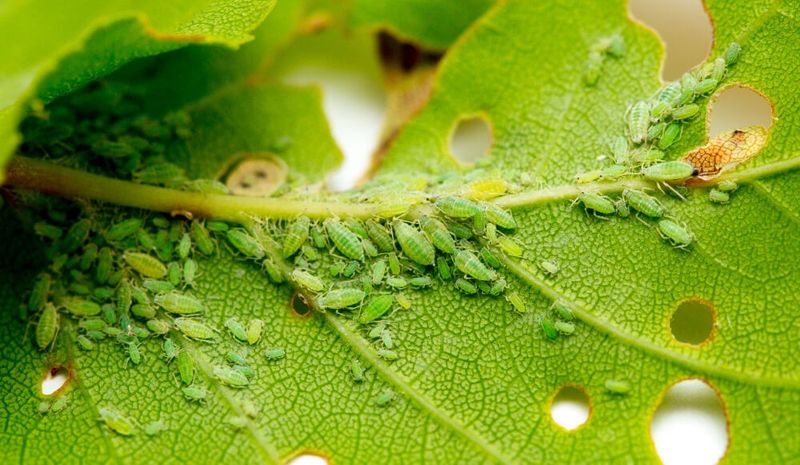
Pennsylvania is beautiful in the summer, but it is also humid, and that humidity creates the perfect conditions for plant diseases and pest explosions. The moment your tomatoes start flowering, your plants become more vulnerable.
They are putting a lot of energy into reproduction, which can leave their defenses a little stretched.
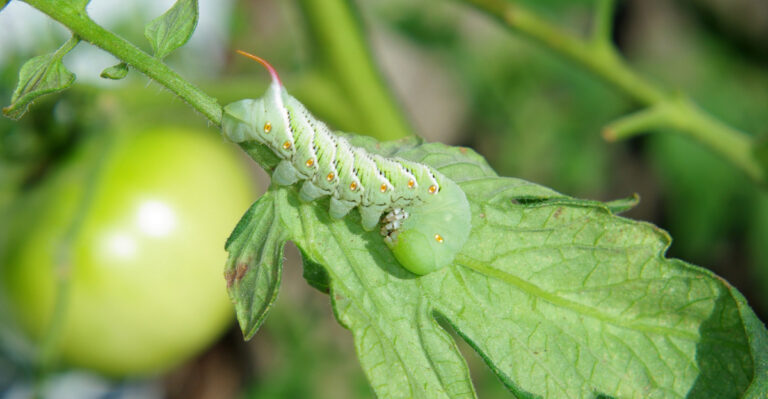
Early blight is one of the most common tomato diseases in Pennsylvania. It starts as small brown spots with yellow rings, usually on the lower, older leaves first.
Left unchecked, it spreads upward and can strip a plant of its foliage surprisingly fast. Catching it early makes it much easier to manage.
Remove affected leaves the moment you spot them. Do not toss them in your compost pile because the fungal spores can survive and spread.
Bag them and throw them away. Applying a copper-based fungicide as a preventive spray during humid stretches can also help slow the spread before it gets serious.
Aphids are another big concern once flowering begins. These tiny, soft-bodied insects cluster on the undersides of leaves and on tender new growth.
They suck the sap from your plant and can weaken it quickly. A strong spray of water can knock them off, and insecticidal soap works well for heavier infestations.
Check your plants every two to three days during the flowering stage. Look at the undersides of leaves, not just the tops.
Early detection is your best tool against both blight and aphids. Catching problems when they are small keeps your plants healthy and your harvest on track through the rest of the season.
6. Prune Lower Leaves Near The Soil
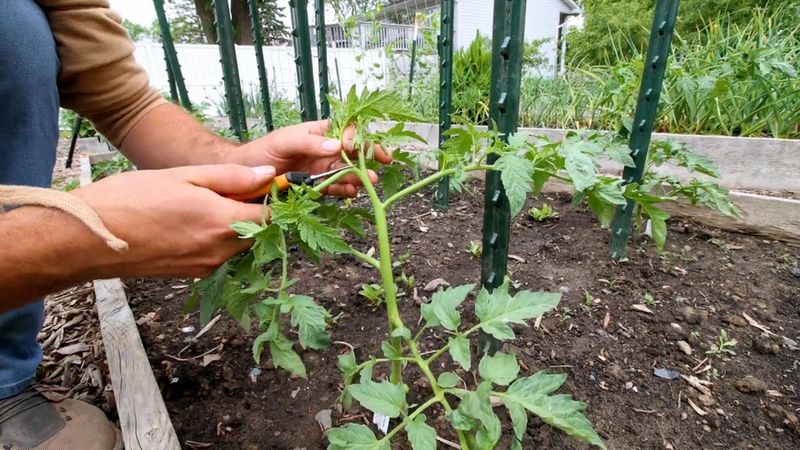
Pruning the lower leaves off your tomato plants might feel a little scary the first time you do it. It seems counterintuitive to remove healthy-looking leaves from a plant you have been nurturing for weeks.
But those leaves sitting close to the soil are actually working against your plants once flowering begins, especially in Pennsylvania’s muggy summer air.
Leaves near the ground are the first to pick up soil-borne diseases. When rain or irrigation splashes soil onto them, fungal spores and bacteria hitch a ride.
Removing leaves that sit within six to eight inches of the soil line cuts off one of the most common disease pathways into your plant.
Airflow is the other major reason to prune. When leaves are densely packed near the base of the plant, moisture gets trapped and has nowhere to go.
Humid, stagnant air around the lower stems is exactly what fungal diseases love. Opening up that space lets air move freely and helps the plant dry out faster after rain or watering.
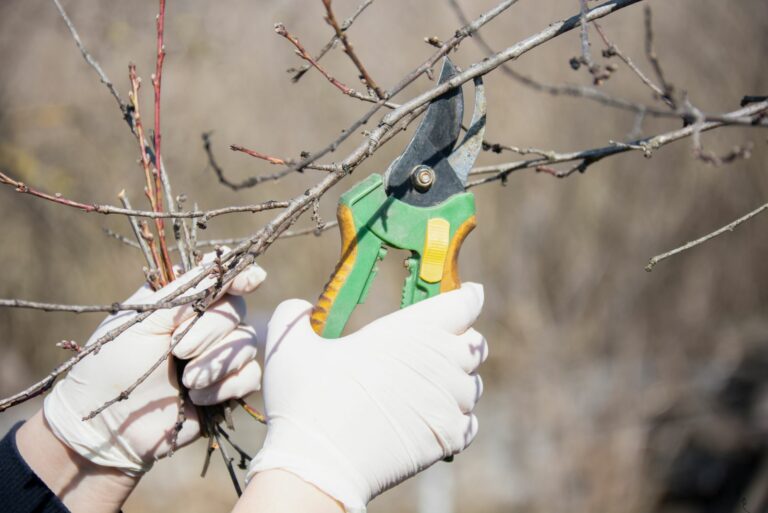
Use clean, sharp scissors or pruning shears to make neat cuts. Ragged cuts or torn stems create larger wounds that take longer to heal and can invite problems.
Wipe your blades with rubbing alcohol between plants to avoid spreading any disease from one plant to another.
You do not need to go overboard. Removing the bottom few sets of leaves is enough to make a real difference.
Do this on a dry, sunny morning so the cuts can seal up quickly. Repeat every couple of weeks as the plants grow taller and new lower growth appears throughout the season.