Do This To Ohio Hosta Beds Once A Year And They Come Back Thicker Every Time
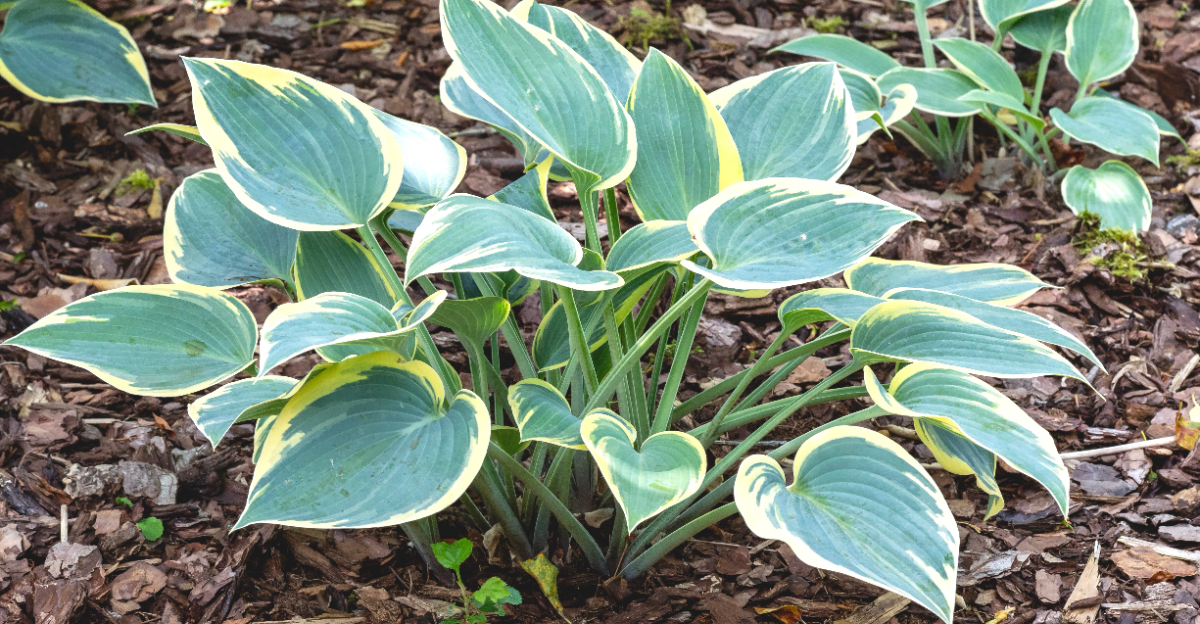
Ohio hostas are about as reliable as garden plants get. They come back, they fill in, they handle shade without complaint.
Most gardeners leave them alone and consider that a reasonable arrangement. The beds that really turn heads, though, the ones that look almost absurdly full and lush year after year, have one thing in common.
One task. Done once a year at the right moment.
That is the difference between hostas that perform adequately and hostas that make visitors stop and ask what you are doing differently. Most Ohio hosta growers have never heard it mentioned.
It does not show up in standard planting advice and it rarely comes up at the garden center. But the gardeners who do it consistently see results that compound over time in a way that nothing else quite replicates.
Your hosta beds are capable of more than they are currently showing you.
1. Divide Crowded Hosta Clumps Before They Lose Vigor

A shade bed can look full from a distance while the oldest clumps are quietly running out of room. Crowded crowns compete for water, nutrients, and space underground.
The results show up above ground as smaller leaves, weak growth in the center, or sections that simply stop thriving. This is the main signal that division is due.
The yearly habit is not about cutting apart every plant on a schedule. It is about walking the bed once a year, looking closely at each clump, and deciding which ones are congested.
A hosta that still looks vigorous with full-sized leaves and a strong center may not need dividing for several more years.
Signs that a clump is ready include a hollow or weak center and leaves noticeably smaller than they were two or three seasons ago. Crowns pressing tightly against each other or plants pushing into neighbors are also clear signals.
Spring is the most forgiving time to divide in Ohio, when eyes are emerging but leaves have not fully opened. Early fall also works well.
Avoid dividing during peak summer heat, which stresses roots and slows recovery significantly.
2. Lift The Whole Clump So You Can See The Crown

Lifting the whole clump is the step most Ohio gardeners skip, and it makes everything harder. Working a garden fork into the soil several inches away from the crown lets you loosen the root ball without slicing through healthy roots.
Work around the clump from multiple sides before prying upward. Never pull by the leaves.
Once the clump is out of the ground, set it on a flat surface where you can see it clearly. The crown is the central growing point where roots meet the emerging eyes.
Looking at it directly tells you far more than guessing from above soil level. You can see how many natural divisions exist, where the roots are healthy, and whether any sections have rotted or been damaged by pests.
A clump that has been in the ground for many years can be surprisingly large and heavy. Having a second person help with very large plants makes the work safer for both the gardener and the roots.
Your Ohio Garden Changes Every Week. Your Plan Should Too.
Gardening in Ohio changes quickly throughout the season. Every Friday you’ll receive a simple weekly plan showing exactly what to plant, prune, fertilize, harvest, and protect so you never miss the right timing.
Keep the root mass moist while you work, especially on warm days. Roots that dry out during the process are slower to recover after replanting, so working quickly and carefully matters.
3. Split Hostas Into Healthy Sections With Strong Eyes

Once the clump is out of the ground, the natural lines of division are usually visible. Hostas tend to form distinct sections with their own roots and growing points, called eyes.
Each division you keep should have at least two or three strong eyes and a healthy root system attached. Sections with no eyes or very few roots will struggle to recover.
Fewer, stronger divisions almost always outperform many small weak pieces. It can be tempting to split a large clump into as many pieces as possible.
However, tiny sections take much longer to fill in and are more vulnerable to drought, slug pressure, and soil stress. A sharp spade or a sturdy knife works well for cutting through dense crowns.
Clean cuts heal faster than torn or ragged ones.
If you are working with a very large, old clump, the center may be woody or hollow. Discard those worn-out sections and keep only the vigorous outer portions.
Outer divisions from a mature clump are often the most productive. They have fresh root growth and respond well to replanting.
Rinse roots gently if needed to see the crown structure clearly before making your final cuts.
4. Replant Divisions At The Same Soil Level

Planting depth is one of the most common mistakes Ohio gardeners make when resetting hosta divisions. The crown, which is the point where roots meet the growing eyes, should sit at roughly the same level it occupied before lifting.
Burying it too deeply slows emergence, traps moisture around the crown, and can lead to rot over time.
Dig the planting hole wide enough to spread roots naturally without cramping or bending them back on themselves. Set the division in place and check the crown level before adding soil.
The top of the crown should sit just at or slightly above the surrounding soil surface. Firm soil gently around the roots to remove large air pockets, but avoid packing it down hard.
Spacing matters as much as depth. Hostas need room to reach their mature size without crowding neighbors again within a few seasons.
Check the expected mature spread for the variety you are replanting and give each division that full amount of space. Planting too close together is what creates the crowding problem in the first place.
Leaving adequate room may make the bed look sparse initially, but the plants will fill it in naturally over one to three growing seasons.
5. Work Compost Into The Bed Before Replanting

A fresh layer of compost worked into the planting area before divisions go back in can make a real difference. That is especially true in beds where soil has compacted or lost organic matter over several years.
Hostas prefer rich, well-draining soil with consistent moisture retention. Compost improves both drainage in heavy clay and water-holding ability in sandy ground.
Work two to three inches of finished compost into the top several inches of soil. Avoid creating a rich, heavily amended pocket that differs sharply from surrounding soil.
Roots can circle within an overly amended zone rather than spreading outward. Mixing compost into a broader area helps roots establish more evenly.
This is also a good time to remove any debris, old mulch that has compacted into a mat, or weeds that have rooted in the bed. Starting with a clean, refreshed planting area sets divisions up for a stronger first season.
Avoid heavy synthetic fertilizers at planting time, which can burn tender new roots. A light application of balanced, slow-release fertilizer worked into the soil is fine if your beds have not been amended recently.
Compost alone is often enough for most established shade beds in this state.
6. Water Deeply After Resetting The Roots

Newly reset divisions need consistent moisture while their roots re-establish in the soil. The first watering after replanting should be deep and thorough, soaking the root zone rather than just wetting the surface.
Shallow watering encourages surface rooting, which leaves plants more vulnerable during dry spells later in the season.
For the first two to three weeks after division, check soil moisture every few days. If the top two inches of soil feel dry, water again.
Shaded beds dry out more slowly than sunny ones, but that does not mean they stay moist on their own during dry stretches. Summer heat in this state, especially in central and southern regions, can pull moisture from shaded beds faster than expected.
Avoid keeping the soil constantly saturated. Hosta roots need air as well as water, and soggy conditions can cause crown and root problems.
The goal is steady, even moisture, not standing water. Once plants show new leaf growth, which signals that roots are settling in, you can shift to a normal watering routine based on rainfall and conditions.
Mulching after watering helps hold moisture in place and reduces how often you need to check the bed during the recovery period.
7. Refresh Mulch Without Burying The Crowns

Mulch is one of the most practical tools in a shaded hosta bed. It holds moisture, moderates soil temperature, and slows weed growth between plants.
In this state, where summers can swing between wet and dry weeks, a consistent mulch layer helps divisions recover more evenly after replanting.
Before adding fresh mulch, remove any old material that has packed down into a dense mat. Matted mulch can block water from reaching roots and harbor slugs, which are a real pressure in shaded, moist beds across this region.
A fresh layer of two to three inches of shredded bark or leaf compost works well. Keep it two to three inches away from the crown of each plant.
Piling mulch against or over the crown is a common mistake that holds moisture in the wrong place. A crown buried under mulch is slower to emerge in spring and more prone to rot.
Pull mulch back gently if any has shifted against the crown over winter. Think of mulch as a ground cover for the soil between plants, not a blanket over the plants themselves.
Applied correctly, it makes the whole bed look tidy and gives divisions a calmer environment for settling in.
8. Give Divided Hostas A Season To Fill Back In

Patience is the part of this process that catches most gardeners off guard. A freshly divided hosta looks noticeably smaller than the full clump it came from, and that contrast can feel discouraging in the first few weeks.
Expecting a bed to look instantly full after division sets up the wrong standard.
Most healthy divisions push out new growth within a few weeks of replanting, assuming they were handled carefully and watered well. By midsummer of the first season, divisions planted in spring are usually showing solid new leaves.
By the second season, well-spaced, well-rooted divisions start to look like established plants again. By the third season, a properly reset bed often looks fuller and more even than it did before the work was done.
The thickness that comes from dividing congested clumps is real, but it builds over time. Healthy spacing allows each plant to expand naturally without fighting its neighbors for resources.
Good soil, steady moisture, and appropriate shade all contribute to that eventual fullness. No single step creates an instant result.
The yearly habit of checking, dividing when needed, refreshing soil, and watering carefully compounds over seasons. That is what creates a hosta bed that keeps improving year after year.