Do This To Your Pennsylvania Lavender Before Winter Arrives
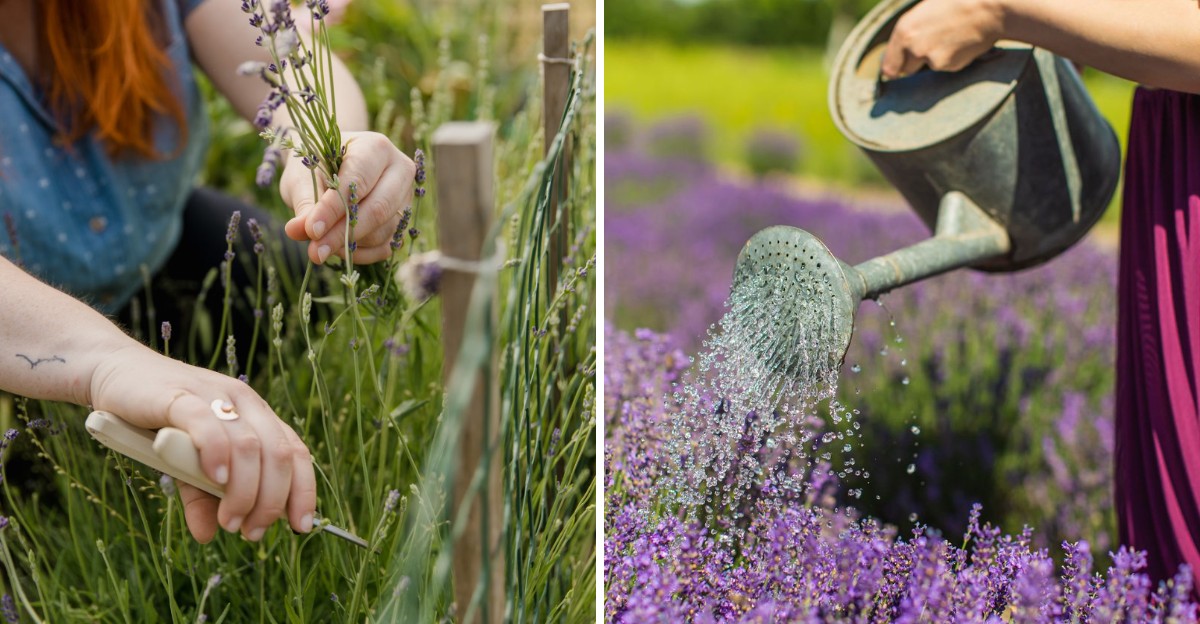
Brush past a lavender plant on a warm July afternoon, and that sweet, calming scent seems to follow you all the way back inside.
It’s one of the simple pleasures of a Pennsylvania summer. Keeping that plant happy through winter is a little more complicated.
Lavender is tougher than it looks, and many varieties can handle cold temperatures just fine. What gives it trouble here is the combination of cold, wet soil, heavy snow, and harsh winter winds.
Soggy roots can rot. Woody stems can split under the weight of snow. A poorly timed trim can leave the plant weak and exposed just when it needs protection most.
A few simple steps this fall can go a long way. They take very little time, and they help your lavender wake up healthy, full, and ready to bloom again next summer.
1. Stop Fertilizing By Late Summer
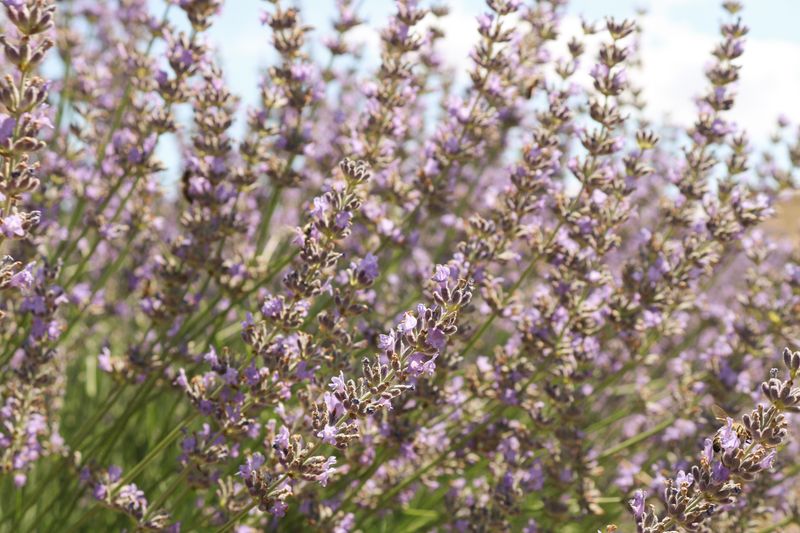
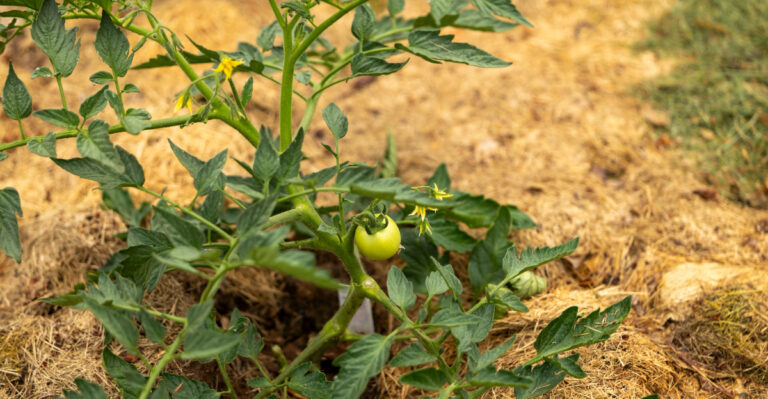
Feeding plants feels like a kind thing to do. Lavender, though, is a little different from your tomatoes or roses. Too much food at the wrong time can actually cause harm.
Fertilizer tells a plant to grow. When you add it late in the season, lavender pushes out soft, tender new shoots.
Those shoots have no time to harden before the first hard frost shows up. Cold air easily damages them, and that damage can spread down into the rest of the plant.
A good rule is to stop all feeding by late summer. In most parts of Pennsylvania, that means no fertilizer after early August. If you live in a colder area, like the northern tier or the mountains, you may want to stop even sooner.
Once you stop, the plant starts to slow down on its own. Its stems become firmer and woodier.
That tougher growth handles freezing weather much better. Think of it as your lavender putting on a winter coat.
Here is a fun fact. Lavender actually grows best in poor, rocky soil. In its native Mediterranean home, it thrives on dry hillsides with very little nutrition. Rich soil and lots of fertilizer often make it floppy and less fragrant.
So what should you do instead? Simply let the plant be. Pull weeds around the base and enjoy the last blooms. If you feel the urge to feed something, give that compost to your vegetable beds.
Come spring, you can add a light dose of compost if your soil is very poor. For now, rest is the best gift you can give.
2. Give It Only A Light Trim
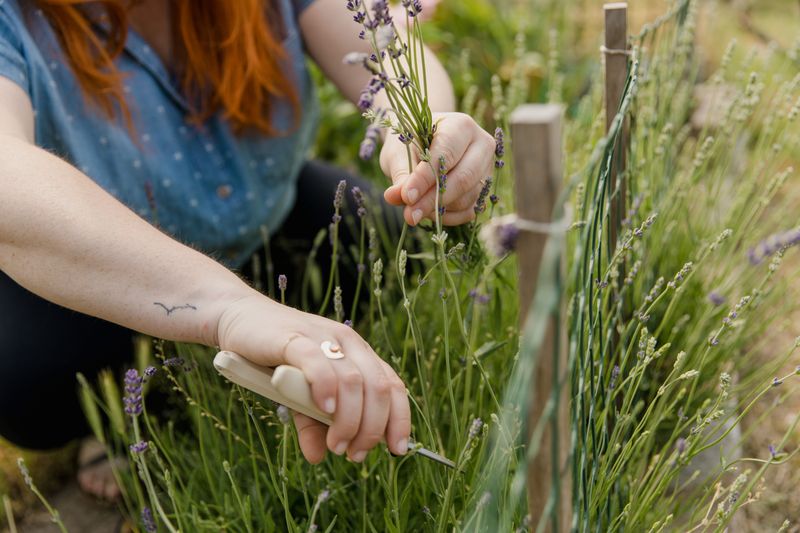
Snip, snip, and stop. That is the whole secret to fall pruning for lavender. A gentle haircut is all your plant needs right now.
By late summer or early fall, most lavender flowers have faded. The old stems turn gray or brown and look a little messy.
Cutting these spent flower stalks keeps the plant neat and tidy. It also stops seeds from forming, which saves the plant some energy.
Your Pennsylvania Garden Changes Every Week. Your Plan Should Too.
Gardening in Pennsylvania changes quickly throughout the season. Every Friday you’ll receive a simple weekly plan showing exactly what to plant, prune, fertilize, harvest, and protect so you never miss the right timing.
Use clean, sharp pruners or garden scissors. Cut the flower stems down to where the leafy growth begins.
Try to shape the plant into a soft, rounded mound. That shape helps snow slide off instead of piling up and splitting the branches.
Now for the big warning. Do not cut back hard in the fall. Never chop into the old, woody part of the stems. Lavender often struggles to sprout new growth from bare wood, and a deep cut can leave ugly gaps or worse.
The leaves on your plant also do an important job over winter. They act like a blanket, shielding the center of the plant from icy air. Removing too much foliage leaves the crown open to cold damage.
Save your major pruning for spring. Wait until you see fresh green buds along the stems, usually around April or May in Pennsylvania. At that point, you can safely cut back by about one third, staying above those new buds.
A bonus tip: dry those fall clippings! Bundle the stems, hang them upside down, and you will have sweet-smelling sachets for your closets all winter long.
3. Swap Bark Mulch For Gravel
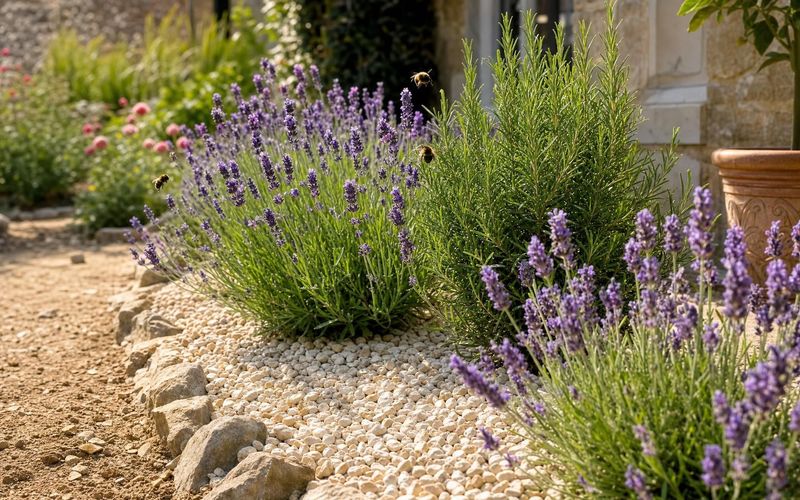
Most gardeners reach for wood chips without a second thought. For lavender, that habit can cause real trouble. The right mulch for this plant is actually made of stone.
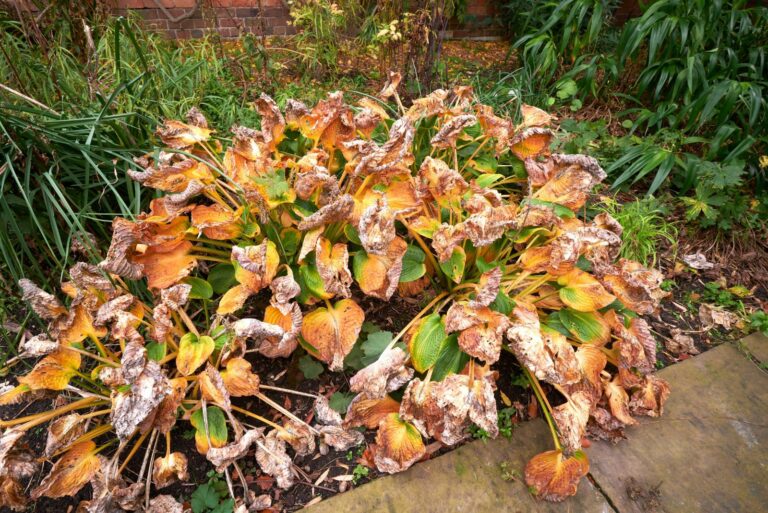
Bark and wood chips are great at holding moisture. That is why they work so well for thirsty plants like hostas.
Lavender, however, hates having wet feet. When soggy mulch sits against the base of the plant, the crown can start to rot.
Pennsylvania winters make this problem worse. We get lots of rain, sleet, and melting snow. Organic mulch soaks it all up and stays damp for weeks. Meanwhile, your lavender sits in a cold, wet sponge.
Pea gravel or crushed stone solves the issue. Rocks do not hold water. Instead, moisture slips right past them and drains away. The area around the crown stays drier, which is exactly what lavender loves.
Spread a thin layer, about one inch deep, around the base of each plant. Keep it a bit wider than the plant itself. Light-colored gravel also bounces sunlight back up onto the leaves, which helps them dry faster after a storm.
Here is a cool bit of history. Lavender farms in southern France often grow their plants in stony, chalky ground. Some of the best fields look more like rock gardens than flower beds!
If you already have bark mulch around your lavender, rake it back now. Pull it at least several inches away from the stems. Then add your gravel in its place.
You can find pea gravel at most garden centers or hardware stores. One bag usually covers a few plants easily.
4. Make Sure Water Drains Away
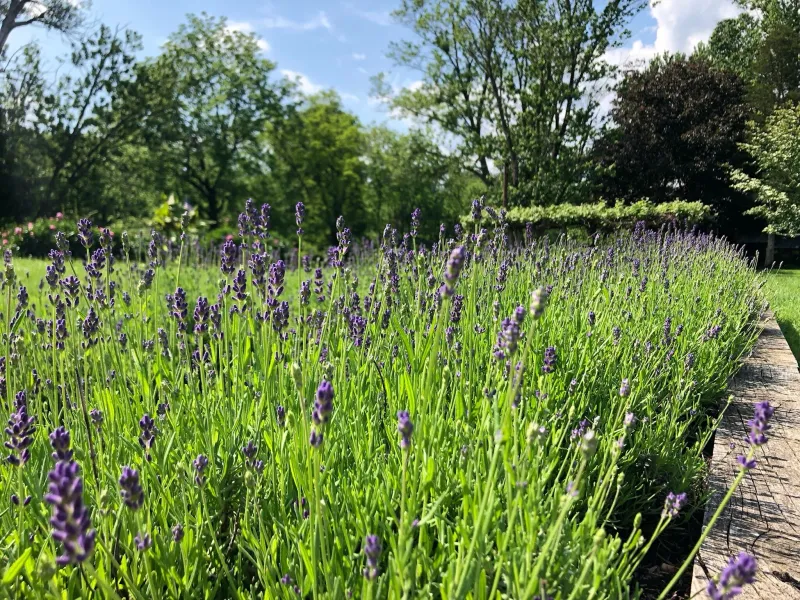
Cold weather gets most of the blame when lavender fails over winter. Surprisingly, soggy soil is often the real troublemaker. Many Pennsylvania gardeners lose plants to water, not frost.
Lavender roots need air. When soil stays wet for long periods, those roots can not breathe. They start to rot, and the plant slowly weakens. By spring, you might find nothing but gray, brittle stems.
Our state has a lot of heavy clay soil. Clay packs tightly and holds water like a bowl. Add in fall rains and spring snowmelt, and you have a recipe for drowned roots.
Take a walk around your garden after the next big rain. Look closely at your lavender. Does water collect in puddles near the plants? Does the ground stay muddy for a day or more? If so, drainage is a problem.
Moving plants in late fall is risky, so make a plan for spring instead. Raised beds work wonders for lavender. Even a simple mound of soil, about eight to twelve inches high, can lift roots above the wet zone.
When you build that mound, mix in sand, small gravel, or grit. These loosen the soil and let water pass through quickly. Avoid adding lots of peat or rich compost, since those hold moisture.
Slopes are another great option. Planting along a hillside or the top of a retaining wall lets gravity pull water downhill.
For now, you can dig a small trench nearby to redirect pooling water. It is a quick fix that buys your plants some time until spring.
5. Ease Up On The Watering Can
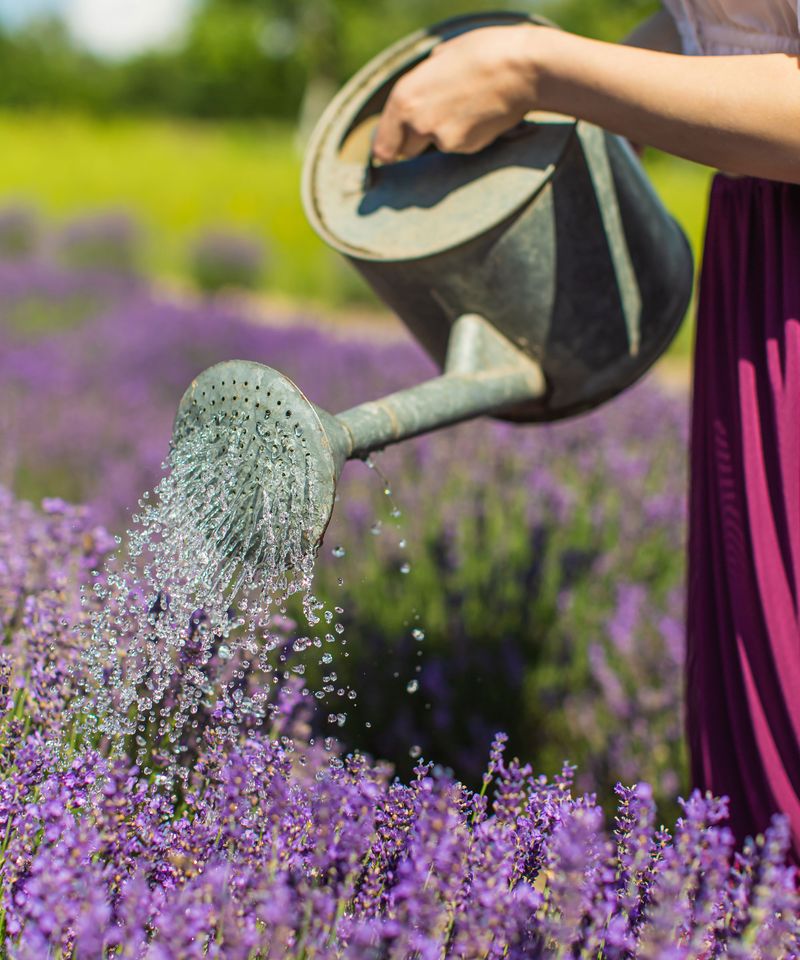
Put down that hose. Seriously, your lavender will thank you. As the days get shorter and cooler, this plant needs much less water than you might think.
During summer, lavender grows fast and blooms hard. It uses more moisture then. Once fall arrives, growth slows down almost to a stop. The plant simply does not drink as much.
Watering on the same summer schedule can lead to wet roots and rot. That is the opposite of what you want before winter. A dry, firm root zone handles freezing much better than a damp one.
Luckily, Mother Nature usually handles the job in Pennsylvania. Fall rains tend to be steady and reliable. Most weeks, they give lavender all the moisture it needs and then some.
So when should you water? Only during long dry spells. If you go two or three weeks without real rain, check the soil.
Push your finger about two inches deep. If it feels dusty and dry, give the plant a slow, deep drink at the base.
Water in the morning when you can. That gives the soil and leaves time to dry before cold evening air settles in. Skip sprinklers that soak the foliage.
Once the ground freezes solid, stop watering completely. Frozen soil can not absorb it anyway, and extra water just turns to ice around the crown.
A quick tip for new plants: lavender planted this year has smaller roots. It may need a little extra help during dry weeks. Older, established plants are tougher and can usually fend for themselves.
6. Shield Exposed Plants From Harsh Winds
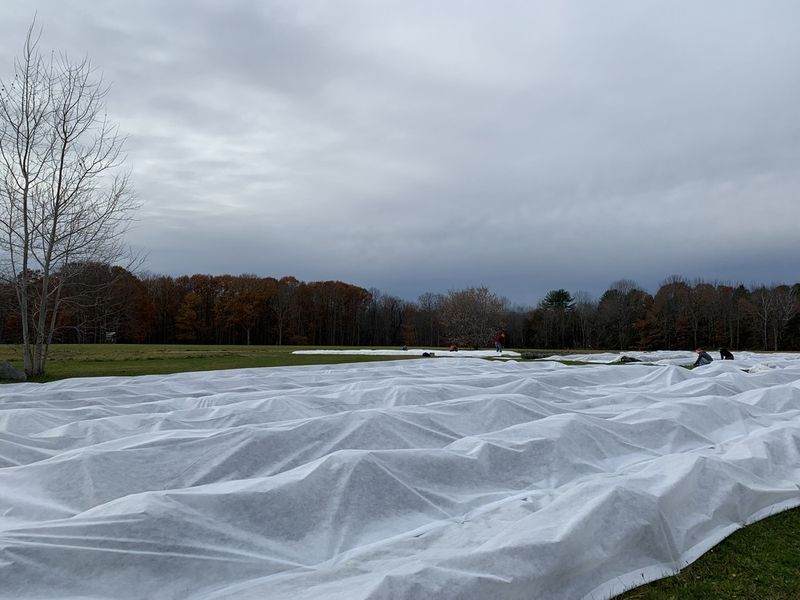
Anyone who has stood on a hilltop in January knows how brutal Pennsylvania wind can be. It bites your cheeks and dries out your lips. Lavender feels that sting too.
Winter winds pull moisture out of leaves. When the ground is frozen, roots can not replace that lost water. The result is called winter burn. Leaves turn brown and crispy, and branches may suffer serious harm.
Plants in open spots get hit the hardest. Think of beds along a fence line, an open lawn, or a corner where wind whips around the house. If your lavender lives in one of these places, it needs a little extra protection.
Evergreen boughs make a perfect shield. Pine, fir, or spruce branches work great. Lay them loosely over and around your plants. They break the wind and catch a light layer of snow, which adds even more insulation.
Timing matters here. Wait until the ground has frozen, usually in December. Covering too early can trap warmth and moisture, which invites rot and mice.
Do not wrap lavender in plastic or pile on heavy leaves. Those materials hold dampness right against the plant. Boughs let air flow freely while still blocking the worst gusts.
Here is a smart money saver. After the holidays, cut up your old Christmas tree! Those branches are free and work beautifully. Many neighbors will happily hand over theirs too.
In spring, remove the boughs gradually once hard freezes are over. Your lavender will wake up greener and healthier than plants left out in the open.
7. Bring Potted Lavender Under Cover
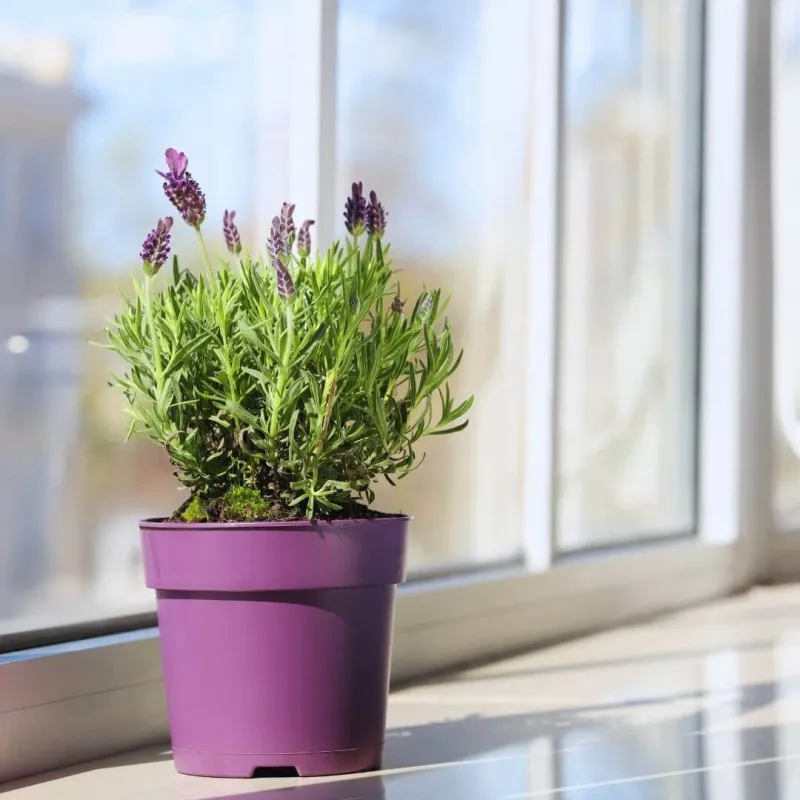
Lavender in a pot leads a riskier life than lavender in the ground. Garden soil acts like a big, warm blanket for roots. A container offers almost no such comfort.
Roots inside a pot sit just a few inches from the freezing air. On a frigid Pennsylvania night, the whole root ball can freeze solid. Repeated freezing and thawing can tear tender roots apart.
The fix is simple. Move your pots to a sheltered spot before deep cold arrives. An unheated garage, shed, or enclosed porch works great. These places stay cold but avoid the harshest temperatures and winds.
Why not bring lavender into your cozy living room? Warm, dry indoor air is hard on it. The plant also needs a cool rest period to stay healthy and bloom well next summer. A chilly garage gives it just that.
No garage or shed? Group your pots tightly together against a south or east wall of your house. Surround them with bags of leaves or burlap for extra padding. The house gives off a bit of warmth that helps.
Watering should be very light during these months. Check the soil every few weeks. Add a small splash only when it feels completely dry several inches down. Soggy pots in a cold garage spell trouble fast.
Give the plants some light if possible. A spot near a window is ideal, though lavender can handle dim conditions while resting.
When spring frost danger passes, usually in May, slowly move the pots back outside. Your lavender will be ready to grow and bloom again.