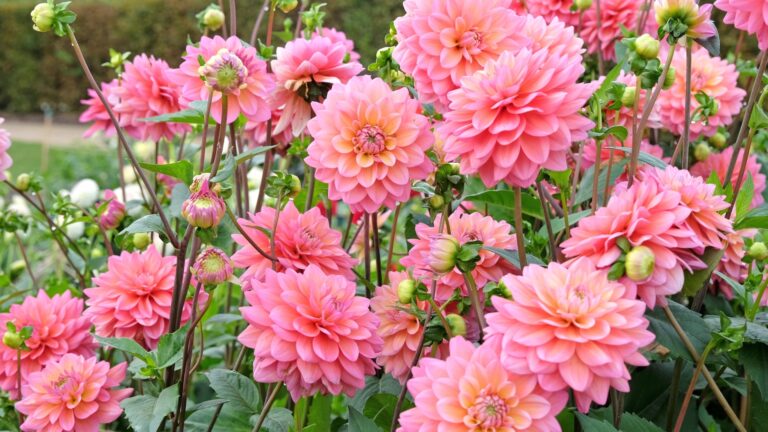
8 Easy Steps To Store Dahlia Tubers Indoors This Fall In Michigan
As fall sets in across Michigan, gardeners face the important task of protecting their dahlia tubers before the first hard freeze arrives. Proper storage during our cold winter months makes all the difference between healthy blooms next spring and disappointing losses.
I’ve always found that carefully cleaning and storing my tubers in October prevents damage during the harsh months ahead, and these simple steps will help you do the same.
1. Wait For The First Frost To Signal Digging Time
Once frost blackens the foliage in your garden, it’s time to start thinking about digging. The cold snap tells you that the growing season has ended and the plant has entered dormancy.
Waiting for this natural signal ensures the tubers have matured fully underground. In my Michigan garden, this usually happens in mid to late October, though it varies by region.
Rushing this step before frost arrives means you might dig up tubers that haven’t developed properly. Give them that extra time to store energy for next year’s growth.
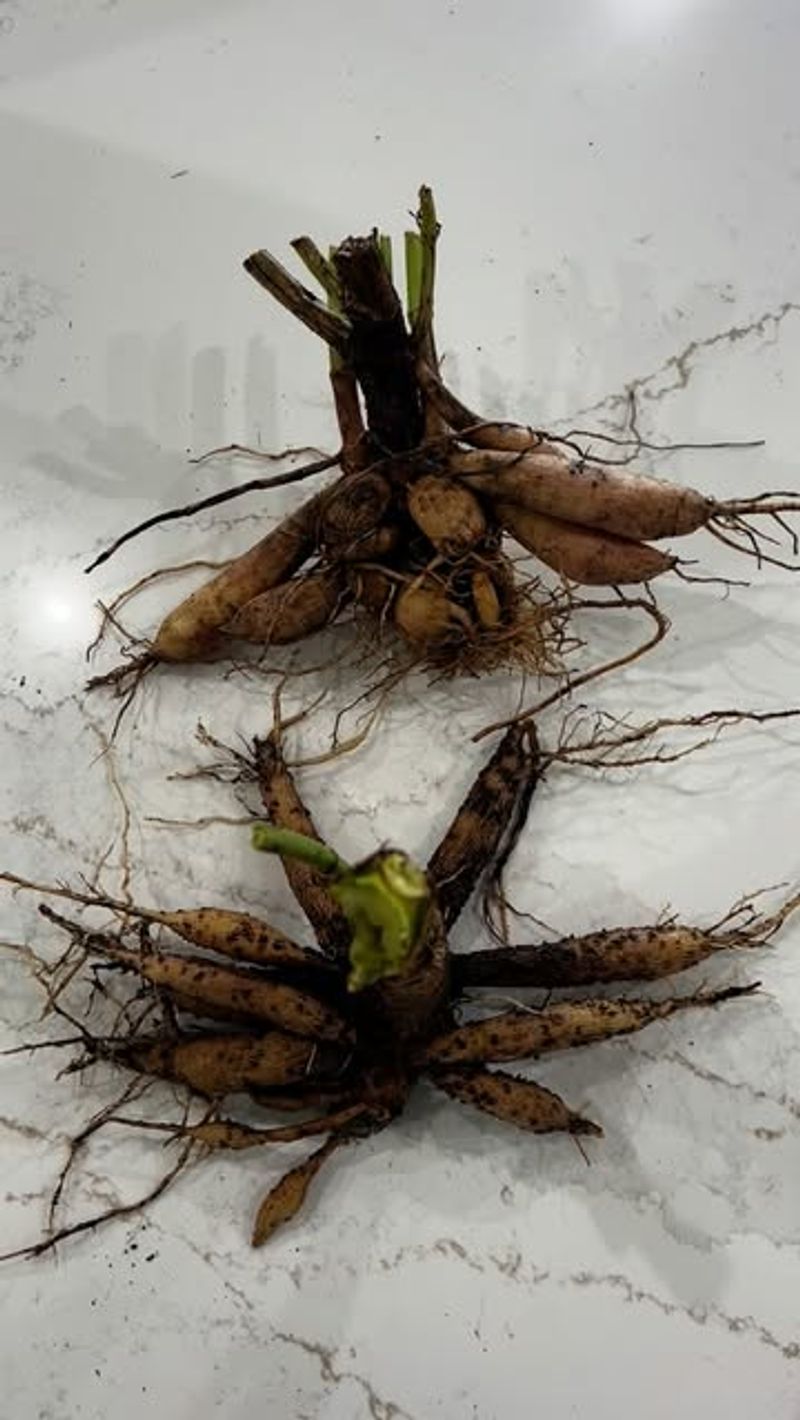
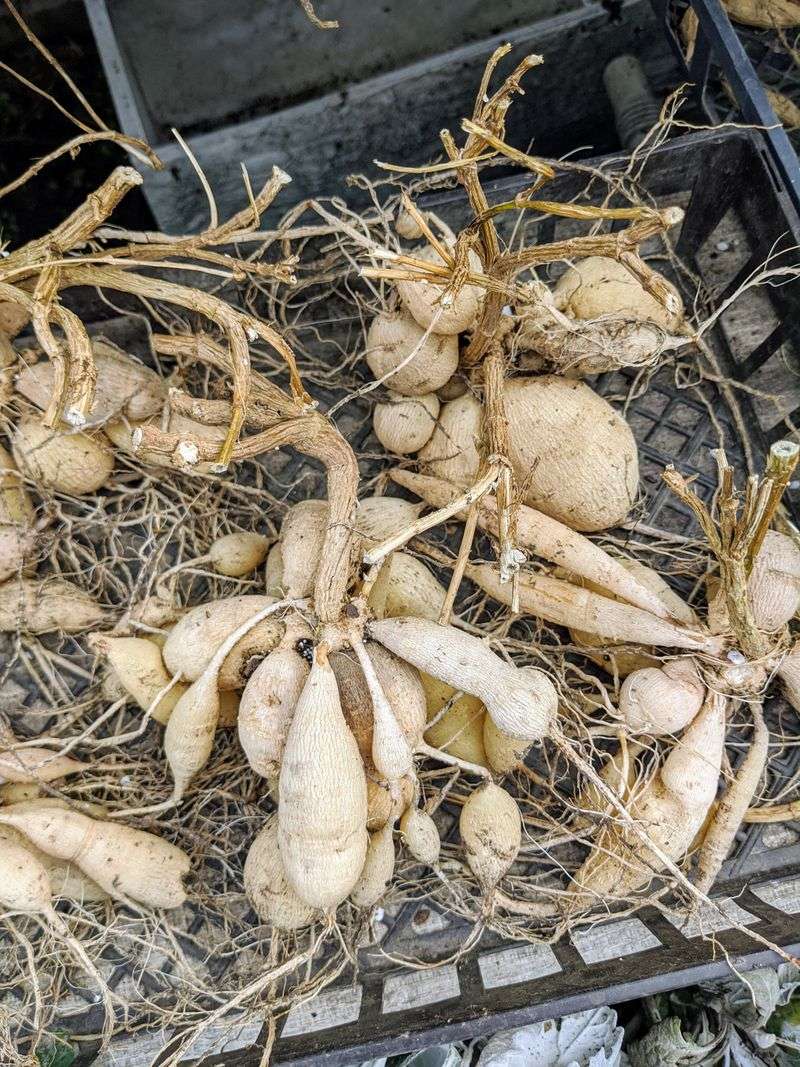
2. Carefully Lift Tubers From The Ground Without Damage
Using a spading fork works better than a shovel because it reduces the risk of slicing through the tubers. Start digging about twelve inches away from the plant’s base to avoid accidental cuts.
Gently work your way around the entire clump before attempting to lift it out. For me, step two is where I notice the biggest difference in tuber survival since damaged ones often rot during storage.
Once loosened, lift the whole clump carefully and shake off excess dirt. Handle them like eggs because broken necks mean those tubers won’t sprout come spring.
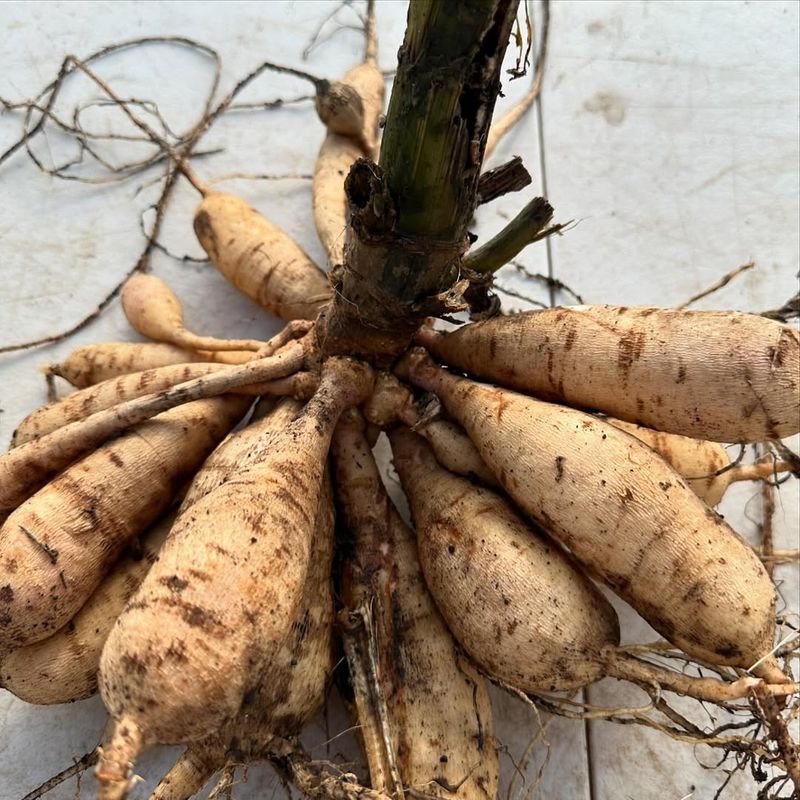
3. Rinse Away Soil And Inspect For Problems
A gentle spray from the garden hose removes most of the clinging soil and lets you see what you’re working with. Cold water works fine, and you don’t need high pressure that might cause bruising.
While rinsing, look closely for soft spots, cuts, or signs of disease that could spread during storage. Any tuber that feels mushy or looks questionable should be separated immediately.
This cleaning step also helps you identify the viable tubers versus the small, weak ones that probably won’t make it through winter. I always discard anything that looks suspicious rather than risk contaminating the healthy ones.
4. Let Them Dry Completely Before Storage
Spread the cleaned tubers in a single layer on newspaper or cardboard in a protected area like your garage or shed. They need several days to a week to dry thoroughly, depending on humidity levels.
Michigan’s fall weather can be damp, so indoor drying prevents moisture from lingering on the surface. Moisture trapped during storage creates the perfect environment for mold and rot to develop.
Check them daily and rotate if needed so all sides get air exposure. Once the skins feel papery and no dampness remains, they’re ready for the next step.
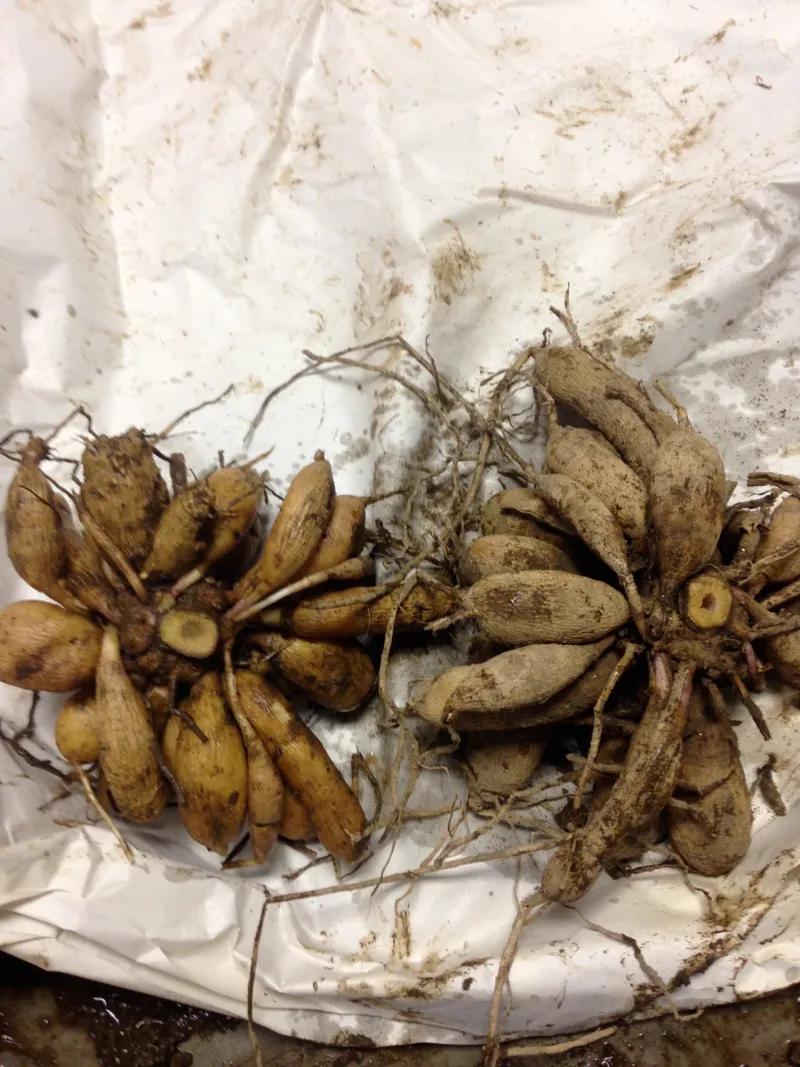
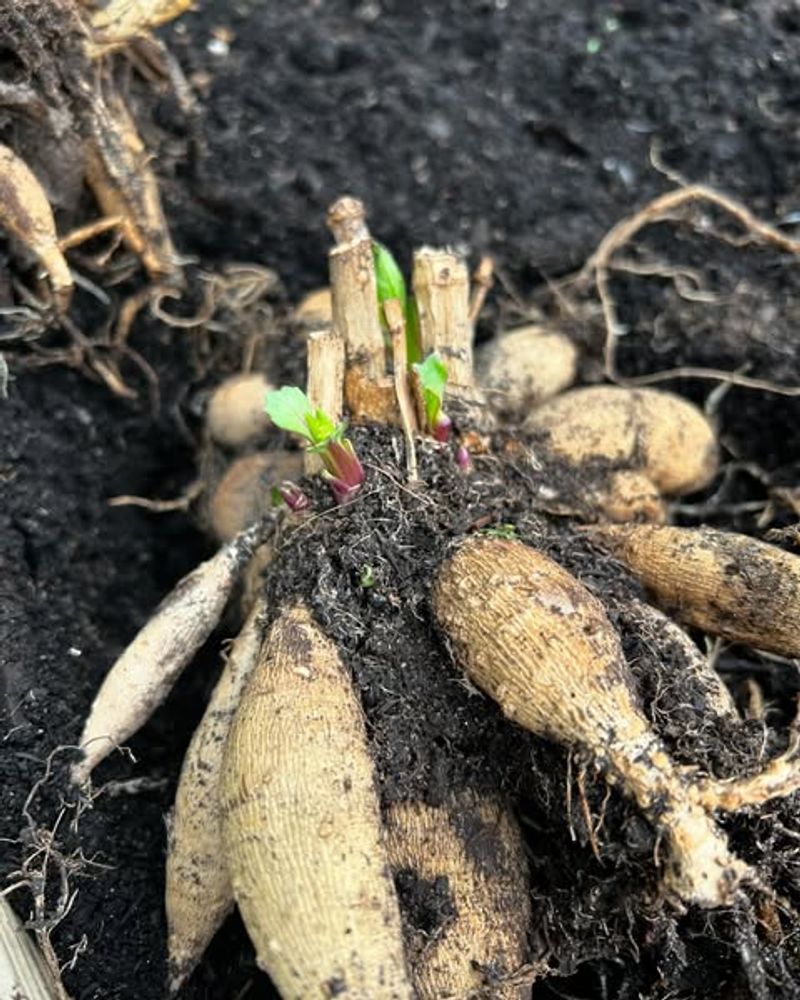
5. Divide The Clumps Into Individual Tubers
Each tuber needs a piece of the crown attached with at least one eye, which is where new growth emerges in spring. Without an eye, the tuber won’t produce a plant no matter how healthy it looks.
Use a clean, sharp knife to make cuts and separate the clump into individual pieces. Look carefully at the crown area where the stems meet the tubers to locate those small bumps that indicate eyes.
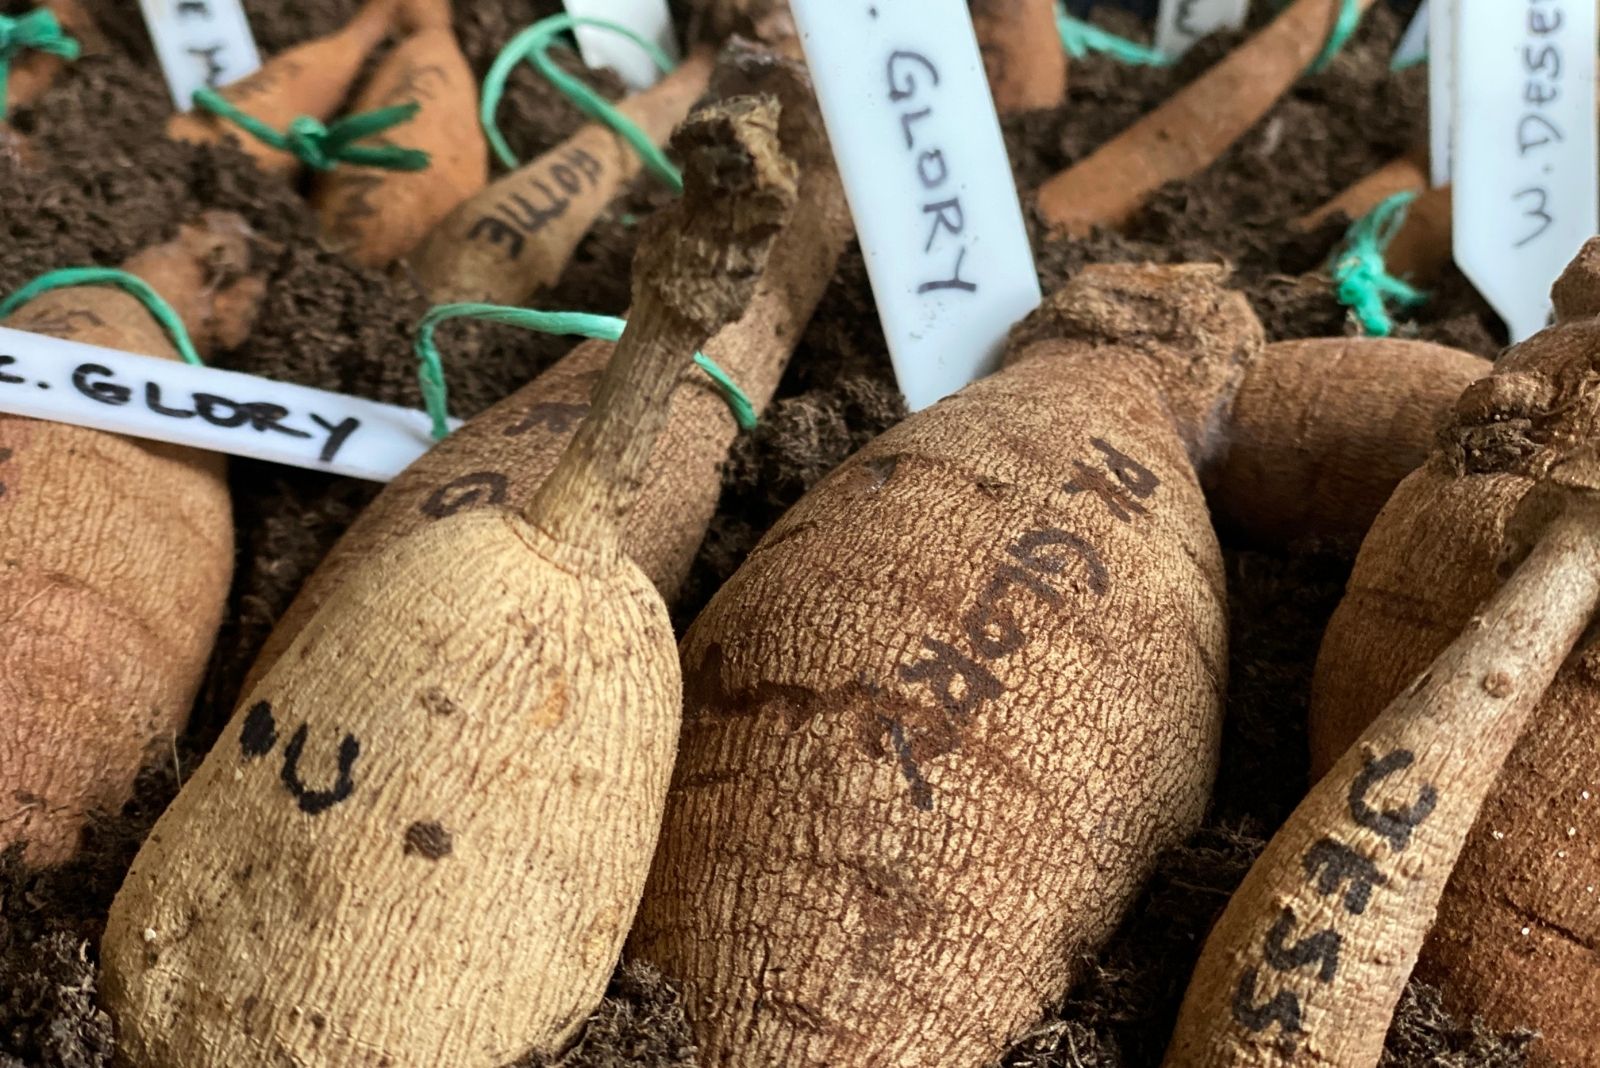
Dividing now rather than spring makes storage easier and gives you a head start when planting season arrives. Label each variety as you work to avoid confusion later.
6. Pack Tubers In Suitable Storage Material
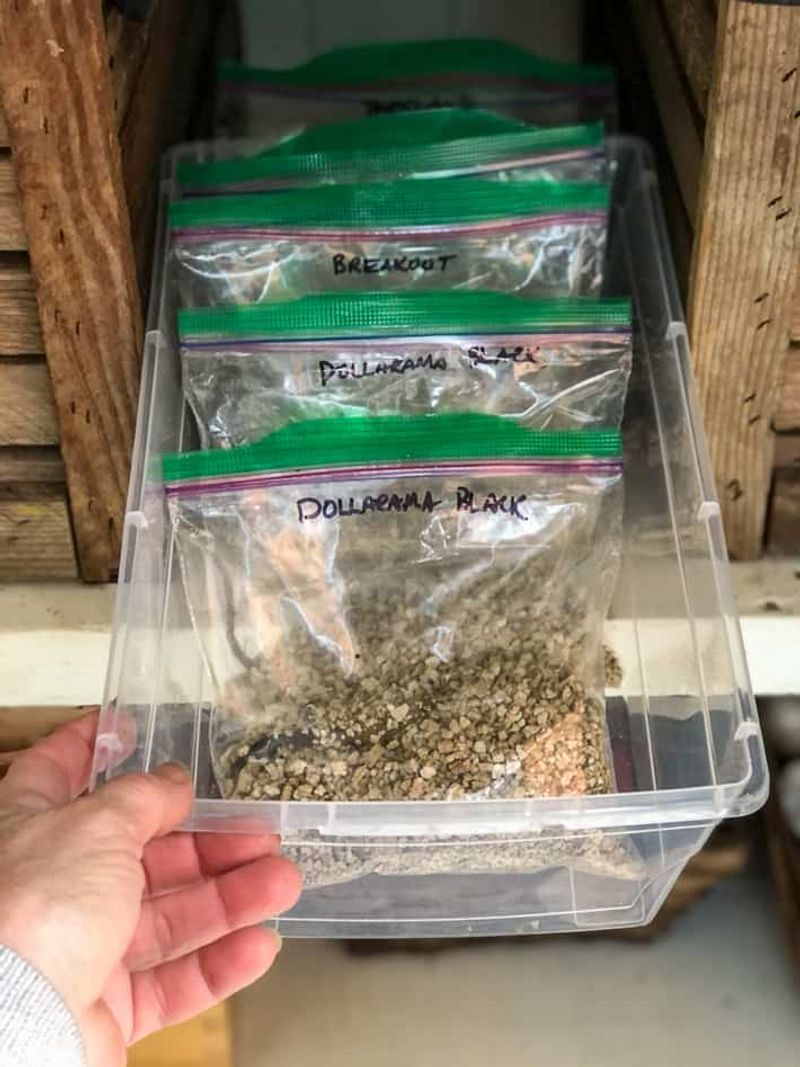
Materials like peat moss, vermiculite, or dry wood shavings work well to cushion the tubers and maintain slight moisture without encouraging rot. Avoid anything that stays too wet or completely dry.
Layer the tubers in cardboard boxes or plastic bins with ventilation holes, making sure they don’t touch each other. This prevents disease from spreading if one develops problems during the winter months.
In my Michigan basement, I’ve found that peat moss strikes the right balance between retaining some humidity and allowing air circulation. Check your supplies before you start so everything is ready when the tubers are dried.
7. Find The Right Storage Location With Proper Conditions

The storage spot needs to stay between 40 and 50 degrees Fahrenheit throughout winter, which is cool enough to keep tubers dormant but not cold enough to freeze them. Basements usually work perfectly for Michigan gardeners.
Avoid areas near furnaces or water heaters where temperatures fluctuate too much. Darkness also helps prevent premature sprouting, so a closet or corner away from windows is ideal.
I always place a thermometer near my stored tubers to monitor conditions through the season. If your basement runs warmer, an unheated garage might work better as long as it doesn’t freeze.
8. Monitor Throughout Winter And Remove Any Problems
Check your stored tubers every three to four weeks for signs of trouble like shriveling, mold, or rot. Catching problems early prevents them from spreading to the entire collection.
If tubers look too dry and wrinkled, lightly mist the storage medium but don’t soak it. Conversely, if you spot mold, remove affected tubers immediately and increase ventilation.
This regular monitoring has saved my collection more than once when Michigan winter conditions shifted unexpectedly. A few minutes of inspection each month ensures you’ll have healthy tubers ready for spring planting when warm weather returns.