12 Easy Tips For Growing More Tomatoes In Oregon
Growing tomatoes in Oregon is one of those gardening adventures that keeps you humble and totally hooked at the same time.
The Pacific Northwest is stunning, but let’s be honest – it doesn’t exactly roll out the red carpet for heat-loving crops.
Oregon’s climate has a personality of its own, and it changes dramatically depending on where you live.
Gardeners in the Willamette Valley, along the cool foggy coast, and out in the drier stretches of Central and Eastern Oregon are practically playing three different games.
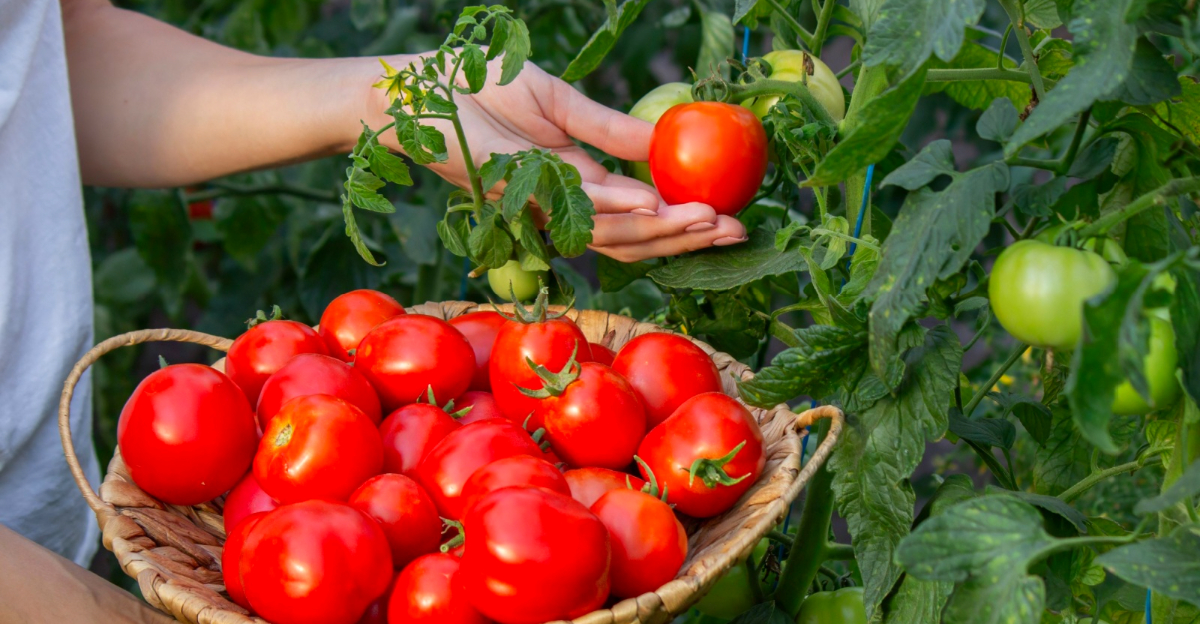
The good news? Oregonians grow absolutely gorgeous tomatoes every single year, and you can too.
The secret isn’t luck – it’s knowing the rules of your specific corner of the state. Nail your timing, pick the right variety, keep those roots warm, and give your plants steady attention after transplant day, and your summer harvest might just surprise you.
1. Check Your Soil Temperature Before Transplanting

Soil temperature is one of the most overlooked details in spring tomato planting, and skipping this step is one of the most common reasons transplants struggle right out of the gate. Tomato roots need warm soil to absorb water and nutrients properly.
When the ground is still cold, even a healthy-looking transplant can sit there for weeks without making any real progress.
For tomatoes, the soil should be at least 60 degrees Fahrenheit before you plant, though 65 degrees or warmer tends to give even better results.
In many parts of Oregon, especially in the Willamette Valley and along the coast, soil temperatures in May can still be surprisingly cool even when the air feels warm.
A simple soil thermometer, available at most garden centers, takes the guesswork out of planting decisions.
Check the temperature a few inches down into the soil, not just at the surface, since that is where the roots will actually be living. If the soil is not warm enough yet, wait a few more days or use black plastic mulch to help warm things up faster.
Patience at this stage pays off with stronger, faster-growing plants later in the season.
2. Pick The Right Variety For Your Region
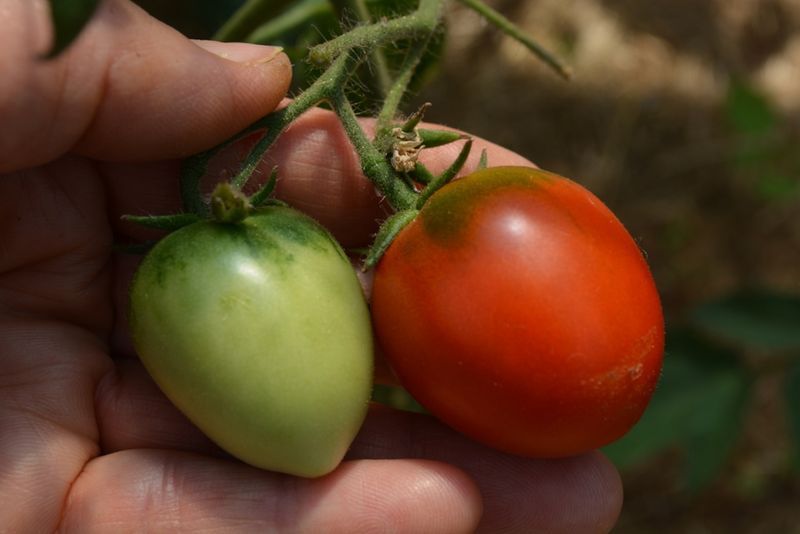
Not every tomato variety is built for Oregon’s growing conditions, and choosing the wrong one can lead to a frustrating season of slow growth and minimal fruit.
Oregon’s shorter warm season, particularly in western valleys and coastal areas, means that varieties with shorter days to maturity tend to perform more reliably than large, late-season types.
Early and mid-season varieties that mature in 60 to 75 days are often a smart choice for most of Oregon.
Varieties like Siletz, Willamette, Early Girl, Stupice, and Glacier were developed or selected specifically for cool, short-season climates and have track records of producing well under Oregon conditions.
Gardeners in warmer parts of Eastern Oregon or in particularly sunny, sheltered spots in the Willamette Valley may have more flexibility to try longer-season varieties.
If you grow in a cooler part of the state, look for varieties described as cool-tolerant or short-season on the seed packet. Paste tomatoes and cherry tomatoes often ripen faster and more reliably than large slicing types.
Your Oregon Garden Changes Every Week. Your Plan Should Too.
Gardening in Oregon changes quickly throughout the season. Every Friday you’ll receive a simple weekly plan showing exactly what to plant, prune, fertilize, harvest, and protect so you never miss the right timing.
Trying two or three different varieties in your garden each year is a good way to figure out which ones perform best in your specific microclimate.
3. Harden Off Transplants Before Planting
Moving tomato seedlings straight from a warm, sheltered greenhouse or windowsill into the open garden is a shock to the plants that can set them back significantly.
The process of hardening off, which means gradually introducing transplants to outdoor conditions over about one to two weeks, helps plants build tougher stems and thicker leaf surfaces so they can handle wind, cooler temperatures, and direct sunlight.
Start by placing your transplants outside in a sheltered, partly shaded spot for just a couple of hours on the first day. Over the following days, slowly increase the amount of time they spend outside and the amount of direct sun they receive.
Bring them back in or cover them if temperatures drop toward the low 50s or if strong winds are in the forecast.
In Oregon, spring weather can be unpredictable, with warm sunny days followed by cool, rainy stretches. Hardening off gives your transplants a chance to adjust to that kind of variability before they are permanently in the ground.
Skipping this step often leads to pale, stressed plants that take much longer to establish. A couple of extra weeks spent hardening off can make a noticeable difference in how quickly your tomatoes take off after planting.
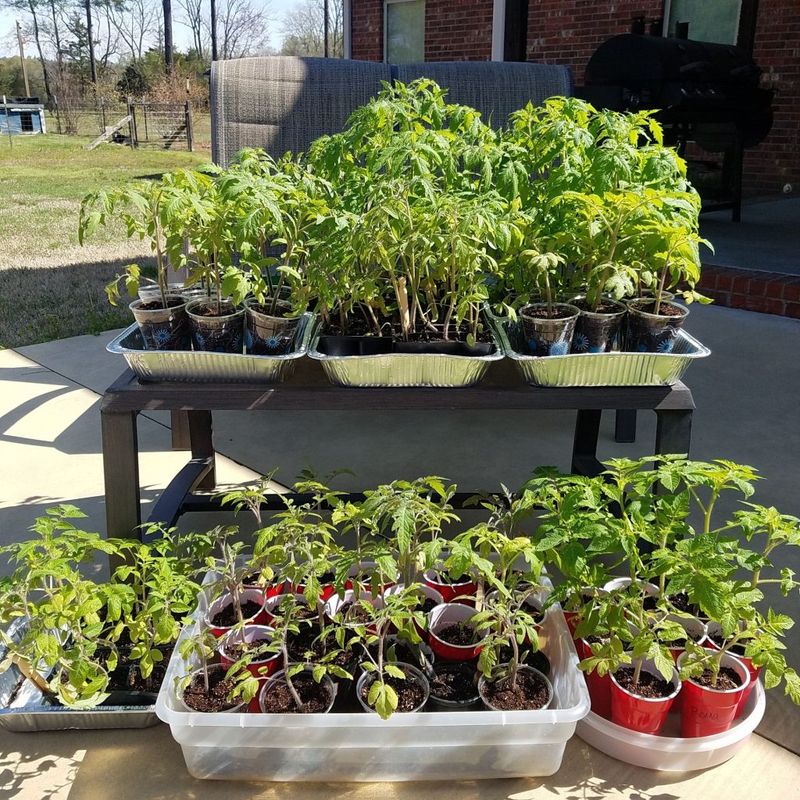
4. Buy Transplants If You Missed The Seed-Starting Window
Starting tomatoes from seed indoors takes planning, and if you missed the window, which is roughly six to eight weeks before your last frost date, buying transplants from a local nursery is a practical and effective solution.
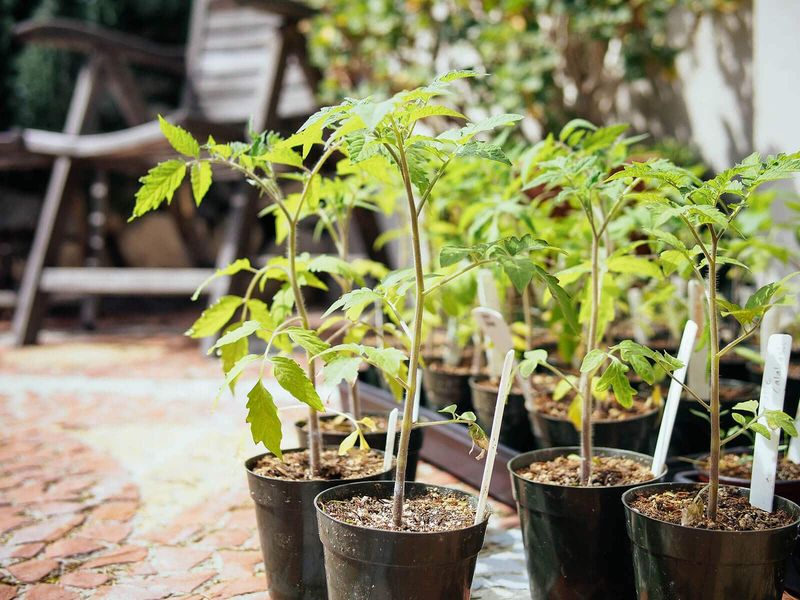
Nursery-grown transplants are already past the most delicate seedling stage and are often ready to go into the ground within a week or two of purchase.
When shopping for transplants, look for plants that are stocky and compact rather than tall and leggy. Shorter, thicker stems are a sign of a well-grown transplant that has not been reaching for light.
Avoid plants that are already showing flowers or fruit, since those plants have sometimes been stressed or pushed too fast and may not establish as strongly after transplanting.
Check the leaves for any signs of yellowing, spots, or wilting, which could indicate pest problems or disease. Healthy transplants should be a rich, even green with no obvious damage.
Local nurseries in Oregon often carry varieties that are well-suited to the regional climate, which is a bonus when you are buying rather than growing from seed.
If you find a variety you love at a nursery, note the name so you can start it from seed the following year if you want to plan further ahead.
5. Choose The Warmest, Sunniest Spot In Your Garden
Tomatoes are sun lovers, and in Oregon’s often overcast spring and fall seasons, every bit of warmth and light counts.
Choosing the right planting location can genuinely make the difference between a plant that produces abundantly and one that struggles to ripen fruit before the season ends.
Look for a spot that gets at least six to eight hours of direct sunlight each day, and ideally one that is sheltered from prevailing winds.
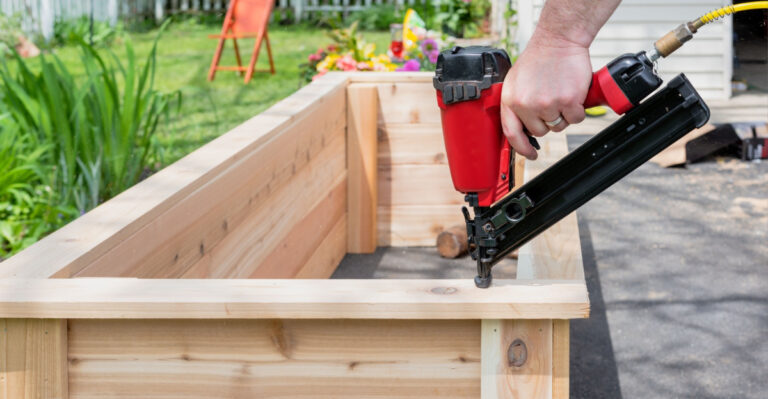
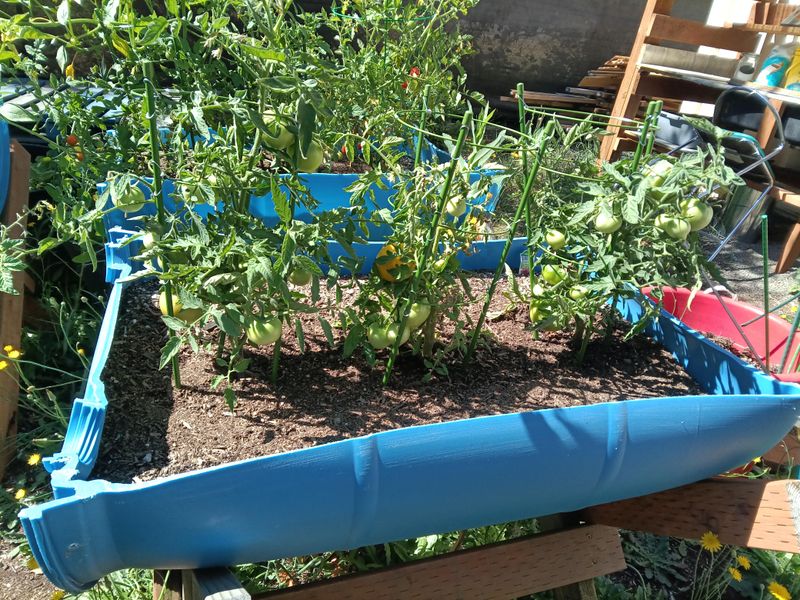
South-facing walls, fences, or raised beds absorb heat during the day and release it slowly at night, creating a slightly warmer microclimate that tomatoes really respond to.
In cooler parts of Oregon like the coast or the foothills, these heat-trapping spots can extend your effective growing season by several weeks.
Avoid planting tomatoes in low-lying areas where cold air tends to settle on clear nights, since those spots tend to stay cooler longer into the spring and can see earlier frosts in fall.
Raised beds also tend to warm up faster than in-ground beds, which is one reason they are so popular with Oregon tomato growers.
Taking a few minutes to observe how sunlight moves through your yard at different times of day can help you zero in on the warmest, most productive spot available.
6. Plant Transplants Deep
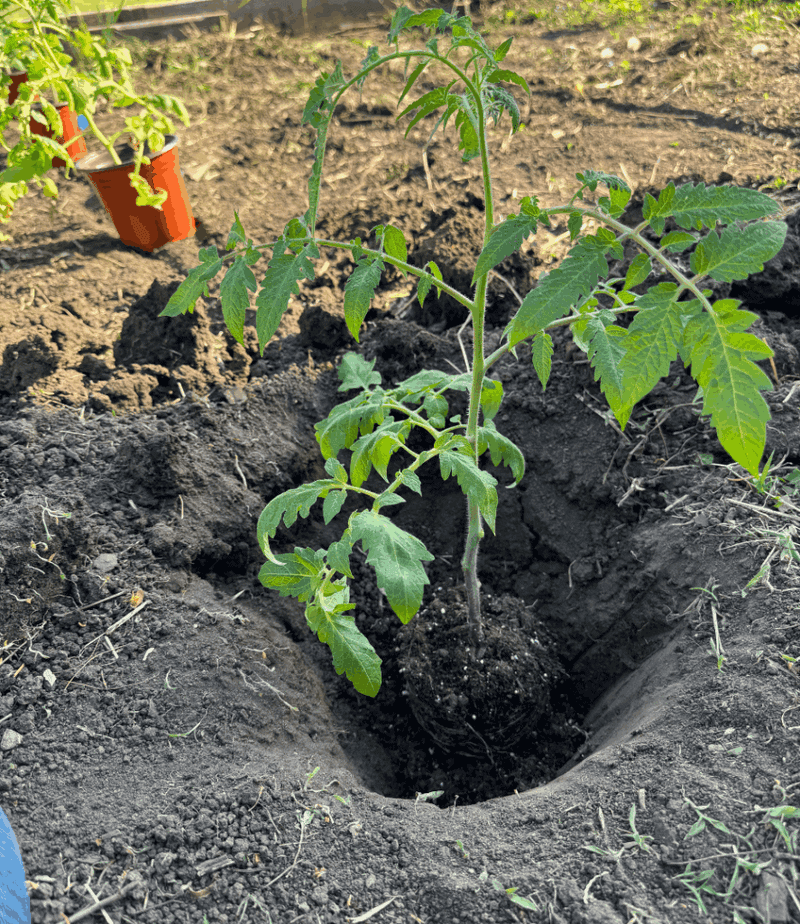
One of the simplest tricks that experienced tomato growers use is planting transplants much deeper than they were growing in their pots.
Tomatoes have the unusual ability to grow roots all along their buried stem, which means a deeper planting creates a much larger and more robust root system right from the start.
Remove the lower leaves from the transplant, leaving only the top two or three sets of leaves above the soil line.
You can plant the stem straight down into a deep hole, or dig a shallow trench and lay the stem at an angle so it follows the warmer upper layer of soil.
Both methods work well, and the trench method can be especially helpful in Oregon where deeper soil may still be cool in spring.
A deeper root system helps plants access more water and nutrients, which supports stronger overall growth and better fruit production. It also helps anchor plants more firmly so they are less likely to tip over as they grow taller and heavier.
Gardeners who try deep planting for the first time are often surprised by how much more vigorous their tomatoes look just a few weeks after transplanting compared to plants set at the same depth they were in their nursery containers.
7. Use Wall-O-Waters Or Row Covers Early In The Month
Spring in Oregon can be a bit of a waiting game, with warm days teasing gardeners before cool nights remind everyone that summer has not quite arrived.
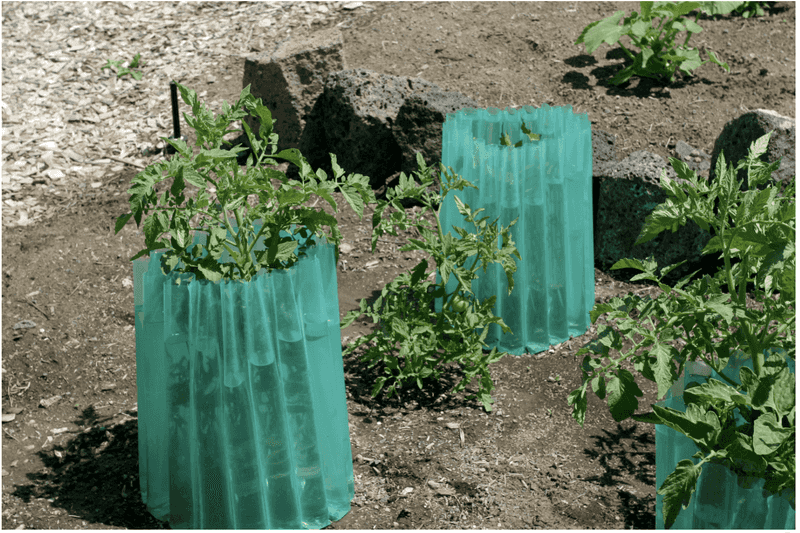
Wall-O-Waters and floating row covers are two tools that allow you to get tomatoes into the ground earlier than the weather would otherwise allow, giving plants extra weeks of growing time that can really add up by harvest season.
Wall-O-Waters are plastic tepee-shaped devices filled with water that absorb heat during the day and release it slowly overnight, keeping the air around young plants several degrees warmer than the surrounding garden.
They can allow planting several weeks ahead of your usual last frost date in many Oregon locations.
Row covers made from lightweight fabric work similarly, trapping warmth and protecting plants from light frosts and cold winds.
When using either tool, make sure the soil itself is warm enough before planting, since these devices protect above-ground growth but do not do much to warm cold soil.
Remove Wall-O-Waters once temperatures are consistently warm and plants begin pressing against the sides.
In cooler Oregon regions like the coast or higher-elevation valleys, these tools are especially valuable and can mean the difference between tomatoes ripening in time or not at all.
8. Set Up Drip Irrigation Or Soaker Hoses
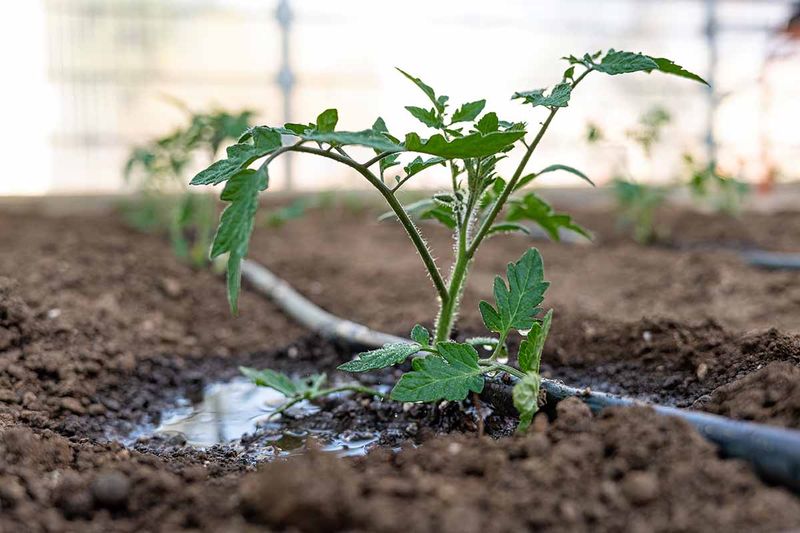
Consistent watering is one of the keys to healthy tomato production, and how you water matters almost as much as how often you water.
Overhead watering, whether from a sprinkler or a hand-held hose spraying the foliage, keeps the leaves wet and creates conditions that encourage fungal diseases like early blight and late blight, both of which are real concerns for Oregon growers.
Drip irrigation and soaker hoses deliver water directly to the root zone, keeping the foliage dry and reducing the risk of moisture-related disease. They also use water more efficiently, which matters during drier stretches of Oregon’s summer season.
Setting up a drip system at transplant time is much easier than trying to add one after the plants have grown large and sprawling.
Tomatoes generally do well with deep, infrequent watering rather than shallow, frequent watering. Deep watering encourages roots to grow further down into the soil, which helps plants handle dry spells more effectively.
Aim to keep the soil consistently moist but not waterlogged, since both drought stress and overwatering can lead to problems like blossom drop and fruit cracking.
In Oregon’s dry summers, particularly in Central and Eastern Oregon, a reliable drip system can take a lot of the guesswork out of keeping your tomatoes well-hydrated.
9. Mulch Around Your Plants After Transplanting
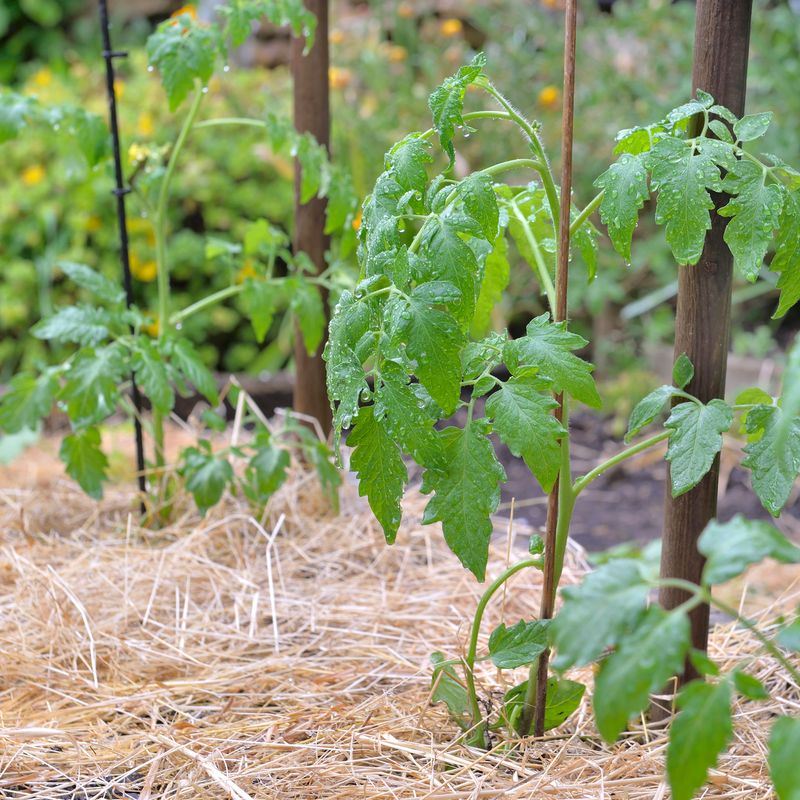
Spreading a layer of mulch around your tomato plants right after transplanting is one of those low-effort steps that pays dividends all season long.
Mulch helps regulate soil moisture, reduces the need for frequent watering, suppresses weed growth, and keeps the soil temperature more stable as the season shifts between warm days and cooler nights.
Straw, shredded leaves, wood chips, and even grass clippings can all work well as mulch in an Oregon tomato garden.
Apply a layer about two to three inches thick around each plant, keeping the mulch a few inches away from the stem to allow for good air circulation at the base.
Piling mulch right against the stem can hold moisture against it and encourage rot.
Mulch also plays a role in disease management, which matters in Oregon’s often damp growing environment.
Soil can splash up onto lower leaves during rain or overhead watering, and that splashing soil can carry fungal spores that lead to early blight and other issues.
A mulch layer acts as a barrier that reduces that splash effect significantly. In western Oregon where spring and early summer rains can linger, this disease-prevention benefit alone makes mulching well worth the effort.
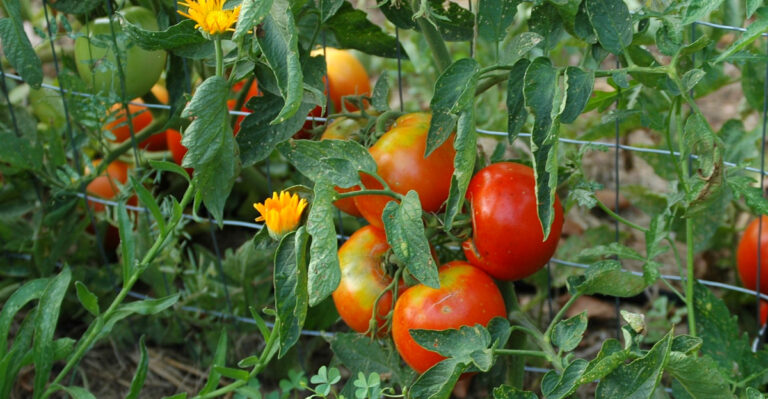
10. Stake Or Cage Plants At Planting Time
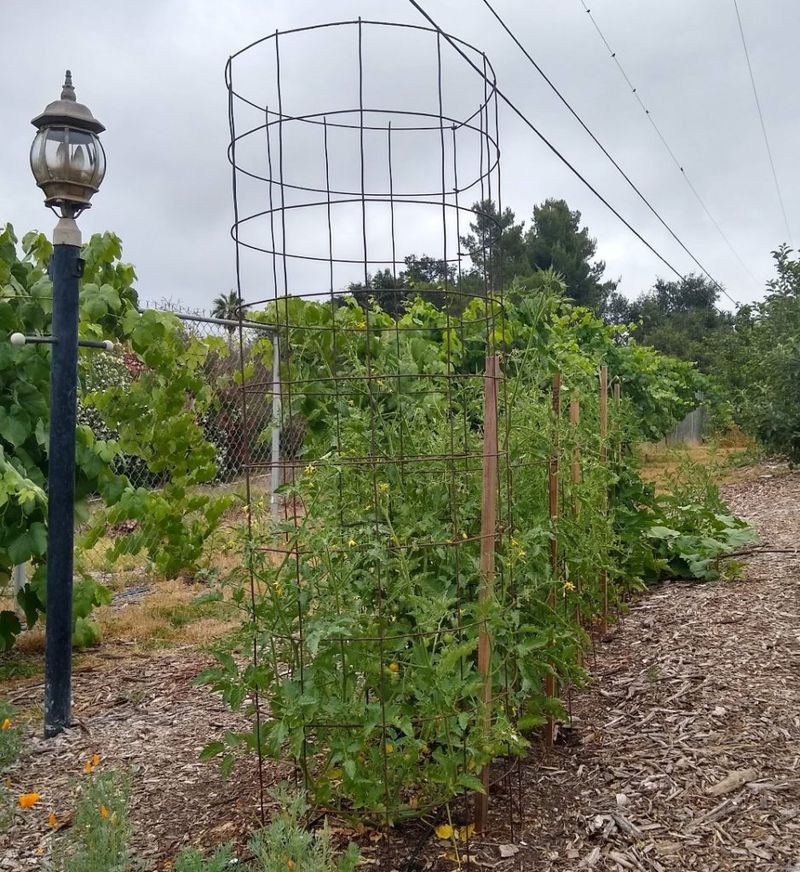
Setting up support for your tomato plants at transplant time, rather than waiting until they need it, is a habit that saves a lot of frustration later in the season.
When you try to add stakes or cages to an already large, established plant, you risk breaking stems and disturbing roots that have spread wide through the soil.
Indeterminate tomato varieties, which keep growing and producing fruit all season long, can get quite tall and heavy and need sturdy support.
Heavy-gauge wire cages, wooden stakes, or cattle panel trellises all work well depending on the variety and how much space you have.
Determinate varieties, which grow to a set size and ripen most of their fruit at once, are generally more compact but still benefit from some support to keep fruit off the ground.
In Oregon’s sometimes windy spring and fall conditions, good staking also helps protect plants from wind damage that can snap stems or uproot shallow-rooted transplants.
Drive stakes firmly into the ground at planting time, and use soft ties or strips of fabric rather than wire to attach stems as they grow.
Checking supports every week or two and adjusting ties as needed keeps plants growing upright and makes it easier to manage the garden as the season progresses.
11. Remove Suckers On Indeterminate Varieties
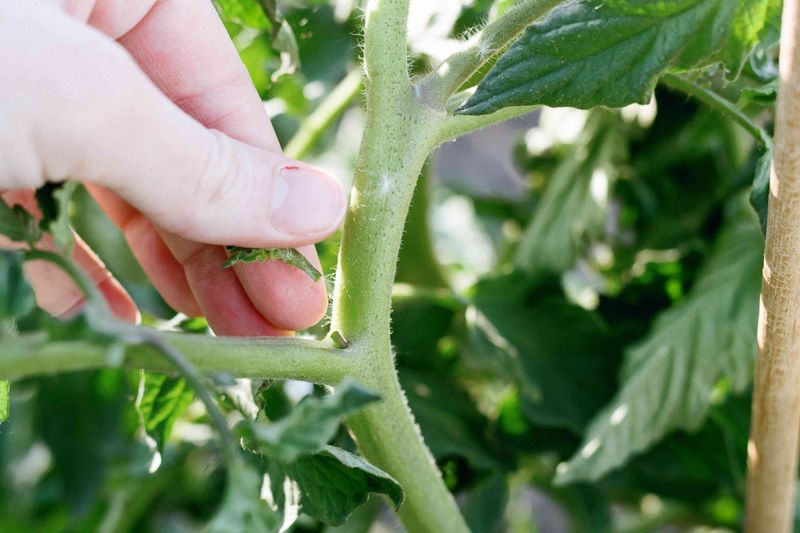
Suckers are the small shoots that sprout in the angle between the main stem and a side branch, and on indeterminate tomato varieties, they can quickly grow into full-sized branches if left alone.
While suckers themselves are not harmful, letting every one of them grow turns the plant into a dense, tangled mass of foliage that can reduce airflow and make it harder for the plant to put energy into ripening fruit.
Removing suckers below the first flower cluster is a common practice for gardeners who want to train their plants to one or two main stems.
This approach tends to work well in Oregon’s shorter warm season because it channels the plant’s energy into fewer but earlier-ripening fruits rather than spreading it across dozens of stems still loaded with green tomatoes when fall arrives.
Pinch suckers off when they are small, ideally before they reach an inch or two in length, since small suckers snap off cleanly with your fingers.
Larger suckers may need pruning shears, and cutting them creates a wound that should be watched for any signs of disease.
Not every gardener removes all suckers, and some prefer a fuller plant with more branches. Experimenting with different approaches over a couple of seasons is a good way to find what works best in your Oregon garden.
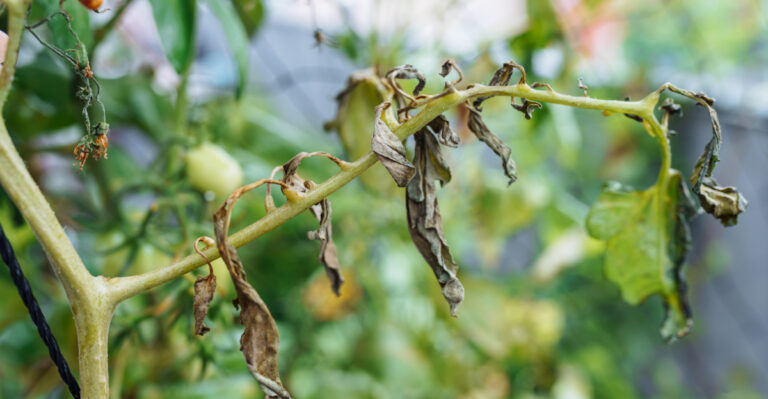
12. Scout For Late Blight Regularly Throughout The Season

Late blight is one of the most serious diseases that tomato growers in Oregon face, and catching it early can mean the difference between saving part of your harvest and losing the entire planting.
Caused by a water mold that thrives in cool, wet conditions, late blight can spread rapidly once it takes hold, especially in the damp climates of western Oregon and along the coast.
The early signs of late blight include water-soaked, greasy-looking spots on leaves that quickly turn brown or dark gray. White fuzzy growth may appear on the undersides of affected leaves during humid conditions.
The disease can also affect stems and fruit, causing dark, firm lesions that make tomatoes inedible.
Walking through your garden two or three times a week and checking both the tops and undersides of leaves gives you the best chance of spotting trouble early.
Remove and bag any affected plant material rather than composting it, since composting may not reach temperatures high enough to neutralize the pathogen.
Choosing resistant varieties when available, maintaining good airflow by pruning and staking, and avoiding overhead watering all help reduce late blight pressure.
Staying alert through Oregon’s late summer and early fall, when nights cool down and morning fog becomes more common, is especially important for keeping your tomato plants healthy into harvest season.