If Your Elephant Ear Plant Is Dripping Water, You’re Doing This Wrong
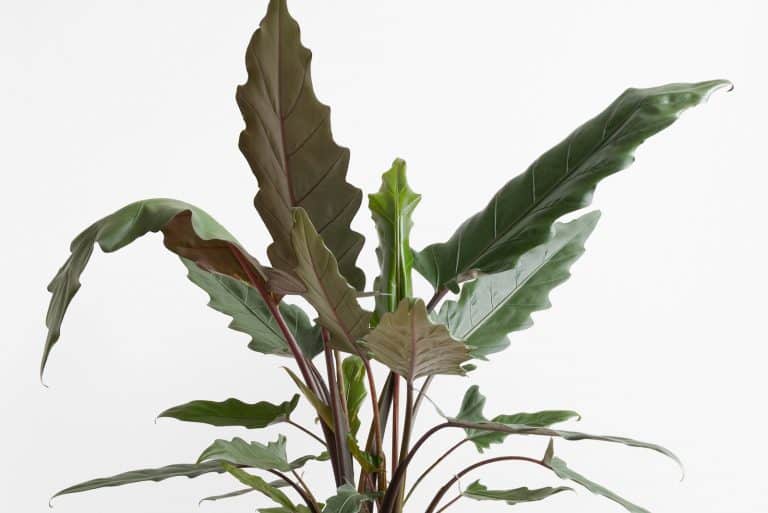
The elephant ear plants have become quite popular recently, mainly because of their beautiful large leaves that are somewhat similar to elephant ears — hence the name, elephant ear plants!
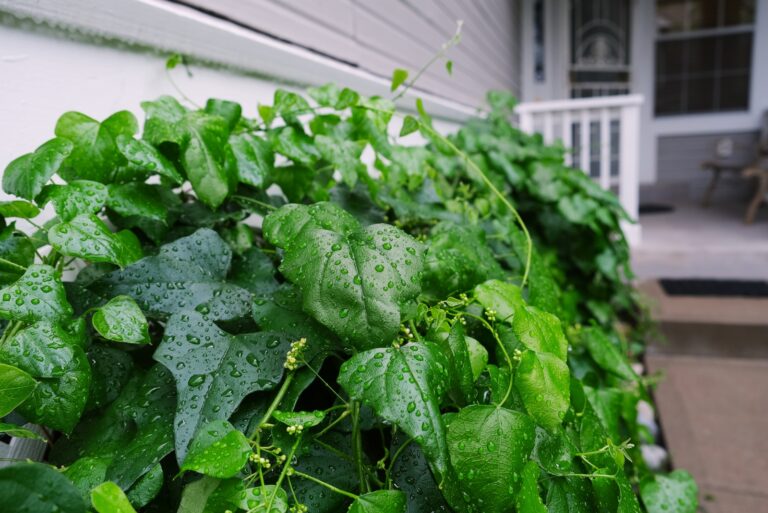
Once you start taking care of your new plant, you will notice that drops of water will start to appear on their leaves, which kind of looks like it is crying, but don’t worry!
Your plant is not sad, and this is a completely normal process known as guttation.
Put those tissues away, and find out the real reason your elephant ear plant dripping water!
Elephant Ear Plant Dripping Water: The Real Reason
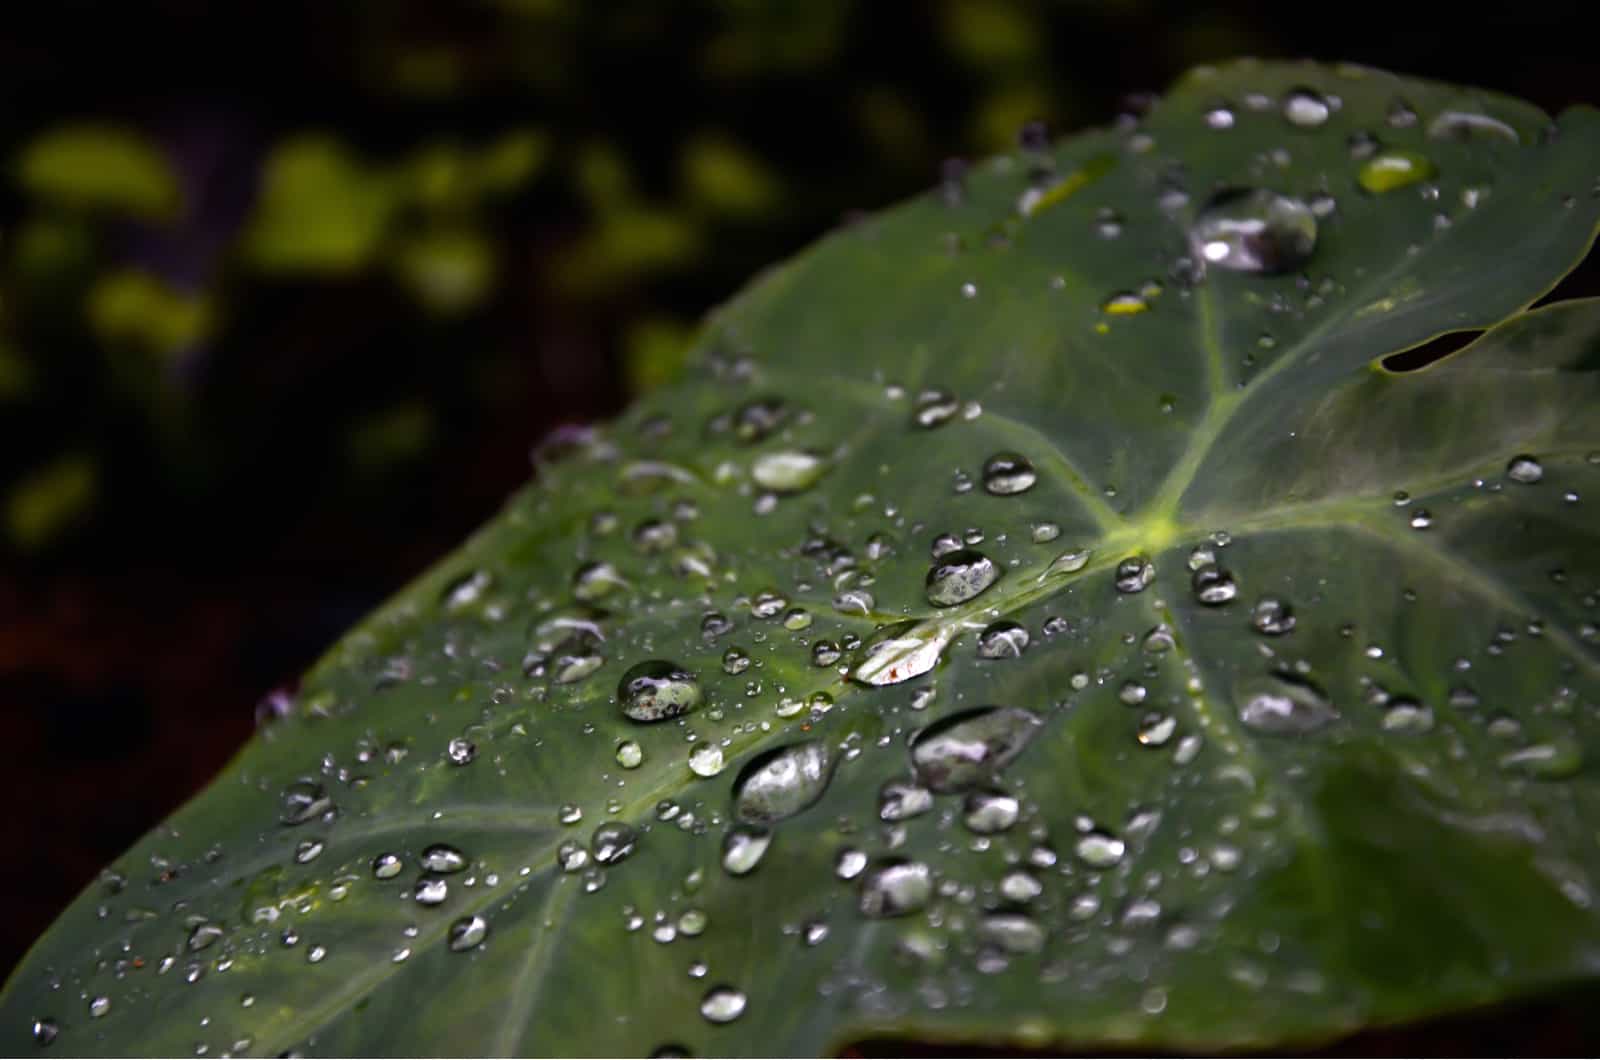
The real reason your Alocasia plant might be dripping water is a phenomenon called guttation. Bear in mind that this process doesn’t occur in the majority of plants, like photosynthesis, but rather occurs in tropical plants that are used to growing in humid environments.
This might be an indication that you are not properly taking care of your plant, however, it does not necessarily mean the conditions are unbearable and that your plant is suffering.
You can think about guttation as a sort of control mechanism for plants. They will simply try to remove excess moisture from their cells to prevent them from rupturing.
There are a few reasons guttation occurs.
The first indication is overwatering.
These plants are tropical and originate from deep rainforests, so they need constant watering. However, it is important to give them the right amount of water because they like moist, but not completely soggy soil.
When you give your plant extra water, the plant’s roots become saturated and your plant will absorb more than enough water. High humidity can also contribute to the extra moisture and literally suffocate your plant.
Your plant has to find a way to remove that extra water, so it starts crying! You shouldn’t panic if you see water drops on plant leaves, it may be completely normal.
It is important to always check the soil first. If it is soggy, then you are probably overwatering. The real problem occurs when the soil starts to smell funny, which is usually an indicator of root rot — a deadly disease that can completely ruin your plant.
However, there are also other reasons this natural process occurs. For instance, humidity levels might be too high for your Elephant ear plant, so it starts dripping water from the tip of the leaf.
There are a few factors that can affect watering habits, such as potting soil and temperature. We will get to the plant care guide for the elephant ear soon!
What Is Guttation?
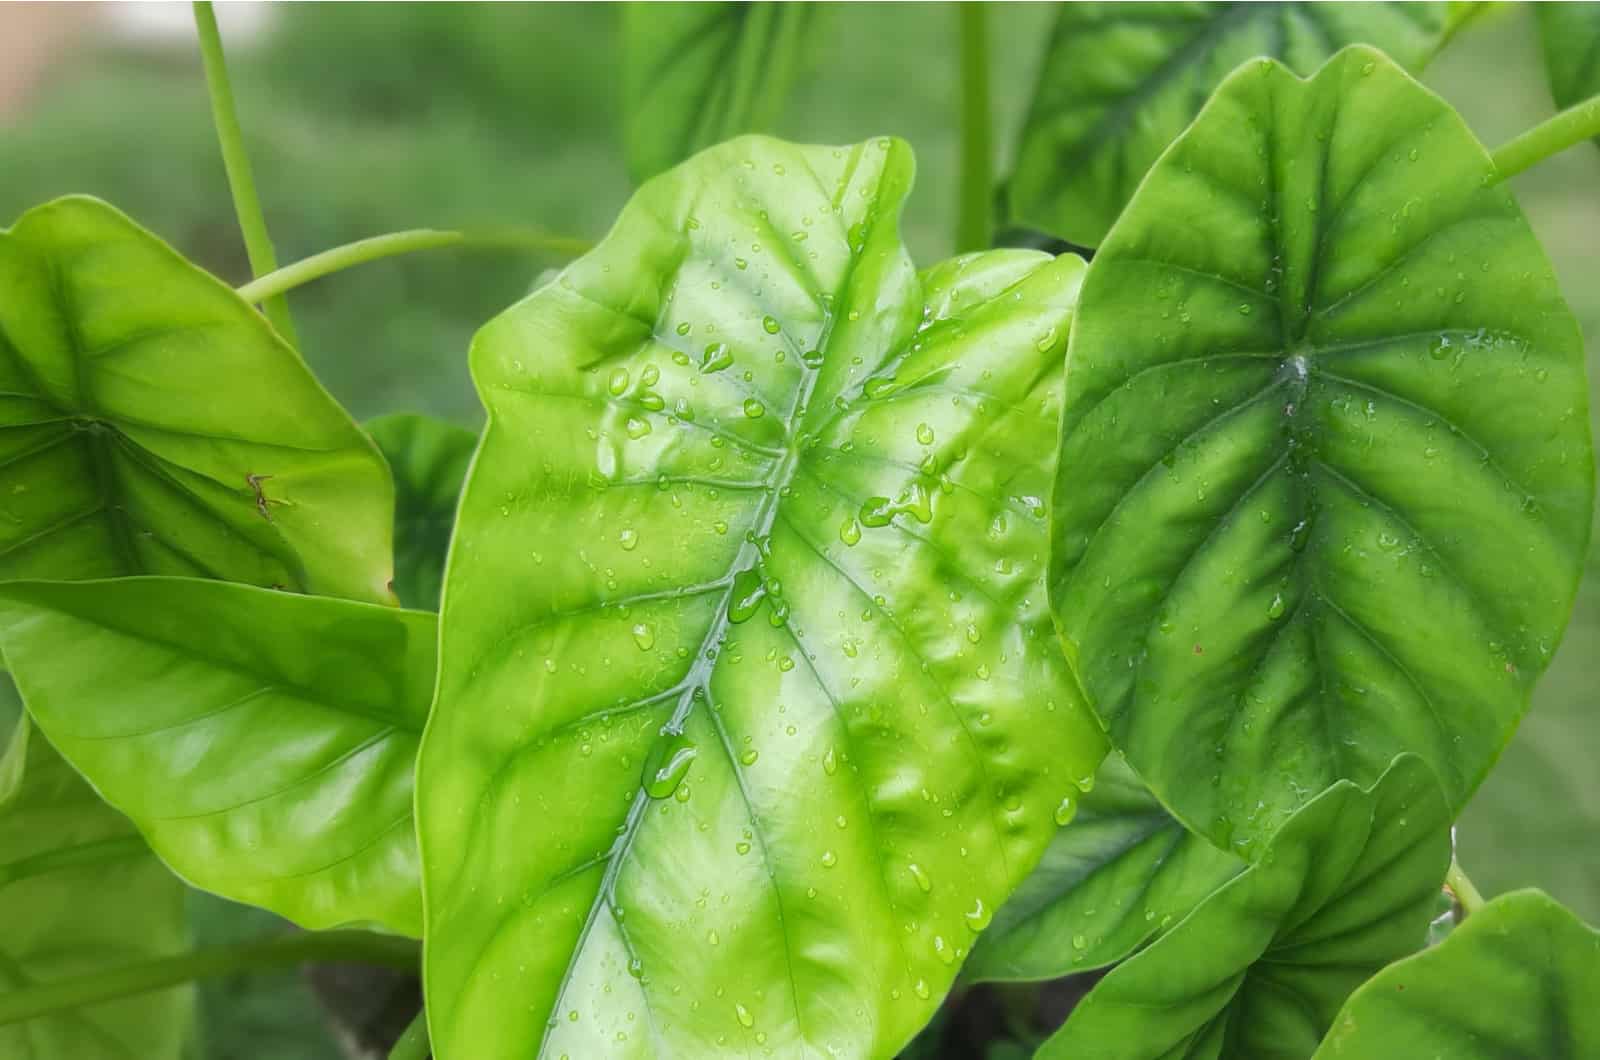
Photosynthesis, respiration, transpiration, and guttation are all carried out by leaves, which are specialized organs engaged in major physiological and biochemical processes.
Guttation is a process in which water flows up through plants due to increased water pressure in the roots. Water travels up through the roots of plants at night, propelled by increasing water pressure in the roots.
The water comes from the xylem, a plant’s major water transport tissue. Extra water usually escapes through microscopic holes called stomata in the plant’s leaves and stem. However, stomata can close at any time, and when this happens the water pressure exerted by the roots continues to force water up through the plant.
The water (along with the nutrients it picks up along the way) is forced out of the leaves as droplets at the tips and edges. The cells found around the edges of the leaves are called hydathodes, and it is their job to excrete the water droplets.
These water droplets are often referred to as xylem sap because they contain minerals and nutrients aside from water.
Guttation is very similar to the process of transpiration, however, the water that is lost in guttation is in liquid form.
Guttation is important for beneficial insects like bees because they can pick up water and nutrients more easily. However, there is a discussion now whether plants that have been treated with pesticides will excrete toxic droplets that could be harmful to bees.
Here is what scientist Sanjah Signah says in his article about guttation: “A current subject of discussion is whether the active secretions of water by plants (guttation) might be of significance for bees on account of residues of neonicotinoid pesticides possibly contained in them. In the light of its significance in agriculture, the possibility of the acute and chronic toxicity to honeybees (Apis mellifera) of guttation water and dew collected from winter rape plants treated with the insecticide Nurelle D® (a.i. chlorpyriphos + cypermethrin) was investigated and conflicting views, however have been expressed.”
When Does Guttation Occur?
You will probably be able to see little droplets on elephant ear leaves early in the morning or late at night because guttation occurs only during the night when the stomata and pores close.
If you were wondering how this happens, the plants are able to detect the amount of light exposure they get. Therefore, during the day, the pores will be open and then closed, while hydathodes will excrete the excess water during the night.
As we already mentioned, guttation can also occur because of high humidity levels, usually above 80 – 90%, which is when the plant is unable to release water by transpiration. Luckily, guttation helps with this!
You could also be dealing with poor drainage and overwatering.
Should You Be Worried About Guttation?
In most cases, no. This is a natural process that occurs in an indoor plant, and you will simply have to accept it. However, there are a few signs that can indicate overwatering, which can result in root rot and the death of the plant.
These are the symptoms of overwatering:
• Leaves turning yellow
• Stunted growth and leaf development
• Mold on the surface of the soil
• Soil moisture levels are constantly high
• Brown patches on plant leaves and stems
• Soil starts to smell
• Roots begin to look mushy and rotten
• Branches are weak
• Plant wilting
If your houseplants have any of these symptoms, it is time for repotting and an adjustment of your watering habits. Remember that these plants like to grow in moist soil that is not soggy. You should also consider providing them with well-draining potting mix and a pot with drainage holes in the bottom for excess water removal.
What Is Transpiration?
Guttation and transpiration are somewhat similar processes, so we have to make a clear distinction between the two before further discussion.
Transpiration refers to the mechanism through which plants lose water vapor via their stomata. When the weather is particularly hot, the loss of water vapor from the plant cools it and water from the stem and roots flows upwards and is ‘drawn’ into the leaves.
We can think of transpiration as the plant sweating because water evaporation occurs in order to cool down the plants during hot and humid summer days.
When plants have less water, dehydrated mesophyll cells release the plant hormone abscisic acid, which causes the stomatal pores to close, reducing water loss during oxygen release and carbon dioxide uptake.
Transpiration happens during the day, while guttation occurs during the night. This is another way that can help you understand their differences.
In transpiration, only pure water is released and there is no possible danger to beneficial insects. This is unlike guttation, where xylem sap is released together with minerals and nutrients from the plant.
Photosynthesis & Respiration
Photosynthesis and respiration are biochemical processes conducted by the leaves that result in water production.
Photosynthesis is the process by which carbon dioxide and water are converted into oxygen and glucose. The plant consumes glucose as food and oxygen is produced as a by-product. It’s fascinating how the oxygen we need to live is made as a by-product!
While your Alocasia or Colocasia (they’re both referred to as Elephant ear plants!) are absorbing carbon dioxide and producing oxygen, they are involved in yet another biochemical process, which is known as respiration.
During cellular respiration, oxygen and glucose are converted to water and carbon dioxide. Water and carbon dioxide are by-products of the process, while ATP is the energy that is transformed.
In other words, your plant is using the sugar produced by photosynthesis to create energy for growth and development. It is at this point that the water vapors and little droplets appear on the leaves’ edges.
For more clarity, look at these simple reactions:
Photosynthesis:
Carbon dioxide + water -> glucose + oxygen
Respiration:
Oxygen + glucose -> water + carbon dioxide
What To Do When Your Elephant Ear Plant Is Dripping Water
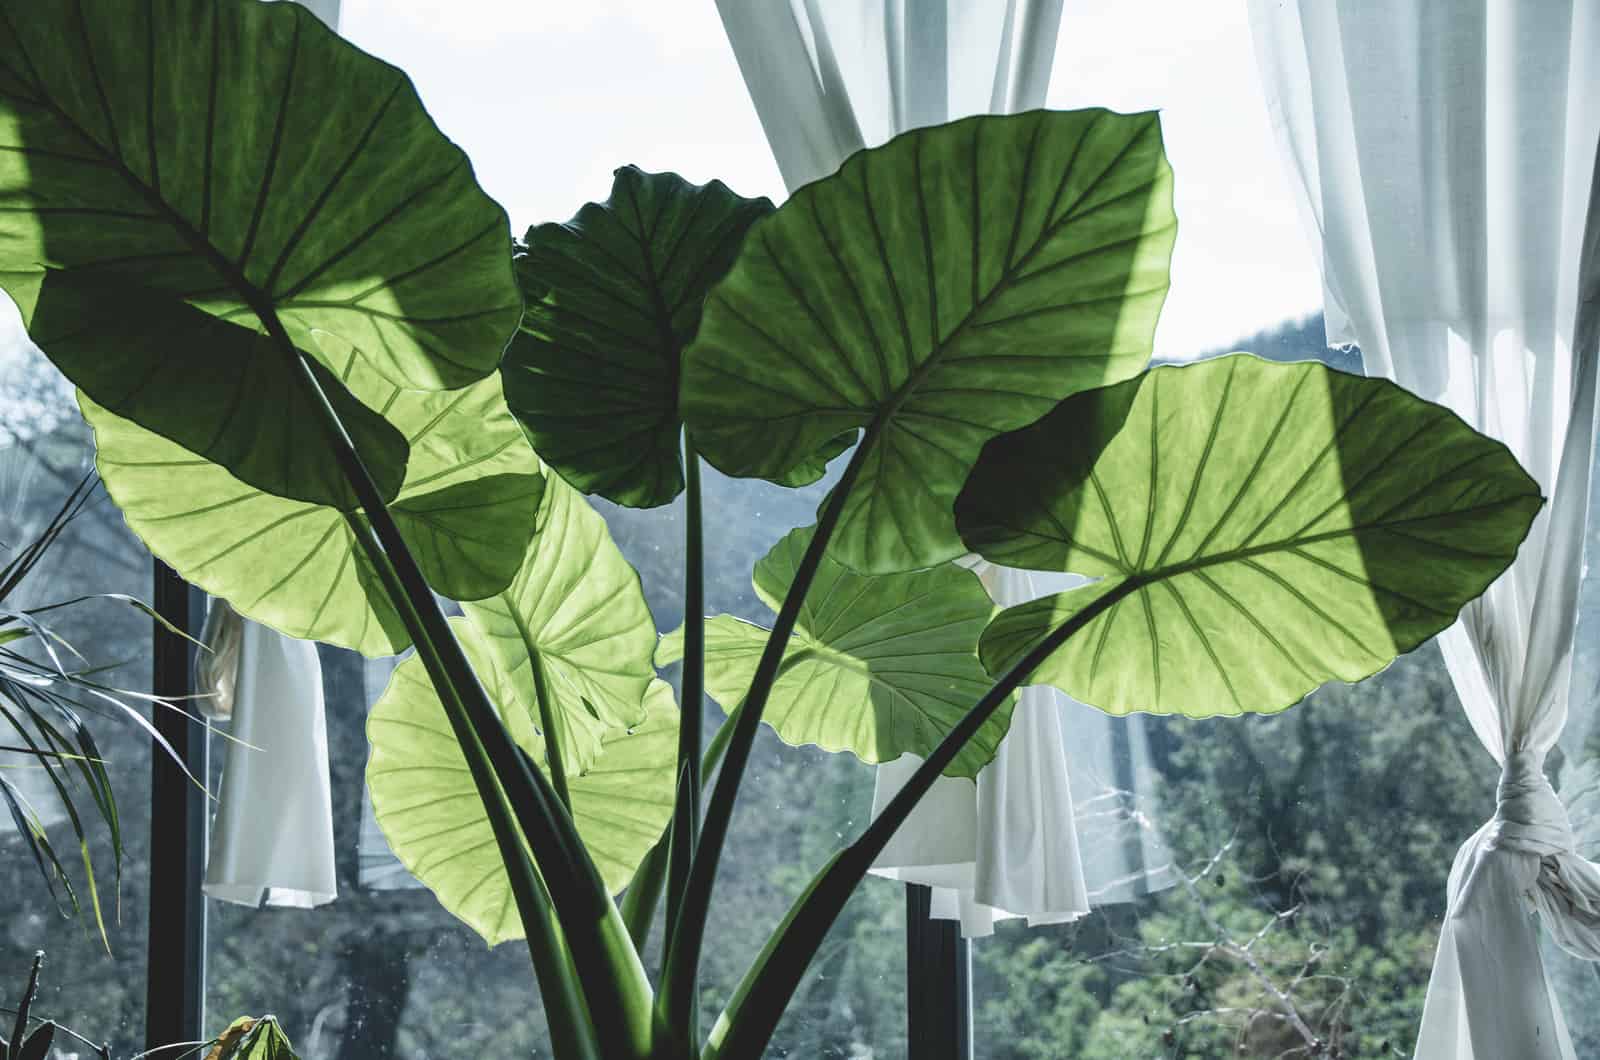
If your elephant ear plant is dripping water, you should definitely rethink your watering schedule. We are going to cover the basic steps to help you care for your beautiful elephant ear and keep it happy and healthy!
Watering Requirements
These plants prefer soil that is consistently moist, but neither too wet nor too dry. As a result, determining a regular watering schedule can be difficult because of a variety of factors, such as temperature and humidity, influence water requirements.
Before watering, it’s best to inspect the soil. You can check if the top 2 inches of soil have dried out with your finger, and if they have, it’s time to water! If the soil is still slightly moist, I recommend waiting a few days before watering it.
My Jewel Alocasia only needs to be watered once a week, but my friend who lives in another country has to water theirs twice a week, and sometimes even three times!
This is due to the fact that he lives in a different environment, proving that you can’t tell when to water your Alocasia plant without checking the soil.
Overwatering can easily lead to root rot, and this infectious disease will almost certainly kill your plant!
Soil Requirements
The Elephant ear plant prefers loose, well-draining soil with a pH of 5.6 to 7.5, which is acidic to neutral soil.
Keep in mind that you should always test the pH of the soil before planting. Although loamy soil is best, you can always buy a suitable potting mix for your Aroid plants.
Perlite, peat moss, and bark should all be included in the potting mix. You can try making your own potting mix, but make sure it’s not too sandy or heavy and that it retains moisture effectively.
Light Requirements
Alocasia and Colocasia can both tolerate full sun, but prefer growing in partial shade. We don’t want those beautiful leaves to be burned by too much direct sunlight!
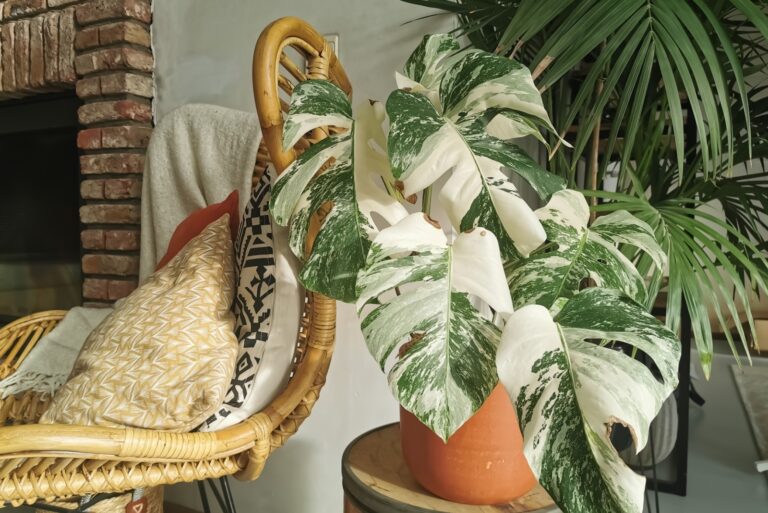
If you are dealing with a variegated Alocasia, the variegation of the leaves is the determining factor of light requirements.
That is to say, if the leaves have more white spots than green patches, they will require a lot more intense and indirect light because the white regions are lacking chlorophyll.
Because these white areas are unable to perform photosynthesis, the green regions must do all of the heavy lifting!
Plants need photosynthesis to produce energy, and if the leaves were entirely covered with white spots the plant would be unable to produce enough energy and nutrients to survive.
They like bright indirect light in general, but can handle a few hours of direct sun late in the afternoon or early in the morning.
Don’t place this plant in direct sunshine all day because it will burn the leaves and cause them to lose their variegation.
If this plant is in a room with insufficient indirect or direct sunlight, I recommend using artificial grow lights to make up for the lack of light.
Temperature Requirements
Because these tropical plants are native to Eastern Australia and Asia, the ideal temperature would be somewhat similar to those areas, and the climate there is pretty warm!
As a result, both Alocasia and Colocasia thrive in warm weather, with ideal daily temperatures ranging from 70 to 85 degrees Fahrenheit and nighttime temperatures dipping to 60 degrees Fahrenheit.
If the winter is coming, you should bring this plant inside. Always keep the tubers indoors and replant them the following year.
If your plant is exposed to lower temperatures on a regular basis, it will first go dormant before the leaves begin to fall off, destroying the entire plant. Open windows, air conditioners, and cooling fans all contribute to cold drafts.
Humidity Requirements
These tropical plants thrive in high humidity, which is why growing tropical houseplants indoors can be challenging at times.
Humidity levels of 70 percent are recommended for this tropical beauty, yet your Alocasia or Colocasia may thrive in even higher humidity!Humidity levels below 70% should be avoided because they might harm the plant’s overall health, and if you detect curling leaves you should definitely increase the humidity in your home.
You can enhance humidity levels in your house in a variety of ways, for example, purchasing a humidifier, which is probably the simplest choice.
If you don’t want to use a humidifier, you can always mist your plant instead. Spraying tepid water on the top and underside of the leaves is commonly done in the morning with this method.
Another thing you can do to increase humidity is make a pebble tray. You can do this by filling a tray with pebbles and pouring water over them. The Pebble tray is positioned beneath the plant so that as the water evaporates it flows directly to it.
Fertilizer Requirements
Because these plants aren’t typically heavy feeders, they don’t require a lot of fertilizer. Fertilize them only during the growing season, which is from spring through summer. There is no need to fertilize the Alocasia or Colocasia throughout the winter because they enter dormancy.
You can use either liquid or granular fertilizer in modest amounts, but you must apply it once a month throughout the growing season in both situations.
If you want to use liquid fertilizer, keep it 6 inches away from the plant when spraying. It can actually burn the leaves and roots if you get too close, which you definitely don’t want to do with this plant!
I would suggest using a nitrogen-rich fertilizer because nitrogen promotes the development of new leaves. The NPK formula, which contains equal amounts of nitrogen, potassium, and phosphorus, is the best option.
I would also recommend that you get a high-quality fertilizer. Overfertilizing your plant can harm its overall health due to the toxins that build up in the soil.
Repotting
Once a year, you should repot these plants into a larger pot. For appropriate drainage, the pot must have drainage holes in the bottom and you must prepare enough potting mix for your plant.
These plants prefer well-draining, continually moist soil. Because the soil might get overly dense and prevent proper air circulation, simply poke holes in it to allow for aeration.
For more information, check out this video:
Propagation
Elephant ear plants require a specific method of propagation. While most plants are propagated by cutting stems, Elephant ear plants are propagated using tubers or rhizomes.
Dig up the parent plant first, then select newly produced tubers with roots. After that, cut it apart with disinfected shears before placing the baby tuber in a container with the appropriate soil.
Make sure your pot has drainage holes in the bottom to drain away any extra water.
Place the new baby plant somewhere dark and cool until spring, then transplant it to a slightly shaded spot outside.
Pruning
I understand how difficult it can be to remove those lovely, huge leaves, but we must do so in order to keep our beloved plant healthy and developing!
Timing is critical when pruning because there is a unique overwintering method in which all leaves are removed and only the corm is saved for the following growing season.
When the first cold strikes and the leaves turn brown, it’s time to prune your Elephant ear plant. When the weather has become cooler again and the majestic, green leaves begin to turn brown, you know it’s time to prune and save the corm.
Cut the leaves near the base with your pruning shears, leaving about 2 inches above the ground. Remove all of the leaves, and your plant will be ready for the winter!
Common Problems With Elephant Ear Plants
Unfortunately, spider mites, aphids, and other pests are attracted to these plants. It could be a bug infestation if you find any stains on the leaves and stems.
Keep your plant dry over the winter to prevent these pesky spider mites from attacking it. Pesticides can also be purchased at a gardening center. Alternatively, I recommend going organic and spraying neem oil on the leaves.
A fungus called Phytophthora colocasiae causes fungal leaf blight, which is found in many Elephant ear plants. This troublesome fungus causes circular lesions on those magnificent leaves, turning them yellow and purple. It begins by killing the leaf, then spreads to the corm, eventually destroying the entire plant.
Fungicides containing copper or neem oil can be used to cure fungal leaf blight; simply spray the affected regions once a week and hope for the best!
Another problem with this plant is that it is invasive. If you want to cultivate an Elephant ear plant in your garden, you should be aware that it will strive to take up all of the available space despite the other plants around it.
You Asked Us
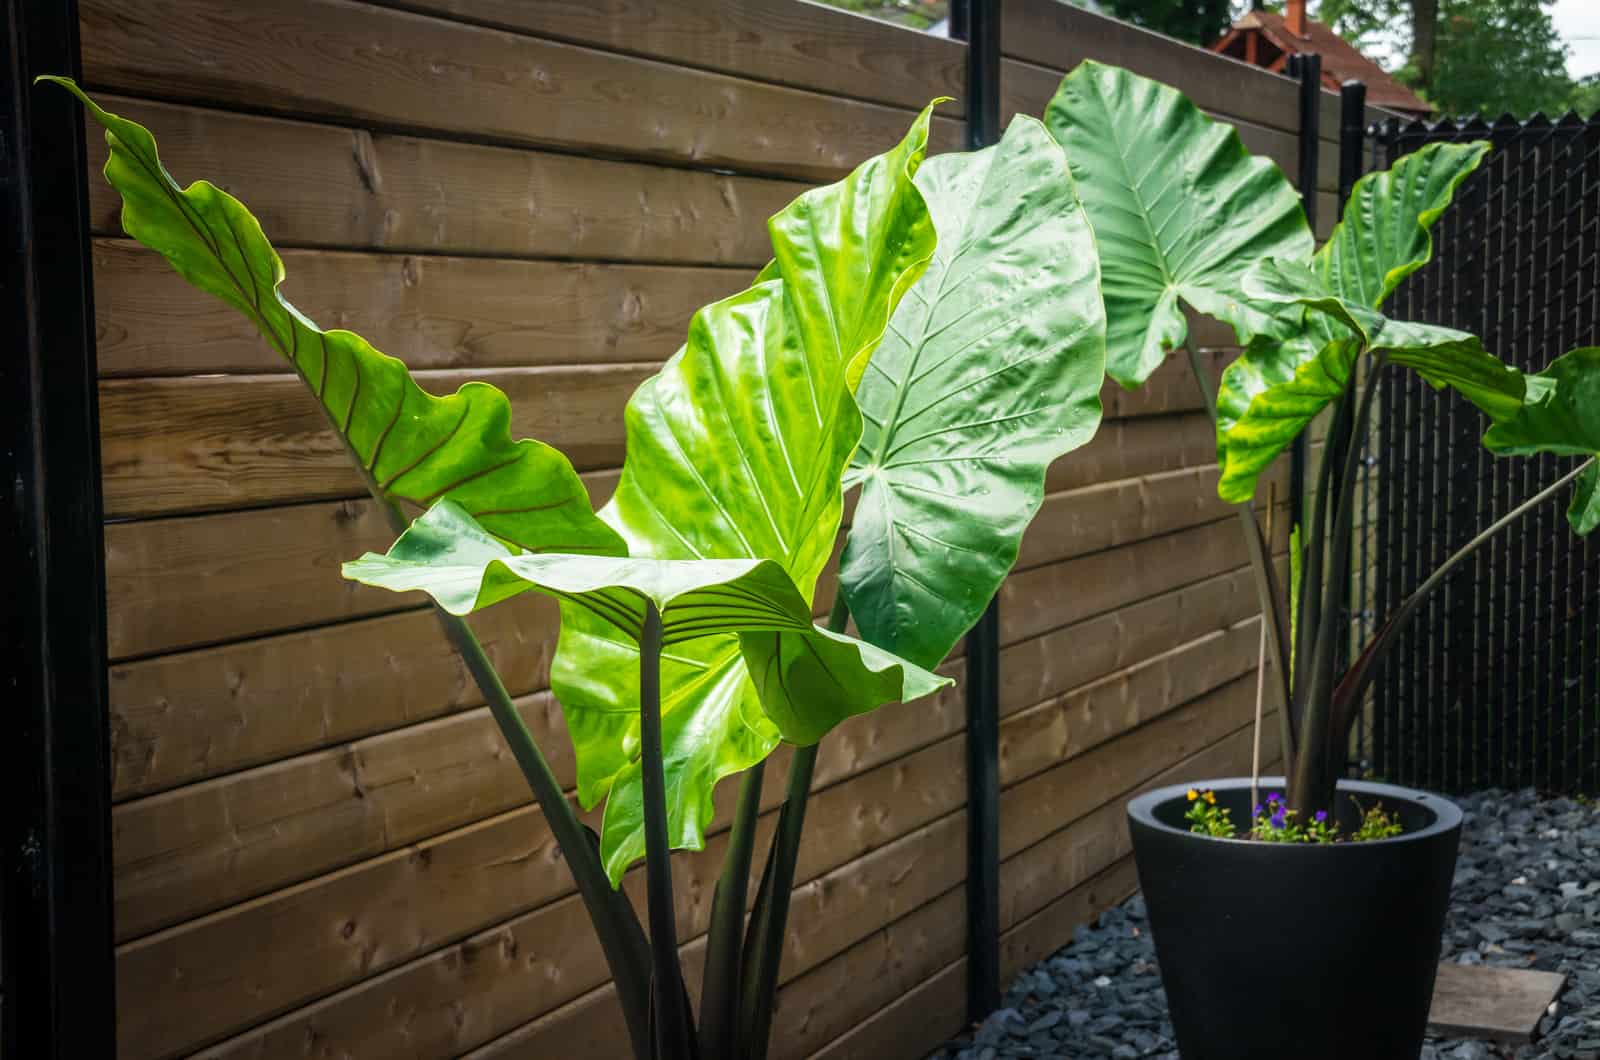
1. What is the best way to save an elephant ear plant that is dripping water?
If you notice the yellowing of the leaves followed by a funky smell coming from the soil along with your elephant ear plant dripping water, then it is time for repotting. All of these are signs of overwatering, and in this case it is best to put your plant in a new pot and cut off any mushy roots.
You should always be careful of watering, and only water when the top two inches of the soil have dried out. Remember that these plants like to have moist soil, not soggy!
Also, try to keep humidity levels around 70% because higher humidity can also be the reason your plant is dripping water.
2. Why is water dripping from my elephant ear plant leaves?
There are some naturally occurring processes in plants that result in water droplets dripping from the leaves. Some of them include transpiration, guttation, and respiration.
All of these are normal, they are simply mechanisms of the plant so that it can adapt to certain environmental conditions. For instance, guttation occurs when there is excess water in the plant’s cells.
This can be caused by frequent watering and high humidity — basically, all the things that can lead to plants absorbing too much water.
3. How do you know if elephant ears are overwatered?
The symptoms of overwatering include:
• Leaves turning yellow
• Stunted growth and leaf development
• Mold on the surface of the soil
• Soil moisture levels are constantly high
• Brown patches on plant leaves and stems
• Soil starts to smell
• Roots begin to look mushy and rotten
• Branches are weak
• Plant wilting
Final Words
An elephant ear plant dripping water could be for several very simple reasons that are all naturally occurring mechanisms of plants!
To think that plants can adapt to various conditions and maintain their health is simply amazing to me. Nature is truly artful!
If you think that your elephant ear plant is crying, then you should probably ease up on the watering. If you think that it is going through a rough patch — it probably is, not just emotionally but physically as well!
Therefore, provide your precious plant with the best possible care!
Until next time!

