What A ZZ Plant Bulb Is And The Best Ways To Use It

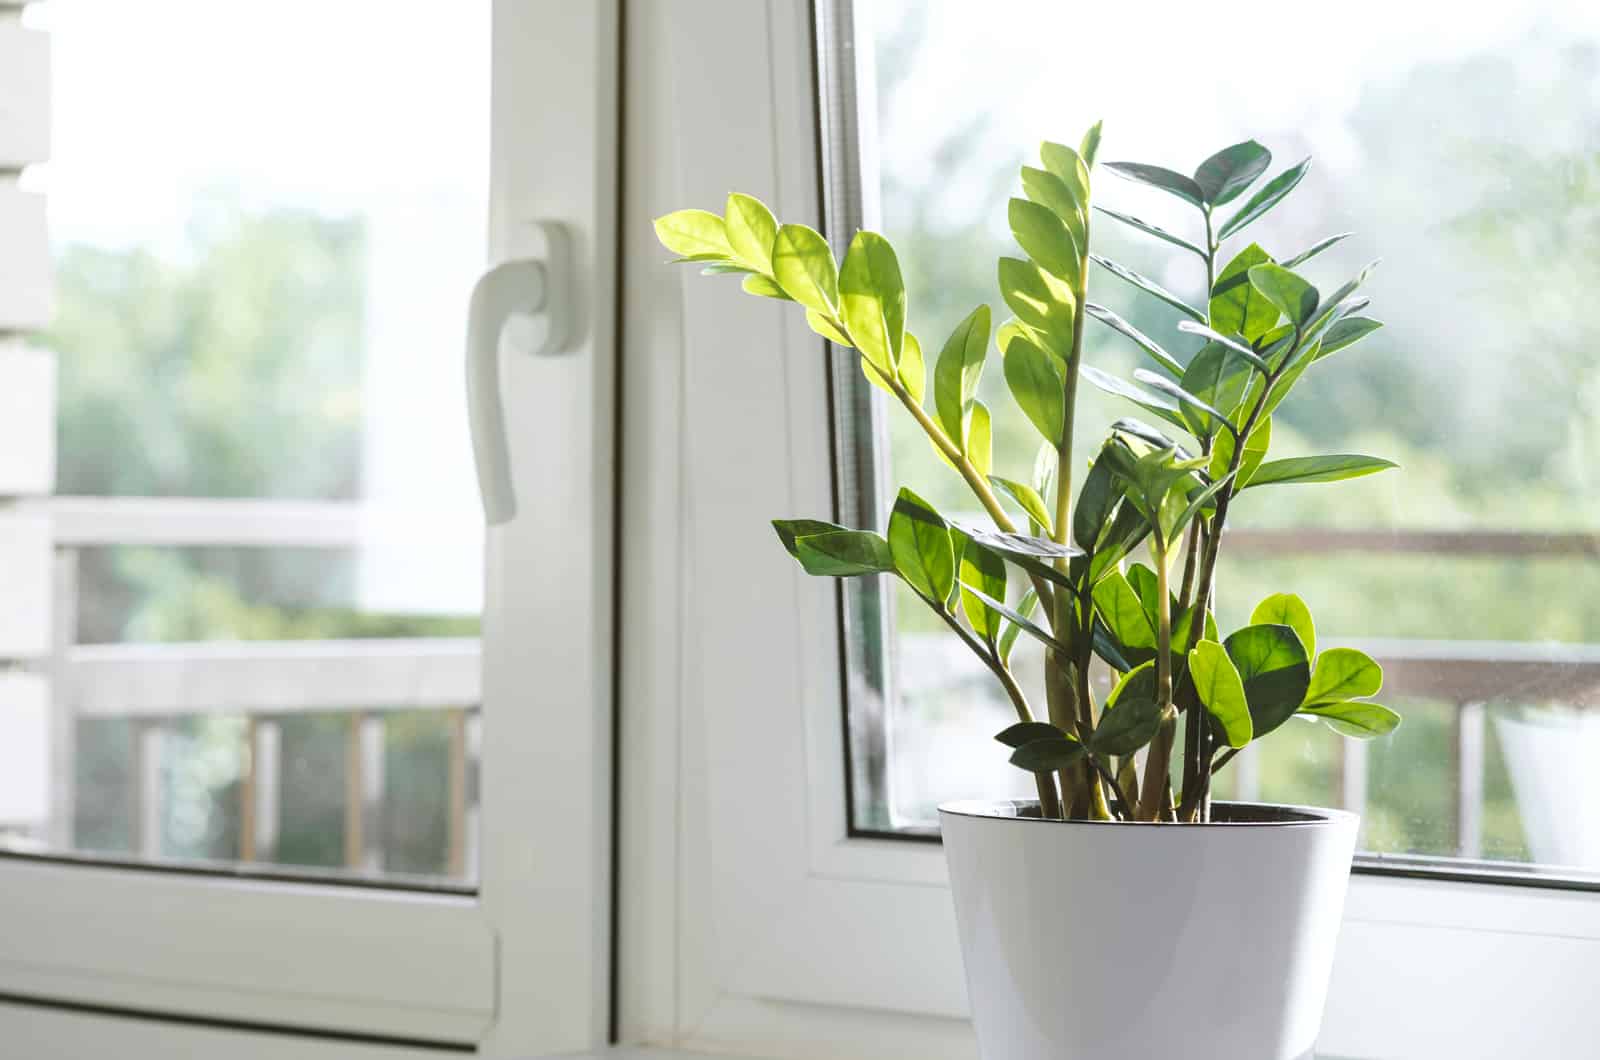
The ZZ is a very common houseplant, and if you aren’t growing one already, it should really be on your wishlist!.
The ZZ is so popular because it looks fantastic and is easy to care for.
But the story doesn’t end there – the ZZ has even more benefits, so keep reading to find out more!
There is one confusion when it comes to the Zamioculcas zamiifolia. It’s related to its bulbs, or should I say rhizomes, or maybe even tubers?!
Although these three don’t refer to the same thing, they are often used interchangeably.
So, what is the ZZ plant bulb all about? Let’s resolve the confusion!
What Is A ZZ Plant Bulb?
The ZZ plant’s structures below the soil line are referred to as rhizomes. Therefore, the ZZ plant bulb isn’t the correct term for the underground structures of this houseplant.
Many growers use the word bulb to refer to all plant structures below the soil line.
Although gardeners will understand what you’re referring to if you use the word bulb, there is a more precise term, which is “rhizome”.
Plants like the ZZ have swollen stems under the topsoil, and you can use this kind of structure for propagation.
Let’s look closer at what each term actually means.
What Are Rhizomes?
How do rhizomes differ from tubers and bulbs? Mature plants produce these types of stem structures.
Unlike tubers, which grow deeper into the earth, rhizomes grow horizontally through the ground closer to the surface.
This kind of stem structure can also be used to store nourishment for further development.
The ZZ is the best example of plants that propagate using false bulbs.
Other rhizome plants with this structure include:
• Alstroemeria
• Canna
• Plants from the Iris genus.
What Are Bulbs?
The actual bulbs are either oval or round and have pointed ends.
The lower part of a true bulb produces new roots when planted in the soil. The bulb’s base normally contains one tiny bud that will later serve as a flowering section.
The entire bulb is frequently encircled by a tunic, which protects the bulb.
The real bulbs reproduce by producing offsets that will reach a specific size and generate new plants.
Here are some plants that have real bulbs:
• Daffodils
• Dahlias
• Garlic
• Cyclamen.
What Are Tubers?
A tuber is another term for plant structures below the soil line. They are distinguished from bulbs by the absence of a protective tunic and the simplicity of their storage system.
The internal part of tubers is made of tissue that holds the nourishment for new growth.
One section of a tuber is called the eyes, and it spreads across the tuber’s surface.
You will notice new roots and shoots coming out from these eyes. Due to this feature, you can quickly cut the tubers into sections.
Sections should have their own eye, and you can simply plant each new section as they all produce new plants.
The thing with tubers is that you can’t divide them. However, they become larger each season, which results in additional growth points.
What is a tuber plant? Plants like potatoes, ginger, and spider plants are the most prevalent types of tubers.
How To Divide A Zanzibar Gem Houseplant?
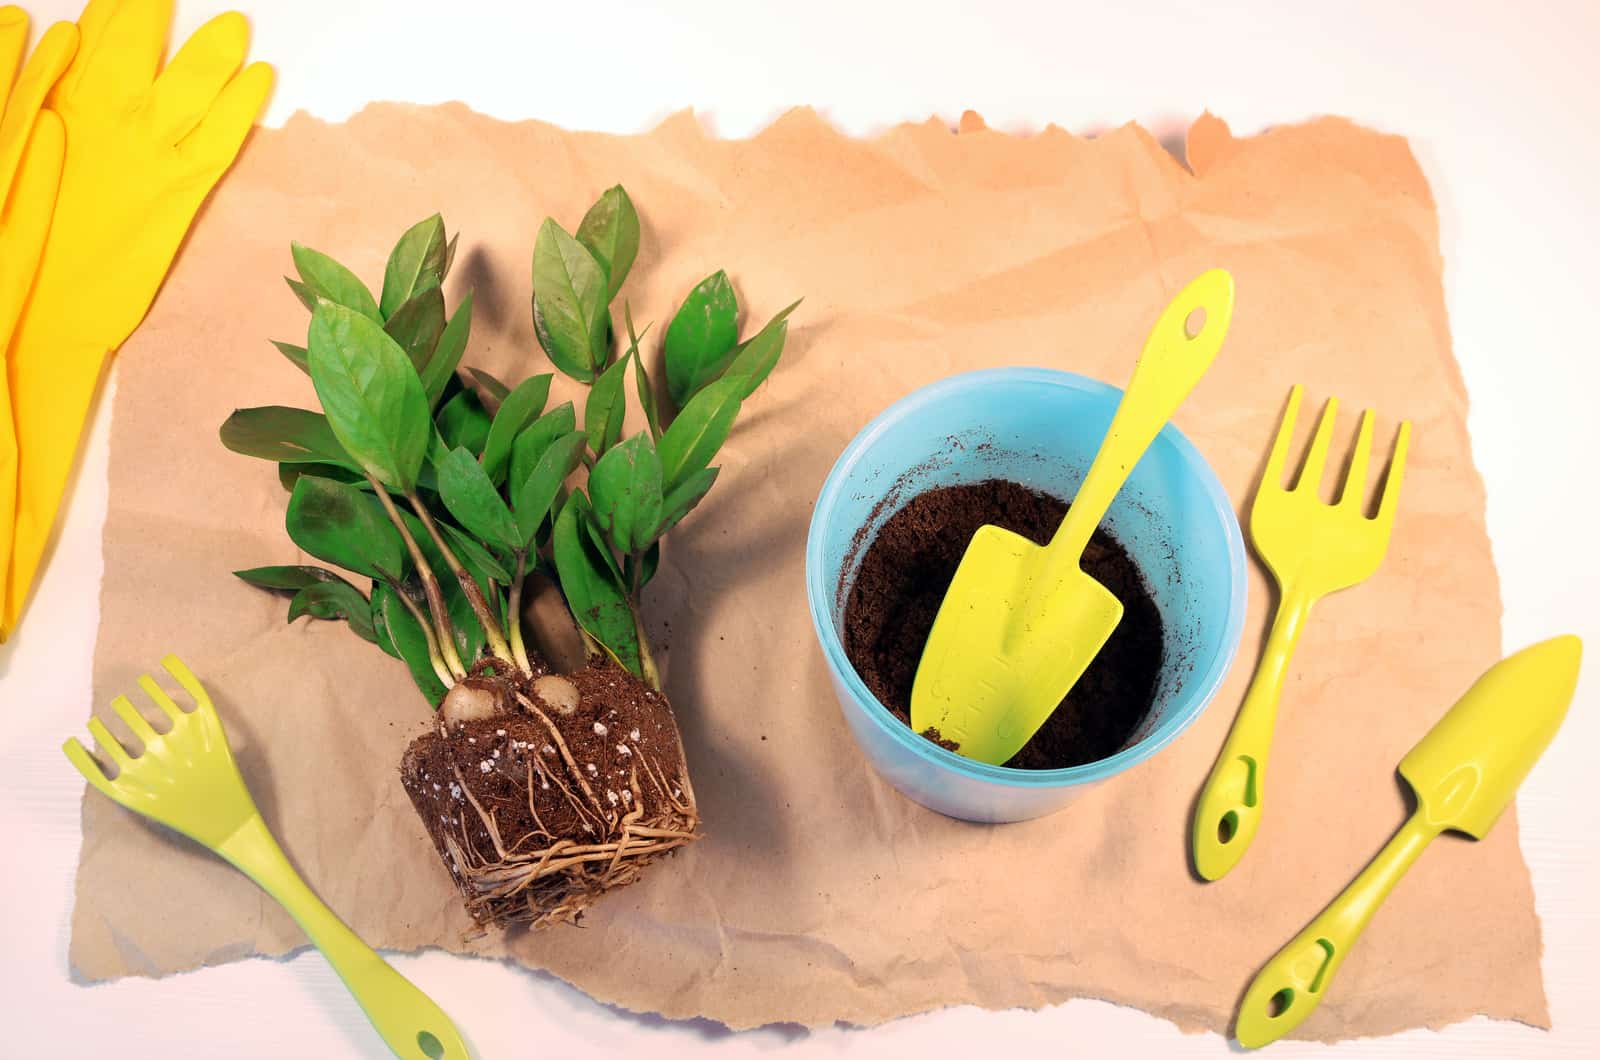
Before you start dividing your ZZ, you must prepare gloves because the ZZ can irritate the skin, a sharp and sanitized knife, and activated charcoal powder.
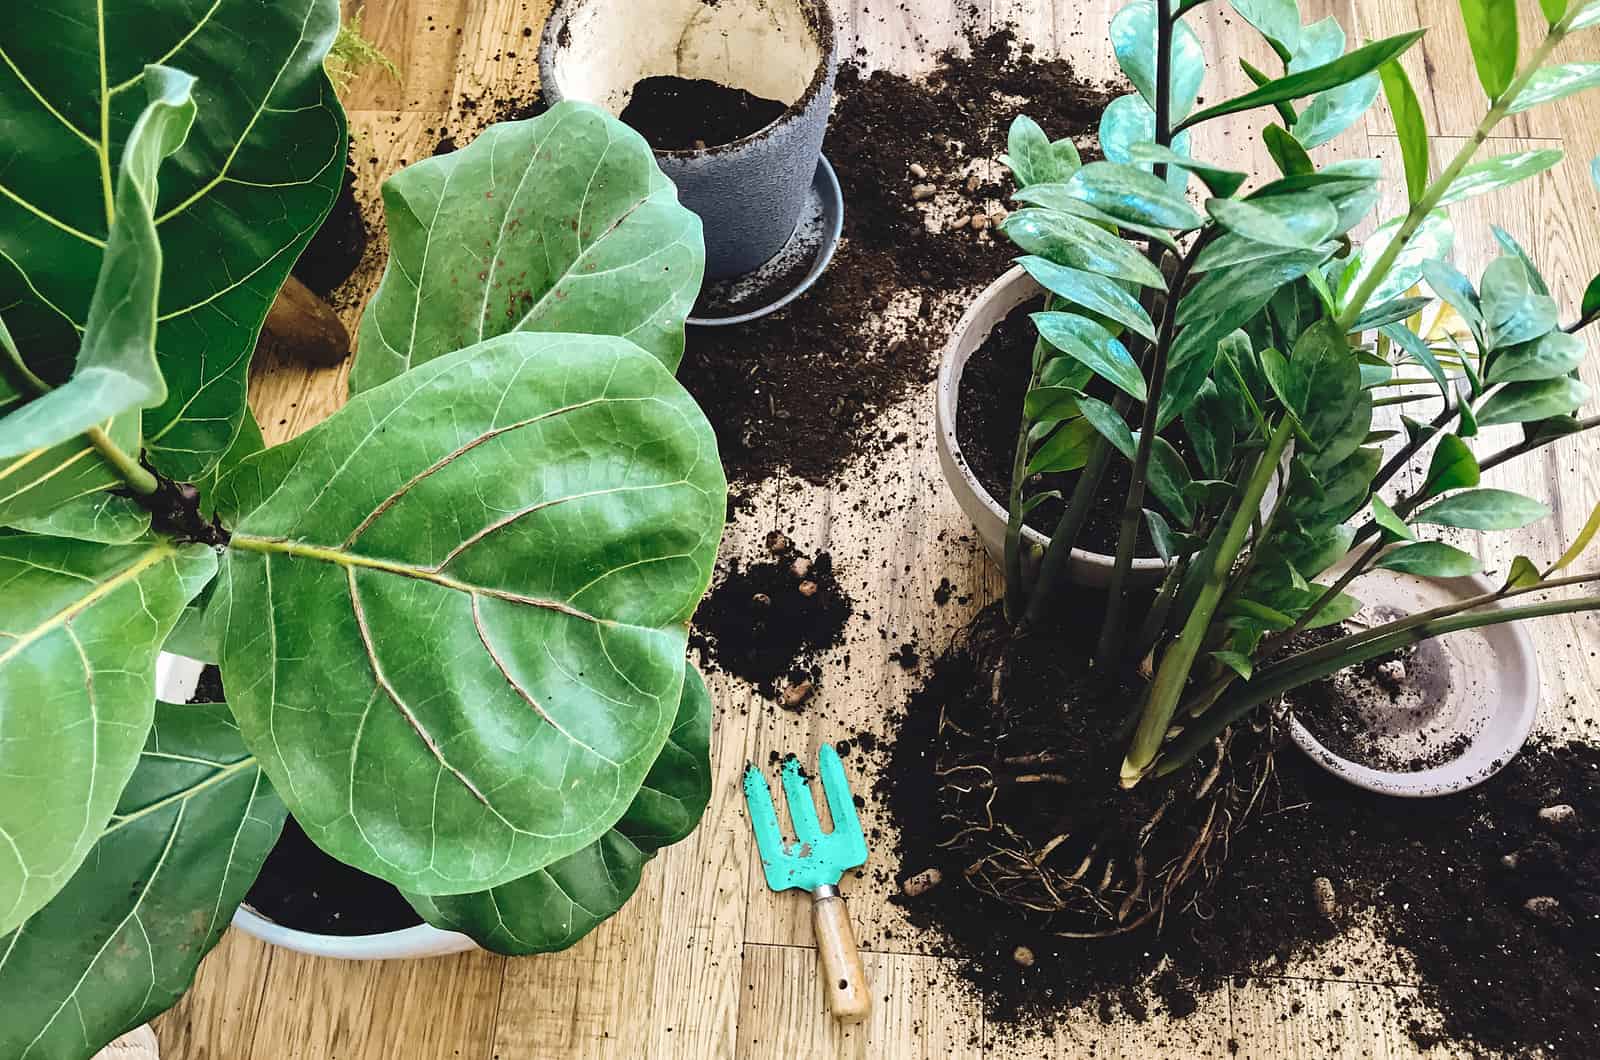
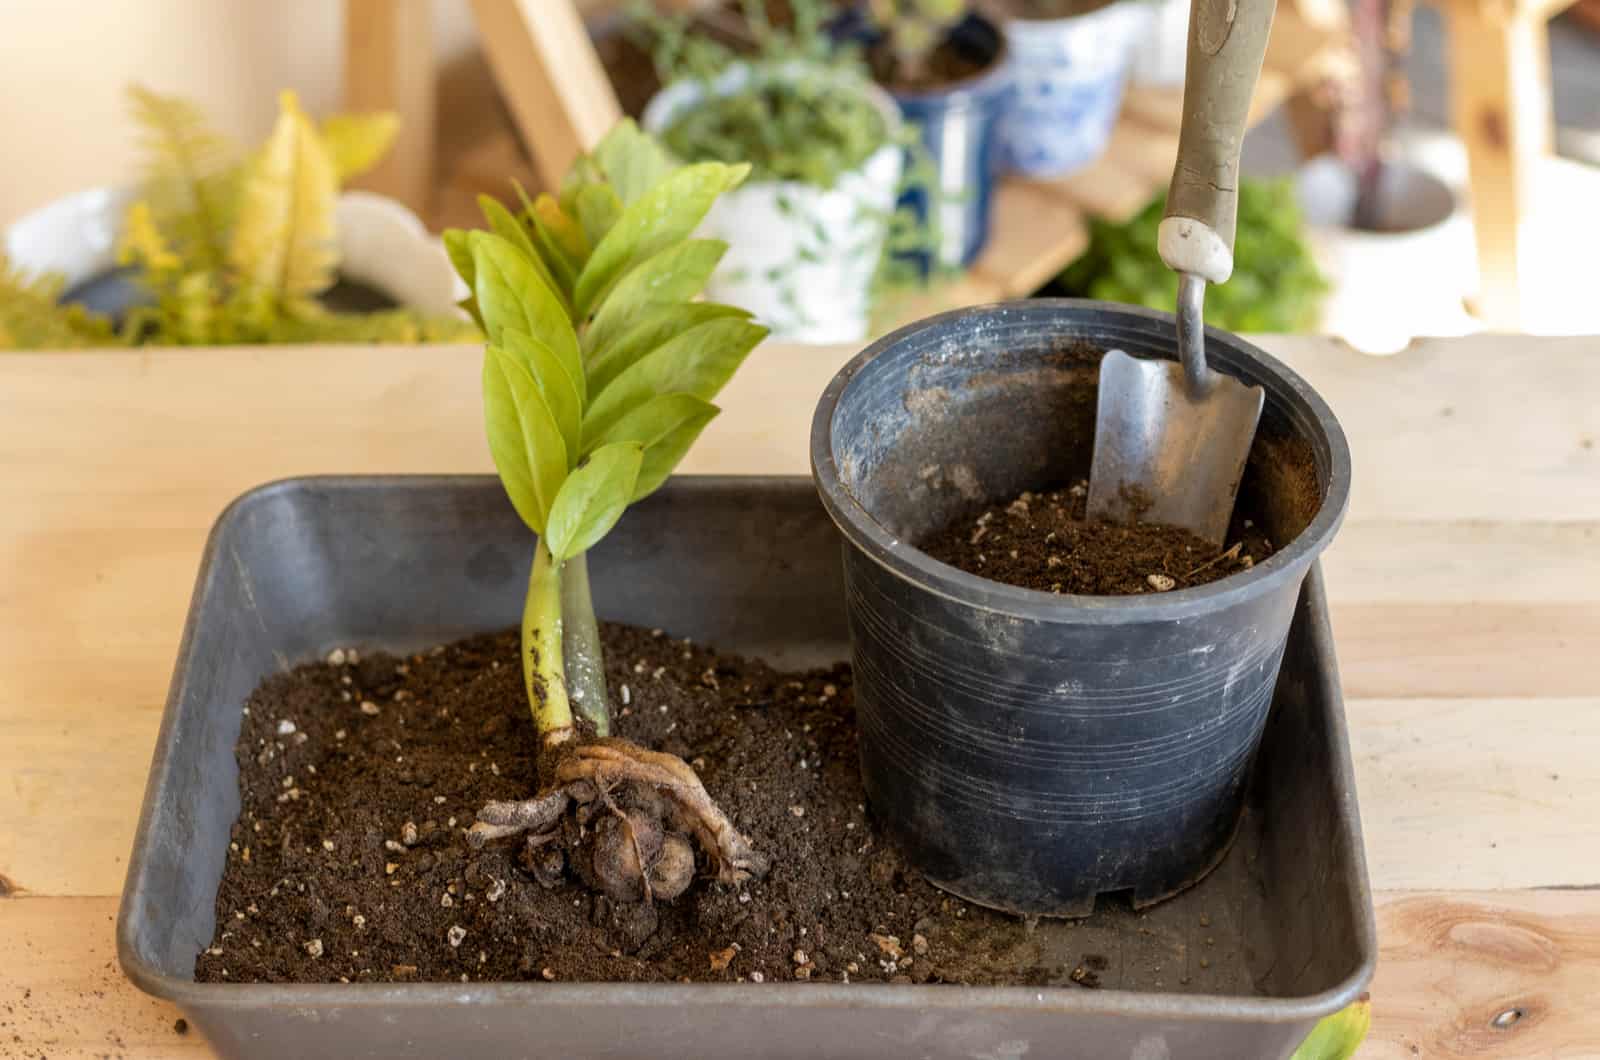
First, you must take your Zanzibar gem out of its planter.
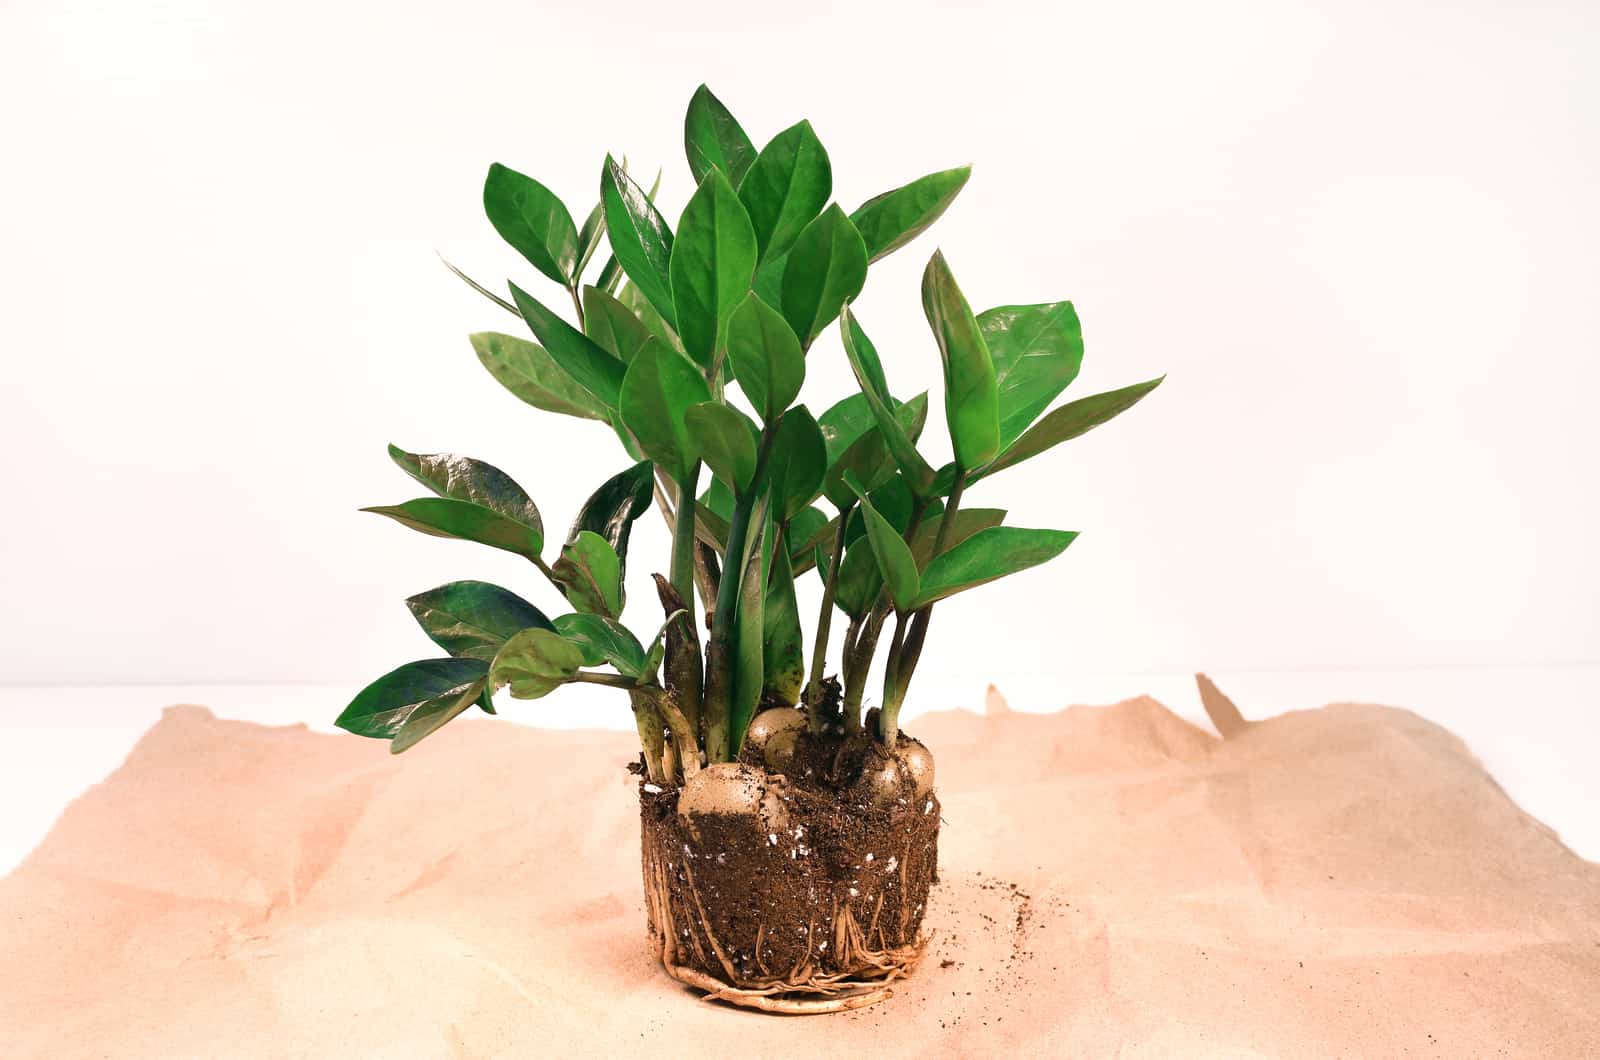
The goal is to expose the root ball and rhizomes, so you need to get rid of the surrounding soil.
This is important because you want to make perfect cuts without damaging the entire root ball.
The best thing would be if more rhizomes are connected to the parent plant (may the odds be ever in your favor). Aim for the ones with a stem emerging from the false bulb.
Now comes the part where a very sharp knife is key; make clean incisions to separate the false bulbs from the parent plant.
Thoroughly wash each divided rhizome to eliminate any leftover soil.
If you are dealing with a pretty large ZZ, you may want to cut it in thirds. In this case, each section should be planted separately.
Remember the charcoal I mentioned earlier? You can now apply it to the cuttings as you want to protect them against diseases.
Prune damaged ZZ roots (if any) and leave the false bulbs to dry well.
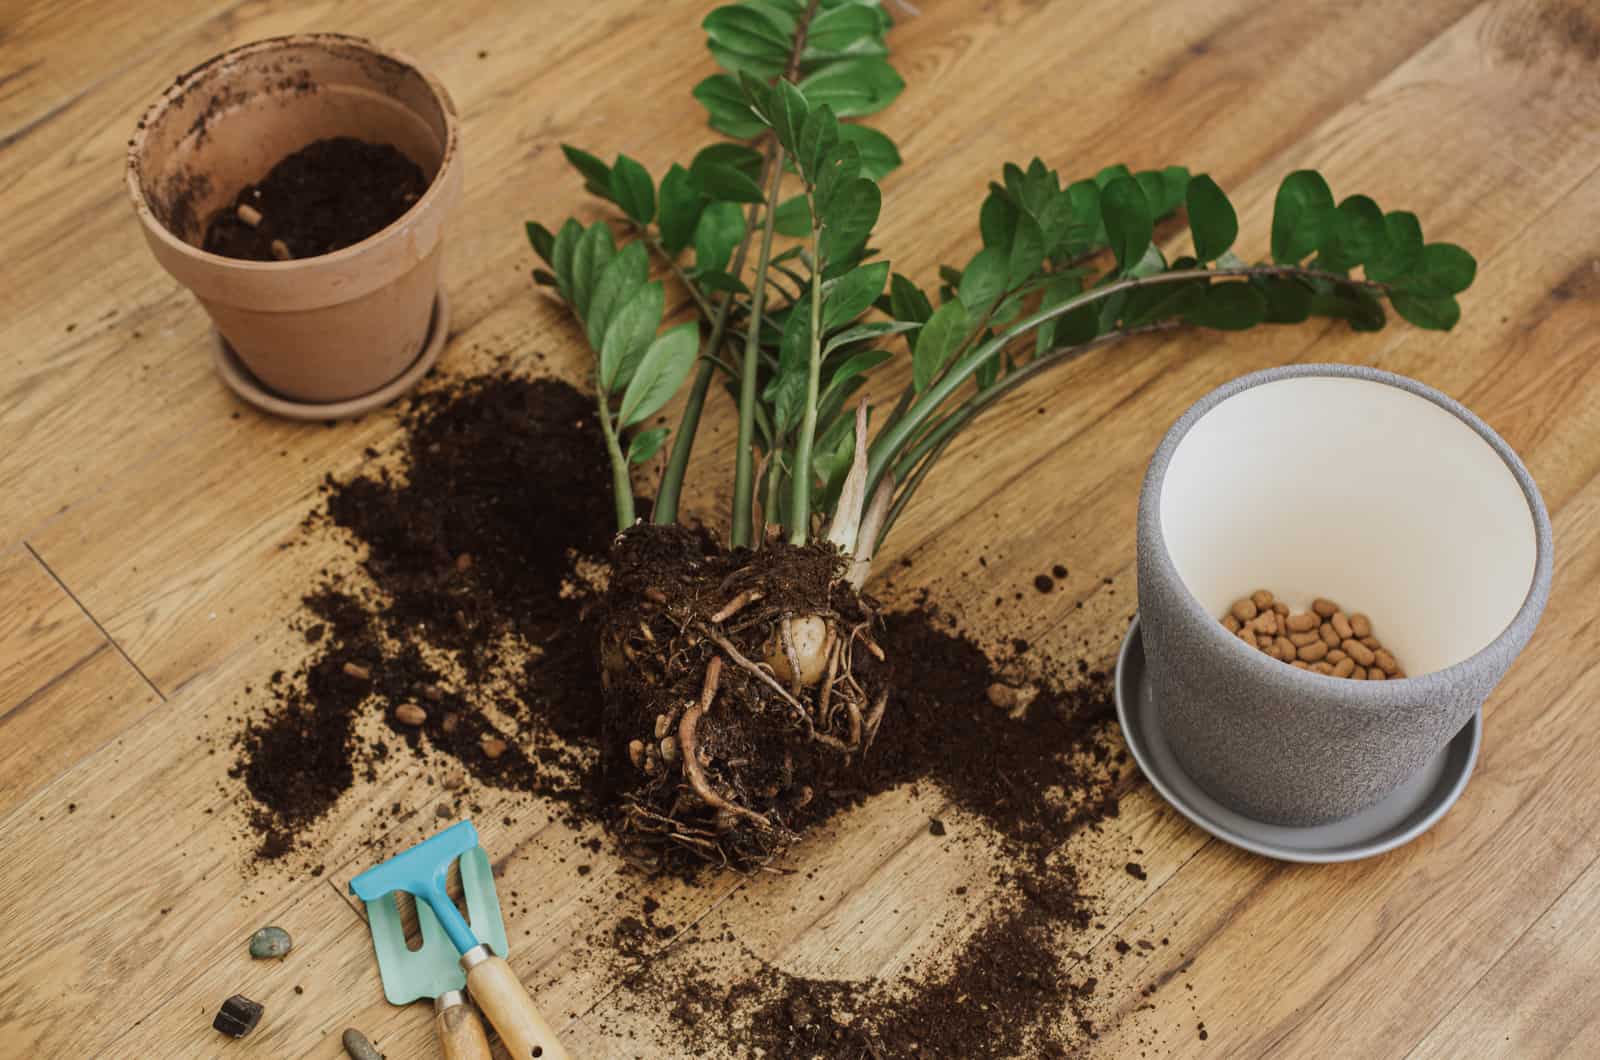
How To Plant A Divided Zamioculcas zamiifolia
Now that you have the cuttings, it’s time to transplant them into a new pot.
First, prepare the soil mix.
Here is a list of the ZZ’s potting soil requirements.
• Well-draining soil mix: cactus or succulent mix works well for ZZ plants. You can also add materials that improve drainage, such as perlite.
• A pot with drainage holes. If the new pot doesn’t have any, you can make some yourself.
I mentioned that bulbs grow deeper than ZZ plant rhizomes, so planting ZZ roots about an inch or two deep is usually enough.
A rule of thumb is to keep the stems of the cuttings pointed upwards and the roots downwards.
Place your ZZ plant-to-be in the soil and add more soil mix. Water the soil thoroughly after planting and check the moisture regularly. There are some great tips for how to check the moisture later in the article, so be sure to keep reading!
Be patient, it takes only about a month for new growth to appear.
ZZ Plant Propagation Methods
Division isn’t the only way to propagate this low-maintenance indoor plant; you can use its stems or leaves and get the same results.
These division methods may seem challenging for beginners, but you simply need to give it a go and practice until you master the skill.
Let’s see how to multiply ZZs from leaf or stem cuttings.
How To Propagate A ZZ Plant Through Leaf Cuttings
This method may take more time than propagation by division or stem cuttings.
However, it has a high success rate, which is all that matters in the end.
Here are the steps for propagation using ZZ leaves:
• Select the leaves that are closest to the stalk and cut them off, removing a small piece of stem with it.
• Plant the cutting about half an inch deep in an appropriate potting mix.
You should definitely take several leaf cuttings because a single leaf in a container would seem very forlorn.
• Thoroughly water the cuttings, wait until the soil dries out, and water again when it is.
It will take about three months before you notice new ZZ babies.
ZZ Plant Propagation By Stem Cuttings
For the stem cutting propagation method, you need to prepare a new nursery pot (preferably with drainage holes and a saucer), a sterilized knife, a glass of water, and fresh soil mix.
First, make a clean cut of the stem at the ZZ’s base.
Place the ZZ stem cutting in a glass of water. I highly recommend changing the water every three days. If you skip refreshing the water, mold may form on top of the glass, which could cause the cutting to rot.
Now the ZZ cutting needs bright indirect light, so you need to find an ideal place for it.
Repot the cuttings when you notice ZZ plant new growth of the false bulbs and a few roots.
How To Repot A ZZ Plant
Your eternity plant needs repotting if it becomes rootbound, outgrows the pot, or there are any issues with the roots, such as root rot.
Of course, you’ll need a bigger pot when repotting ZZ plant. However, if the pot is too large you can end up overwatering your ZZ quickly as the excess soil retains more water.
Here are the steps for repotting ZZ plants:
• I suggest choosing spring for repotting, which is right before the ZZ plant’s growing season.
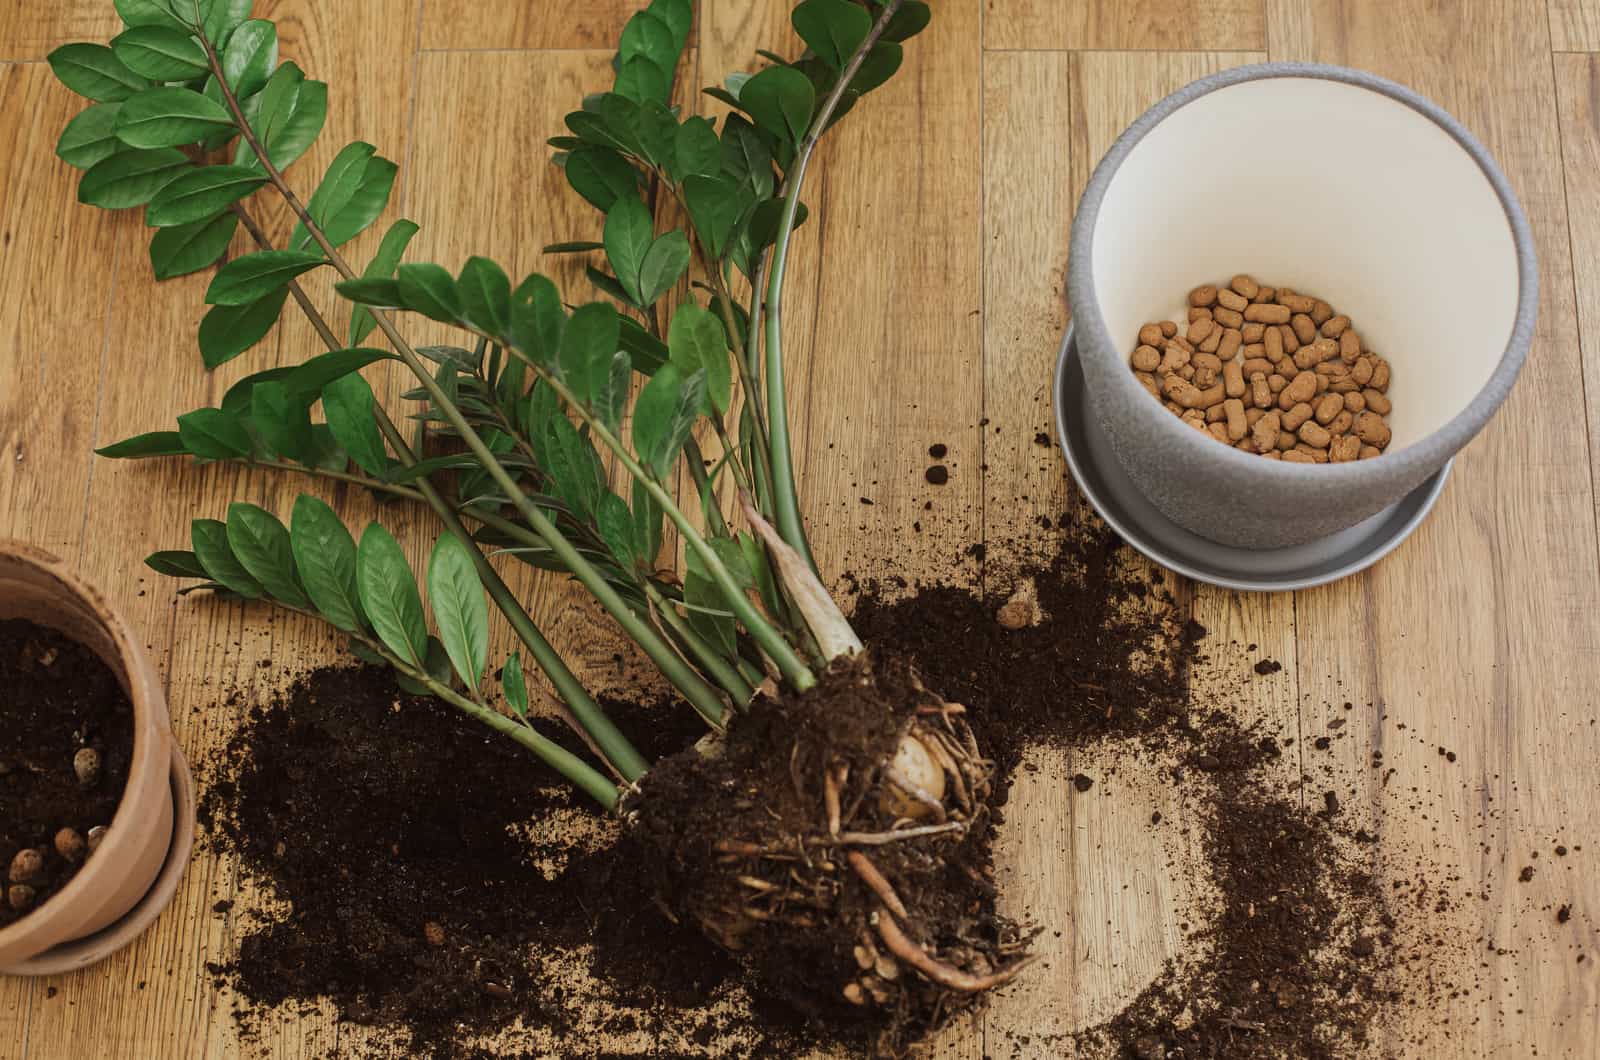
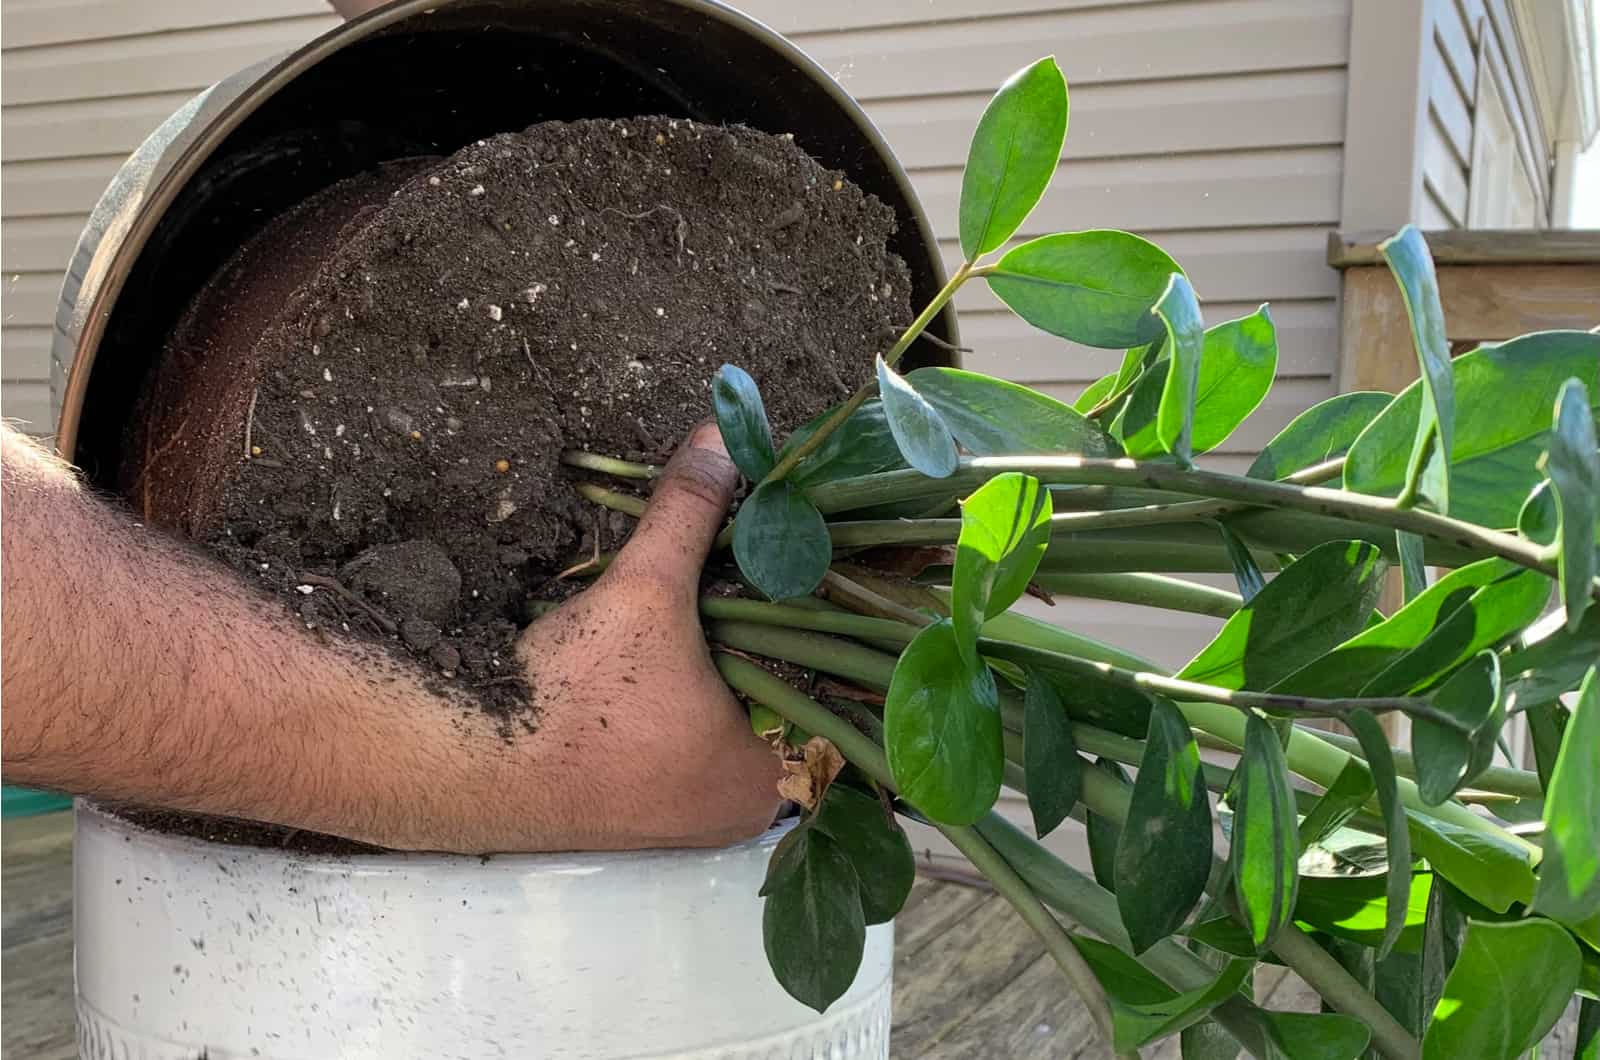
• Flip over your ZZ to remove it from the old pot.
• Gently put the roots in a new pot filled with fresh soil mix. It’s best to use fresh soil mix because you can never be sure there isn’t any fungus in the old soil, so why risk it?
• Put your Zanzibar gem in a new pot, preferably made of terracotta. Gently press the soil surrounding the ZZ roots.
• Water your repotted ZZ thoroughly and let it drain.
• Never place the ZZ where it receives direct sunlight. Its dark green leaves are easily affected and may suffer sunburn, turn yellow, or have black or brown spots.
On the other hand, avoid very low light. I know, I know, the ZZ is a low light plant, but very low light can also cause damage. If you can’t find any other place for your ZZ, consider getting grow lights.
Why Do The ZZ Plant Root ‘Bulbs’ Get Exposed?
Something is wrong if your ZZ’s structures below the soil are exposed.
Too much water, a small pot, or even the wrong watering method may expose the false bulbs. All these things are mainly caused by inadequate plant care.
Let’s get into details!
Overwatering
Overwatering is by far the ZZ’s worst enemy. I mentioned the ZZ’s succulent-like leaves that can store water and robust rhizomes, so you can imagine how easy it is to overwater them.
How does this happen? Although you may think that overwatering is pouring a lot of water on the plant, that’s not strictly true.
For example, you can overwater a ZZ by watering too frequently.
Simply put, too much water around the ZZ’s roots hinders them from absorbing oxygen.
As a result, drowned roots cannot transport nutrients to other sections of the ZZ plant. If they don’t send the nutrients, the leaves of your ZZ will develop black spots.
As well as the black spot, your ZZ will display yellow leaves, brown stalks, and mushy soil due to root rot.
ZZ Plant Root Rot
If your ZZ suffers from root rot, fungus is to blame. Fungus adores soggy soil, and once it appears, it won’t go away even if you cut back on watering.
It lies dormant and waits for more water, which is why you must remove any damaged roots.
You can do this by first removing your Zamioculcas Zamiifolia from its original planter. It may be challenging, especially if you have an adult ZZ.
This is a perfect time to ask for help; a friend in need is a friend indeed after all! I never deal with my ZZ plant alone as I don’t want to damage it.
The best idea would be to flip the Zanzibar gem’s pot over and let it slide out. Get rid of the excess soil to see a better view of the root system.
The next step is searching for diseased roots and removing them with a sterilized knife.
Now you only have healthy roots left, so it’s time for repotting. Use the tips I provided above.
Rootbound ZZ Due To Small Pot

When we purchase a plant, we frequently keep it in the same pot for an extended period.
This is actually the most common cause of root bounding with houseplants.
A lack of space for the ZZ plant to grow at its normal rate can quickly cause root bounding.
As a result of this condition, the ZZ’s roots will expand beneath the soil and the bulb will push upward.
Regardless of its growth pattern or rate of development, a healthy plant should outgrow its container.
Wrong Watering Method
Using a garden hose for watering plants is a standard method used by many plant growers.
Although the strategy may be suitable for outside plants, it can cause problems with houseplants like the ZZ plant.
No matter what kind of garden hose you use, you risk pouring too much water into the soil.
The problem is that the incorrect amount of water may literally move the upper part of the soil from the ZZ’s pot.
As a result, the’ bulbs’ won’t have enough potting soil around them and become exposed.
How To Revive A ZZ With Exposed Root Bulbs
If you notice that the root ‘bulb’ has become exposed, react as quickly as possible because this may be the only chance you have to save your ZZ!
I don’t want to scare you, but you don’t have much time in severe cases like root rot because the fungi spreads so quickly.
Here are some tips on how to revive your ZZ!
New Watering Schedule
The ideal watering schedule for ZZ plants doesn’t exist. How come? Watering depends on many factors, and they can easily change (different temperatures in different seasons, for example).
You’ll need to create your own schedule based on the moisture level in the soil.
Don’t worry, there are ways to check the moisture.
How To Check Moisture In The Soil
One of the best ways to check for moisture in a ZZ’s soil is by lifting its pot. A heavy pot suggests that you should put off watering. A lightweight pot indicates dry soil.
You can also insert your finger or a wooden stick in the ZZ’s soil, and if the upper part feels dry, proceed with watering.
If the soil is a dark color, your ZZ isn’t thirsty yet and has enough moisture.
Finally, you can use a device known as a moisture meter.
The Bottom Watering Method
Bottom watering is a great way to give your eternity plant enough water without soaking its foliage.
It ensures that the essential ZZ rhizomes near the bottom receive adequate water, which is difficult to achieve if you water your ZZ top, sorry, from the top!
Let’s look at a couple of ways to bottom water your ZZ.
To begin, select a container for the Zanzibar gem pot. Of course, the container should be large enough to accommodate the original pot with some space between the container and pot left over.
Another alternative is to utilize the saucer below the ZZ’s pot. Fill it with water and replace your eternity plant.
It takes around 10 minutes for the soil to become sufficiently moist.
The benefit of this kind of irrigation is that it gently soaks the soil without flooding it.
Dividing Bulbs & Repotting
If the plant structure below the soil line is affected in any way, there are two things to do.
First, you can divide bulbs and then repot them.
I have provided you with both procedures above. Don’t skip any steps and your ZZ plant will thrive again.
FAQs
What is the lifespan of a ZZ plant bulb?
The ZZ plant is also known as the eternity plant for a reason. It can live from 5 to 10 years, and sometimes even more if you ensure everything that it needs.
You will notice 6-8 new stems per year, and in 5 to 10 years you can expect your ZZ to reach a size of 5 feet.
What is the best way to store ZZ plant bulbs?
The first thing you need to do is dry the ZZ plant bulbs. After a few days, place the bulbs on some paper, find a cool and dark place to store the bulbs, and plant them the following spring.
How deep should you plant a ZZ plant bulb?
ZZ plants have rhizomes, but many use the word bulbs instead. You can plant them about an inch or two below the soil line because the real bulbs grow deeper, which is why you need to differentiate the two.
Wrapping Up
If you are a novice in the plant world, the ZZ plant is everything you need. You can learn many things related to growing plants if you have a ZZ.
Even if you make mistakes, the ZZ plant won’t get mad. It will give you some time to figure out what’s wrong so you can fix the issue.
ZZ plants don’t actually have bulbs. Many growers use the term bulb, but what they actually mean are the rhizomes.
You can easily propagate the Zamioculcas Zamiifolia by division using its underground structure.
Good luck growing and propagating your ZZ plant!
Until next time!