9 Best Fall Rose Tips Every Grower Should Know
Spring and summer gardens aren’t complete if there aren’t any roses in them. But you shouldn’t wait for the spring to start with all the chores related to rose care.
Fall is the perfect time to prepare your roses for the next growing season. This is especially important for those who live in cooler climates where frost is just around the corner.
So, here are the 9 best fall rose tips that will help you get an abundance of blossoms next season!
Let’s get started!
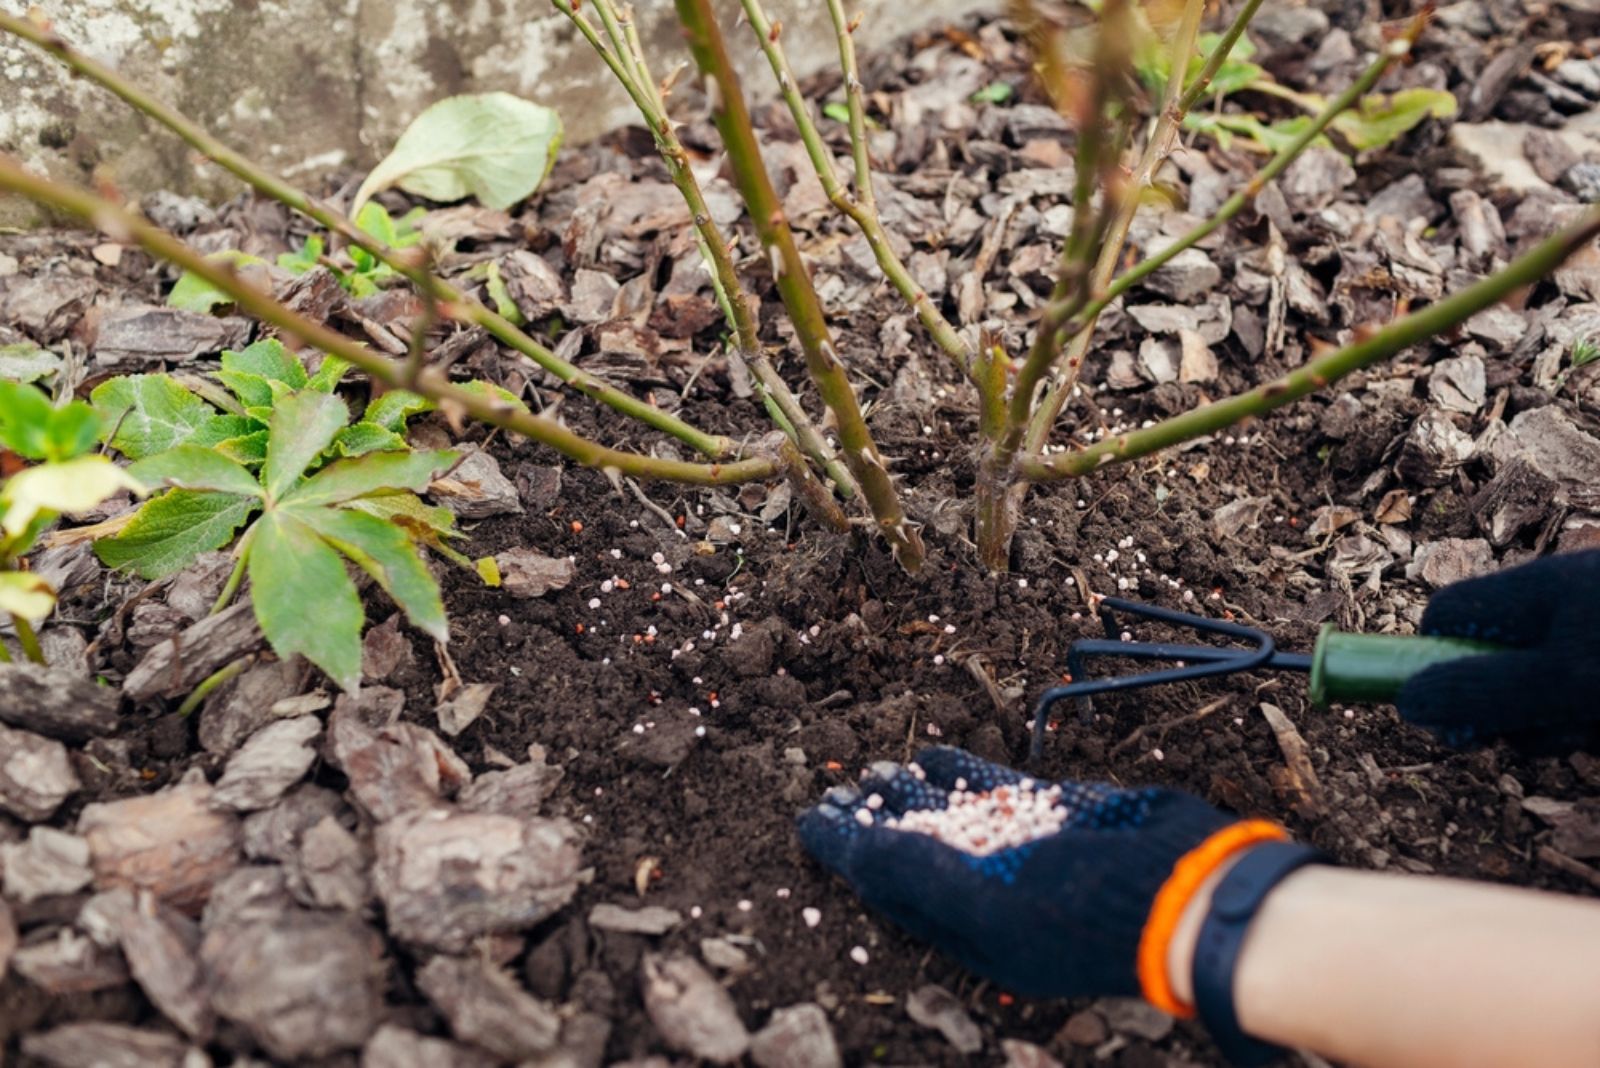
1. Cut Back On Feeding
I’m sure you would like your roses to bloom as long as possible. Many gardeners extend the blooming season by feeding their rose plants.
While feeding is generally an excellent practice to get more rose blooms, it shouldn’t be done in the fall. The main reason is that it can do more harm than good because the frost is about to hit.
These plants don’t display much growth during this period. If you feed them and use nitrogen-rich fertilizers, the plants will keep displaying new growth, which increases their susceptibility to pests and cold damage.
If you live in warmer climates, fertilizer application in early fall is advisable. However, you should stop feeding approximately 6 weeks before the first frost date.
Don’t use nitrogen-rich fertilizers if you feed in early fall. Opt for potassium- and phosphorus-rich fertilizers to encourage better rose blooming. Nitrogen will only lead to more leaves and stems and that’s not something we need at this point.
Blooming must come to an end, so instead of encouraging more flowers, help the plants prepare for the upcoming winter.
2. Stop Deadheading

You can’t have an abundance of rose blossoms if you don’t deadhead. But one of the mistakes we often make when deadheading is doing it at the wrong time.
Rose blooms must fade because it’s part of their life cycle. Once you notice the formation of hips, you should be aware that the season is almost finished and the plants need to prepare for winter.
If you keep deadheading during the fall, you can ‘confuse’ your roses so they may not be aware that the winter is coming. This can have an adverse effect on blooming the next season.
Therefore, don’t employ the deadheading technique on your roses during the fall.
If you’re worried about your garden display during this period, I think rose hips look beautiful and your garden will still look perfect. Additionally, you can make a delicious tea from them; leave the hips on the plant until the first light frost to improve their flavor.
But, you’ll need to remove them before the hard frost because it can cause serious damage.
3. Cut Back On Watering
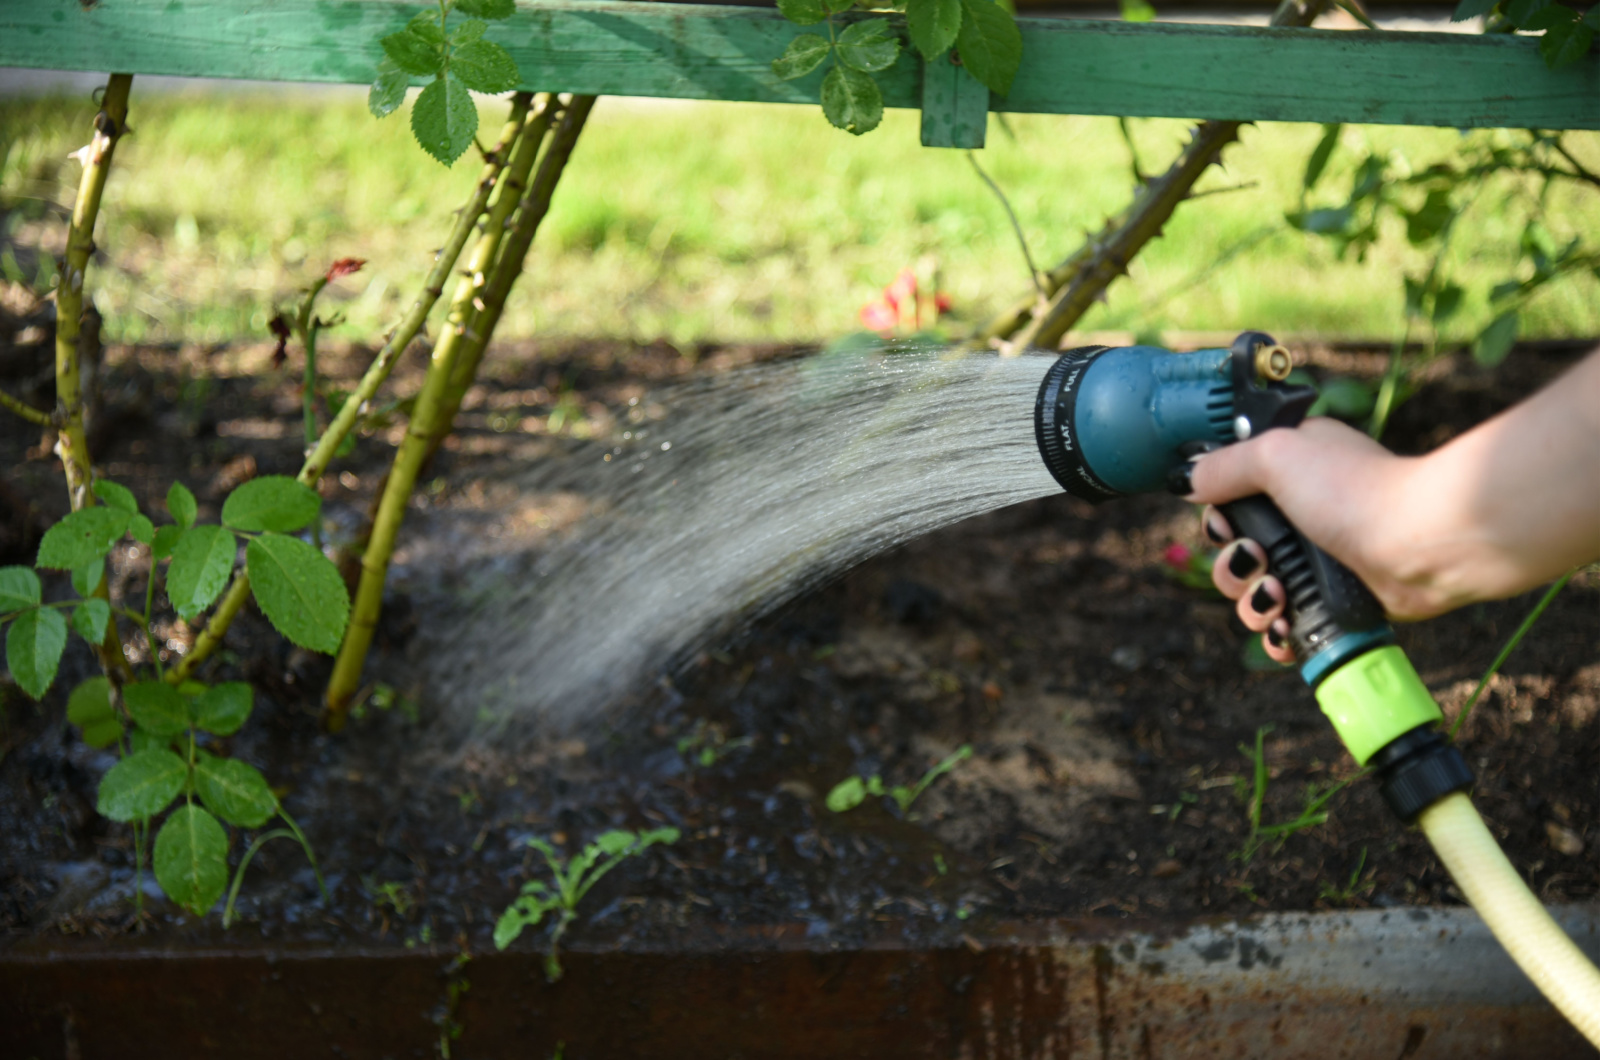
These flowering plants require constantly moist soil, especially if they’re freshly planted, because they need to develop a strong root system. Frequent watering is also advisable during leaf production in spring and summer.
Hot summer temperatures increase the water evaporation rate, so you’ll need to water your roses often to keep them hydrated.
Since roses don’t grow much in late fall, it’s completely logical to cut back on watering. Of course, this doesn’t mean you should stop watering entirely.
If your plants are a few years old, their root systems are well-established, so deep watering every once in a while will fulfill all the roses’ needs.
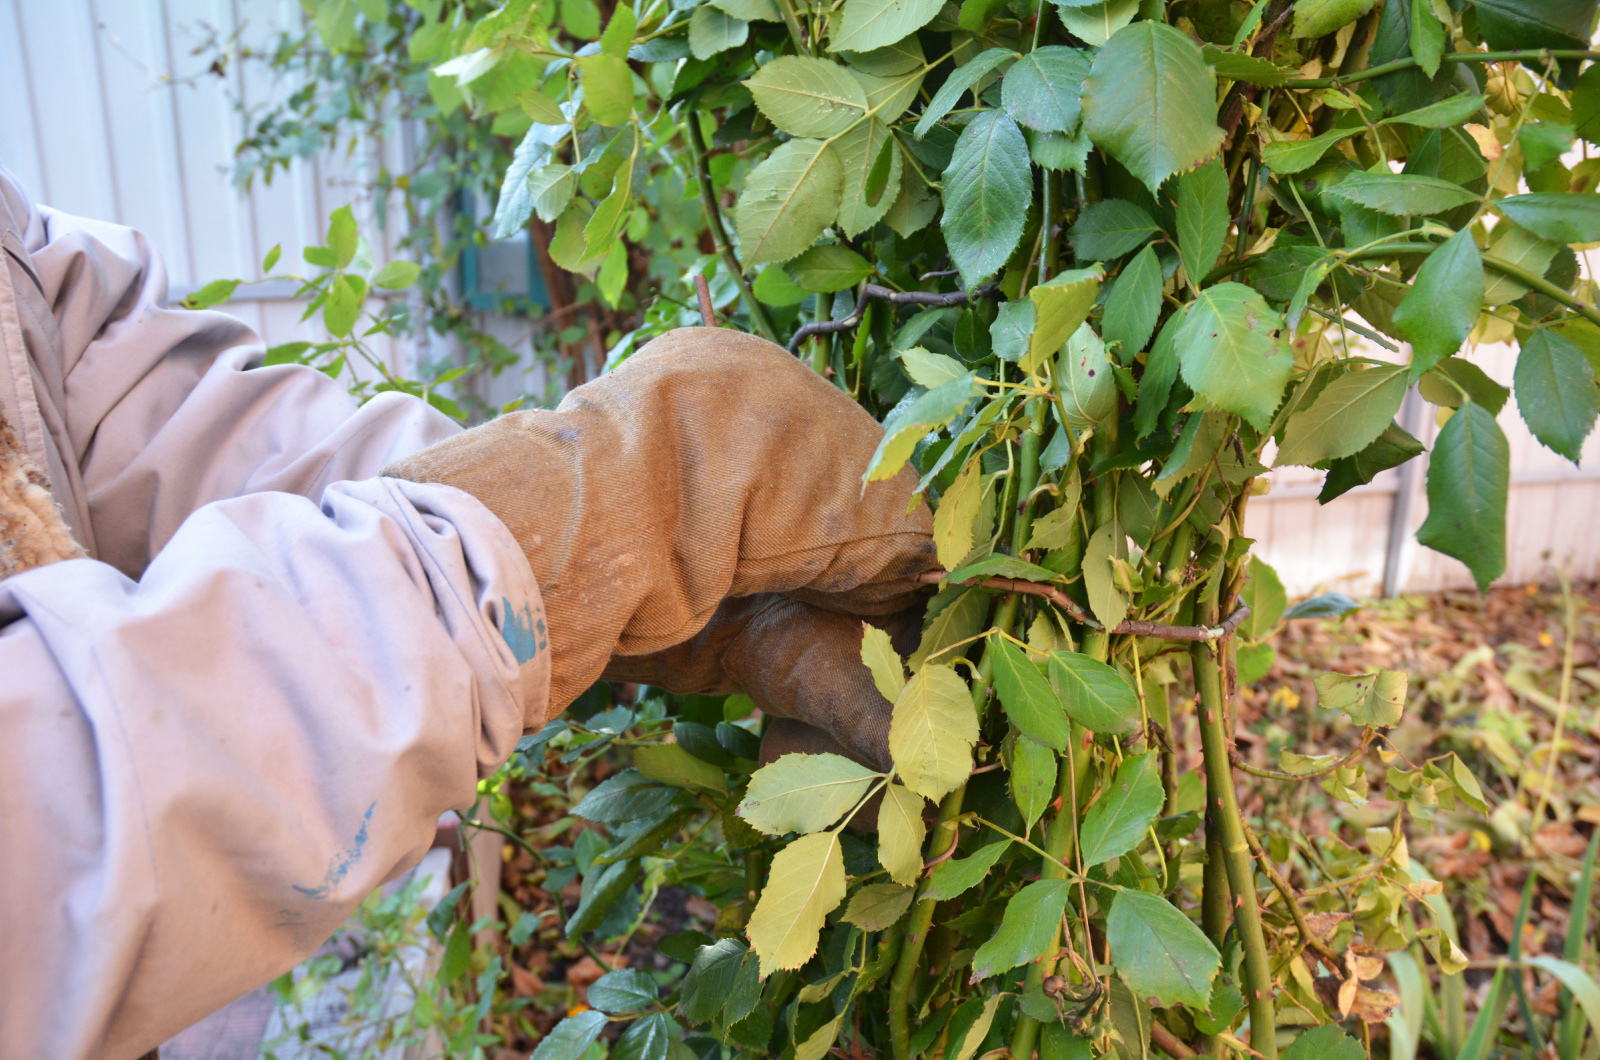
4. Thin The Leaves

The next task on your fall to-do list should be light pruning of your roses. You need to consider the conditions in your region and the performance of your roses.
You should begin with thinning the leaves. Densely packed leaves limit airflow and make your roses highly susceptible to diseases. It’s advisable to remove some offshoots in the early fall.
As the end of the fall approaches and the leaves around the base start dying, you can remove all the foliage so that the canes stay bare.
If you live in a windy region, removing some top leaves will protect your roses from damage. Top-heavy plants are generally in more danger from wind and any physical damage can lead to infection or infestation.
Those who live in warmer climates shouldn’t rush with thinning the foliage. Removing it early in the winter will suffice.
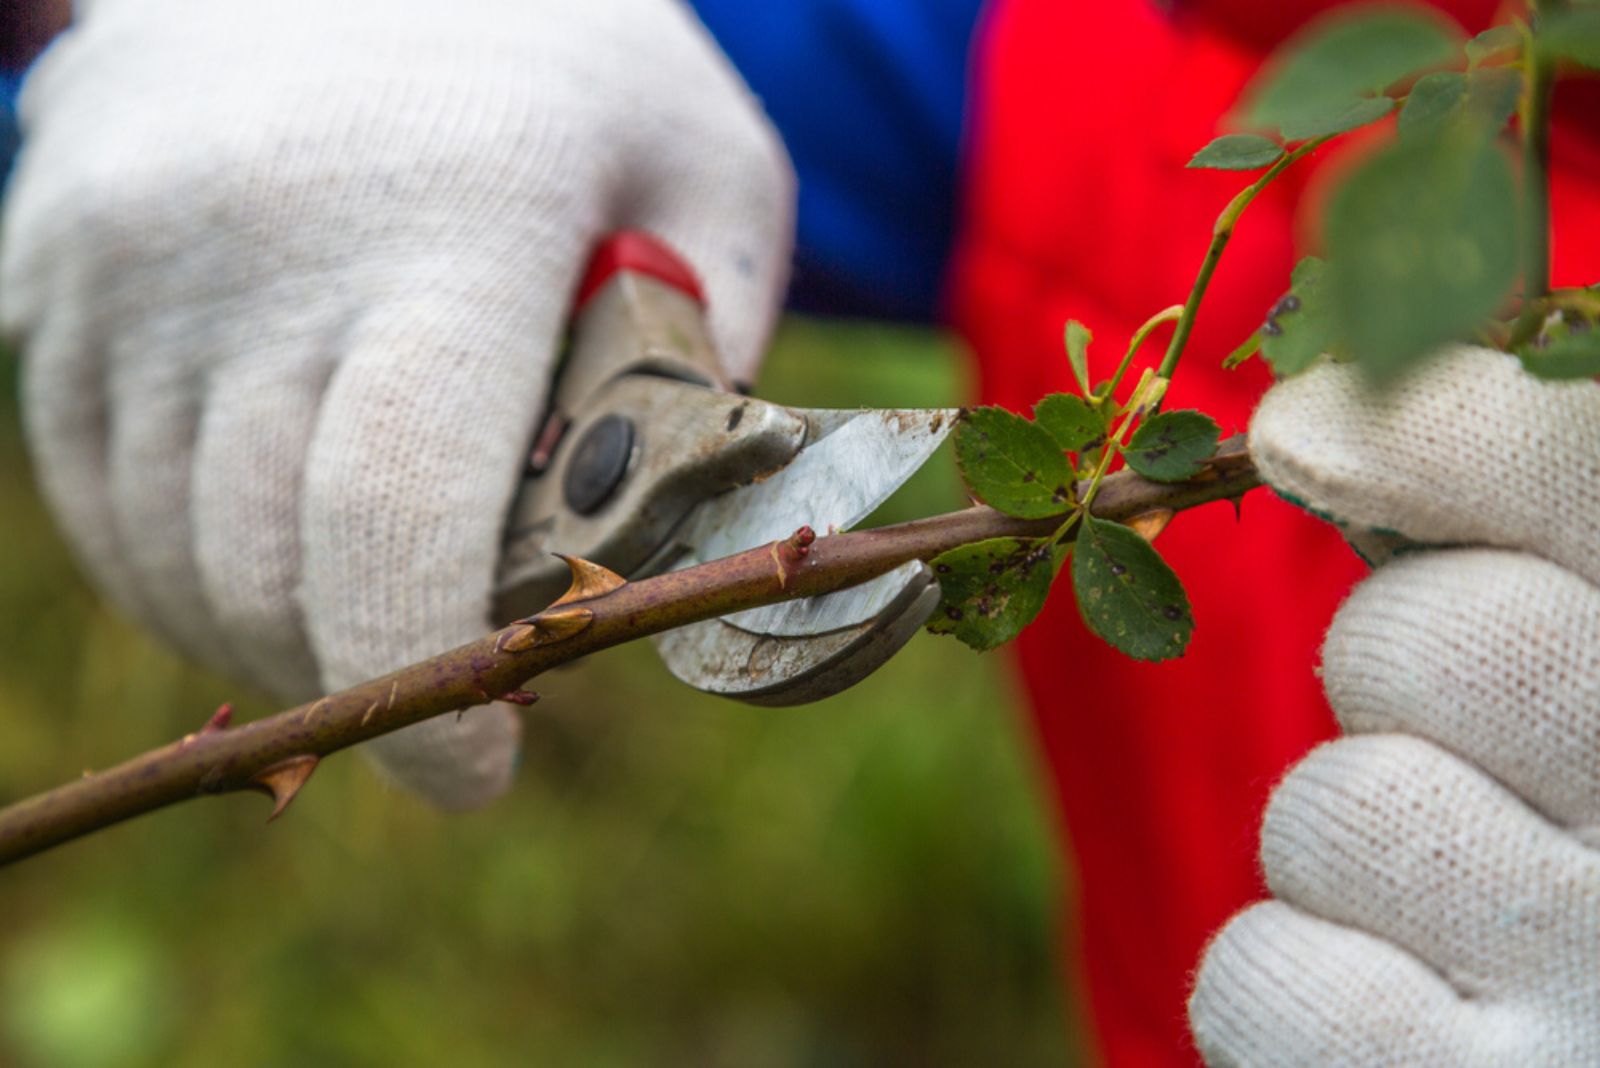
5. Shorten The Rose Stems
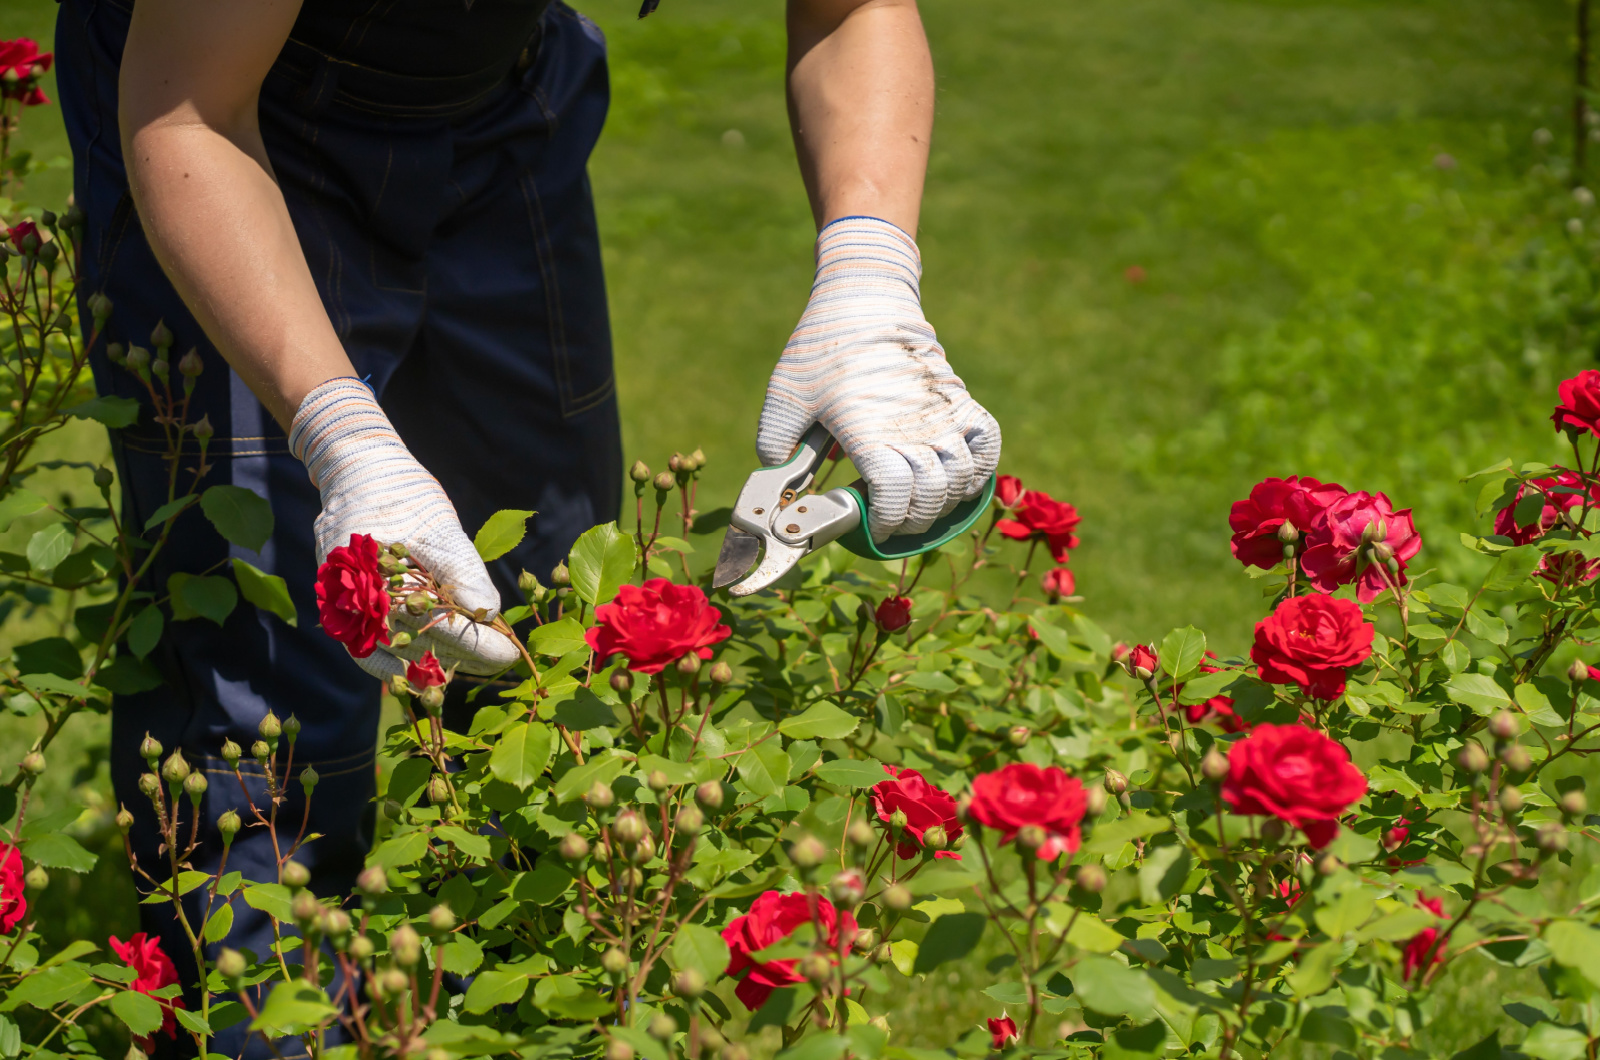
Once you finish thinning the leaves, it’s time to switch to stems.
There’s no need for heavy pruning; removing the upper third of your rose stems will help them stay robust and protected from heavy wind and rain.
This is also a good time to remove the stems that are crossing over. Additionally, if you notice some stems are interfering with other plants near them, remove them.
Don’t start pruning until you clean your tools and always make sure the tools are sharp enough. This will help you avoid breaking the stems and infecting them.
6. Cut Off Damaged Stems And Leaves
The last task regarding pruning is to remove all damaged leaves and stems. You should continue this practice year-round.
Damaged stems and leaves are highly sensitive to pests and diseases so it’s crucial to remove them. Doing it in the fall will help your plant stay strong and focus its energy on the production of healthy leaves and stems.
If your roses are infested with borers or they suffer from black spot disease, make sure to remove all affected parts of the plant. Bear in mind that black spot disease can overwinter and attack your plant as soon as spring arrives. (1)
Remember that regular inspection for pests and diseases is one of the crucial parts of rose plant care.
7. Clean Up Around The Base Of The Roses

Once you’re done with pruning your roses, it’s time for another gardening chore: cleaning. Plant debris collected around the base of the plant should be cleaned after pruning.
You should know that this isn’t done for aesthetic purposes, but rather for the plant’s health. Debris from leaves and stems creates a perfect home for various fungi to settle in.
If you pruned any infested or diseased plant parts, you need to remove them ASAP. Don’t add this debris to your compost pile or discard it near any other plants because fungus can quickly spread and damage your plants.
Collect everything and put it in a plastic bag, seal it tightly, and dispose of it in a trash can.
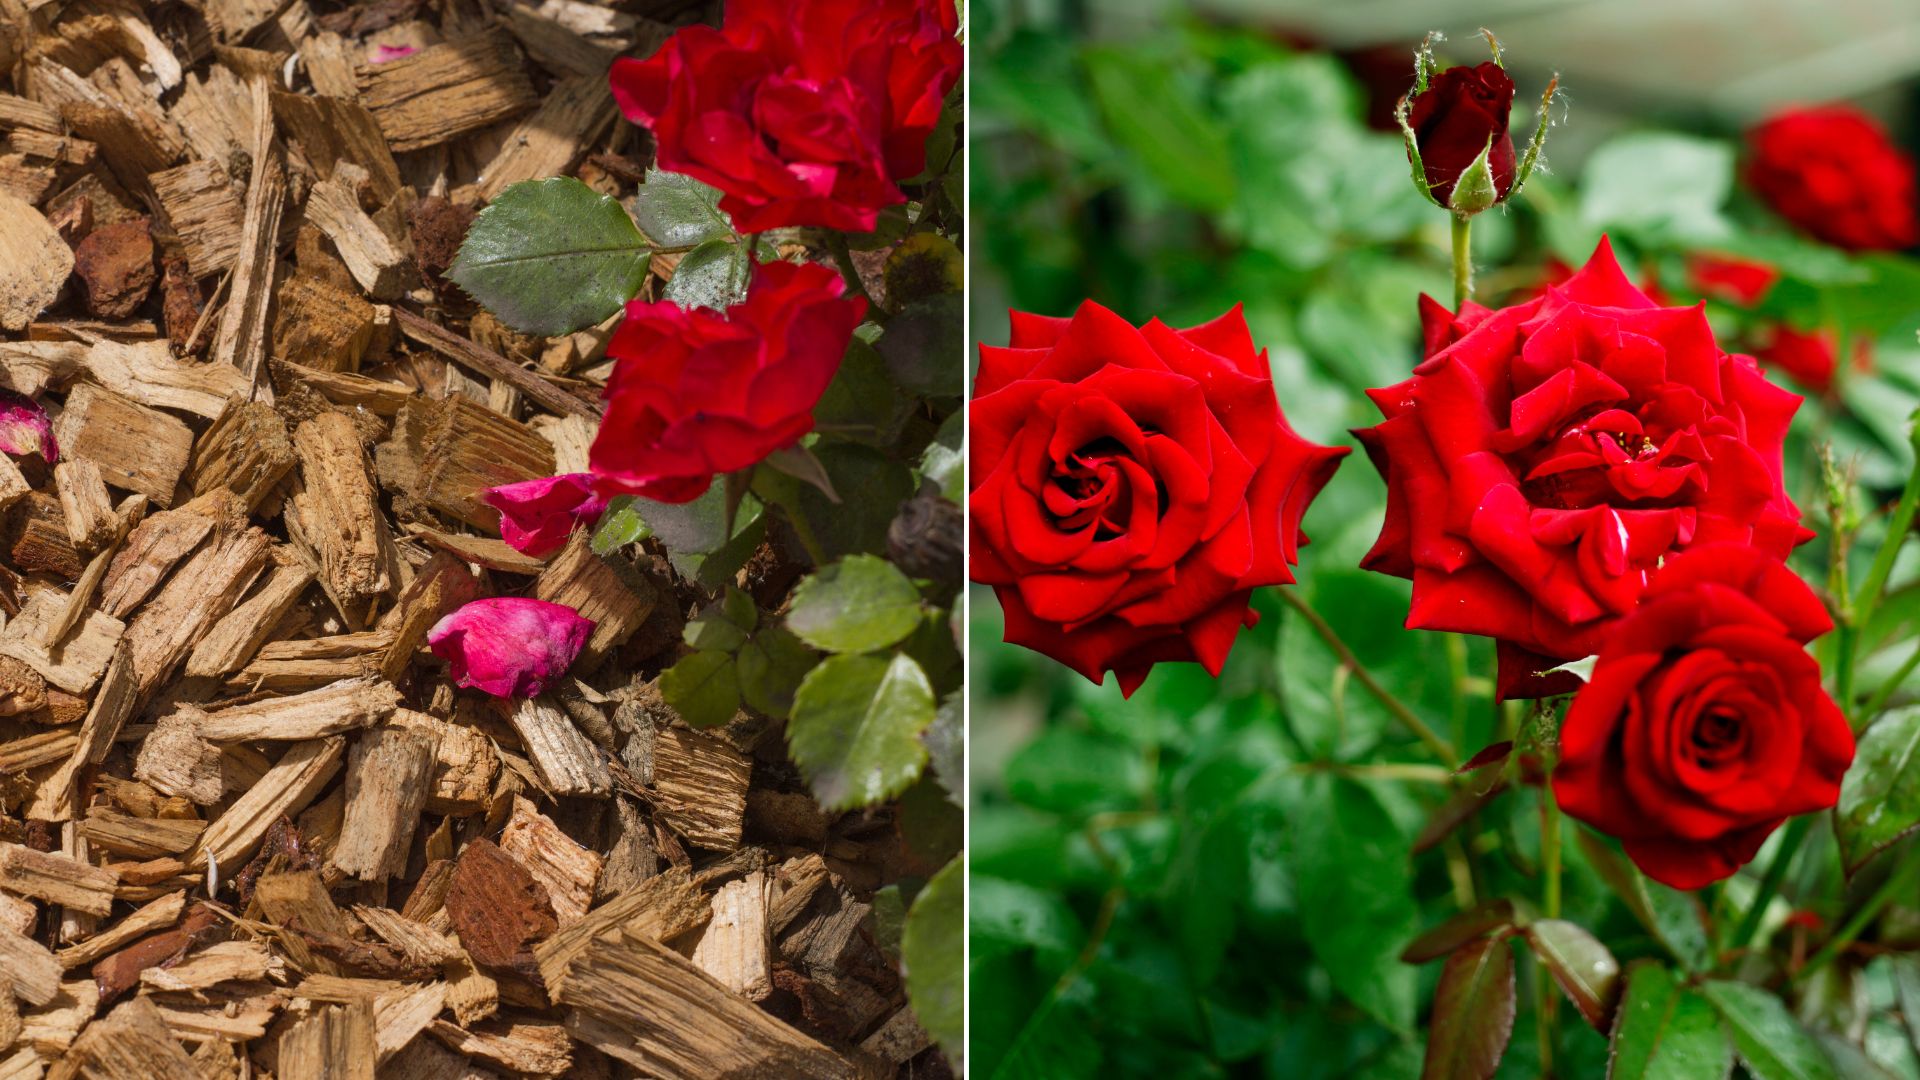
8. Apply Mulch
If you’re done with the cleaning, it’s time to add a layer of mulch. This method has various benefits.
First, it helps the soil regulate temperatures, which is extremely beneficial to those who live in cooler climates. Mulch will protect the root system once the temperatures drop.
You should never skip mulching if you have grafted roses because they’re more susceptible to winter damage.
The second benefit of mulching your roses in the fall is boosting the nutrient levels in the soil. Mulch will slowly release nutrients into the soil and give your roses an excellent head start in the spring.
Pile mulch around the plant base, making sure it’s not thicker than 5 inches.
9. Cover Climbing Rose Types
If you grow climbing types, you should know that they have different requirements during the fall. The strong wind can quickly break the stems of your climbing roses, so it’s essential to secure them entirely.
There’s no need for heavy pruning; just remove the damaged and diseased parts.
You can add ties to prevent the stems from moving, or bunch all the rose stems together and add burlap over them.
If your region is affected by strong winds and harsh temperatures, you should bend the rose stems to the ground. Finish by covering everything in straw or burlap.
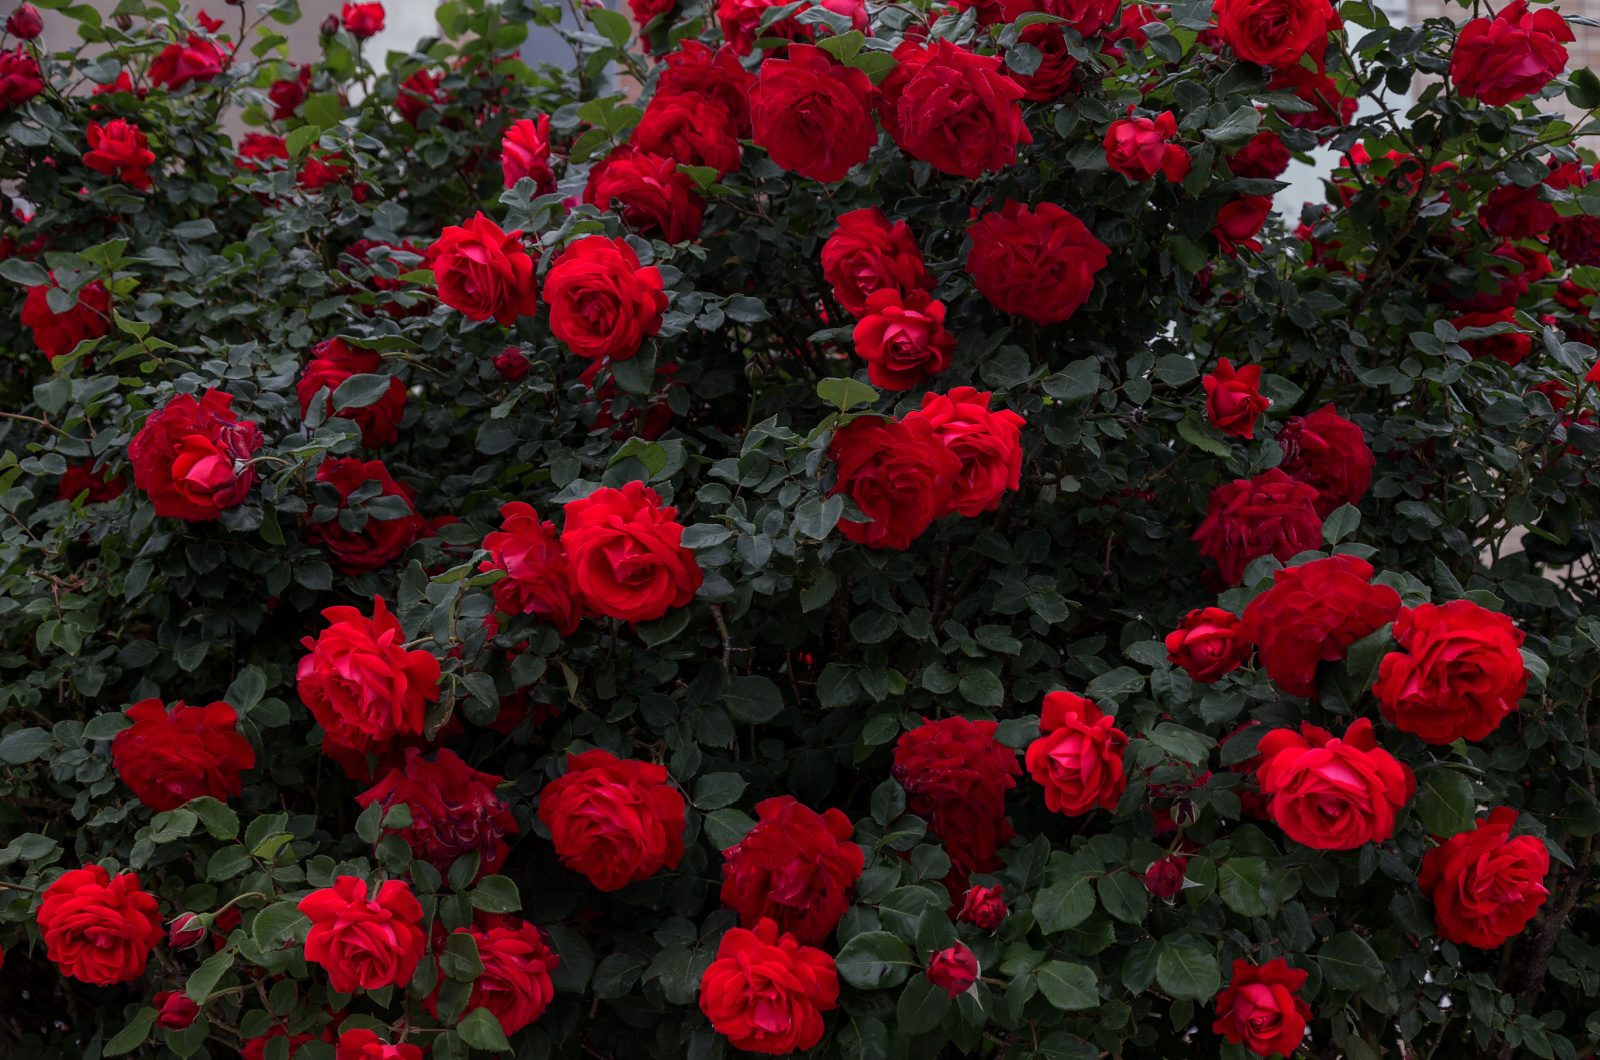
That’s it! By following all these guidelines, your roses will thrive the next season and reward you with an abundance of their spectacular blossoms.
References
1. Black Spot of Rose. (n.d.). Missouri Botanical Garden.