A Step-by-step Guide To Making Your Own Fermented Plant Juice

Let’s talk about an awesome gardening hack – making your own organic liquid fertilizer that you can use to fertilize fruit and veggies in your garden. All you will need are some plants, brown sugar, water, a rubber band, and a jar!
This is all you need to make your own organic fertilizer without any chemicals or additives that could potentially harm your plant.
Fermented plant juice (FPJ) has numerous benefits and will definitely revolutionize your gardening journey. Keep on reading to find out more about FPJ!
What Is Fermented Plant Juice?
Fermented plant juice is a solution that can be used for plant nourishment, to improve soil structure, and encourage germination. It is non-toxic, low-cost, relatively easy to make, and pretty sustainable.
Plants contain a lot of minerals and nutrients (chlorophyll, lactic acid bacteria, yeasts, enzymes, beneficial microbes), so why not use them to yield better crops?
FPJ is strictly made of plants, particularly ones that are fast-growing, healthy, and hardy. This fermentation process is a type of Korean natural farming (KNF), and its principle is to take advantage of what nature has to offer. Thus, we are able to make FPJ from our own plant material!
Read also: Is Watering Plants With Tea Such A Good Idea? Find Out Here!
How To Make Fermented Plant Juice
Let’s start making some juice!
All you will need is a rubber band, water, plants, brown sugar, a jar, and a paper towel. The fermentation process is pretty straightforward — brown sugar will extract those sweet juices via osmotic pressure, and it also serves as a food source for indigenous microorganisms that conduct the fermentation.
Alcohol produced during this process is able to extract the chlorophyll from the green plant parts, and you will end up with a fermented extract that you can store for further use.
You should first prepare the materials, and that includes choosing the right plant for this process.
What Type Of Plant To Use
The best fermented fruit juice is made out of fast-growing plants and their growing tips, mainly because they have active growth hormones that boost plant growth. This includes flower buds, flowers, and immature fruits. Plant parts that won’t produce any juice are the woody and dry parts of the plant.
I would suggest you pick plants before sunrise (when they are still in respiration mode) and avoid picking them during or after rain (wait at least two days). This is because the water rinses off all the microbes from the plant’s surface that are crucial for the fermentation process, which is also the reason we never rinse plants when making FPJ.
The best plants for making fermented plant juice include:
• Mugwort
• Bamboo shoots
• Sweet potato vines
• Angelica
• Seaweeds
• Beans
• Pumpkin
• Dandelions
• Strawberry
• Cucumber
• Comfrey
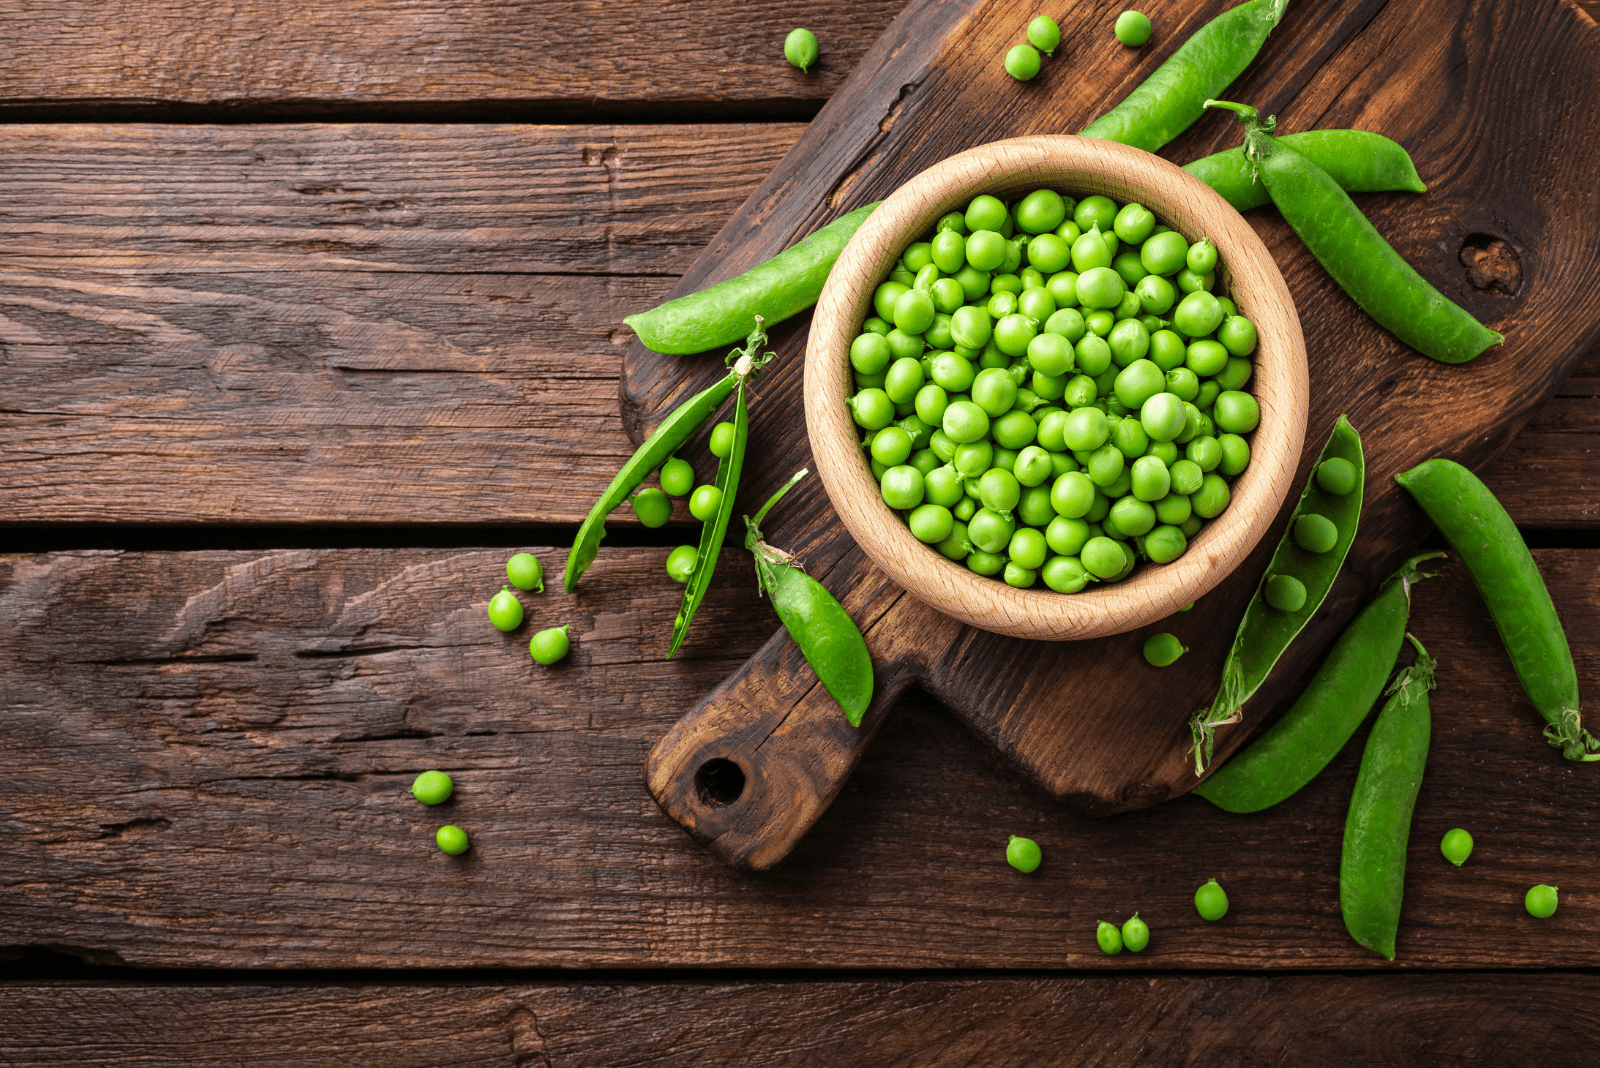
• Peas
• Kiwi
• Watercress
Making Fermented Plant Juice
Although there are many recipes for how to make fermented plant juice, growers usually follow these easy steps.
Let’s get started!
1. Pick The Plant Material
As we already mentioned, you should pick the plant material before sunrise. For fast-growing plants, use the growing tips — these are usually long vines or tendrils (in sweet potatoes, for example).
2. Trim The Plant Material & Weigh It
If you want to preserve all the indigenous microorganisms necessary for fermentation, you should not rinse the plants. Now, you will have to measure the weight of the plant material and cut it.
You will cut shoot tips about 2-3 inches long, though the length is not as crucial. Some growers use a blender to cut their plant materials, while others simply cut it with a knife. Nevertheless, smaller plant material increases the area of contact and encourages osmotic pressure.
You can weigh the material before or after cutting, it won’t change.
3. Add The Sugar
The amount of brown sugar should weigh the same as the plant material, though you can also use half of the weight if you are making numerous batches.
After you carefully measure the sugar, just add it to the bowl and mix it all together. Make sure that the sugar coats the surface area of the plant material to enhance osmosis. You can add or subtract the sugar based on the plant’s moisture level.
Cover the bowl or container with porous paper, and leave it for 1 or 2 hours.
4. Put The Mixture In A Jar
You should use a glass container or a plastic container, but avoid using metallic ones because it would interfere with the fermentation. Pack the mixture tightly until the jar is completely full.
Cover the lid with a breathable material that will allow airflow — you can use a cheesecloth, a towel, or a paper towel (you will have to change it frequently). Secure the cloth with a rubber band or a string at the top.
Put the jar in a well-ventilated location away from heat or cold (room temperature works just fine) and natural or artificial lights. Don’t put it in the refrigerator.
5. Check The Volume Of The Mixture After 24 Hours

After 24 hours, the volume of the mixture should have settled to 2/3 of the container in order for the fermentation process to proceed effectively. If the container is overly full, the microbes won’t have enough air to fully ferment the material.
If the container is more than two-thirds full, remove some of the material. Add extra of the mixture if the container is less than two-thirds full in order to stop the growth of mold. After the first 24 hours, it is crucial to check and adjust the volume because not all plants will settle in the same way.
6. Let The Fermentation Begin
The temperature affects the fermentation process. As we are following a Hawaiian farming method, their hot temperature and humid environment speeds up the fermentation so it is usually done in 3 to 5 days. In colder areas, it can take a bit longer.
When bubbles begin to appear, which often happens on the second day, fermentation has begun. If fermentation lasts longer than a week, the quality of FPJ decreases.
You will know that the fermentation is complete once the plant material starts to float, the mixture slightly smells like alcohol (due to the chlorophyll breakdown), and the taste is sweet, not bitter.
If you have used too much sugar, the separation won’t be distinct.
7. Separate Liquid From Solid
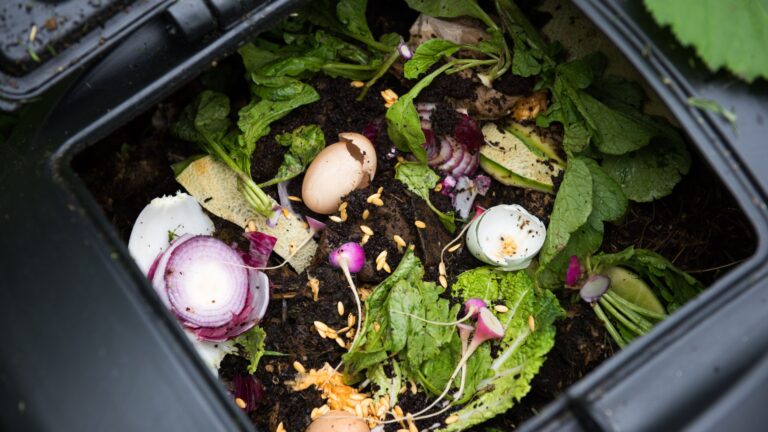
After a successful fermentation process, you should use a strainer or a colander to separate the plant material from the liquid. The spent material can be used as animal feed, or you can add it to the compost mixture (another Natural farming input known as IMO).
The juice can be immediately used or stored with a loose lid.
8. Store The Juice
Put the juice in a glass or plastic container and store it somewhere dark and cool. There are still tiny microorganisms in the container that need airflow. Therefore, don’t put on the lid too tightly or the container could explode!
For more long-term storage, add the same amount of brown sugar to the FPJ by weight to prevent it from getting sour.
How To Use FPJ For Your Plants
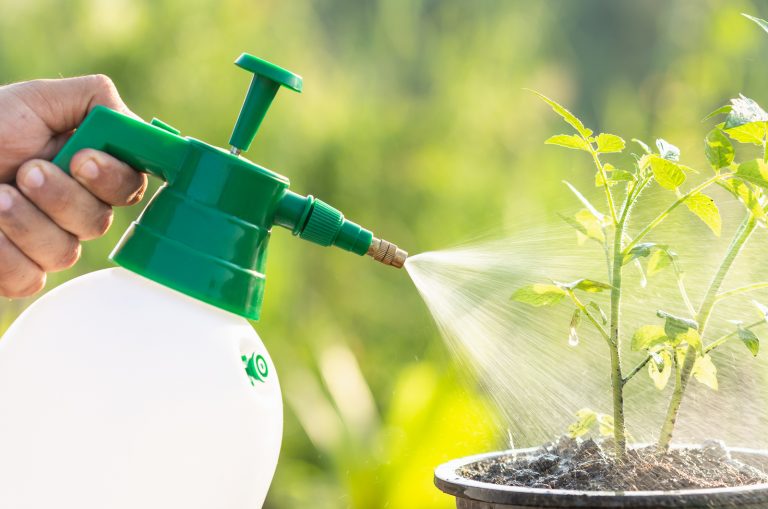
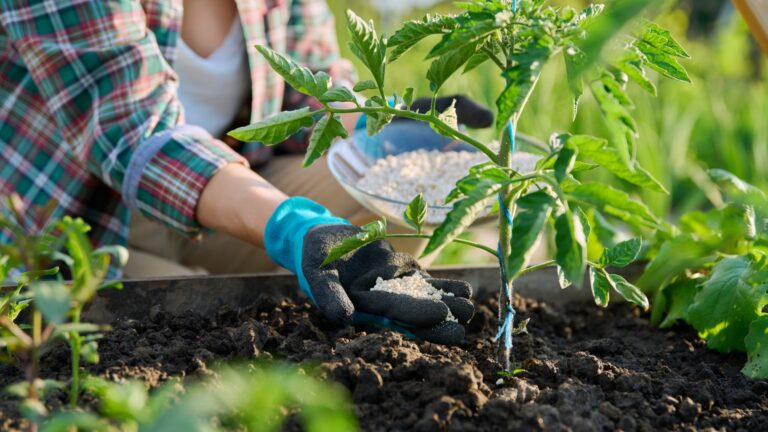
There are plenty of ways you can use your DIY plant juice. In most cases, it is mixed with water (usually 1 tbs of FPJ and 4 gallons of water), and this dilution is used as a soil drench or foliar spray that is applied directly onto the plants.
What plant material you used to make FPJ affects its function. For instance, if you use bamboo shoots, you can apply FPJ to vegetative growth crops because they need nitrogen for lush leaves. FPJ made of mugwort or dropwort is applied during the germination process.
One made of unripe fruit is applied to plants that need phosphorus, usually at the beginning of blooming time. FPJ made of calcium-rich plants and that has been stored for over a year should be applied to plants that have reached their reproductive stage.
Conclusion
Making your own organic plant food is a great way to save a couple of bucks and ensure that your plant receives only the best organic nutrients, especially nowadays because a lot of fertilizers are filled with chemicals that could potentially harm your plant.
Fermented plant juice can improve your plant’s growth and development, make sure that germination occurs, and ultimately set you up with some juicy and tasty fruit and vegetables!
The procedure is not complicated, so just follow these easy steps and you will be good to go. Make sure not to put on the lids too tightly or you might end up with a ticking time bomb in your pantry!
I hope this article was helpful.
Until next time!
Like this post? Share or pin it for later!