How To Fertilize Pumpkins For Large Fruits + 5 Growing Tips

Growing pumpkins of any size and shape is fairly easy, but what if you want a huge pumpkin?
That requires some skill, knowledge, and a good pumpkin variety. You have to tend for these veggies from the beginning, ensure they have enough room to grow and fertilize.
And who knows, perhaps you’ll grow a prize-winning 2,000-pound pumpkin this year and win that farmer’s fair you’ve always wanted.
But remember that a 40-pound pumpkin is large as well. And bear in mind that the larger the fruit, the more seeds and less flavor it has.
Let’s get started!
Seed Germination

It is crucial to know when your pumpkin seeds will germinate because this veg can take anywhere between 90 to 130 days to mature.
The seeds need between 1-2 weeks to germinate, and if they haven’t sprouted in that time, it is time to buy new ones or get transplants.
There are some tips for germinating seeds, such as maintaining soil temperature between 68-95°F and keeping them moist all the time.
Start the seeds indoors to get a jump start on the season, cover them in a plastic wrap or humidity dome to keep the soil damp, and expose them to sunlight after sprouting.
Spacing
The key to having huge pumpkins or getting large yields is proper plant spacing. And when it comes to pumpkins, you should know that these plants generally need about 2 feet of space between each plant.
Make sure to space the rows at least 6 feet apart, although 6-8 feet is ideal.
If you don’t have enough space in your backyard, you can always opt for smaller varieties such as Baby Boo, Jack Be Little, Bumpkin, Wee Be Little, or Mini Tiger.
5 Tips For Growing Huge Pumpkins

To get your pumpkins ready for the fall harvest, plant them in May in northern states and from July onwards in southern regions.
Remember that these plants grow vigorously and need plenty of space, sunlight, and water in order to develop their sweet fruit.
Fertilization is important because it promotes healthy root development, vegetative growth, and setting enough flowers and fruits.
1. Deadheading
Deadheading refers to pinching off flowers and fruit buds during their first appearance. This isn’t a necessary step, but it can affect the size of your plant.
You can decide to leave just one bud per plant and have a huge pumpkin or you can leave more flowers and get a couple of smaller fruits per vine.
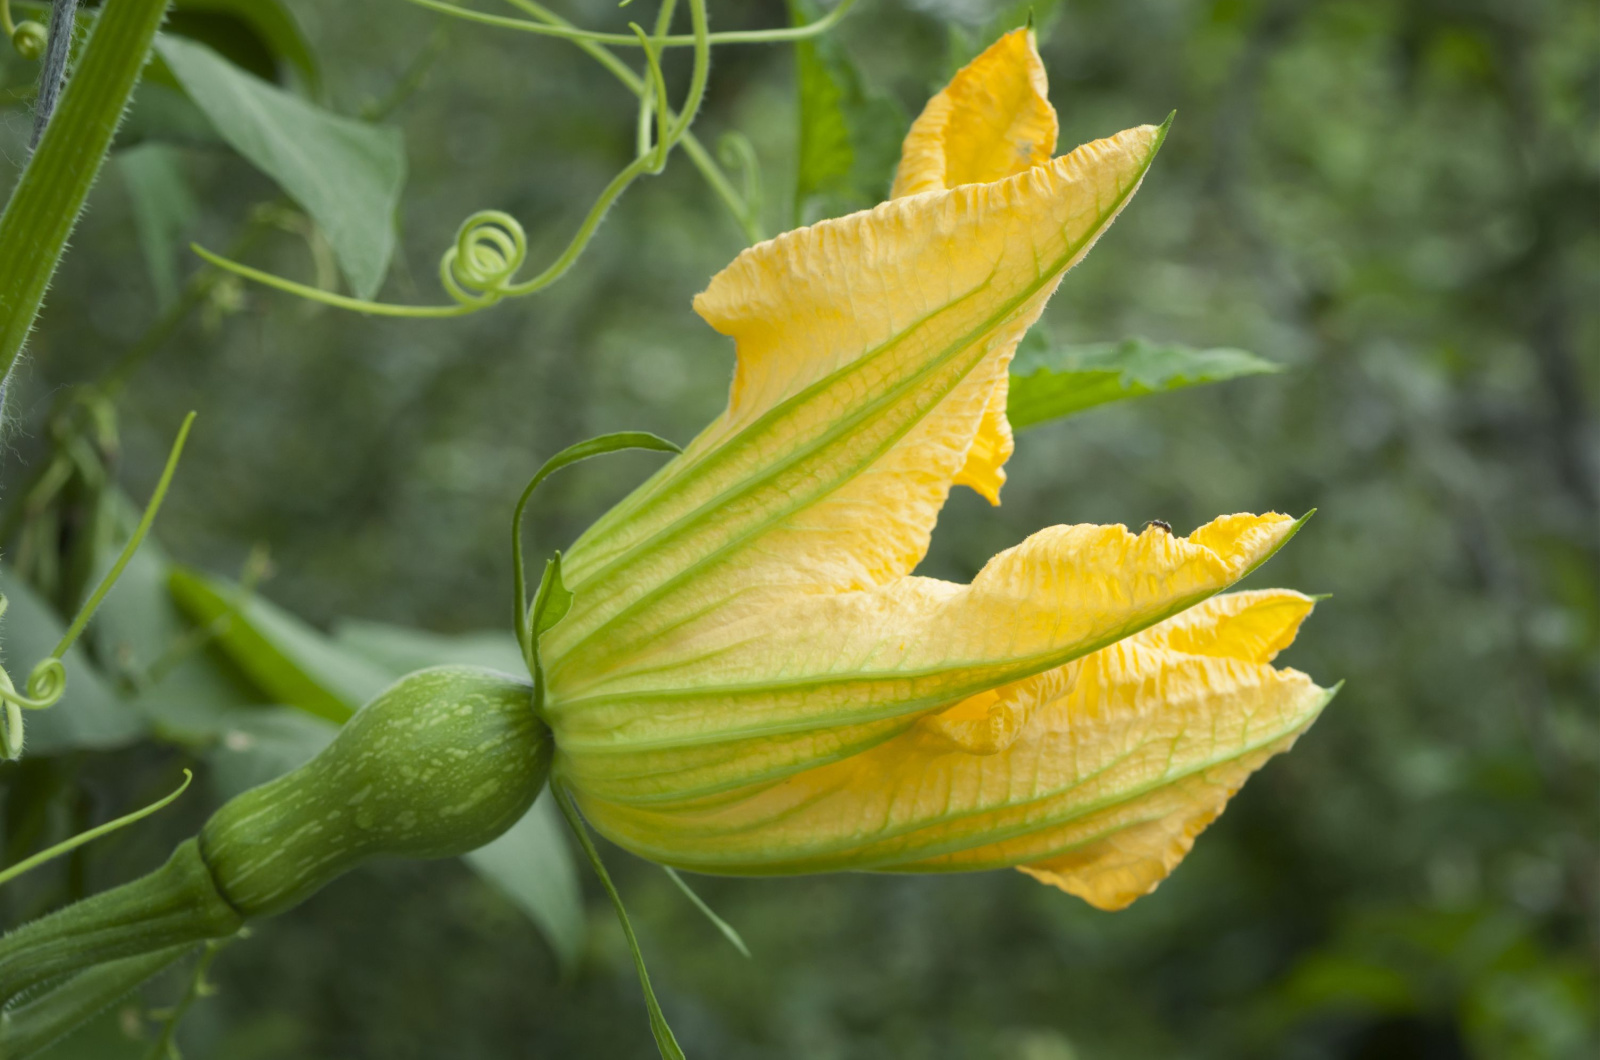
2. Hand-Pollinating

Without pollination there would be no pumpkins. The good news is that nature takes care of her own, sending insects to pollinate the flowers.
But sometimes you can’t be sure if your plants were pollinated properly. If you don’t see many insects in your vegetable garden or don’t have any flowers and herbs that attract them, chances are you’ll have to do it yourself.
This will ensure you get large pumpkins without any deformities. Simply transfer the pollen from the male flower with a Q-tip or a paintbrush onto the female one (or you can dab the male flower directly onto the female one).
3. Spacing And Thinning
I know it’s tempting to sow more pumpkin seeds on the mounds once you see how vast the 2 feet between each seed seems.
But don’t fall into temptation and add more afterwards. The seeds will sprout normally, yes, but then they’ll start competing with each other for moisture and nutrients from the soil.
Overcrowding will stress your young pumpkins and neither of them will grow optimally or only a handful will.
You should generally aim for about 2 feet of space between each, but if you have larger varieties, you should space them at least 3-6 feet apart. And when it comes to rows, the ideal spacing is between 6-8 feet, but it increases if you grow larger pumpkins.
After the seeds have sprouted and you see what you’re dealing with, you should thin each pumpkin mound and leave only 2-3 plants on it.
4. Fertilizing

When fertilizing this veg, it is good to understand the pumpkin growing stages because each phase has slightly different nutrient requirements.
Additionally, you don’t need synthetic fertilizers in order to get a large yield or one huge pumpkin.
Organic fertilizers work incredibly well. Apply compost tea, aged manure, or your favorite organic fertilizer every other week and your veggies will thrive.
In The Early Stages
Once the seeds germinate and the plant gains a bit in size, you can start feeding it with a nitrogen-rich fertilizer to promote leaf and vine growth.
Well-rotted manure – Cattle and poultry manures are excellent sources of nitrogen. Apply them in the solid form for a slow-release effect or make a tea of them to speed up the release of nutrients.
Blood meal – If you’ve tested your soil and see that it’s lacking in nitrogen, you can add blood meal to your pumpkins to help them develop leaves and vines. Remember that this amendment is highly concentrated, so always follow the instructions on the package.
When Flowering
Stop adding nitrogen-based fertilizers right before your pumpkins flower (about 40-45 days after sprouting). They need more phosphorus at this time to produce more blossoms.
There are homemade phosphorus fertilizer recipes you can make yourself and save money that way.
Bone meal – This is an excellent source of phosphorus. Just make sure to dilute it and use it according to the manufacturer’s recommendations because it is highly concentrated.
Chicken manure – Animal manures are high in nitrogen, but they also contain a fair amount of phosphorus. Chicken and cow manure are rich in phosphorus.
Make sure not to apply too much because they contain more nitrogen than phosphorus and can promote vegetative growth at the expense of flowers.
During Fruiting
It is time to introduce more potassium during this last (and the most fun) stage of growing pumpkins. This mineral will regulate the water inside your plant and ensure fruits get more weight and are higher quality.
You can make your own banana peel fertilizer, which is incredibly rich in this nutrient, or purchase ready-made organic potassium plant food.
Kelp or seaweed – These fertilizers are great, although they might not be available locally for many gardeners. Luckily, you don’t have to grow your own seaweed; you can buy a ready-made product in your local garden center or online.
Use these fertilizers as mulch or dilute them in water for a faster release of nutrients. Apply it once a week or so when you notice the fruit buds setting.
5. Pruning

Trimming pumpkin vines is 100% optional and not everyone does it. However, it will introduce more airflow and reduce the risk of fungal diseases such as mildew.
Pruning is also important if you already have infected plants. Cut the infected foliage and your pumpkins will thrive.
And don’t forget to get rid of those annoying weeds. Trimming them will help in the short run, but mulching your pumpkins will prevent them from emerging in the first place.
Best Pumpkin Types For Large Yields
You wouldn’t believe how many times I’ve heard the question, “How many pumpkins can a single plant yield?” And the answer is simple; smaller varieties yield more fruit than larger ones.
Smaller ones also tend to be sweeter than big ones, which are more watery and stringy.
Think about why you want these veggies in the first place. If you want to eat them, then smaller sweeter ones are the wisest choice. And if you want to show them off, then go for the largest type you can find.
Mid-Size Pumpkins
Fairytale – This medium-to-large pumpkin can weigh between 15-20 lbs and is perfect for cakes and salads.
Cotton Candy – This milky-white variety is perfect for carving and cooking due to its sweet taste. It weighs 5-12 lbs.
Blue Moon – The sweet and refreshing taste of the Blue Moon pumpkin is ideal for cooking. The fruit weighs 9-12 lbs.
Big Pumpkins

Full Moon – This giant weighs anywhere between 60-90 lbs. It’s suitable for carving and cooking.
Howden – This pumpkin is mostly used for Halloween decorations, although some varieties can be used for cooking. It weighs around 20-25 lbs.
Aladdin – The large Aladdin pumpkin can weigh 25-35 lbs and you can use it for autumnal decorations, heavenly pies, or for turning their seeds into delicious snacks.
A Few Goodbye Tips
Growing pumpkins isn’t that difficult, but it does require some more effort than sowing the seeds and waiting until October to harvest them.
• One thing that can help you is growing pumpkins on a trellis. It will make your harvest a lot easier and introduce more airflow to prevent fungal diseases.
• You should also make sure to weed your garden so that they don’t steal nutrients away from your pumpkins. Removing weeds will also ensure your veggies get more air circulation if you choose to let them trail on the ground.
• Water your pumpkins deeply and always at the base level (try not to wet the foliage because that increases the risk of fungal diseases).
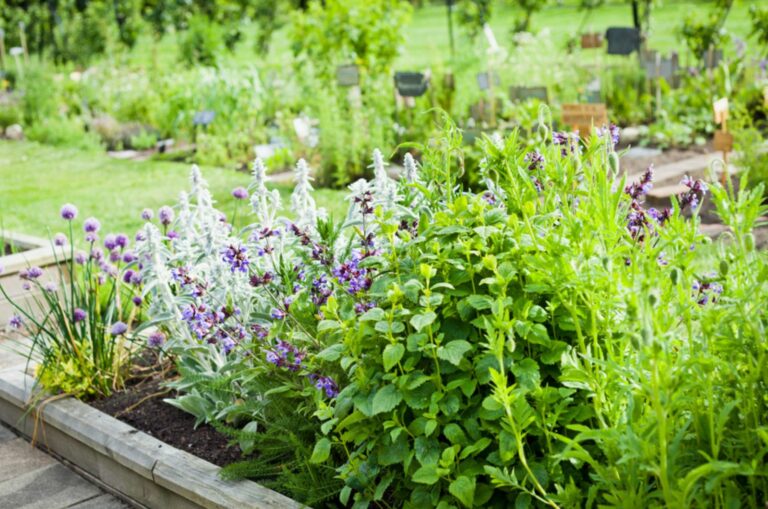
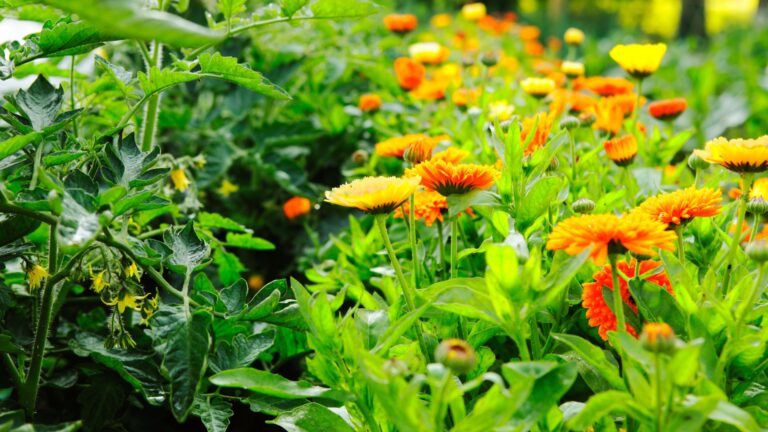
• Add some companion plants for your pumpkins to act as trap crop, pest control, or to enrich the soil with nitrogen and give this veg a little boost.
• And make sure not to overfertilize your pumpkins since that can lead to detrimental results.
Monitor your plants, listen to their needs, and adjust your routine accordingly. This way, you’ll get a huge harvest in no time!