What To Expect During Different Pumpkin Growing Stages
So you’ve planted pumpkins for the first time in your garden, and now you don’t know what to expect.
No worries, we’ve got you!
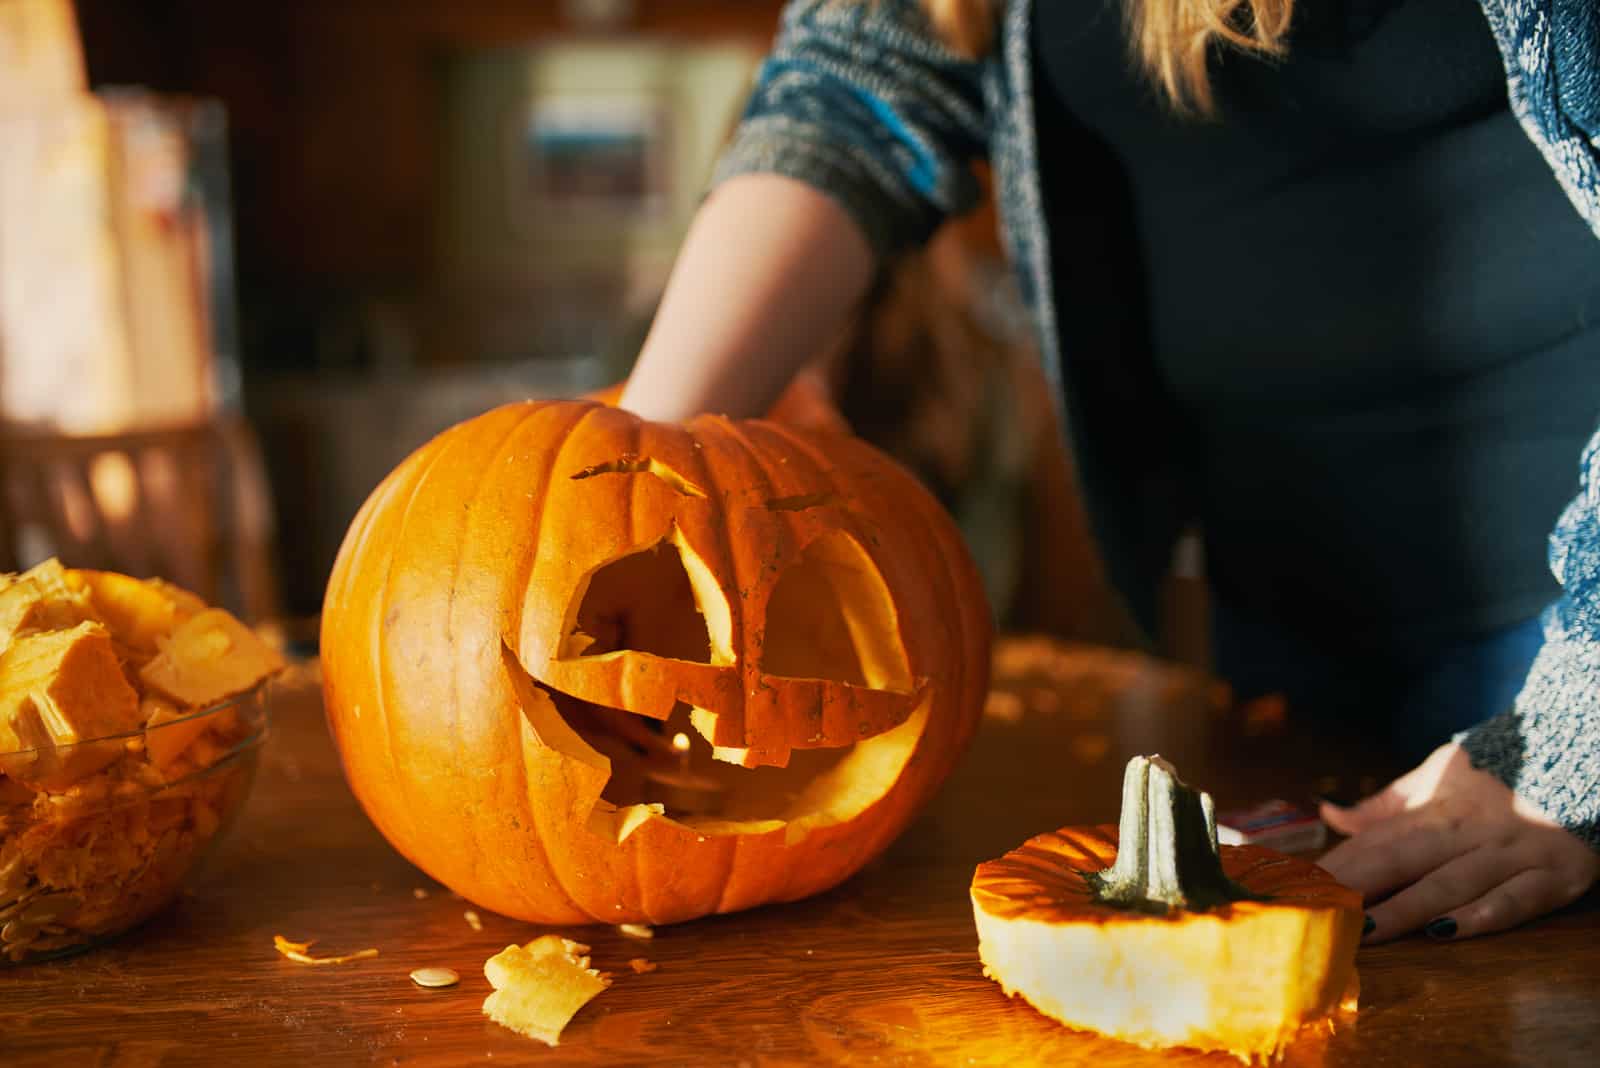
Pumpkins are probably one of the most famous vegetables out there — I mean, you must have seen a Jack O’lantern during Halloween season.
Pumpkins are a nutritious squash that are super beneficial to our health (they are not just used as a decoration though!).
They can be added to soups, breads, stews, salads, cakes, jams, pies… basically whatever comes to mind!
If you have already bought your pumpkin seeds, check out the pumpkin growing stages and see what you can expect from them.
What Are The Pumpkin Growing Stages?
After you’ve decided to grow pumpkins in your vegetable garden, you should decide where to plant them. Make sure to plant them in a sunny location, as they need full sun for their growth and development.
There are 7 stages of growth when it comes to the Pumpkin life cycle, and you should be able to recognize them all once you have finished reading this article.
1. Started From Seeds
Pumpkins start growing from seeds, as the majority of plants do. Pumpkin seeds are flat, oval-shaped, and have a creamy white color, which grow into delicious, juicy pumpkins with prominent orange flesh.
Now, when it comes to planting the seeds, you have to take into consideration when, where, and how to plant them.
Pumpkins are usually planted in late May or early June — this is because they have a long growing season that lasts from about 75 to 100 days.
If you live in a colder region where the pumpkin growing season is shorter, then you should probably start your plant indoors at least three weeks before the last frost. However, if you live in a region with a hot climate and a long growing season, then you can plant seeds directly into the ground!
Your pumpkin patch will absolutely love well-draining and nutrient-rich soil, so you should prepare the garden soil, before planting the seeds, by adding fertilizers. Sow the seeds one inch deep and at least five feet apart if you are planting them directly into the ground.
Transfer the pumpkin seedling when there isn’t any danger of frosts, and when the soil temperature has risen to 75 degrees Fahrenheit. Plant pumpkins in a sunny location in your garden, where they will be able to get full sun throughout the day.
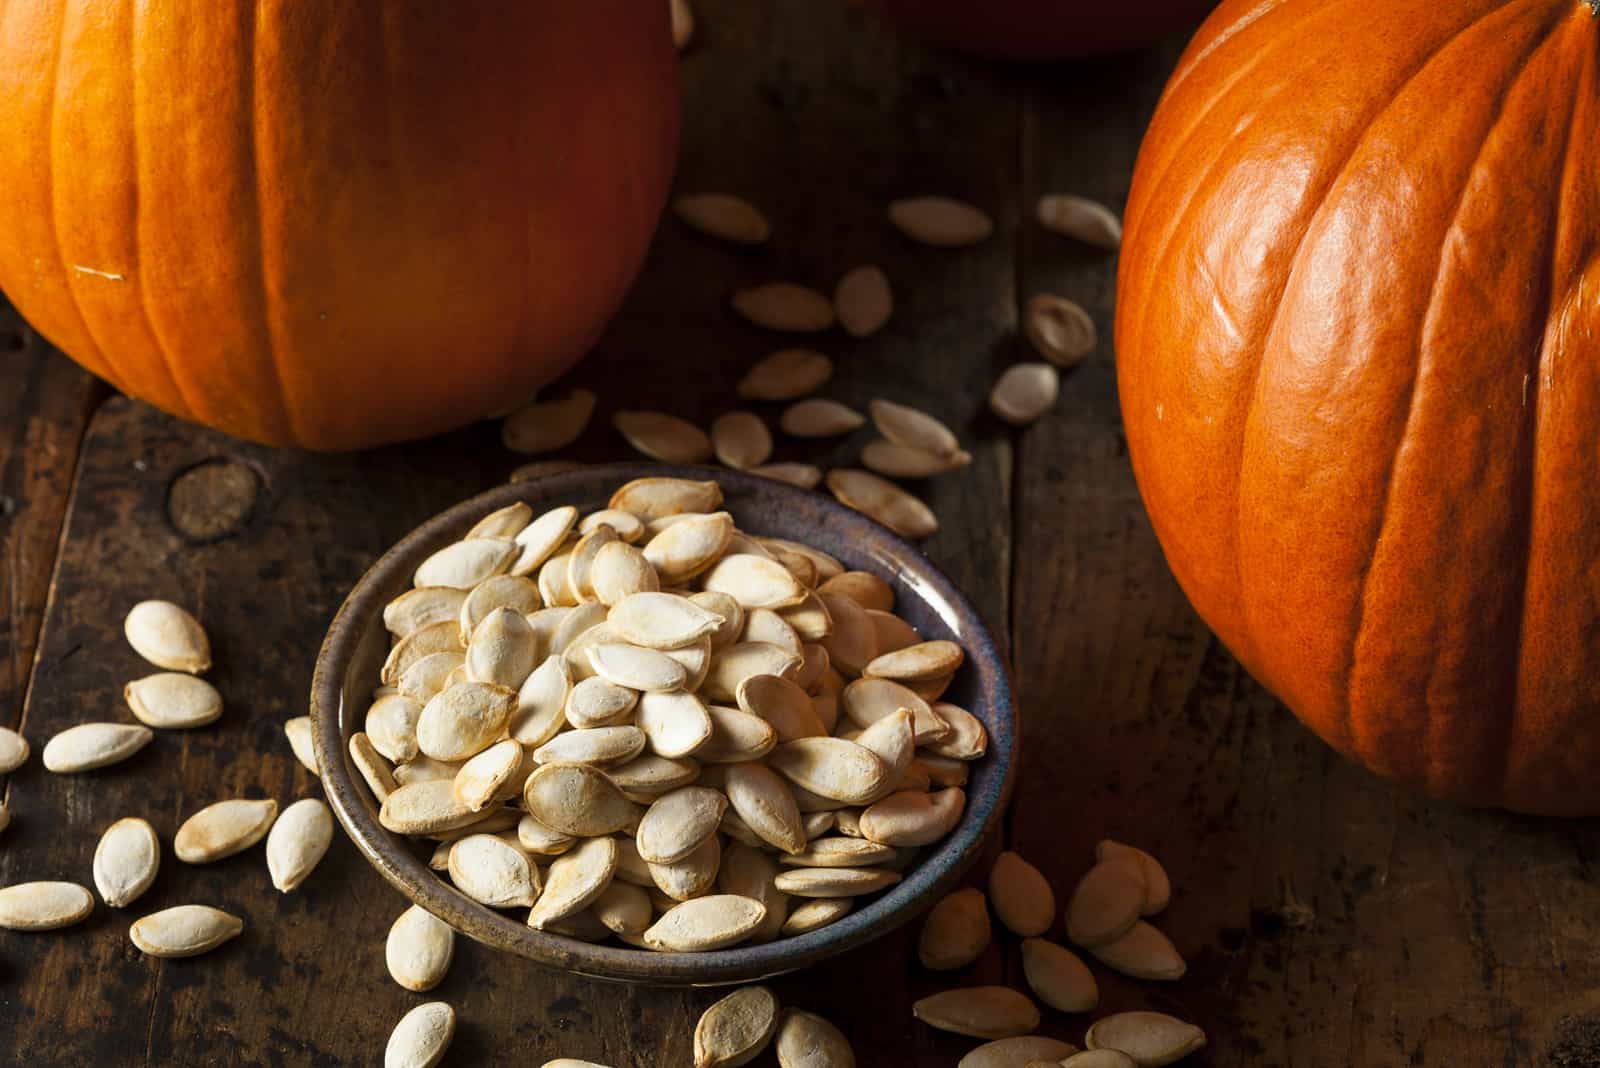
Pumpkin seeds are usually store bought, although you can save the seeds from different types of pumpkins that you have grown in the previous growing season, and use these ones for the next one!
How to store pumpkin seeds
If you had successful pumpkin growth this season, and you want to save the same seeds and plant them next year, here is how you do it:
- First, you will have to remove all the flesh around them. You can do this by simply rinsing them under water.
- Then, the seeds need to be dried. You can put them in the oven, or in a dehydrator — bake them for one hour at 250 degrees Fahrenheit, until they are crispy.
- Transfer them into a storage bag or airtight container, and store them in a cool and dry place, like a refrigerator. If stored properly, these seeds can stay viable for a few years.
2. First Sprout
If germination has occurred, you will notice small leaves coming from the ground. These leaves are called cotyledon, and they are not the true leaves of your pumpkin plant.
It will take about seven days for your baby pumpkin plant to start growing from these little, oval leaves.
Some people actually plant pumpkin seeds just to eat these little sprouts, they don’t even wait for the whole squash to develop!
3. True Leaves Development
At the center of the sprout, the new pumpkin leaves will start growing! You might notice that they differ slightly in terms of shape and color — pumpkin leaves have a dark green color and jagged edges.
Once the true leaves have developed, the baby plant is now considered a pumpkin seedling. The plant growth will continue, and you will see new leaves developing quickly.
4. Pumpkin Vines Formation
During this pumpkin growth stage, you can actually see the vines growing bigger and bigger each day. They tend to spread away from the plant, which is why you have to provide them space.
If they get enough sun and water, the vines can spread about 6 inches per day — they can actually reach about 20 feet in length, though it depends on the variety of pumpkin.
Continue watering your plant to keep the soil moist; you can also add mulch around the base of your pumpkin plant because it can help to retain the moisture of the soil. Try to keep the leaves dry when watering, as water can make them susceptible to fungal infections. During hot summer days, you should water the plant every other day.
You could even start applying liquid fertilizer in this pumpkin growing stage, to yield better crops. I would suggest that you use a fertilizer that contains high amounts of nitrogen in this pumpkin growing stage, then switch to one that contains phosphorus once the flowers are established.
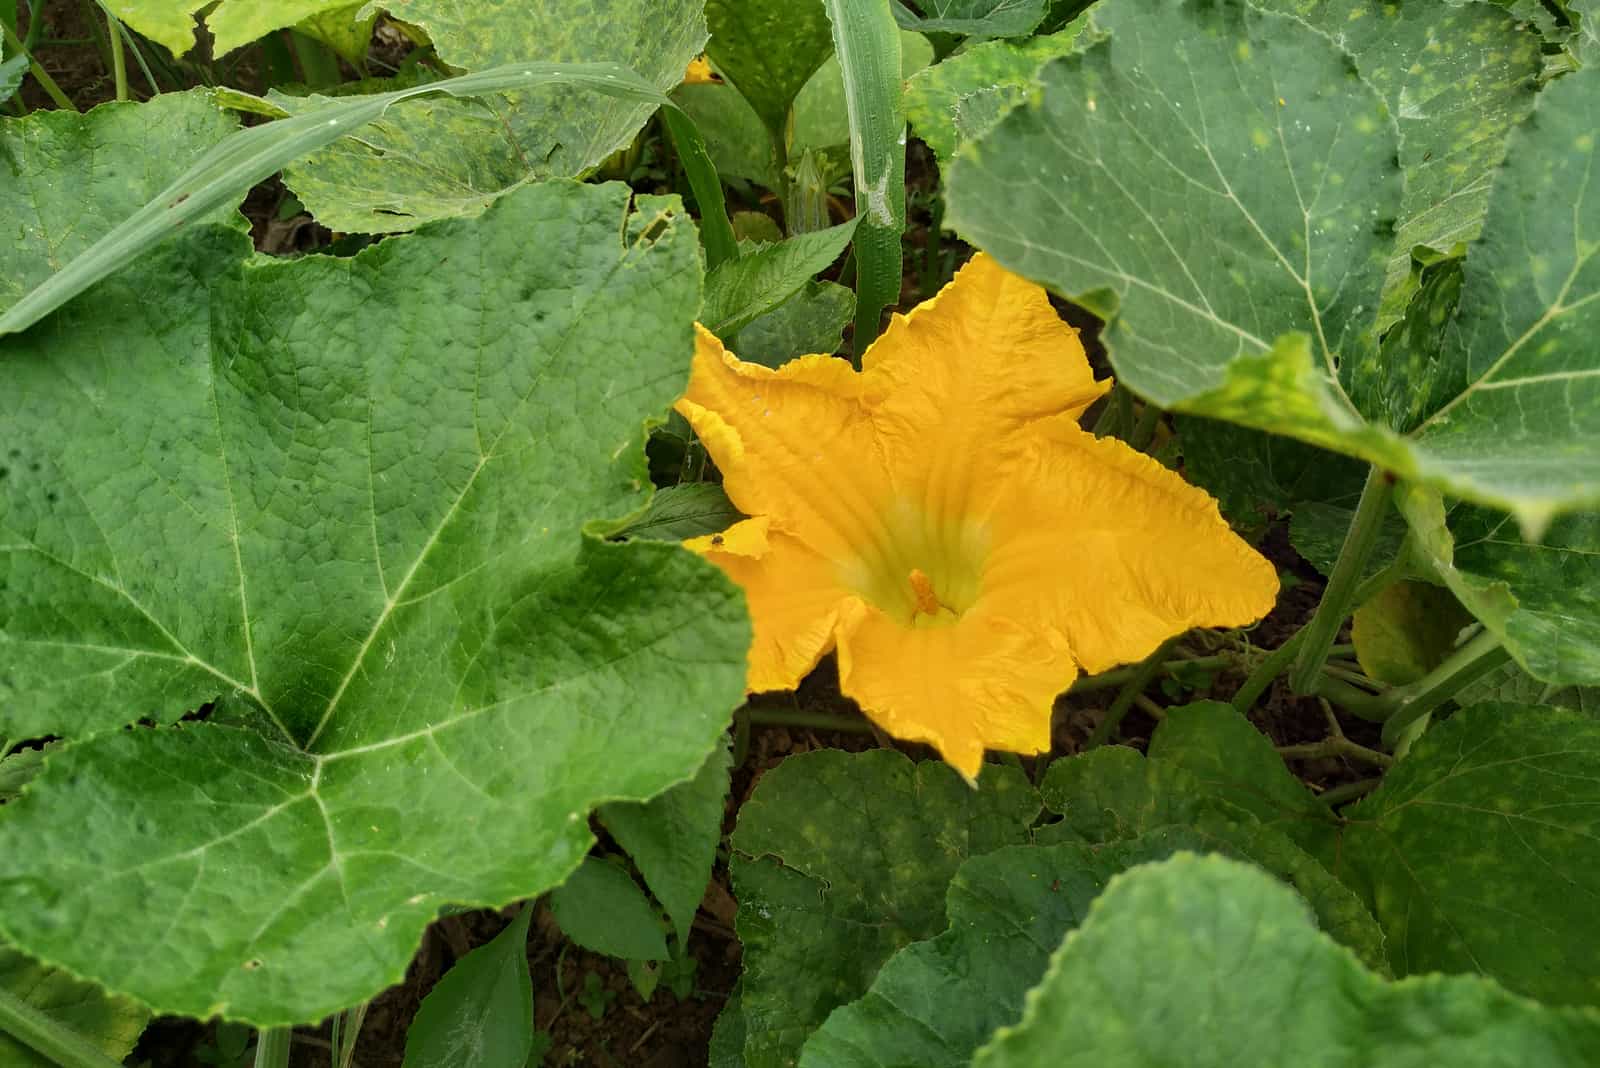
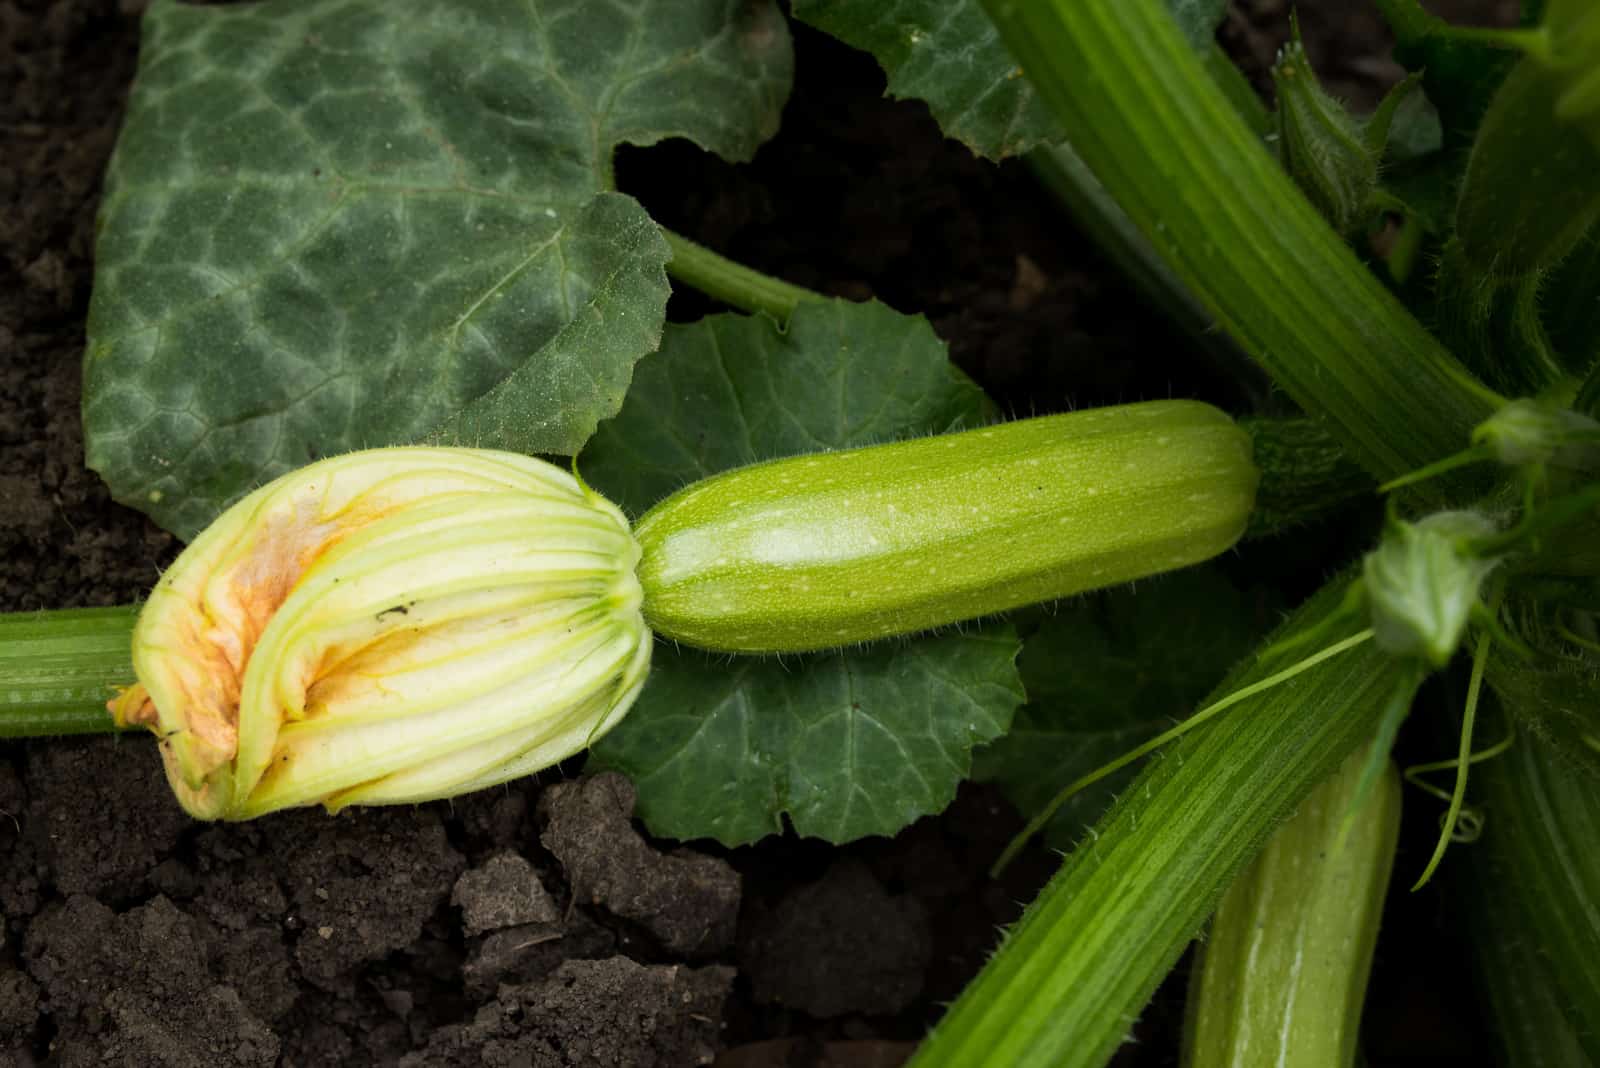
5. Pumpkin Flowers Formation
Soon enough you will be able to see bright yellow flowers all over your plant — don’t worry, this is perfectly normal!
First, the male flowers will appear, and female flowers will grow about 10 days later. Make sure not to harm the male flowers in any way, because you need them for pollination.
Male flowers will transfer pollen to the female pumpkin flowers, pollination will occur and hopefully you will get a giant pumpkin!
Pollination usually depends upon natural pollinators — the insects that transfer the pollen. You might live in an area where pollinators are scarce, in this case you will have to take matters into your own hands!
Take the male flowers and bring them close to the female flowers, then gently rub them against one another to make sure that the pollen has been transferred.
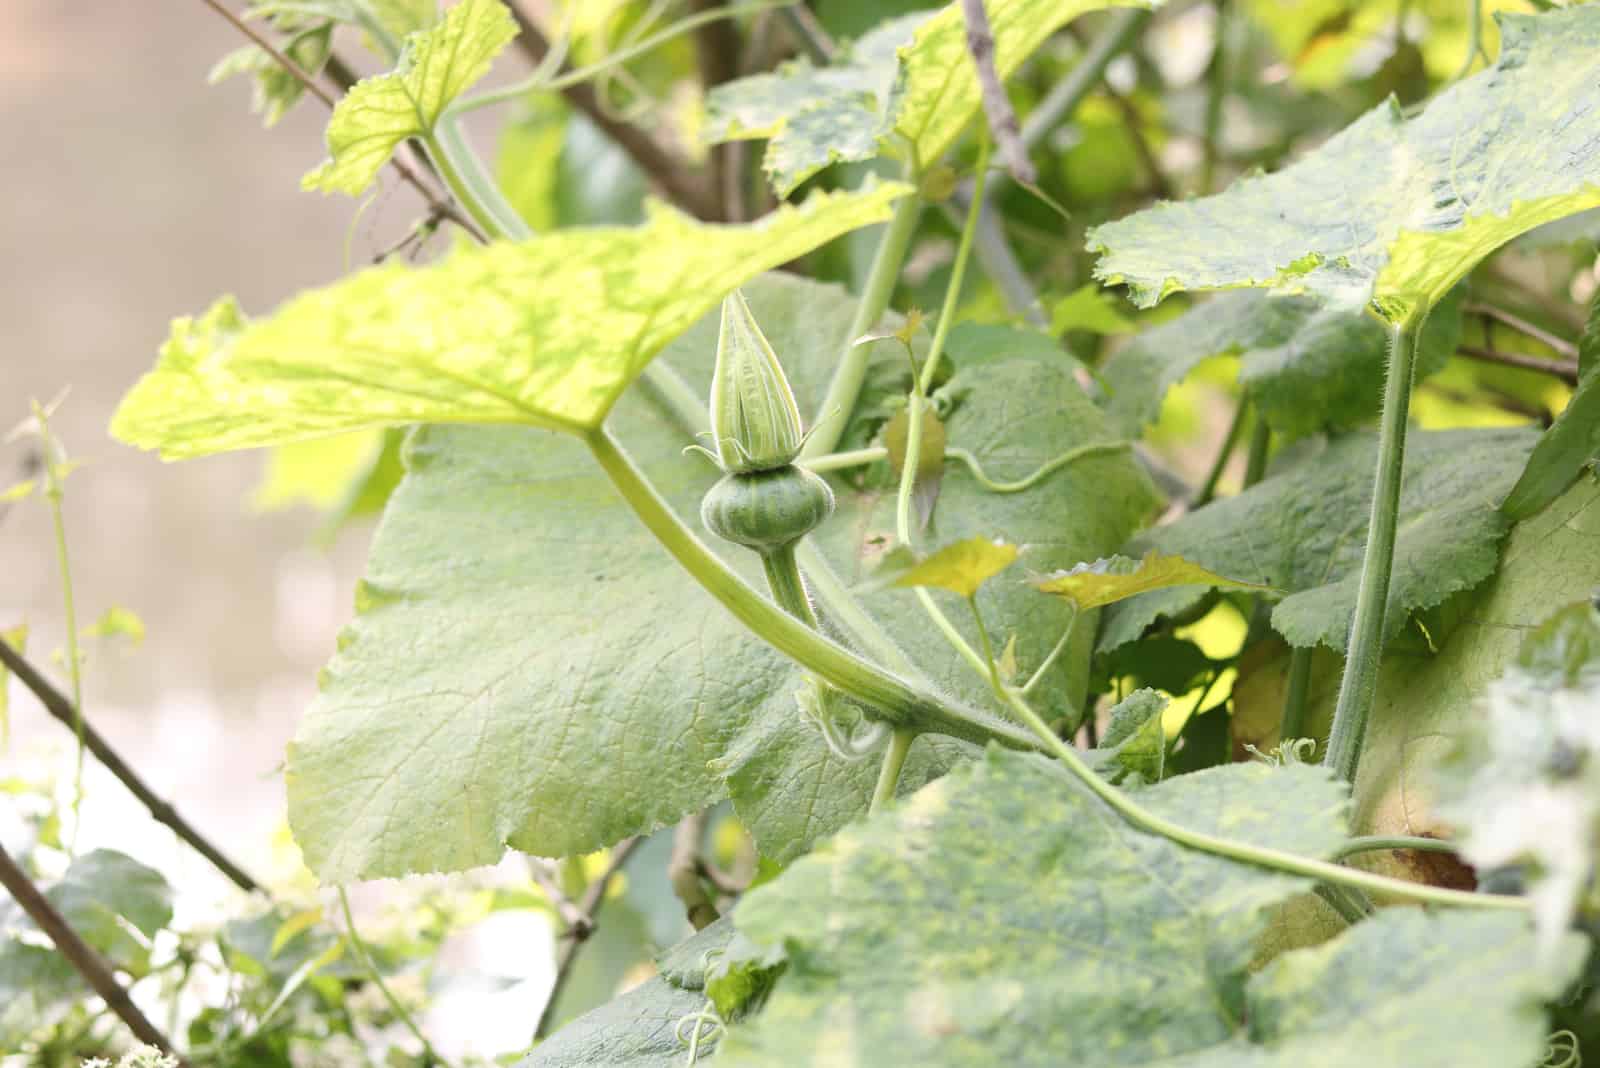
Check underneath the female flowers — if you spot a round green ball, that means the pollination was successful!
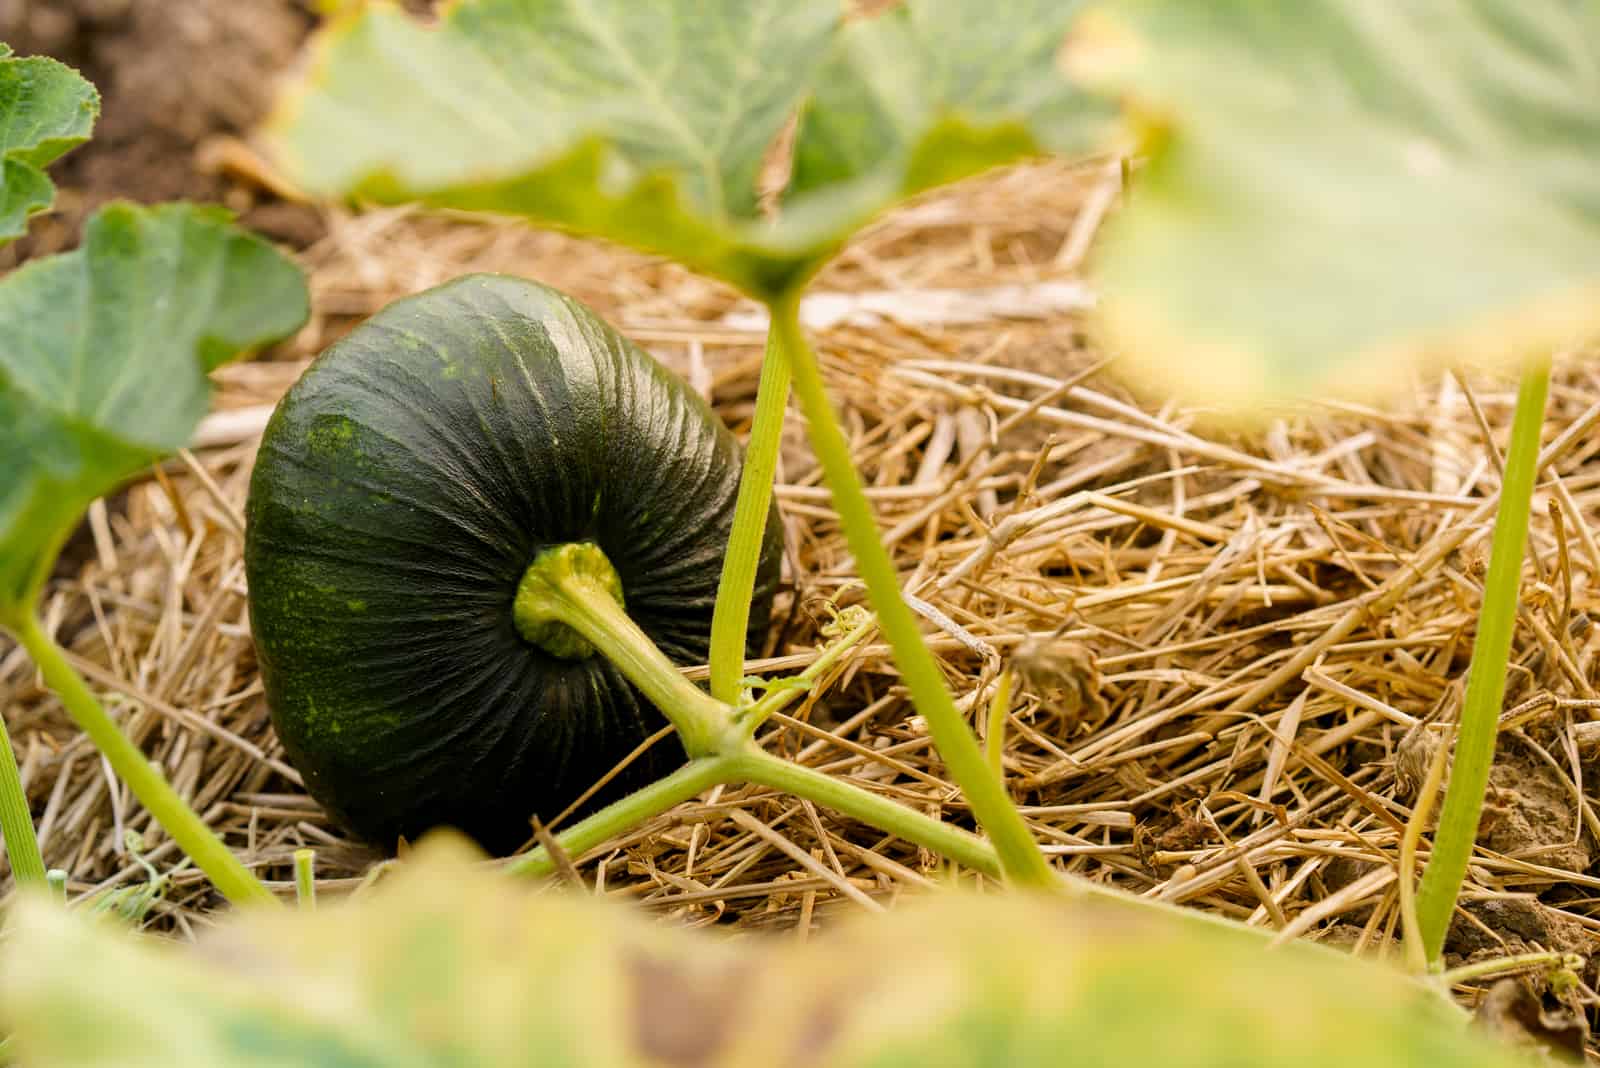
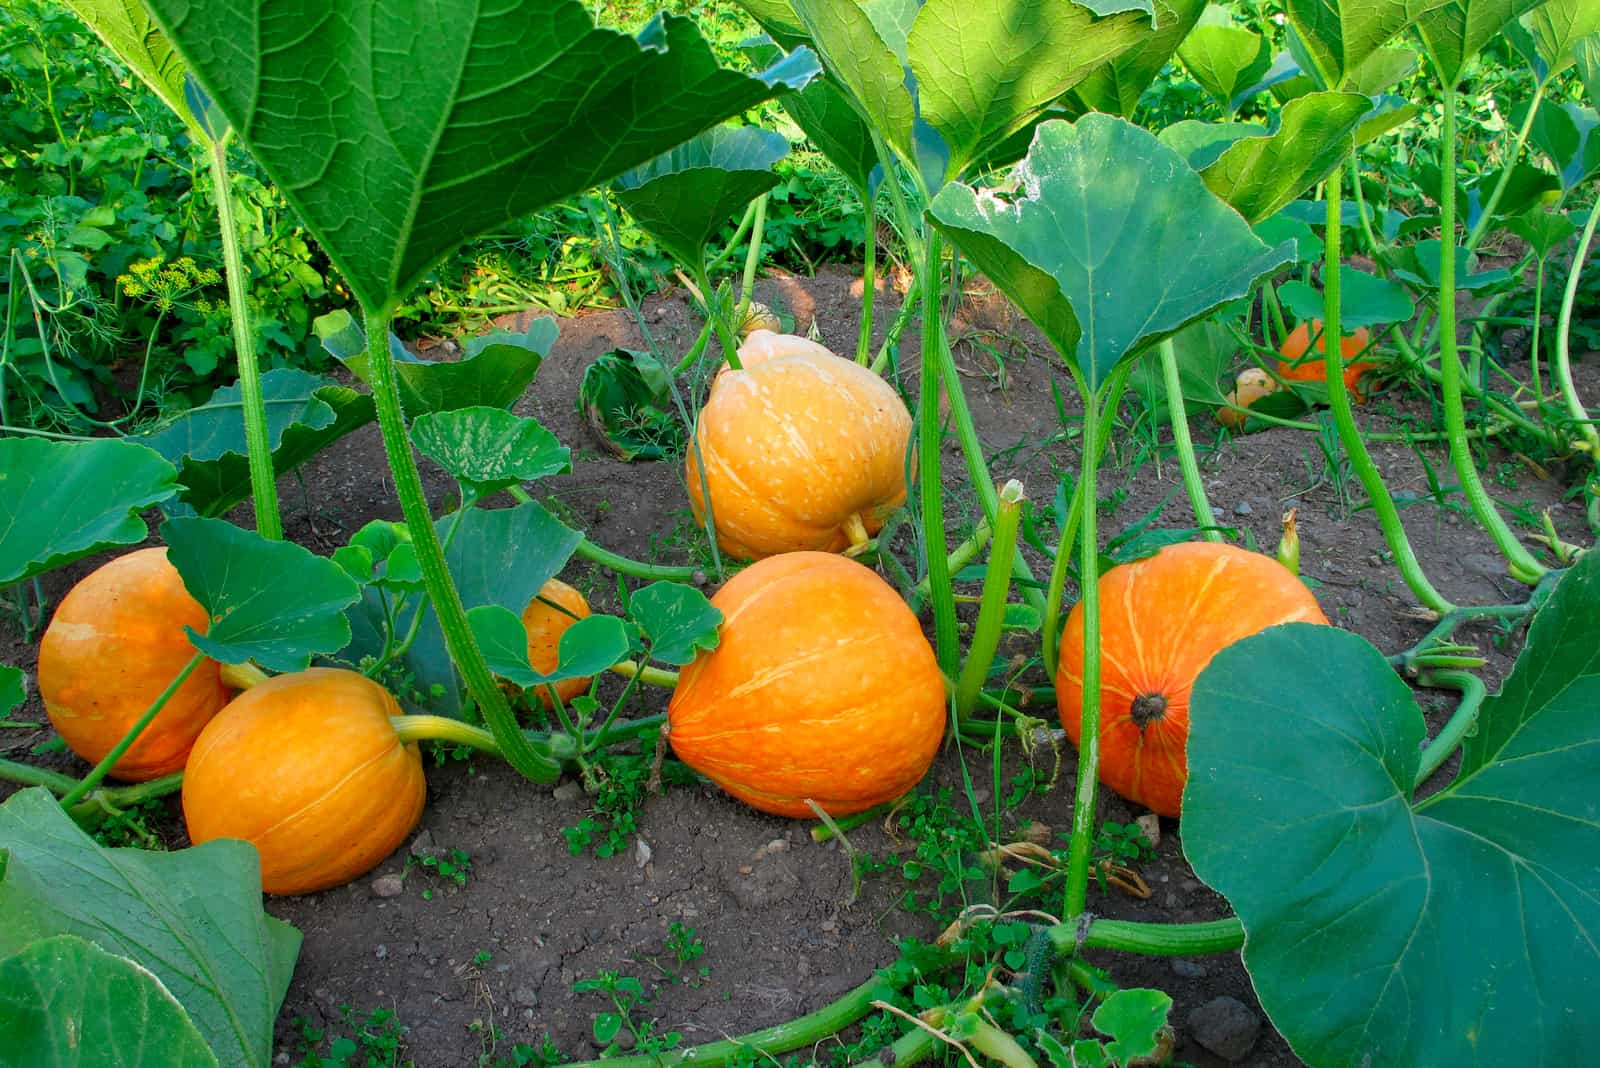
6. Pumpkin Fruit Formation
The green ball underneath the female flowers will start growing and growing — this is actually your baby pumpkin!
The green ball will transform into a green pumpkin in a matter of days, and in about 45 to 55 days you will be able to harvest your pumpkins from plants.
The optimal temperature for this pumpkin growing stage is between 50 to 85 degrees Fahrenheit; any temperature below or above will affect your crops.
You should also rotate your crops once the pumpkins have established, so that every side can get enough sun. Keep the soil moist by watering it once a week, but avoid over watering as pumpkin plants don’t like having soggy soil.
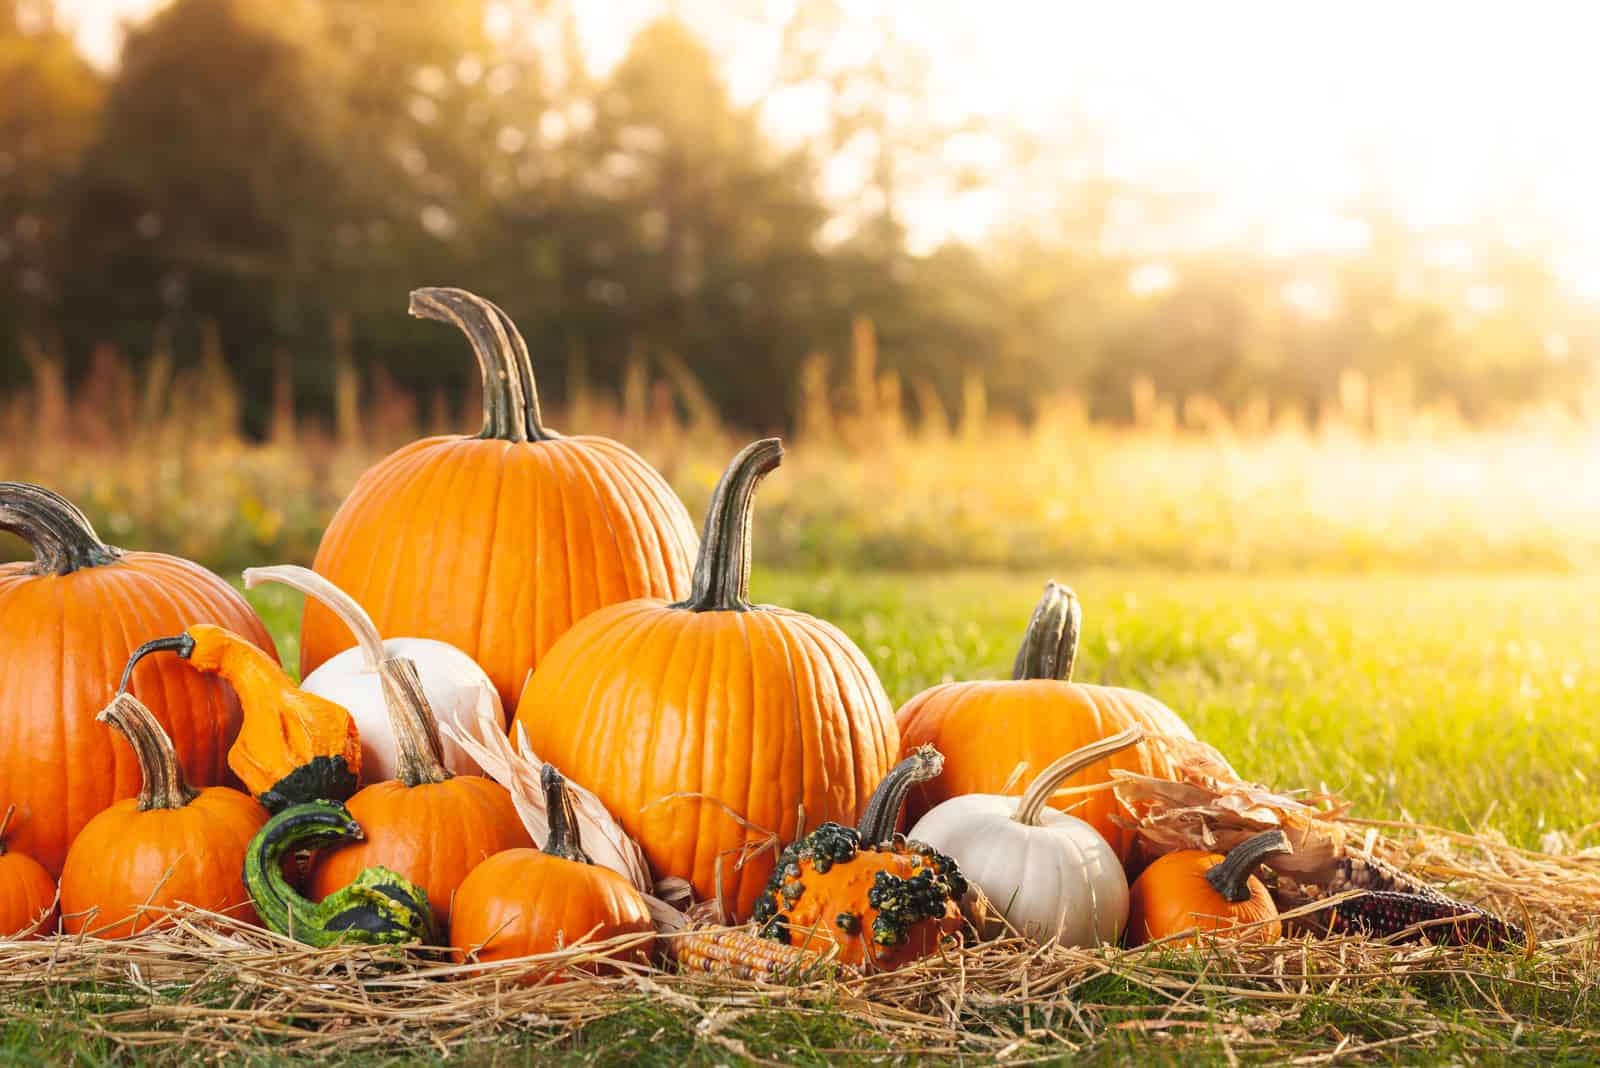
7. Harvesting Time
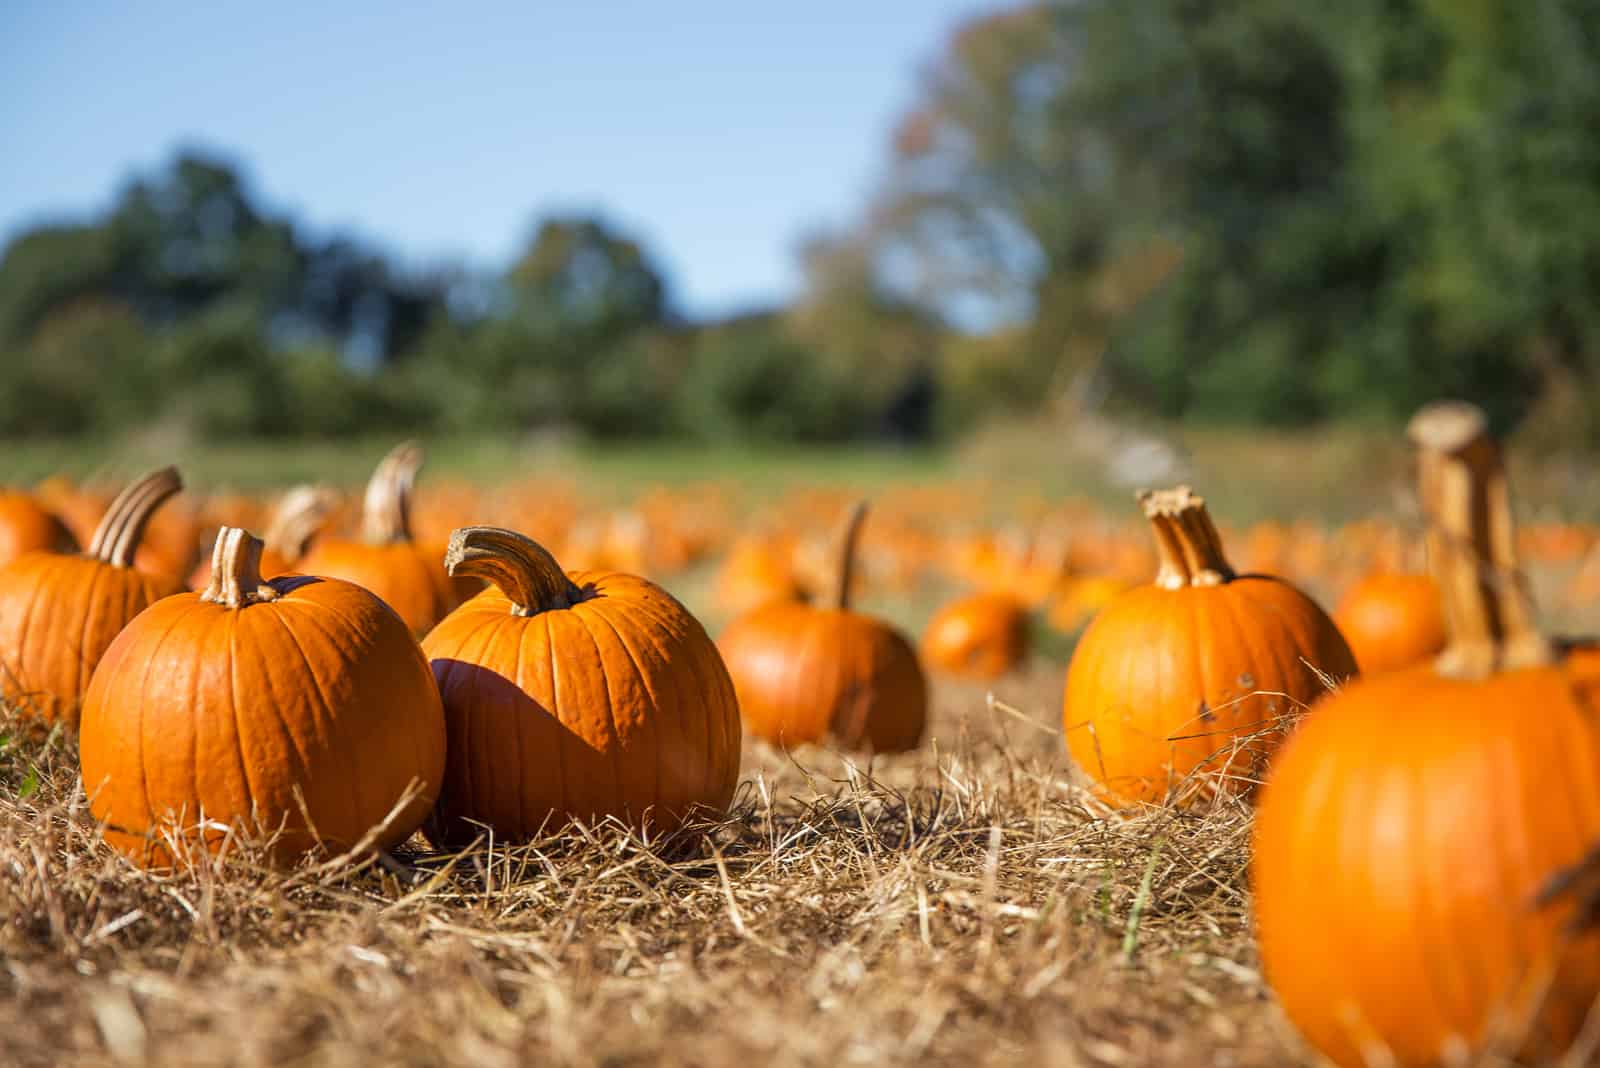
You have successfully grown a pumpkin, congratulations!
We have all been waiting patiently to harvest our delicious pumpkins and make yummy pumpkin pies, but how do we know when it is time to harvest?
We have to cover a few things.
First, you will need to look at its skin — if the skin is hard, and if it has developed a nice, deep orange color, then it is probably done growing. Be aware though that there are many varieties of pumpkin, and your new pumpkin might not be orange.
Next, you can look at your pumpkin vines; after they have served their purpose, that is they have provided the nutrients for their pumpkins, they will start dying off. Once you see that your pumpkin vine is dying, it means that your pumpkins have reached full maturity.
Sometimes pumpkins on the same vine won’t grow at the same rate, therefore, they may have a different harvesting time. You should investigate each pumpkin — you can also tap the rind and if it sounds hollow, then it is probably ready to be harvested.
When harvesting, pumpkin growers often use gardening scissors and gloves, because the vines have small thorns all over them. Make sure to cut them instead of pulling the vines, because pulling could puncture the skin and promote early rot — you can say goodbye to your Jack O’lantern.
Instead, we use gardening scissors to cut the pumpkin vine; however, make sure to leave a few inches of stem above the pumpkin, because this will extend the storage life.
Once this is done, the pumpkin will need to cure. This is done by leaving the pumpkin outside in the sun for 7 or 8 days. This will harden the skin, making it more convenient for storing. If it is raining during that period, leave your pumpkin in a covered area.
Pumpkins can last for about six months if they are stored properly.
How to store pumpkins
Once you harvest your pumpkins, you have to store them properly so you can eat that delicious, sweet flesh throughout fall and winter. To properly store your pumpkin, follow these instructions:
- Wash them thoroughly and let them dry; then you can use a weak bleach solution to wipe them — this will prevent rotting.
- Find a place that is cool and dry, with a temperature from 50 to 60 degrees Fahrenheit. Any temperature above or below will affect your pumpkins’ storage life and taste.
- Place them all in a single layer on a wooden shelf or on bales of hay, do not put them on concrete as this can speed up the rotting process.
- If you notice any soft spots or rot, take the pumpkin out because the rot can spread to the other pumpkins. You can either cut the rotten piece, or you can throw away the whole pumpkin. If this has happened to you, make sure to use bleach and wipe the pumpkins that were in contact with the rotting one.
Pumpkin Growing Stages: Common Problems
When you are growing pumpkins, sometimes you may notice that there is something off with your plant. Unfortunately, pumpkins are prone to pests and diseases, so you have to be on the lookout during each pumpkin growing stage!
Here are the problems that you might deal with when growing a pumpkin plant.
1. Rotting On A Pumpkin Vine
Sometimes your developed pumpkin can start rotting even though it is still attached to its vine. You might have over watered your pumpkin and now it sits on soggy soil, while the air temperature is warm and humid. This leads to the development of bacterial or fungal infections at the bottom of your pumpkin.
You can prevent this by lifting your pumpkin fruits slightly above the ground to avoid direct contact between the soil and your newly grown pumpkin.
2. White Pumpkin Plant
If you start noticing that your pumpkin plant is turning white, powdery mildew is probably the reason. It spreads easily and leaves a white, powdery layer all over the plant, making your garden look spooky. However, this can eventually kill your plant and leave you without any pumpkins over the winter.
To save your plant, you should apply neem oil to the infected areas and hope for the best!
3. Pumpkin Plant Not Flowering
Sometimes pumpkin plants just take time to flower, and you are impatiently waiting for the flowers to appear! However, sometimes a nutrient deficiency might lead to a pumpkin plant not flowering.
Potassium is an essential nutrient that drives the flowering in your pumpkin plant; and if it is lacking, this might lead to no flower — no potassium, no flowers.
Make sure to start fertilizing your plant once the pumpkin vines have formed, and continue fertilizing throughout the growing season.
4. Stunted Pumpkin Growth
If your pumpkin plant has grown its beautiful vine gown with flowers all over it, you are on the right path. After a while you can start checking for the green round ball underneath the female flower, but what if nothing is happening?
Unfortunately, the pollination might not have occurred properly.
The reason might be that you live in an area with a low bee population, or the weather may be too hot which closes the female pumpkin flowers earlier than they should, shortening the pollination period.
Even if the fruits have started developing, unfortunate environmental conditions can affect your plant and then the new fruits will drop off because it is more important for the plant to preserve its vines than to grow new fruits.
Another reason that this might happen is an excess amount of nitrogen in your soil, which is why we have previously mentioned switching to a phosphorus fertilizer once the pumpkin flowers have been established.
5. Leggy Pumpkin Seedlings
At the beginning of the pumpkin growing stages, your seedlings will be stretching to the lights. At this stage, long stretches of pumpkin vines should start growing and spreading around the plant’s base.
Sometimes the pumpkin vines are nowhere to be seen, and your seedling looks leggy and thin. The reason why this happens is a lack of sunlight!
We have talked about planting your pumpkin seeds in a sunny location, and if you messed that up, then you have probably messed up the whole growing season.
It is hard to save your seedlings at this point — it is not like you can bring sun to their area; what you can do though, is put white sheets up to reflect the sunlight, though this is not completely reliable.
Check this video on how to avoid common problems:
Frequently Asked Questions
1. How long does it take to grow a pumpkin?
Most varieties of pumpkin take from 90 to 120 days to grow after planting, though some types might take a little longer to reach full maturity. If the pumpkin vine starts dying off, the skin gets hard and more colored, and they produce a hollow sound when you tap the rind, this usually indicates that the pumpkin is ready to be harvested.
2. How many stages are there in a pumpkin’s life?
The Pumpkin life cycle has 7 different stages, starting from seeds, once they germinate you will begin to notice little sprouts, from these true leaves are going to develop; then from true leaves, the pumpkin vines formation will occur, followed by the pumpkin flower formation. These little flowers need to be pollinated, which then leads to the pumpkin fruit formation, and at last, we have the harvesting time.
3. What colors do pumpkins turn when they are ready to be picked?
This depends on the type of pumpkin — there are plenty of varieties that grow in different colors, sizes, and weights; therefore, you should be aware of what type of pumpkin you have planted. The most popular one that is used for Halloween decorations is the Jack O’lantern, and the intense, orange color is an indicator that they are ready to be harvested; however, you can also use white Lumina pumpkins for carving, this has a white color when it is fully developed.
Final Thoughts
Now that we have gone through each of the pumpkin growing stages, you should know what to expect from each stage, and how to deal with certain problems during the different stages.
Just remember that pumpkins love growing in nutrient-rich soil, under full sun, therefore, plant them in a sunny location, keep the soil moist and fertilized, and your pumpkin plant will produce delicious, giant pumpkins!
Whether you are growing pumpkins to make Halloween decorations, or you want to make yummy pumpkin lattes, pies, and jams — you can enjoy taking care of your pumpkin plant, and you will be so proud once you harvest those big boys!
Until next time!
Like this post? Share or pin it for later!