Georgia Camellias Need This One Step Before Thanksgiving Arrives
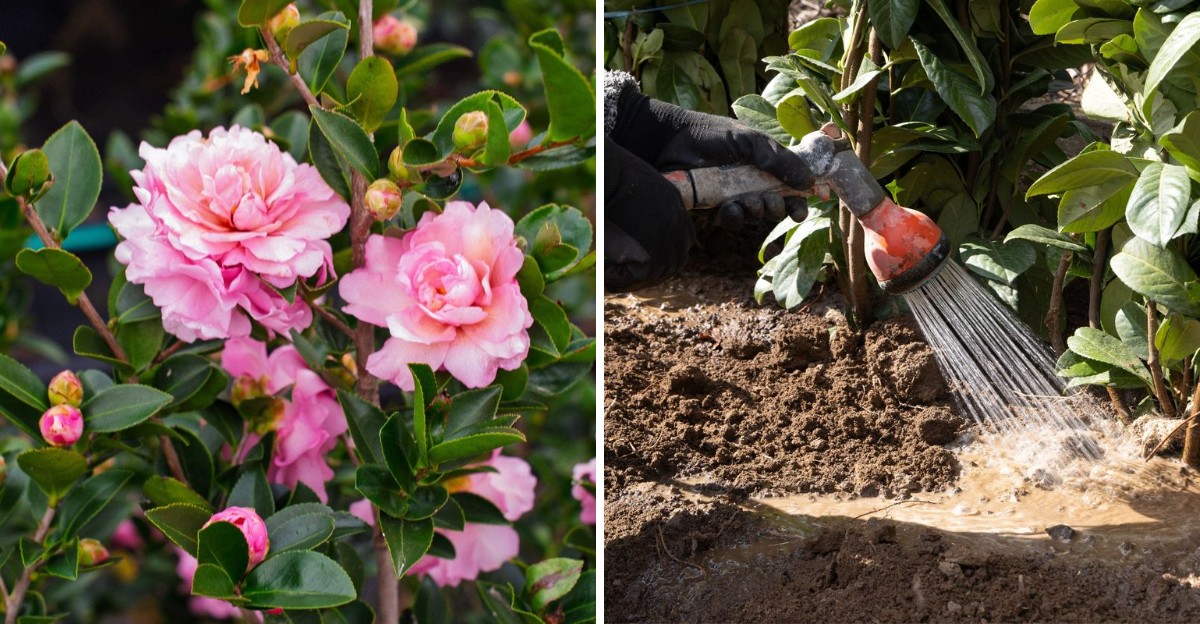
Some of the shrubs in your yard quietly packed their flower buds months ago, back in the sticky heat of summer. Those fat little buds are sitting there right now, waiting for winter to open.
I love that a plant can bloom in January while everything else naps. In Georgia, these glossy evergreens can flower from fall clear into early spring, depending on the type.
That is a long show, and it starts underground.
You need to know one thing about their roots. They grow shallow, close to the surface, where a dry fall and a sudden cold snap hit them first.
I learned this the hard way after watching a whole row of buds drop before they opened.
One small step could help keep those buds on the branches until they bloom. It costs very little, takes about an hour, and belongs on your to-do list before the turkey goes in the oven.
1. Those Shallow Camellia Roots Are Feeling the Fall Weather First
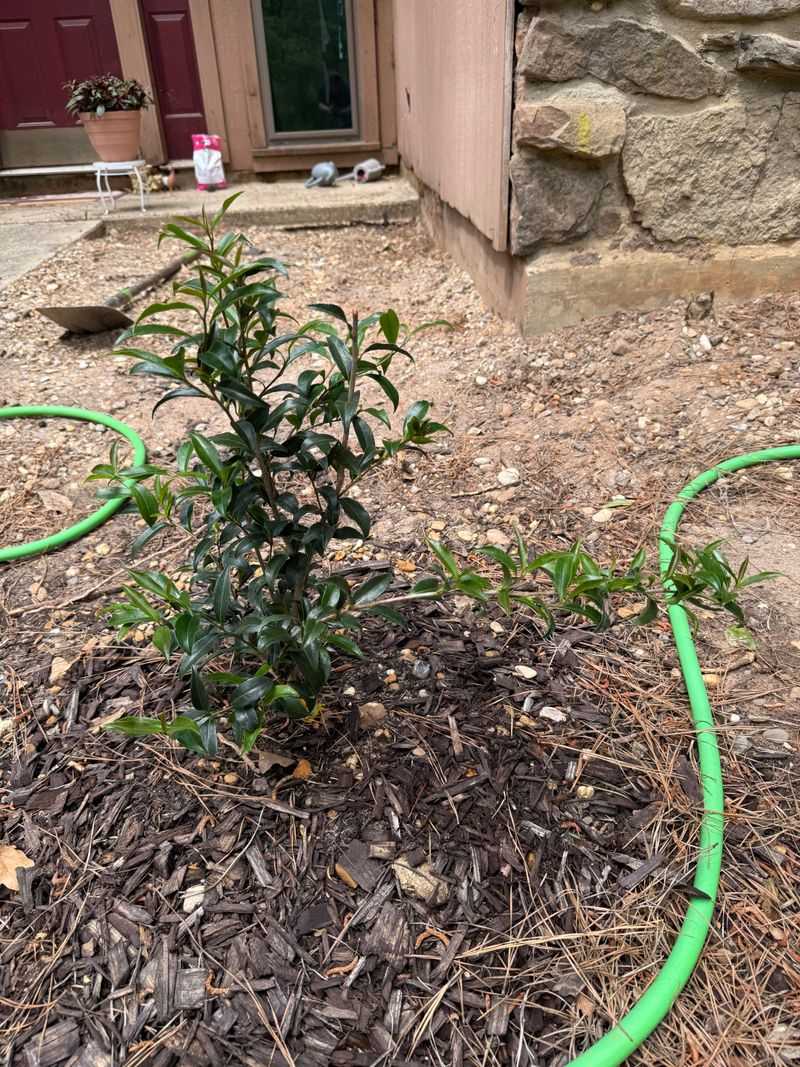
Dig gently around a camellia and you will notice something surprising. Most of its feeder roots sit in the top few inches of soil, not deep down like an oak.
That shallow setup works fine in a mild spell. Trouble shows up when fall turns dry and cold nights arrive.
Bare soil loses moisture fast, and it warms and cools quickly with every swing in temperature. Those near-surface roots feel each change right away.
Fall in Georgia is often one of the drier stretches of the year. Many gardeners stop watering once summer heat breaks, thinking the job is done.
Meanwhile, the shrub is holding dozens of flower buds that formed back in summer.
Buds need steady moisture to stay plump and healthy. When roots dry out, the plant may drop buds to save itself.
University of Georgia Extension experts point to dry soil in late summer and fall as a common reason for bud drop.
So the real issue is not just cold. It is exposed, thirsty soil right where the roots live.
Once you see the problem that way, the fix becomes pretty obvious, and it is waiting in the next section.
2. A Fresh Layer of Pine Straw Mulch Is the Step That Matters
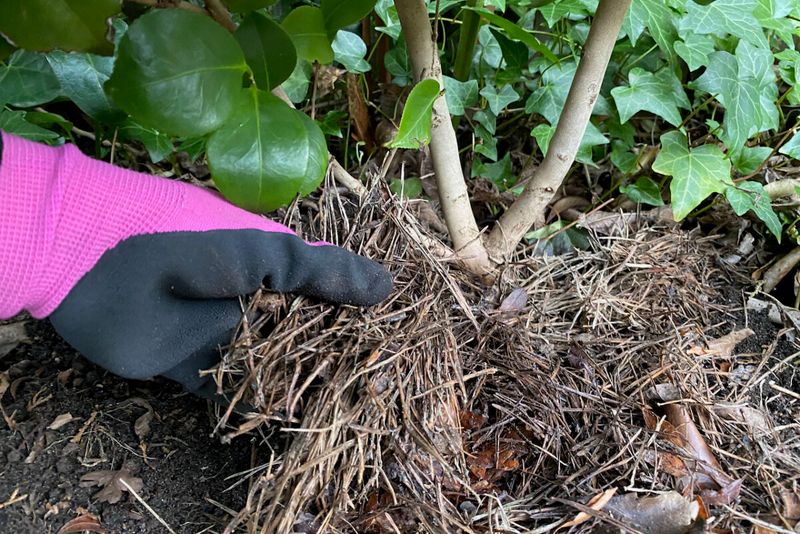
Mulch is the answer, plain and simple. A fresh layer spread around your camellias before Thanksgiving gives those shallow roots a cozy, moist blanket for winter.
Here is what that layer does. It slows evaporation, so the soil holds water longer between rains.
It also evens out soil temperature, softening the shock when a warm afternoon turns into a frosty night.
Mulch helps in quieter ways too. It blocks many weed seeds from sprouting, so fewer weeds steal water from the camellia.
As organic mulch breaks down, it adds organic matter to the soil, which camellias appreciate.
Timing makes sense right now. Summer mulch has often thinned out or blown away by late fall.
A top-up before the holiday crowd arrives means the job is done before the coldest weeks of December and January.
I like that this task feels so low-key. There is no spraying, no special tools, and no guesswork.
You rake, you spread, and the shrub does the rest.
For a plant that may bloom for months, that is a pretty sweet trade. One afternoon of work can mean more open flowers and fewer buds on the ground.
3. Pine Straw, Pine Bark, or Shredded Leaves for Your Camellia Bed
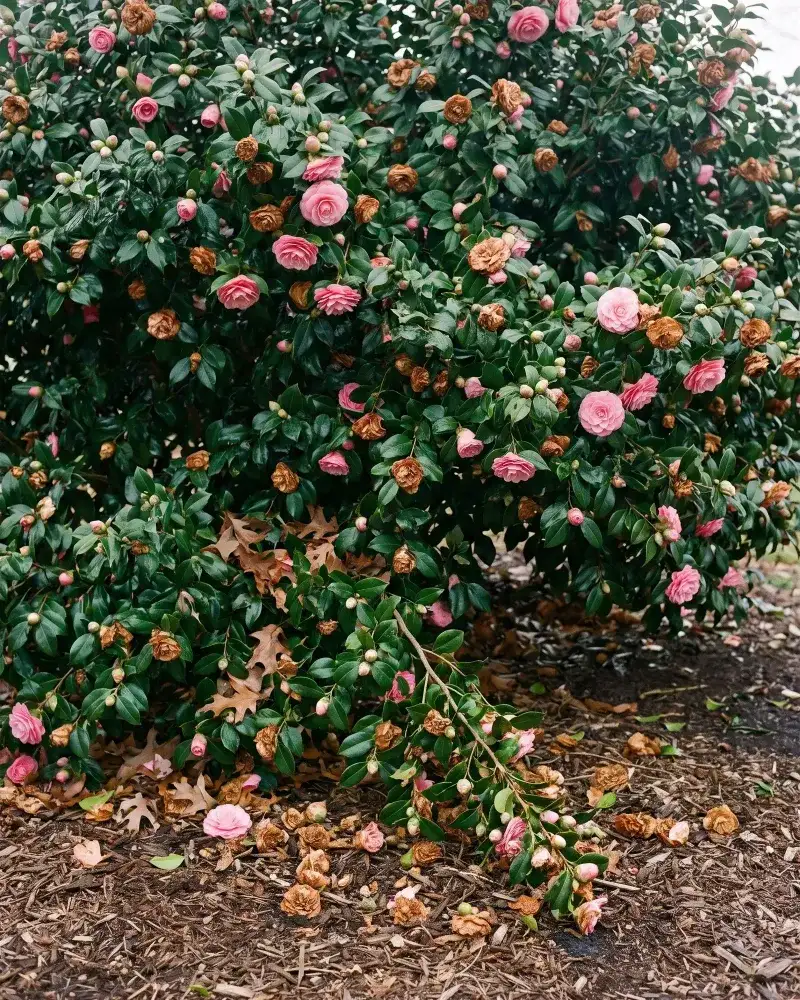
Camellias are acid lovers, and they thrive in soil with a pH around 5.0 to 6.5. Lucky for you, some of the best mulches for them practically fall from the sky in the South.
Pine straw tops my list. It is light, it lets water and air pass through, and it stays put on slopes better than many bark products.
Plenty of Georgia homeowners can rake it up for free under their own pines.
Shredded pine bark is another solid pick. It lasts a long time and gives beds a tidy, finished look, though larger nuggets can wash away on steep ground.
Shredded leaves count too. Oak leaves are a classic choice, and running them over with the mower first keeps them from matting into a soggy layer.
Fun fact: pine straw is often blamed for making soil sour, but research shows organic mulches change soil pH only a little. Your soil and water matter far more.
Skip dyed wood chips piled thickly or rubber mulch. They add little to the soil.
Compost can go down underneath your mulch as a bonus, giving roots a gentle boost as it works its way in.
4. Keep Mulch Away From the Camellia Trunk Like a Donut
Picture-perfect mulch volcanoes look tidy, but they cause real trouble. Mulch piled against a trunk keeps bark wet and invites rot, fungus, and chewing critters like voles.
Aim for a donut shape instead. Leave a few inches of open space between the trunk and the mulch so the bark stays dry and gets air.
Depth matters as well. Two to three inches works well for most mulches, while fluffy pine straw can go a bit deeper because it settles fast.
Thicker layers can smother roots and block water from soaking in.
Spread wide, not tall. Try to cover the area out to the drip line, where the outer leaves end.
Many of those shallow feeder roots stretch at least that far.
Got old, matted mulch already in place? Fluff it with a rake first.
Crusted layers can shed water like a roof, which defeats the whole point.
A quick check at the end helps. Look down at the base of the shrub and make sure you can see the trunk meet the soil.
If you can, you nailed it, and your camellia can head into winter well protected.
5. Give Camellias a Deep Drink Before the First Hard Freeze
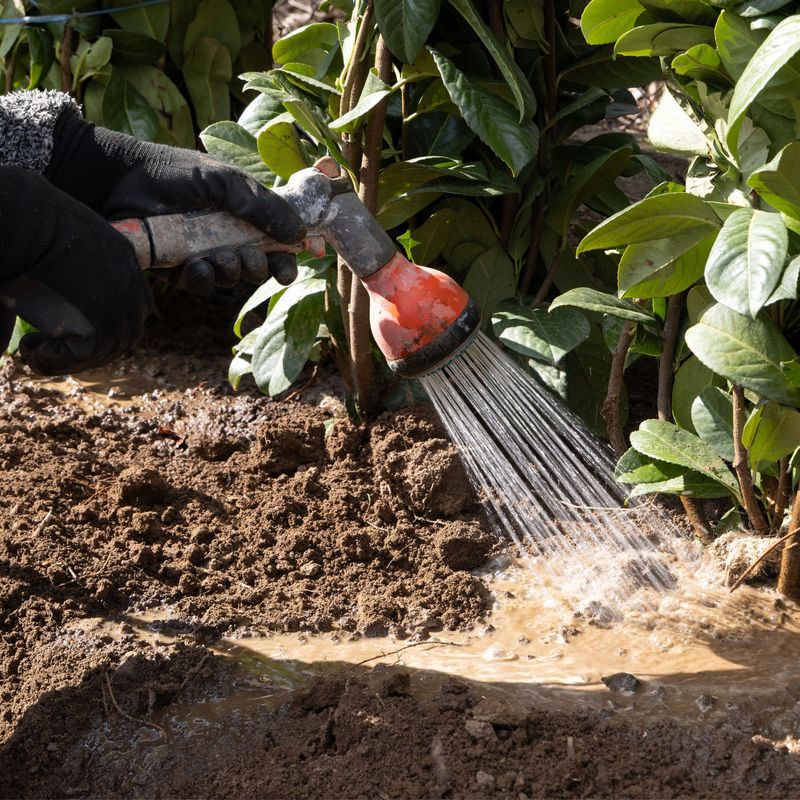
Moist soil holds heat better than dry soil. That simple bit of science makes a good soaking one of the smartest moves you can pair with mulch.
Before spreading your mulch, check the ground. Push a finger or trowel a few inches down near the drip line.
If it feels dry, water slowly and deeply so moisture reaches the whole root zone.
A soaker hose or a slow trickle from a garden hose works great. Fast spraying mostly runs off, especially on Georgia red clay.
Through fall and winter, keep an eye on rainfall. Camellias generally like about an inch of water a week during dry spells.
Evergreen leaves keep losing moisture on sunny, windy winter days, even when the plant looks resting.
Watering ahead of a predicted hard freeze can help too. Well-watered plants usually handle cold snaps better than stressed, thirsty ones.
Don’t overdo it, though. Camellias dislike soggy feet, and waterlogged soil can lead to root rot.
Water deeply, then let the top inch dry a bit.
It sounds basic, yet this habit separates a shrub covered in blooms from one dropping its buds onto the mulch you just spread.
6. Pruning Shears and Fertilizer Can Wait Until After the Camellia Blooms
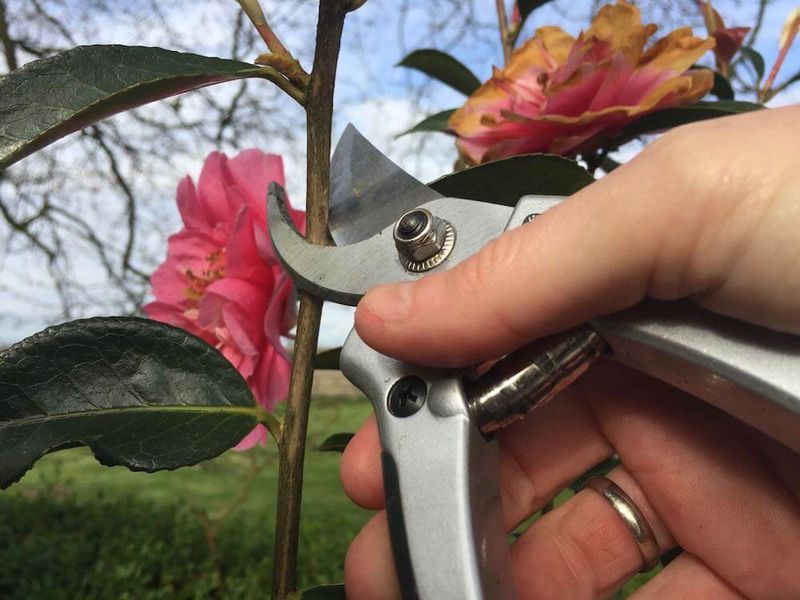
Hands off the loppers for now. Camellias set next season’s flower buds in summer, so a big fall haircut snips off the very blooms you are waiting for.
Small cleanup is fine. Feel free to remove broken, diseased, or crossing branches any time you spot them.
Save real shaping for right after flowering ends in late winter or spring.
Fertilizer needs a pause too. Late feeding can push tender new shoots, and soft growth is easily hurt by cold.
Most guidance suggests wrapping up fertilizing by mid to late summer.
Many gardeners feed camellias in spring once blooming finishes. An azalea or camellia fertilizer made for acid-loving plants usually does the trick.
One more thing to skip: heavy disbudding unless you grow show flowers. Some exhibitors pinch extra buds for bigger blooms, but for a home landscape, more buds simply means a longer display.
Honestly, this section is the easiest one to follow. Doing less in fall really is the right call here.
Put the tools away, enjoy the buds swelling, and let mulch and water carry the load until spring.
7. Mulched Camellias Reward You With Winter Flowers When the Garden Looks Bare
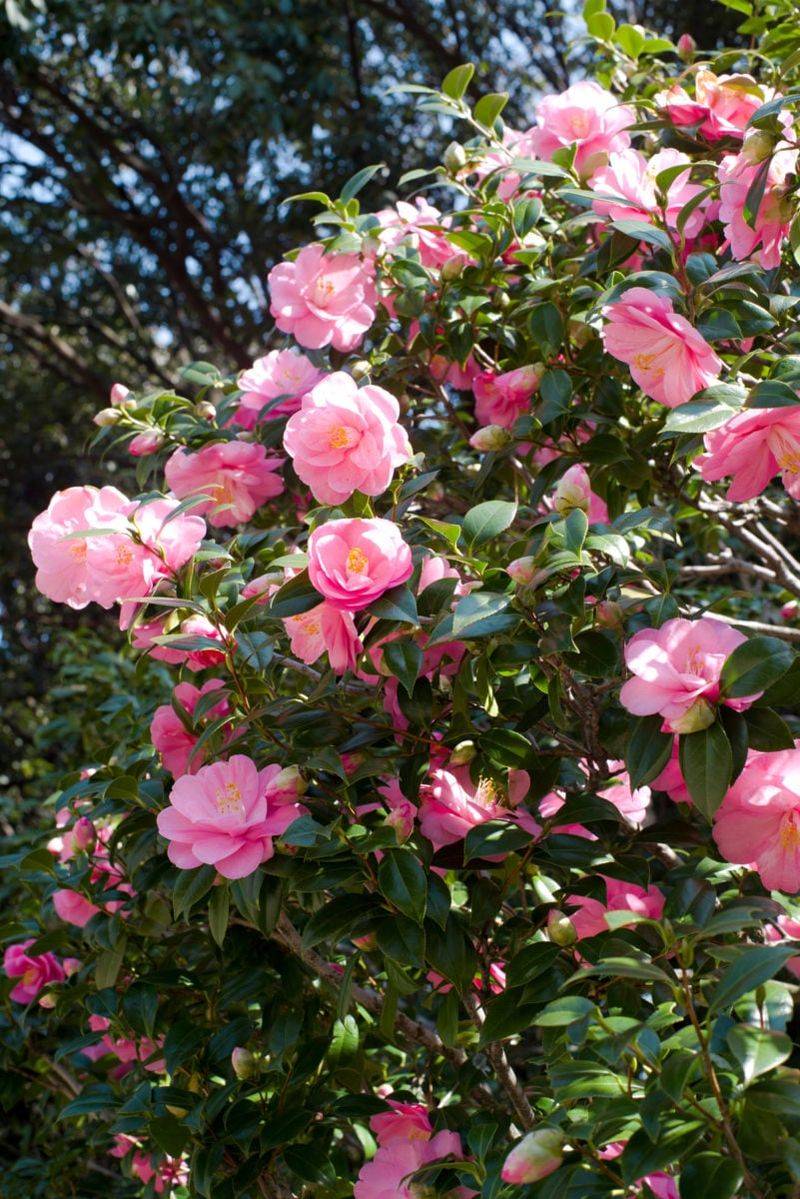
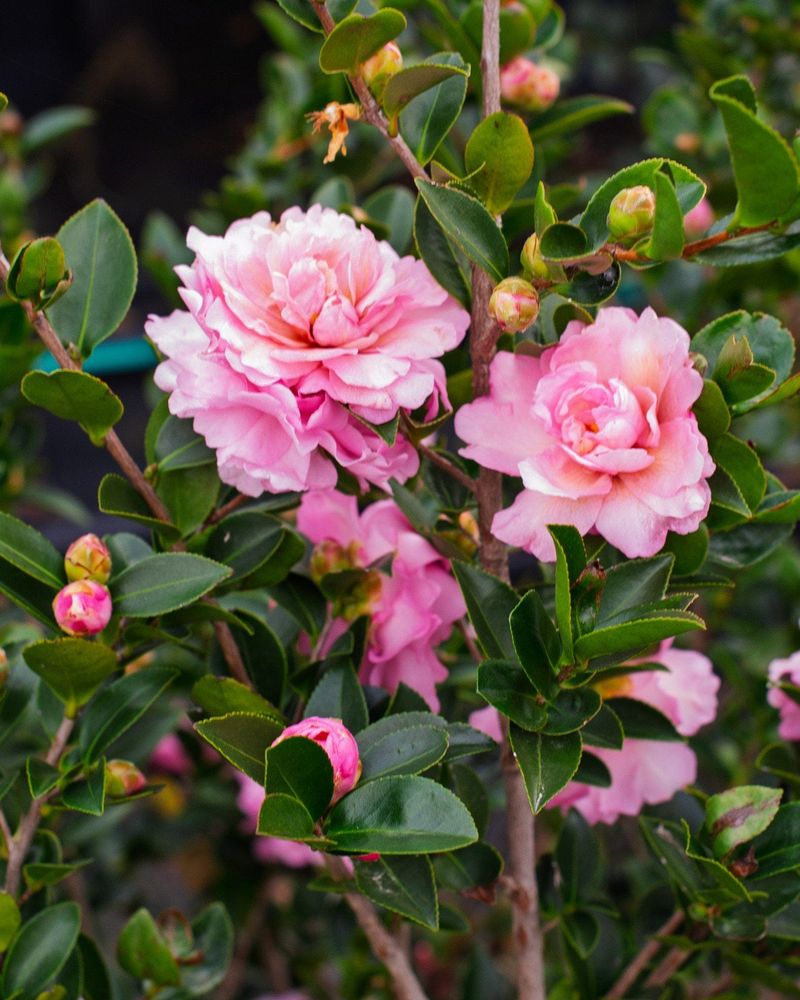
Sasanqua camellias often open in fall, while Japanese camellias carry the color from winter into early spring. Few shrubs stretch the season that far.
Your Thanksgiving mulch job helps both kinds. Steady soil moisture means more buds stay attached and open fully instead of browning or dropping.
Regional differences are worth keeping in mind. North Georgia mountains get colder, earlier freezes, so mulching sooner, like early November, makes sense there.
Gardeners near the coast have more wiggle room but still face dry autumn spells.
When a severe cold night is forecast, open blooms may brown no matter what. Lightly draping a frost cloth or old sheet over smaller shrubs overnight can help protect flowers.
Remove it once temperatures climb the next morning.
Next steps are simple. Check mulch depth again in late winter and top up if it has thinned.
Rake up fallen flowers to reduce petal blight, a fungal issue that browns blossoms.
I find it hard to beat stepping outside on a gray January morning and seeing pink petals against glossy leaves. That small fall chore makes moments like that far more likely, year after year.