9 Habits of Virginia Gardeners Who Know How to Work With Clay Soil
The orange stain on your gardening gloves comes from iron oxide, basically rust coating tiny particles of Piedmont soil. Geologists say much of Virginia’s famous red clay formed as ancient rock weathered slowly over millions of years.
Clay particles are smaller than two thousandths of a millimeter, far tinier than grains of silt or sand. That tiny size explains why clay holds water and nutrients so tightly, for better and for worse.
Truth be told, I cursed my own backyard for years before learning to stop fighting every heavy shovelful. Maybe you have bent a fork in sticky subsoil or watched summer cracks swallow a trowel whole.
The gardeners across Virginia who succeed with clay share a handful of quiet, practical habits that are worth borrowing. So which simple changes turn that brick-hard ground into a bed your plants will actually love?
1. Test Your Soil Before Adding Anything
Guessing what your clay needs is like buying shoes without knowing your size, a lesson I paid for. Years ago I spread lime every fall, only to discover my beds already sat at a comfortable pH.
Virginia Cooperative Extension offers routine soil testing through the Virginia Tech Soil Testing Lab for a modest fee. You can pick up sample boxes and forms at most local Extension offices or print the forms online.
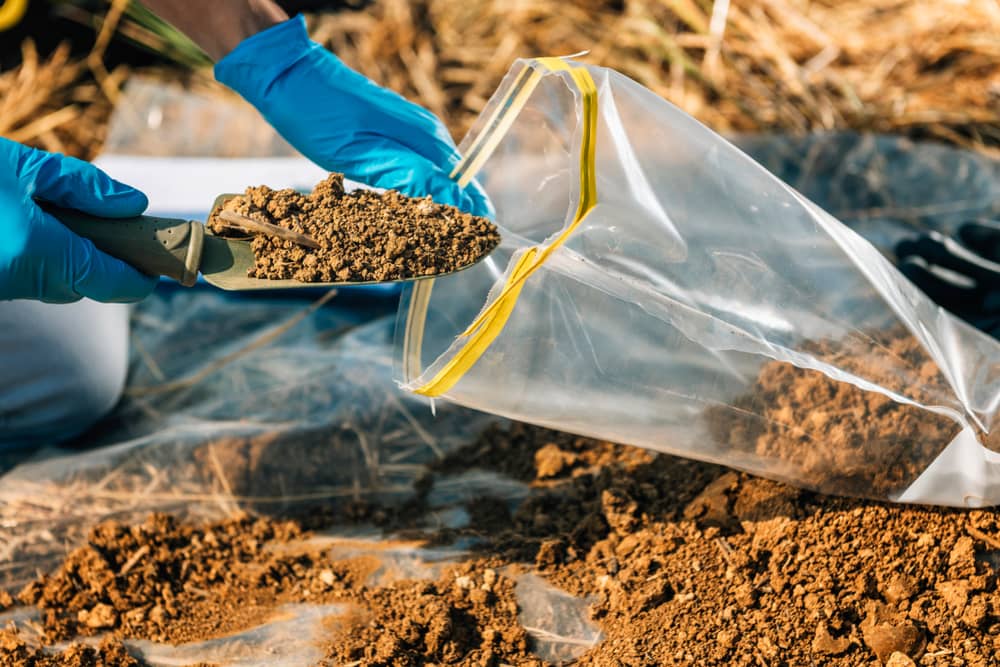
Grab a clean trowel and a plastic bucket, then collect small slices from about ten spots in one bed. Dig roughly six inches deep for vegetable beds, then mix the slices before filling the sample box.
Your report shows pH along with levels of phosphorus, potassium, calcium, and magnesium in plain numbers. Better yet, it includes fertilizer and lime suggestions based on the crop or plant group you list.
Many Piedmont clays lean acidic, so lime often shows up on the recommendation, but not in every yard. Adding lime without a test can push pH too high, which locks up nutrients like iron and manganese.
Fall is a smart window for sampling because labs are less busy and lime has months to react. Retesting every two or three years usually works well for established beds that are not changing much.
Funny thing is, my test results saved more money than any fancy amendment I have ever bought. Keep each report in a folder so you can watch your soil improve slowly over the seasons.
2. Shovel In Compost And Shredded Leaves
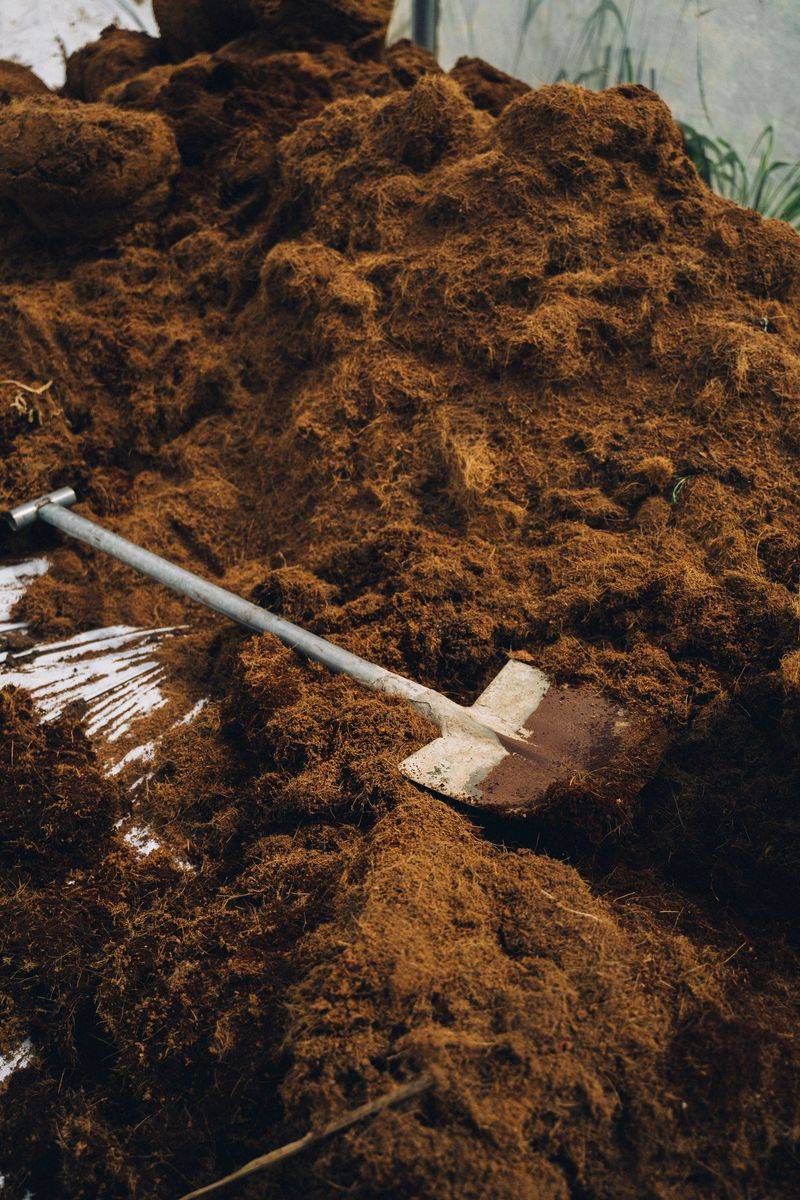
Compost works on clay like a crowbar, prying apart those sticky particles so air and water can finally move. The first spring after I added a thick layer, my spade slid in instead of bouncing back.
Organic matter helps clay particles clump into larger crumbs, which gardeners call aggregates, creating spaces between them. Those gaps let roots breathe and allow heavy rain to drain instead of sitting in puddles for days.
Extension experts usually suggest spreading two to three inches of compost and mixing it into the top six inches. For brand new beds, that single step does more than almost anything else you can try.
Shredded fall leaves are free and plentiful, so I rake mine into a pile and run the mower over them. Well-aged manure and leaf mold also work nicely, though fresh manure can burn tender plant roots.
Skip the bag of sand, even if a friend swears by it for loosening heavy ground. Mixing small amounts of sand into clay can create a dense material that behaves a lot like concrete.
Improvement happens gradually, so plan on adding organic matter every year rather than expecting one big fix. Earthworms will show up to help, pulling bits of compost deeper and leaving tunnels behind them.
If you ask me, the smell of rich compost mixed into red clay is pure springtime happiness. Your plants will notice the difference long before you see big changes in the soil color.
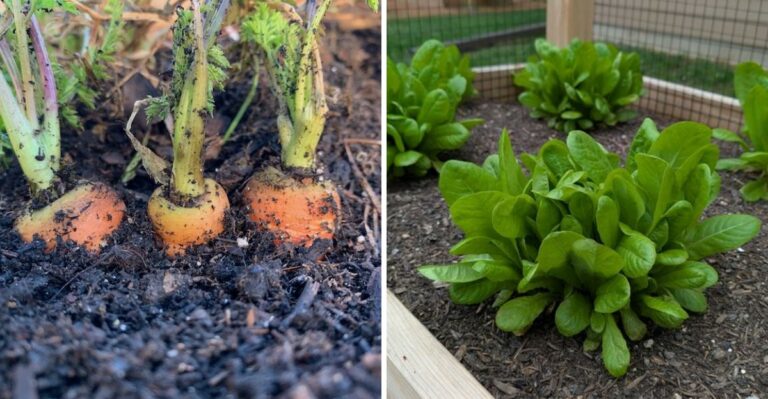
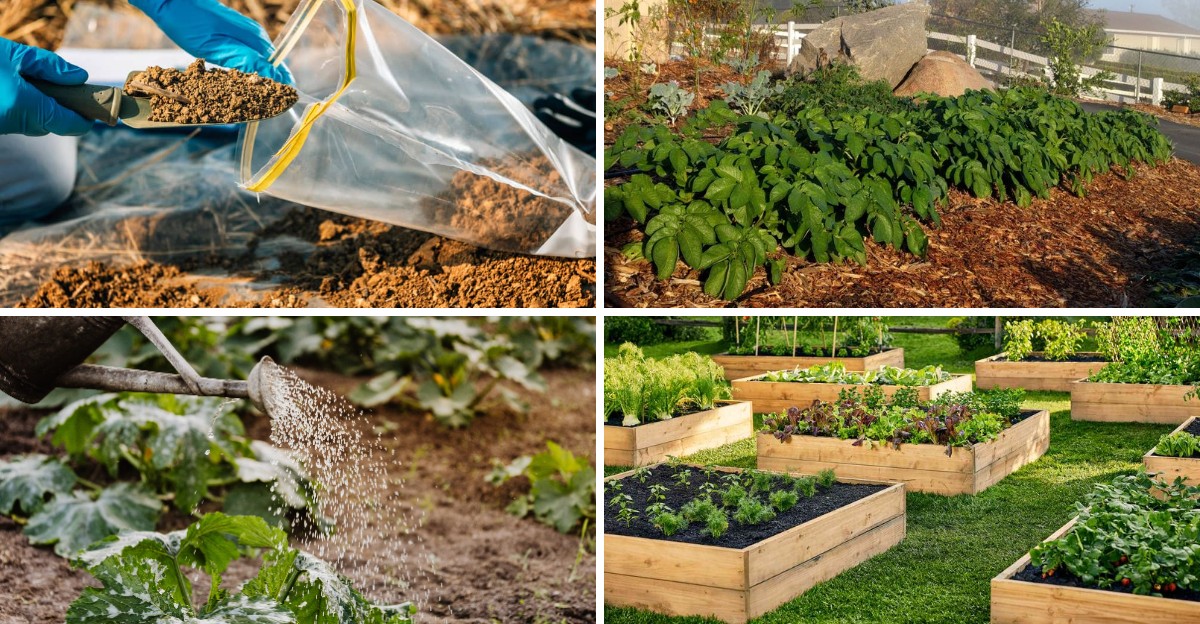
3. Build Raised Beds Above Heavy Red Clay
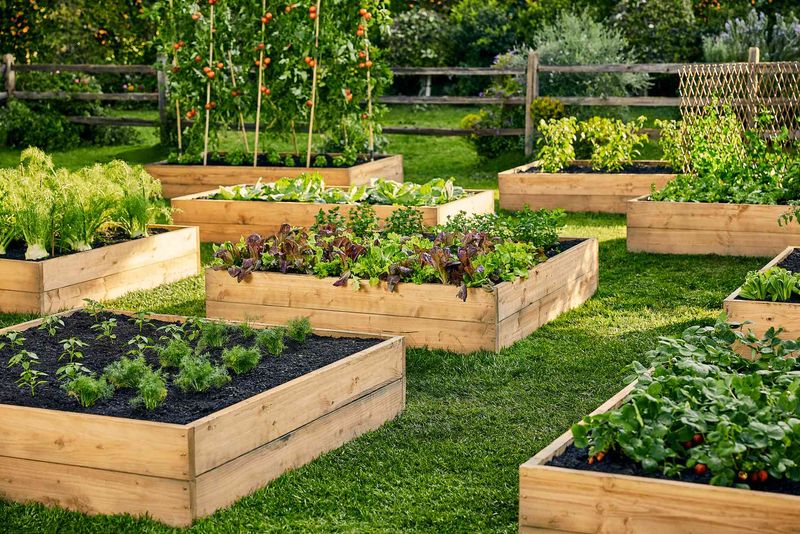
Lifting your garden even eight inches off the ground can feel like moving plants from a swamp to a hilltop. My tomatoes sulked in soggy clay until I built two simple cedar boxes along the sunny fence.
Raised beds drain faster because water moves through loose soil mix before reaching the heavier ground below. They also warm up earlier in spring, giving cool-season crops like lettuce and peas a quicker start.
Before filling a bed, loosen the clay underneath with a garden fork so roots can eventually travel downward. Skipping that step can create a layer where water collects, a problem gardeners call a perched water table.
Fill beds with a blend of quality topsoil and compost rather than straight bagged potting mix. Many Extension guides suggest beds roughly ten to twelve inches deep for most vegetables and flowers.
Berms offer a softer option, using gentle mounds of improved soil to raise shrubs above wet spots. Curving berms look natural in front yards and give perennials better drainage without any wood framing.
Keep beds narrow enough to reach the middle from either side, usually about four feet across. That way you avoid stepping inside, which keeps the fluffy soil from packing down over time.
Truth be told, my back loves these raised beds almost as much as my vegetables do. Start with one bed this year and see how your plants respond before building a whole row.
4. Plant Trees And Shrubs A Little High
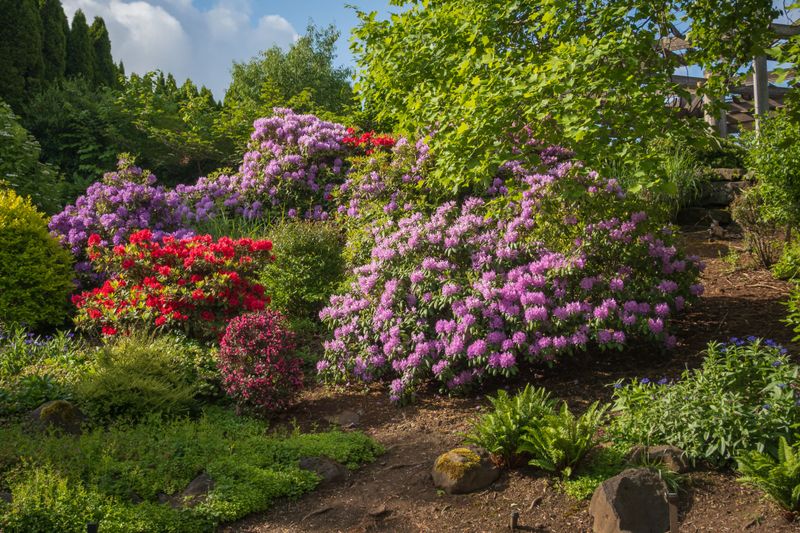
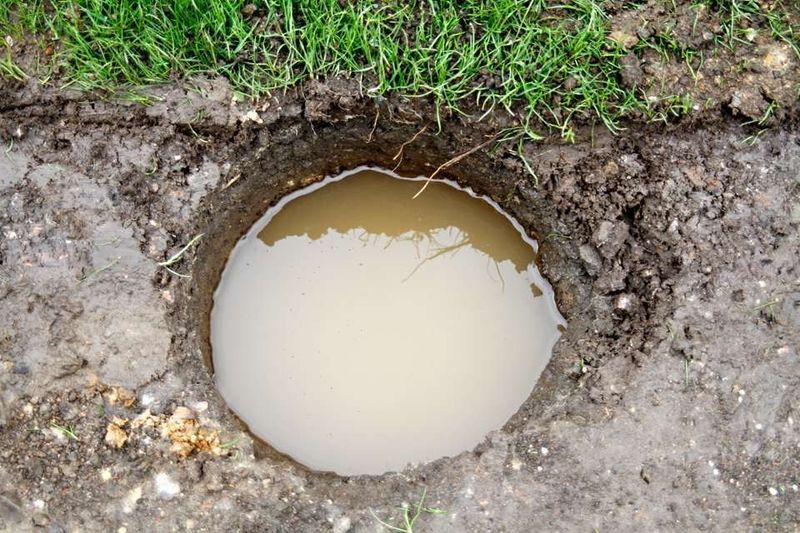
Digging a deep, perfect hole in clay can accidentally build a bathtub that drowns your new shrub’s roots. Water fills the loose hole faster than it can seep into the dense walls around it.
Savvy gardeners set the top of the root ball an inch or two above the surrounding soil line. Extension horticulturists recommend this trick for heavy, poorly drained clay where trees and shrubs often struggle.
Dig the hole two to three times wider than the root ball but no deeper than its height. Wide holes let roots spread sideways into loosened soil, which matters more than depth for most plants.
Roughen the sides of the hole with your shovel so they do not form a slick, glazed wall. That glazing happens easily in damp clay and can trap roots circling inside the planting hole.
Backfill mostly with the native soil you removed rather than filling the hole with rich bagged mix. Roots that find a cozy pocket of fluffy soil sometimes refuse to venture out into the clay.
Slope the backfill gently away from the trunk so rain runs off instead of pooling near the crown. Keep the root flare, where the trunk widens at its base, visible above the soil and mulch.
My garden taught me this lesson with a redbud that sulked for two summers before I replanted it higher. Once lifted, it leafed out happily the next spring and started blooming like it meant business.
5. Stay Off Soggy Clay After Spring Rain
Stepping into wet clay after a spring storm feels like walking through cookie dough, and your soil hates it. Every footprint squeezes out the tiny air pockets that roots need, leaving behind dense patches that harden later.
Try the squeeze test before you dig by grabbing a handful of soil and pressing it into a ball. If it crumbles when you poke it, work away, but if it smears like putty, wait a few days.
Tilling wet clay creates hard clods that bake into stubborn lumps once the summer heat finally arrives. Those clods can take a season or longer to break down, even with plenty of compost.
Permanent paths help a lot, so I lay wood chips between my beds and stick to them. Stepping stones work nicely in flower borders where you need occasional access for weeding or trimming.
Compaction limits how far roots can travel and slows the movement of water through the soil. Plants growing in squashed clay often look stunted, even when they get plenty of fertilizer and sunshine.
Heavy equipment like riding mowers and wheelbarrows can cause trouble too, especially on soggy lawns after rain. Wait until the ground firms up, or lay down plywood boards to spread the weight over more space.
Funny thing is, a little patience might be the cheapest soil improvement tool in any gardener’s shed. A few dry, sunny days can protect the soil structure you worked so hard to build.
6. Spread Wood Chip Mulch Around Thirsty Plants
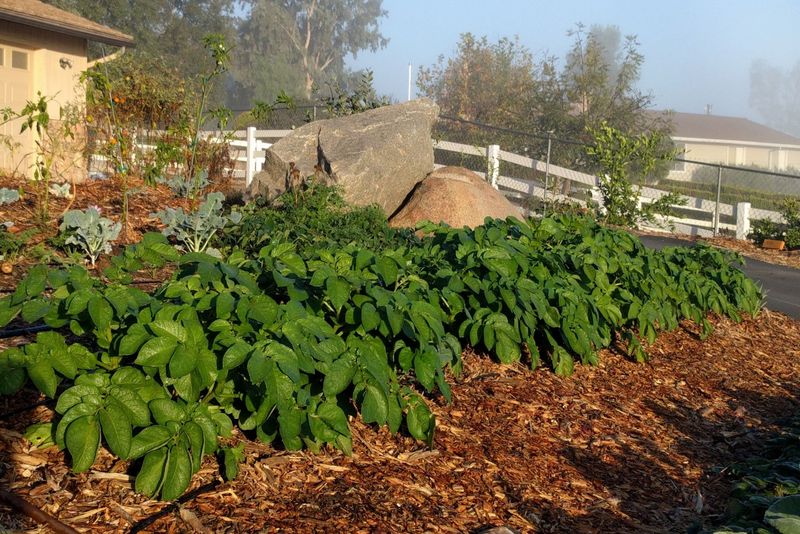
Bare clay in July can crack open like a dry riverbed, with gaps wide enough to lose a pencil. A blanket of mulch keeps that surface cooler and moister, so those cracks rarely get so dramatic.
Shredded hardwood, pine needles, and wood chips all make fine choices for most clay garden beds. As they break down, they feed soil life and slowly add organic matter from the top down.
Aim for a layer about two to three inches deep, which is enough to block most weed seeds. Piling mulch deeper can keep clay too wet and reduce the oxygen reaching roots below the surface.
Pull mulch a few inches away from tree trunks and shrub stems to prevent rot and pest problems. Those tall mulch volcanoes you see around parking lot trees invite trouble, so please resist the urge.
Some localities and tree care companies offer free wood chips, which saves money for bigger garden projects. Use fresh chips on top of the soil rather than mixing them directly into your vegetable beds.
Mulch also softens the blow of heavy summer thunderstorms, so raindrops do not seal the clay surface. That surface crusting can make water run off instead of soaking down to the thirsty roots below.
In my own yard, I refresh mulch each spring and watch earthworms tunnel happily beneath it. Your beds will look tidier too, which is a pretty nice bonus for such an easy chore.
7. Choose Black-Eyed Susans And Other Clay Lovers
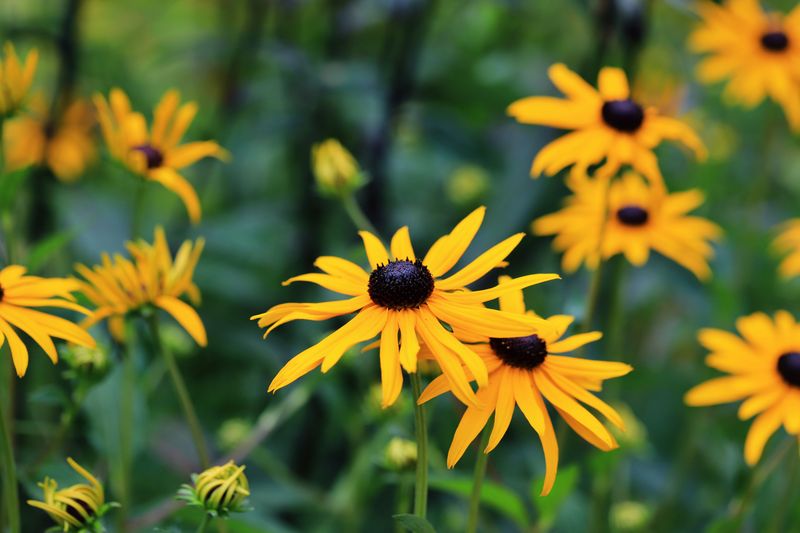
Some plants laugh at heavy clay, and black-eyed Susans might be the cheeriest of the whole tough crowd. Their golden petals glow along roadsides across Virginia every summer, often in soil that would frustrate fussier flowers.
Rudbeckia hirta and its cousin Rudbeckia fulgida are native to the eastern United States and handle clay well. Purple coneflower, Echinacea purpurea, also grows happily in heavier soil as long as water does not sit for long.
For damp spots, swamp milkweed and blue flag iris tolerate wet clay that sends many perennials into decline. Monarch caterpillars feed on milkweed leaves, so you get butterfly visitors as a sweet summer bonus.
Shrubs like oakleaf hydrangea and winterberry holly also handle clay well in many Piedmont landscapes. Winterberry produces bright red berries that birds enjoy during the colder months of the year.
Native plants evolved with regional soils, so they often need less fertilizer and less fuss once established. That frees up your weekends for sipping lemonade instead of hauling bags of amendments around the yard.
Steer clear of invasive options like Japanese barberry or burning bush, even if they tolerate clay. The Plant NOVA Natives campaign and similar regional groups offer helpful lists of native alternatives.
If you ask me, choosing the right plant beats wrestling the wrong one every single time. Start with a few proven clay lovers, and your garden will feel easier almost right away.
8. Water Clay Beds Deeply But Less Often
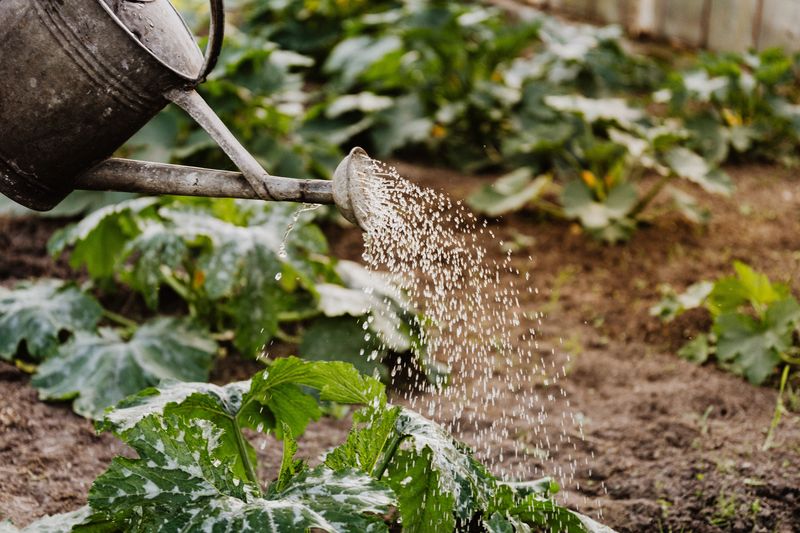
Clay holds water like a sponge that refuses to let go, which surprises many gardeners in their first summer. I once watered my hostas daily and watched their leaves yellow from soggy roots, not drought.
Because clay drains slowly, overwatering often causes more trouble than underwatering does in these heavy garden soils. Roots sitting in saturated soil run short on oxygen, and fungal root rot can follow soon after.
Before grabbing the hose, push a finger about two inches into the soil near your plants. If it still feels cool and damp, skip watering for now and check again the following day.
Most established gardens need about one inch of water per week, counting rainfall from summer storms. A simple rain gauge stuck in a bed helps you track that total without any guesswork.
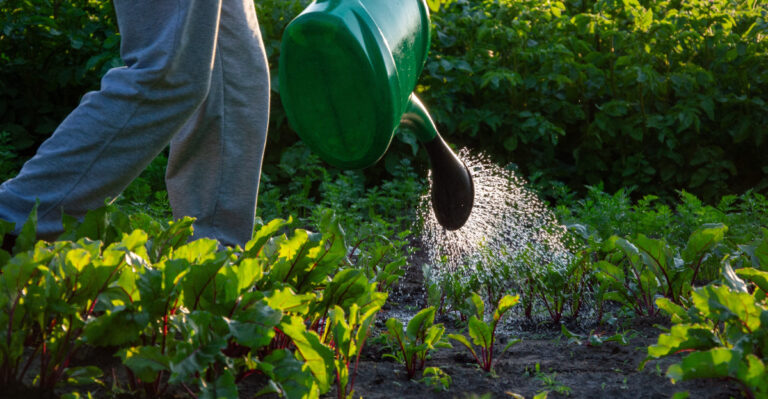
Water slowly, because clay absorbs moisture gradually and fast streams tend to run off the surface. Soaker hoses and drip lines deliver water gently, letting it soak deep instead of puddling on top.
Morning watering gives leaves time to dry, which lowers the chances of fungal diseases on foliage. Deep, less frequent watering also encourages roots to grow downward, making plants sturdier during dry spells.
My garden taught me that a wilted plant at noon is often just hot rather than thirsty. Check again in the cool evening, and you may find it perked up with no help at all.
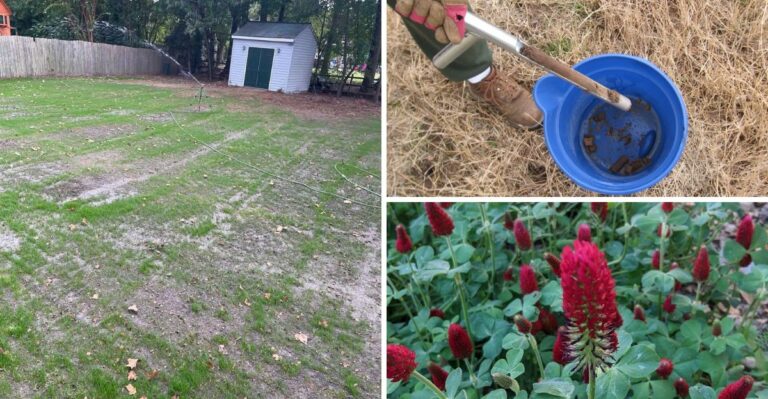
9. Grow Crimson Clover And Daikon Radish Cover Crops
Daikon radishes can push roots more than a foot deep, drilling through clay like nature’s own power tool. Farmers sometimes call them tillage radishes because the channels they leave behind help water and roots move downward.
Planted in late summer, daikon grows quickly and then declines over winter in colder parts of the state. The rotting roots leave open holes that let air and rain slip deeper into the heavy soil.
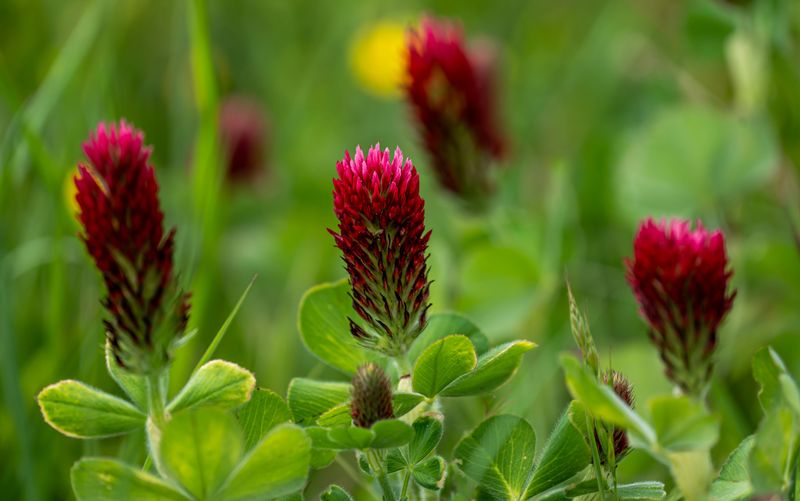
Crimson clover, Trifolium incarnatum, is another favorite, with bright red blooms that bees adore each spring. As a legume, it partners with soil bacteria to capture nitrogen from the air for future crops.
Sow cover crops in early fall after harvesting summer vegetables, giving them time to establish before frost. Cut or mow them in spring a few weeks before planting, then let the residue break down.
A broadfork makes a great partner tool, loosening clay without flipping the soil layers upside down. You step onto the crossbar and then rock the long handles back to crack compacted ground gently.
Use the broadfork only when soil is moist but not sticky, just like any other clay chore. Gentle loosening protects the fungal networks and earthworm tunnels that heavy tilling can easily disrupt over time.
What surprised me most was how springy my cover-cropped beds felt underfoot by the second spring. Give it a try this fall, and your clay may thank you with softer, richer soil.