How Deep To Plant Garlic Cloves (And Which Way Up)
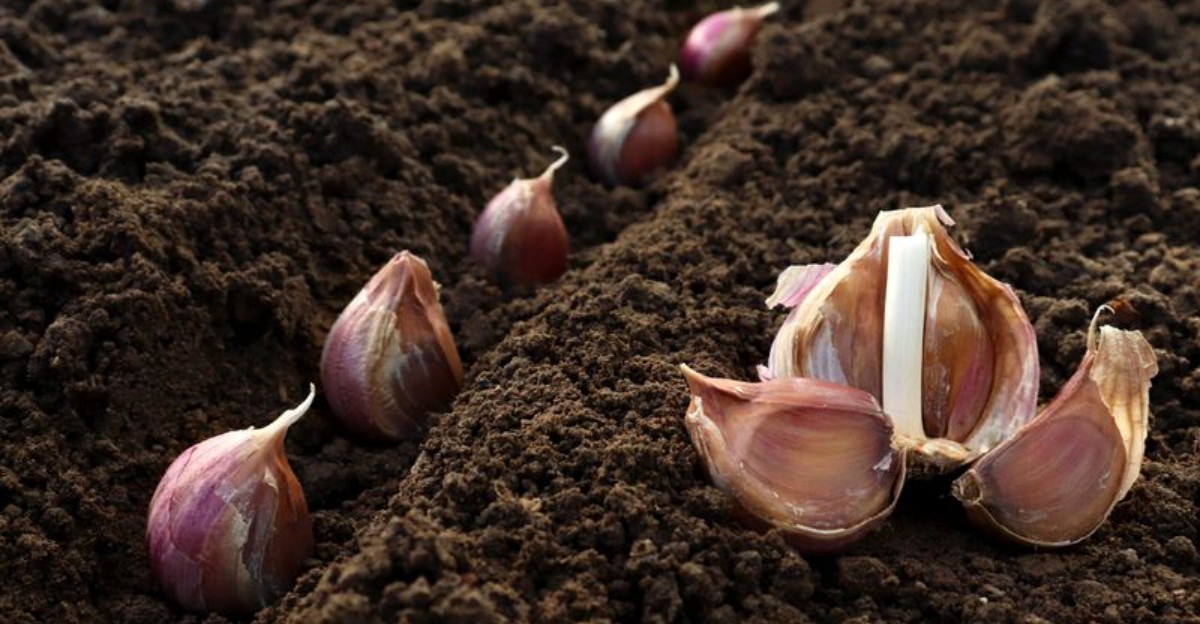
One small piece tucked into cool autumn soil can return as a full, plump bulb next summer. All of that growth happens out of sight while the bed above sits quiet for months.
That little piece has a clear top and bottom, and the plant responds to which way it sits. Depth matters just as much, because a hole that is too shallow or too deep can shrink next year’s harvest.
A few small choices made now can shape the size of every bulb you pull up later. Most of them take seconds, yet they are easy to miss in a hurry.
Winter chill is part of the recipe here, not an obstacle to plan around. The cold does most of the work, and the gardener gets all the credit.
Two Inches Is The Magic Number
Many university extension services recommend setting garlic cloves about two inches deep. In practice, that leaves around two inches of soil sitting over the pointed tip once the hole is filled back in.
A garden trowel or a small ruler pressed into the dirt makes measuring quick and simple. Some gardeners mark the two-inch point on the trowel blade so every hole ends up at the same depth.
Planting too shallow leaves cloves exposed to frost heaving, when repeated freezing and thawing pushes them up toward the surface. Planting too deep can delay spring sprouts and may lead to smaller bulbs at harvest time.
Soil type can shift the ideal depth slightly in either direction. Light sandy soil drains and dries out quickly, so many growers plant a bit deeper there, closer to three inches down.
Heavy clay soil holds water and stays cold for longer. Cloves in clay usually do better at the shallower end, around two inches, where the soil warms up sooner in spring.
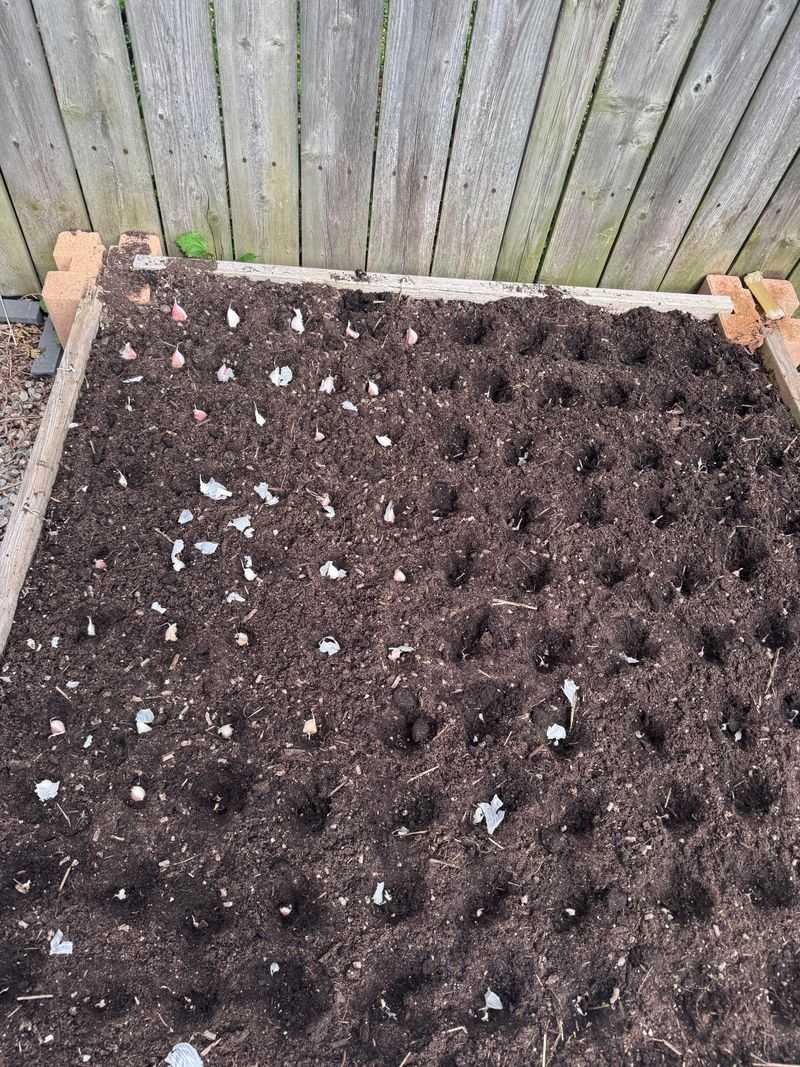
Spacing deserves the same attention as planting depth. Most growers leave about four to six inches between cloves and 12 to 18 inches between rows, which gives each bulb enough room to swell.
Wider spacing also improves airflow, which helps the leaves dry faster after spring rain. A little measuring in October saves a lot of guesswork later and keeps the garden bed looking tidy through winter.
Point That Tip Toward The Sky
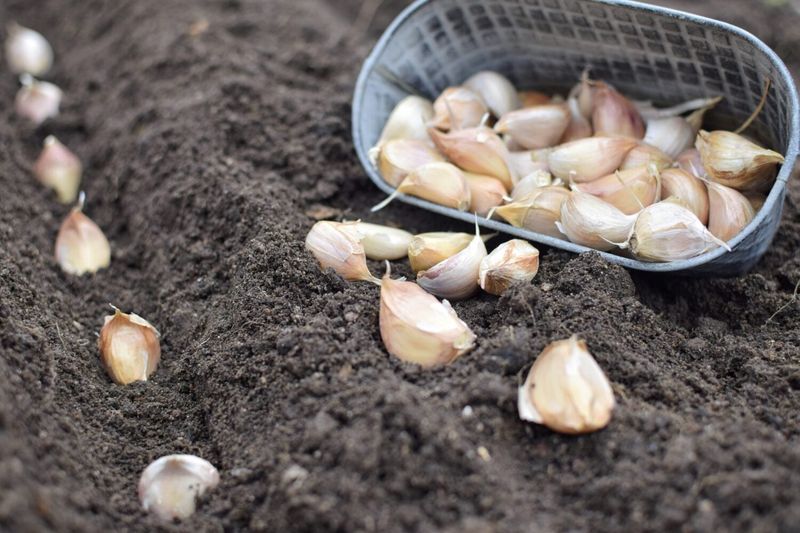
A garlic clove has a clear top and bottom, and the plant responds to the difference. The narrow pointed end is where the green shoot emerges, so it should face straight upward in the planting hole.
The wider, flat end is the base, and that is where the roots grow. A closer look often shows a small rough patch there, known to growers as the basal plate or root plate.
Cloves planted upside down can still sprout, but the shoot has to curve all the way around to reach the surface. That extra effort often leads to slower growth and a weaker plant when spring arrives.
Pressing each clove gently into the hole works better than simply dropping it in from above. A light push keeps the tip pointing up and the base in firm contact with the soil below.
Leave the papery skin on each clove whenever possible. That thin wrapper helps protect the clove from disease and drying out while it sits in cool, damp ground all winter.
Separate the bulb into individual cloves no more than a day or two before planting. Keep each clove whole and undamaged, since nicked or bruised cloves are more likely to rot in the soil.
The largest cloves from each bulb make the best planting stock for next year. Big cloves tend to produce big bulbs, so the smaller ones can head straight to the kitchen for cooking instead.
Fall Timing Gives Roots A Head Start
October is a sweet spot for planting garlic in many parts of the country. Cool soil encourages steady root growth while the leafy tops stay mostly quiet above ground.
Many extension services suggest planting a few weeks before the ground freezes hard, often four to six weeks ahead of that point. This window lets roots form and anchor the cloves without pushing out too much green growth.
Gardeners in warmer southern areas can often plant later in the season, into November or even early December. Colder northern regions usually need to finish sooner, sometimes by late September or the first days of October.
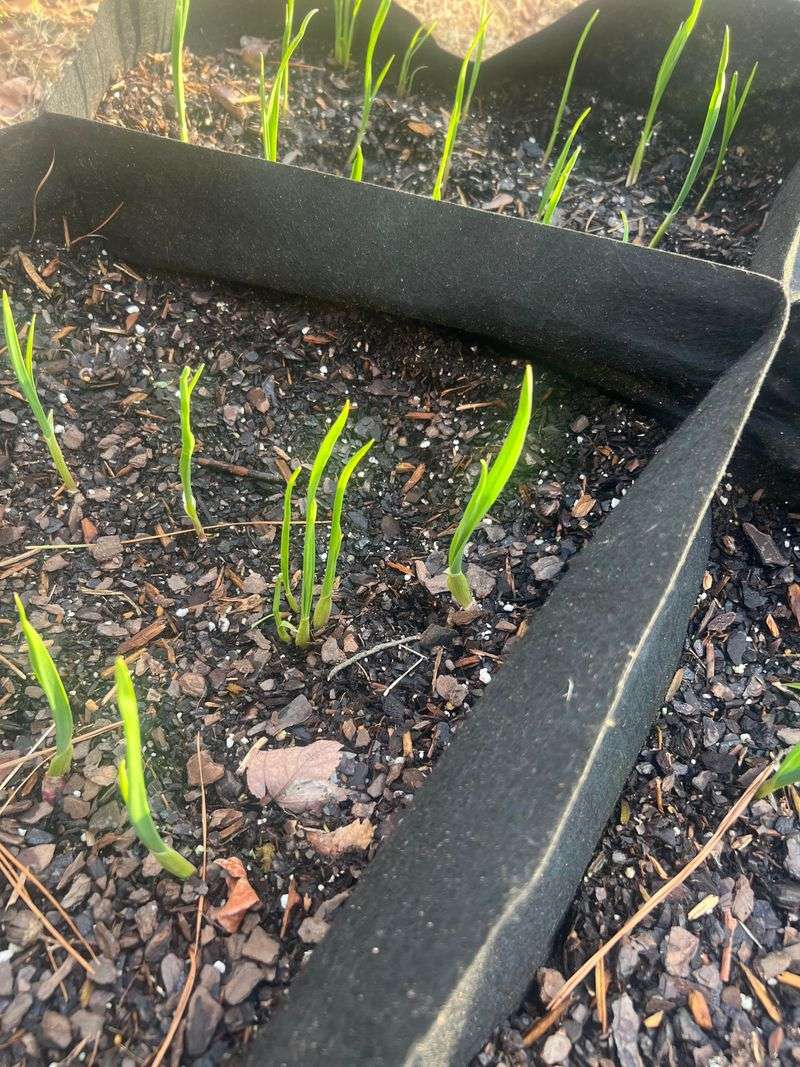
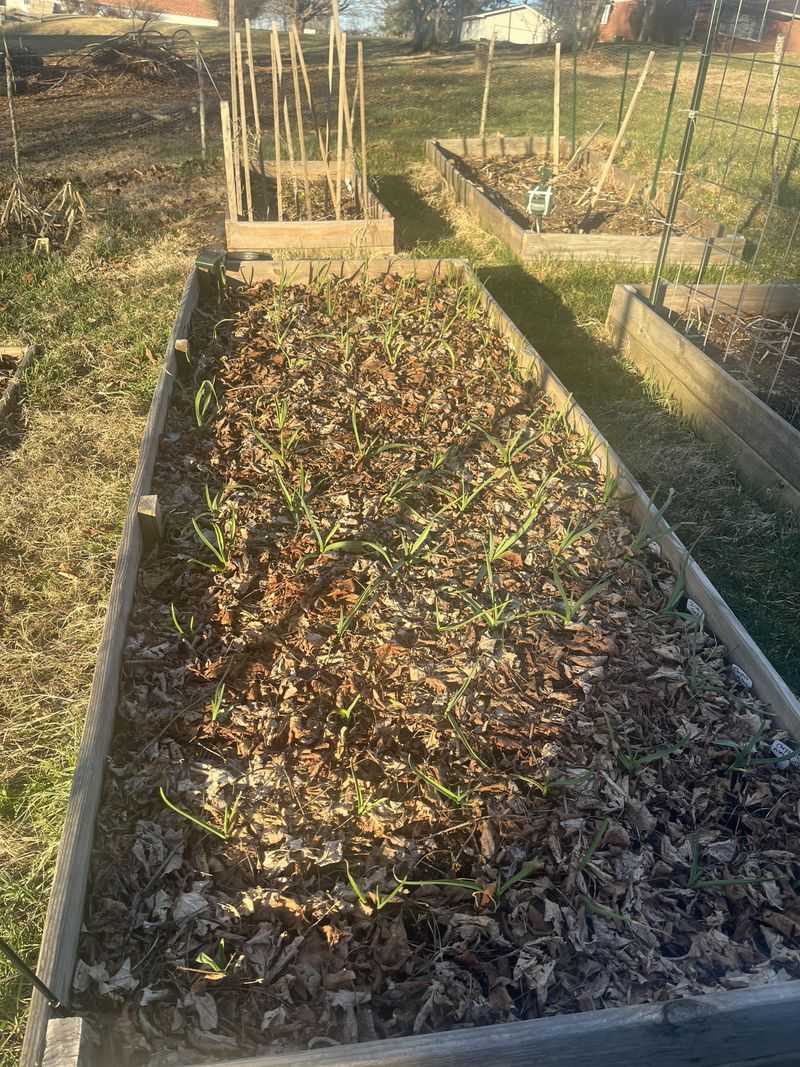
Shoots that appear above ground before winter are not a cause for alarm. A layer of mulch helps shield the young leaves, and most plants handle the cold well and resume growth in spring.
Garlic also needs a stretch of cold weather to form proper bulbs with separate cloves. Fall planting provides this chilling period naturally, since the cloves rest in the soil through the colder months.
Check local frost dates before getting started on the bed this fall. A county extension office can share the average first freeze date for your area and suggest the best planting window.
Warm autumn days can make waiting tempting, but local frost dates are a more reliable guide than one warm week. Plant on a mild afternoon, water the bed lightly, and let winter take care of the rest.
Common Slip-Ups Worth Dodging
Even experienced gardeners make small mistakes with garlic from time to time. Planting grocery store bulbs is a frequent one, since some are treated to extend shelf life or come from varieties suited to warmer climates.
Seed garlic from a nursery, garden center, or local farm is usually a better choice for home beds. It is grown specifically for planting, and local sources tend to carry varieties suited to the region’s winters.
Soggy soil is another common trouble spot for fall-planted garlic. Cloves can rot in wet, heavy ground over winter, so raised beds or naturally well-drained spots give them a much better start.
Skipping soil preparation can also hold back results the following summer. Loosen the bed about eight inches deep and mix in a few inches of compost, since garlic grows best in rich, well-drained soil.
Planting where onions, leeks, or other alliums grew recently is another slip worth avoiding. A rotation break of about two years helps reduce disease and pest problems that can linger in the soil.
Crowding cloves together can lead to small bulbs, because the plants compete for water, sunlight, and nutrients. Giving each clove its own space pays off with fuller, firmer heads at harvest.
Forgetting to label rows makes it hard to tell varieties apart by the following summer. A simple wooden stake with a pencil mark does the job and takes only a minute to set up.
A Blanket Of Mulch Works Wonders
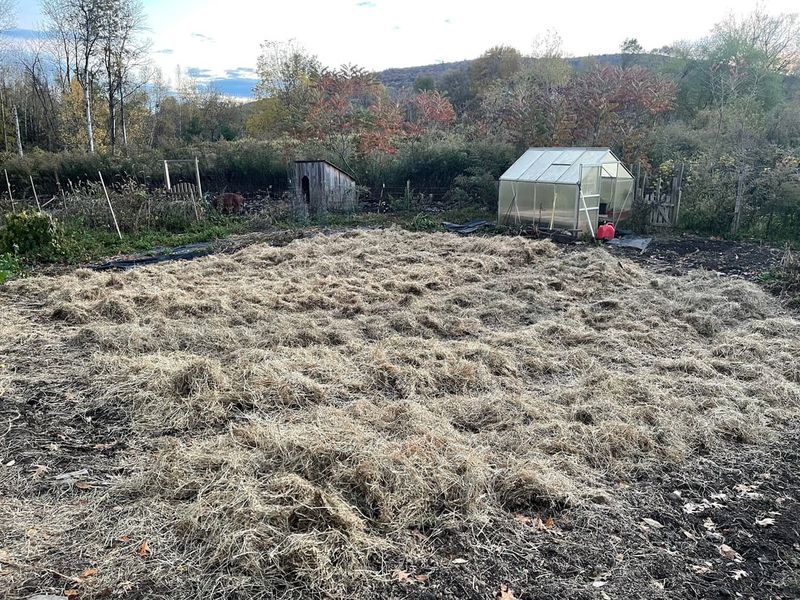
After the cloves are planted, a layer of mulch gives the whole bed a protective winter cover. Straw, shredded leaves, and similar loose materials all work well for this job.
Extension guides commonly recommend about three to six inches of loose mulch, with deeper layers in colder regions. That cover steadies soil temperature and cuts down on frost heaving.
Mulch also holds moisture in the soil and keeps most weeds in check. Fewer weeds mean less competition for the young roots during their first weeks of growth in the bed.
Choose clean, seed-free material to keep new weeds out of the bed. Straw is usually a safer pick than hay, which often carries seeds that sprout in spring.
Shredded leaves work best when they are chopped first, since whole leaves can mat down into a soggy layer. Running them over with a mower is a quick way to break them up before spreading.
Water the bed well after planting so the soil settles firmly around each clove. After that, autumn rain can handle most of the watering in many areas.
Garlic prefers soil that stays slightly moist but not soggy through the fall. During dry spells, an occasional deep watering helps roots keep growing until the ground freezes.
When shoots push up in spring, rake some of the mulch aside to let the soil warm. Leaving a thinner layer in place can still help with weeds and moisture into summer.
Your Summer Harvest Starts Now
Careful planting in October sets up a satisfying harvest the following summer. Most garlic is ready when several of the lower leaves turn brown, often in late June or July in many areas.
Bulbs from well-planted cloves tend to grow larger and more evenly shaped by midsummer. Proper depth and spacing give the roots enough room to support that steady growth through the whole season.
Hardneck types send up curly flower stalks called scapes in late spring or early summer. Cutting them off directs more energy to the bulb, and the scapes are tasty in stir-fries or pesto.
A light feeding in early spring can also help the plants get going. A small dose of nitrogen fertilizer or compost supports leafy growth while the plants are still young, and bigger leaves usually mean bigger bulbs.
Stop watering about two weeks before harvest so the outer wrappers can firm up. Then lift the bulbs gently with a garden fork rather than pulling them up by the stems, which can tear them loose.
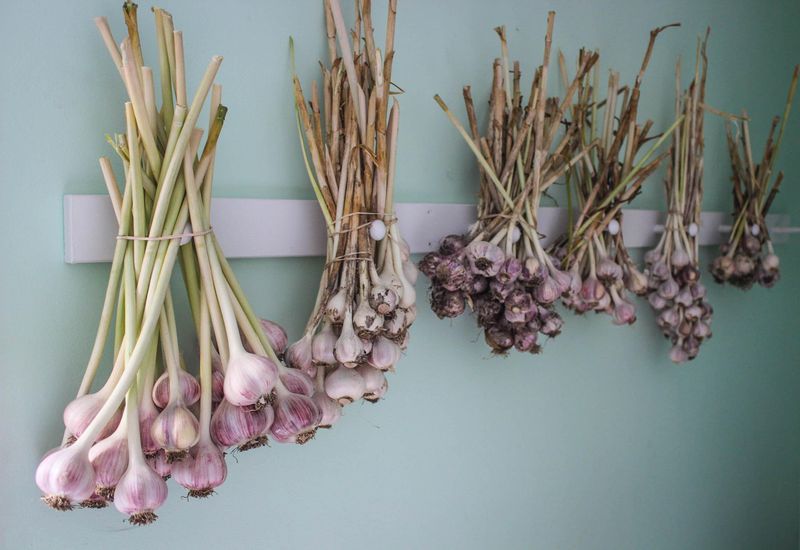
Cure the bulbs in a shaded, airy spot for a few weeks until the skins feel dry and papery. Softneck types usually store longer than hardnecks, which are best enjoyed within several months of harvest.
Save some of the biggest, healthiest bulbs for next fall’s planting. That way the garden keeps a steady supply of homegrown garlic in the kitchen from one season to the next.