What To Do With Hydrangeas In Fall For More Blooms Next Year
Bigleaf hydrangeas often set next year’s flower buds on old stems long before autumn ends, and those buds sit on the stems all winter. That means one wrong snip in October can remove a whole season of color.
University extension services say smooth and panicle types behave very differently from bigleaf types in fall. I believe that single fact explains most of the confusion gardeners feel, because advice that suits one type can hurt another.
Your shrub also gets ready for cold weather by slowing its growth and hardening its stems over several weeks. You need to help that process along instead of rushing it with the wrong chores.
A few simple jobs in these cooler weeks can change how your garden looks when warm days return next year. Which of those jobs will make the biggest difference for your plants?
1. Learn Which Type Lives In Your Yard
Hydrangeas fall into a few main groups, and each group follows its own rules when the days turn cool. Bigleaf and mountain types form flower buds on old stems, while smooth and panicle types bloom on growth made this year.
Oakleaf hydrangeas also set buds on old stems, so they belong in the same careful group as bigleaf types. Reblooming varieties such as Endless Summer can flower on both old and new stems, which makes them more forgiving.
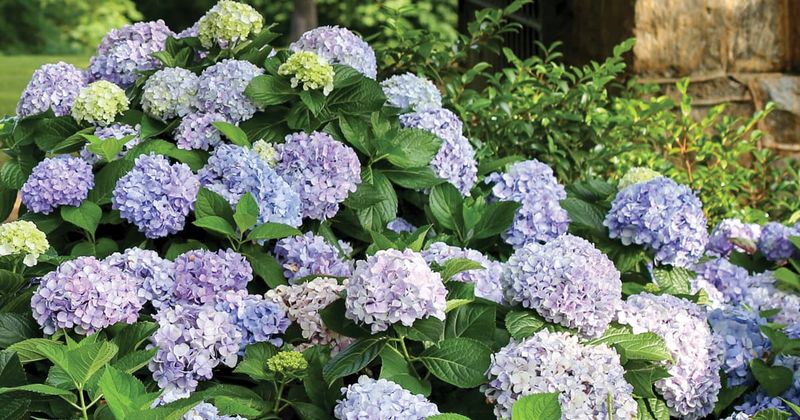
The easiest way to identify your shrub is to look at the leaves and flower shape. Bigleaf types have large, glossy, rounded leaves, panicle types carry cone-shaped blooms, and smooth types produce big round heads that start out white.
If the plant came without a tag, a photo shared with a local nursery can settle the question quickly. County extension offices often help with plant identification too, and the answer is worth getting before any tools come out.
Cold hardiness also differs by type, which matters for the chores later in this list. Panicle and smooth types handle harsh winters well, while bigleaf types can lose buds when temperatures drop sharply in late fall or after a warm spell.
Write the type on a stake or in a phone note so the answer is ready next fall. That small habit protects your pruning decisions for years and keeps every other fall job on this list simple.
2. Hold Back On Those Pruning Shears
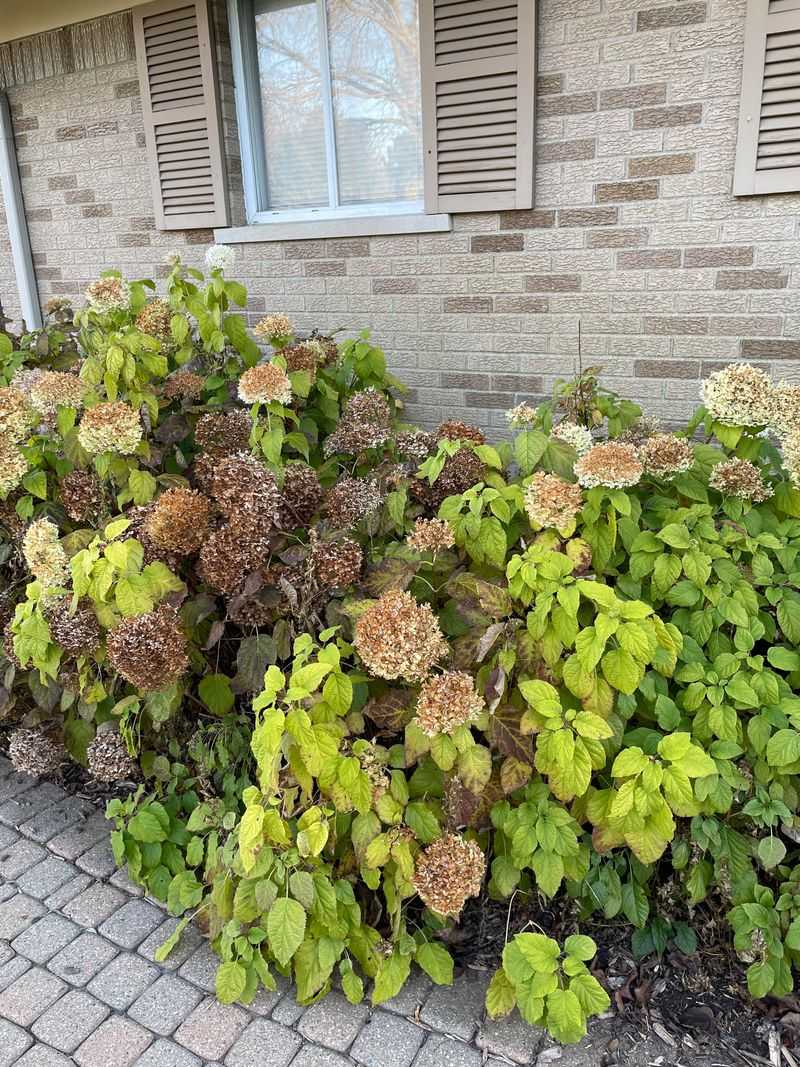
Fall pruning is the most common reason bigleaf hydrangeas skip a season of flowers. The buds for next summer are already formed on last summer’s stems, so cutting them off removes the whole show before it has a chance to start.
For bigleaf, mountain, and oakleaf types, the safest plan is to leave the stems alone until spring. After new leaves appear, trim only the stems that stayed bare, since those are the ones that lost their buds over winter.
Smooth and panicle hydrangeas are more relaxed about timing because they flower on new wood. Even so, late winter or early spring pruning works better than a fall cut, which can encourage tender growth right before freezing weather arrives.
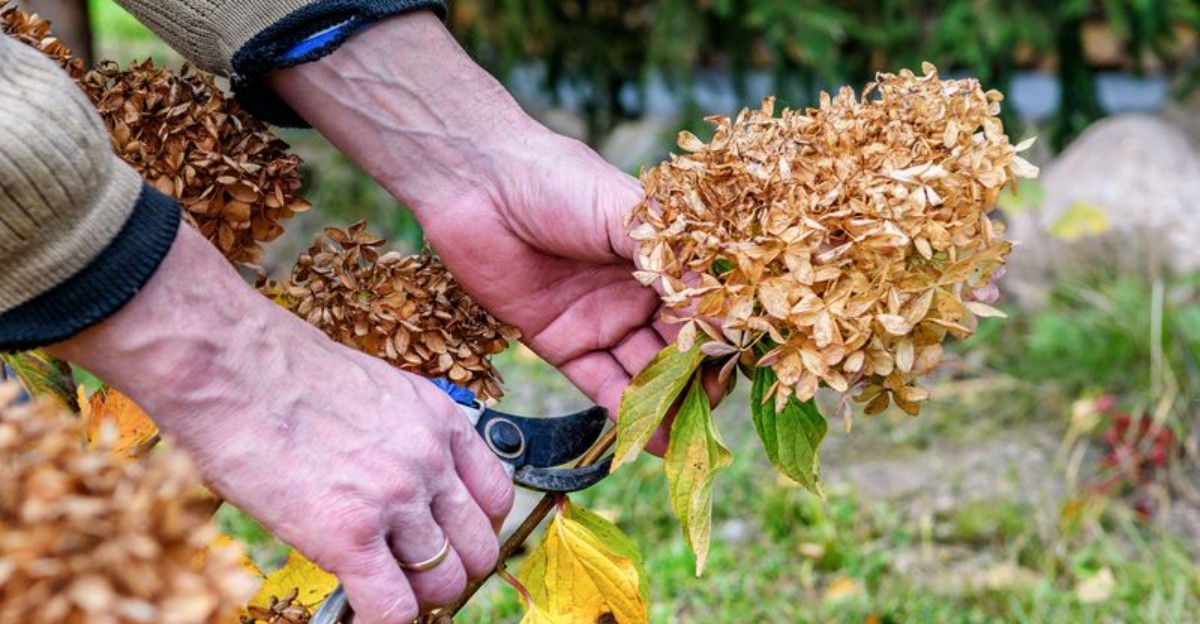
Fall is still a fine time for small, careful jobs around the shrub. You can snip off a few faded flower heads near the top of the stem, but stop above the first set of plump, healthy buds.
Many gardeners leave the dried blooms in place through winter, and that choice has a real benefit. The old flower heads can trap a little leaf litter and snow around the stems, which adds light protection to the buds beneath.
If the shrub looks a bit messy, remind yourself that the mess is doing a job. A patient fall means more flower heads next summer, and that is worth a few untidy stems during the quiet months of winter.
3. Give The Roots A Deep Autumn Drink
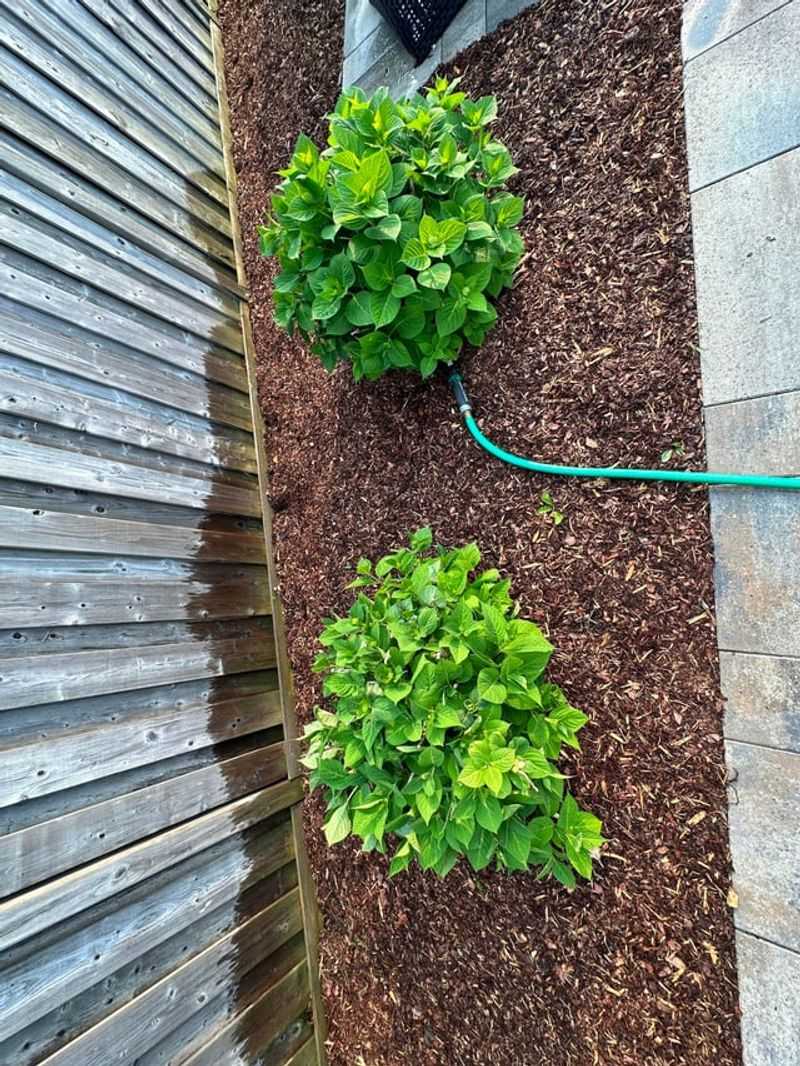
Fall weather can be dry even when the air feels cool, and hydrangea roots stay fairly shallow in the soil. A shrub heading into winter with thirsty roots is more likely to struggle with cold wind and freezing nights.
Water deeply about once a week if rain has been missing, aiming for roughly an inch of water in total. A slow soak with a hose at the base reaches deeper roots than a quick sprinkle across the leaves.
Watering the soil instead of the foliage also helps keep leaf spots in check. Wet leaves in cool, damp weather give fungi a better chance to spread from one plant to the next, especially after long rainy stretches.
Check the soil before you water by pushing a finger a few inches down near the drip line. If it feels moist, skip the hose, because soggy soil stresses roots just as much as dry soil does.
Keep this routine going until the ground freezes solid for the season. Hydrangeas in containers need extra attention, since pots dry out faster than garden beds and offer much less insulation against cold air, wind, and sudden temperature swings.
Plants that enter winter well hydrated tend to come through cold spells in better shape. A few deep drinks now can make a real difference when the flower buds begin to swell next spring and the weather warms.
4. Spread A Cozy Blanket Of Mulch
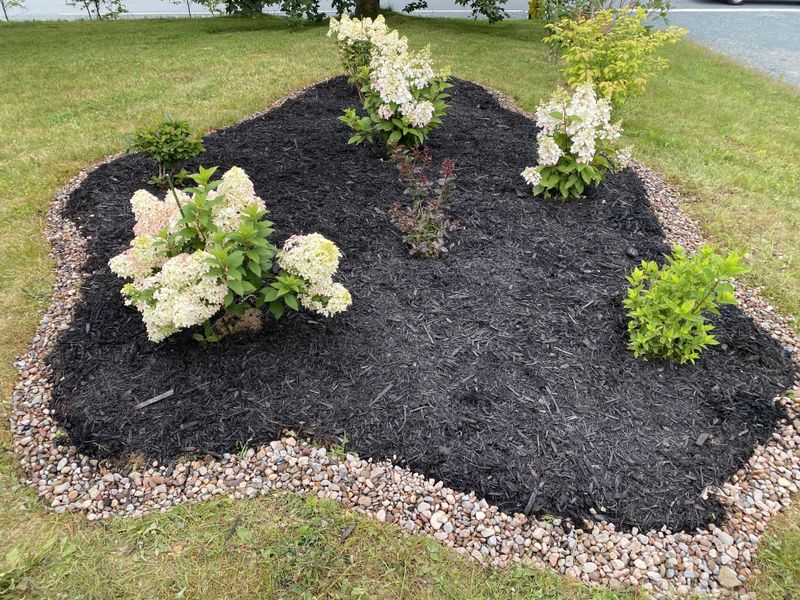
Mulch acts like a blanket that keeps soil temperatures steady while the weather swings between mild days and frosty nights. Steady soil protects the shallow roots that hydrangeas depend on for moisture and nutrients through the colder months.
Wait until the ground has cooled a bit, then spread a layer about two to three inches deep around the shrub. Shredded bark, pine straw, and chopped leaves all work well for this job and cost very little.
Pull the mulch back a few inches from the stems so the base of the plant stays dry. Mulch piled against the stems holds moisture and can invite rot and hungry rodents looking for a cozy winter shelter.
Extend the layer out to the drip line, which is the area under the outer tips of the branches. That wide ring covers most of the active roots and slows the loss of soil moisture during dry, windy spells.
As the mulch breaks down over winter, it feeds the soil with organic matter that improves texture and water-holding ability. Hydrangeas love moisture-rich soil, so this slow improvement pays off when the summer heat arrives next year.
Top up the layer in spring if it has thinned out. A tidy, even ring also makes the bed look finished while the shrub is resting and the rest of the garden is quiet, bare, and waiting for warmer days.
5. Skip The Fertilizer Bag For Now
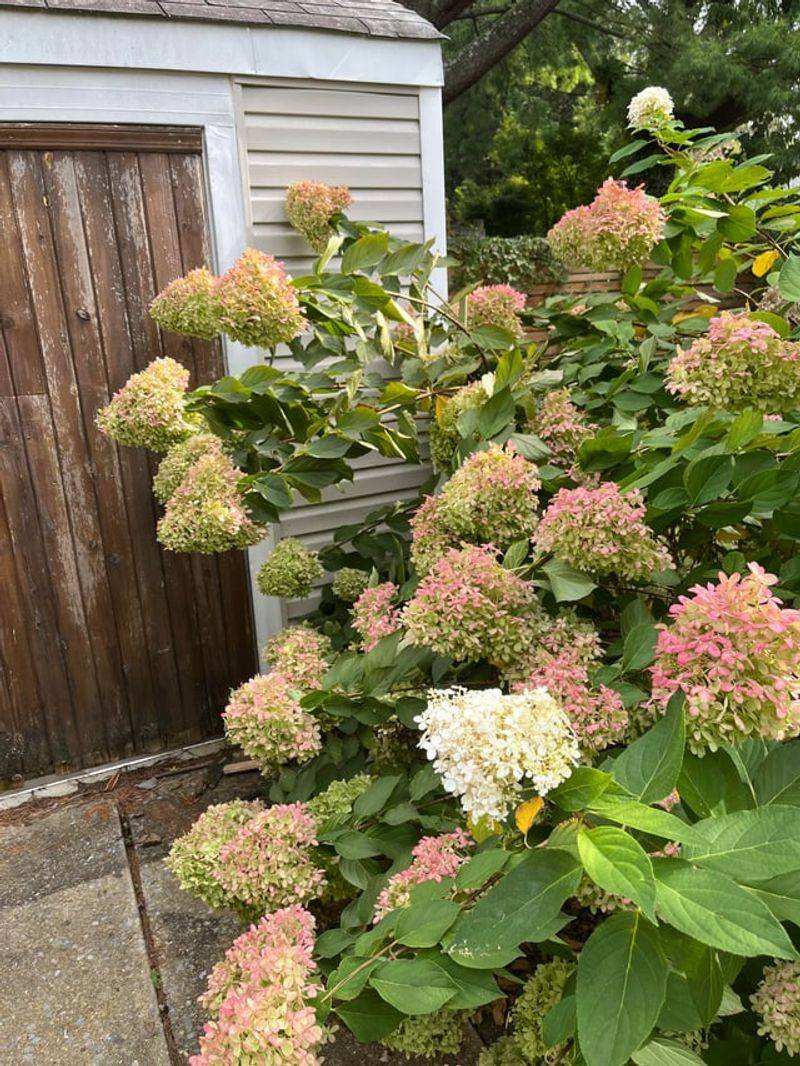
Fertilizer feels like a helpful gift, but fall is the wrong season to give it. Feeding now can push out soft new growth that has very little time to harden before freezing weather arrives in many regions.
Tender shoots are the first parts to suffer in a cold snap. A damaged shoot can also set back the buds that were forming on older stems, which is the opposite of what you want from the plant.
Most hydrangeas do best with feeding in spring, when new growth is ready to use the nutrients. A slow-release fertilizer made for shrubs or flowering plants works well at that point and lasts through much of the growing season.
If a soil test shows a real shortage, spring is still the better time to correct it. A test through your county extension office tells you what the soil lacks, so you can avoid guessing and overspending on products.
Compost is a gentler option if you want to do something for the soil right now. A thin layer under the mulch releases nutrients slowly and is far less likely to trigger a late growth spurt on the shrub.
Keep in mind that plants need a rest too, just like the rest of the garden. Letting the shrub slow down on its own schedule is part of how it builds the strength for next year’s blooms and for a healthy start in spring.
6. Shield Tender Buds From Hard Freezes
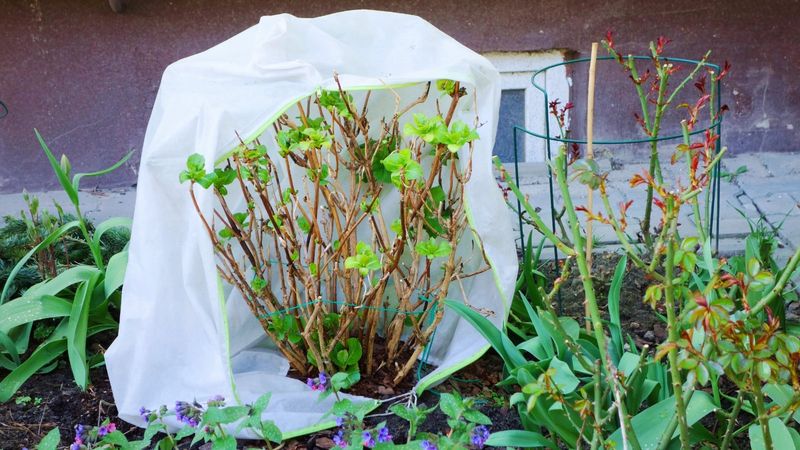
Bigleaf hydrangeas carry next year’s flower buds above ground all winter, so they are the ones most at risk from freezing temperatures. A single hard freeze after a mild spell can damage buds that would have opened in summer.
Protection matters most in colder regions, such as USDA zones 5 and 6, where bigleaf types often lose buds. Gardeners in milder areas may need little more than a good layer of mulch and a watchful eye on the forecast.
Wait until a few frosts have arrived and the leaves have dropped before building any cover. Covering too early can trap warmth and moisture, which invites mold on the stems and weakens the buds you are trying to protect.
A common method is a cage of chicken wire or stakes set around the shrub, loosely filled with dry leaves or straw. The filling insulates the stems while air can still move through the cage and keep things dry.
Burlap wrapped around stakes works well too, and potted hydrangeas can be moved into an unheated garage or against a sheltered wall. Skip plastic wrap, which traps moisture and heat and can harm the buds underneath.
Remove the protection in spring once the worst frosts have passed. Taking it off gradually lets new growth adjust to the changing weather instead of facing a sudden shock from cold nights and bright sun.
7. Tidy Up The Fallen Leaves Around Them
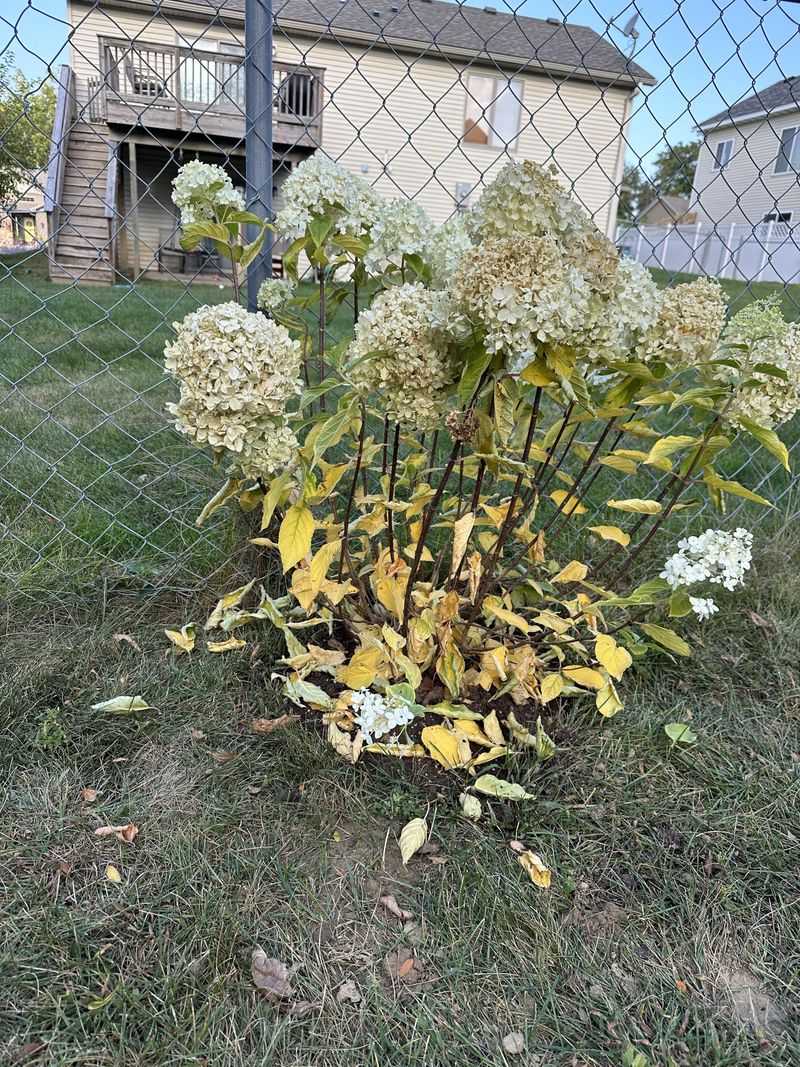
Fallen leaves can help or harm a hydrangea bed, depending on how you handle them. A loose, shredded layer protects the soil, while a thick, soggy mat can hold moisture against the stems and lower branches.
Run a mower over dry leaves to chop them into small pieces, then rake the pieces around the shrub. Shredded leaves break down quickly and add organic matter that the soil can use through the winter months.
Pick up any leaves that show spots, since fungal problems such as leaf spot can overwinter on them. Bag those leaves or send them to a municipal yard waste program instead of adding them to the garden bed.
Clear leaves away from the crown of the plant, where the stems meet the soil. Good airflow at the base keeps the area drier and discourages rot during damp stretches of late fall and early winter.
The hydrangea’s own healthy leaves are fine to leave in the mulch layer. They return nutrients to the soil and cost you nothing, which makes them a handy resource that is already sitting under the shrub.
A quick check every couple of weeks through late fall keeps the bed neat. Short sessions are easier than one big cleanup after a windy storm drops a whole season of leaves in a single afternoon.
8. Plant Or Move Shrubs At The Right Moment
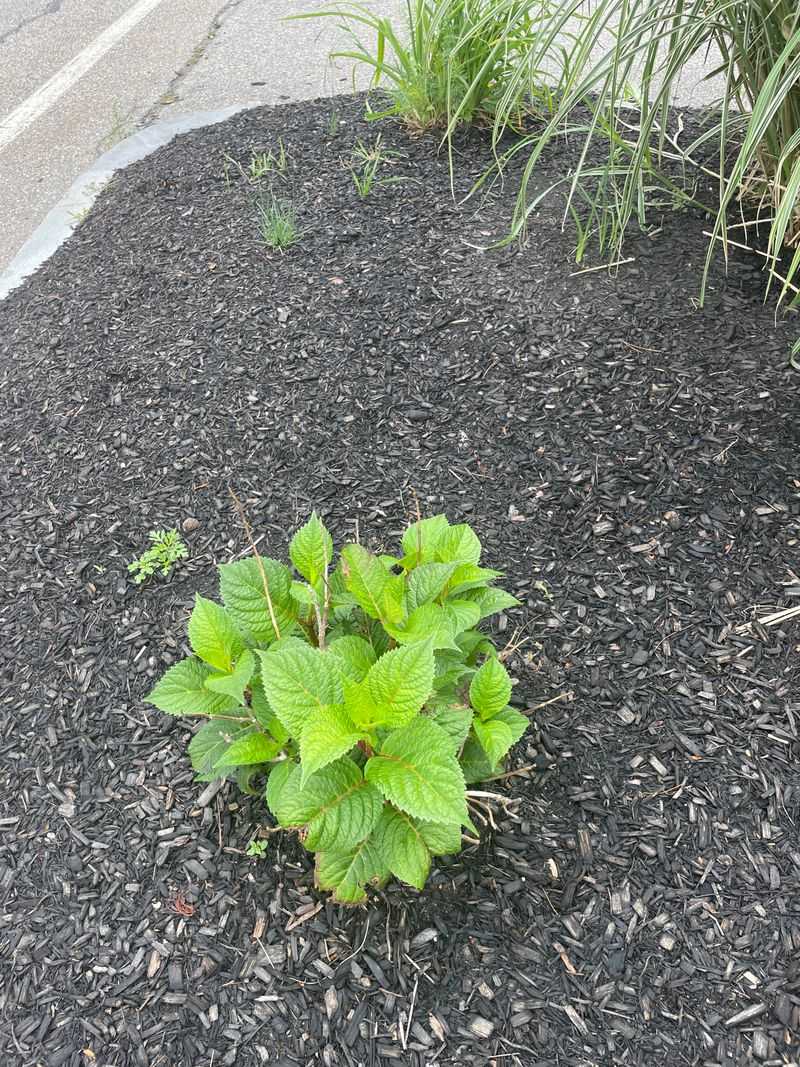
Fall is a good time to plant or move hydrangeas because the soil is still warm while the air is cool. Roots keep growing in these conditions even after the top of the plant slows down for the season.
Aim to finish at least six weeks before the ground is expected to freeze. That gives roots time to settle in and anchor the shrub before winter arrives with its cold, drying winds and frozen soil.
Dig a hole about twice as wide as the root ball and no deeper than it. Set the plant so the top of the root ball sits level with the soil, then backfill and water slowly to settle the roots.
When moving an established shrub, cut a wide circle of roots and lift as much soil as you can. Carry it to the new spot quickly so the roots stay moist and undisturbed during the trip.
Choose a place with morning sun and some afternoon shade, since hydrangeas often wilt in hot, direct sun. Good drainage matters too, because heavy, soggy soil is hard on young roots that are still finding their footing.
Water newly planted shrubs deeply and add a layer of mulch around them. Keep checking the soil moisture until the ground freezes, and expect the plant to put on stronger growth when spring finally arrives.