How Long To Soak Seeds For Faster, Stronger Germination In North Carolina
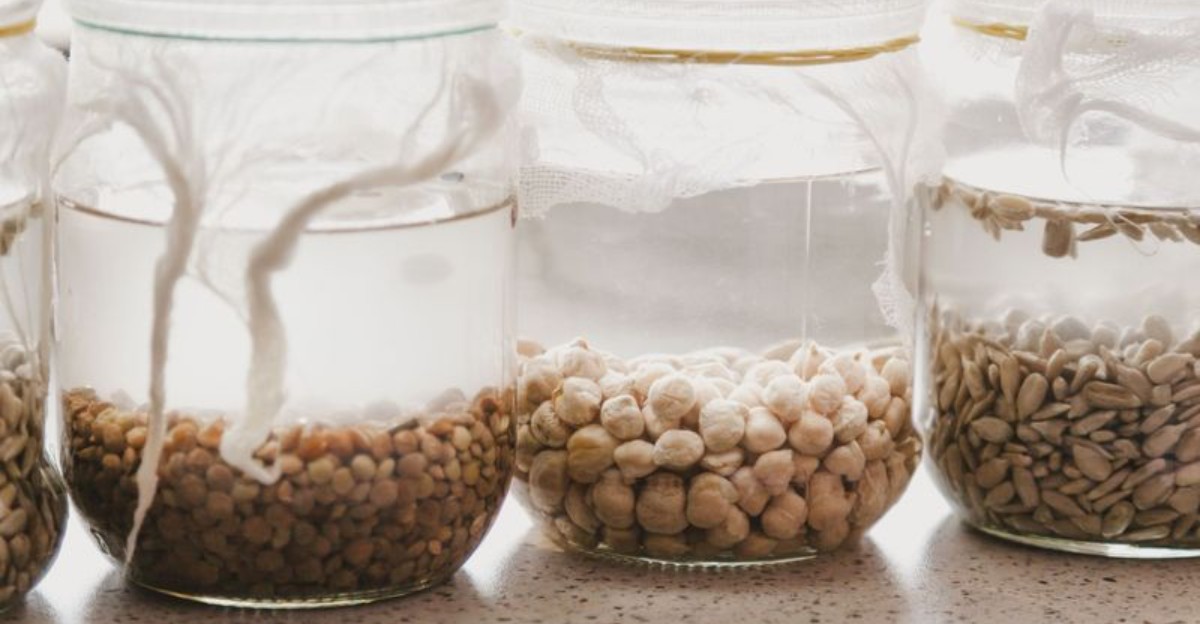
Soaking seeds sounds like a shortcut, and sometimes it is. Water softens tough coats and wakes up the embryo inside. The result can be sprouts that appear days earlier.
But there is a catch. Soak too long and seeds can rot or drown. Some seeds love a long bath, while others should never touch water before planting.
Fall in North Carolina adds another twist, since warm afternoons and cool nights change how quickly seeds respond.
Knowing which seeds benefit, and for how many hours, makes the difference between thick, even rows and gaps you have to refill. A little timing goes a long way. Get it right, and your seedlings start stronger.
1. Soak Only The Seeds That Benefit
Not every seed wants a bath. Some sprout faster after soaking, while others turn into a sticky mess that makes planting harder than it needs to be. Knowing the difference saves you time and frustration.
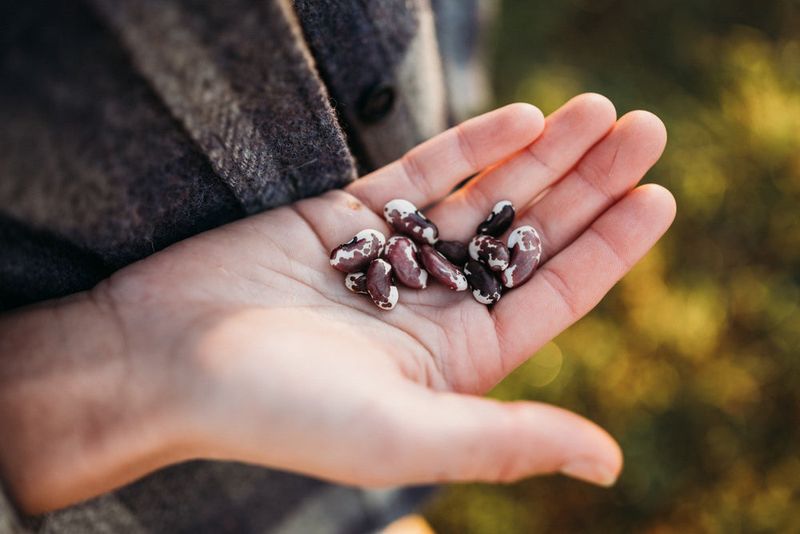
Big seeds and seeds with hard or thick coats gain the most from a soak. Water softens that outer shell and wakes up the seed, so the sprouting process begins before the seed even touches the soil.
Good choices for soaking include okra, beets, Swiss chard, peas, beans, parsley, nasturtium, and morning glory.
Tiny seeds are a different story. Lettuce, carrots, and other small seeds already take in water quickly, so soaking adds very little benefit. Once wet, they clump together like wet sand and stick to your fingers.
Sowing them evenly in a row becomes nearly impossible, and you may end up with crowded patches and bare gaps. Keep these little ones dry and plant them straight from the packet.
A quick rule helps here. If a seed is about the size of a pea or larger, or if it feels hard like a tiny pebble, it probably likes a soak. If it looks like dust or fine grains, skip the water.
Gardeners in North Carolina have extra reasons to get this right. Spring can heat up fast, summer brings dry spells, and pests like cucumber beetles and flea beetles show up early and hungry.
Seeds that sprout quickly can build roots and leaves before those problems arrive. Picking the right seeds to soak is a small step that sets the whole season up for success, and it costs nothing but a cup of water.
2. Give Okra An Overnight Soak
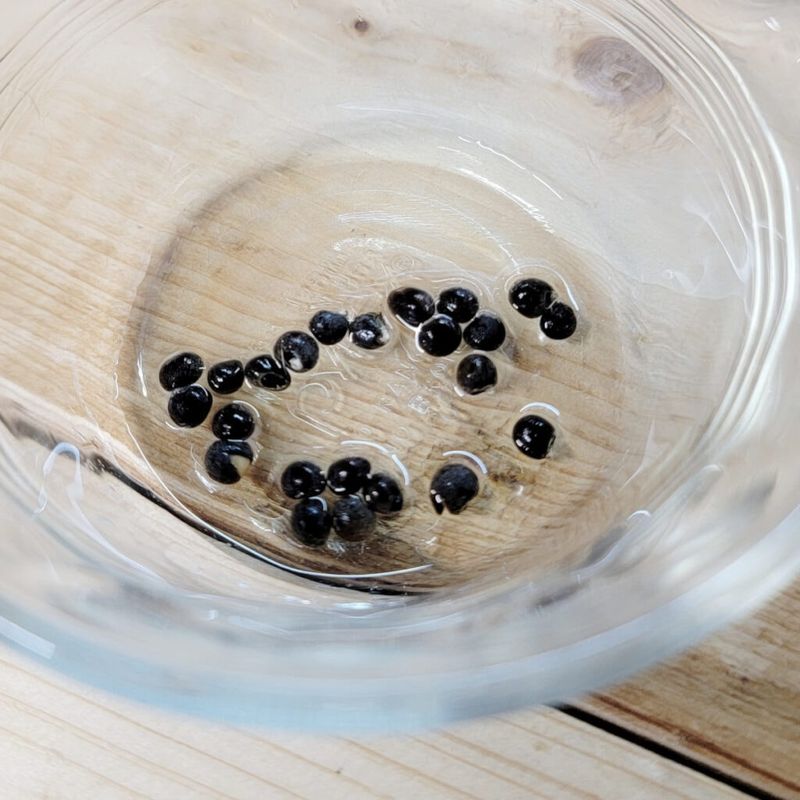
Ask any Southern grandmother about okra, and she might tell you the seeds are stubborn. She would be right. Okra seeds wear a tough coat that lets water in very slowly, so unsoaked seeds can sit in the ground for days before anything happens.
An overnight soak fixes that problem. Place the seeds in a bowl or jar of room-temperature water and let them sit for about 12 hours. By morning, many seeds will look plump and slightly swollen, which tells you water has made its way inside.
A few might even show the tiny tip of a root. Plant them right away. Soaked okra seeds are ready to grow, and leaving them out on the counter can dry them back out.
Your North Carolina Garden Changes Every Week. Your Plan Should Too.
Gardening in North Carolina changes quickly throughout the season. Every Friday you’ll receive a simple weekly plan showing exactly what to plant, prune, fertilize, harvest, and protect so you never miss the right timing.
Drop them about half an inch to an inch deep, spacing them according to the packet directions.
Timing in the garden matters just as much as timing in the bowl. Okra loves heat and will sulk in cold ground, even after a good soak. Wait until all danger of frost has passed and the soil has warmed up, ideally to around 65 to 70 degrees or higher.
In much of North Carolina, that usually means early to mid May, though the coast often warms sooner than the mountains.
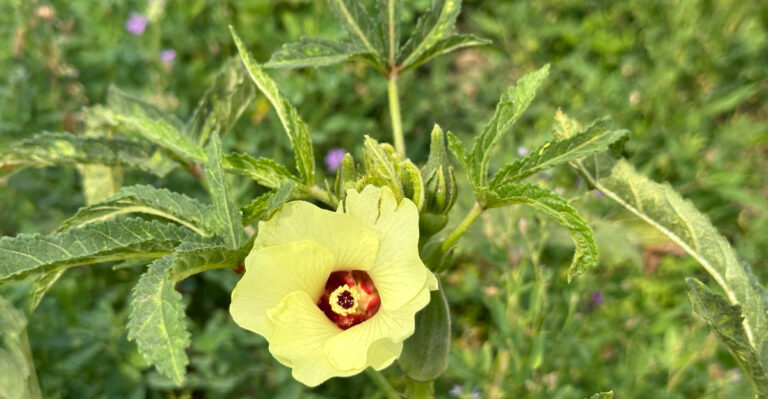
Okra is a true summer star across the state, filling gardens with tall stalks and pretty hibiscus-like flowers.
A simple overnight soak helps the seeds come up faster and more evenly, so your rows look neat and your first pods arrive sooner. Fried okra season will thank you.
3. Soak Beets, Chard, And Parsley For Several Hours
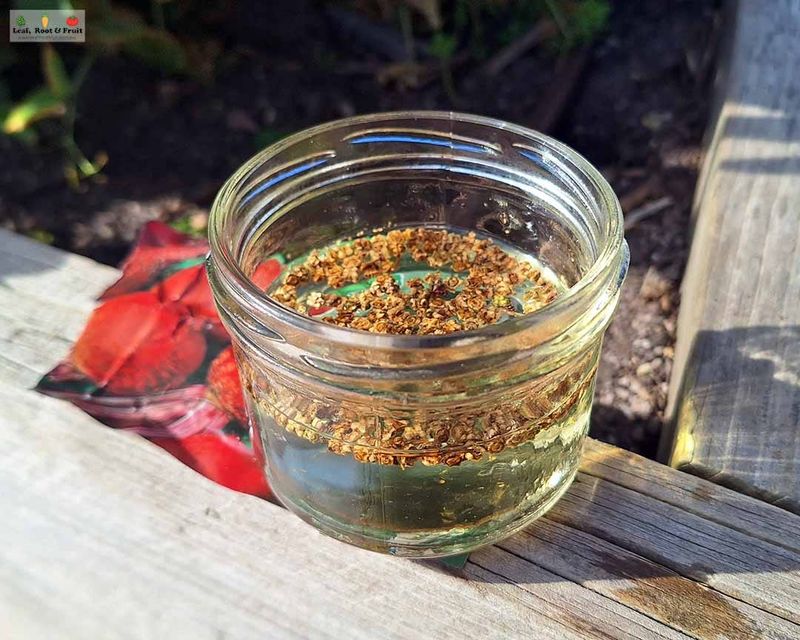
Here is a surprise for many gardeners. That bumpy little beet seed in your hand is not one seed at all. It is a cluster holding several seeds wrapped inside a corky covering, and Swiss chard seeds work the same way.
That corky shell is great at protecting the seeds, but it also slows down water. Soaking helps moisture reach the seeds tucked inside so they can start growing. Let beet and chard seeds soak for several hours or overnight.
Since each cluster can send up more than one sprout, plan to thin the seedlings later so every plant has room.
Parsley has its own reputation for being slow. Its seed coat holds back germination, and some gardeners joke that parsley seeds must travel down and back several times before they sprout. An overnight soak can shave days off that wait.
After soaking, plant all three right away. Then keep the soil evenly moist until the green shoots appear. Letting the seedbed swing between soggy and dry can stall germination, so a light watering each day often works best during warm weather.
In North Carolina, these crops shine in cooler seasons. Many gardeners sow beets, chard, and parsley in late summer or early fall for harvests that stretch into the cooler months.
The catch is that August and September soil can be hot and bone dry, which makes slow seeds even slower.
A good soak gives them a real advantage. Pair it with a thin layer of mulch or a board laid over the row until sprouts show, and you can enjoy sweet beets and leafy chard well into fall.
4. Keep Soaks Short For Peas And Beans
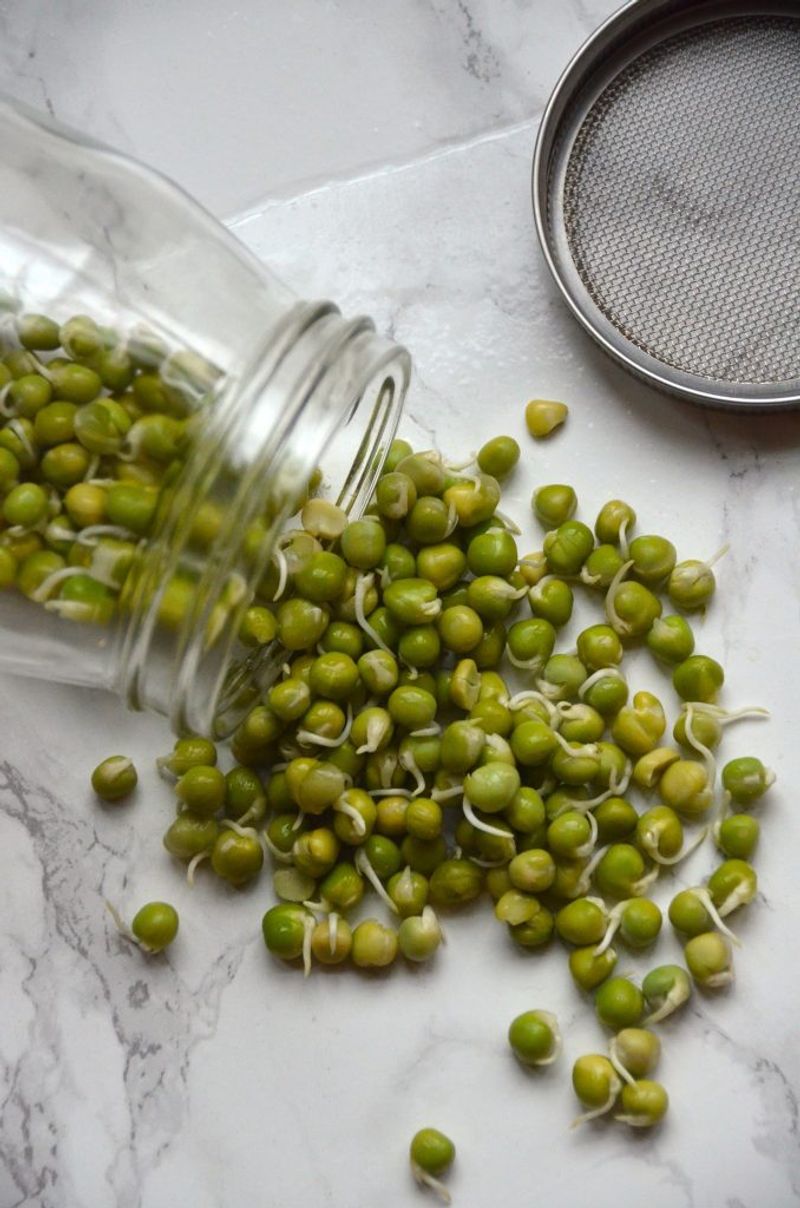
Peas and beans are thirsty little guys. Drop them into water, and they start drinking right away, swelling up much faster than okra or parsley ever would.
That quick thirst is exactly why they need a careful hand. Leave peas or beans soaking too long, and the seed coats can crack or split.
Once that happens, the seed inside may get damaged, which often leads to rot in the ground or weak, slow seedlings that never catch up. More water does not mean more growth here.
A short soak of a few hours is plenty if you choose to soak at all. Never go past overnight. Once the seeds look a bit plumper, drain them and plant them immediately while they are still damp.
Sometimes you can skip soaking entirely. If your garden soil is already moist from recent rain, peas and beans will soak up what they need straight from the ground. Many experienced growers simply plant them dry in moist soil and get great results.
A soak helps most when the soil is on the dry side and you want a small boost. Timing in North Carolina gives each crop its own window.
Garden peas, including snap and snow peas, go in during late winter and early spring, often around February or March in the Piedmont. Beans wait for warmer days, with plantings from spring through summer after frost has passed.
Cool, wet spring soil already holds a lot of moisture, so peas rarely need much soaking. Summer beans planted into dry ground may appreciate a brief soak more.
5. Nick Very Hard Seeds Before Soaking
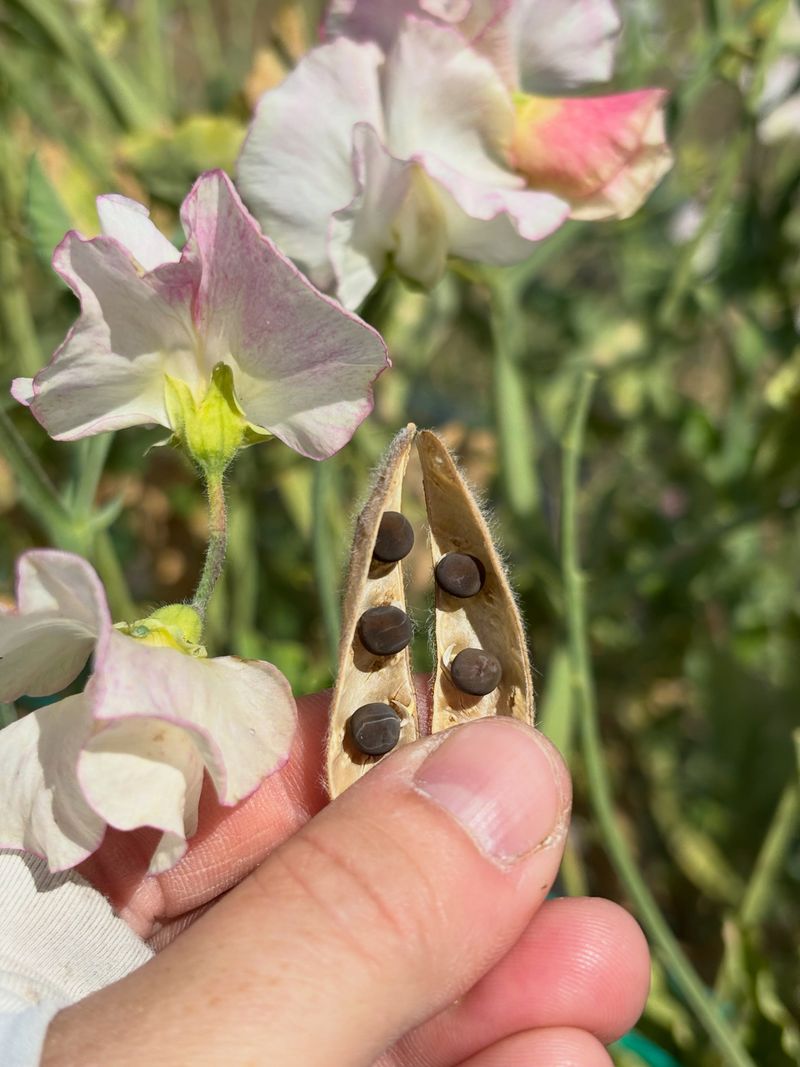
Some seeds are built like tiny armored tanks. Morning glory, nasturtium, and sweet pea seeds have outer layers so tough that water struggles to get through, even after hours in a bowl.
That is where a trick called scarification comes in. The fancy word simply means scratching or nicking the seed coat so water can finally slip inside. Gardeners have used this method for generations, and it can turn a slow, spotty planting into a quick and even one.
The process is easy. Gently rub each seed on a piece of sandpaper a few times, just enough to dull the shiny surface. Another option is to carefully nick the coat with a nail clipper or small file.
Either way, avoid the small spot where the seed was attached to its parent plant, called the hilum. That area sits close to the baby plant inside, and damaging it can ruin the seed.
After nicking, soak the seeds in water overnight. You should see them swell by morning, a clear sign the trick worked. Plant them right away into prepared soil.
These flowers are favorites across North Carolina for good reason. Morning glories race up porch railings and fences, filling summer mornings with blue and purple blooms.
Nasturtiums spill out of containers with bright orange and yellow flowers you can even toss into salads.
Sweet peas bring fragrance to cottage gardens, though they prefer cool weather, so many gardeners here plant them in late winter or even fall in warmer areas. A little sanding today means a trellis full of color later.
6. Don’t Soak Seeds Too Long
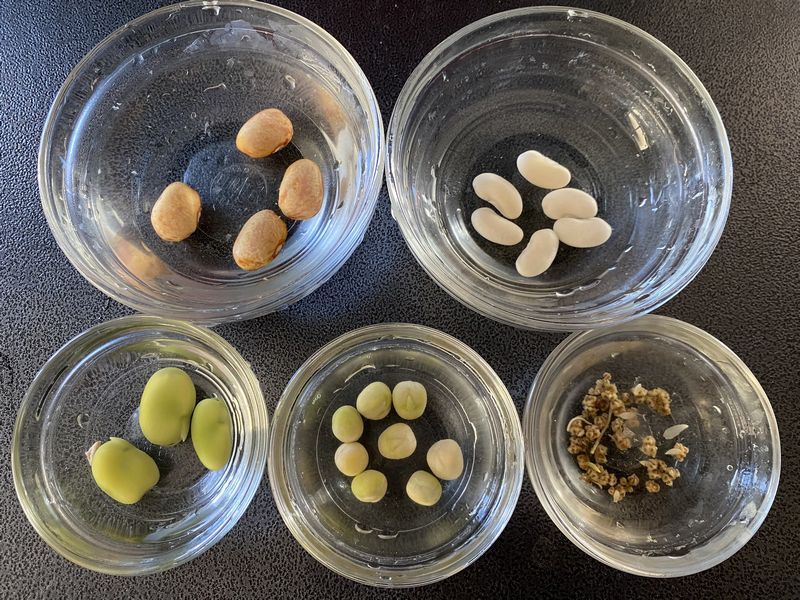
More is better, right? Not when it comes to soaking seeds. Leaving them in water for days might seem like a way to speed things up, but it usually does the opposite.
Seeds are alive, and they breathe in a quiet way. To sprout, they need oxygen just as much as they need water. When seeds sit underwater too long, they can run short of oxygen.
They may start to rot, or the tissues inside can get damaged, leading to poor germination or no sprouts at all.
Keeping things simple works best. Limit most soaks to about 12 hours, and rarely let any go beyond 24 hours. Use room-temperature water, not hot or ice cold, since extreme temperatures can stress the seeds.
Setting a phone alarm or kitchen timer helps if you tend to forget things on the counter. Your nose is a handy tool too.
Healthy soaking seeds smell clean or earthy. If the water smells sour or the seeds feel mushy and soft when you pinch them, toss them out and start fresh. Cloudy, foamy water is another warning sign that something has gone wrong.
North Carolina gardeners should keep a close eye during warm months. Summer kitchens can get hot and muggy, especially in older homes or during heat waves, and warmth speeds up spoilage in soaking seeds.
A bowl that would be fine for a day in March might turn sour much faster in July. Soak in the coolest spot in your house, away from sunny windows, and check the seeds before bed and again in the morning.
7. Plant Soaked Seeds Right Away In Moist Soil
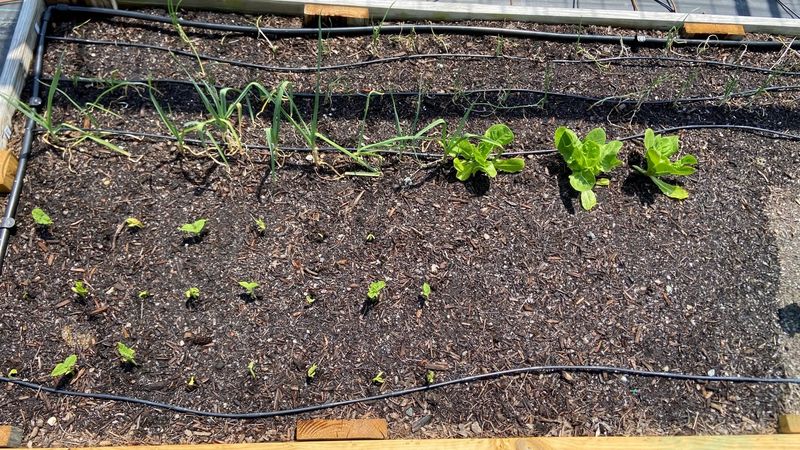
Once a seed has soaked, the clock is ticking. Inside that swollen shell, the sprouting process has already begun, with roots getting ready to push out and grow.
Letting soaked seeds dry out at this stage can cause real harm. A seed that has started growing and then loses its moisture may be damaged or stop germinating altogether. So the golden rule is simple.
Drain the seeds and plant them the same day you take them out of the water. Getting the soil ready ahead of time makes this easy.
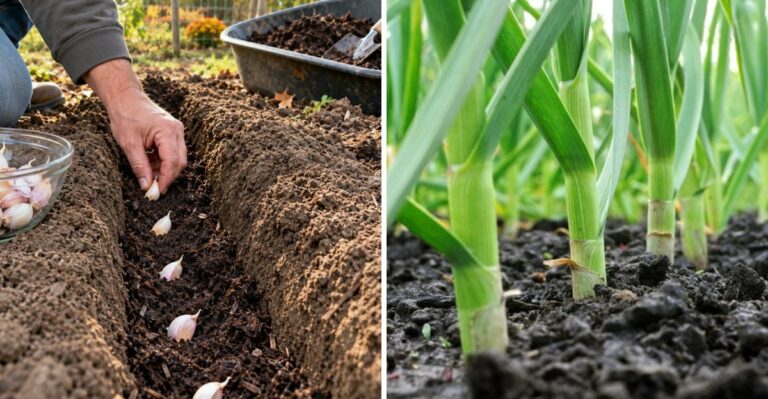
Water your garden bed a few hours before planting, or the day before, so the soil is already moist when the seeds go in. Sow them at the depth listed on the packet, cover them lightly, and water gently afterward.
A watering can with a fine spray works better than a hard blast from the hose, which can wash seeds out of place.
After that, aim for steady moisture. The soil should feel like a wrung-out sponge, never soggy and never dusty dry, until the seedlings poke through. Checking once or twice a day during warm spells helps a lot.
North Carolina weather can make this tricky. Late spring, summer, and early fall often bring hot sun and drying breezes that can bake the top layer of soil in a single afternoon.
Covering rows with a light layer of straw, burlap, or shade cloth can hold in moisture until sprouts appear.
Remove the cover as soon as you see green, and enjoy watching your well-soaked seeds take off with speed and strength.