How New York Gardeners Should Prepare Cannas For Winter Storage
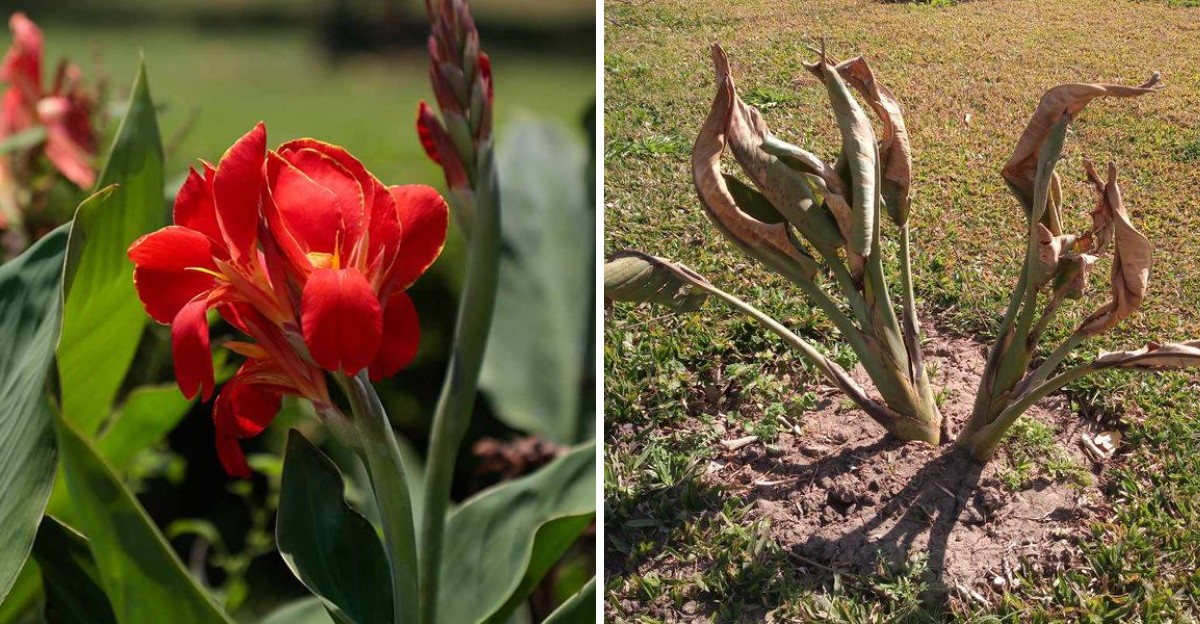
The first hard chill in New York can change a canna overnight. Those big tropical leaves that looked lush all summer suddenly slump, darken, and turn mushy.
It may look like the end of the plant, but the important part is still underground. Canna rhizomes can be lifted and stored indoors, ready to send up fresh shoots next spring.
Timing matters here. So do cleaning, drying, and storage conditions.
Handle those steps properly, and you can often bring the same cannas back next year. A shovel, a few cardboard boxes, and a little weekend time are all you need to get started.
Wait For Frost To Finish The Canna Tops
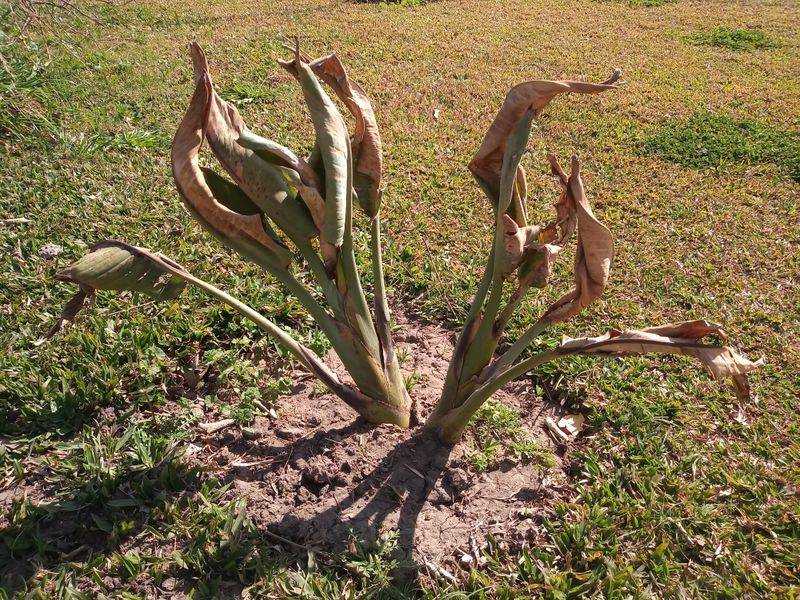
Patience pays off here more than speed. A light frost is the plant’s own alarm clock, telling it that summer is over.
Canna leaves are tender and react fast. Once air temperatures touch 32 degrees, the foliage turns dark, limp, and wilted overnight.
That sight worries new gardeners, but the rhizomes below the soil are usually fine. Soil holds warmth longer than air, so a light frost rarely reaches them.
During those chilly days, the plant is preparing its rhizomes for winter. Those underground stores help support next year’s shoots, so waiting until frost damages the tops is a good time to lift them.
Across New York, that first frost often lands in October, earlier upstate and later near the coast. Watch your local forecast instead of the calendar, since each season shifts a bit.
Timing has a second half, though. Lift the clumps after frost blackens the tops but before the ground freezes solid.
Frozen soil is hard to dig and can harm the rhizomes you are trying to save. In much of the state, that gives you a window to lift the rhizomes before the ground freezes.
A handy trick is marking your canna spots with stakes in September. Once the leaves collapse, you still know exactly where to put the shovel.
Some gardeners let frost hit twice for good measure. One solid frost is plenty, and waiting too long invites soggy, cold soil.
Keep a tarp and boxes ready before that first cold night. When the leaves darken, you can move quickly instead of scrambling for supplies.
Dig The Rhizomes Without Cutting Into Them
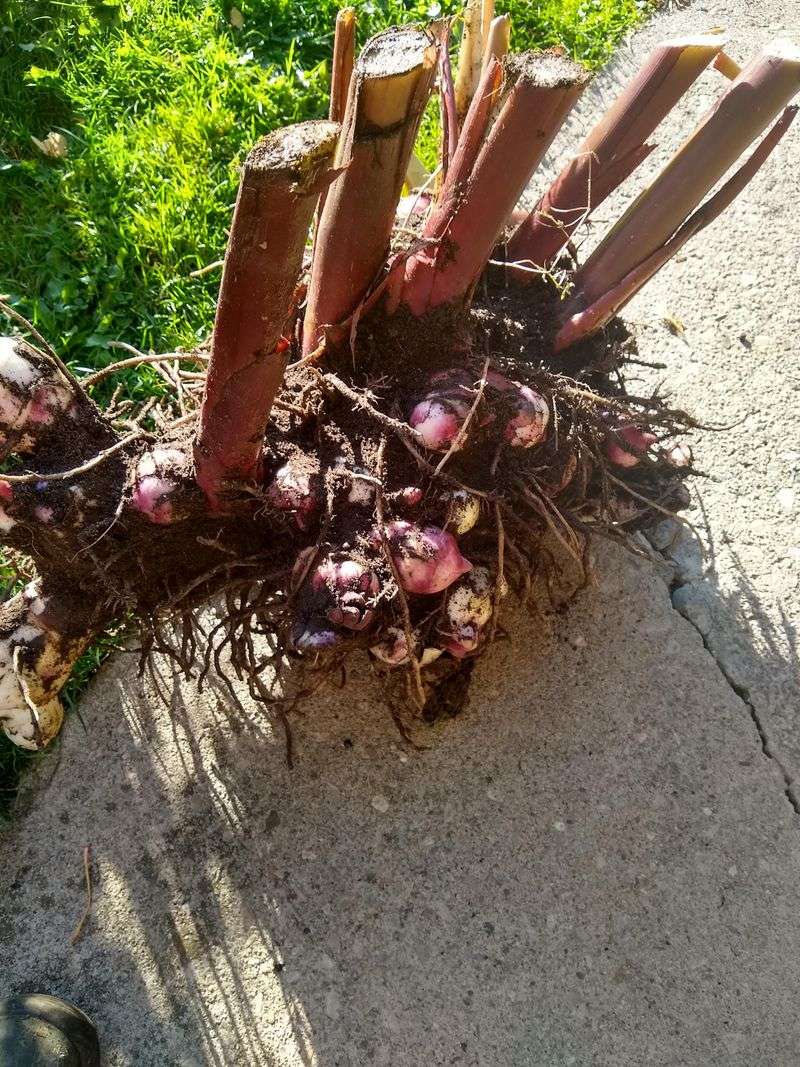
Think of digging cannas like lifting a sleeping pet, not chopping firewood. A rushed shovel stab can slice right through the fattest, healthiest rhizomes.
Grab a sturdy spade, a shovel, or a garden fork. Many gardeners prefer a fork because the tines slide between rhizomes instead of cutting them.
Start your cut a good eight to twelve inches out from the stems. Canna clumps spread wider each season, so the outer rhizomes sit farther out than you expect.
Push the tool straight down, then rock it back gently. Work all the way around the clump before trying to lift anything.
Once the soil loosens, slide the fork underneath and pry upward. Lift with the tool and one hand supporting the clump so it does not break apart in midair.
Your New York Garden Changes Every Week. Your Plan Should Too.
Gardening in New York changes quickly throughout the season. Every Friday you’ll receive a simple weekly plan showing exactly what to plant, prune, fertilize, harvest, and protect so you never miss the right timing.
Nicks and gashes matter because open wounds invite rot and disease during storage. A clean, unbroken skin acts like armor through the long months indoors.
Damp soil digs easier than bone dry ground. If your New York autumn has been dry, water the bed a day before you lift.
Resist the urge to separate every rhizome now. Large clumps store better, and spring is the smarter time for dividing into pieces.
Set each clump on a tarp or in a wheelbarrow as you go. Labeling varieties with a marker and tag saves guessing games later.
Work on a mild, dry afternoon if you can. Cold hands drop things, and dropped clumps snap.
Clean Away Clinging Soil Before Storage
Dirt looks harmless, but it hides tiny troublemakers. Clumps of wet soil can carry insect eggs, fungus spores, and slugs straight into your storage box.
Begin by shaking each clump firmly over the garden bed. A surprising amount of loose soil falls right off with a few good jostles.
Next, work through the crevices with your fingers. Rhizomes grow in knobby chains, and soil packs into the gaps between them.
For stubborn mud, a garden hose works well. Use a gentle spray rather than a blasting jet that could tear the skin.
Some gardeners set clumps on an old wire screen and rinse from above. The screen catches the rhizomes while mud drains away underneath.
Skip the scrub brush and stiff bristles. Scraped skin heals slowly and gives rot an easy entry point.
While cleaning, look each clump over carefully. Soft spots, mushy ends, and dark sunken patches should be trimmed off with a clean knife.
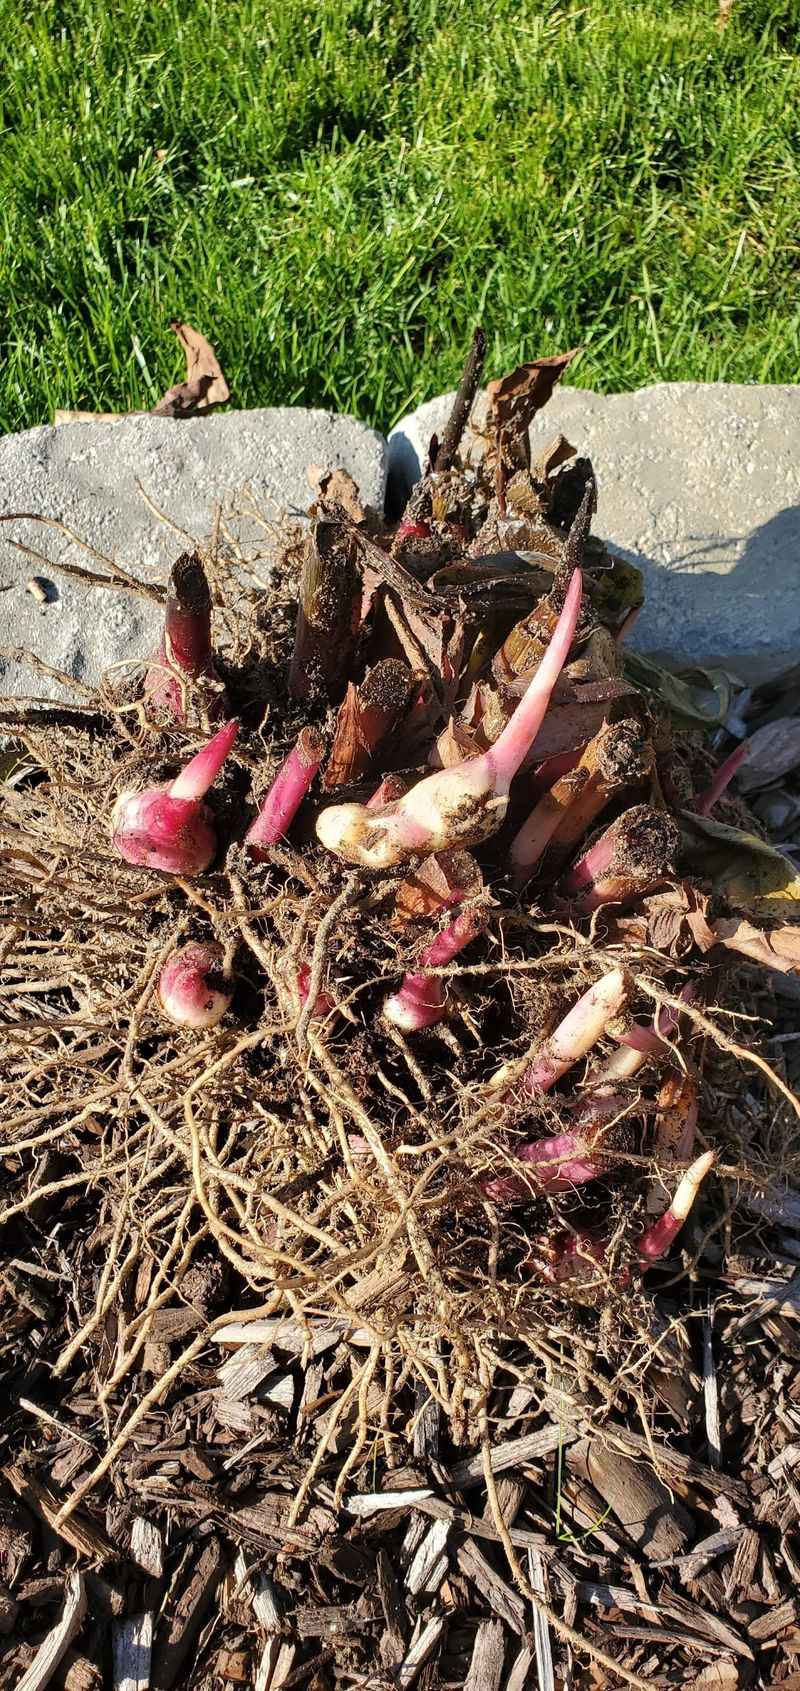
Rinsing also lets you see the growing points, those little pink or cream colored buds. Knowing where they sit helps you divide correctly in spring.
Do the washing outdoors if the weather allows, since mud and hoses make a mess. A cool, breezy New York afternoon speeds up the drying that follows.
Leaving a thin film of dry soil is fine and even helpful. What you want gone is the heavy, wet clay that holds moisture against the skin.
Trim Back Foliage Before Packing Them Away
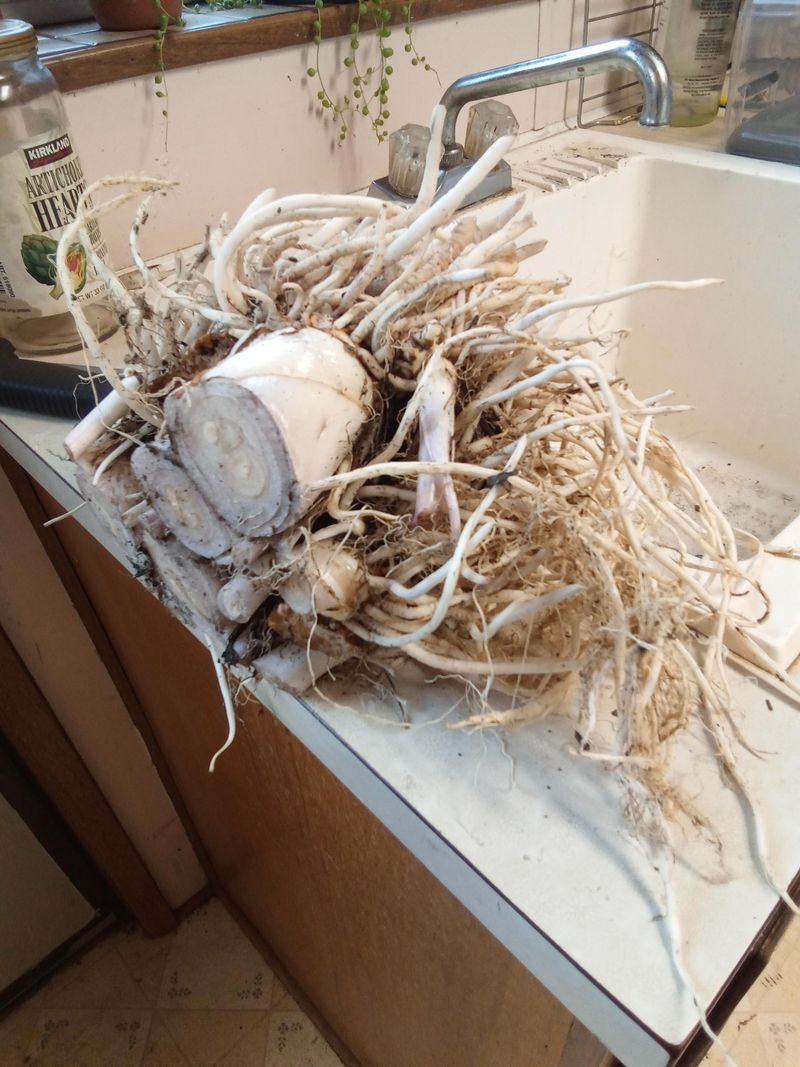
Those floppy leaves have done their job and now they are just baggage. Trimming them makes storage tidier and cuts down on moisture problems.
Use sharp bypass pruners or a clean garden knife. Dull blades crush stems instead of slicing them, which slows healing.
Cut the stalks so about two to four inches of stem remain above the rhizome. Those stubs give you a natural handle for lifting and turning the clumps.
Short stems also serve as markers. They point out the center of the clump and show where new shoots will push up in spring.
Do not cut flush with the rhizome. A too-close cut leaves a large wound right on the crown, which can weaken the growing point.
Toss the leafy tops onto the compost pile if they look healthy. Any foliage showing spots, streaks, or mushy patches belongs in the trash instead.
Wipe your blades with rubbing alcohol between plants. That quick habit stops disease from traveling from one clump to the next.
Many gardeners trim the leaves in the garden first, then finish the stems after washing. Less bulk means easier hauling to the garage or basement.
Save the old stalks if you enjoy crafts. Dried canna stems are surprisingly strong and work as plant stakes next season.
Once trimmed, arrange the clumps in a single layer. Crowded piles trap dampness and slow the curing step that comes next.
Let Wet Rhizomes Dry Before Storage
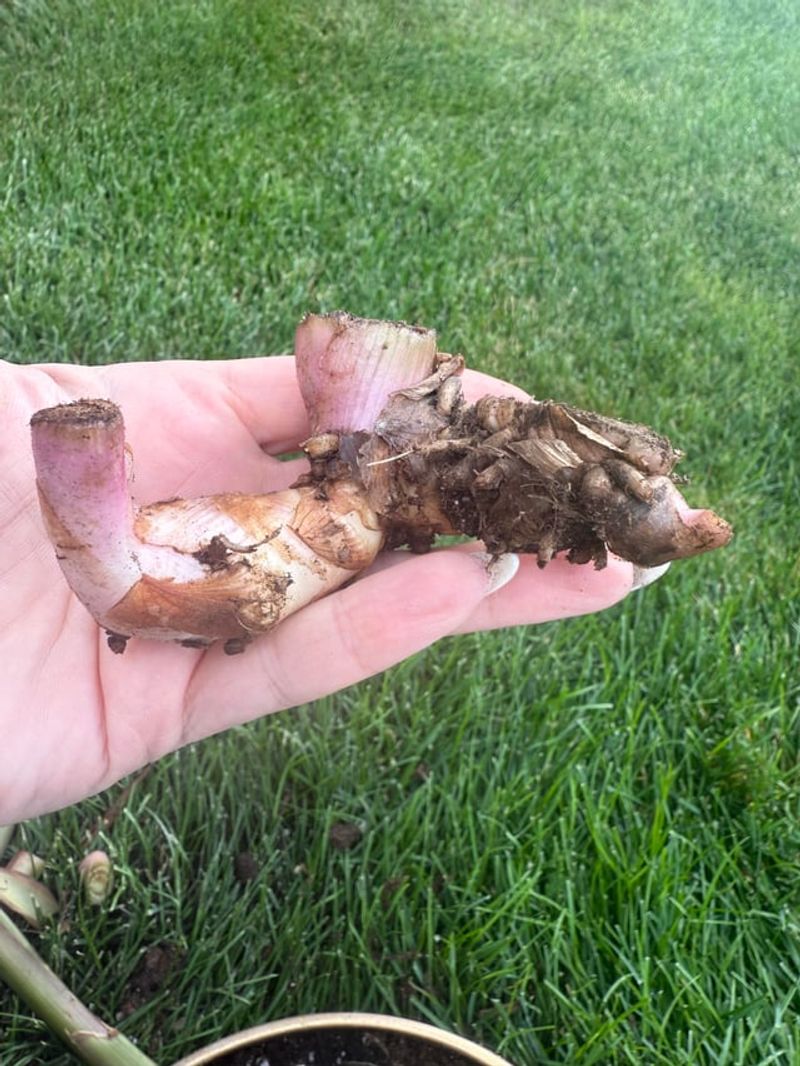
Curing is the step most people skip, and it is the one that saves the whole batch. Damp skin plus a closed box equals mold by January.
Spread the cleaned clumps in a single layer. Newspaper, mesh racks, old window screens, or slatted crates all work nicely.
Give the cleaned clumps time to dry before packing them away. Keep them in a cool, dry place rather than using warm air to speed the process.
Air movement matters as much as warmth. A small fan set on low keeps stale, humid air from settling around the rhizomes.
Pick a frost-free spot like a garage, mudroom, or covered porch. Late autumn nights can get chilly, so bring them inside if a hard freeze threatens.
Curing toughens the outer skin and lets cut ends form a callus. That crusty seal blocks rot and disease once the rhizomes go into storage.
Flip the clumps once or twice during the week. Turning exposes the undersides and helps them dry evenly.
You will know they are ready when the surface feels dry and papery. The rhizomes should still be firm and heavy, not soft or spongy.
Avoid direct sunlight or a hot heating vent. Fast drying can shrivel the rhizomes and cost you the moisture they need through winter.
Keep pets and curious kids away from the drying area. A knocked-over tray means bruised rhizomes and a second round of cleanup.
Pack Cannas In Perlite For Winter
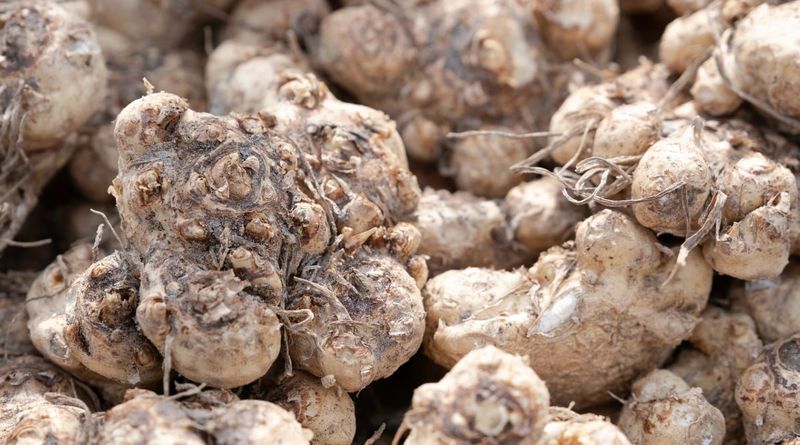
Packing material is basically a cozy blanket with air pockets. Perlite does the job well because it holds a little moisture and plenty of air.
Choose breathable containers such as cardboard boxes, wooden crates, or paper bags. Plastic bins work only if you punch generous air holes in the sides and lid.
Pour a two inch base layer of perlite in the bottom. Set the rhizomes on top, then bury them with more material.
Peat moss, vermiculite, sand, sawdust, wood shavings, coir, and shredded paper all work too. Use whatever your local garden center stocks at a fair price.
Keep the rhizomes from touching one another. If one piece develops trouble, its neighbors stay safe and dry.
Skip sealed plastic bags and airtight totes. Trapped moisture turns into condensation, and condensation leads to soft, decaying spots.
The packing material should feel barely damp, almost dry. Squeeze a handful, and no water should drip out.
Label each box with the variety and color. Come spring, you will be glad you did not rely on memory.
Two or three layers per box is plenty. Deep piles press on the lower rhizomes and hide problems from view.
Store boxes up off a concrete floor on a shelf or pallet. Cold, damp concrete pulls heat and moisture right through cardboard, which many New York basements prove every winter.
Choose A Cool Dry Storage Spot
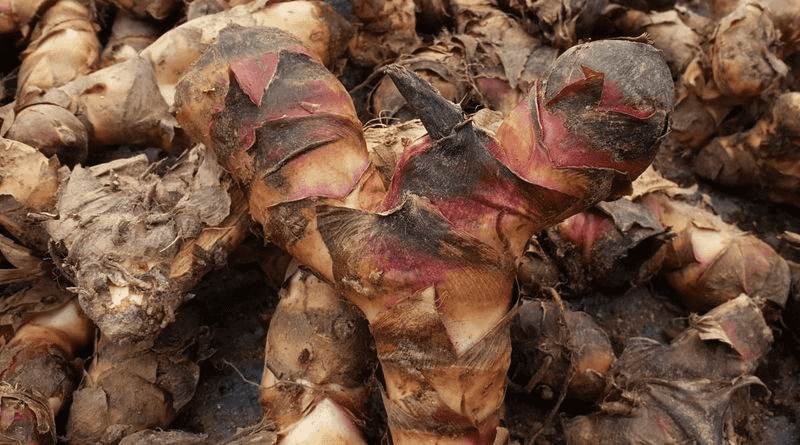
Location makes or breaks the whole winter. Cannas want a spot that stays cool, dark, and safely above freezing.
Aim for the upper 40s to low 50s Fahrenheit. Keep the rhizomes from freezing, and avoid warmer storage that can encourage early sprouting.
Basements are the classic choice, especially older homes with cool, unfinished corners. Insulated garages, crawl spaces, and root cellars also work.
Skip unheated attics and drafty garages that dip below freezing. Also avoid spots beside a furnace, water heater, or dryer vent.
Keep the storage area cool and dry. Too much dampness can encourage rot, while excessively dry conditions can cause the rhizomes to shrivel.
Good airflow helps enormously. Leave a few inches of space between boxes so air can circulate on every side.
An inexpensive thermometer takes the guesswork away. Many gardeners use a combination thermometer and humidity gauge tucked right beside the boxes.
Darkness is part of the plan too. Light nudges the growing points awake, and you want them sleeping until April.
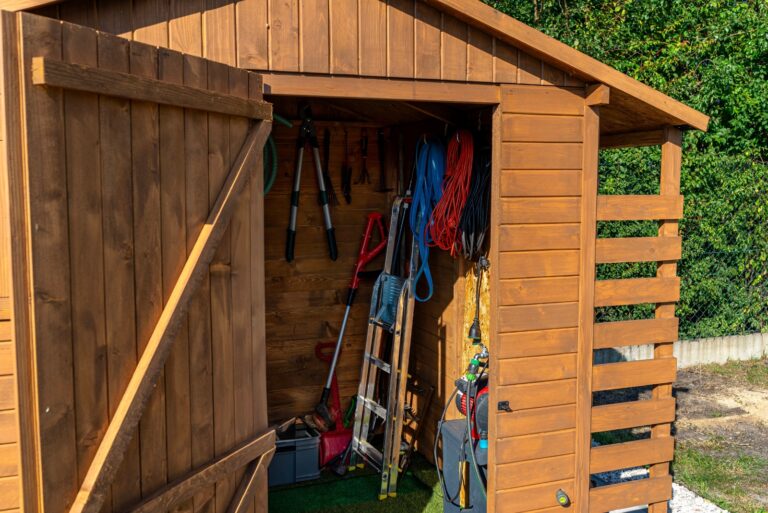
Watch for mice, which love chewing on stored rhizomes. A hardware cloth cover or a sturdy lidded crate with air holes solves that quickly.
If your only space runs warm, try the coolest interior closet on a north wall. Some apartment gardeners store small batches in a paper bag inside a spare closet with good results.
Check Stored Rhizomes For Shriveling Or Rot
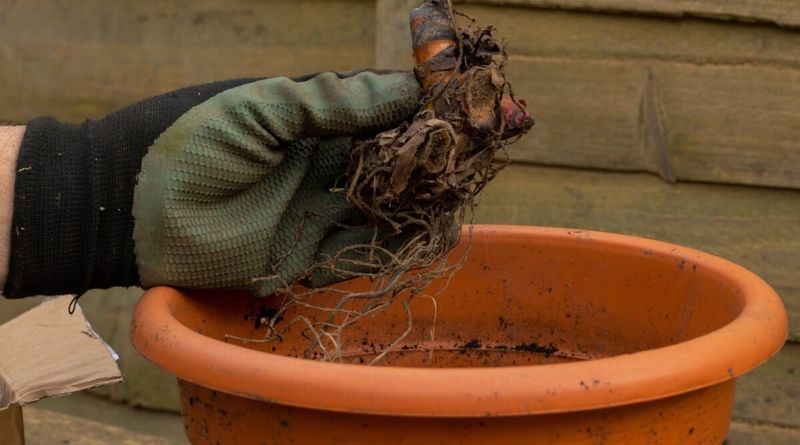
A quick monthly peek beats a spring surprise. Five minutes with a flashlight can rescue an entire box.
Once a month, lift a few rhizomes and give them a squeeze. Firm and heavy means happy, while light and wrinkled means thirsty.
Shriveling shows up as a papery, sunken surface. If the rhizomes are drying excessively, adjust the storage conditions so they do not become completely dry.
Rot announces itself differently. Look for fuzzy mold, mushy spots, oozing, or a sour smell coming from the box.
Pull any troubled rhizome out immediately. If only a small patch is affected, cut it away with a clean blade.
Let the trimmed piece air-dry for a day or two. Once the cut has calloused over, it can go back into fresh packing material.
Early sprouting is another clue worth reading. Pale shoots in January usually mean your storage spot runs warmer than you thought.
Move those boxes to a cooler corner right away. Cooler air slows the shoots and keeps the rhizomes resting longer.
Jot the date and what you saw on the box each time. Notes turn one season of guessing into years of confidence.
Around late March or April, bring the boxes into warmth and light. Most gardeners pot them up indoors a few weeks before the last frost, then plant outside once the soil warms.