How Oregon Gardeners Can Build Raised Beds On A Budget
If you’ve ever tried to plant in Oregon during the spring, you know the “Willamette Valley struggle” – soil that feels more like heavy, waterlogged clay than actual dirt.
While soggy winters and persistent mud can sink a garden before it starts, raised beds are the ultimate lifeline.
They lift your plants out of the muck, improve drainage, and warm up much faster than the ground. The best part?
You don’t need a massive budget to stop gardening in the mud. With a few creative material hacks, you can build sturdy, productive beds without breaking the bank.
Whether you’re on the coast or in the valley, these budget-friendly tips will help you conquer Oregon’s unique climate.
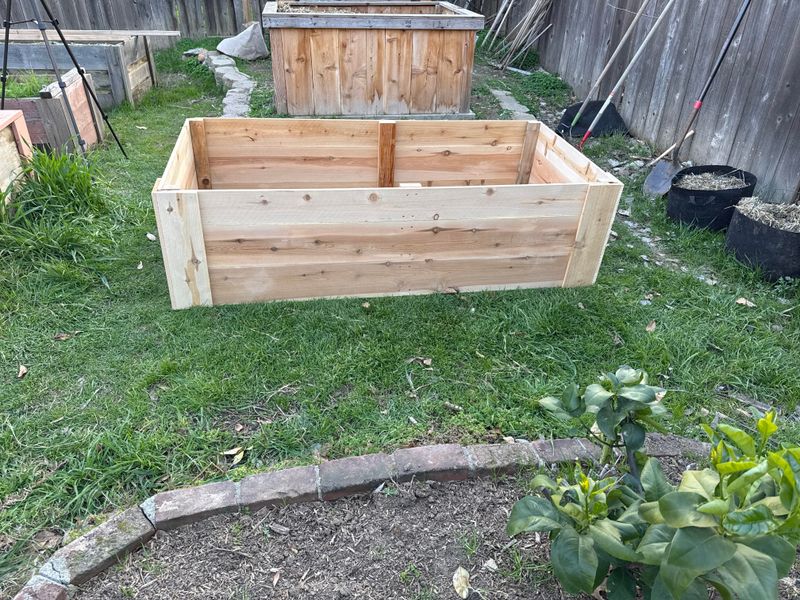
1. Choose Rot-Resistant Wood For Oregon’s Wet Climate
Wood selection might seem like a small detail, but in Oregon’s wet climate, it can make or break how long your raised bed lasts.
The Pacific Northwest gets a lot of rain from October through April, and wood that is not rot-resistant can start breaking down within just a couple of seasons.
Choosing the right lumber from the start saves you money in the long run.
Cedar is one of the most popular choices among Oregon gardeners because its natural oils help it resist moisture and decay without any chemical treatment.
Douglas fir, which grows abundantly throughout Oregon, is another solid option that costs less than cedar and holds up reasonably well when kept off wet ground.
Redwood is excellent but tends to run pricier and can be harder to find locally.
Untreated lumber is the safest bet for vegetable beds since older pressure-treated wood can contain chemicals you would not want near food crops.
Newer pressure-treated wood uses different compounds, but many gardeners still prefer to skip it entirely for edible gardens.
Even affordable pine can work if you line the inside of the boards with a food-safe barrier to slow moisture absorption. Aim for boards that are at least two inches thick, since thinner wood tends to warp and split faster under Oregon’s persistent rainfall.
A well-chosen wood selection means your bed could last five to ten years with minimal upkeep.
2. Pick A Sunny, Well-Drained Location For Your Bed
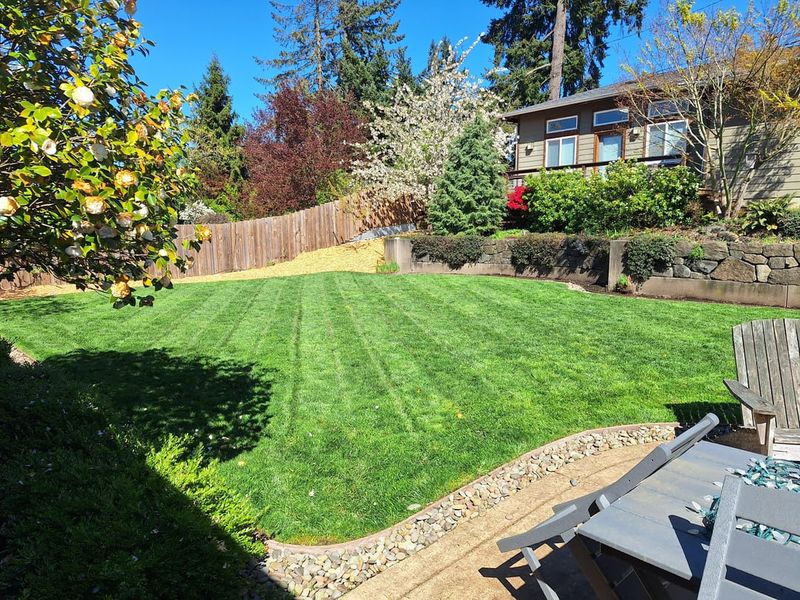
Gardeners who have moved their raised beds after one disappointing season will tell you that location matters more than almost anything else.
Most vegetables need at least six to eight hours of direct sunlight each day to produce well, and Oregon’s cloud cover during spring and fall means every bit of sunshine counts.
Scouting your yard over a few days before you build is worth the time investment.
Look for spots that stay relatively dry even after heavy rain. Low-lying areas collect water and can keep your bed waterlogged even if the bed itself has good drainage.
A gentle slope or a flat area with sandy or loamy soil underneath tends to drain far better than a spot near a downspout or at the base of a hill.
Your Oregon Garden Changes Every Week. Your Plan Should Too.
Gardening in Oregon changes quickly throughout the season. Every Friday you’ll receive a simple weekly plan showing exactly what to plant, prune, fertilize, harvest, and protect so you never miss the right timing.
Proximity to a water source also plays a role in your long-term budget. Running a hose from the far end of your property every summer morning gets old quickly, and it can lead to inconsistent watering habits.
Placing your bed near an outdoor spigot or within reach of a drip irrigation line keeps things simple and affordable.
Avoid areas directly under large trees, since roots can push up into your bed over time and compete with your vegetables for nutrients and moisture.
A little planning at the start helps you avoid costly relocations later and sets your Oregon garden up for a much more productive growing season.
3. Use Affordable Materials Like Untreated Lumber Or Reclaimed Wood
Reclaimed wood is one of the best-kept secrets in budget gardening, and Oregon has no shortage of places to find it. Old fence boards, pallet wood, and lumber salvaged from demolition projects can often be picked up for free or very little cost.
Websites like Craigslist, Facebook Marketplace, and local community boards regularly list free or cheap building materials from homeowners doing renovations.
Pallet wood deserves a closer look before you use it. Pallets marked with the letters HT, which stands for heat-treated, are safe for garden use.
Avoid any pallets stamped with MB, which indicates methyl bromide treatment and is not something you want in a vegetable bed.
When in doubt, untreated pine from a hardware store is inexpensive and easy to work with, even if it does not last as long as cedar.
Concrete blocks and cinder blocks are another budget-friendly option that many Oregon gardeners overlook. They require no tools to assemble, stack easily, and hold up well against moisture.
The hollow openings in cinder blocks can even be filled with soil to grow small herbs or strawberries, giving you extra planting space at no extra cost.
Mixing materials is also completely reasonable – a cedar front board paired with cheaper pine side boards, for example, gives you rot resistance where it matters most while keeping your overall costs down.
Smart sourcing stretches your gardening budget further than you might expect.
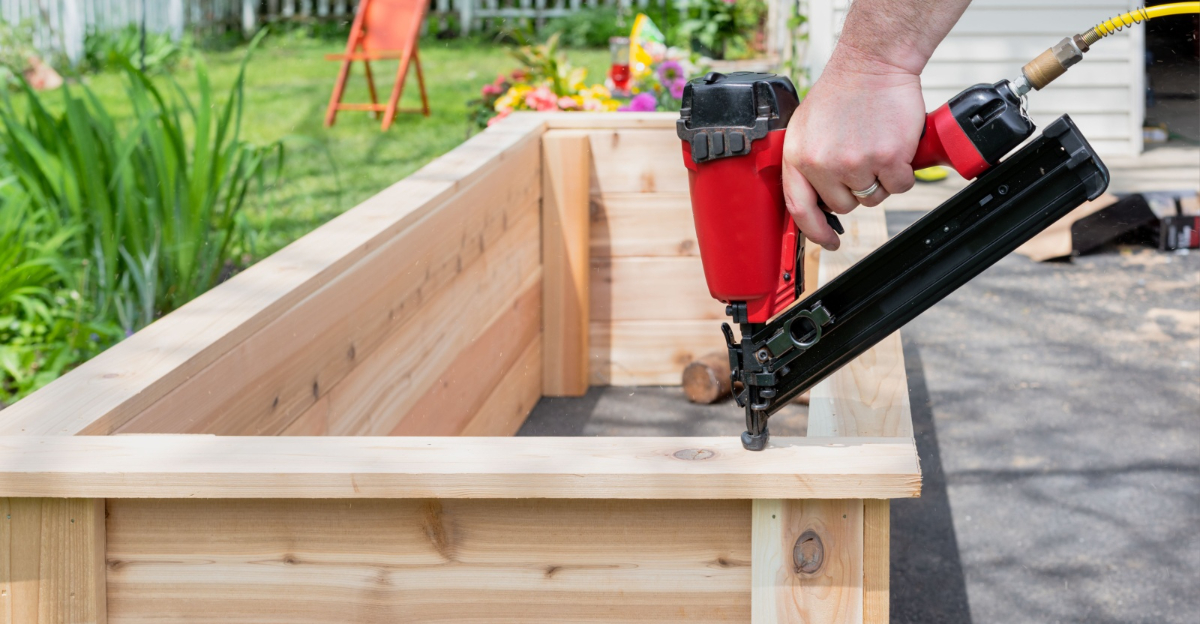
4. Build A Simple Frame With Basic Tools
Building a raised bed frame does not require a workshop full of equipment or years of carpentry experience. Most simple rectangular frames can be put together with just a drill, a measuring tape, a handsaw or circular saw, and a box of exterior screws.
If you do not own these tools, borrowing from a neighbor or checking out a local tool-lending library keeps your costs near zero.
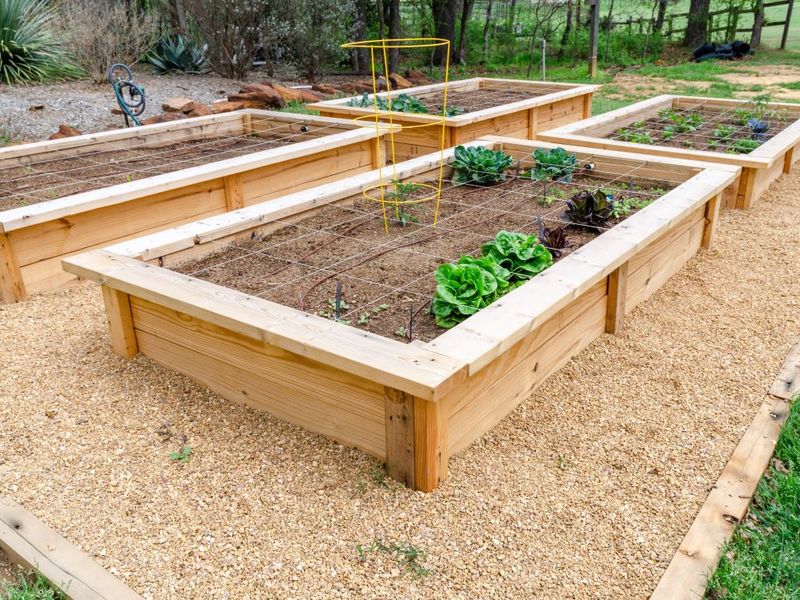
A standard four-by-eight-foot frame is one of the most practical sizes for Oregon vegetable gardens. That width lets you reach the center from either side without stepping into the bed, which protects soil structure and prevents compaction.
Standard eight-foot lumber boards fit this size with almost no cutting, which saves time and reduces waste.
For height, aim for at least ten to twelve inches of depth, which gives most vegetables enough room to establish healthy root systems.
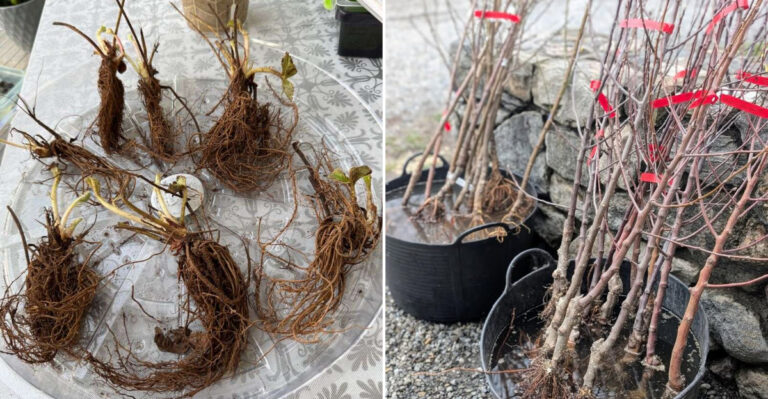
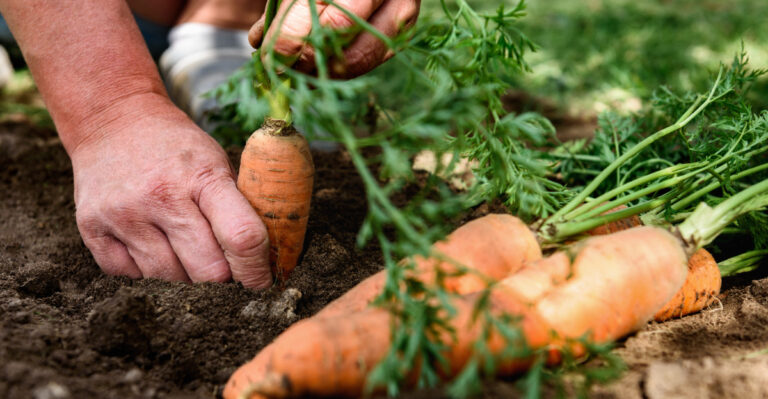
If you want to grow deeper root crops like carrots or parsnips, stacking two layers of boards to reach sixteen to eighteen inches makes a big difference.
Secure the corners with metal L-brackets or wooden corner posts for added stability, especially if you live in a windier part of Oregon.
Pre-drilling your screw holes prevents the wood from splitting, which is a common frustration when working with dry or reclaimed lumber.
Taking an hour to measure carefully and assemble the frame neatly means you will not be dealing with a wobbly or uneven bed by mid-summer.
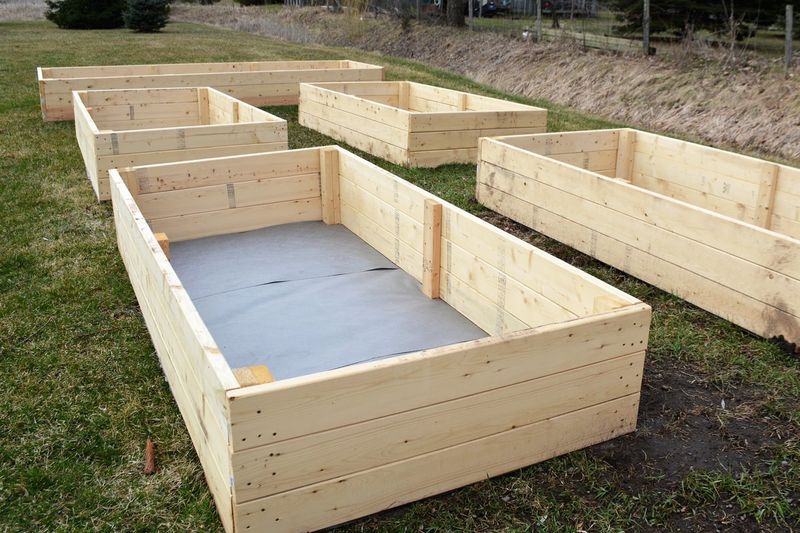
5. Add Cardboard To Suppress Weeds Before Filling
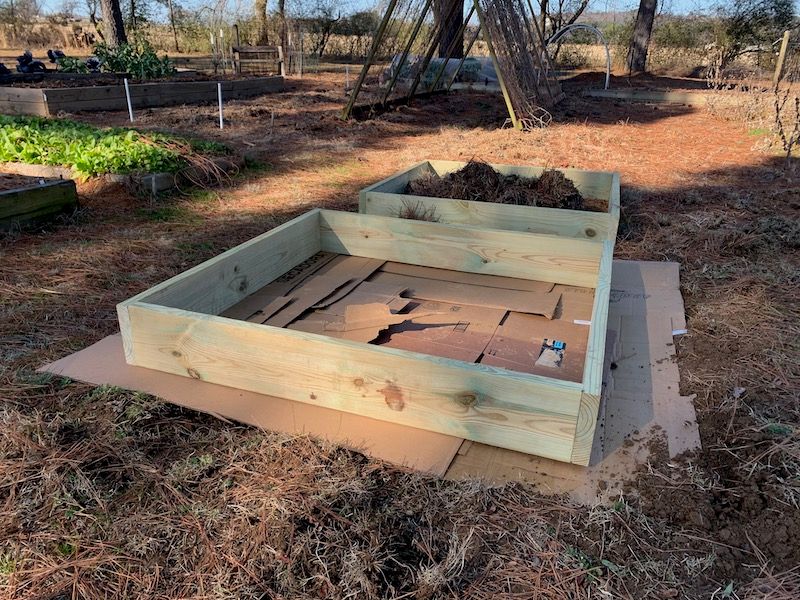
Weeds are relentless in Oregon gardens, especially in spring when rainfall keeps the ground moist and seeds sprout with almost no encouragement.
One of the easiest and cheapest ways to slow weed growth in a new raised bed is to lay down a thick layer of cardboard before you add any soil.
It costs nothing if you save boxes from deliveries or ask local stores for their extras.
Cardboard works by blocking sunlight from reaching weed seeds in the ground below. It also creates a temporary barrier that slows the upward creep of grass and persistent weeds like blackberry runners, which are common throughout Oregon.
Over time, the cardboard breaks down and adds organic matter to the soil beneath, which is an added bonus rather than a drawback.
Remove any tape, staples, or glossy inserts before laying the cardboard down, since those materials do not break down cleanly. Overlap the edges of each piece by at least six inches to close any gaps that weeds might find their way through.
Wetting the cardboard lightly before filling helps it stay in place and speeds up the decomposition process.
Some gardeners also add a layer of newspaper underneath the cardboard for extra weed suppression, which works especially well in spots with heavy grass coverage.
This simple step takes only a few extra minutes but can save hours of weeding over the course of a growing season in Oregon’s fertile, weed-friendly conditions.
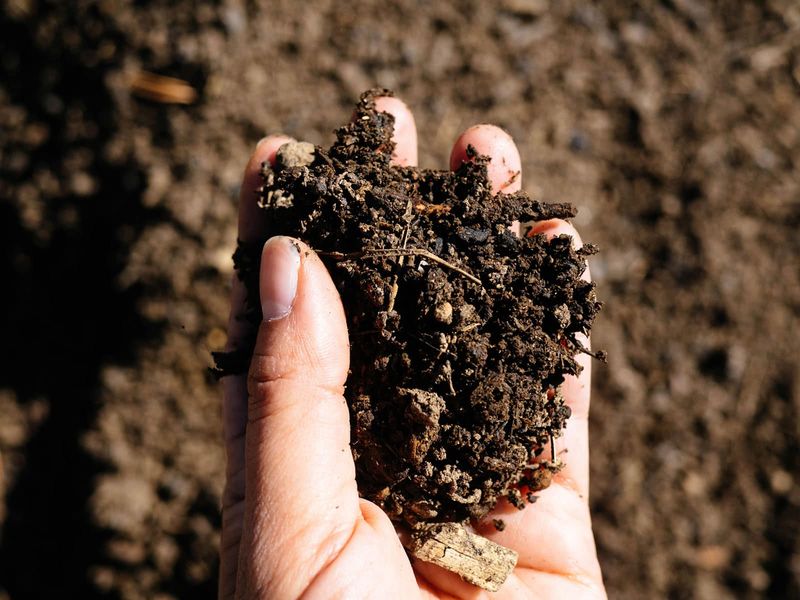
6. Fill Beds With A Mix Of Soil And Organic Matter
Buying bags of pre-mixed garden soil can add up fast, especially when you are filling a four-by-eight-foot bed to a depth of twelve inches or more.
A smarter approach is to build your own soil blend using a combination of topsoil, compost, and organic materials that improve drainage and feed your plants over time.
This method costs less and often produces better results than store-bought mixes alone.
A reliable starting ratio is roughly forty percent topsoil, forty percent finished compost, and twenty percent loose organic material such as aged wood chips, shredded leaves, or straw.
The topsoil provides structure and weight, the compost delivers nutrients and beneficial microbes, and the organic material improves aeration and helps the bed drain well even during Oregon’s wet spring months.
Compost is easy to make at home using kitchen scraps, grass clippings, and fallen leaves, which Oregon yards produce in abundance every autumn.
Many Oregon counties also offer free or low-cost compost through local composting programs, so it is worth checking with your county’s waste management office before spending money at a garden center.
Avoid using plain native soil from your yard as the primary fill, since Oregon’s clay-heavy soils compact easily and drain poorly inside a raised bed.
Adding a handful of slow-release organic fertilizer to your mix at planting time gives seedlings an early boost without requiring expensive synthetic products throughout the season.
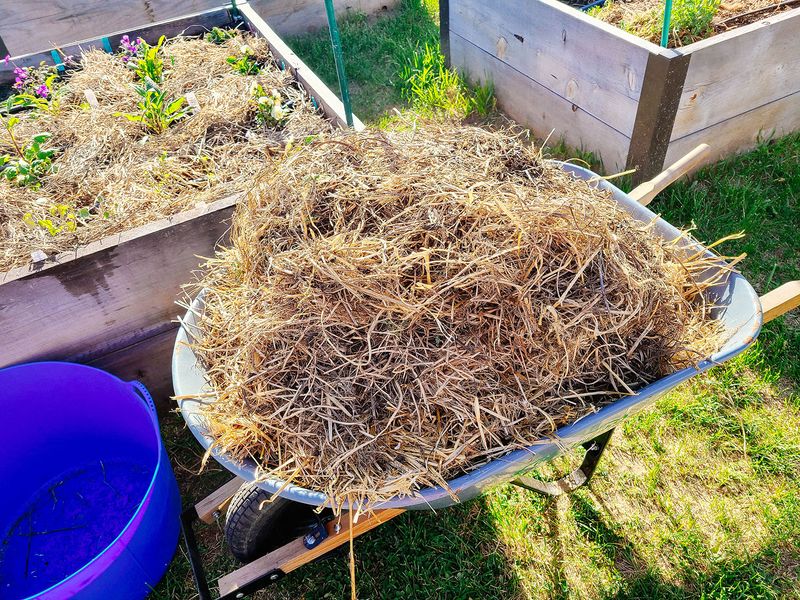
7. Top With Mulch To Help Retain Moisture
After all the work of building and filling a raised bed, mulch is the finishing touch that keeps your investment paying off through the growing season.
A two-to-three-inch layer of mulch on top of your soil slows evaporation, which means you water less often during Oregon’s dry summers.
That alone can translate into noticeable savings on your water bill from July through September.
Straw is one of the most affordable mulch options and works especially well in vegetable beds because it is lightweight, easy to move around plants, and breaks down gradually to feed the soil.
Avoid hay, which often contains seeds that will sprout and compete with your vegetables.
Wood chips are another excellent choice and are frequently available for free from local tree trimming companies or through programs that connect gardeners with chipped material.
Shredded leaves gathered from your yard each fall cost nothing and make a nutrient-rich mulch that Oregon gardeners have relied on for generations.
Spread them a few inches deep around your plants, keeping the mulch a couple of inches away from plant stems to reduce the risk of rot.
Refreshing your mulch layer mid-season takes only a few minutes and keeps the benefits going strong.
Beyond moisture retention, mulch also moderates soil temperature, which helps during the cool, overcast stretches that Oregon springs and falls are known for.
A well-mulched raised bed stays more consistent, and consistent conditions tend to produce healthier, more productive plants overall.