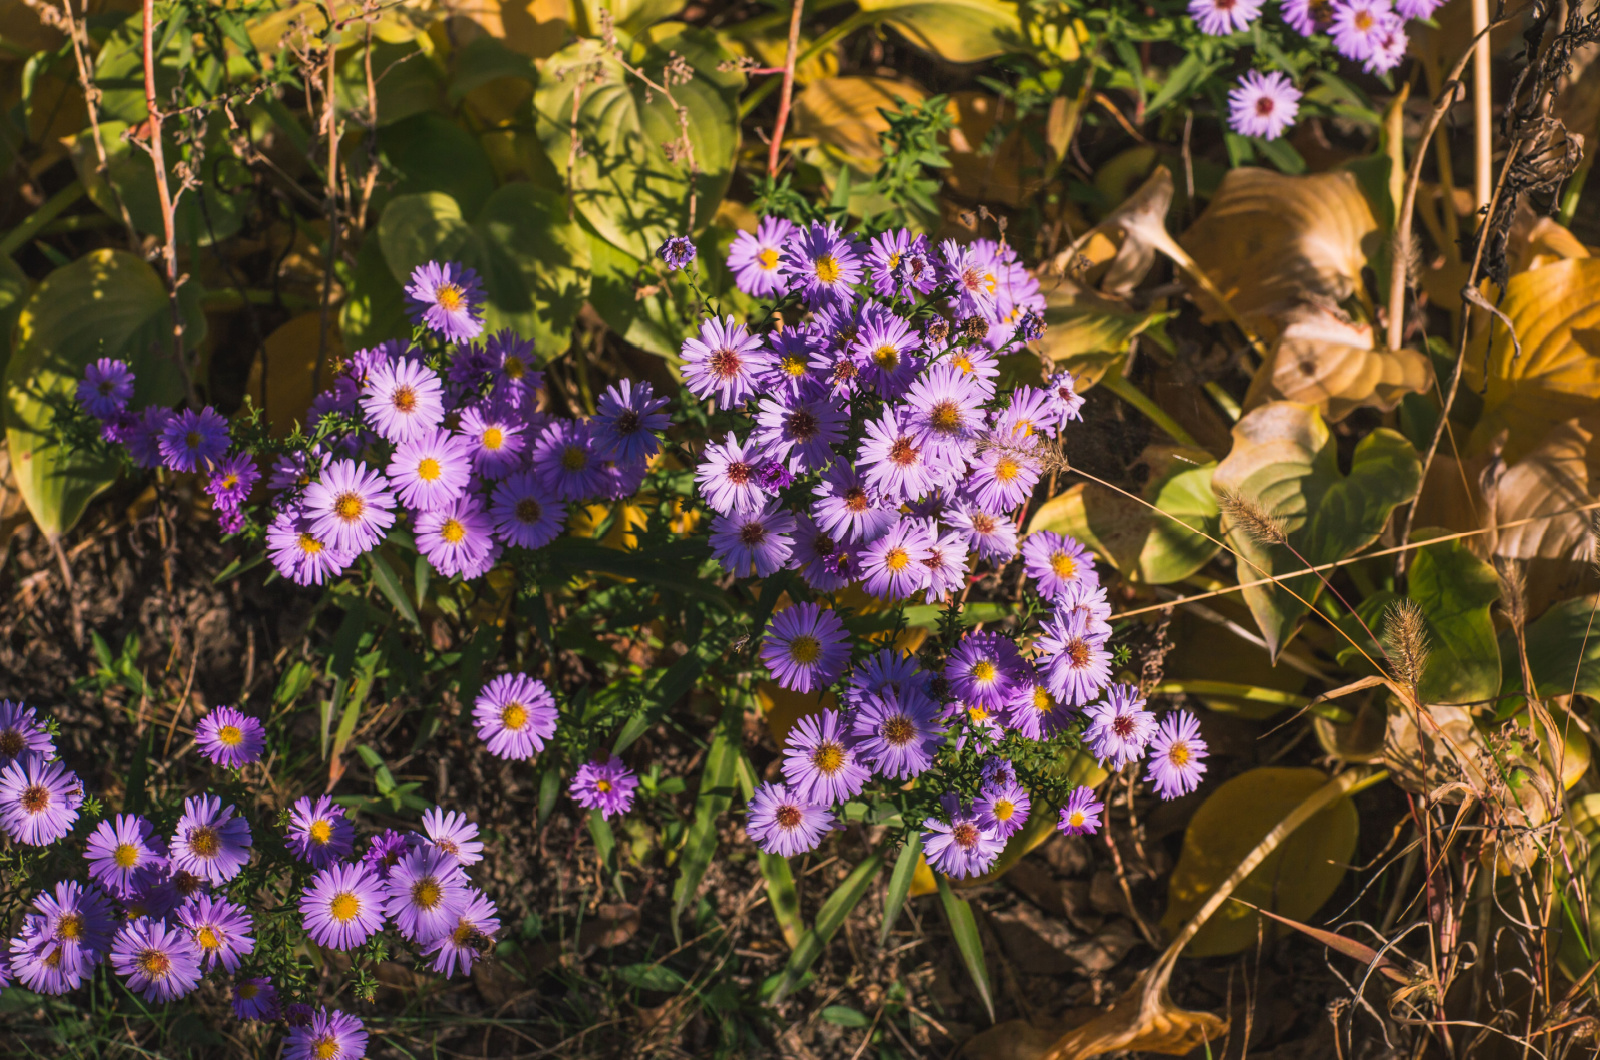
If you want to add a splash of color to your outdoor space, I have a perfect plant for you.
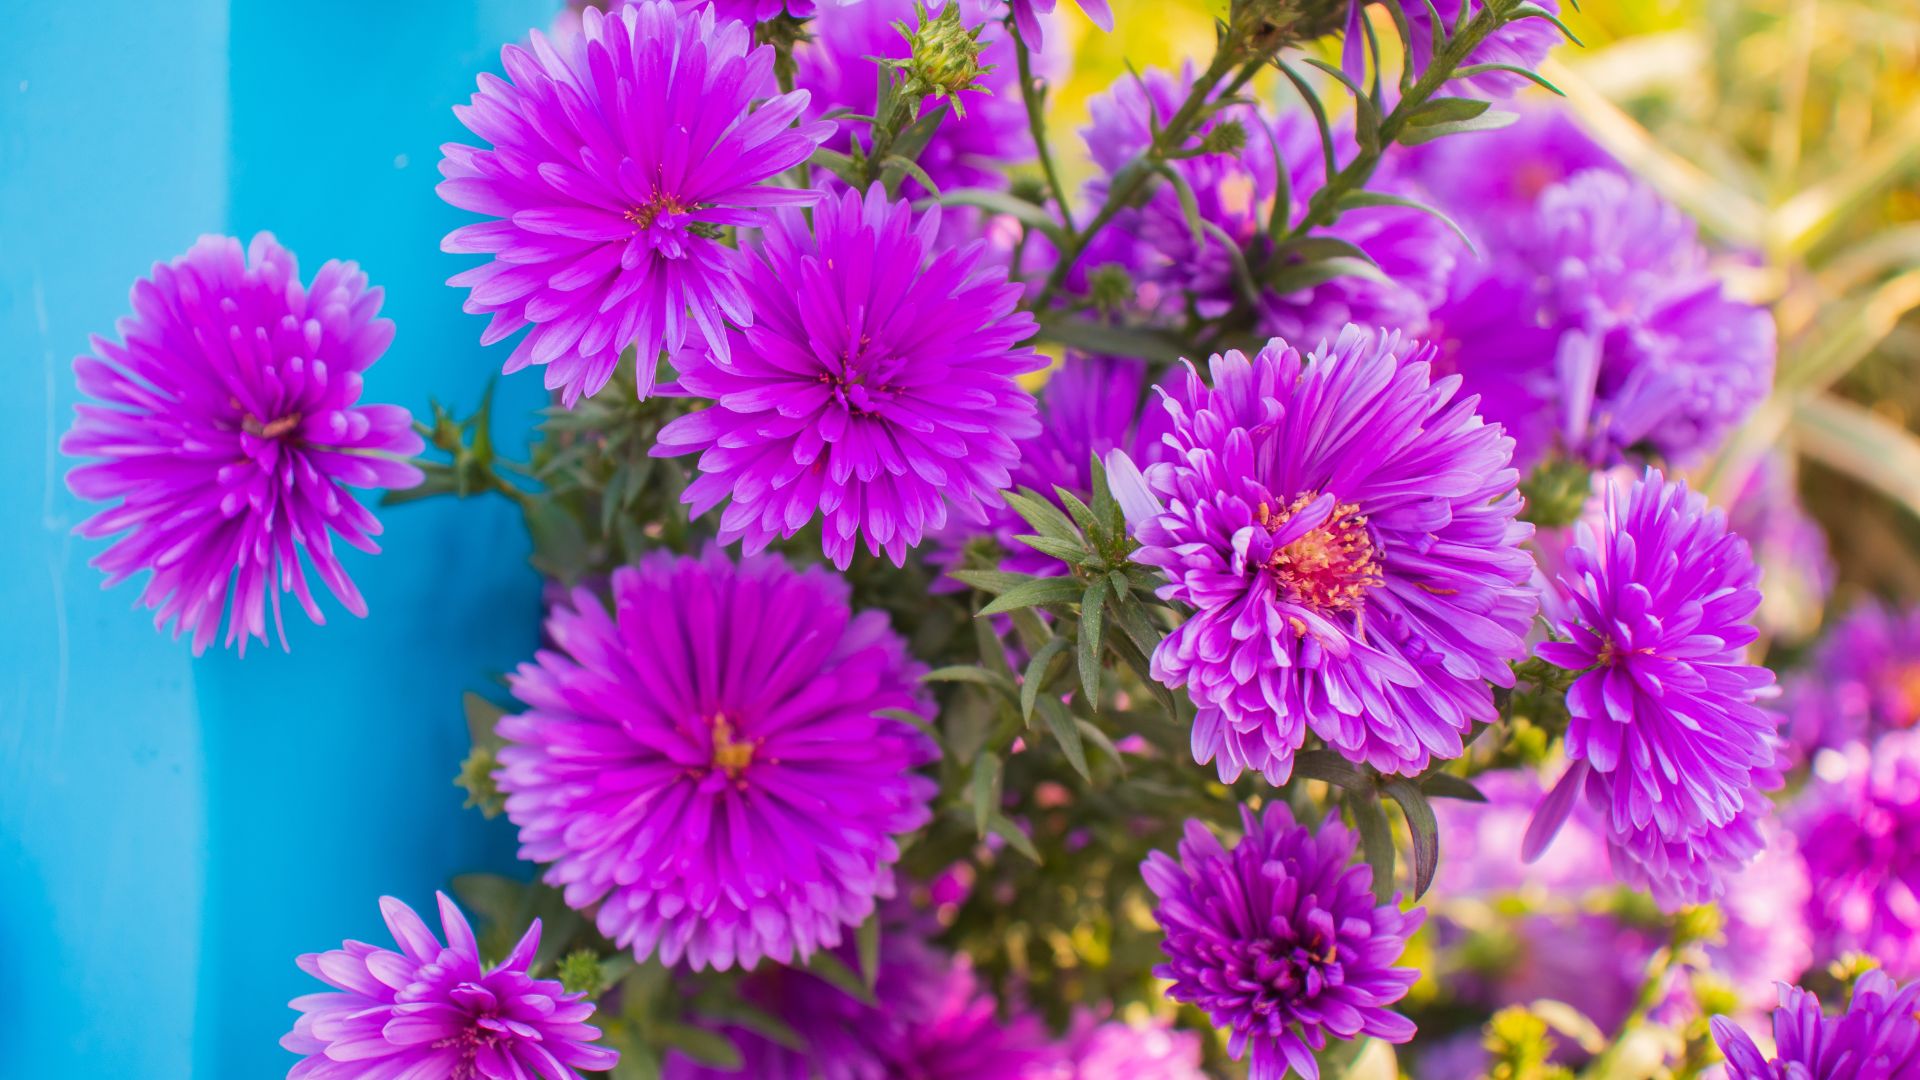
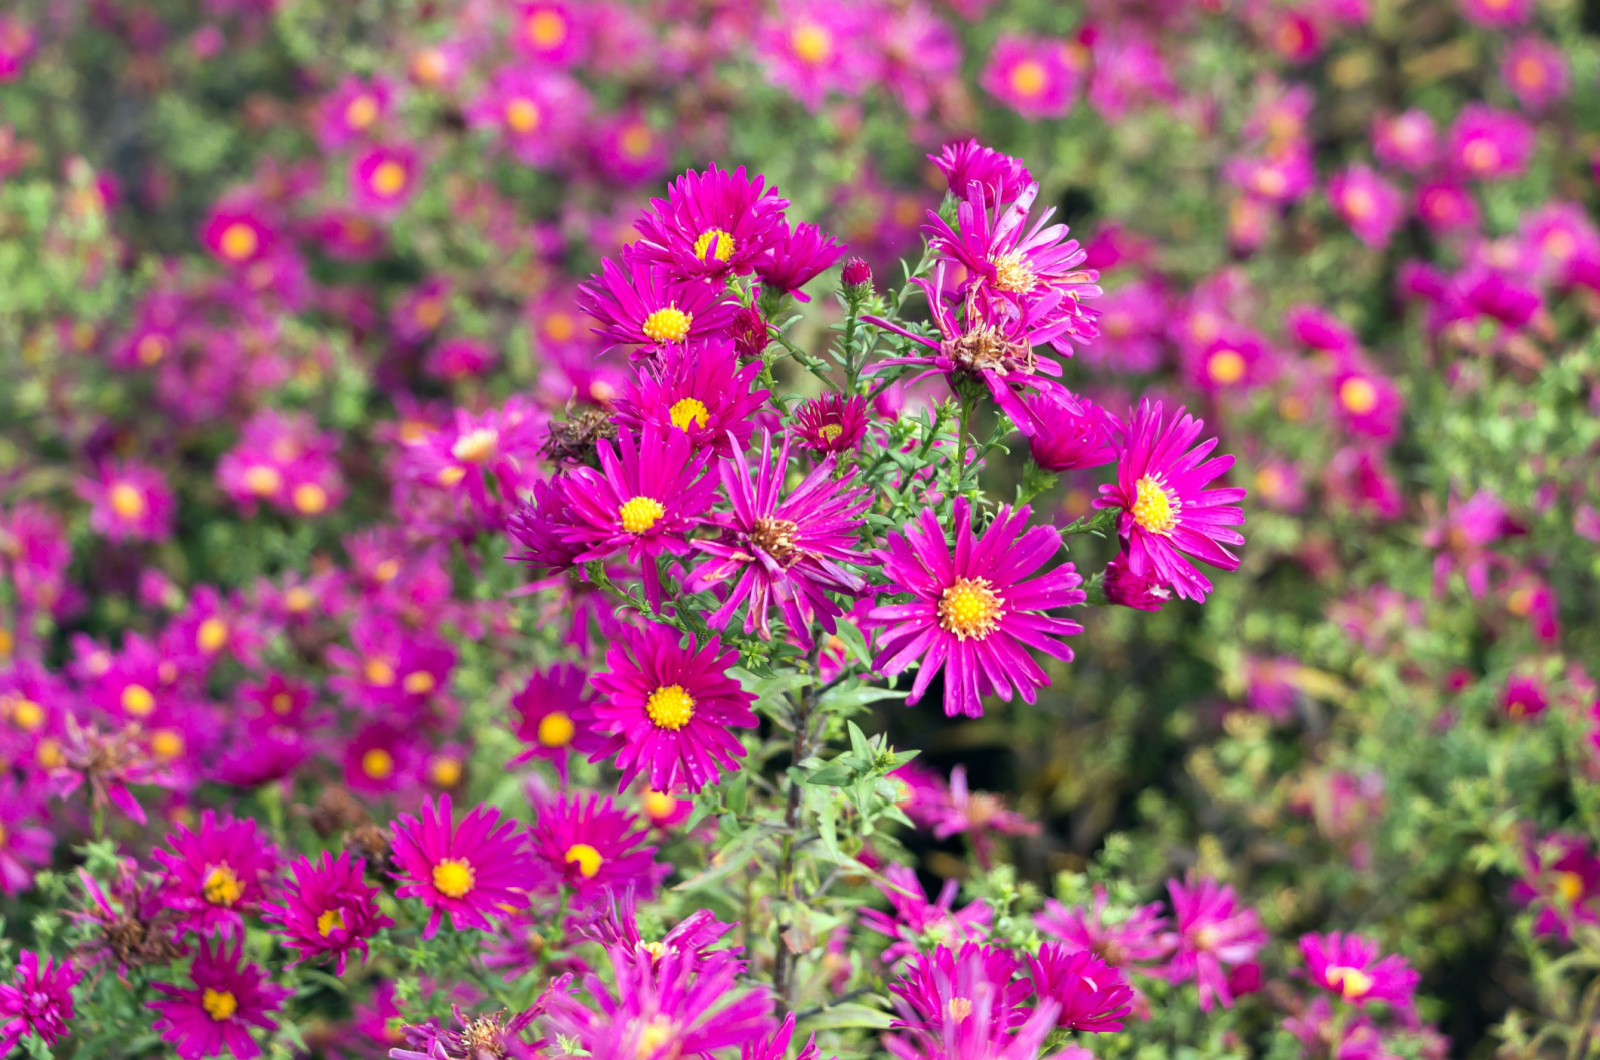
Meet the New York aster, a lovely species from the Symphyotrichum genus. These are North American native plants renowned for their low care needs and vibrant blossoms.
They’ll fit perfectly into rock and cottage gardens as well as in coastal landscapes.
In this article, I’ll show you how to care for your New York asters and make your garden more beautiful than ever before.
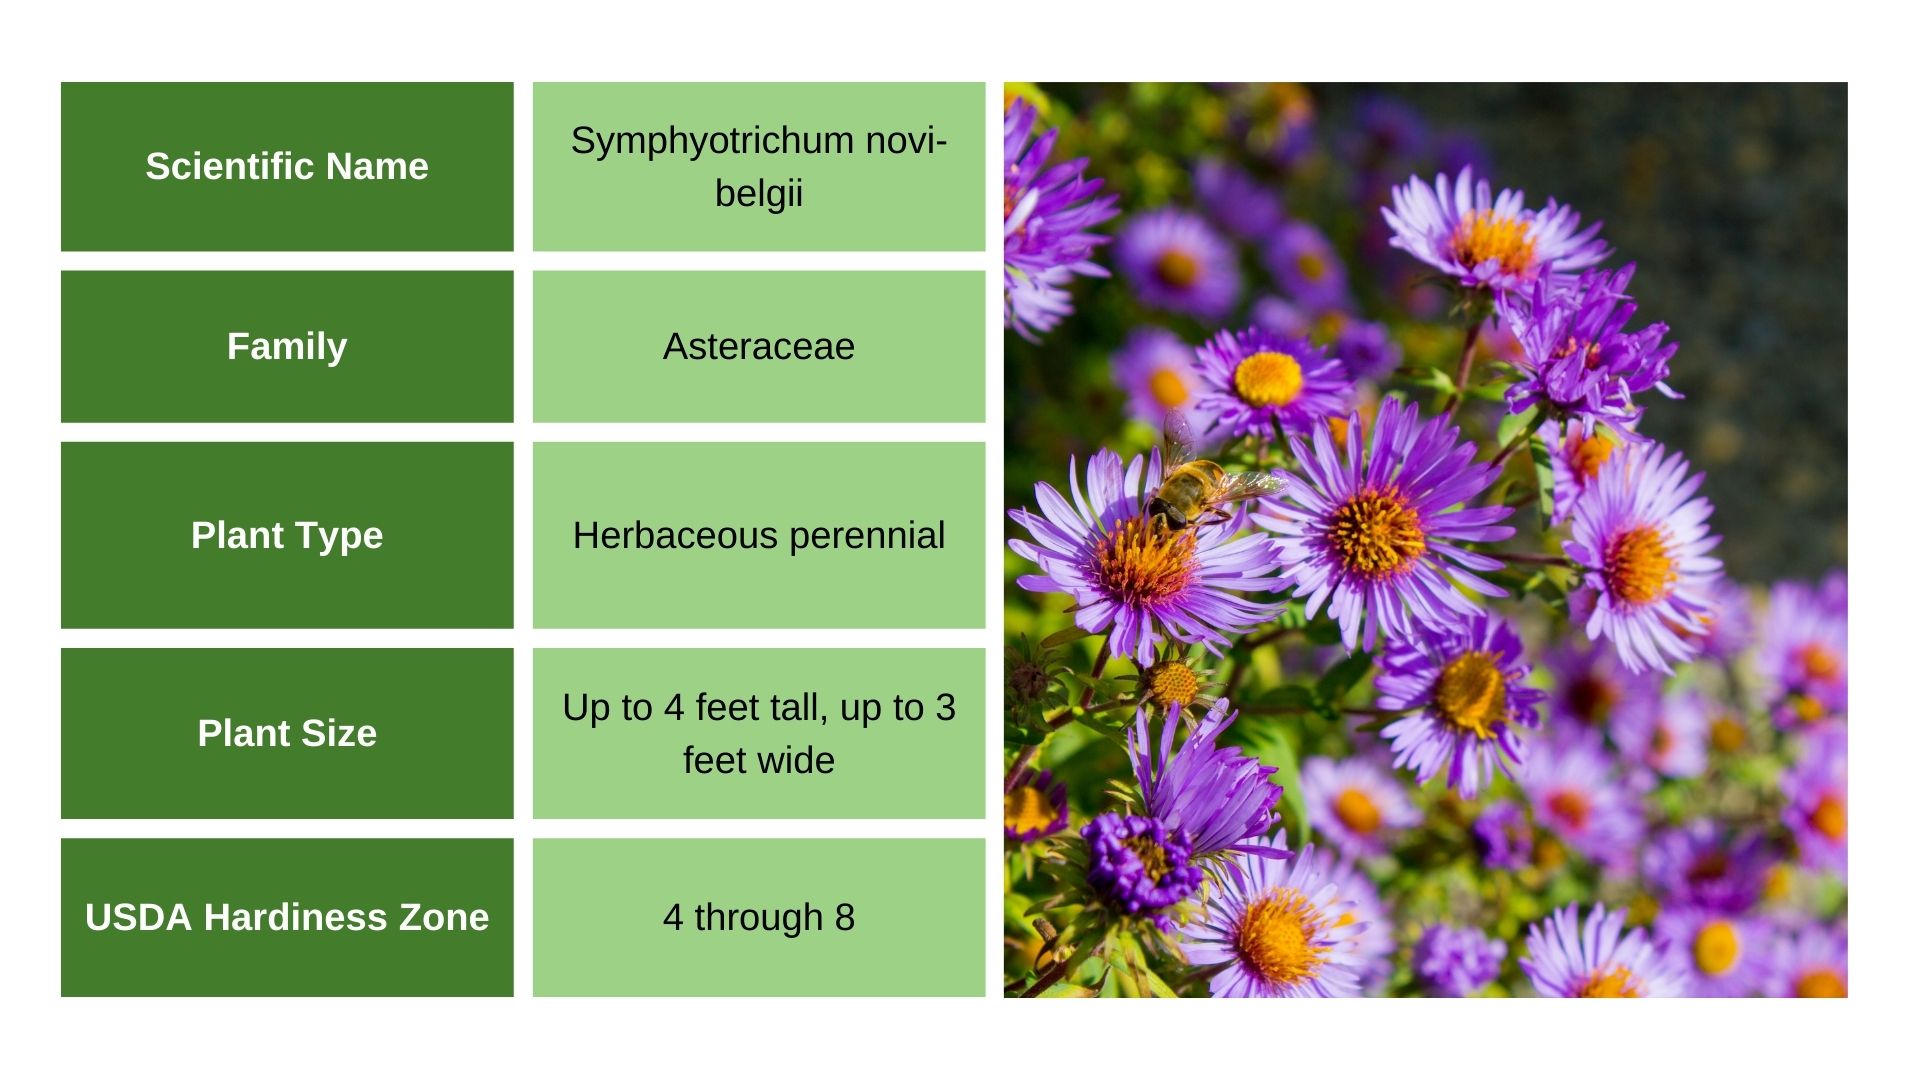
Before we move on, here’s some basic info.
Let’s get started!
A Complete Care Guide
New York asters are super-easy to maintain and I always recommend them to beginner growers.
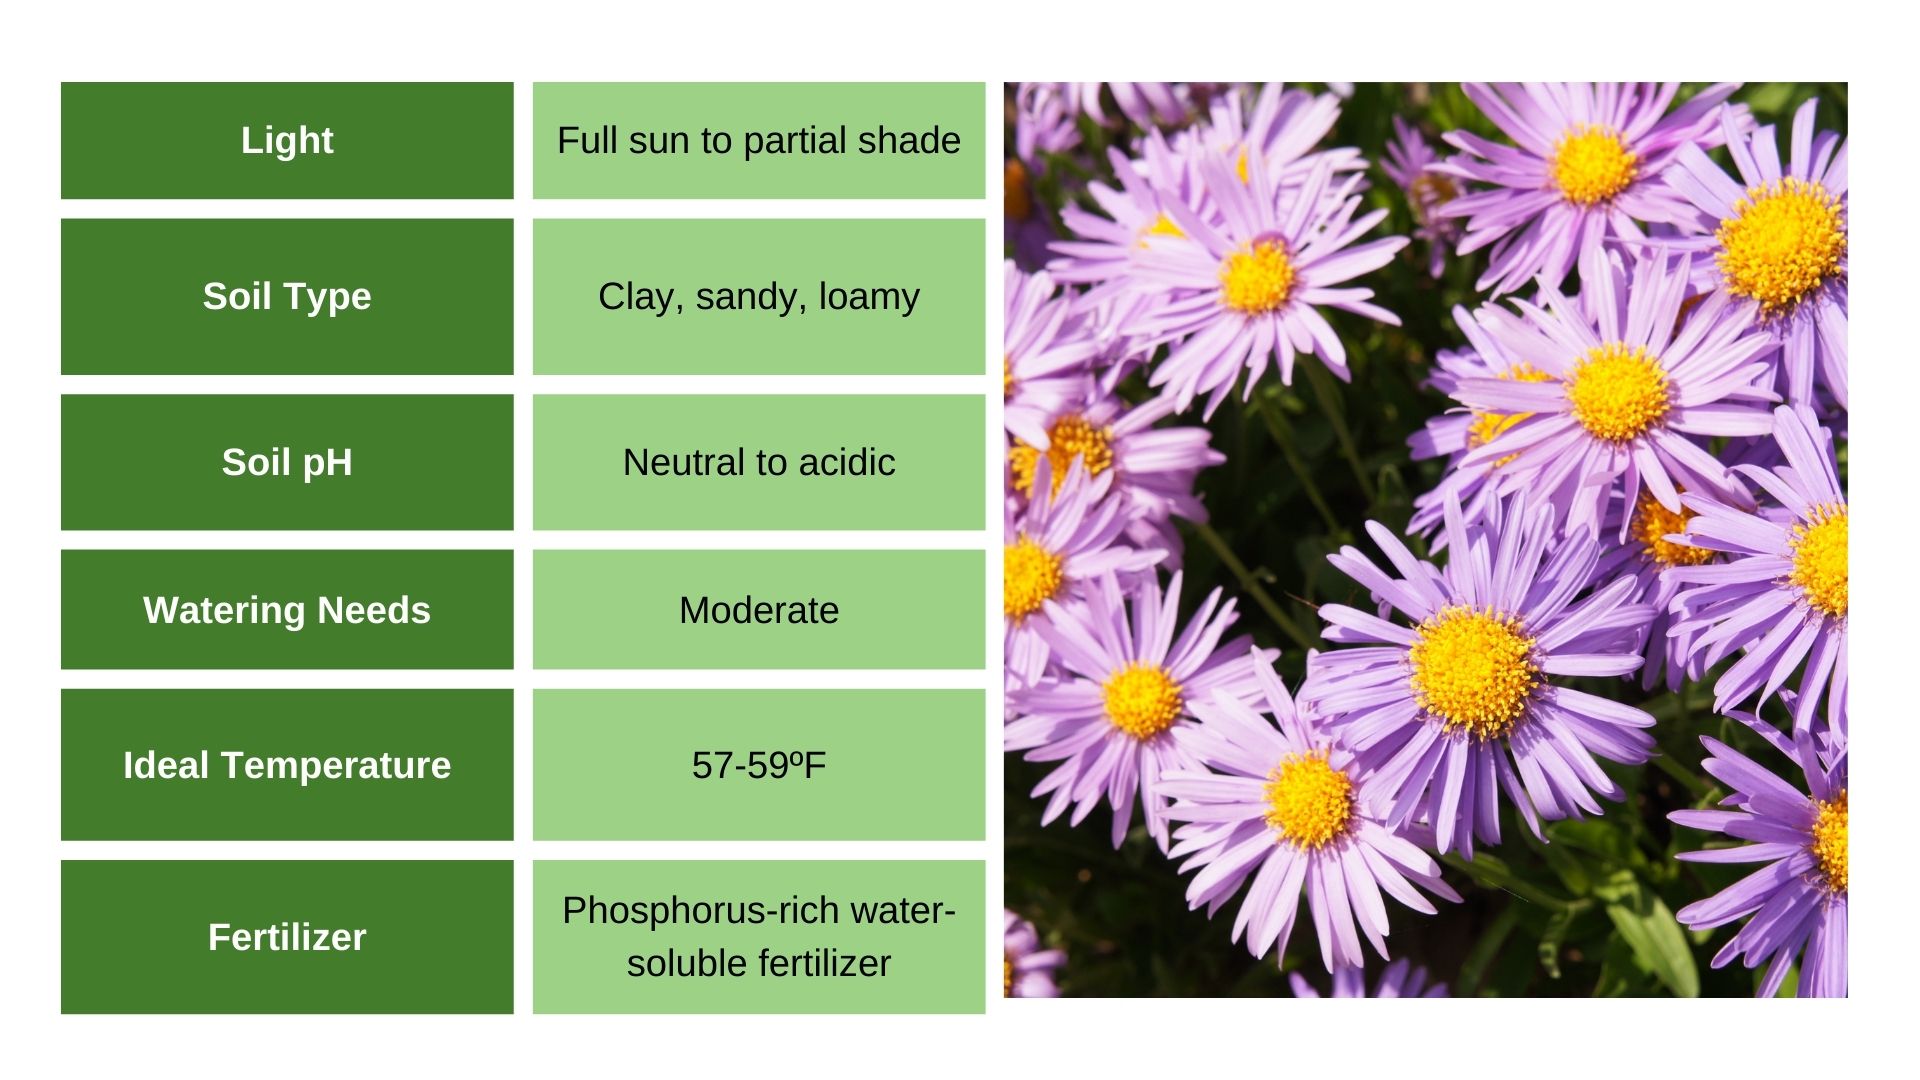
Here’s a table with an overview of New York aster care needs.
If you want to see an abundance of New York aster blossoms, you’ll need to provide the plant with approximately 6-8 hours of full sun per day.
These plants do well in partial shade but the amount and quality of blossoms is significantly lower. So, don’t plant your New York asters in a shady spot if you have a sunny spot available.
Ideal Soil Type
One of the greatest features of these plants is their ability to adapt to various soil conditions. Similar to their cousins from the Asteraceae family, New York asters are plants that do well in clay soils.
However, they prefer growing in fast-draining soil types, so for best results, plant your New York asters in fertile, loamy soil amended with organic matter. The stems will grow tall and the plants will generate numerous blooms.
Watering Schedule
Even though these plants can survive long periods of drought, they won’t perform as well as they would if they had a constant water supply.
The leaves and blossoms will be affected by the drought. You will encourage healthy development if you keep the soil moist but make sure the soil isn’t waterlogged because New York asters are susceptible to root rot disease.
Temperature And Humidity
These plants do well in temperate climates and they don’t tolerate too cool or too high temperatures.
If you live in an area that can be affected by a period of heat, don’t worry, New York asters will wilt but they’ll get back on track as soon as the temperatures drop.
New York asters aren’t fussy over humidity levels and they grow best in average humidity.
But there’s one thing to pay close attention to when it comes to high humidity. It will increase the plant’s susceptibility to fungal disease if you haven’t ensured enough space between each plant.
Fertilizing Schedule
One of the reasons why you should grow native plants is that they typically don’t require supplemental feeding for optimal growth.
However, you can encourage blooming and promote healthy growth in your New York asters by adding some nutrients.
As soon as the spring arrives, amend the New York aster soil with compost or apply a water-soluble fertilizer.
You should opt for fertilizers rich in phosphorus to promote root growth instead of leaves and blooms.
Types Of New York Asters
Low care requirements and a stunning appearance have made these plants very popular among gardeners.
Here are some types of New York asters.
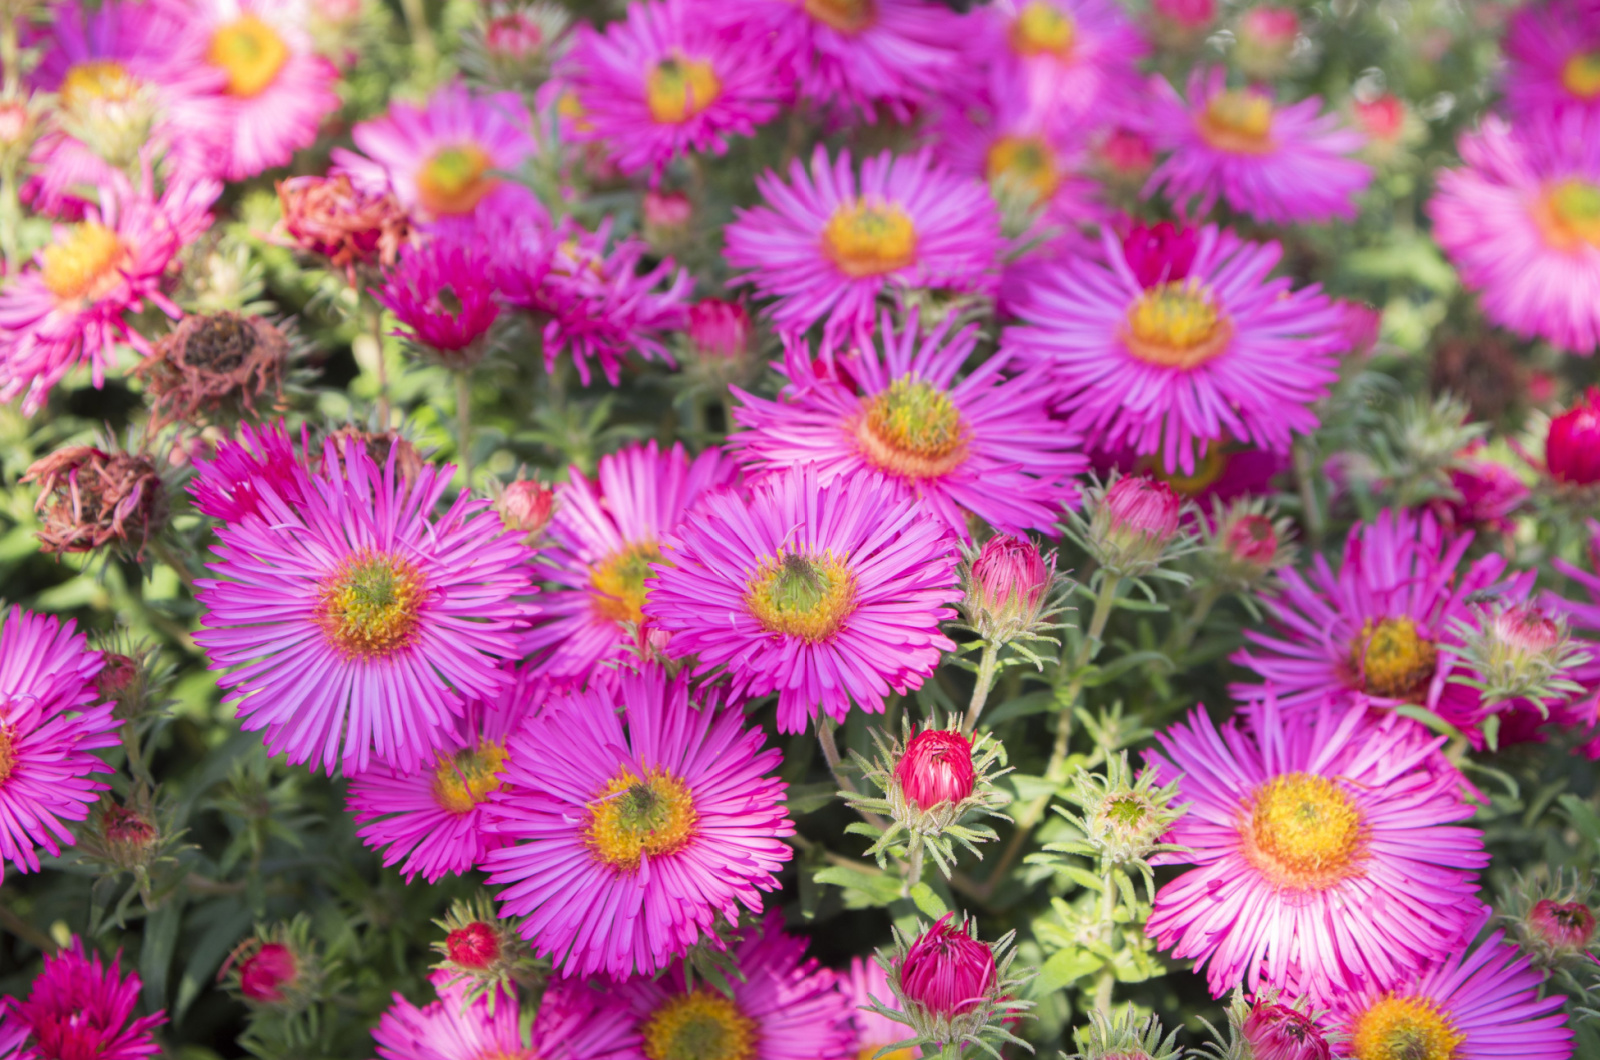
• Fellowship: This is a tall cultivar and it features adorable bright pink double blossoms. Since the stems get pretty tall, you’ll need to ensure some structural support.
• Ruby Red: This variety is renowned for its compact semi-double blossoms that come in a mulberry red hue. It’s a perfect choice for borders in cottage gardens because it won’t exceed 2 feet.
• Combee Violet: Another tall cultivar with gorgeous dark violet semi-double blossoms. It typically reaches 4 feet, so you need to ensure support to prevent flopping.
How To Prune New York Asters
The thing is that you can skip pruning and your New York asters will grow just fine. However, pruning has multiple benefits, such as a tidier appearance of plants, more blossoms, and longer life.
The best time to prune New York asters is in late spring, when you should cut down the stems to half their size. This will encourage bushier growth and the stems will be more robust after they regrow.
These are self-seeding plants and you should deadhead the blossoms after they fade away unless you want these plants to be all over your garden.
How To Propagate
There are three propagation methods you can use to get more New York aster plants: from seeds and cuttings or by division.
I highly recommend using the division method because you should divide your New York asters every 2-3 years anyway. The main reasons are improving air circulation between plants and promoting overall health.
Here are the steps.
1. Don’t propagate until the plants are 3 years old and have a strong root system.
2. Take a sharp shovel and separate the New York aster clumps into two parts.
3. Plant each section separately and make sure to provide them with the same conditions.
4. Add some compost or bone meal to the soil to boost the nutrient levels.
5. Make sure the soil is constantly moist until your New York aster sections are fully established.
How To Get Your New York Asters To Bloom
If you want an abundance of New York aster blossoms, here is what to do.
The Blooming Season
These plants have a long blooming season and make a perfect addition to fall gardens, along with other asters such as October Skies.
You can expect to see the first blooms in late August and they’ll last up until the first frost.
They’re seen in gardens on St. Michael’s Day, which earned them the nickname Michaelmas daisies.
What Do New York Aster Blossoms Look Like?
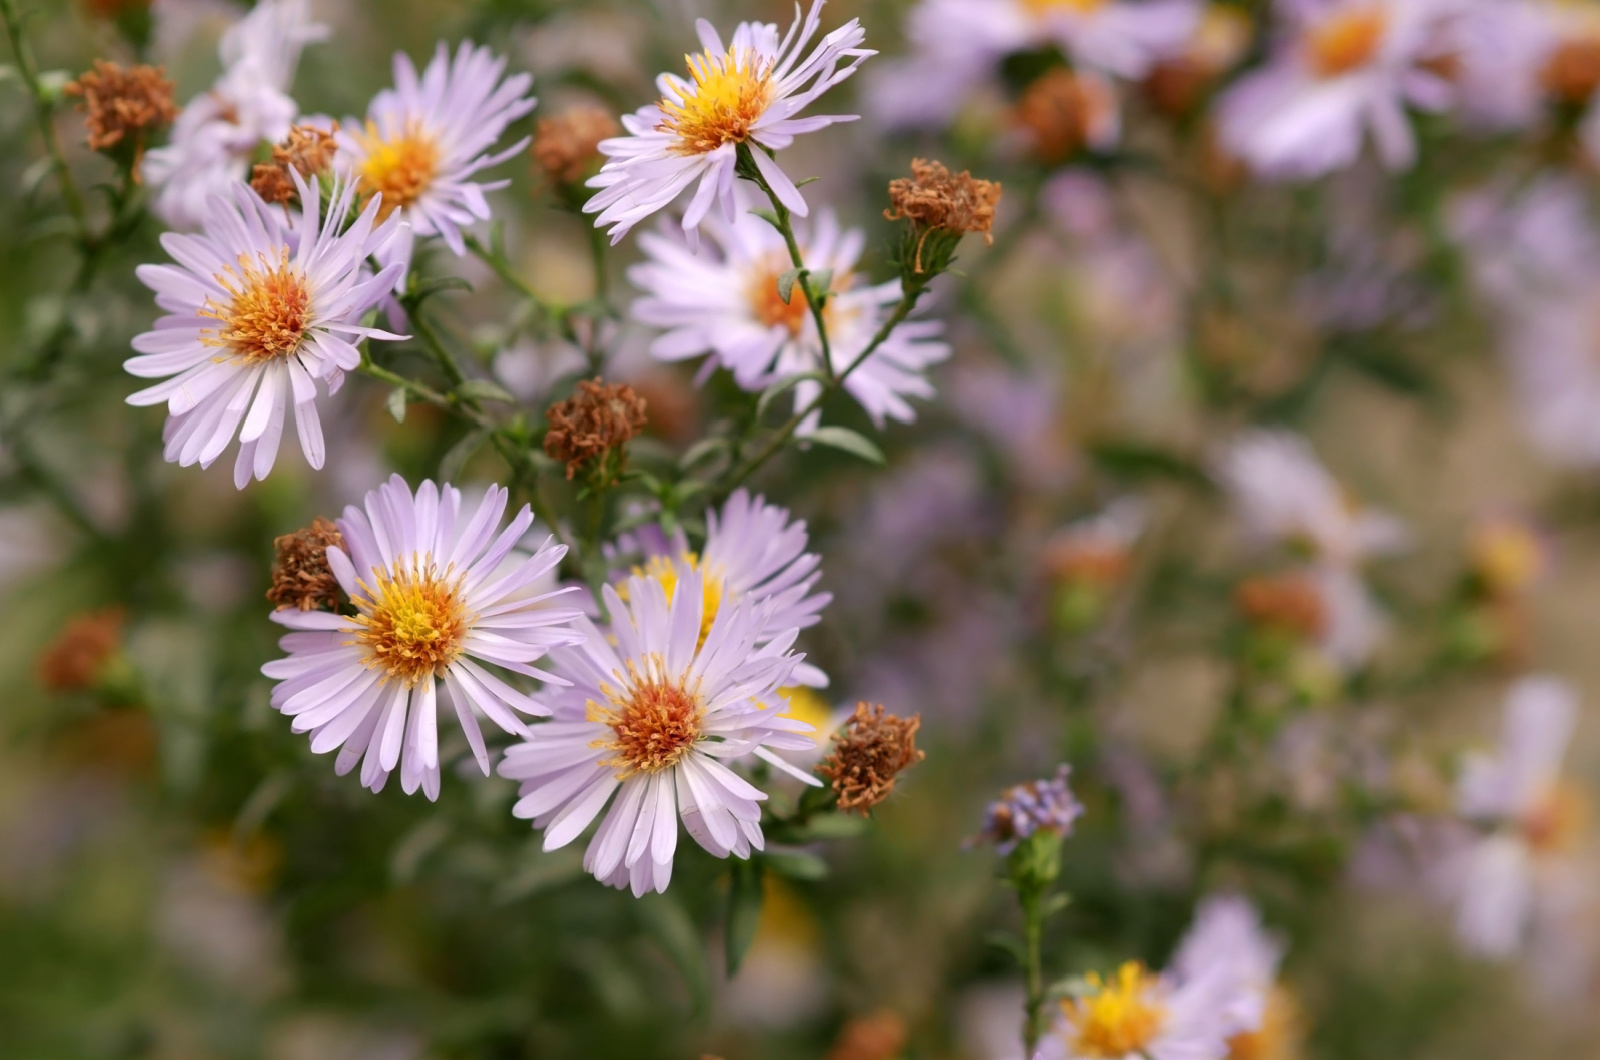
The blossoms resemble those of daisies and the flower heads can be either semi-double or double. They are typically an inch in diameter.
The disk centers come in yellow whereas the petals can come in various hues, such as violet, pink, purple, or white.
Interestingly, New York aster blossoms drop during the nighttime but come back as soon as the sun rises.
How To Encourage Flower Production
Don’t be discouraged if you don’t see any New York aster blossoms during the first two years. Juvenile plants need some time to generate a robust root system, so you can apply phosphorus-rich fertilizer to promote root growth.
Additionally, divide the plants every three years to improve the airflow around the plants and promote healthy flower production.
Common Diseases
I’ve mentioned the importance of airflow for New York aster plants a couple of times. These plants develop into clumps and if they’re overcrowded, become susceptible to fungal diseases such as powdery mildew.
Prevention is the key so divide the clumps every three years, irrigate only at the base of the plant, and make sure your New York asters receive full sun.
If the plant already shows some signs of this disease, you can fix it by removing the affected plant parts and applying fungicide or neem oil.
Another disease that may occur is Verticillium wilt and you’ll need to remove all the plant parts, including the roots, to prevent the infection from spreading.
Common Issues
Here are the most common issues gardeners face when growing New York asters.
Stems Flopping
The most common cause of flopping stems in New York asters is overcrowding or overwatering. Division of clumps and a proper watering schedule can help you avoid this problem.
If you grow taller varieties, flopping can occur no matter how healthy the plants are, and staking is necessary in this case.
Leaves Turning Yellow
The main problem with yellowing leaves is that there are various causes for it. However, in New York asters, the most common causes are light and watering issues.
As mentioned, excess water in the soil increases susceptibility to root rot; brown crowns and drooping stems follow the yellowing.
On the other hand, the leaves of your New York asters can turn yellow if you underwater the plants. High summer temperatures, full sun, and dry weather will cause the water to evaporate faster and yellowing will occur as a result.
Leaves Turning Brown
The reason for browning in New York aster leaves is powdery mildew. In this case, your plants are overcrowded and the airflow is poor.
You’ll need to cut off all the infected parts, apply fungicide, and divide the clumps to promote air circulation.
New York asters look amazing in gardens and you can keep them happy and healthy with little effort! All you need to do is follow our guidelines and enjoy the numerous blooms the next season.

