A Detailed Guide To Plant Propagation Methods
Many growers propagate plants without knowing many details about the process, its scientific background, or its value.
I believe the best way to achieve something in life is to learn everything about it that you can!
For example, you must know all the options available when deciding the plant propagation method you’re going to use.
The chances of doing something wrong are also much lower when you know more about the subject.
Today, we’re going to go through everything you need to know about propagation, including the two most common forms of propagation, how to do them, and what can go wrong.
Let’s begin!
Plant Propagation Methods: Sexual Propagation
We divide propagation into two forms: sexual and asexual.
I’ll first discuss sexual propagation, which involves creating new plants from seeds.
This propagation method is generally simple, and doesn’t usually need any specialized tools. It’s how plants reproduce in nature.
So, how do seeds form? It’s because of pollen, which is carried from the flower’s anther (the male section of the plant) and the flower’s stigma (the female section of the plant).
With the exception of mutations, every seed produced by self-pollinated plants will have the exact same genetic composition as the parent plant.
The seeds need to be top-notch because the propagation will only succeed if you have healthy seeds.
Although many gardeners want to save seeds for the following year, home-grown seeds frequently have unsatisfactory germination rates because the storage conditions needed to keep seed viability are somewhat challenging to maintain.
Let’s learn more about seeds.
Seed Germination
Believe it or not, germination is one of the most complicated processes in nature. First, the seeds need to be viable and have suitable internal characteristics.
Once these two requirements are met, the ideal conditions must then be provided.
When it comes to the characteristics that influence germination, seed coat and dormancy stand out.
Environmental variables that affect germination are related to humidity, temperature, air, and, under some circumstances, light.
Knowing your plant is vital because different species require different conditions in terms of germination.
Internal Factors
Some plant varieties develop seeds that are almost water-proof. This trait tends to prolong their life in nature, but it also reduces the likelihood that they will sprout right away. The majority of legumes produce seeds like this.
Growers can promote the germination of seeds with tough seed coats by altering the protective coating.
For example, soaking them in warm water or briefly submerging them in acid.
For some species, germination happens when specific internal adjustments are made in response to the surrounding environment, so seeds generated in the fall won’t germinate until the temperatures are high enough.
External Factors
Some species, such as celery, require a lot of moisture for their seeds to sprout. On the other hand, cucumbers, melons, and broccoli tolerate lower soil humidity levels.
Another essential factor is the temperature; some species need higher or lower temperatures for their seeds to sprout, while others can tolerate a diverse range of temperatures.
For example, cruciferous veggies favor cool weather and produce seeds at such temperatures, so the seeds won’t need higher temperatures to sprout.
On the other hand, corn thrives in warm climates and requires rather warm soil for sprouting.
Generally speaking, most plants require temperatures between 75 and 80 degrees Fahrenheit for their seeds to sprout.
How To Start Seeds Indoors
It’s possible to start seeds indoors for early maturity and greater performance.
This mainly depends on the type of plant in terms of sowing time.
Indoor seedling production involves a few specific factors for success.
Let’s find out more!
Pots
First, you need to choose the right type of pot to start the seedlings in. Make sure they’re clean, robust, and of the correct size.
I use plastic pots as they’re readily available, affordable, and don’t decrease the success rate.
Many home gardeners suggest using clay pots, but the biggest drawback with those is sterilization because it may be challenging to sanitize them before use.
Many growers also use biodegradable pots, such as peat pots.
Rooting Medium
The best rooting medium for plants is well-aerated, well-draining, and loose.
You’ll find many ready made rooting mediums based on peat moss or vermiculite.
The only thing to avoid when choosing the right rooting medium is using only soil. It’s better to choose one with amendments that improve drainage, such as perlite.
Care
The seedlings must be provided with optimal growing conditions in order for them to sprout. They’ll need a lot of bright light, so if you can’t find a place where they can receive enough light, you can use grow lights.
I recommend you start feeding the seedlings after a couple of days using a water-soluble fertilizer. Always dilute fertilizer to half strength before use.
The fertilizing schedule depends on the plant species, fertilizer npk ratio, and some environmental factors.
Always keep an eye out for issues like pests and diseases.
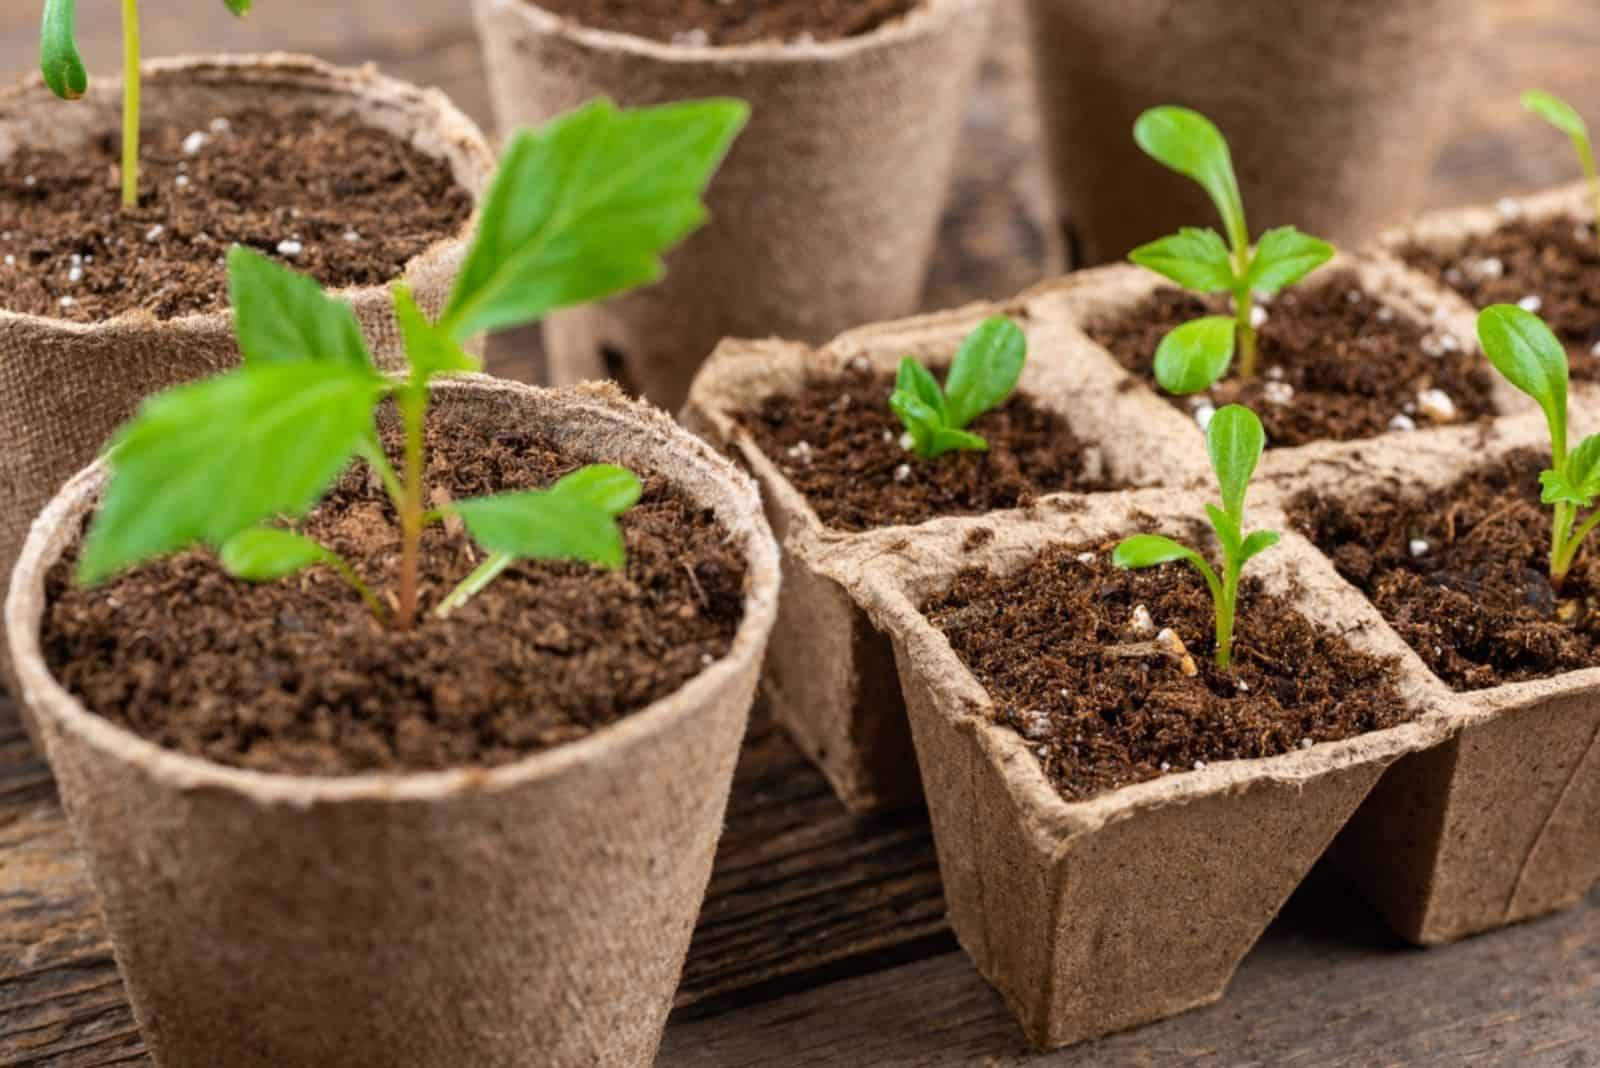
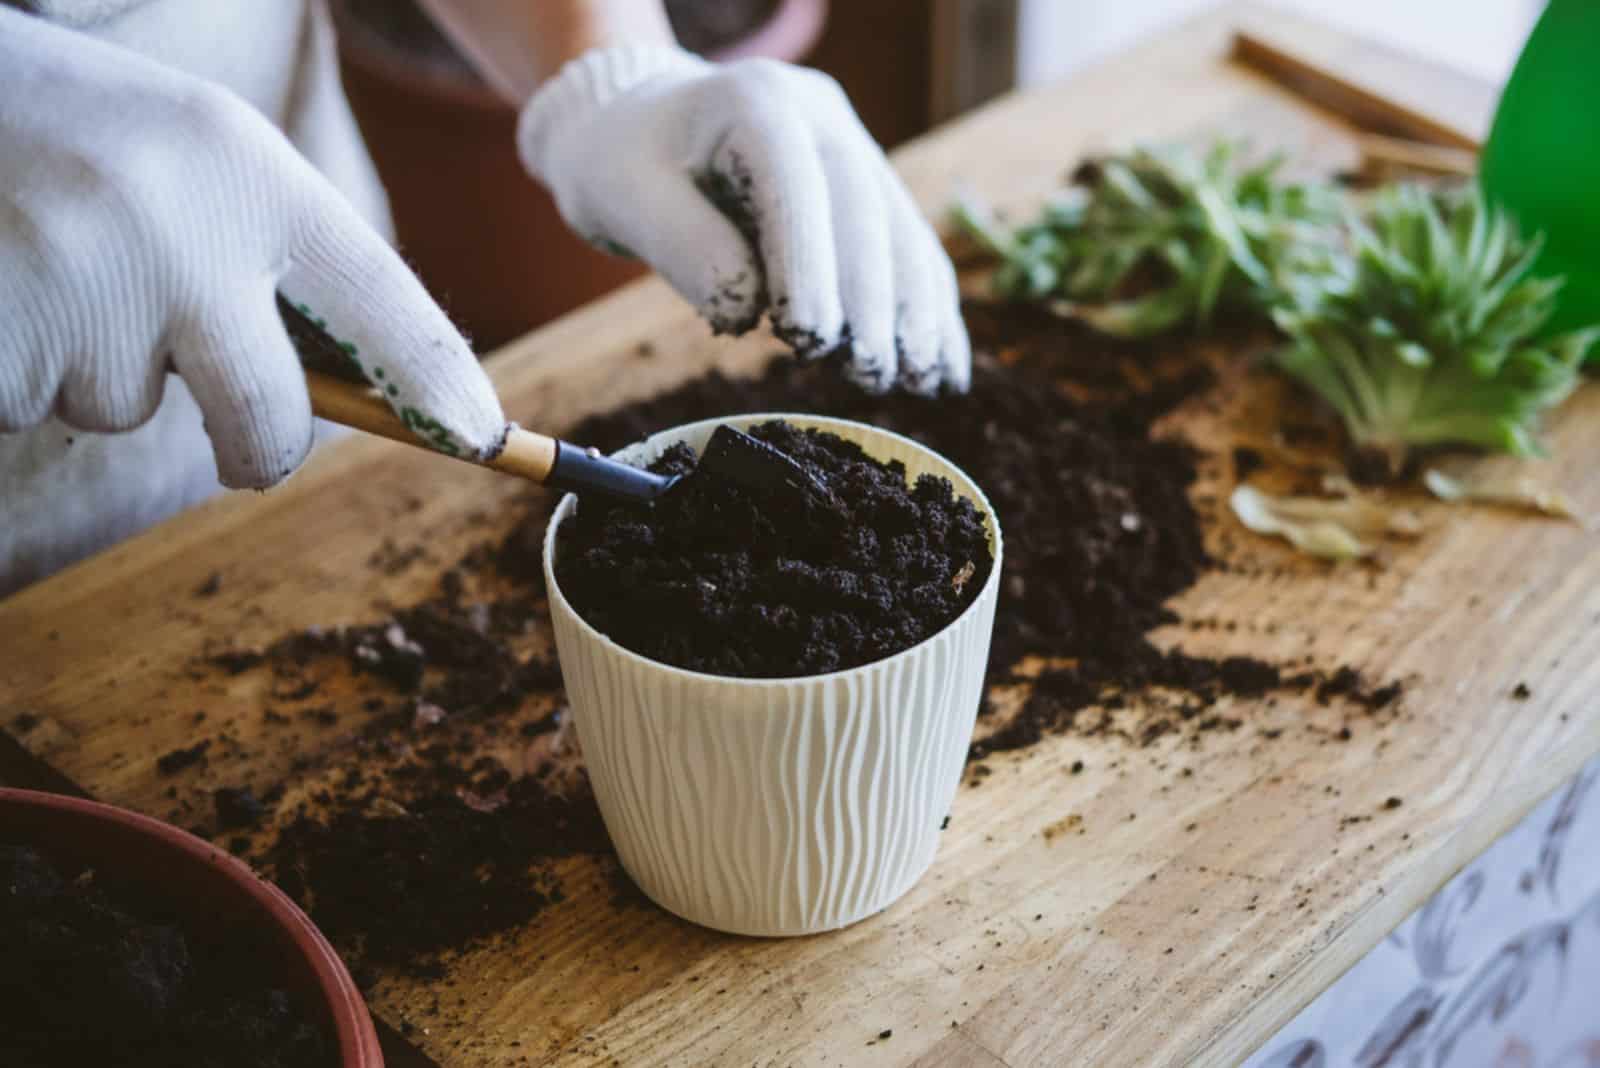
Transplantation
The seedlings are ready for transplanting once the leaves open up.
Don’t let the seedlings develop too much because it will make the transplant less successful.
Fill the pot with a potting mix and poke some holes in the soil that are big enough to accommodate the root system.
Any pressure applied to the stem might cause harm or death to a seedling, so hold the seedlings by the leaves when planting.
Carefully insert the seedlings into the holes, and ensure they get enough light and moisture.
Asexual Propagation
Asexual reproduction involves using vegetative parts of a plant species to create clones. The first benefit of this propagation form is that you get a plant that’s the same as the parent plant.
Secondly, the time it takes for the plant to develop enough for transplantation is much shorter than for seed germination.
Third, sexual reproduction can be challenging because some plant species generate sterile seeds.
Plant growers use various asexual propagation techniques, including taking the cuttings from different parts of the plant, grafting, division, layering, and tissue culture (lab cultivation).
Let’s find out more about each technique.
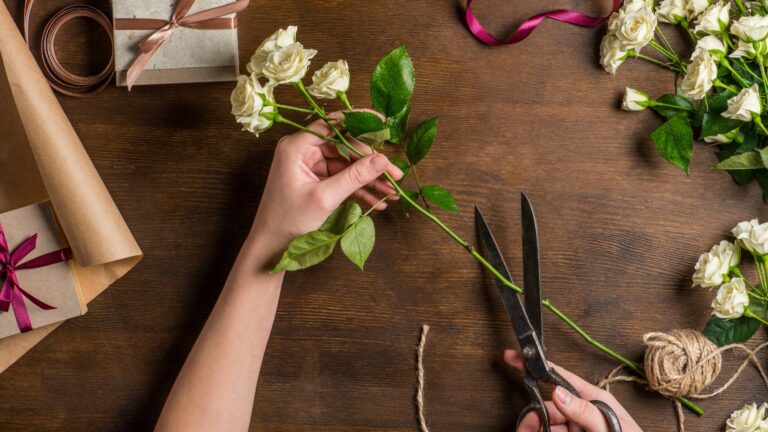
Cutting
If you cut a section off the mother plant and root it in a specific medium, you have propagated asexually through cuttings!
There are four categories of plant cuttings used in vegetative propagation:
• Herbaceous (cuttings taken from herbaceous plants)
• Softwood cuttings (new growth during the growing season)
• Semi-hardwood cuttings (succulent but immature tissue)
• Hardwood cuttings (from woody plants)
Leaf Cuttings
Propagation via leaf cuttings is a common way of getting new plants. For example, if you decide to propagate a Begonia maculata, this propagation technique is perfect.
When taking leaf cuttings, make sure the plant is healthy and that the leaf has petioles.
You may need to wait a few months until the leaf-cutting develops new roots and is ready for planting.
Of course, the plant species will determine the growth rate.
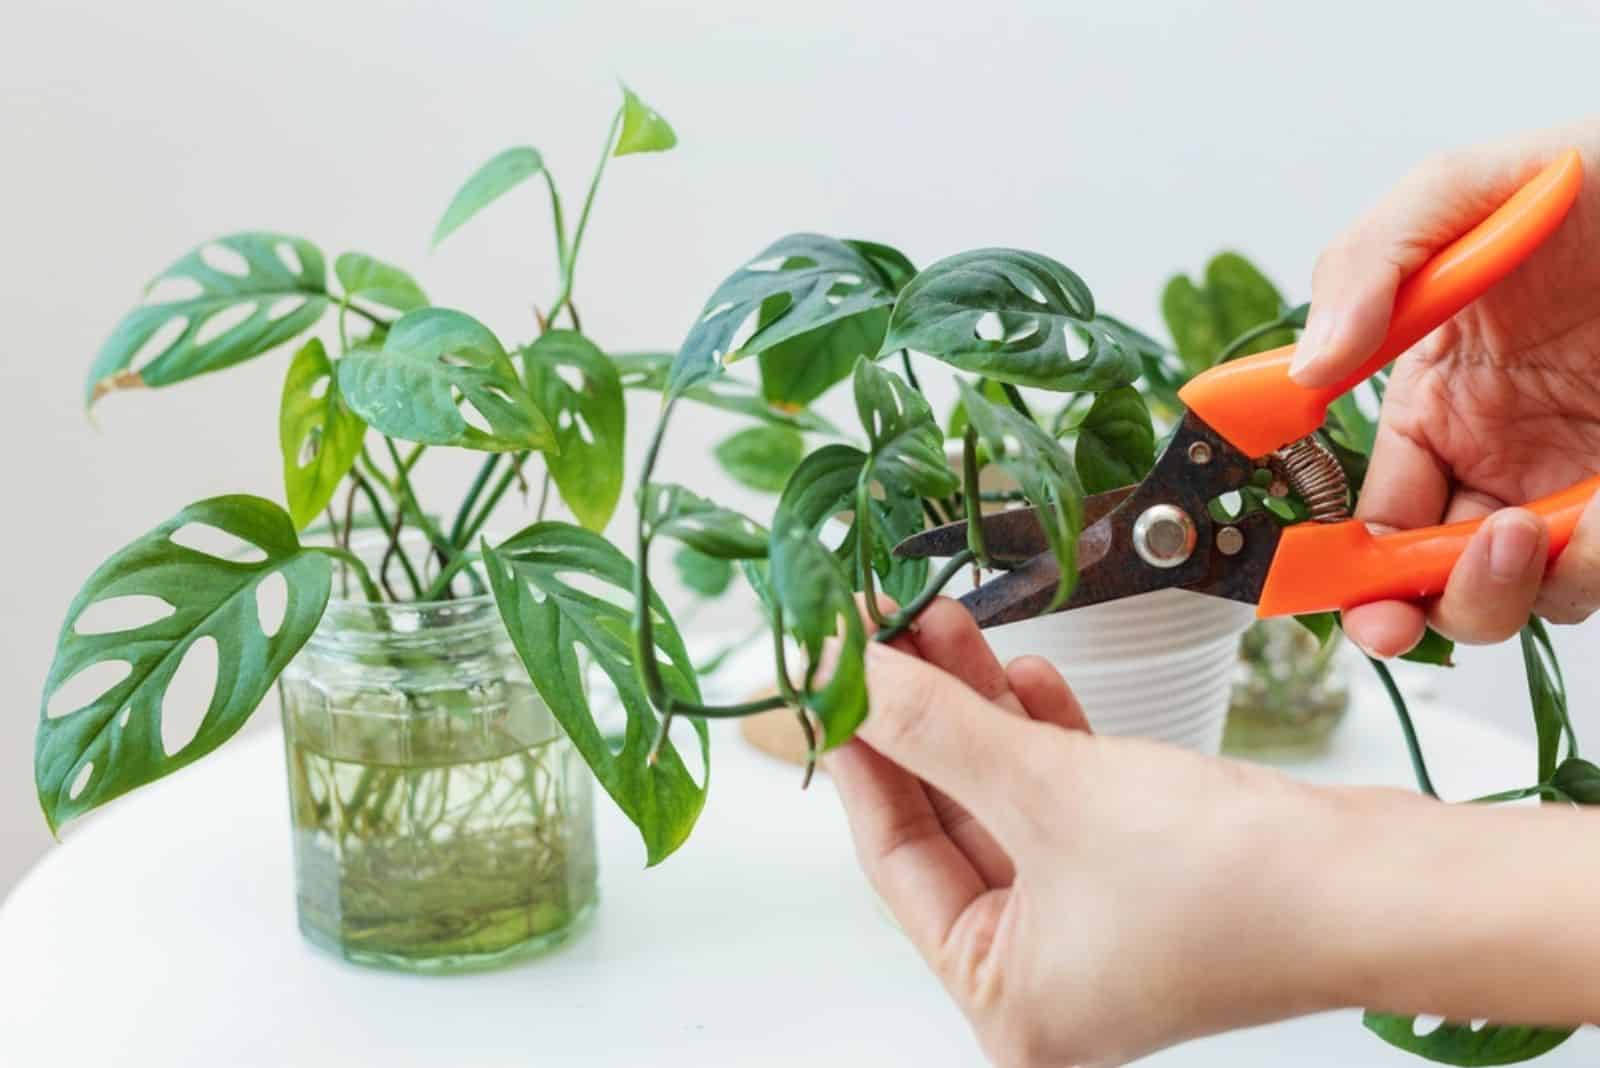
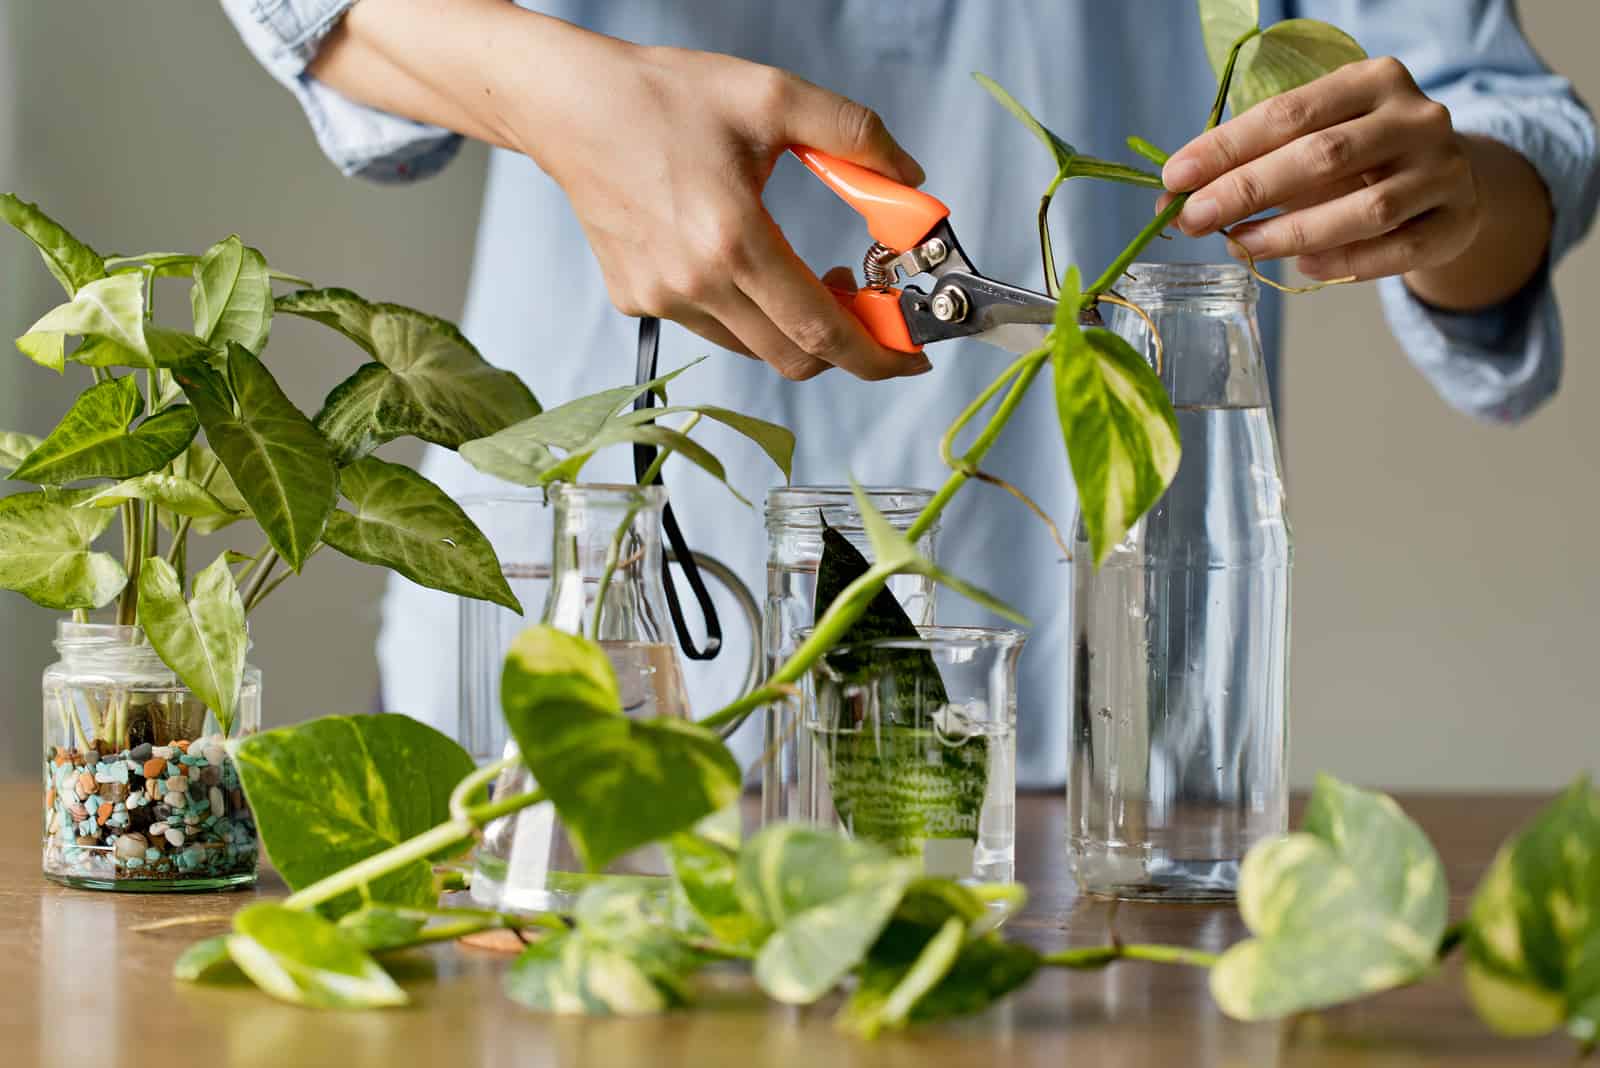
Stem Cuttings
Another very popular propagation method is stem cuttings. If you are propagating a Philodendron birkin, this is probably the best and easiest way.
The essential part of propagation by stem cuttings is that they should be removed from a healthy mother plant and be about 4-6 inches long.
If you decide to use this method, you’ll also need a clean, sharp knife and a rooting hormone to promote root growth.
The cuttings will need moisture and good aeration to develop new roots.
The most common technique for increasing moisture and humidity is misting, though some growers use clear plastic bags.
Another essential factor for stem cuttings to develop roots is temperature. Most plants, including houseplants, require a temperature range of 75 to 80 degrees Fahrenheit.
Root Cuttings
We typically take root cuttings when the plant is relatively old (2-3 years). These cuttings should be taken during the resting period of plants (dormancy) because they have a considerable amount of carbohydrates.
Interestingly, some plant species establish root systems and then form new shoots. On the other hand, some plant species produce new shoots and then establish the root system.
We usually take flat top cuts from plant species with pretty large roots. Then we cut 2-6 inches diagonally beneath the initial incision.
After that, we put the cuttings in the rooting medium. I often use pre-moistened peat moss and leave the cutting for three weeks or until it develops roots.
Some plant species have tiny roots, so you need to take approximately 1-2 inch long root portions.
After taking the cuttings, lay them a few inches below the soil line.
Layering
You can also use layering as your propagation technique. This technique involves creating new plants while the stem is still connected to the mother plant.
This multiplication method is straightforward and doesn’t require any specialized tools.
You can learn more about the three layering techniques below.
Simple Layering
Simple layering involves bending the stem to the soil and covering it with the growing medium.
We usually leave a few inches of the stem uncovered, and the sharp bend causes roots to sprout.
However, cutting the bottom part of the branch may be helpful for some plant cultivars, such as Rhododendrons.
Compound Layering
If you grow Philodendrons or pothos plants, compound layering is an excellent method for propagating them.
The only difference between this method and the simple layering method is that you periodically cover and expose the stem.
Once the roots develop (usually in the early spring), the branch is divided into sections at the points where it penetrates the soil.
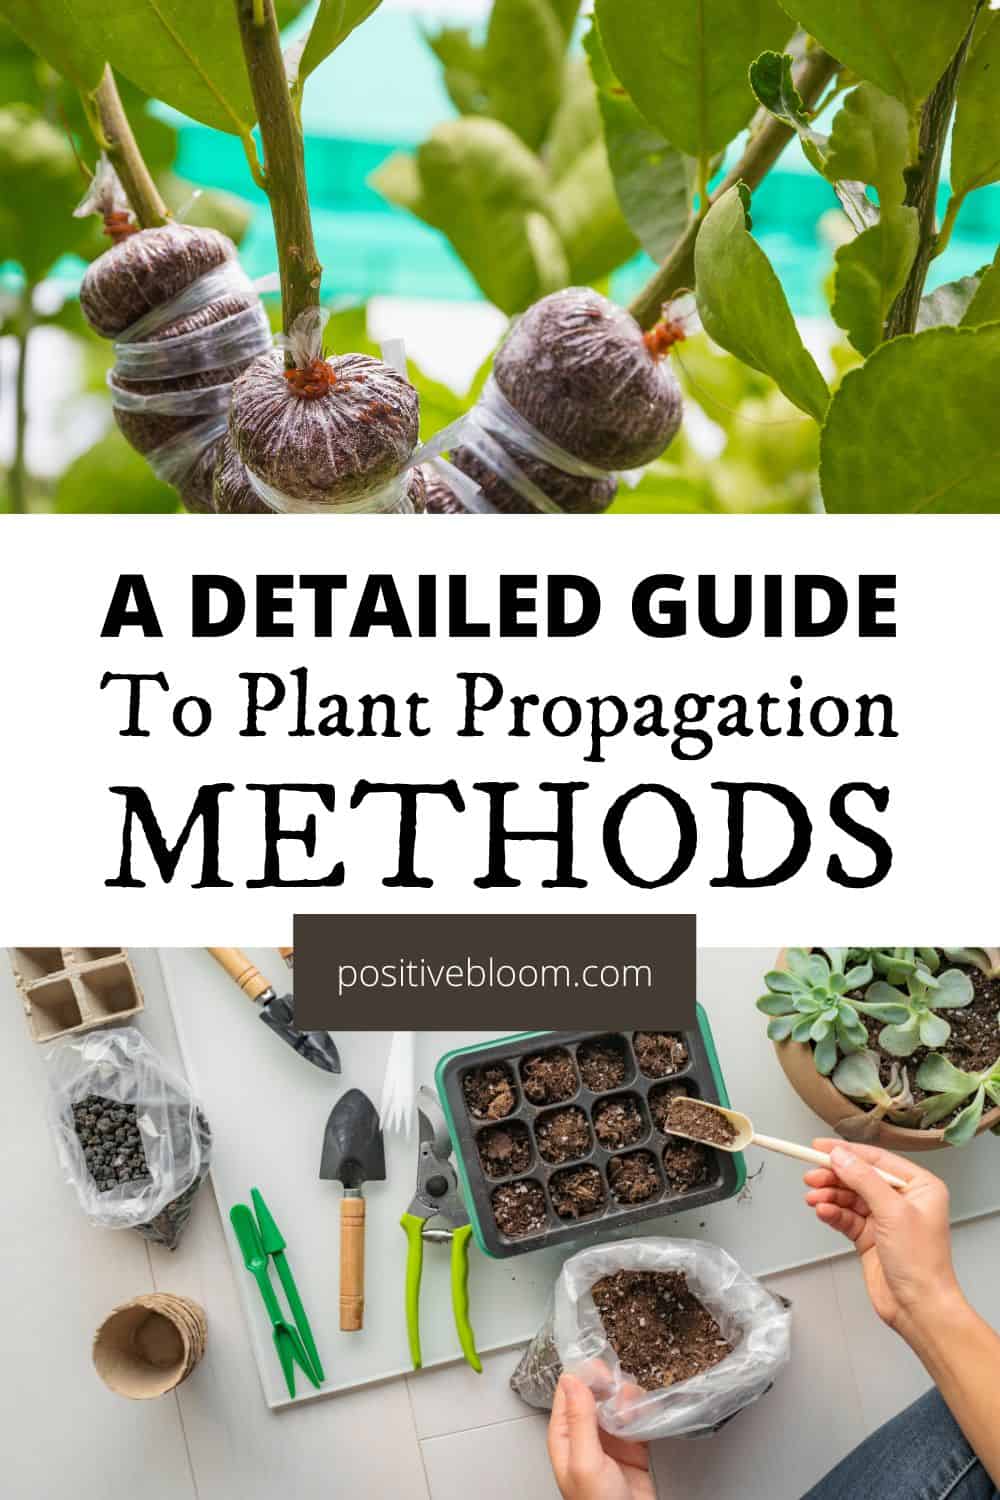
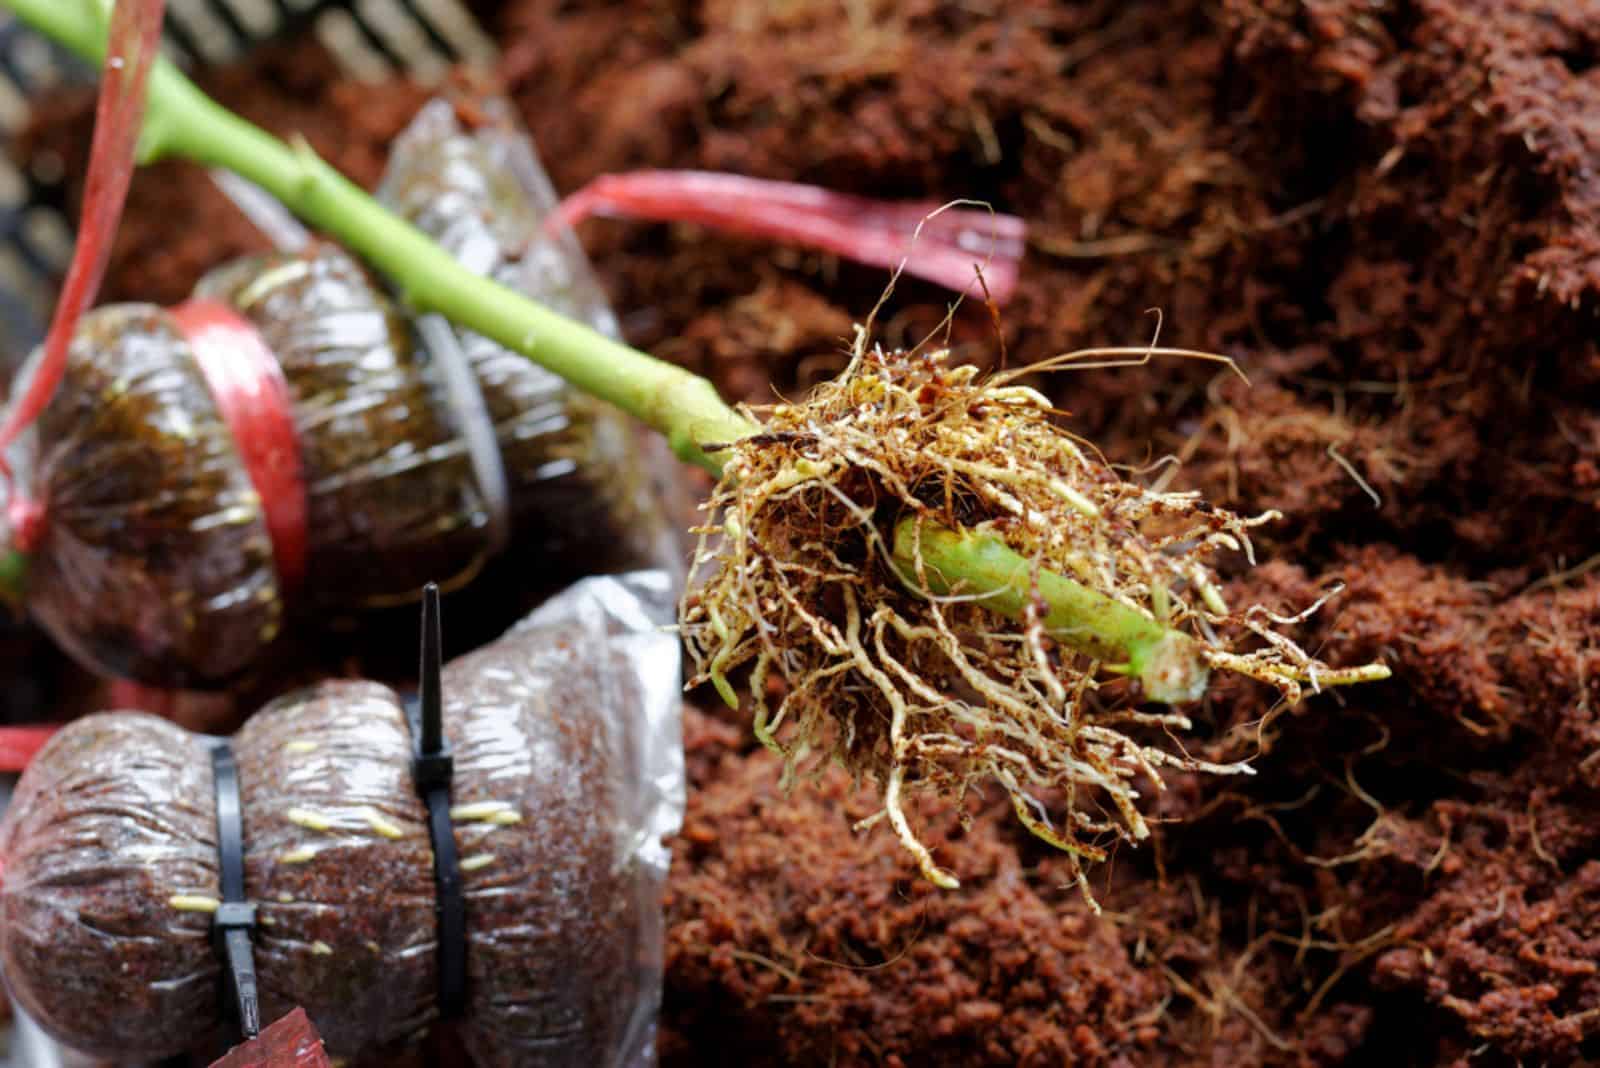
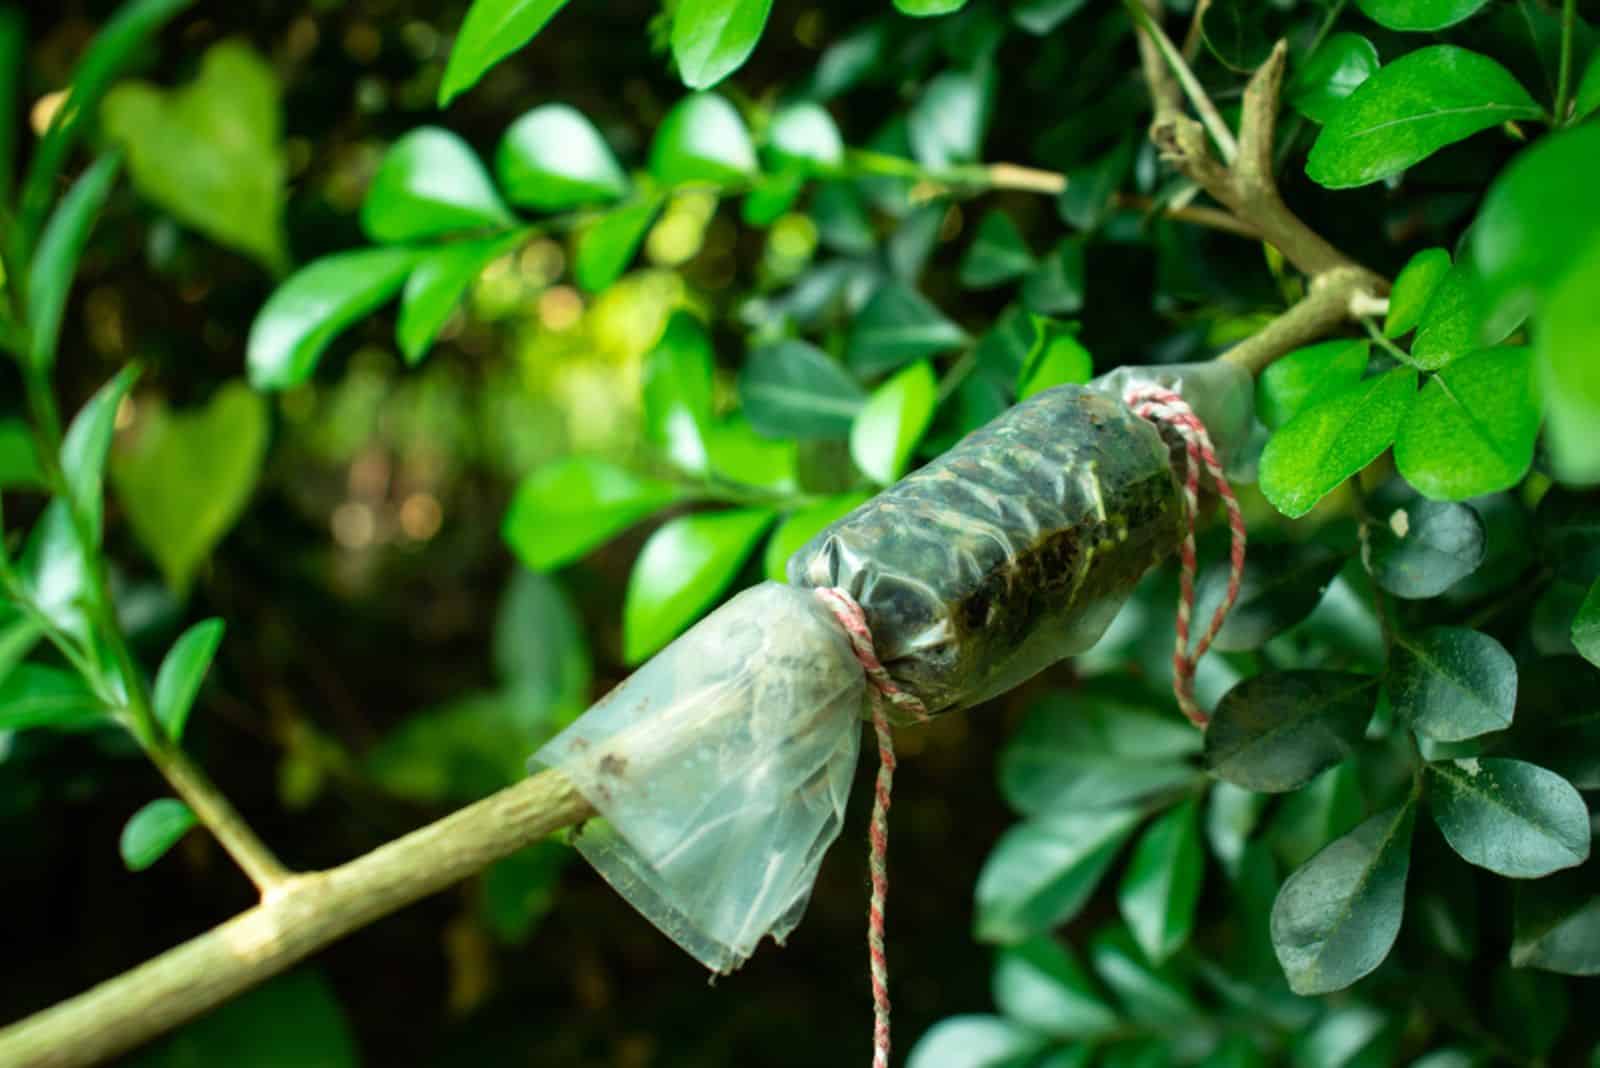
Air Layering
The air layering propagation method is frequently used in indoor gardening. For example, you can’t propagate a Monstera without a node, but you do so using air layering.
First, cut off the leaves a few inches on either side of the intended layering point.
Make an incision from the middle of the layering point, and apply the rooting hormone to the cut surface.
Remember that the wound shouldn’t heal; you can keep it open by putting a toothpick in it.
Moisten some sphagnum moss and wrap it around the wound. I also recommend covering the sphagnum moss with a plastic bag to keep it moist.
You can expect new roots to form in a month or so.
Tip Layering
The tip layering propagation technique involves making a 2-3 inch deep hole, putting the shoot tips in it, and covering them with soil.
New roots will develop, and the tip will develop into a new plant.
You can use this method to propagate vining blackberries or raspberries.
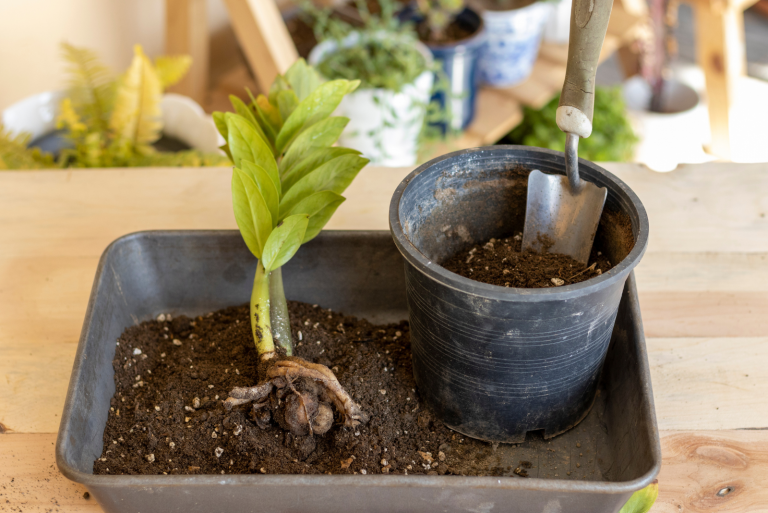
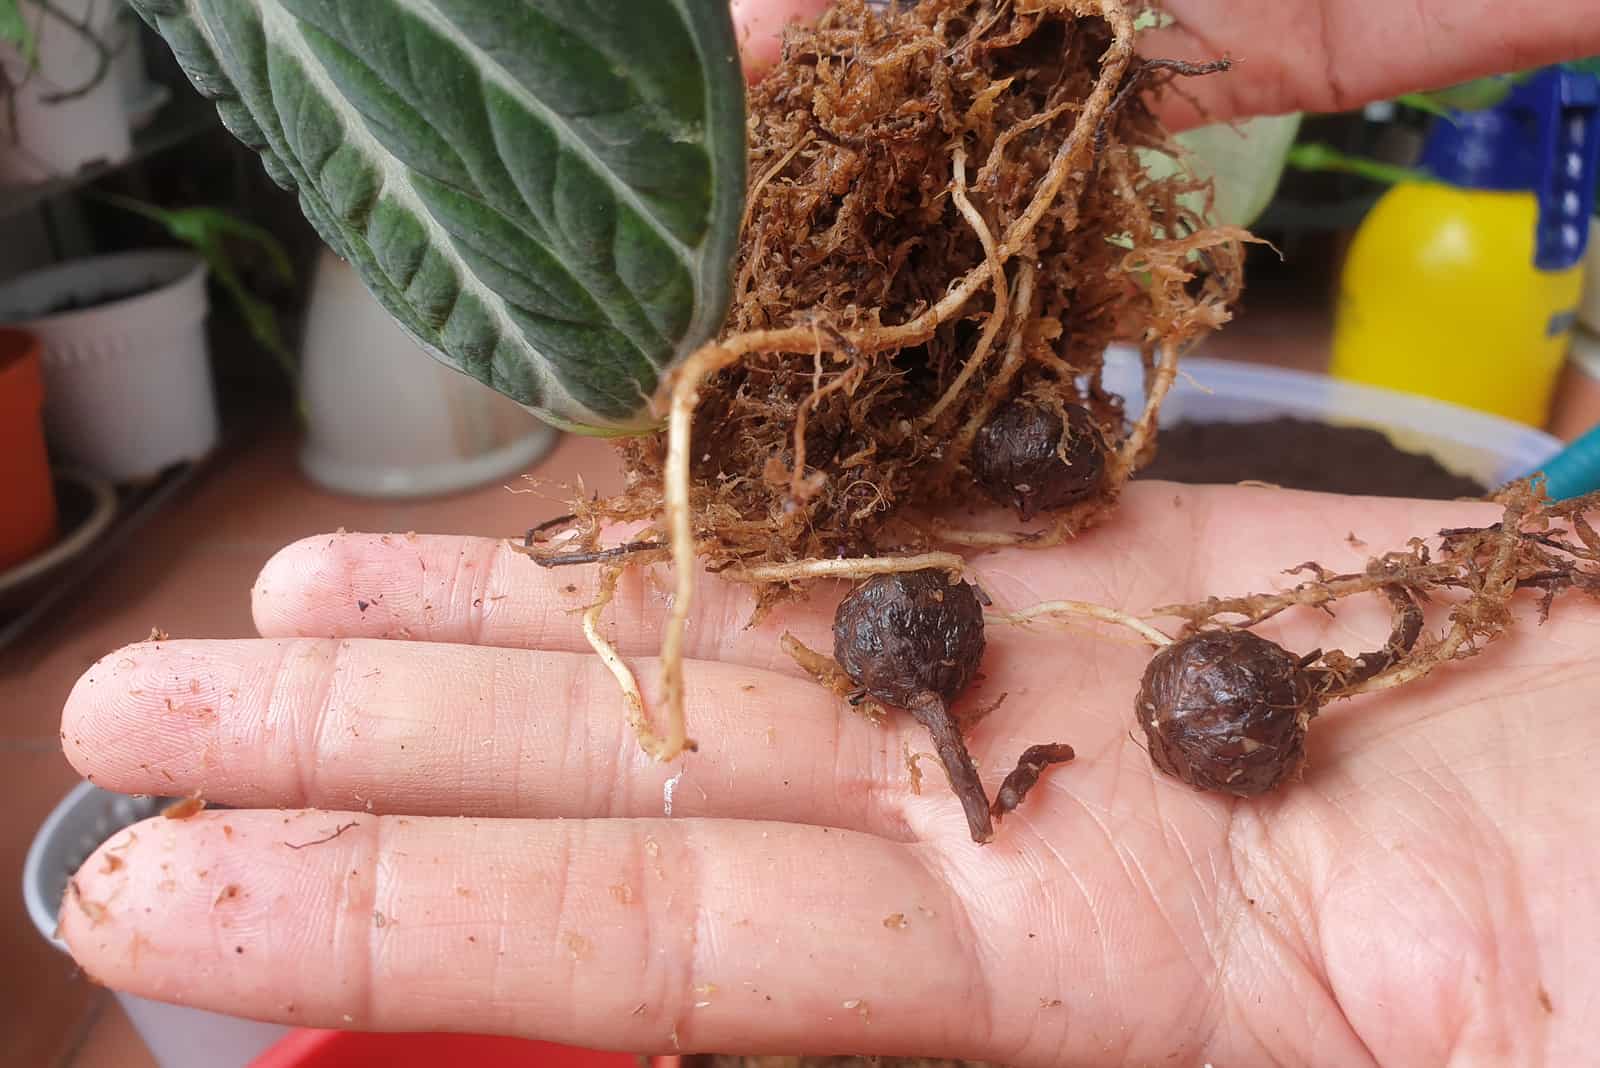
Division
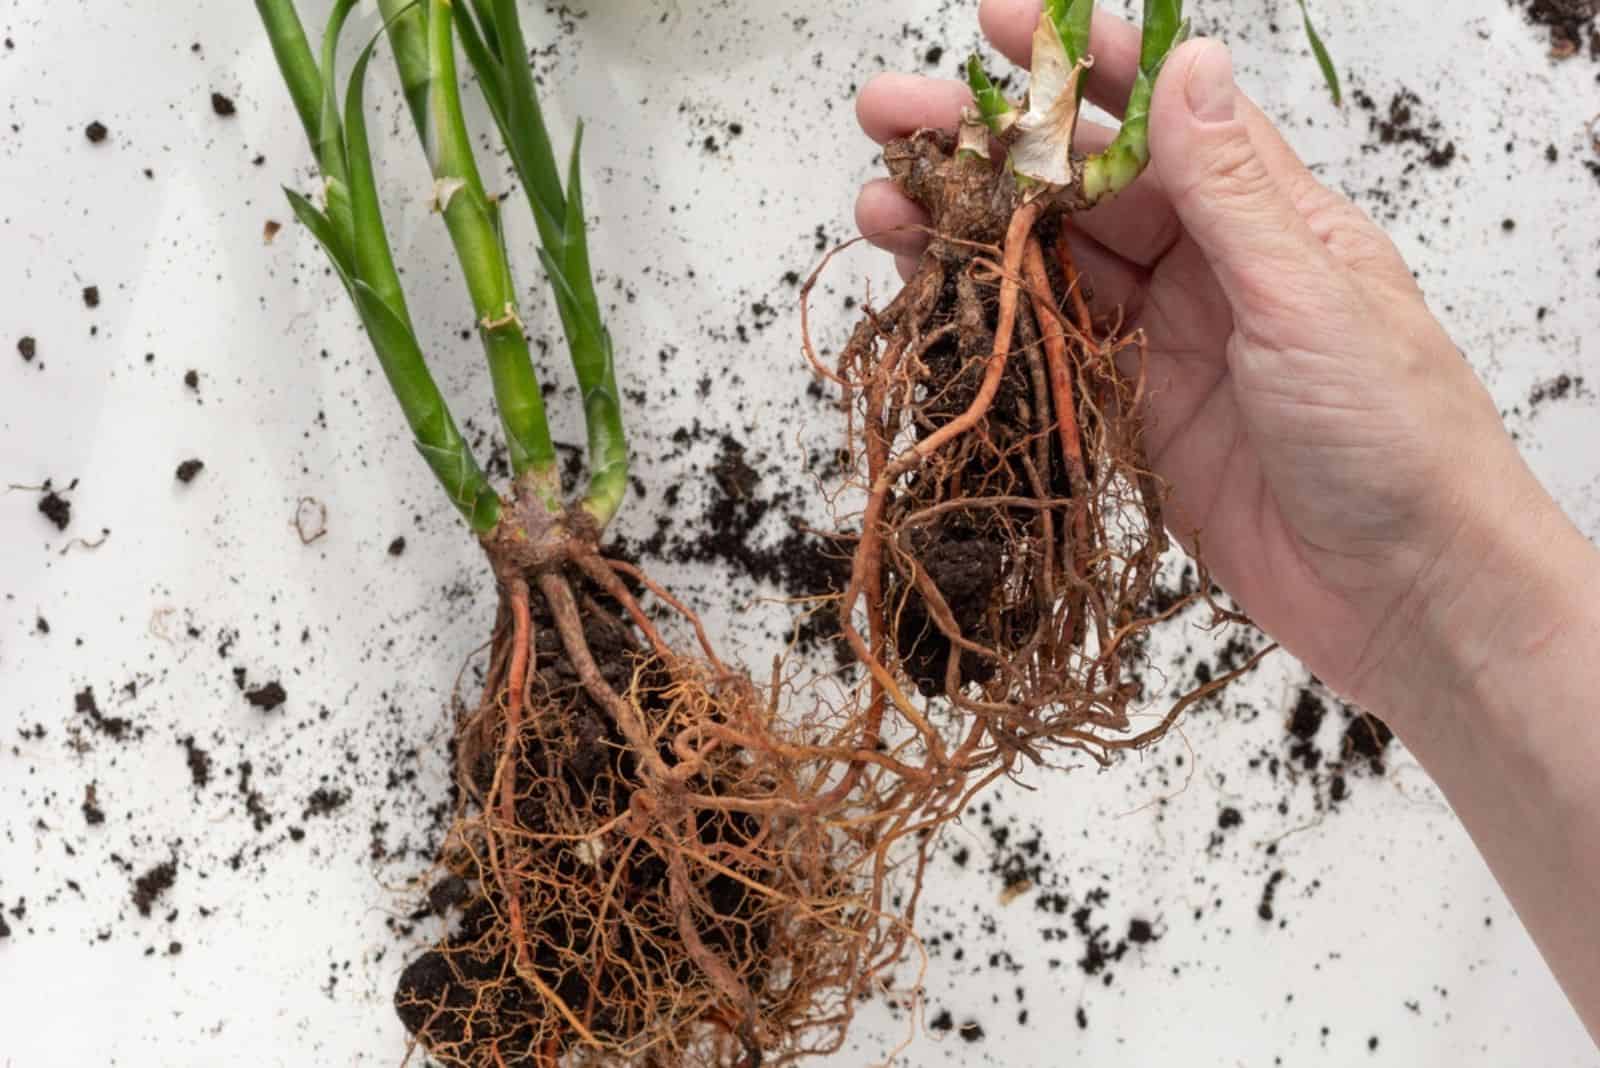
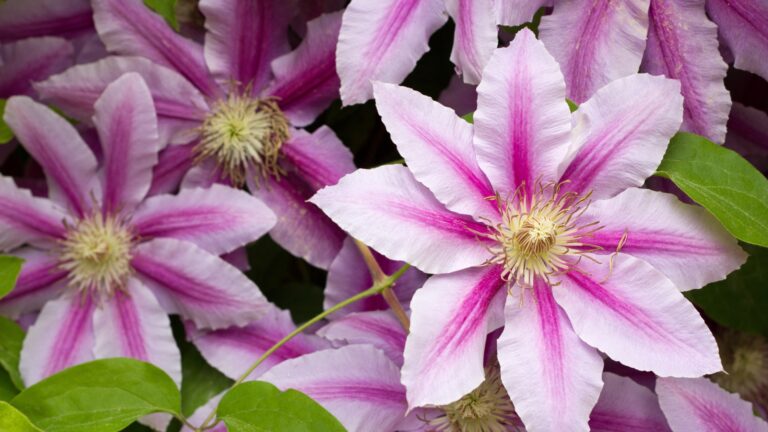
When it comes to herbaceous perennials, the best way to propagate them is by using division.
The division of plants, including chrysanthemums, daylilies, peonies, and irises, can be done with this easy technique.
The first thing you need to do before you start dividing is take your plant out of its container and remove the soil from around the root ball, rhizomes, or tubers.
Then you can cut the crown into sections with a sharp knife.
You can create new plants from individual growth points (shoots) that already have roots or group numerous shoots together to create a larger plant.
When separating large, old crowns, we usually transplant the younger, more vigorous branches that have grown on the clump’s margins instead of the older, central portions.
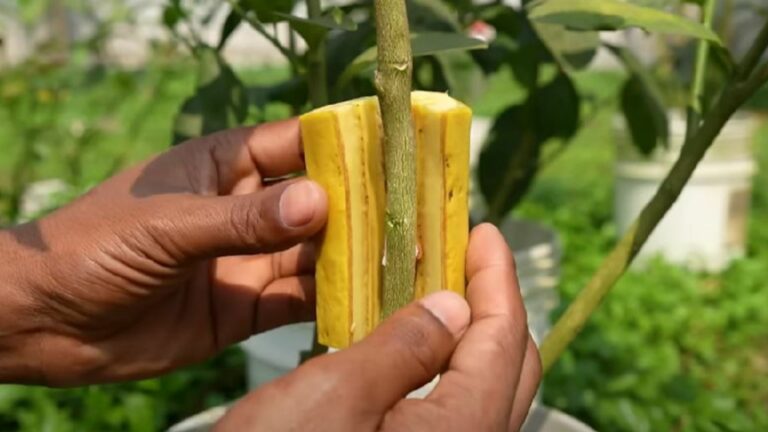
Grafting
The grafting method involves connecting plant parts so they develop into a single plant.
We use this method for plant varieties that wouldn’t form roots as effectively as different types of cuttings.
The section of the plant we use for this propagation method is called a scion.
The scion is a fragment of a shoot that contains hibernating buds, which will eventually develop the stem and branches.
The root system, and occasionally the lower portion of the stem, are supplied by the rootstock, also known as the stock.
You can find three grafting techniques below.
Cleft grafting
This technique is most frequently used to top work a tree so that it changes the variety.
Here are the steps for cleft grafting:
1. Prepare the stock: Choose a portion with clean, straight, and knot-free grain, and remove the branch. Please be careful not to crack or damage the bark.
2. Prepare the scion: An ideal scion is created from a year-old piece of wood with a diameter of 1/4 of an inch.
3. Insert the scion: Scions should be inserted at the stock cut’s outermost edges. Bend the scion top outwards and the lower part inwards.
4. Wax the cleft graft: Eliminate the wedge holding the slit open and apply grafting wax.
5. Care for the graft: The graft will need ongoing care as it starts to expand. Do not cut back any branch growth during the first growing season.
Whip Or Tongue Grafting
This technique is most commonly used when the scion and rootstock have similar diameters.
Here are the steps for whip or tongue grafting:
1. Prepare the rootstock and scion: Make a clean and sloping incision about 1-2 inches long on both sections.
2. Fit the stock and scion: Cut into both sections so that they join. Make sure the bottom scion tip doesn’t protrude above the rootstock.
3. Protect the graft: After the scion and stock are joined, cover them with wax.
Bark grafting
In contrast to other grafting techniques, bark grafting can be used on huge limbs, although they are frequently contaminated before the wound can fully heal.
Here are the steps for bark grafting:
1. Prepare the scion: Take the scion wood during the plant’s dormant stage, wrap it in wet paper, put it in a plastic bag, and place it in a fridge.
2. Prepare the stock: Remove the stock’s limb or trunk. Make incisions on both sides of the scion; one should be 12 inches long and the other 1 and a half inches. Two buds should remain above the lengthier incision.
3. Insert the scion: The longer cut of the scion should be placed against the wood. You can use wire nails with flat heads to secure the graft.
4. Cover all surfaces with wax.
Budding
This propagation technique is commonly referred to as bud grafting. It includes grouping a single bud with a little portion of the scion bark with stock.
This method is highly beneficial when scion matter is scarce.
T-Budding
This is the most frequently used budding technique. Make a vertical incision through the stock’s bark and a horizontal incision on the top to create a T shape (hence the name).
Take a portion of the scion that resembles a shield, and don’t forget to include bark, bud, and a small piece of wood.
The bud base should be inserted into the opening at the upper part of the T cut. Now you should wrap the joint and leave only the bud exposed.
Many fruit trees are propagated this way.
Patch Budding
We can only patch bud plant species that have thick bark. We typically use this technique during the plant growing season because the bark slides off easily.
First, take a rectangular portion of the stock bark, then place the bud and a matching portion of the scion on the wound.
Examine the buds about 10 days after budding, and make a vertical incision on the stock’s backside.
The bud union should be completed before cutting.
Separation
The term “separation” refers to a method of propagation used on plants that develop bulbs or corms.
New bulbs grow next to the initially planted bulb. You can separate the bulbs in order to boost the number of bulbs and promote blooming.
Once the leaves wilt, dig up the clump, carefully separate it, and plant it as soon as possible.
Larger bulbs should blossom in the first year. However, small, young bulbs may not produce flowers for two or three years. The best examples are tulips and narcissuses.
A massive new corm will develop on top of the older one, and small cormels will form all around.
After removing the cormels, carefully divide the new and old corms. Before planting, store any new corms in a cool location after giving them a fungal dusting.
This propagation method is commonly used with crocus and gladiolus plants.
Tissue Culture
Tissue culture is commonly referred to as micropropagation, and it includes growing plants in vitro in a propagation tube.
By using this technique, we can generate thousands of young plants from a single plant, making the technology appealing for quickly propagating new plant species.
Its drawbacks include the requirement for specialized facilities and machinery, as well as a substantial amount of highly skilled labor.
This technique encompasses four stages. Let’s find out more about each stage:
• Explanting: The term “explant” refers to the portion of plant tissue (cells) removed from a plant and used for multiplication. The apical meristem is most frequently used, but other plant tissue can also be used in the process.
When removing the explants, we must be 100% sure that our plant is healthy, and always sterilize the surface of the explants.
• Multiplication: Plant tissue injury triggers cellular division. The explant cells come together to create a callus that keeps expanding as it goes through the reproduction stages.
• Organogenesis: The callus cells start to divide into separate tissues that eventually become organs. Once the callus establishes a root system, the shoot system will develop soon.
• Acclimatization: Once all organs are developed enough, they are transplanted into potting soil. The plantlets are kept in controlled conditions until they get used to their new surroundings. After a few weeks, the plantlets can continue growing in greenhouses.
Wrapping Up
In my opinion, propagation is one of the most interesting horticultural practices and an excellent way for gardeners to get new plants.
You will have noticed that some plant propagation methods are more complicated than others, and can’t be used without specialized equipment and facilities.
Luckily, some methods are simple, and we can use them to propagate indoor and outdoor plants even if we are beginners.
Now that you know everything about plant propagation, find the method you like most to get more of your favorite plants.
Good luck, and until next time!
Like this post? Share or pin it for later!