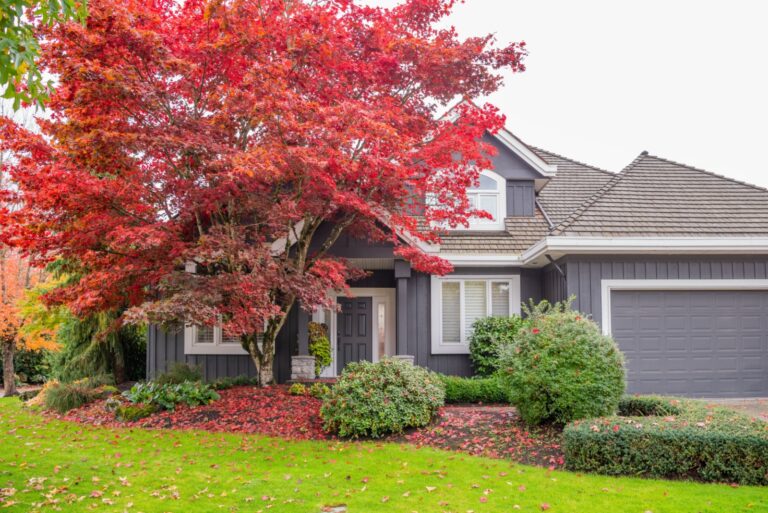
7 Simple Steps To Create A Gorgeous Foliage Border That’ll Wow Your Neighbors
Many people believe that garden borders are defined by flowering plant species. While such plants do look amazing, we shouldn’t forget that foliage plants also look beautiful.
And green isn’t the only color you can find in plant leaves, so if your garden could use a splash of color, foliage can also take care of it.
In this article, I’ll show you how to create a foliage border in a few easy steps. Luckily, this isn’t a hard task, so your garden will be the envy of the neighborhood come next year.
Let’s get started!
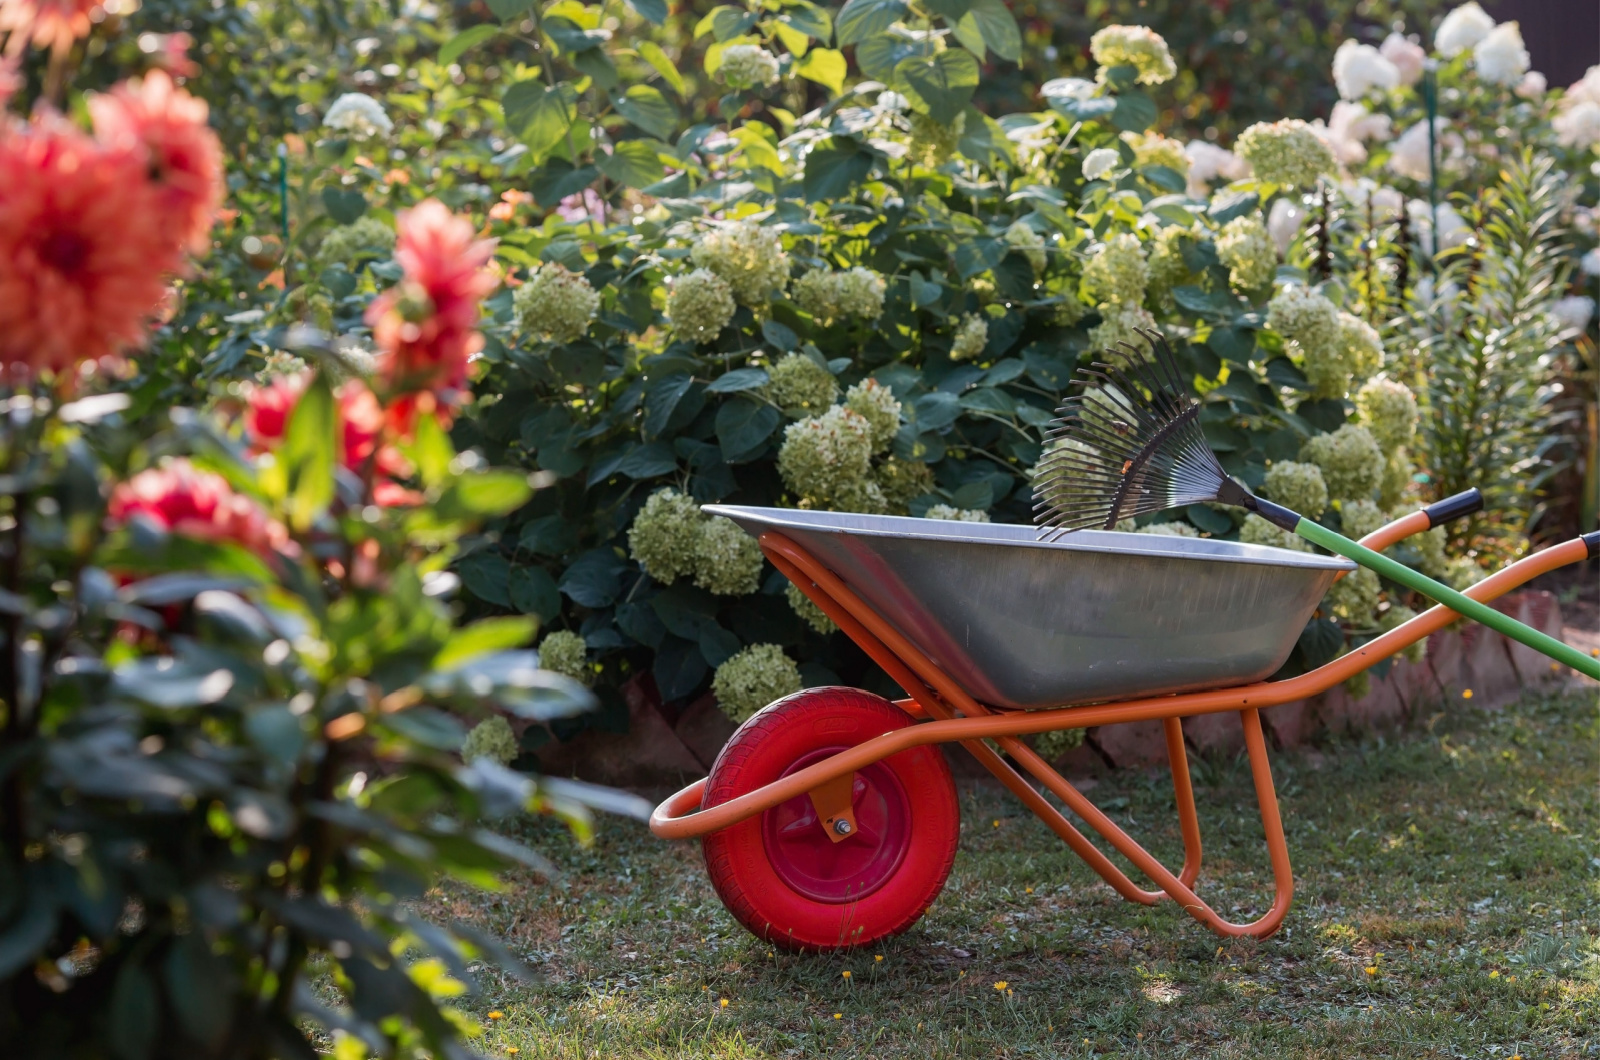
Step #1: Prepare The Equipment
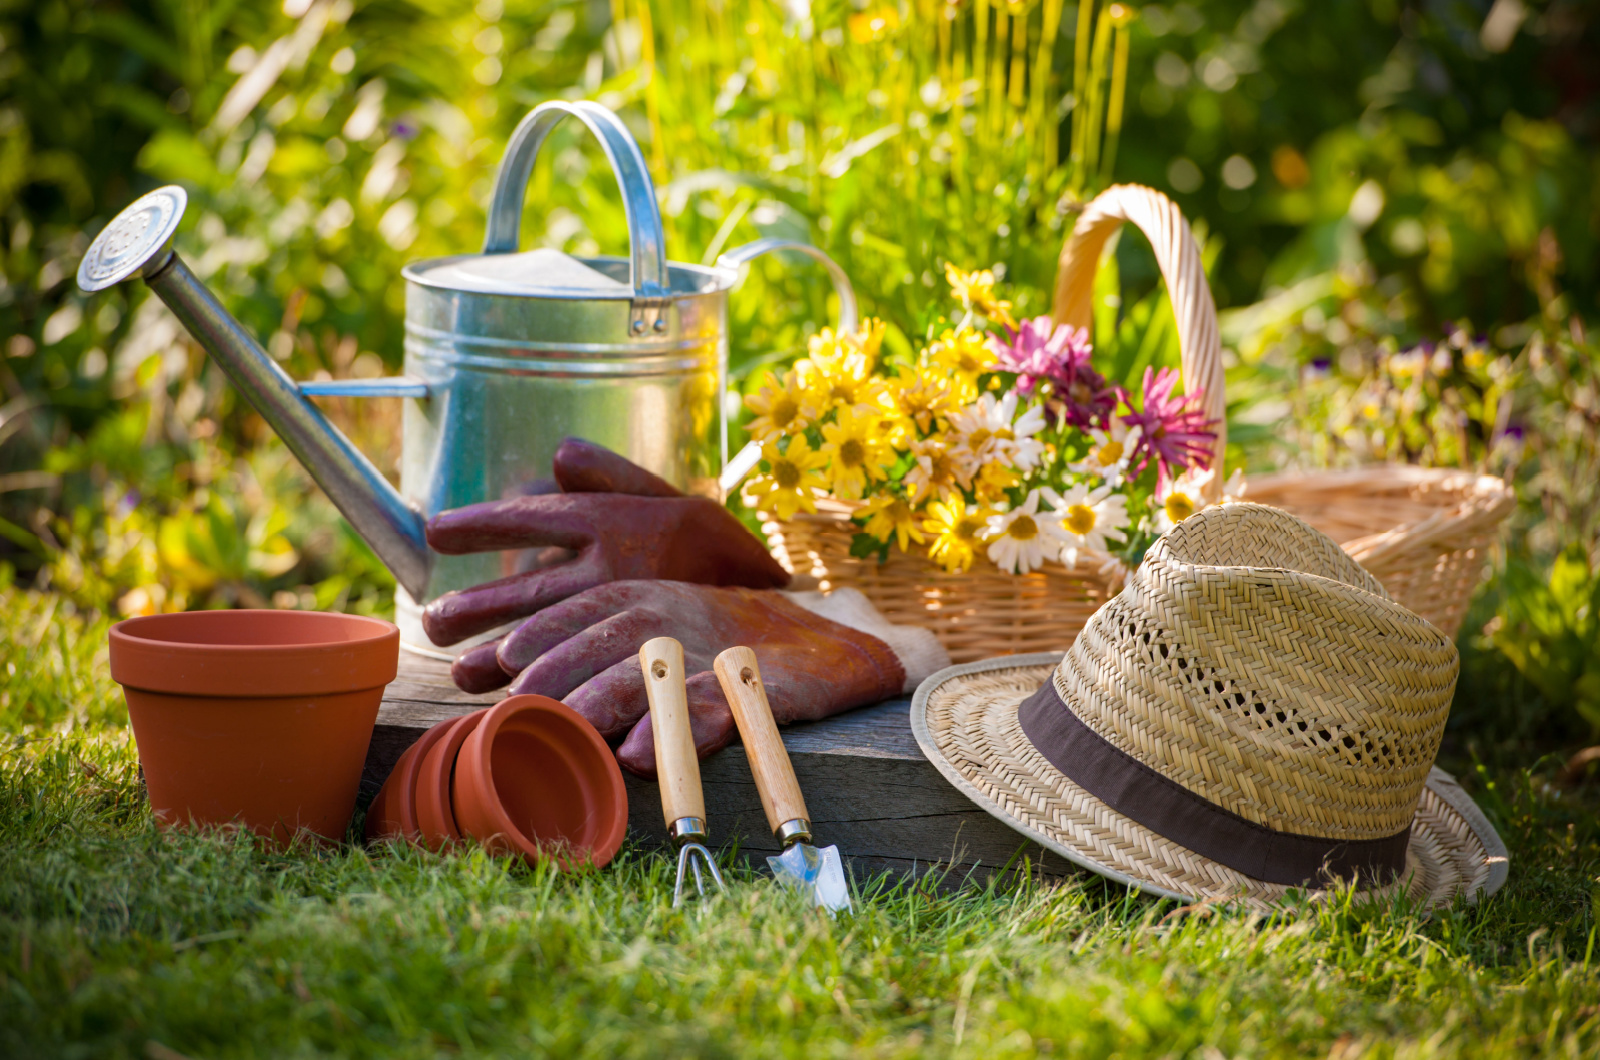
The first thing to discuss is the equipment needed for this fun and rewarding project.
Here’s a list of tools and supplies to prepare for your foliage border.
• A large garden fork: You’re gonna need to prepare your soil for planting and the best tool for breaking the soil and mixing fertilizer or compost is a large garden fork.
• A spade: The first planting task will be to dig holes for shrubs or plants you want to add and nothing works better for this purpose than a spade.
• A trowel: You’ll most likely combine smaller and larger plant varieties; for smaller ones, a trowel is a life-saving planting tool.
• Well-rotted manure/compost: All plants need nutrients to thrive, so if you want a flourishing foliage border, you’ll need to amend the soil with rich ingredients.
• Fertilizer: You’ll need to give your plants a good head start by adding fertilizer to the plant holes.
• Watering can/hose: Since your green buddies can’t survive without water, you should prepare a watering can for planting and you can switch to a hose after.
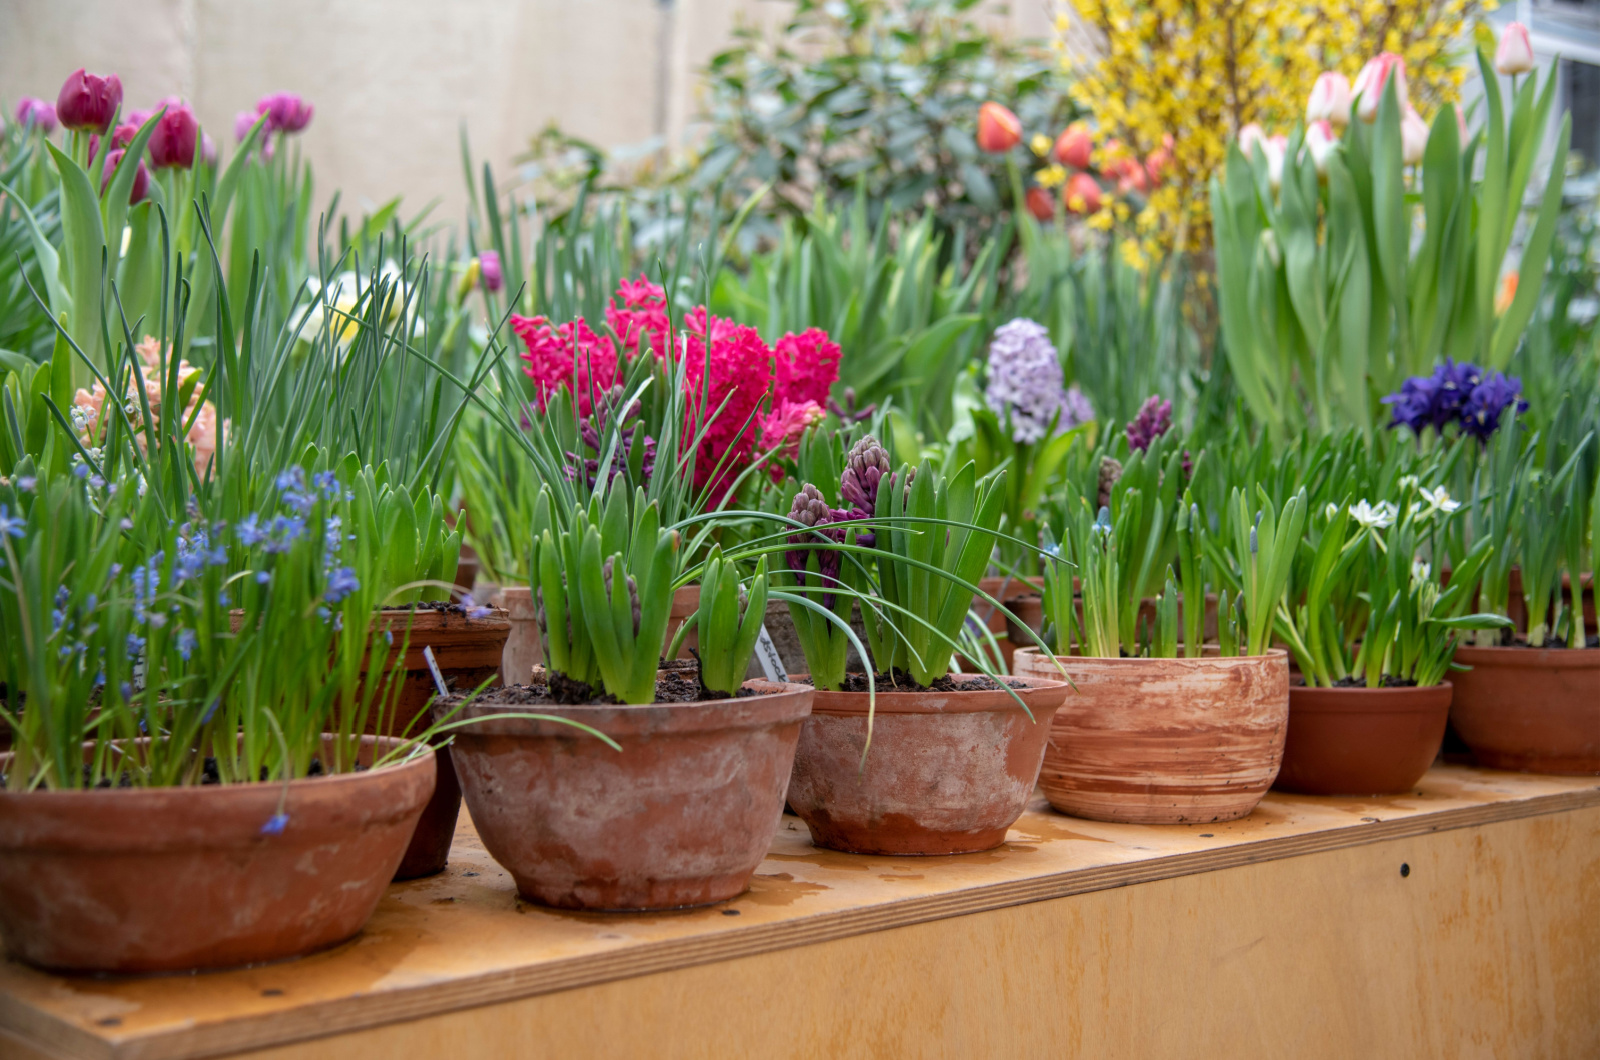
Step #2: Start At The Right Time Of Year
Another important factor to consider when it comes to a foliage border is the season. You have two options here: to create your foliage border in spring or fall.
The reason is simple; soil is moist in these seasons and temperatures aren’t too low or too high, making it perfect for freshly planted plants.
If you decide on fall planting, bare-root trees and shrubs are perfect for foliage borders. Other benefits of such plants are that they’re cheaper, grow very quickly, and will display new growth as soon as the spring arrives.
You can also leave planting for the spring and have a thriving foliage border.
When Not To Plant
There are certain periods when creating a foliage border isn’t suggested. For instance, you should never plant any species if the ground is still frozen. First, it’s impossible to dig such ground, and second, you can injure yourself.
As far as the plants are concerned, they can’t develop in such conditions, so you can’t really hope for new growth.
Another case when you shouldn’t create a foliage border is when the soil is waterlogged. Excess water closes air pockets in the growing medium so the roots don’t have any access to oxygen. Eventually, the roots will die and your project will fail.
Finally, summer isn’t recommended for planting any species generally. Soil temperatures are too high and the soil dries out quickly, which results in poor growth. Even if the plant succeeds in rooting successfully, you’ll need to spend mornings and evenings watering them.
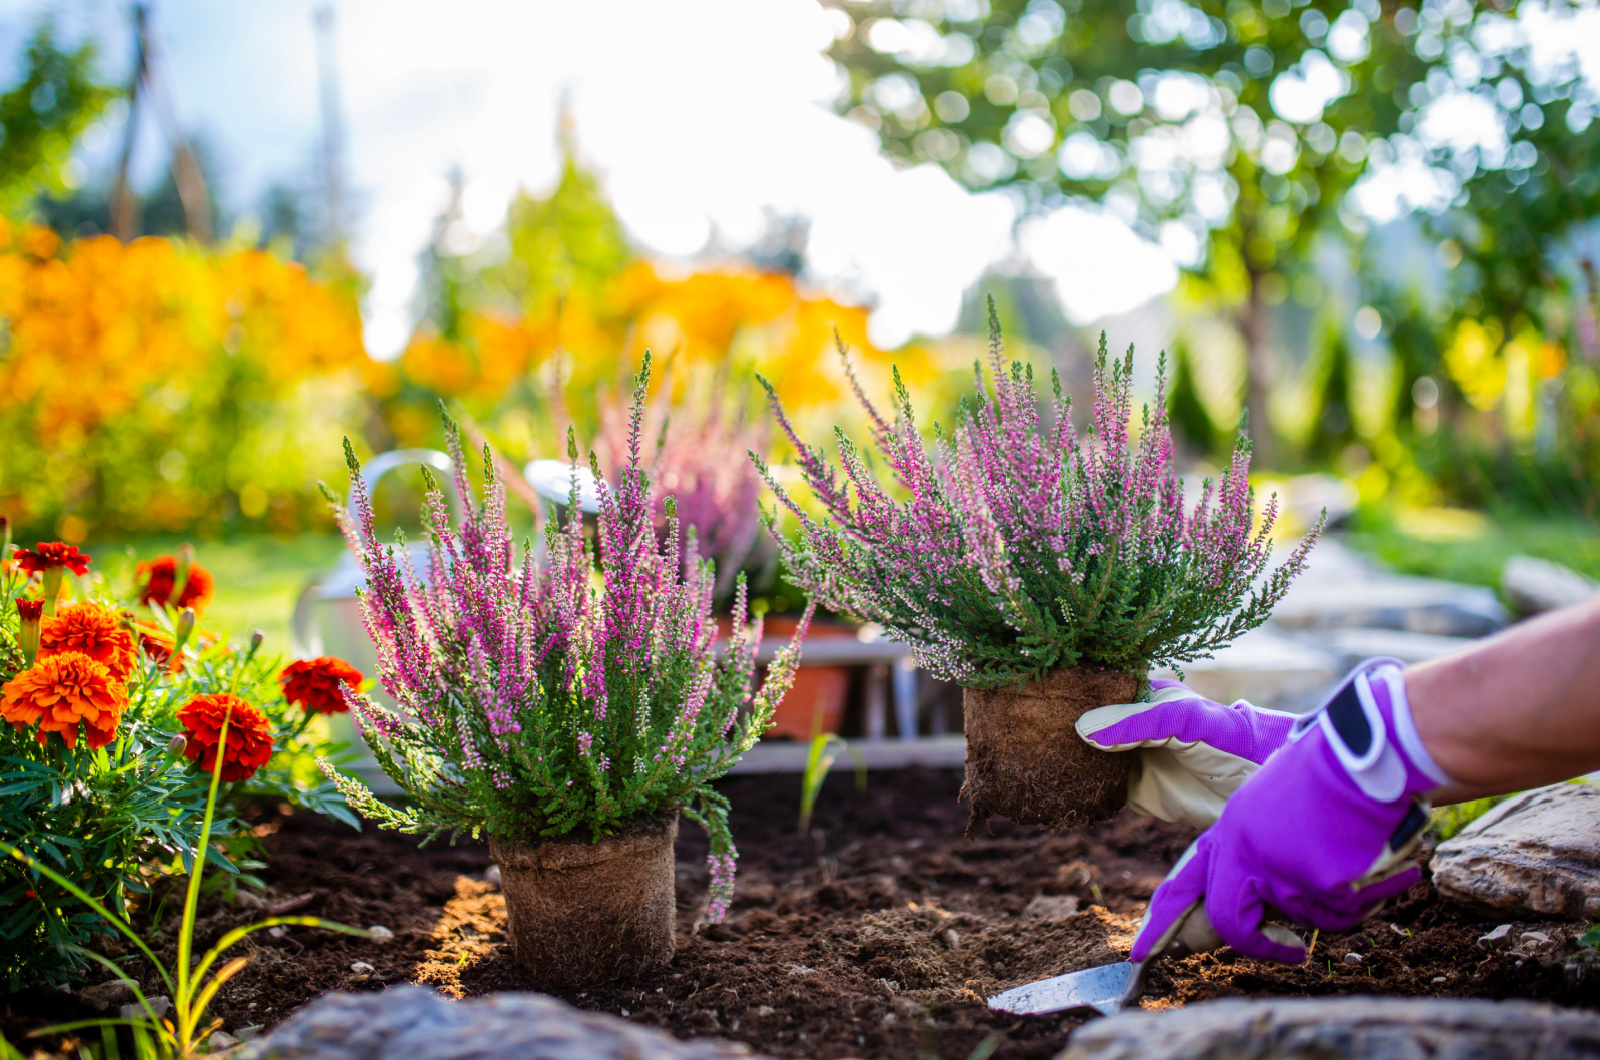
Step #3: Choose The Perfect Plants
My favorite part of creating a foliage border is plant selection. You can get creative here because there are various species to choose from.
However, there are some factors to consider when selecting plants for foliage borders. For example, it would be best to choose plants that have similar growth requirements.
Planting sun-loving and shade-loving perennials next to each other doesn’t make any sense because one group of plants will suffer.
You also need to pay attention to the plant’s preferences regarding the pH of the soil. Azaleas and Rhododendrons thrive in acidic soil and many plants can’t withstand such conditions.
Some plants can die, so you’ll end up with bare spots and that’s not the purpose of a border.
Adding low-maintenance trees or shrubs is also a good idea, especially if you don’t have too much time to spend caring for your foliage border.
But one thing you should be extra careful about is the health of the plant you’re purchasing. If you’re purchasing them in nurseries, take a look at the pot’s bottom and see if there are any roots poking out. Make sure there aren’t any diseased parts.
Online stores have excellent offers but make sure you purchase from reputable sellers.
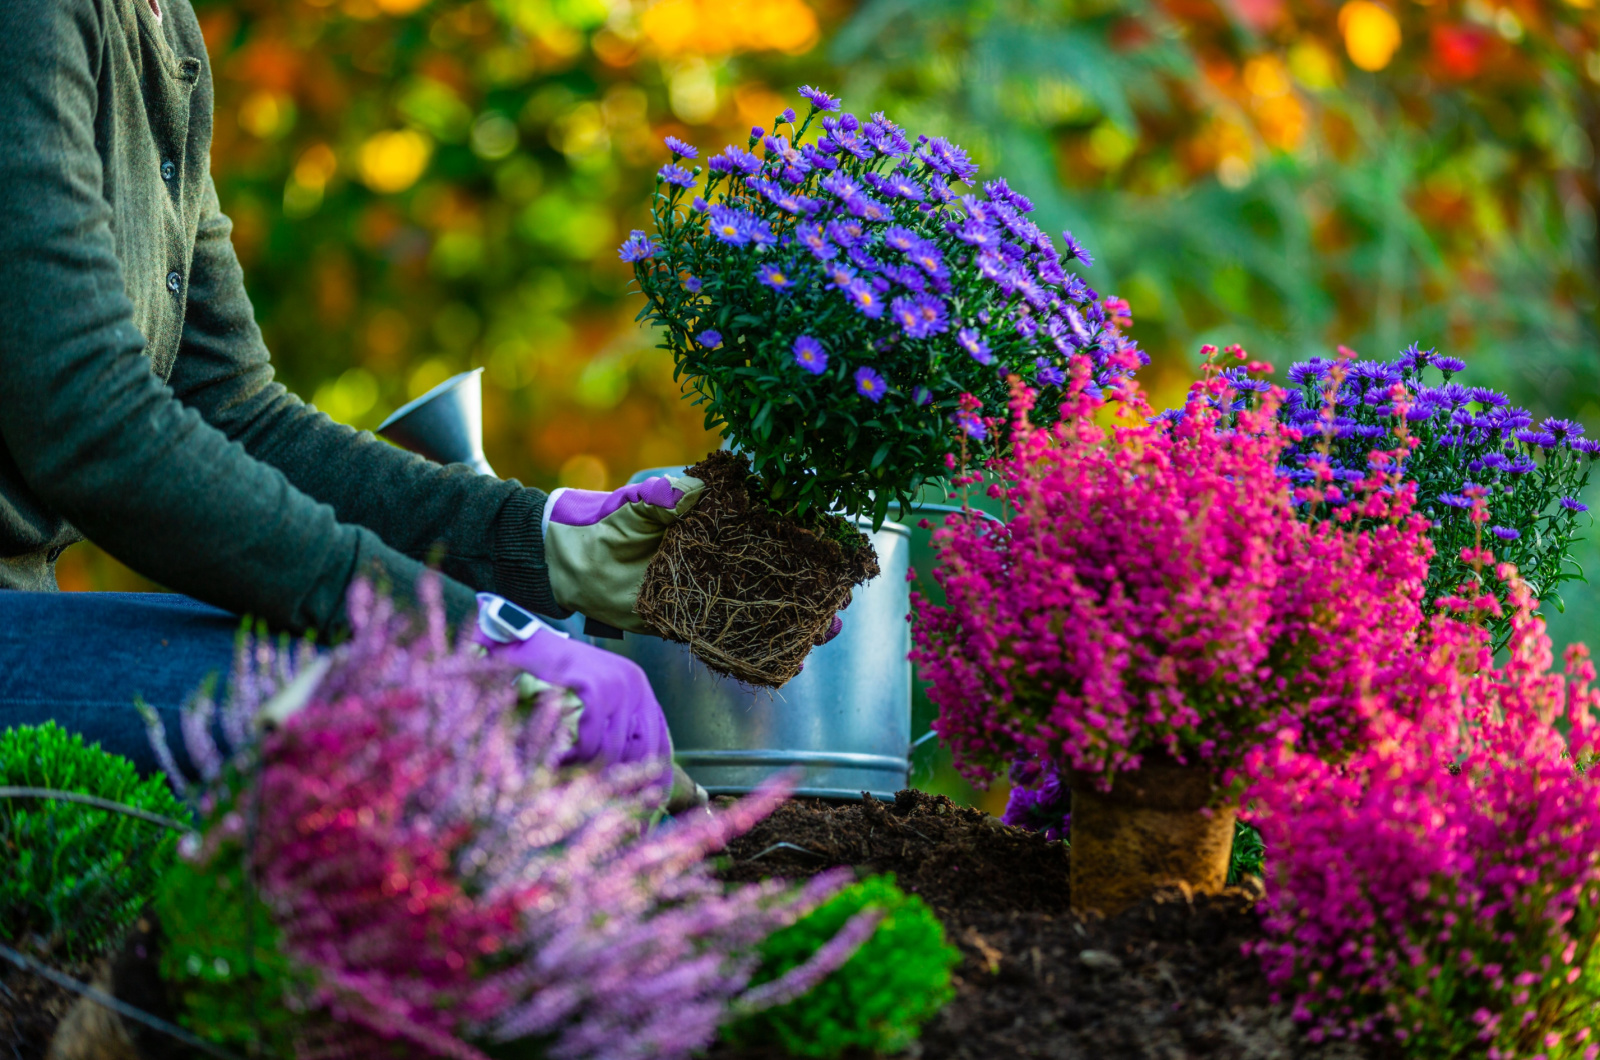
Plants For Year-round Interest
Your main goal is to create a foliage border that will look amazing year-round. The key is to select plants that thrive in different seasons.
For instance, you can add forsythias, coral bells, and periwinkles for spring interest.
Your foliage border will look captivating during the summer months if there are some hydrangeas, rock roses, and smoke bush plants. You can include euphorbias and hostas for fall interest.
If you want to stick with traditional color pallets in the fall, you can go with plants with red leaves, such as crotons or ornamental cherries.
You can add some plants for winter interest, such as dogwood varieties, holly varieties, or sweet box plants.
There are also some species that offer year-round interest. For instance, Aucuba japonica Rozannie is a fascinating plant with shiny variegated foliage and vibrant scarlet berries that appear in winter.
Step #4: Plan The Arrangement Of Plants
Many gardeners aren’t into planning their gardens. But this makes everything easier. Arranging plants when planting can result in a chaotic appearance and your foliage border may not look as beautiful as it could.
You’ll most probably buy potted plants, so it’s advisable to put the pots where you intend to create a foliage border. This will give you an insight into the final appearance of your border.
It’s essential to check the mature size of each plant so that you can put the taller plants at the back. Smaller plants will go in the middle part of your border and the low-growing species will go at the front.
This arrangement will result in a fantastic display and each plant will get enough light.
You can spice things up by adding grasses or combining plants with small and large leaves.
Step #5: Choose The Right Planting Site
The next step is to choose the ideal planting site. The first thing is to find an easy-to-access spot because you’ll need to inspect your plants regularly.
Since foliage borders can improve your outdoor garden decor, you should put them in a visible spot.
If you have a compost heap or some unattractive features, you can hide them by creating a foliage border.
Those who don’t want to deal with nosy neighbors can add privacy plants to their borders.
Avoid sites where the soil is prone to waterlogging or can’t retain moisture because your plants won’t develop healthily.
Step #6: Prepare The Soil
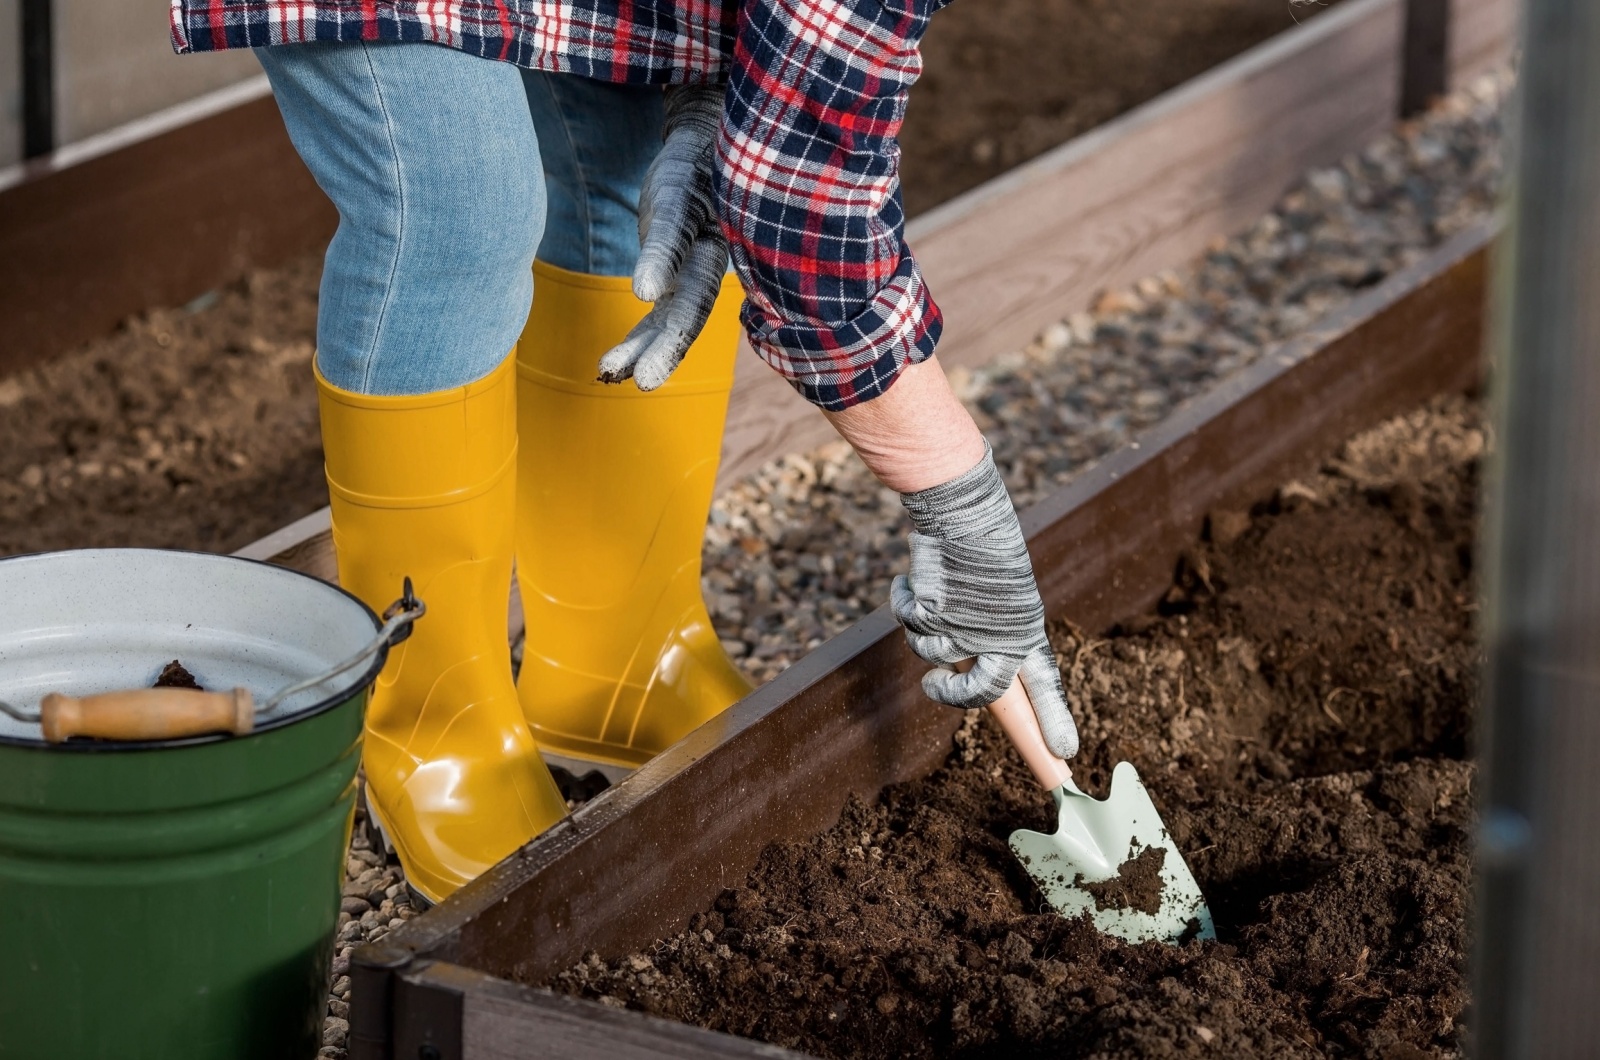
Soil preparation is crucial for flourishing foliage borders. The first step is to remove all the weeds from the site because they compete for nutrients with other plants. Additionally, they ruin the overall appearance of any garden.
You should also fork the soil and if there are any clumps, make sure to break them.
Your next goal is to get nutrient-rich soil that can retain moisture but isn’t susceptible to waterlogging. You can achieve all this by adding compost or well-rotted manure to the soil.
Step #7: Plant The Border

No matter if you want to plant trees, shrubs, or any other plant species, the process is pretty much the same.
Here are the steps.
1. Dig a hole that’s approximately the same depth as the pot of your plant; the width should be slightly larger than the pots. If you’re planting bare trees or shrubs, be sure that the depth of the hole is the same as the mark of soil on the plant trunk.
2. Submerge the pot and the plant in water so that it comes out easier. Follow this step for bare root trees and shrubs, too.
3. Add compost, fertilizer, or bone meal to the holes before planting. Nutrients from these materials will give your plants a good head start.
4. If the soil is too compact, you can scrape the sides of the planting holes with a garden fork. This will prevent water from accumulating in the hole after planting.
5. Remove your plants from their original containers, loosen the roots using your fingers, and put the plants in holes. Pack them well with the remaining soil and some compost.
6. Irrigate your planting site well and add a layer of mulch.
7. Ensure support for taller plant species, such as juvenile trees.
8. Keep the soil in your foliage border consistently moist but make sure it’s never waterlogged.
That’s it! By following our guidelines, you’ll get a spectacular foliage border and a unique yard display!