6 Easy Steps For Creating A Vertical Herb Garden In Your Kitchen
Having a constant supply of fragrant and delicious herbs sounds like a dream come true. Unfortunately, not all of us have enough space outdoors or indoors to grow these beauties.
Well, gardeners always find a way to grow plants in limited spaces and one of the most popular methods is vertical gardening.
In this article, I’ll show you how to create a vertical herb garden in your kitchen in a few easy steps.
Let’s get started!
Why Create A Vertical Garden?
As mentioned, outdoor and indoor vertical gardens save a lot of space but that’s not their only benefit. If you create one in your kitchen, you’ll get a constant supply of fresh herbs and you can add them to numerous delicious dishes.
Another great thing about these types of gardens is that they allow you to use space that would otherwise be empty. I mean, fresh herbs are a way better option than some decorative items.
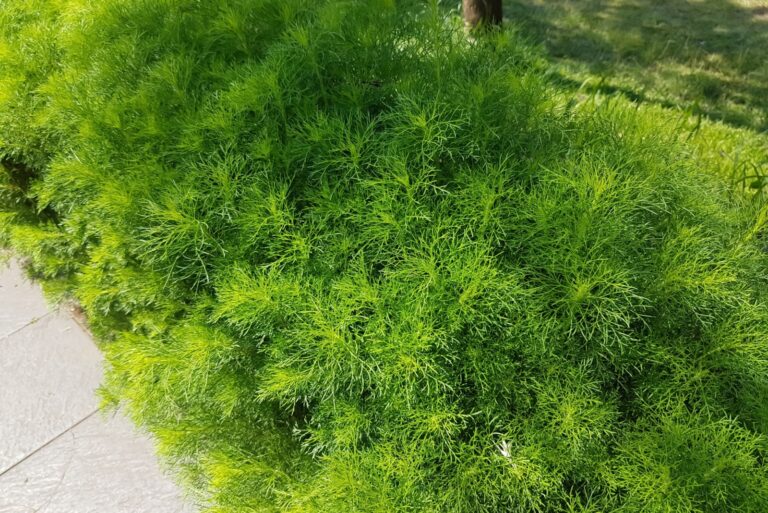
Vertical herb gardens look captivating in kitchens and give them a unique touch of beauty. Nothing can compare with the green colors found on the leaves, plus their fragrance is enchanting.
It’s easier to cultivate any plant in a controlled setting and pests are less common indoors.
Maintaining vertical herb gardens is super fun and if you have children, you can include them in this project – I’m sure they’re gonna enjoy it.
These types of gardens are eco-friendly and, best of all, very rewarding.
Step #1: Select The Herbs
Of course, you should choose herbs according to your preferences; there’s no point in growing herbs you won’t use.
If you’re a beginner, you should pay attention to the care needs of the herbs you select.
Here are my recommendations.
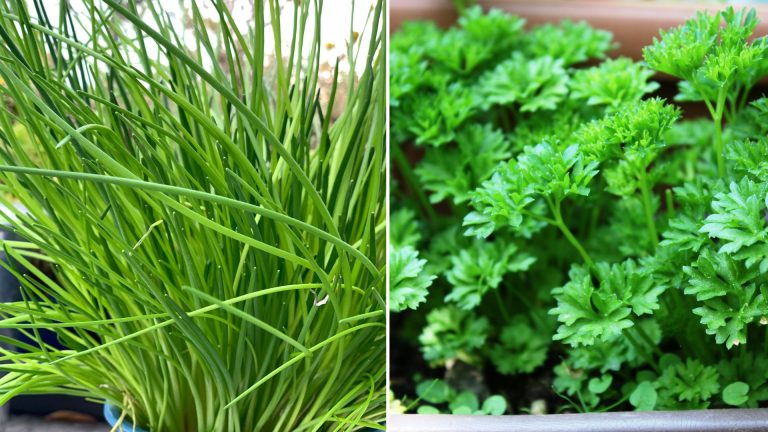
• Parsley: It makes an excellent addition to various dishes.
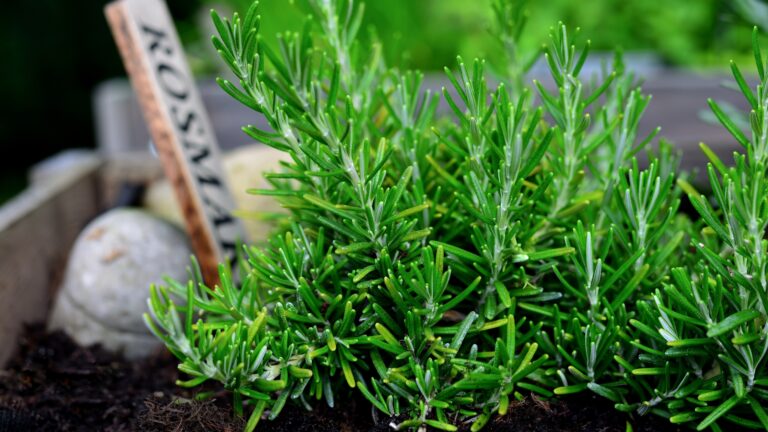
• Rosemary: It’s fragrant and tastes amazing when added to roasted veggies.
• Basil: If you like pesto, your vertical kitchen garden must have this herb!
• Mint: This scented herb can be added to salads and smoothies, or you can make a fresh tea or mocktail with it.
• Thyme: If you need to improve the flavor of your soup or roasted chicken, add thyme to your vertical herb garden.
• Chives: You can add them to literally any dish.
• Dill: Salads with dill added are the best!
Step #2: Set Up Your Vertical Herb Garden

Now let’s see some of the best choices for vertical herb gardens.
Hanging Shoe Organizer
I’m sure you’ve seen many DIY projects that involve reusing hanging shoe organizers. Well, vertical gardening is one of them!
There are plastic and fabric organizers, and while you can use both, there are some things to consider. The fabric ones don’t retain moisture, so they’re a better choice for outdoors. If you have a balcony next to your kitchen, these are perfect.
Plastic ones don’t have any drainage but if you drill a few holes in each section, then you’ll get perfect pots for your herbs. However, if you want to keep them indoors and you don’t want water on your floor, plant your herbs in small pots and put them in the organizer’s pockets.
When watering herbs in plastic hanging shoe organizers, take the small pots out, water the herbs, leave them to drain well, and then put them back into the organizer.
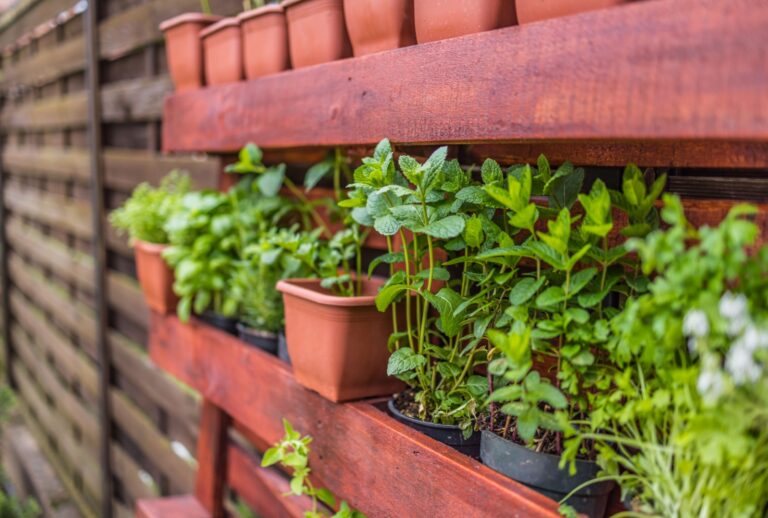
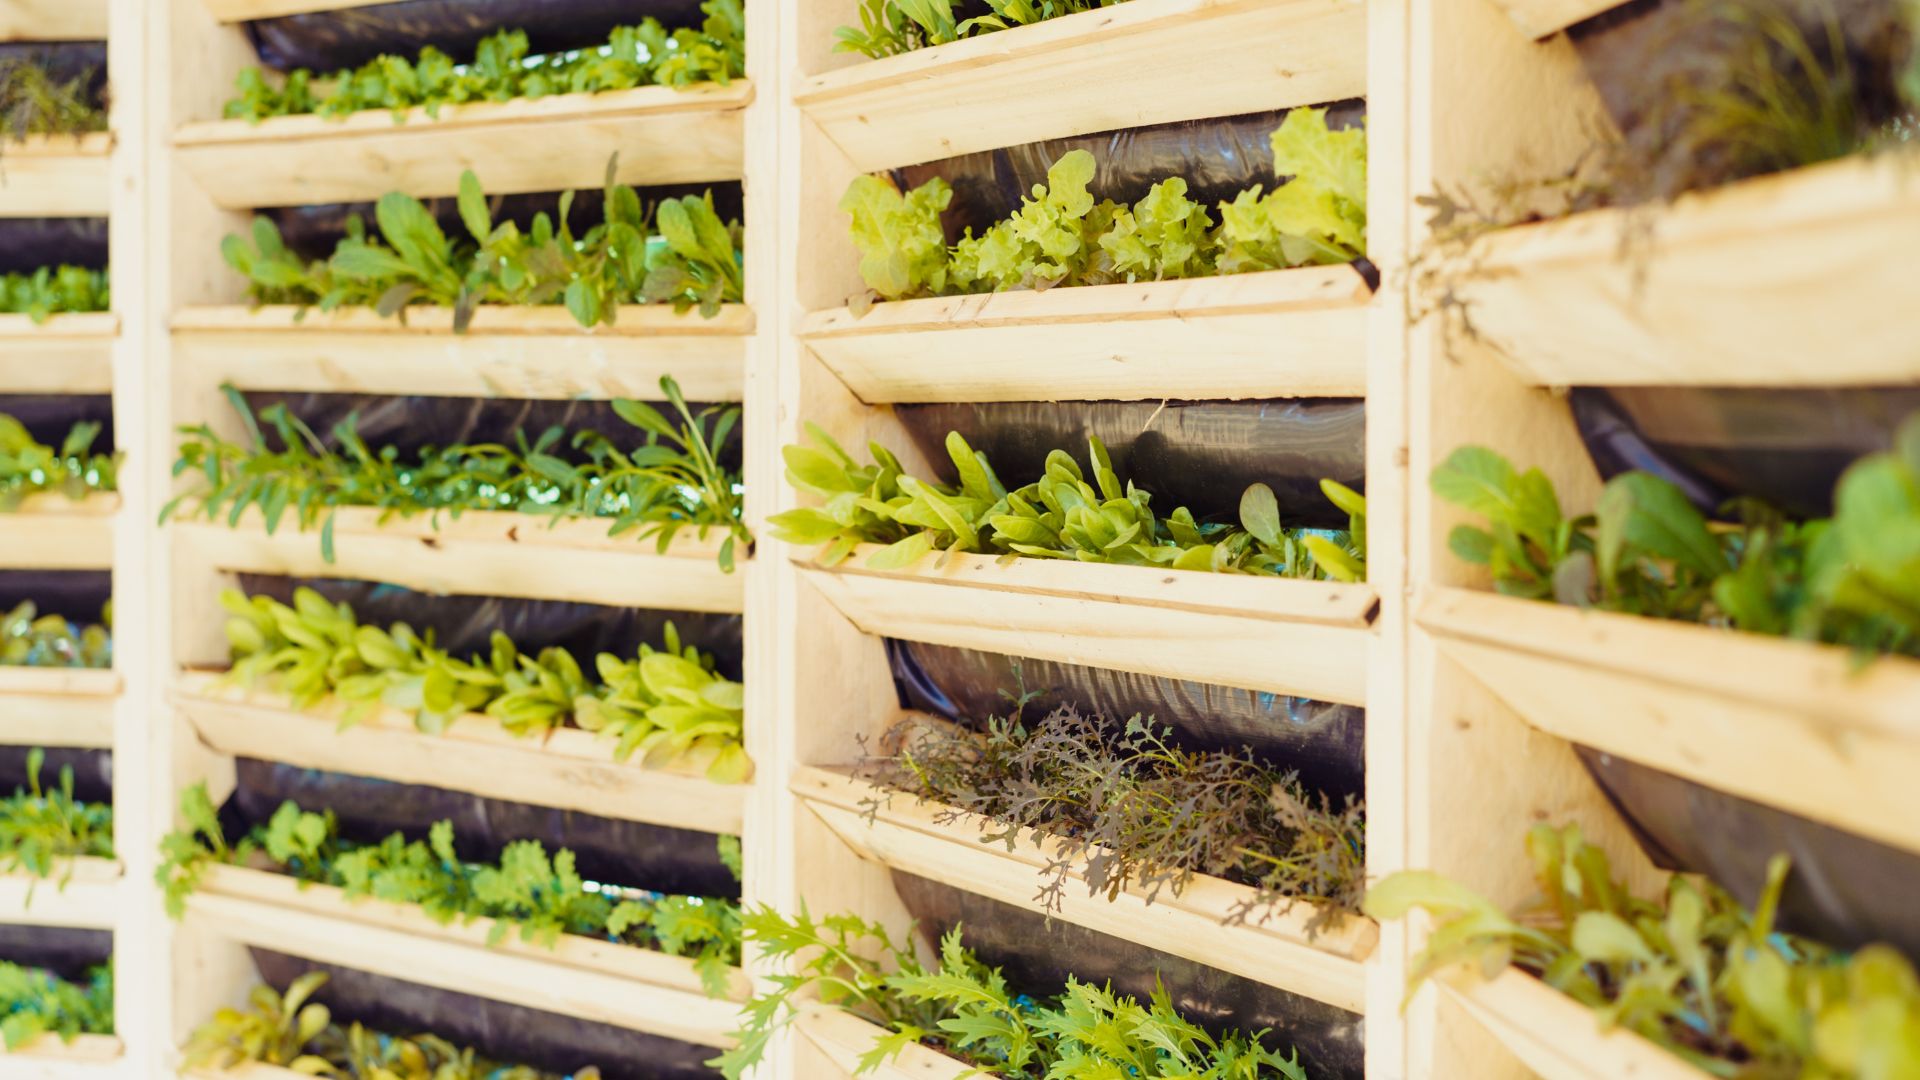
Pallets Or Wood Boxes
Unused pallets make perfect vertical herb gardens. All you need is some landscape fabric, a couple of tools, and a free day.
The first thing to do is remove the center boards of your pallets to make some room for your herbs. You should remove slivers and the easiest way is by sanding your pallets. I’m sure you’re now wondering about water getting all over your floor after irrigating your herbs.
Well, you can either put the pallets on your balcony near the kitchen or install some sort of water-catching system.
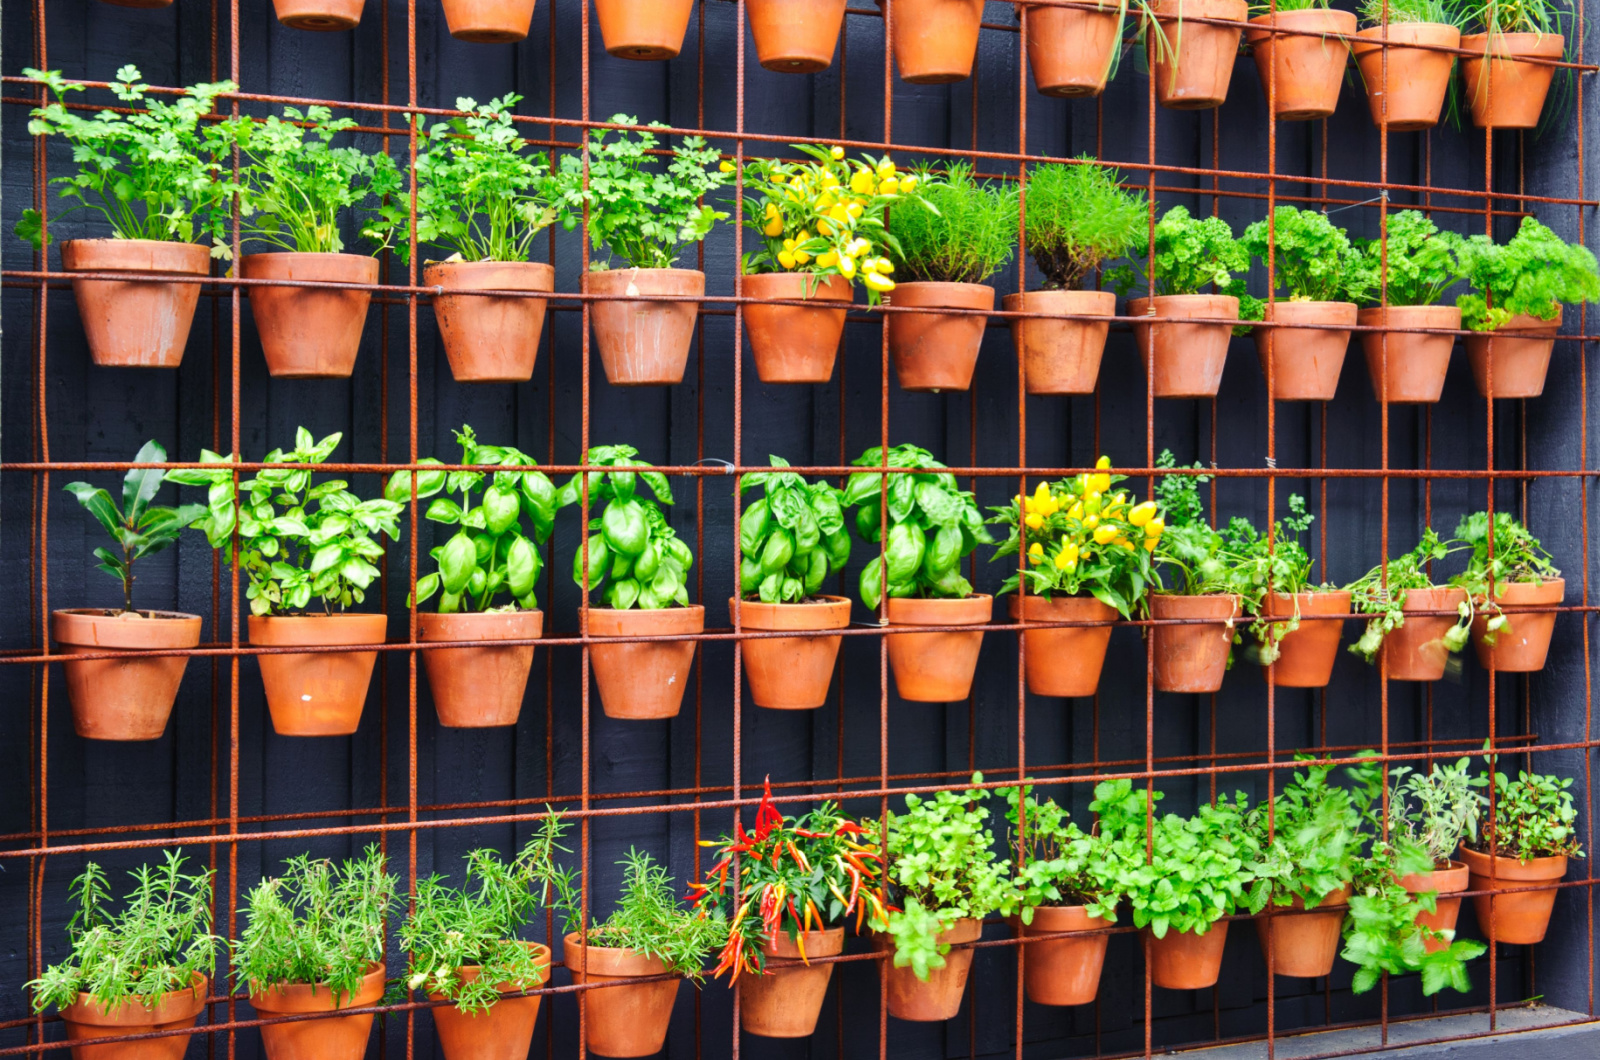
Wall Pocket Planters
If you don’t want a big herb garden in your kitchen, wall pockets should be your choice. They’re easy to move, so if your herbs need more light, simply transfer the wall pockets to a new location.
It’s not advisable to put the soil in wall pockets and then plant the herbs directly into it. A better option is to plant herbs in smaller pots and put them in the pockets.
Opt for shallow-rooted herbs, such as thyme, because their roots don’t need a lot of space to grow.
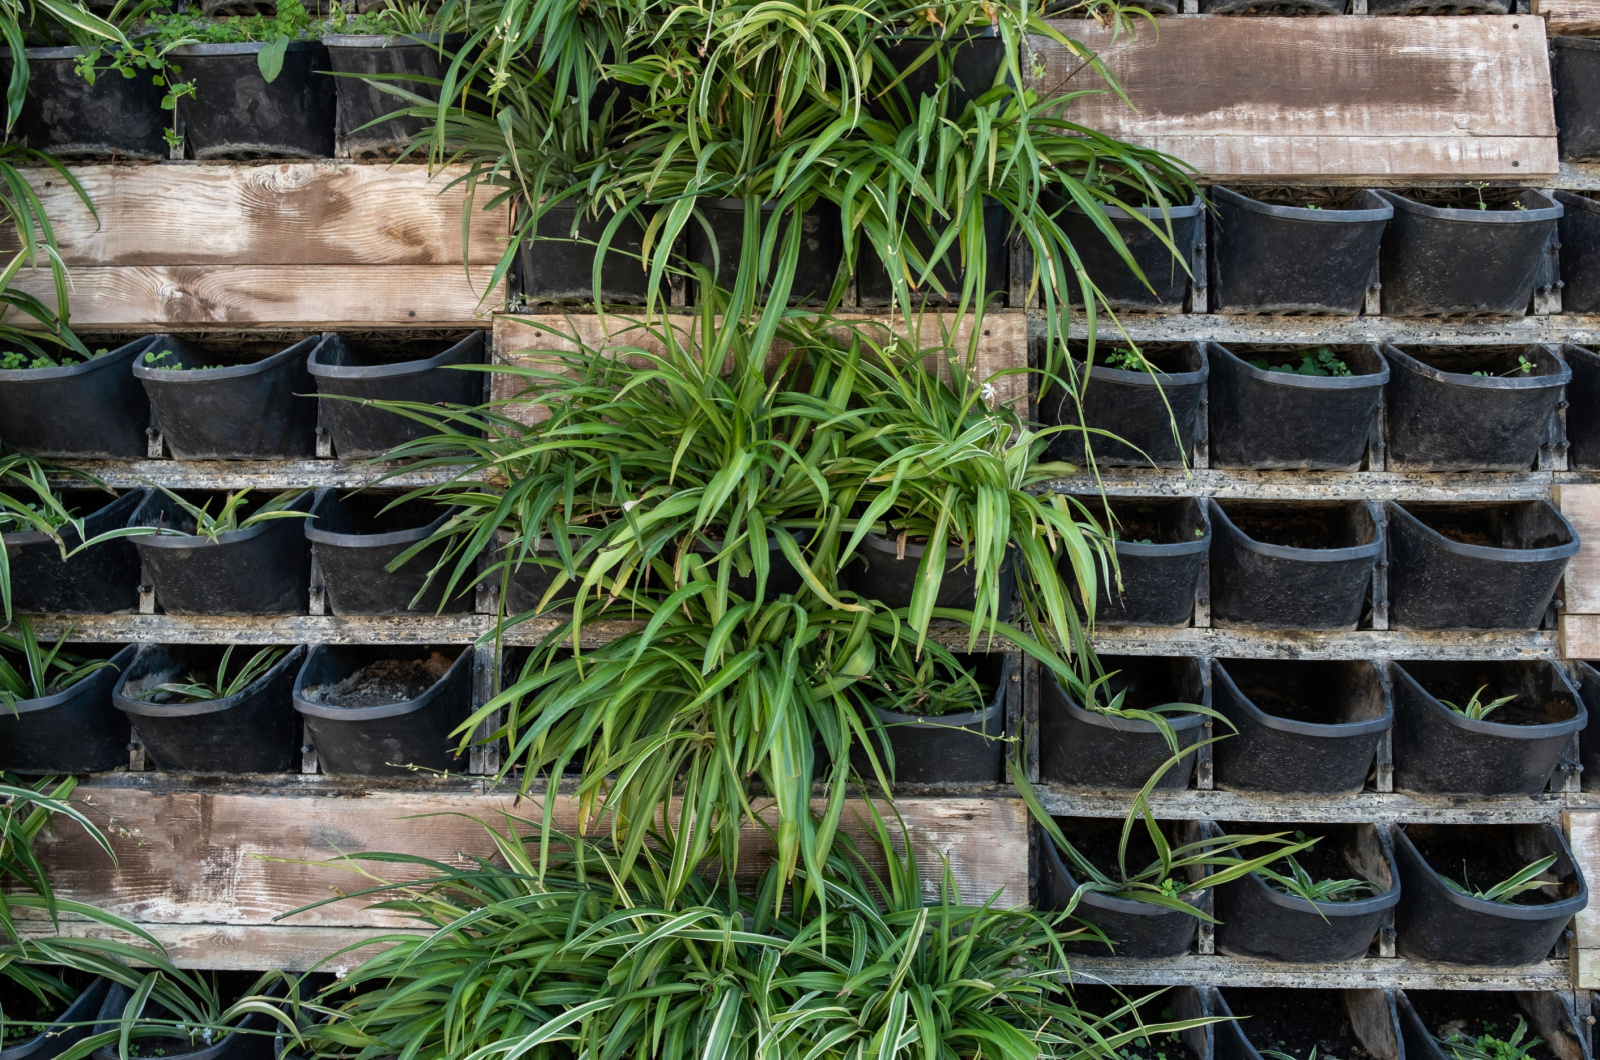
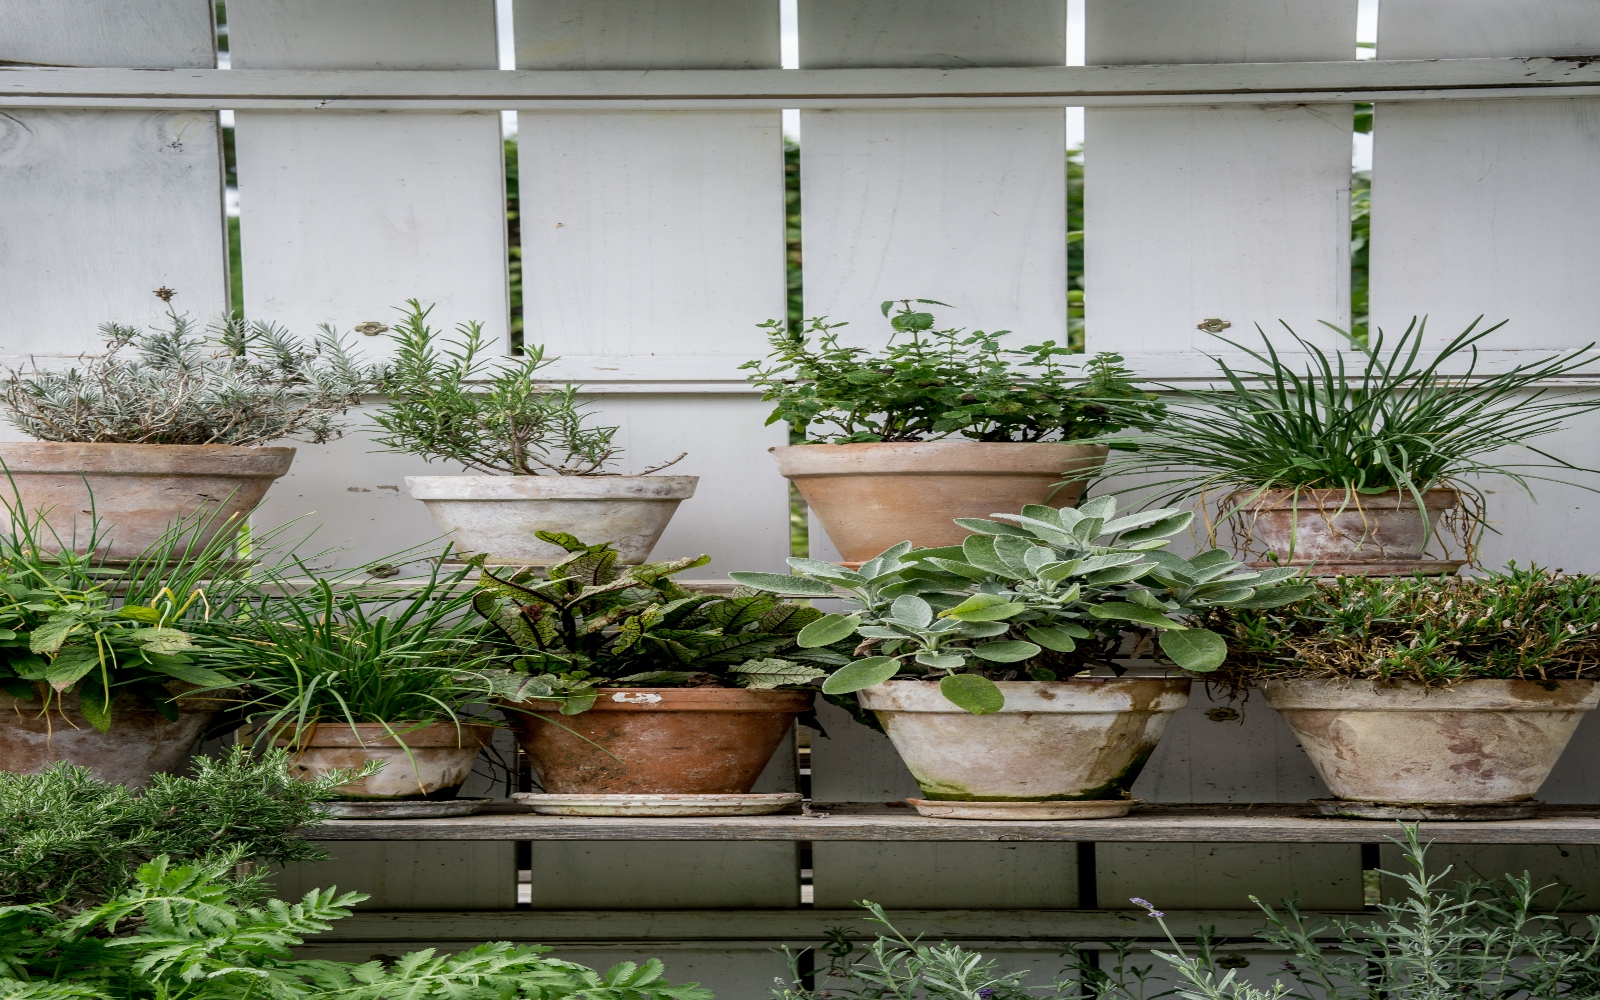
Hanging Ceramic Tiered Planters
One of the biggest drawbacks of these planters is that they’re really shallow, so herbs such as basil won’t grow well in them.
But you can grow herbs with shallow roots in hanging ceramic tiered pots. Since these planters are decorative, you can put them above your seating area.
Hanging Window Planters
If you need to brighten up your kitchen, you should grow your herbs in pots placed in hanging window planters.
They’re easy to maintain and you can pick a few leaves of your favorite herbs when cooking.
Step #3: Organize
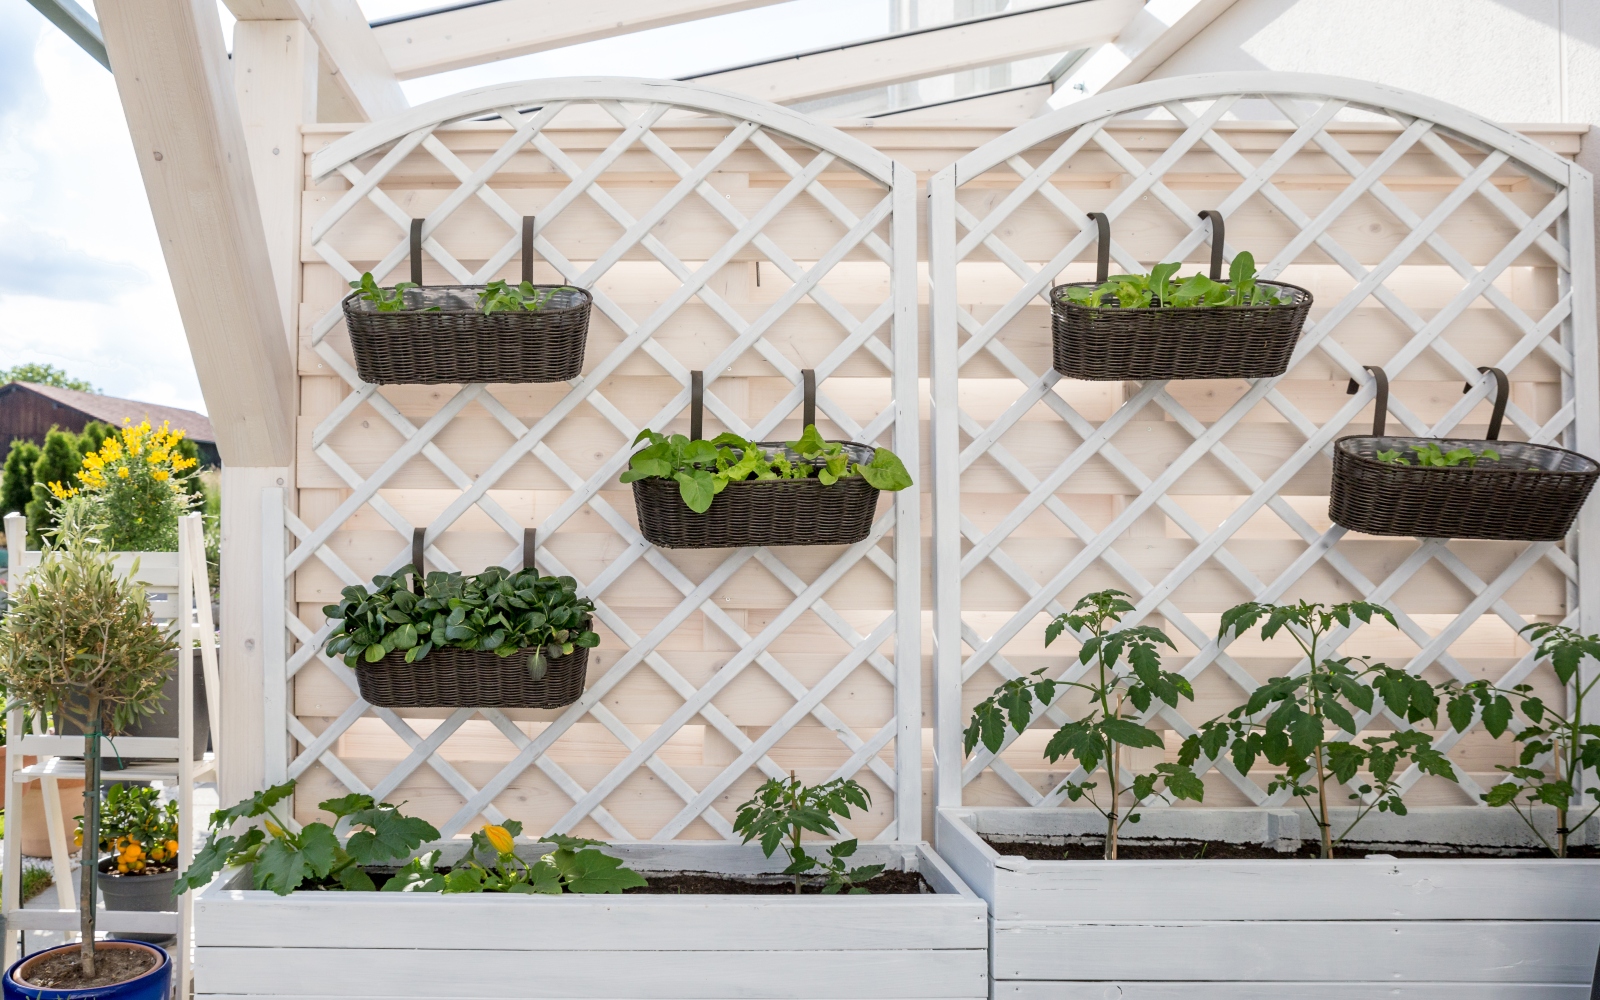
If you’ve selected the herbs and decided on the planters, the next step is to organize them. You can organize plants in tiers if the spot where you put them has full sun exposure.
Sage, lavender, and rosemary are some of the most drought-tolerant herbs so they should go on the top tier.
Cilantro, basil, and peppermint are a perfect choice for middle tiers whereas low tiers should be reserved for more sensitive herbs, such as cilantro, oregano, and thyme.
Always label each pot and, for better visual appeal, you can change the positions of the herbs in the lower and middle tiers. For instance, bushy herbs, such as basil, can be positioned in lower tiers.
If your vertical herb garden is in a partially shaded spot, you should put the plants with the lowest light requirements in the bottom tiers.
Those who have children or pets should put their creeping herbs in the highest tiers.
Step #4: Choose The Perfect Location
No matter which plants you grow outdoors and indoors, the most important thing is to choose a suitable location.
Since light exposure plays an essential role in plant development, no matter the species, your vertical garden must receive full sun to partial shade. If there’s a spot near a south-facing window, put your vertical garden there for the best results.
Additionally, you should pay attention to airflow because plants are more susceptible to diseases if the air circulation is poor.
It’s also important to choose a location away from temperature fluctuations and cold drafts. The key to the healthy growth of your herbs is ensuring a consistent environment to avoid stressing these plants.
Step #5: Meet All Care Requirements
The next step is maintenance; remember that herbs can’t thrive unless all their care requirements are met.
Let’s see everything in detail!
Light
We’ve discussed the importance of light in herb development but how much light do they really need? You should ensure approximately 4-8 hours of sunlight per day. This mainly depends on the herb species you’re growing in your vertical garden.
One of the best options is to use herbs with similar light requirements.
Those who don’t have good sun exposure in their kitchens can always use artificial lights. They allow you to set a timer and the type of light, so your herbs will definitely enjoy it.
If you don’t want to spend a fortune on these lights, LED bulbs are a perfect option. You can use standing types instead of hanging if you don’t want them to ruin your indoor design.
The best artificial lights are the ones that have automatic timers because you don’t need to worry if your herbs are getting enough light.
Water
There are several factors that affect the watering needs of your herbs; your region, the time of year, and indoor conditions. For instance, you’ll most likely need to water your herbs once a week during the winter months because water evaporates slower.
If you live in warmer regions, you’ll need to water more frequently, especially during the hot summer months.
Always allow the soil to drain well; both soggy soils and completely dry ones will have a negative impact on the growth of your herbs.
The most dangerous extreme is overwatering because it can lead to root rot, which can kill your herbs.
If you don’t have much time to water your herbs, then choose ones that tolerate drought, such as thyme, lavender, and sage.
Cilantro, parsley, and mint prefer moist soils, so make sure to check on the moisture levels regularly.
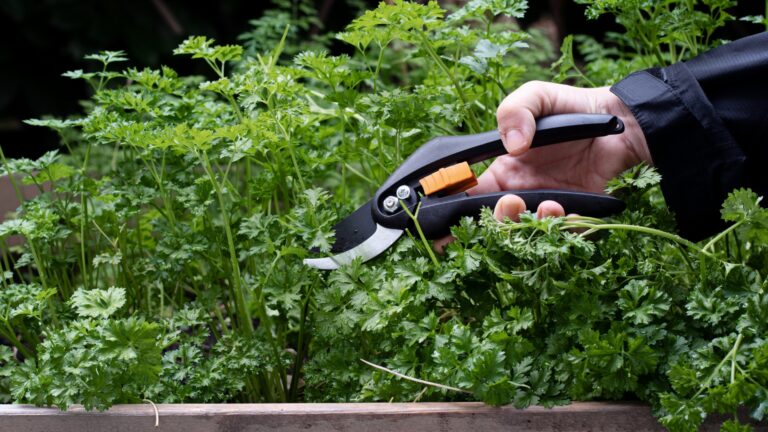
Pruning/Harvesting
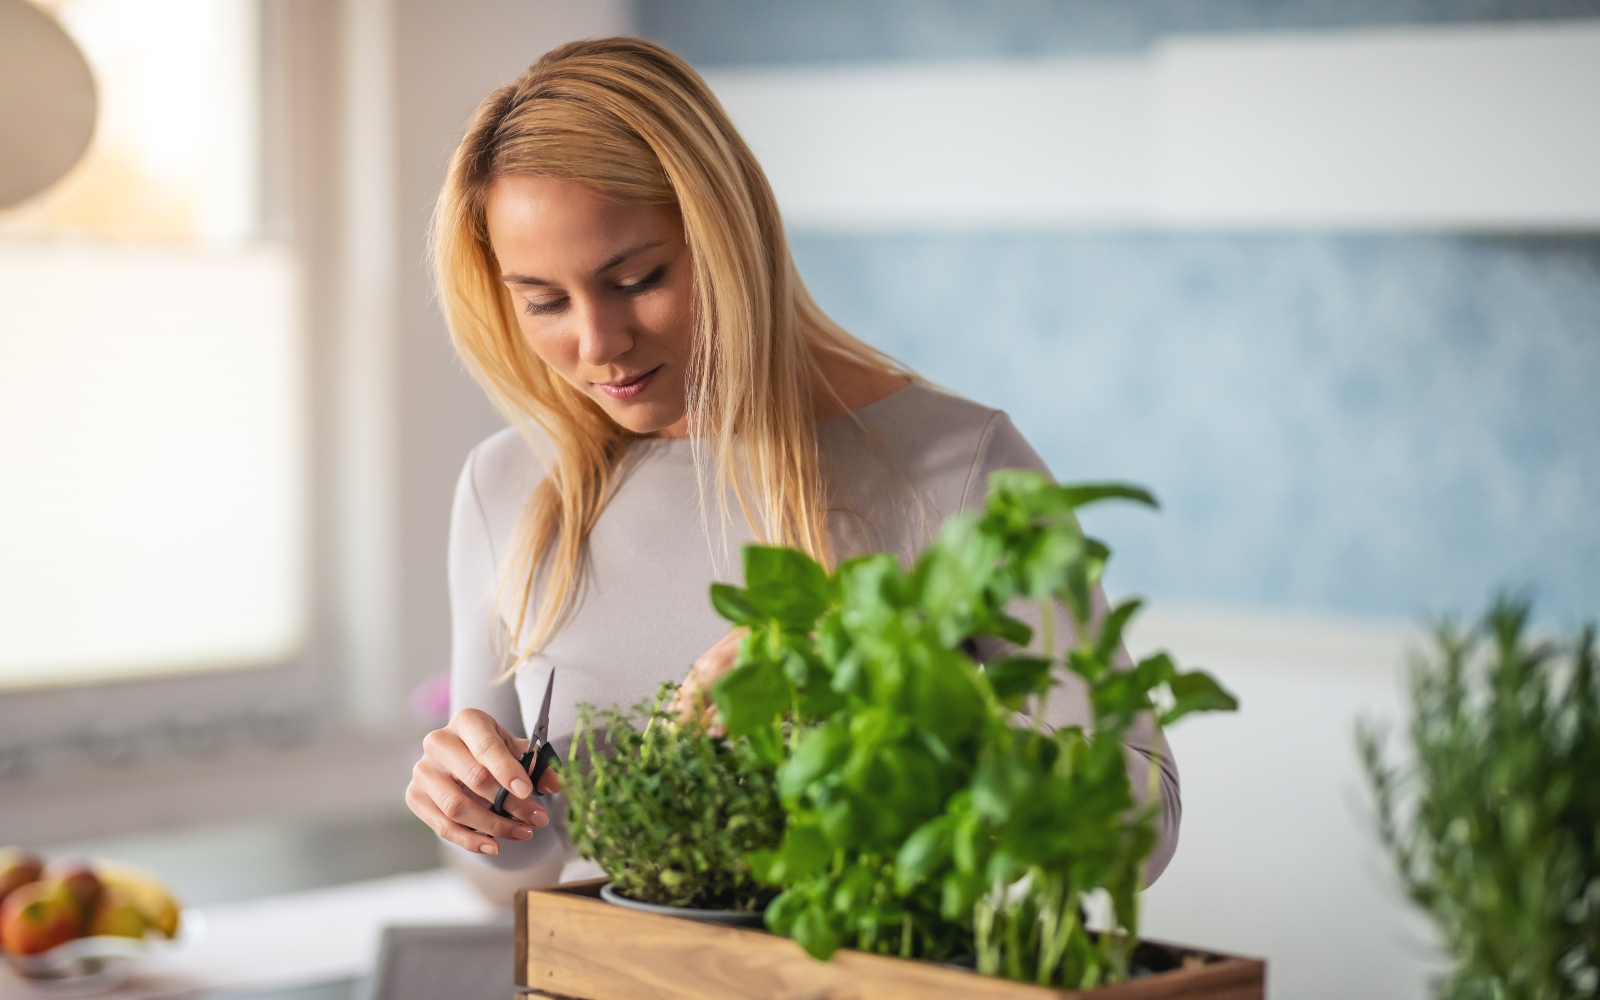
Another task you shouldn’t skip if you decide on a vertical garden is pruning. Always use sharp and sanitized pruning tools to avoid damage and spreading infections.
When pruning, you should start by removing the outermost stem tips; larger leaves left on the base of the plant will absorb light and give your plant enough energy to develop further.
Additionally, pruning basil and similar plants on the top may encourage bushier growth. If you remove the central stem above a node, you’ll notice the formation of 2 new shoots, which means you have a doubled plant.
Always harvest your herbs before they enter the flowering stage because of flavor.
Fertilizing
If you want to boost the growth of your herbs and have a bountiful yield, don’t forget to feed them.
This plant species will benefit most from a well-balanced liquid fertilizer applied every couple of weeks.
Some examples of perfect fertilizers for herbs are fish emulsion and seaweed extract. Make sure to prepare your fertilizer according to the instructions on the label.
Step #6: Inspect Regularly
Mistakes can happen, I mean, herbs are living organisms and they respond differently depending on their environment.
The easiest way to prevent issues is by ensuring the best conditions and regularly inspecting your plants. Almost every problem can be successfully solved if you discover it in time.
Here are some issues that can occur in herbs grown in vertical gardens and how to fix them.
Pests

Plants aren’t immune to these annoying creatures and the most common pests for indoor herbs are fruit flies and gnats.
A common method that gardeners use for these nuisances is a glass jar filled with apple cider vinegar. Simply pour vinegar into a jar, cover it with a plastic wrap, and make a few holes.
Put the jar somewhere near your vertical herb garden and the pests will enter it, become trapped, and die.
Leggy herbs
Insufficient light may cause your herbs to become leggy. They’ll stretch toward the light source and look unhealthy.
If you’re using grow lights, make sure to adjust their height and position them near your herbs.
White Spots Or Wilting
If you notice white spots on your herbs or that the leaves are dry, you should move your grow lights further away from your plants.
Wilting can also occur if you underwater your herbs. This is one of the most common causes of wilting in basil plants.
Algae On The Soil Surface
The most common causes of algae development on the soil surface are high humidity or overwatering.
This issue may not be detrimental to your herbs but it does look unsightly. You can remove it but it’s more important to fix the cause.
Be sure not to overwater your herbs and plant them in a free-draining soil type. Additionally, ensure a good airflow around the plants.
Cinnamon is frequently used for algae removal from the soil surface, but I repeat, the most important thing is to find and fix the cause.
How To Store Your Herbs

If you follow all the instructions for making and caring for a vertical herb garden, you’ll most certainly have a good harvest.
You can store your herbs if you can’t use them all and here are the best ways.
Freezing
One of the ways to store herbs is to freeze them. All you need to do is roll them and chop them.
Take an ice cube tray and pour some water or olive oil into each section. Freeze the herb and you can defrost a cube and toss it in your favorite dish whenever you want.
If you need to store your basil, you can put the harvested leaves on a paper towel, then in a freezer-safe bag, and freeze it.
The leaves may be discolored after defrosting so it would be best to add them to a cooked dish.
Drying
There are multiple methods and hacks for drying home-grown herbs. The most important thing is to choose only the healthiest leaves of your herbs.
Bundle them, put them in a paper bag, and tie the end of the paper bag with the herb stems with a string. Make a few holes in the bag to enhance air circulation and put it in a dark and cool spot.
After a couple of weeks, take the herbs out, remove the stems, and put the leaves in an airtight container. If there are any discolored or moldy leaves, make sure to discard them.
Tips For Crafting With Herbs
Of course, you can always make some interesting crafts with your home-grown herbs.
Here are some recommendations.
• Homemade lavender toner: For this craft, you’ll need some lavender, water (¾ cup), witch hazel (¼ cup), and a few drops of aloe vera. Mix everything together and use it for skin.
• Herbal room spray: Make a fragrant room spray by mixing rosemary sprigs with isopropyl alcohol and distilled water.
• Herbal bath tea bags: Use the herb of your preference; for a calming effect use chamomile and for stress and pain, lemon balm is more appropriate.
Simply follow all our instructions and you’ll have a thriving vertical herb garden and many fragrant and delicious leaves to harvest!