How To Dry Homegrown Onions And Garlic

Drying your homegrown onions and garlic not only reduces waste and enhances their flavor, but it also extends their shelf life significantly. However, it’s crucial that you do it right!
So, in this article, we will walk you through a step-by-step process on how to dry onions and garlic. You will need strings, paper bags or onion nets, and mesh bags or racks. Once you’ve gathered them all, let’s get started.
Step 1: Harvest Your Onions

Knowing when to harvest onions plays a very important role. Once their tops have started drying out and turning yellow, it’s time for harvesting. Their green tops turn yellow as an indicator that the onions reached maturity and don’t need more energy and nutrients for growing.
However, you shouldn’t leave them to wither completely – they still need protective outer layers to avoid physical damage and pest infestations. Once you harvest them, onion bulbs should be firm.
Get rid of mushy and soft bulbs that have started rotting because they can’t be stored for a long period of time.
Garlic should be harvested when lower leaves have turned yellow or brown because the plant switches its focus from leaf growth to bulb development.
Step 2: Clean Them
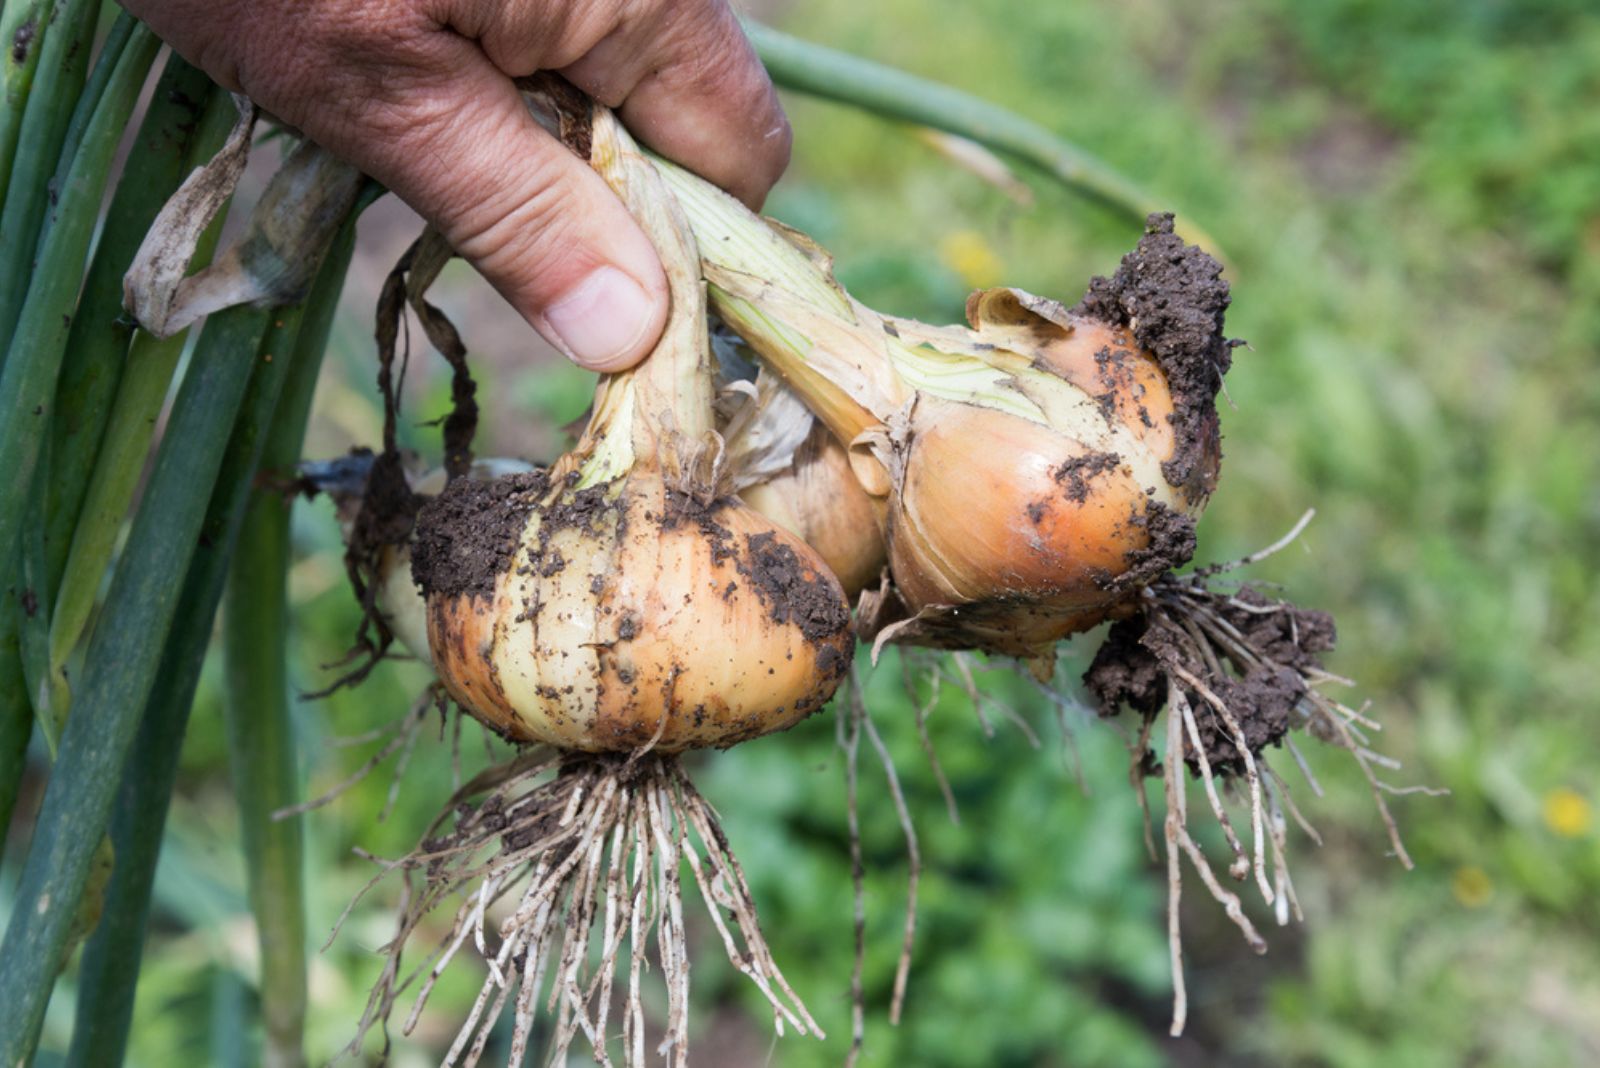
When harvesting, get rid of excess soil but avoid washing as it can lead to excess moisture and rotting. Simply use your hands to remove the soil – use gloves for protection.
You might also be interested in: How Many Onions Grow From One Bulb? (Explained)
Step 3: Curing Is Key

Curing and drying your onions is the key for long-term storage. What you should do is put your bulbs in a dry place with good airflow. To keep them off the ground and out of the sun, you can use racks or simply hang them.
Leave them for about two to four weeks to cure properly. During this period, the onion’s outer layer will become dry and their necks will also tighten.
Now is also the time to braid your garlic if you have grown a softneck variety. Drying and curing is done to reduce moisture because excess moisture encourages fungi and bacteria growth.
In addition, bulbs can actually sprout if they are not dried. This is bad because sprouting bulbs have soft and fibrous insides that are not desirable for cooking. Plus, they almost completely lose their unique flavors.
Fully dry outer layers protect the inner ones from any type of pathogens that are trying to break through. Drying can also improve the flavor and quality of your garlic and onions. Well-drained bulbs maintain shape and color, which makes them great for garnishes and salads.
Also read: How To Grow Unlimited Green Onions Like A Pro
Step 4: Trim Your Onions
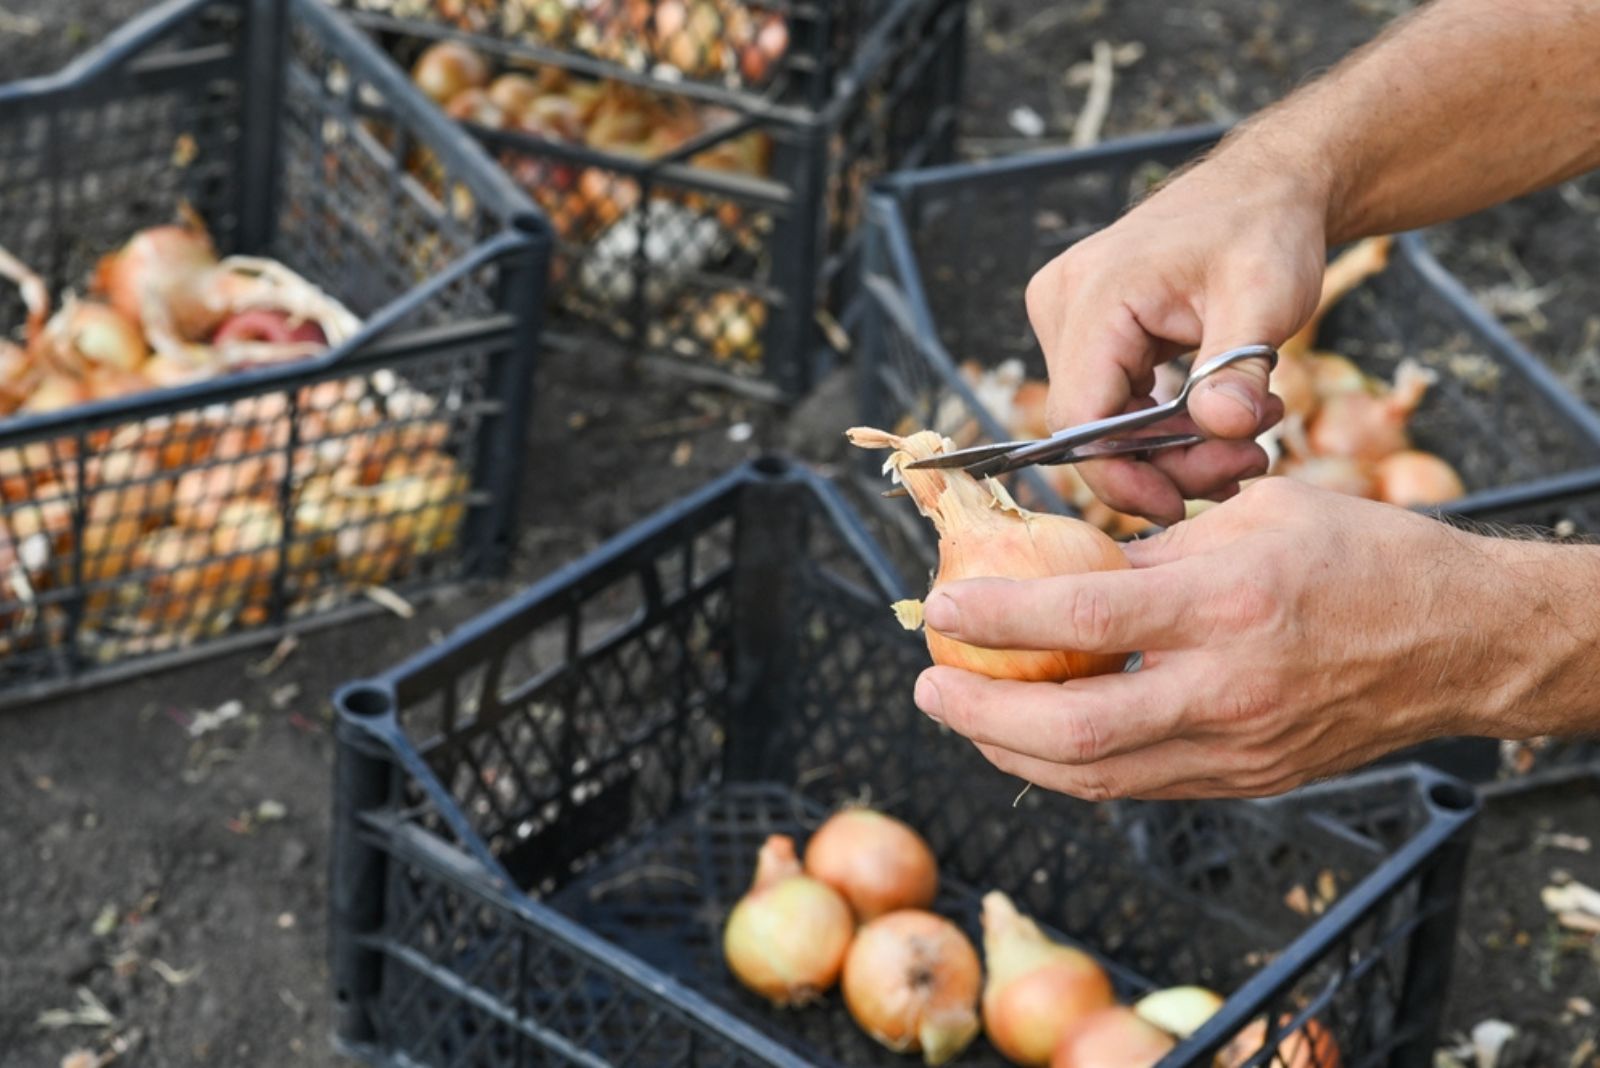
After you have cured your onions, make sure to trim the roots and tops to about an inch long. You can also trim your garlic – leave about an inch of stem to it.
Step 5: Store Them Properly

If you have followed the previous steps for harvesting, curing, and trimming your onions, now is the time to store them. First, put your onion bulbs in brown paper bags or nets (whichever you prefer)
Then, put these bags in a dry and cool location without direct sunlight exposure. You can put them in a pantry or root cellar as long as they are well-ventilated.
Avoid moisture buildup around the bags by providing good air circulation. Remember, moisture is bad when storing so avoid putting them in moist places!
However, what also affects shelf life is the onion variety; for instance, varieties like Sweet Yellow Spanish and Copra are long-lasting and have a longer shelf life.
When it comes to garlic, hardneck varieties can even be stored for 10 to 12 months. For instance, Music hardneck garlic is the best for storage since it is hardy to pests and can preserve its flavor for a long time.
You might also find this interesting: How To Store Potatoes And Other Veggies Properly To Make Them Last Longer