Edge Your Flower Bed Or Walkway In Just 6 Simple Steps
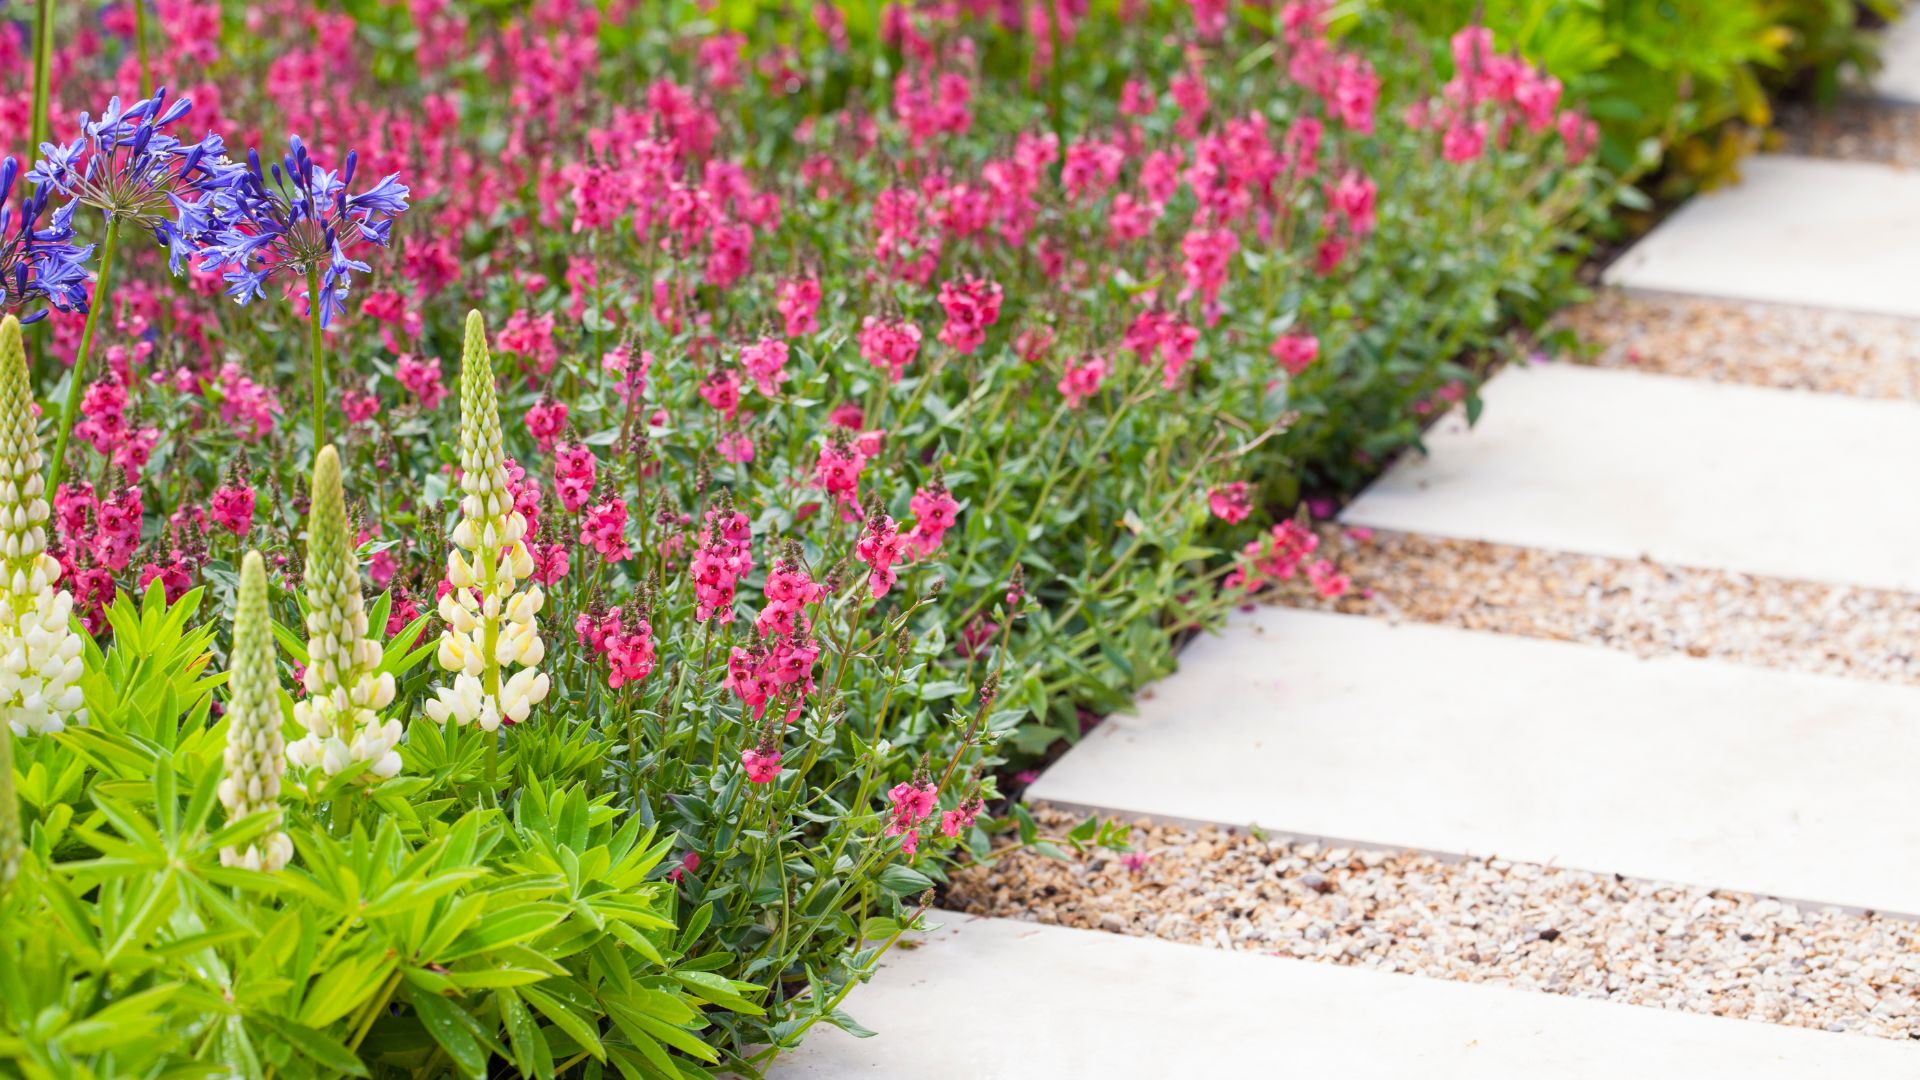
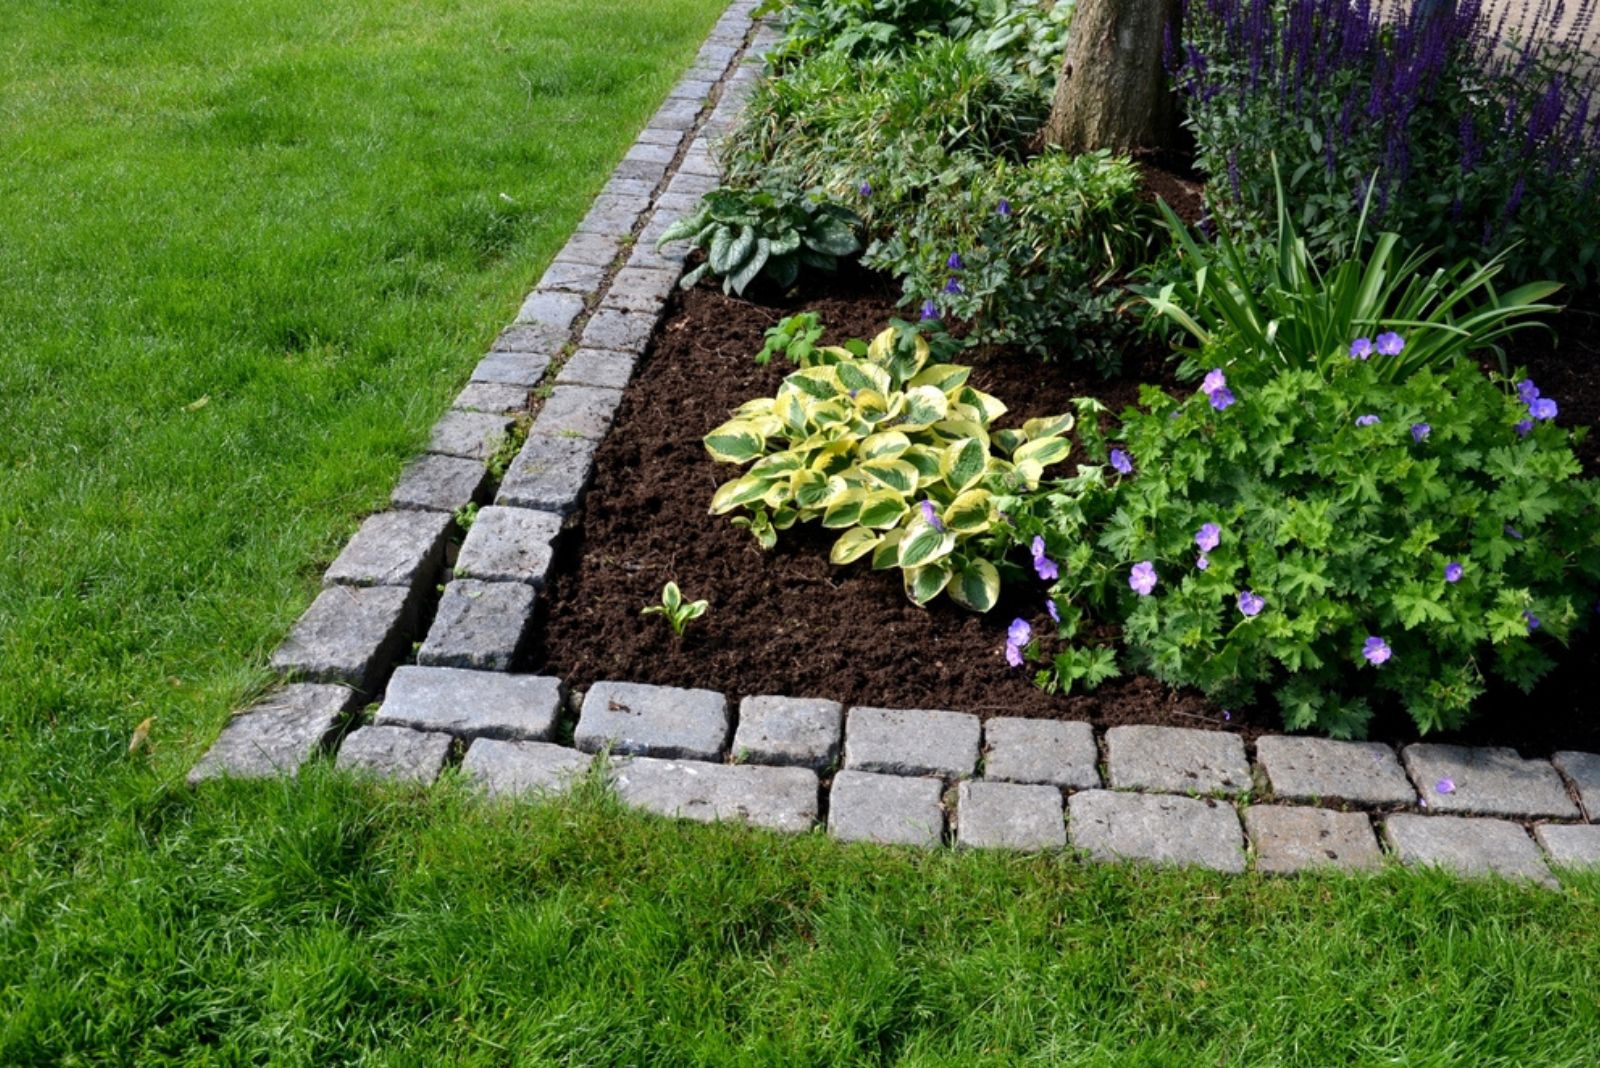
Want to spruce up your garden? Just edge your flower beds and walkways – it’ll instantly take them from looking ordinary to extraordinary!
One of the easiest ways to define your garden space is with landscape edging, and my personal favorite is metal. It’s not only stylish, but it’s also flexible, allowing you to create those lovely curves we all love.
It even comes in different colors to match your garden’s vibe (how cool is that?).
Installing metal edging is a fun project, even if it requires some time on your hands and knees. No worries, I’ll walk you through the steps I used to get my edging looking flawless!
1. Gather The Equipment First
You’ll need the following materials:
• Black metal edging
• Landscaping paint
• 2×4 scrap wood
• Wood stakes
You’ll need the following tools:
• Knee pads
• Metal shears
• Garden tillers
• Utility knife
• Rake and shovel
• Dead blow or rubber mallet
• Lawn edger
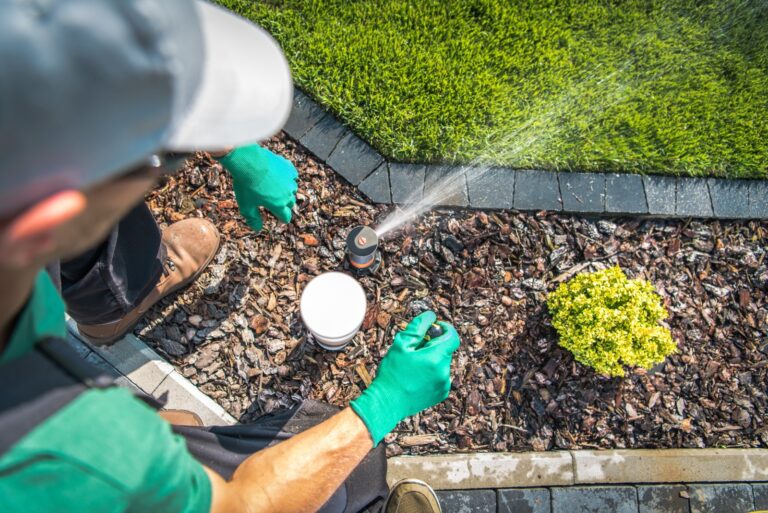
2. Then, Outline The Desired Area
Before you start cutting your lawn, it helps to have a clear guide for your metal edging.
I like to use colorful landscape marking spray paint to outline where I want everything to go (like a blueprint for the garden). This spray is made for marking while upside down and is absolutely perfect for landscaping projects!
It works on surfaces like concrete, gravel, soil, and grass. And, hey, why not choose bright colors to make your garden more fun and lively?
Also read: You Need To Sow These 16 Flowers In Fall For A Vibrantly Colorful Garden Landscape
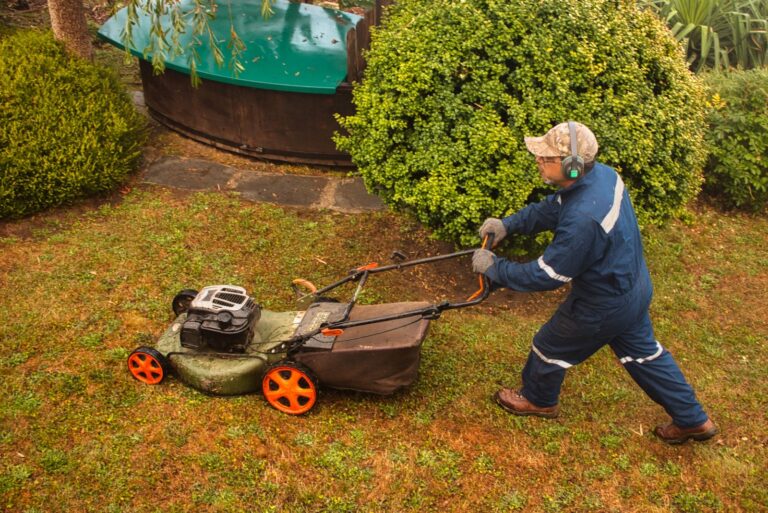
3. Cut Into The Grass
Grab a lawn edger or a square shovel and follow your spray paint line to create a neat cut in the grass or soil for your metal edging.
And here’s a little tip: rocking or swiveling the edger or shovel back and forth can help make just enough space for the edging to slide in easily.
4. Get Rid Of Sod And Weeds
Before you set up the metal edging, make sure to clear away any grass, sod, pebbles, and rocks from the area where your garden or walkway will be.
If you’re dealing with stubborn roots, consider renting a small garden tiller to make the job easier. It’ll save you time and effort (trust me, your back will thank you!).
5. You Should Also Add Compost Or Topsoil
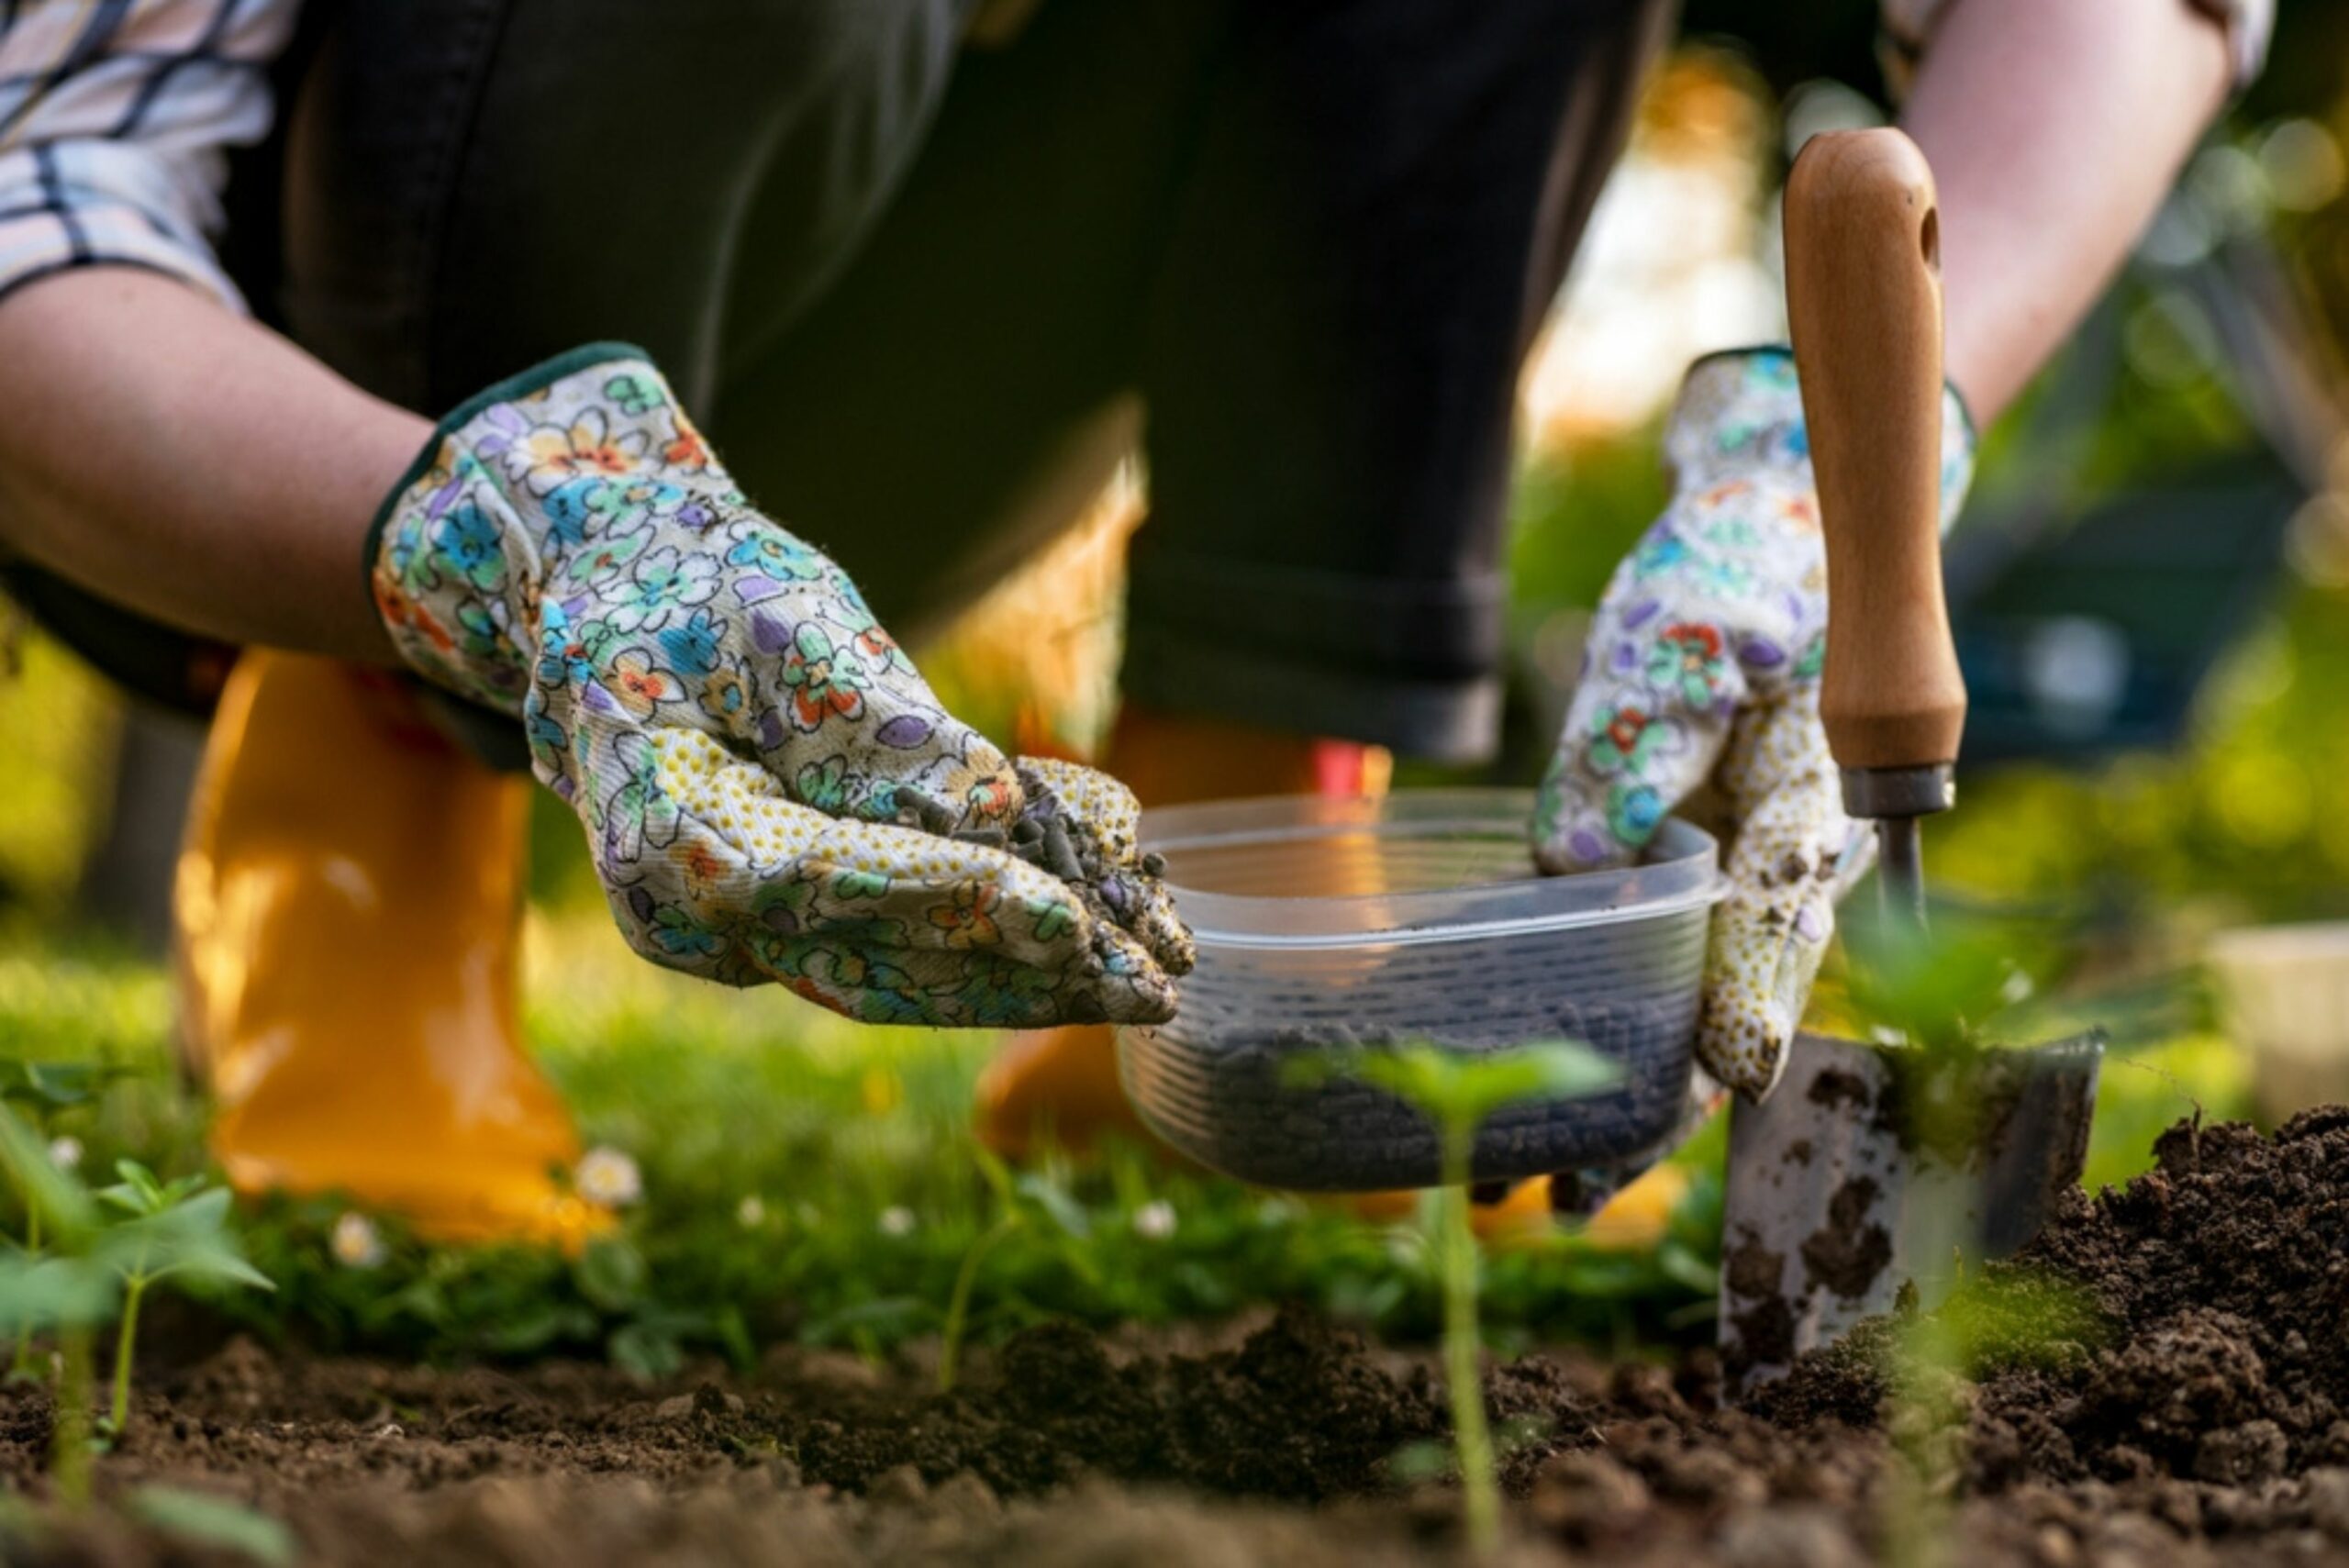
Don’t skip out on adding in some compost or topsoil before you install the edging for your new flower bed.
I would recommend you to lay out all the bags and cut them open right where they’ll go (I figured that’s the easiest way to do it).
Then, grab a shovel or rake and turn the soil to blend everything in. You’ll get your hands dirty but at least your plants will thrive!
6. Secure The Edges With Stakes
Next, use metal shears to cut off any attached stakes. You’ll need those stakes to secure the edging later on.
When it’s time to hammer the edging into the ground, grab a 2×4 to protect it. Striking the metal directly with a hammer can lead to bending or dents, which we definitely want to avoid!
Hammer it down until about two inches of the edging stick up above the ground. Once it’s in place, secure it with the provided metal stakes through the openings at each end.
Don’t forget to overlap the pieces so you can use the same stakes for both!
For curves, use wood stakes to mark your desired shape. Then, with the 2×4 in hand, drive the metal edging into the ground and secure it with the metal stakes.
After you’re done, pull out the wood stakes and fill in the dirt around the edging for extra support and stability on both sides.
Congratulations, you’ve successfully edged your flower beds and walkways!
Now all you can do is keep it nice and neat, and enjoy your delightful garden.
Also read: Creative & Simple Ground Cover Ideas For A Stunning Landscape