How To Grow And Care For Captivating Bellflowers

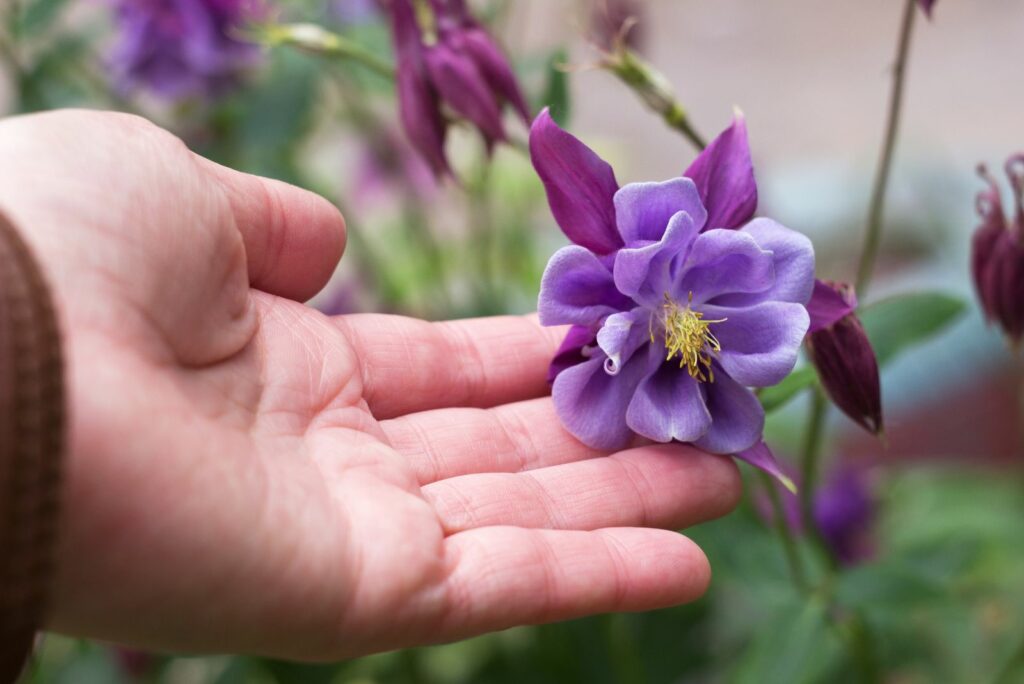
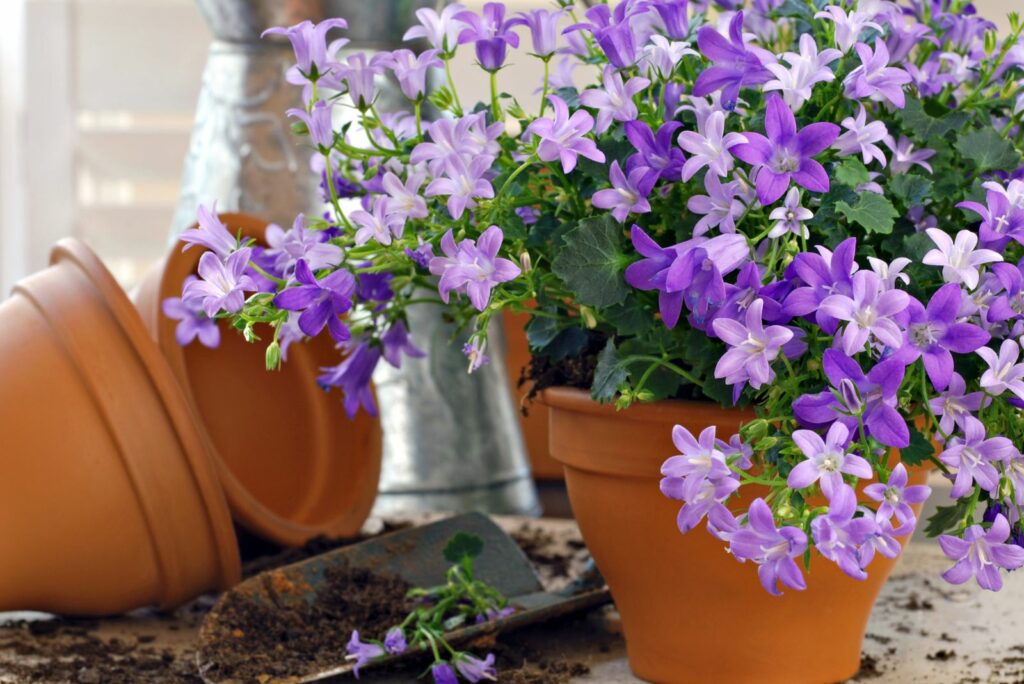
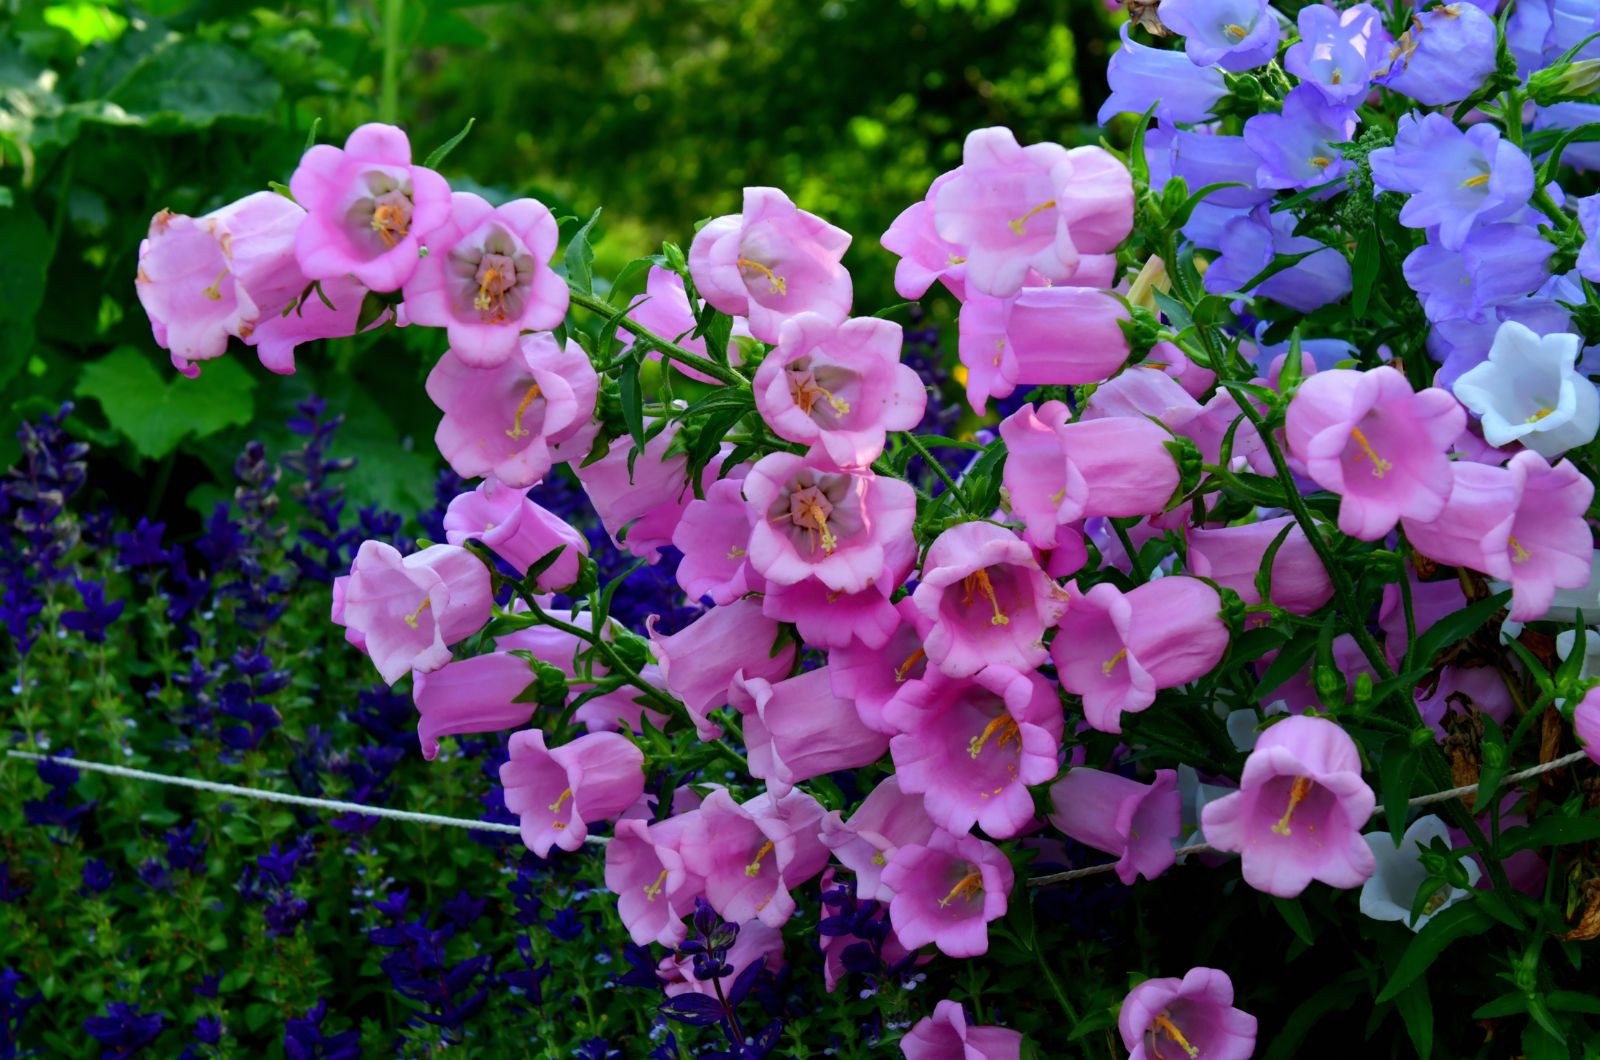
Colorful and versatile bellflowers adorn gardens worldwide, and it’s impossible not to fall in love with the plant when in full bloom.
You can grow them as annuals, perennials, and biennials, which means they can be a part of your outdoor space no matter which zone you live in.
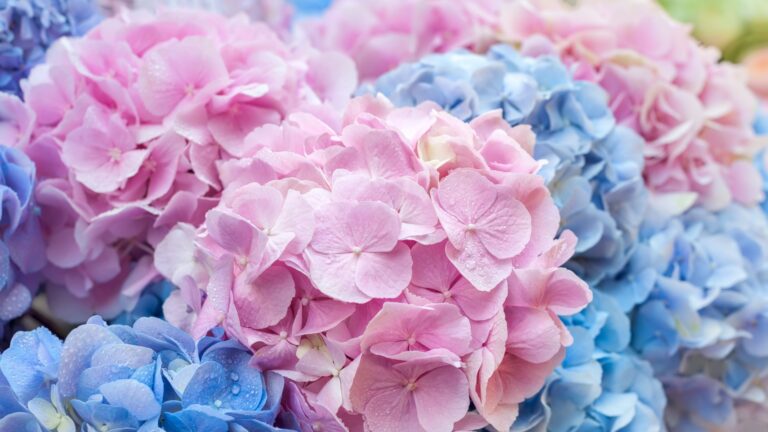
They come in various colors, such as white, purple, and blue, and you can even choose between the upright, clumping, and trailing species.
In this article, I’ll show you how to grow and care for stunning bellflowers, get new plants for free, and deal with common issues.
Let’s get started!
Bellflowers Care Guide
If you want your garden to be filled with an abundance of magnificent star-shaped blooms, you have to ensure all the necessary conditions for your bellflowers.
Light And Water Requirements
When selecting a spot for your bellflowers, make sure it receives enough sunlight.
These plants do well in both partial shade and full sun, but the latter will give you more blooms.
Bellflowers don’t require a lot of water but they’ll grow best if their soil is consistently moist. They’re very sensitive to overwatering, so you’ll need to pay attention not to waterlog bellflower soil.
Soil And Fertilizer
Bellflowers aren’t fussy over the soil type, but from my own experience, they perform best if grown in loamy and free-draining growing substrates.
They aren’t heavy feeders, but for the best growth, I highly recommend fertilizing your bellflowers with a balanced fertilizer once they display new growth.
Temperature And Humidity
These species prefer cooler temperatures, and if you live in USDA zones 3 and above, your bellflowers will do just fine.
Luckily, bellflowers aren’t finicky when it comes to humidity and will grow well at moderate humidity.
Pruning

If you’re a beginner gardener, you’ll be happy to hear that bellflowers don’t require any special pruning.
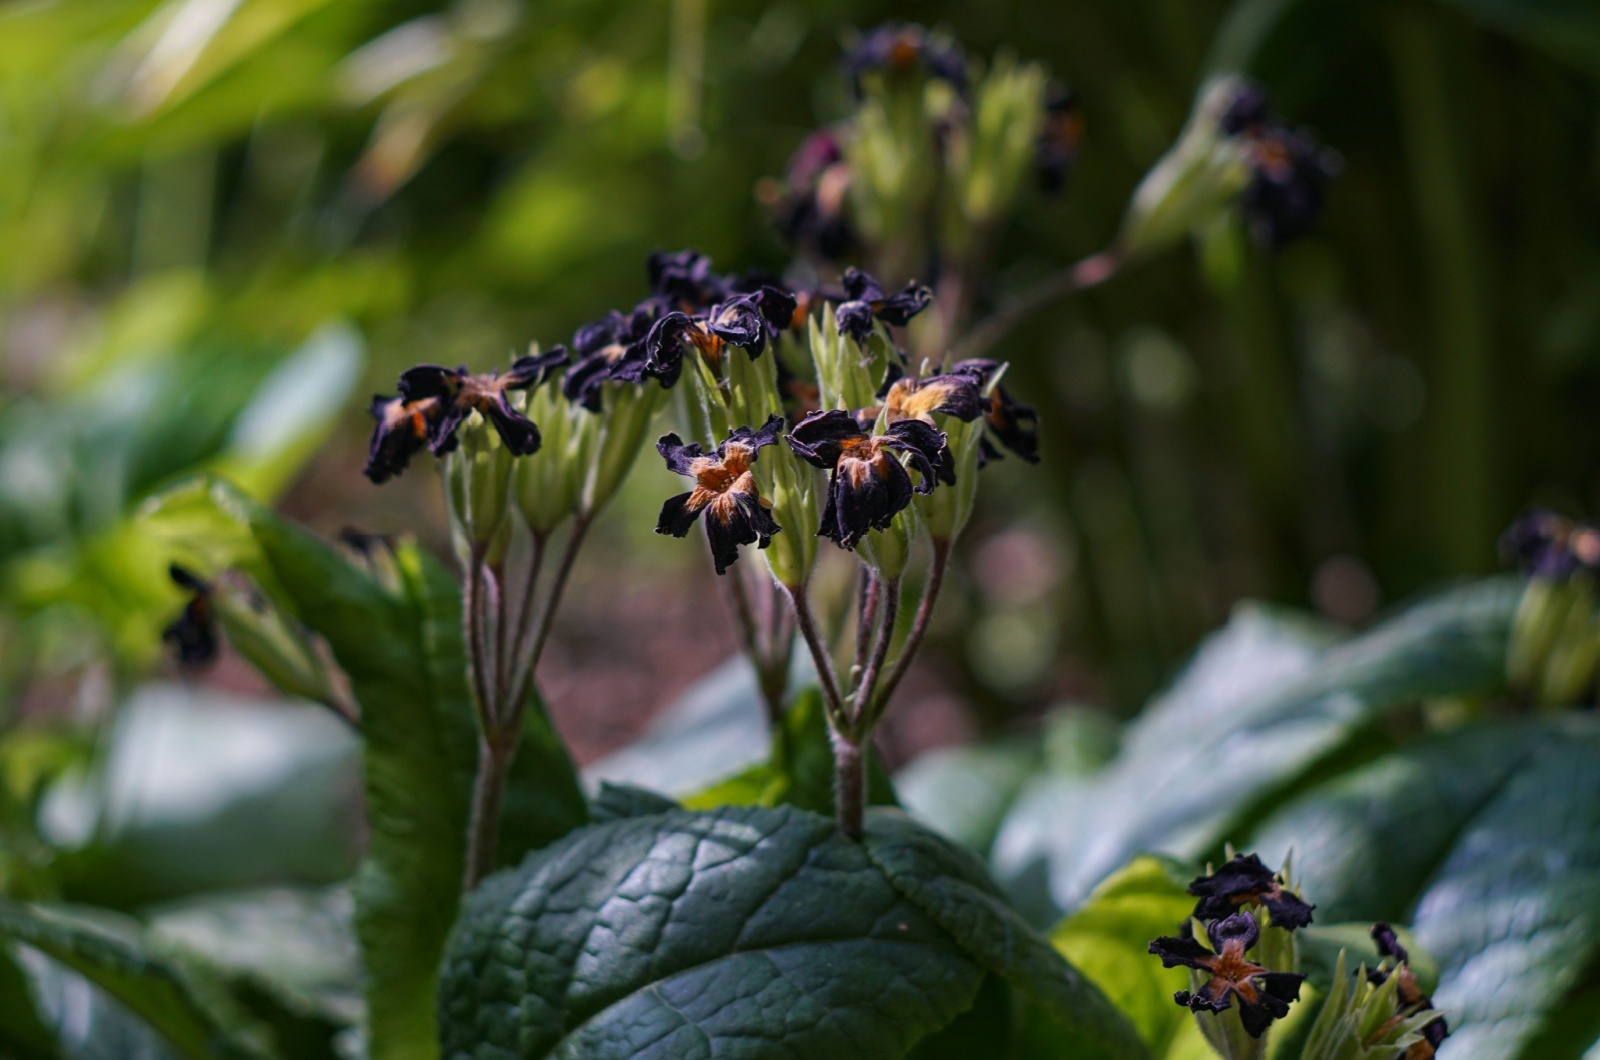
Your only task is to remove spent flowers and stalks from your bellflowers when the blooming season ends.
The foliage of bellflowers typically remains green even in temperate winters.
Types Of Bellflower Plants

I’ve mentioned that these are versatile plants and that there are a lot of species to choose from.
Here are the most popular types of bellflowers.
• Canterbury bells: This variety also goes under the name spotted bellflower, it can reach up to 2 feet and has a clumping growth habit. It features stunning white to bright pink blossoms with purple spots in the center.
Pink Chime and Cherry Bells are the two most famous Canterbury bell cultivars.
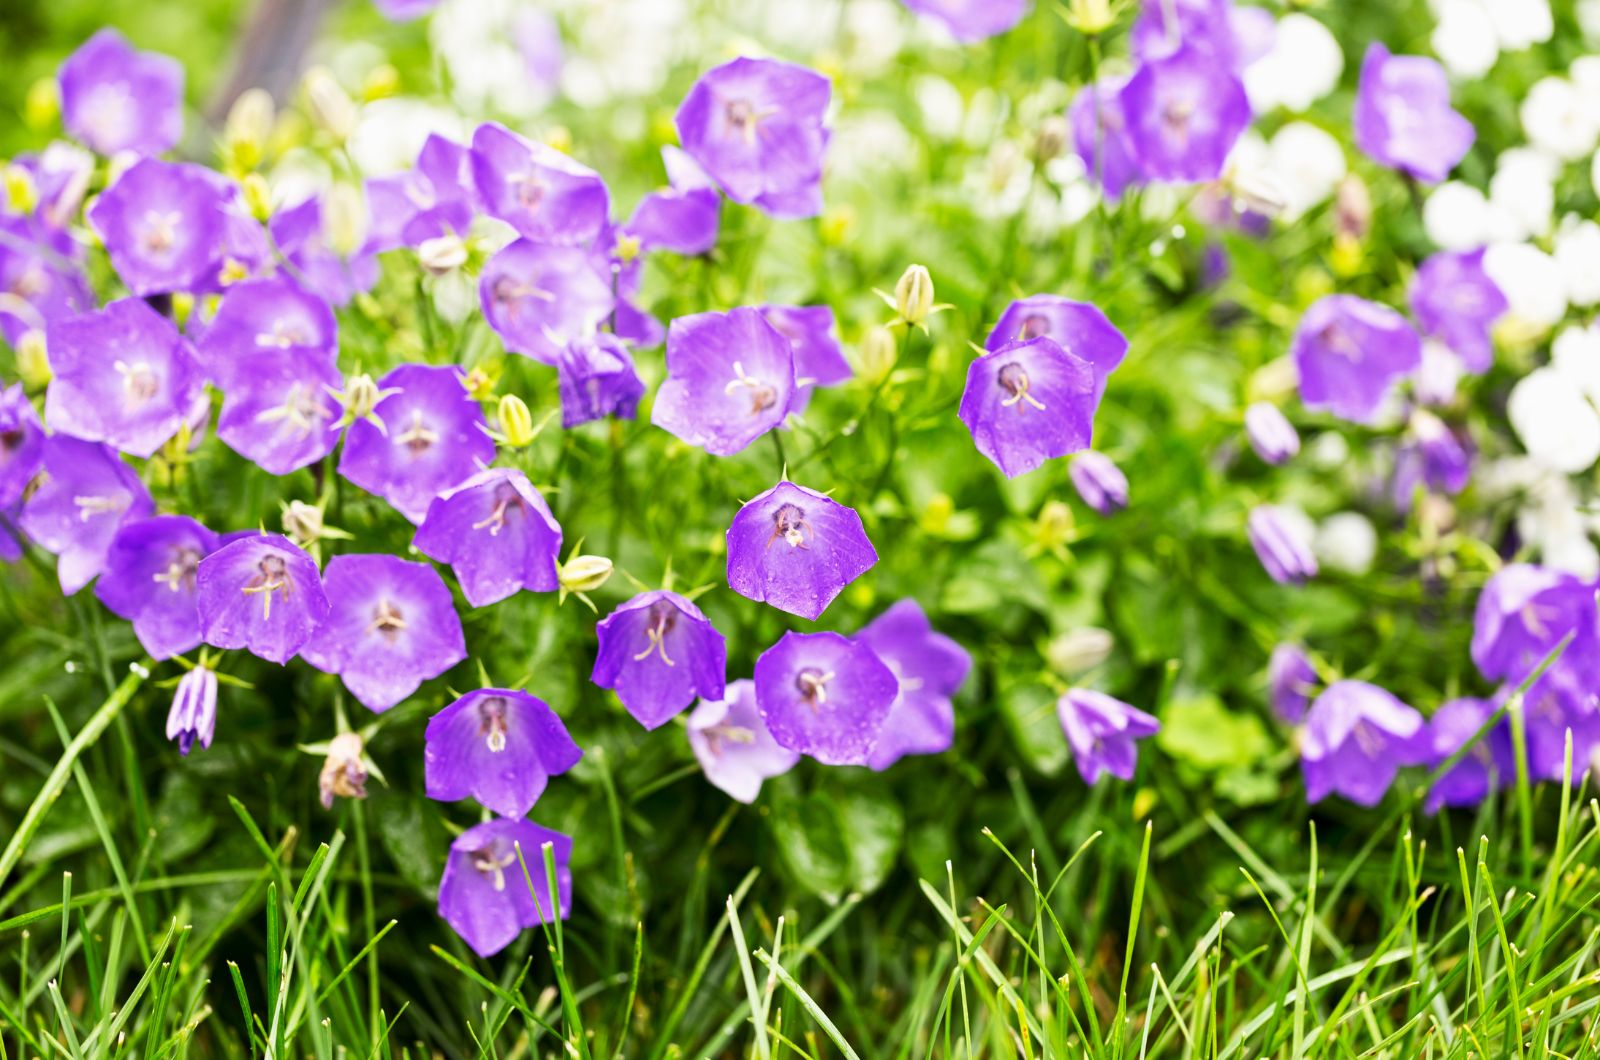
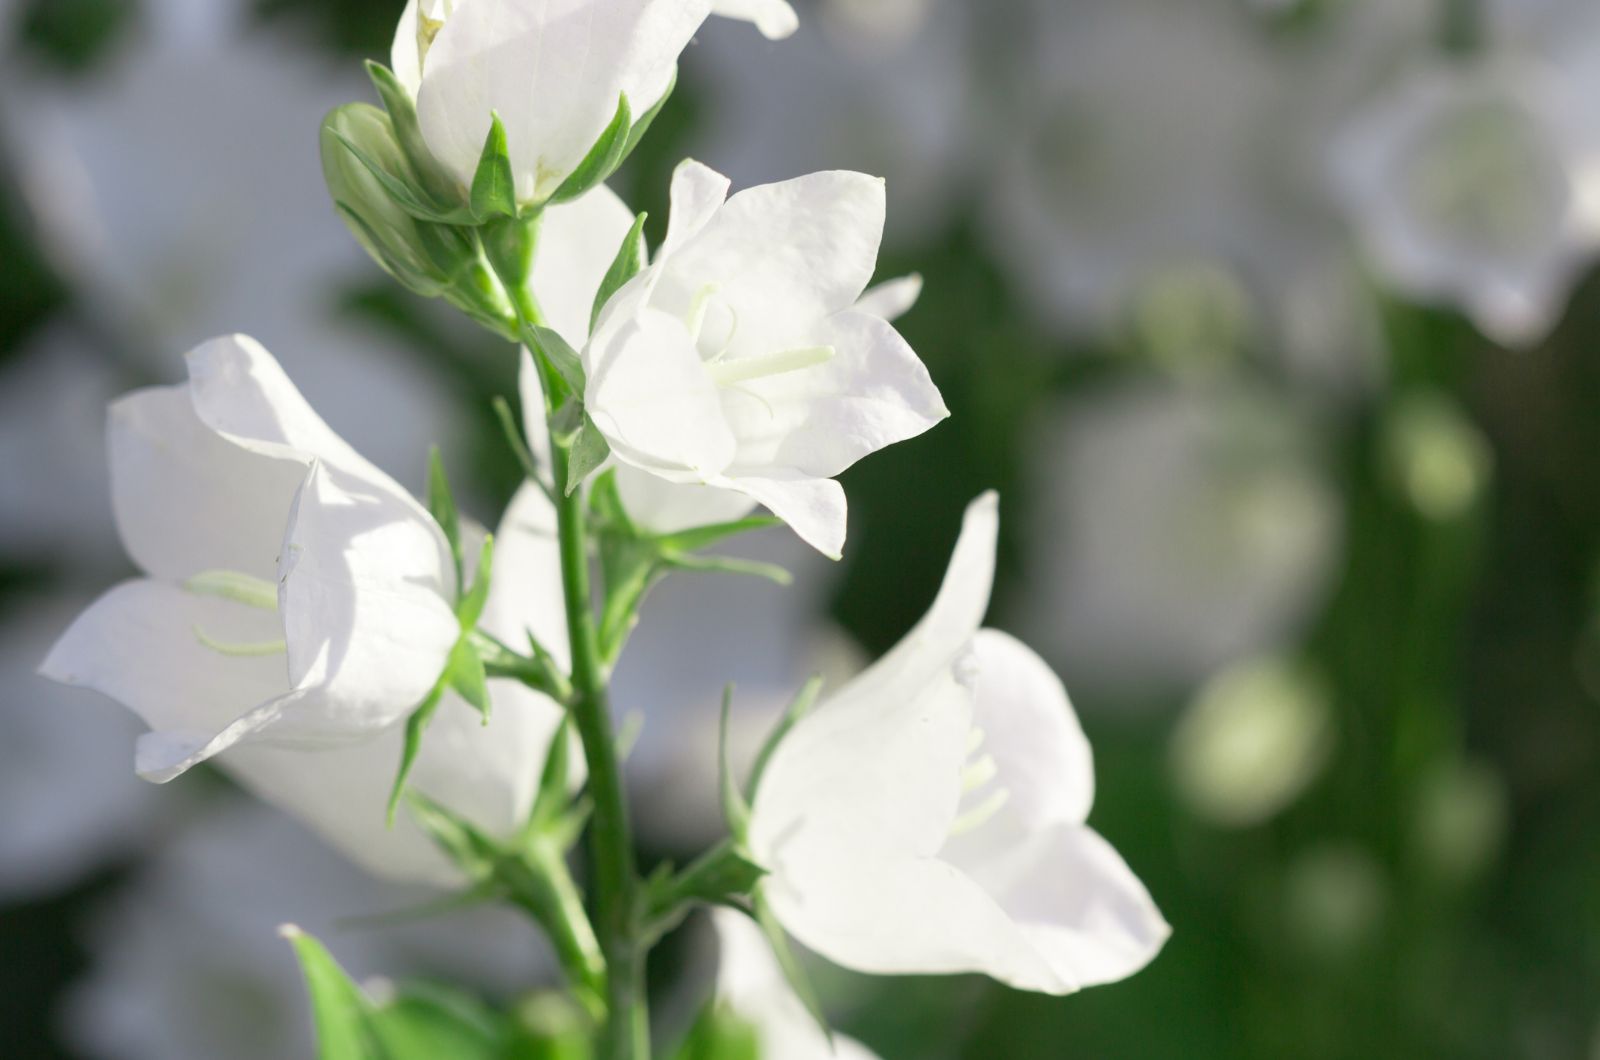
• Carpathian bellflower: If you need a smaller bellflower, this variety will do the job. You can grow it as a perennial and it’s renowned for its amazing upward-facing blossoms that can be white, purple, and blue.
It performs well in cooler climates and some of the cultivars include Rapido White, White Clips, and Blue Clips.
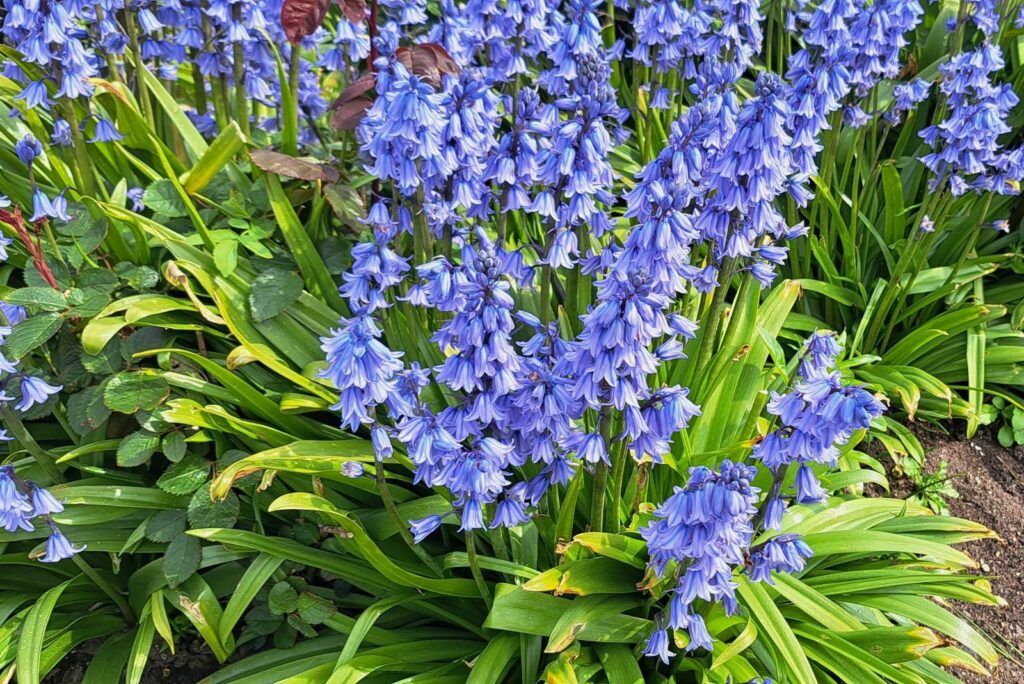
• American bellflower: This variety can be grown as an annual or biennial and can reach up to 6 feet under optimal conditions.
Its blue flowers are star-shaped and have five lobes.
• Fairy bellflower: Captivating bell-shaped outward-facing blossoms adorn the rosette-forming Fairy bellflower, making this variety very special.
It can reach up to 3 feet and some of the cultivars I recommend are Telham Beauty and Chettle Charm.
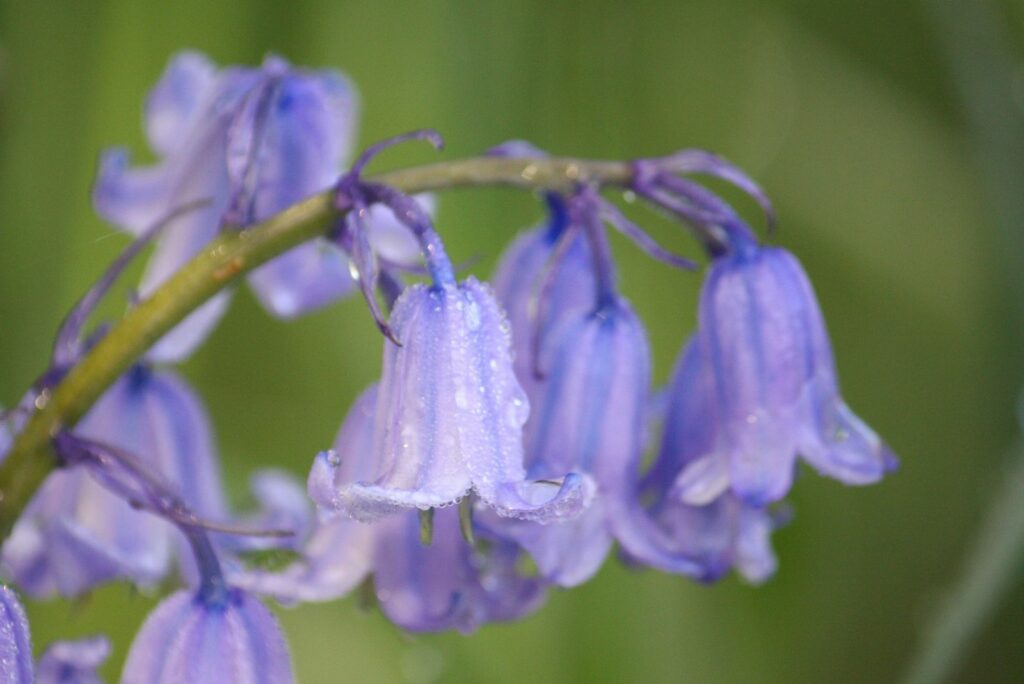
• Creeping bellflower: This variety produces bell-shaped bluish-purple blossoms from June through August. This variety is a perennial and considered invasive, so I don’t recommend growing it in the ground.
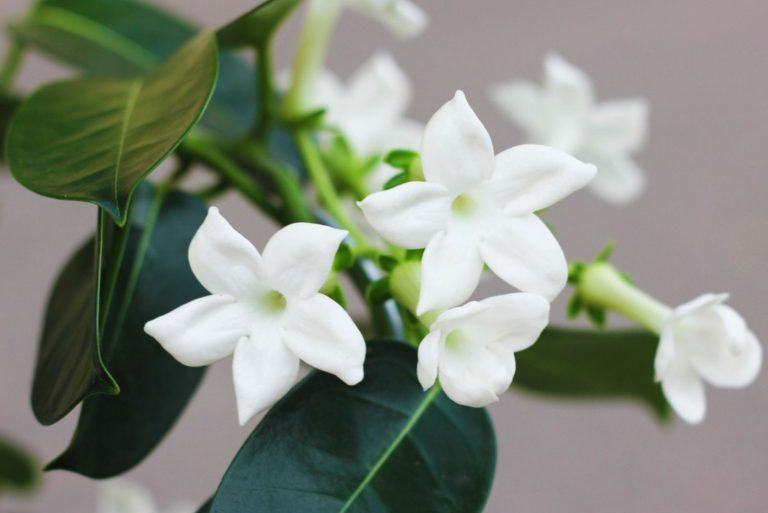
• Trailing bellflower: Also known as Jerusalem Star and Star of Bethlehem, the trailing bellflower is mainly grown as an annual or a part of houseplant collections.
If you decide on this variety, you’ll need to ensure about 15 hours of light daily so that the buds can develop healthily.
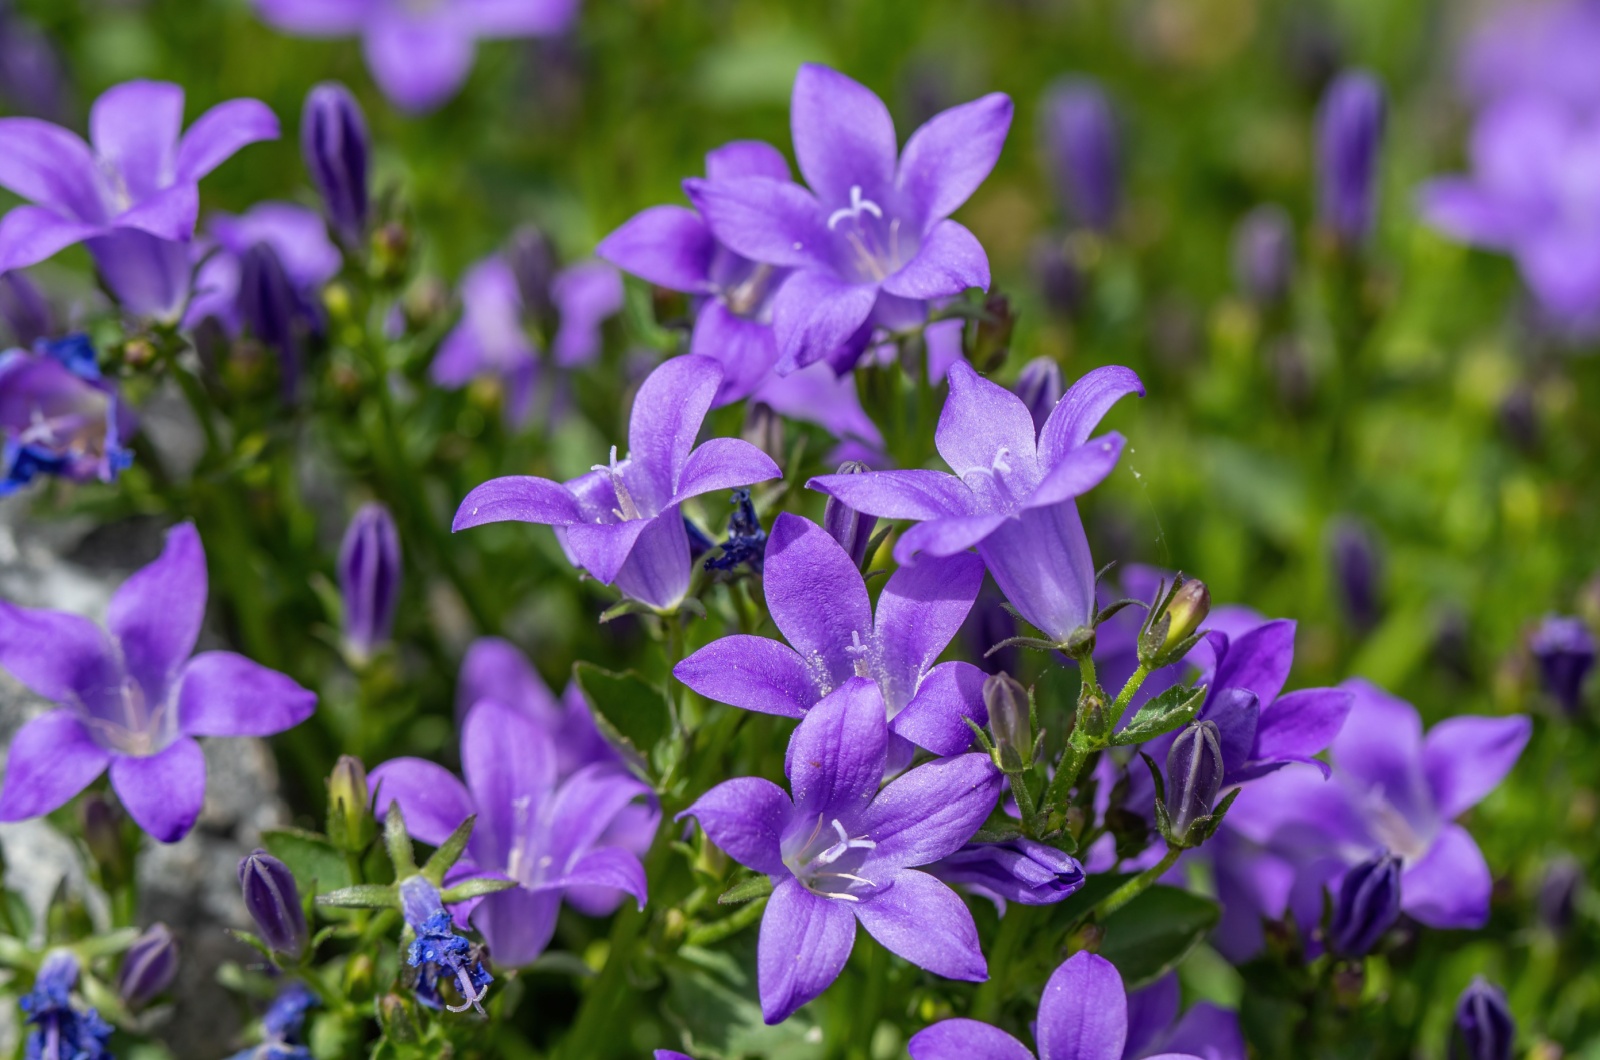
• Clustered bellflower: This bellflower variety features violet to lavender-blue blossoms that face upward and have a bell-like shape. Clustered bellflowers start blooming in early spring and blossoms fade in early summer.
Superba and Joan Eliott are the two most popular clustered bellflower cultivars.
How To Propagate Bellflowers
You can get a lot of new bellflower plants by propagating them through cuttings or using the division method.
Here are the steps for both techniques.
Propagating Bellflowers Through Cuttings
1. Once the spring arrives, you need to remove a new shoot that’s about 3-4 inches long using clean and sharp scissors.
2. Cut off all the leaves from the bottom section of your bellflower cutting and cut the remaining leaves in half to reduce stress on your cutting.
3. Fill a planter with quick-draining growing substrate and put the bellflower cutting in the center. Keep the growing medium consistently moist and trap humidity by placing a plastic bag over the top of the cutting.
4. When your bellflower cutting displays new growth and the roots form, transplant them into a new pot or plant them in the ground.
Dividing Bellflowers

1. You should start with loosening the soil around the bellflower plant and then prepare the new planting location.
2. Grab a shovel and cut into the soil approximately 8 inches around your bellflower and about 1 foot deep. Carefully lift the plant together with the growing medium.
3. Now divide the bellflower rootball into a few sections using a sharp garden spade or your hands.
4. Plant each divided bellflower section into a separate hole and irrigate well.
Growing Bellflowers From Seeds
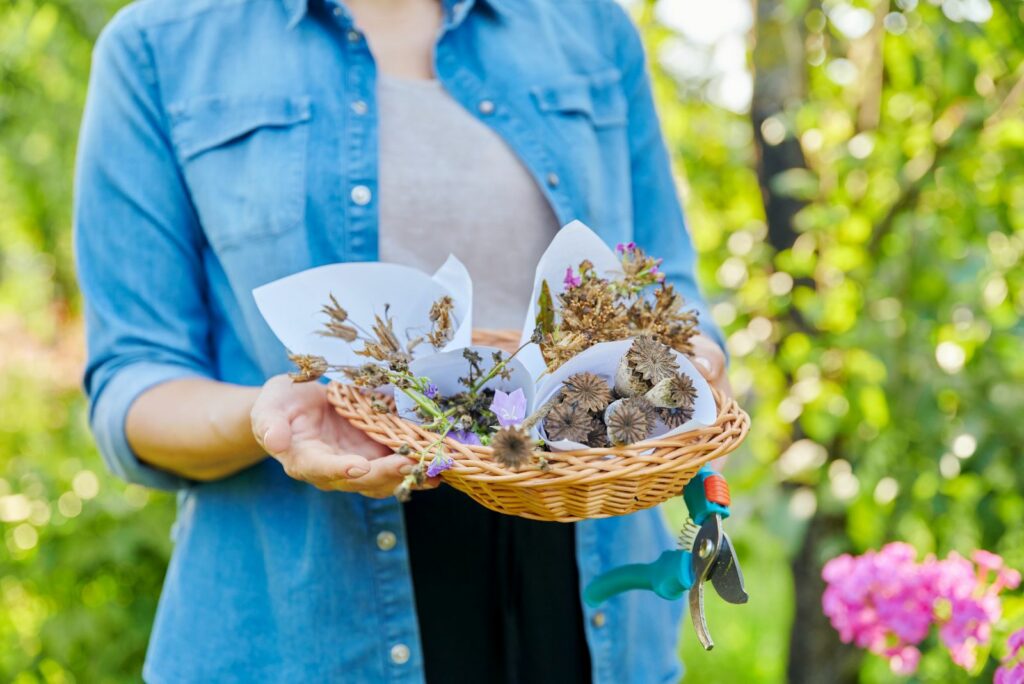
Growing bellflowers this way is a bit tricky and requires patience since you won’t see the blossoms until the second year of growth.
1. Check the last frost date in your region and start your bellflower seeds approximately 10 weeks before. Fill the seed trays with fast-draining and nutrient-rich growing substrate, and sprinkle the seeds.
2. Lightly cover bellflower seeds with soil and put the trays where they can receive bright indirect light.
3. Put a humidity dome or a plastic bag over the trays to increase moisture levels around the bellflower seeds. You should notice new growth on your bellflower seeds in approximately a month.
4. You need to start hardening off the seedlings when they’re a few inches tall and develop at least four leaves.
Potting And Repotting
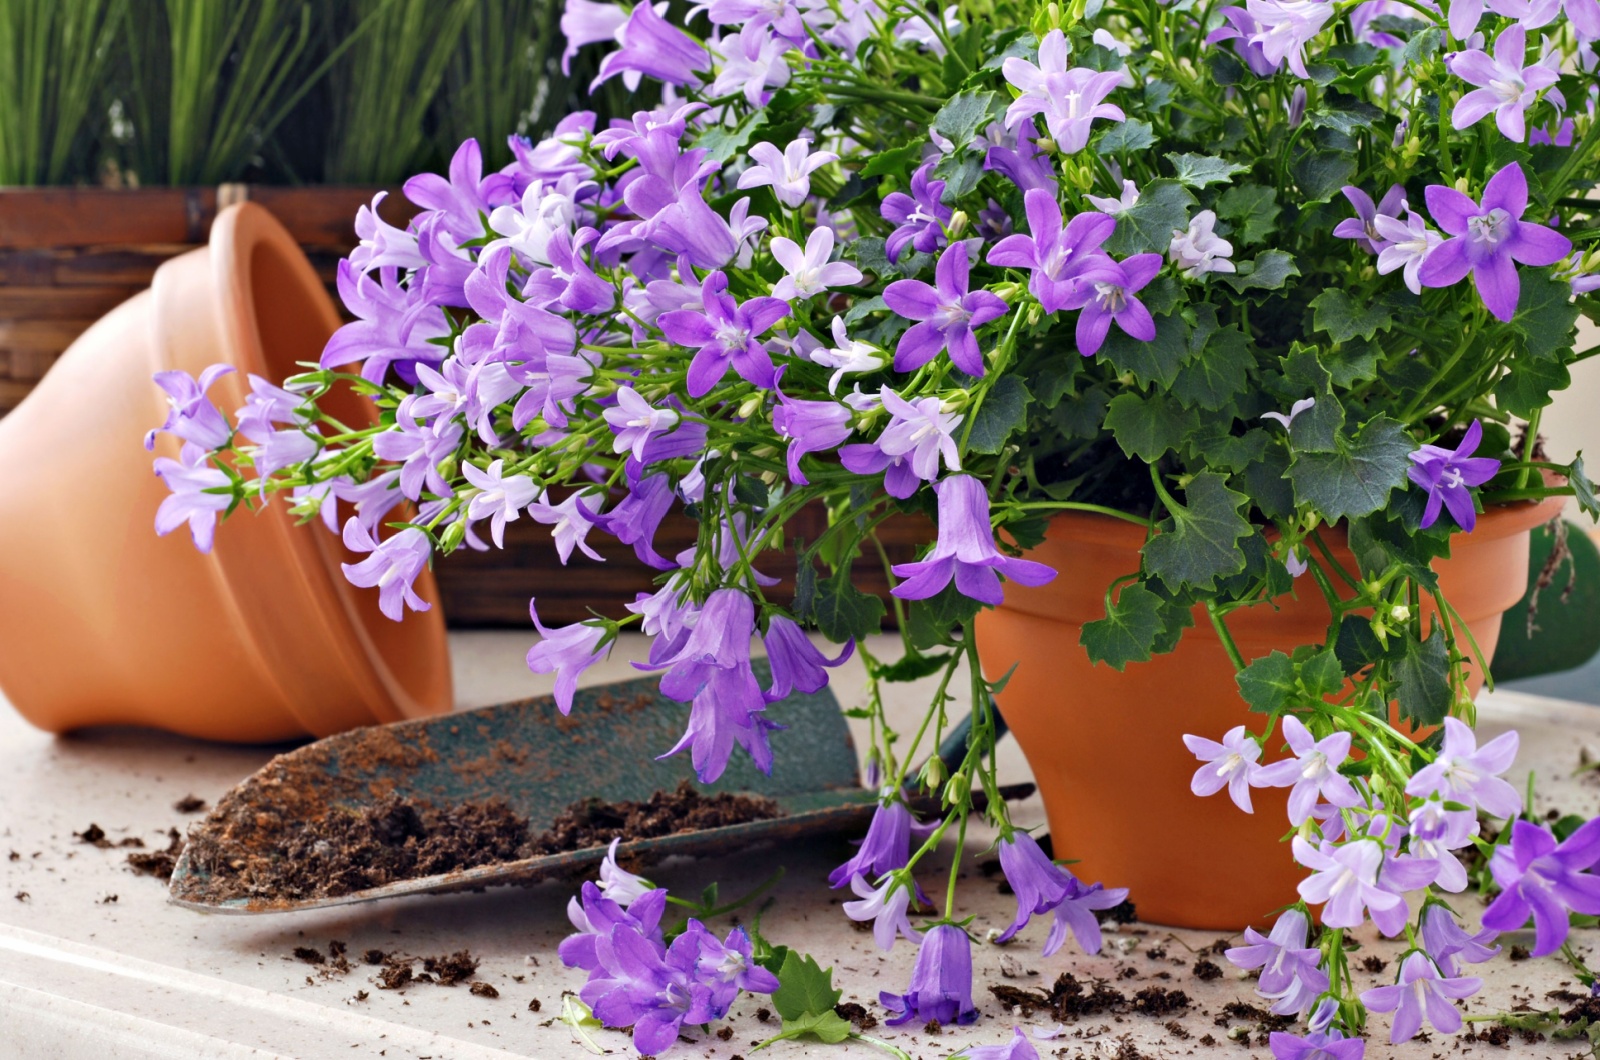
You’ll mostly see bellflowers in outdoor gardens planted directly in the ground. But these beautiful plants do well in containers as long as you select dwarf varieties and ensure the necessary conditions.
Use containers with good drainage and make sure the growing medium is quick-draining to prevent waterlogging.
Ensure a lot of light for your container-grown bellflowers and enjoy the captivating display of blooms.
How To Overwinter Bellflowers
The good news is that you don’t need to ensure any special conditions during the winter for your bellflowers to survive. As mentioned, they tolerate cooler temperatures and their leaves won’t die back in low temperatures.
If your area is known for hard frosts, you can protect your bellflowers by applying a layer of mulch around the plants.
How To Get Bellflowers To Bloom
Your bellflowers will bloom prolifically if you meet their 4 requirements. The first one is to plant them in a spot that receives a lot of sunlight.
Make sure to keep the growing substrate moist but never waterlogged because bellflowers are susceptible to root rot disease.
Divide the rootball every couple of years to give your bellflower plants enough space to spread.
Finally, make sure to amend the soil with organic matter to boost the nutrient levels and encourage your bellflowers to generate a lot of blooms.
Common Issues
One of my favorite things about bellflowers is their resilience to diseases and pests. Leaf spot can be an issue if you live in humid areas but you can prevent it by watering your bellflowers only at the base.
Powdery mildew may occur in bellflowers, so it’s essential to promote airflow by ensuring enough space between the plants.
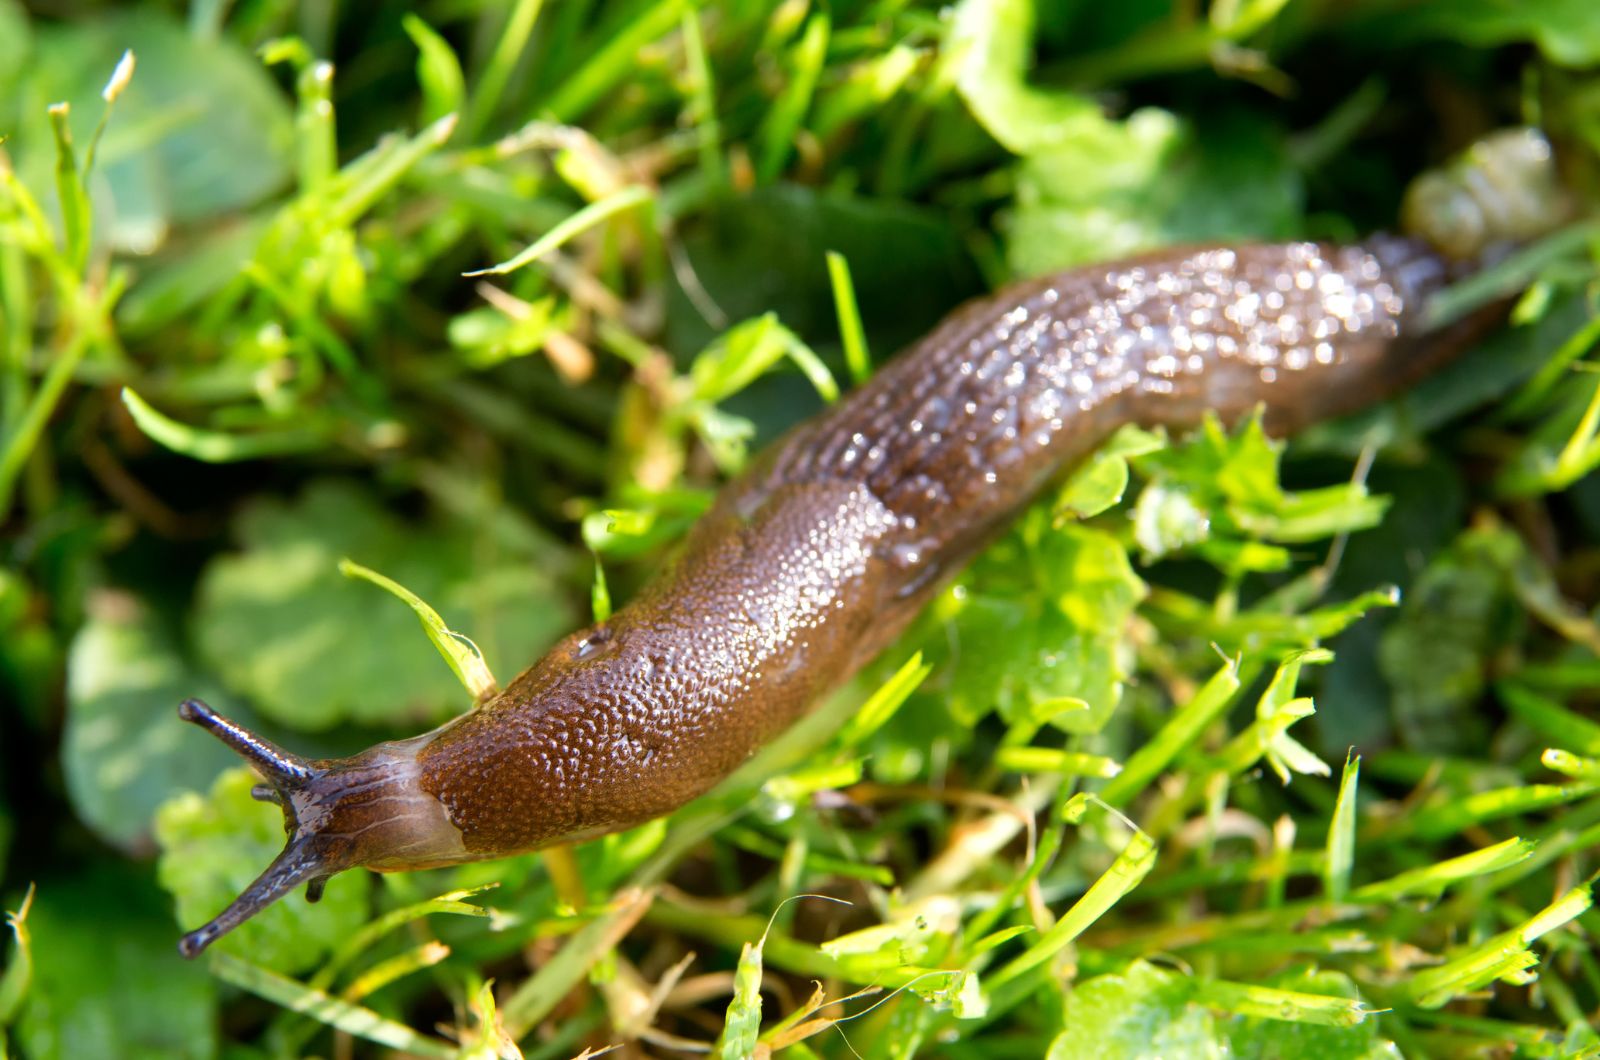
You should watch out for garden slugs because they love munching on bellflower leaves.
Bellflowers will add a special touch of beauty to your outdoor space, but make sure you follow our guidelines and ensure the necessary conditions!