8 Steps For Growing Beans In Your Home Garden
We all know that beans are a nutritional treasure because they are packed with protein and fiber and their flavor is irresistible.
The good news is that they have a green thumb-friendly attitude and you can cultivate them successfully whether you’re a seasoned gardener or just starting.
In this article, I’ll show you a few simple steps for growing beans in your home garden for a bountiful harvest!
Let’s get started!
1. Select The Type
The first thing you should do if you decide to grow beans is select the type. You can choose between the two main types of beans – bush beans and pole beans.
The first type has a more compact growth habit and is a better choice for gardeners who grow veggies in raised beds. Compared to pole beans, bush bean crops mature faster, so they’re more suitable for impatient growers.
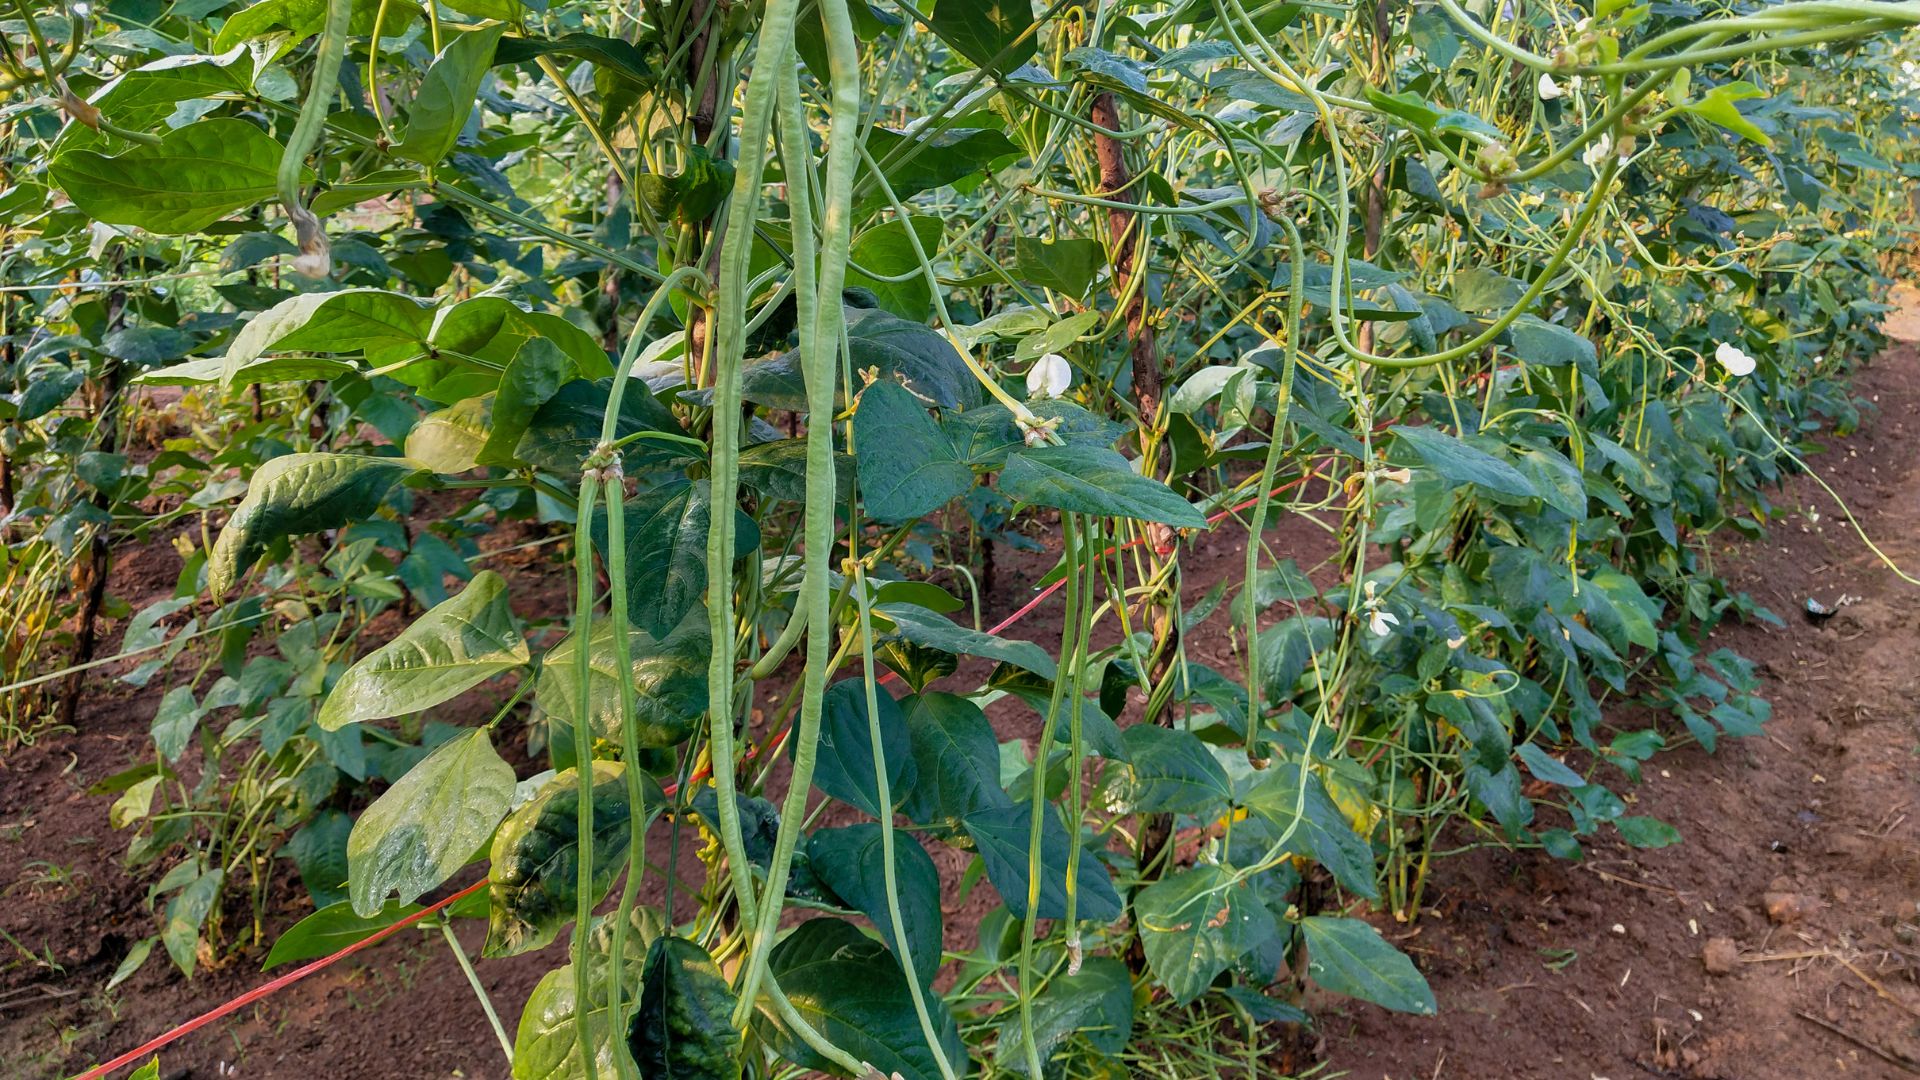
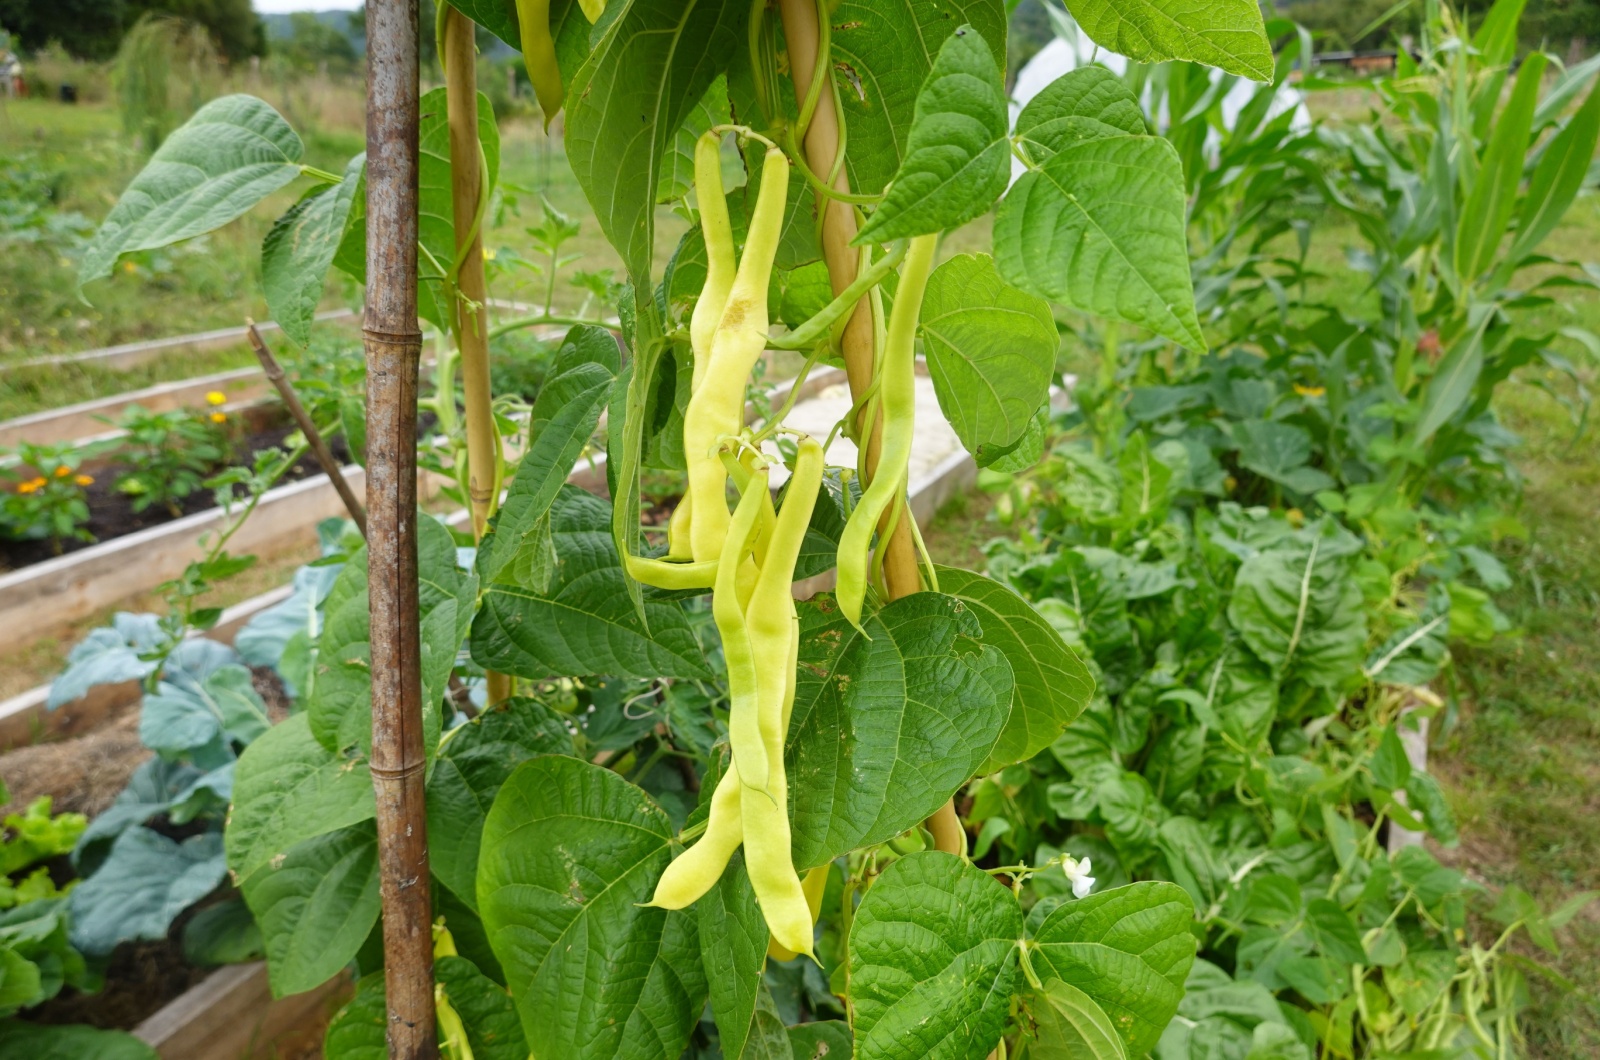
Pole beans, on the other hand, have a climbing growth habit and are better suited for smaller gardens. Their vines can reach up to 15 feet under optimal conditions, which means you’ll need to ensure some type of structural support.
2. Start At The Right Time And Right Place
It’s essential to know that these veggies thrive best if started in March or April. If you wait for too long, it could significantly affect the quality and quantity of your harvest.
One of the things I especially like about beans is that they’re adaptable to light conditions and will generate crops in both full sun and partial shade.
Pay attention to the space you provide your beans with; if you grow bush beans, bear in mind they need more room.
3. Prepare The Soil
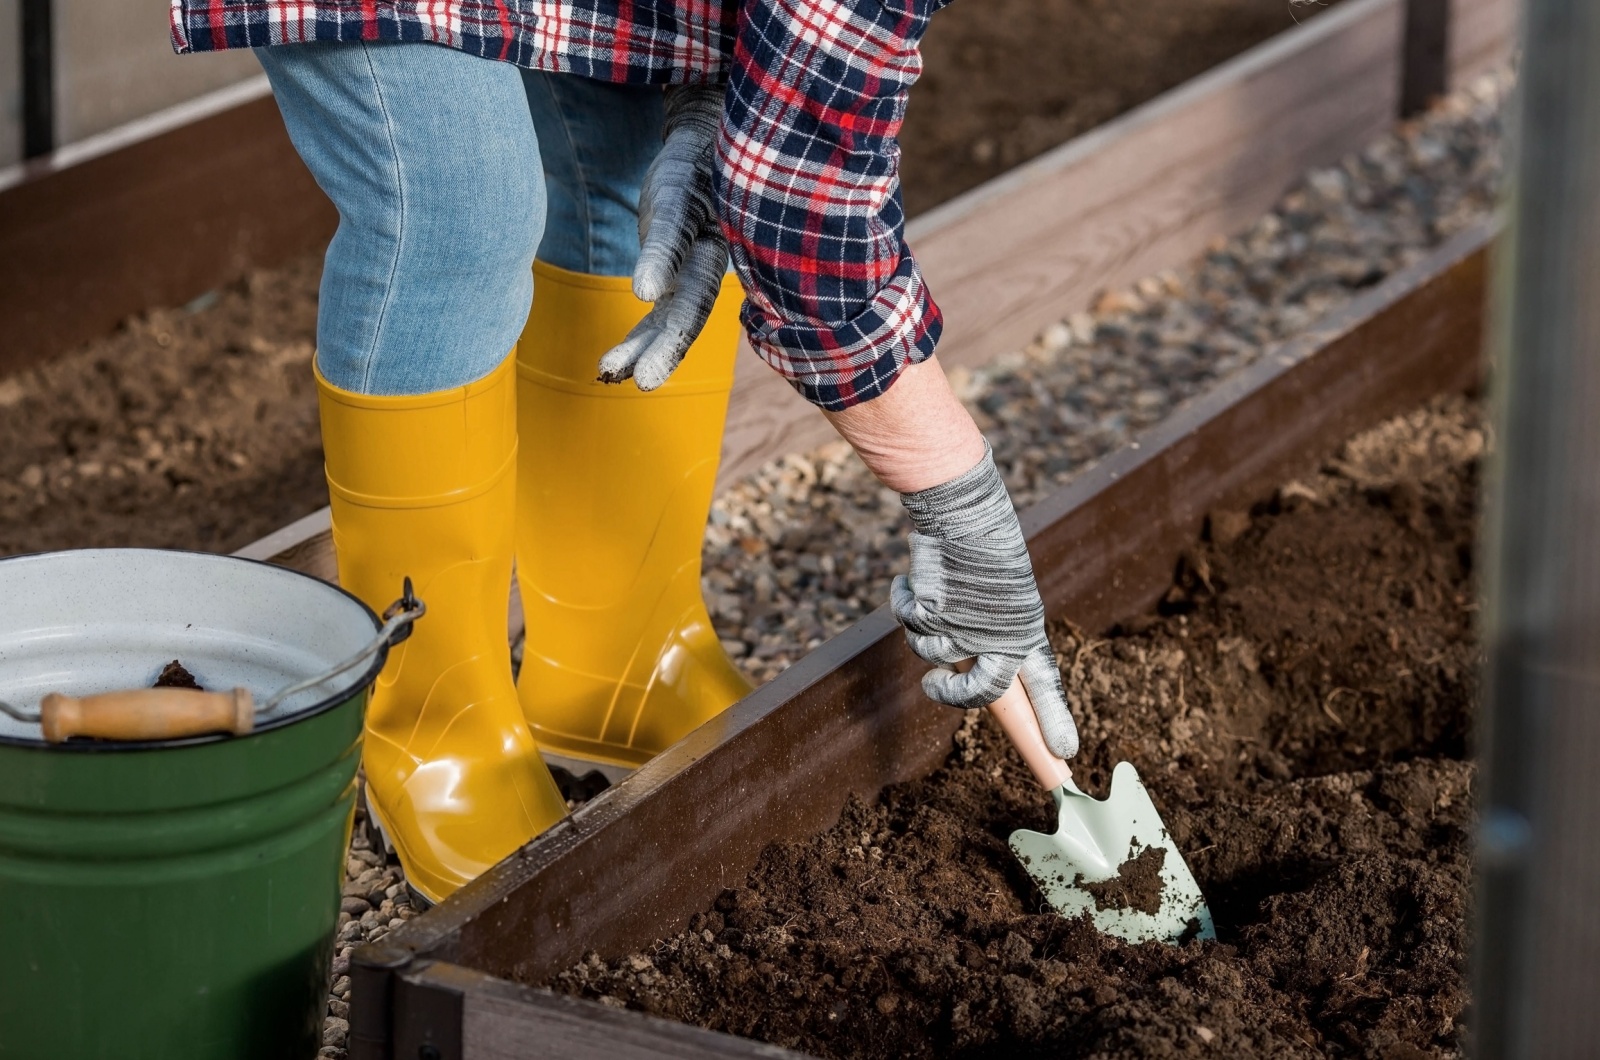
The soil should be packed with nutrients and have excellent drainage for your beans to thrive.
Before planting these veggies, you should mix some compost with soil to boost nutrient levels. Additionally, till the soil to break any clay sections that could lead to waterlogging in your beans.
Interestingly, these veggies improve garden soil by boosting nitrogen levels. So basically, once you add compost, you don’t have to worry about soil quality for your beans.
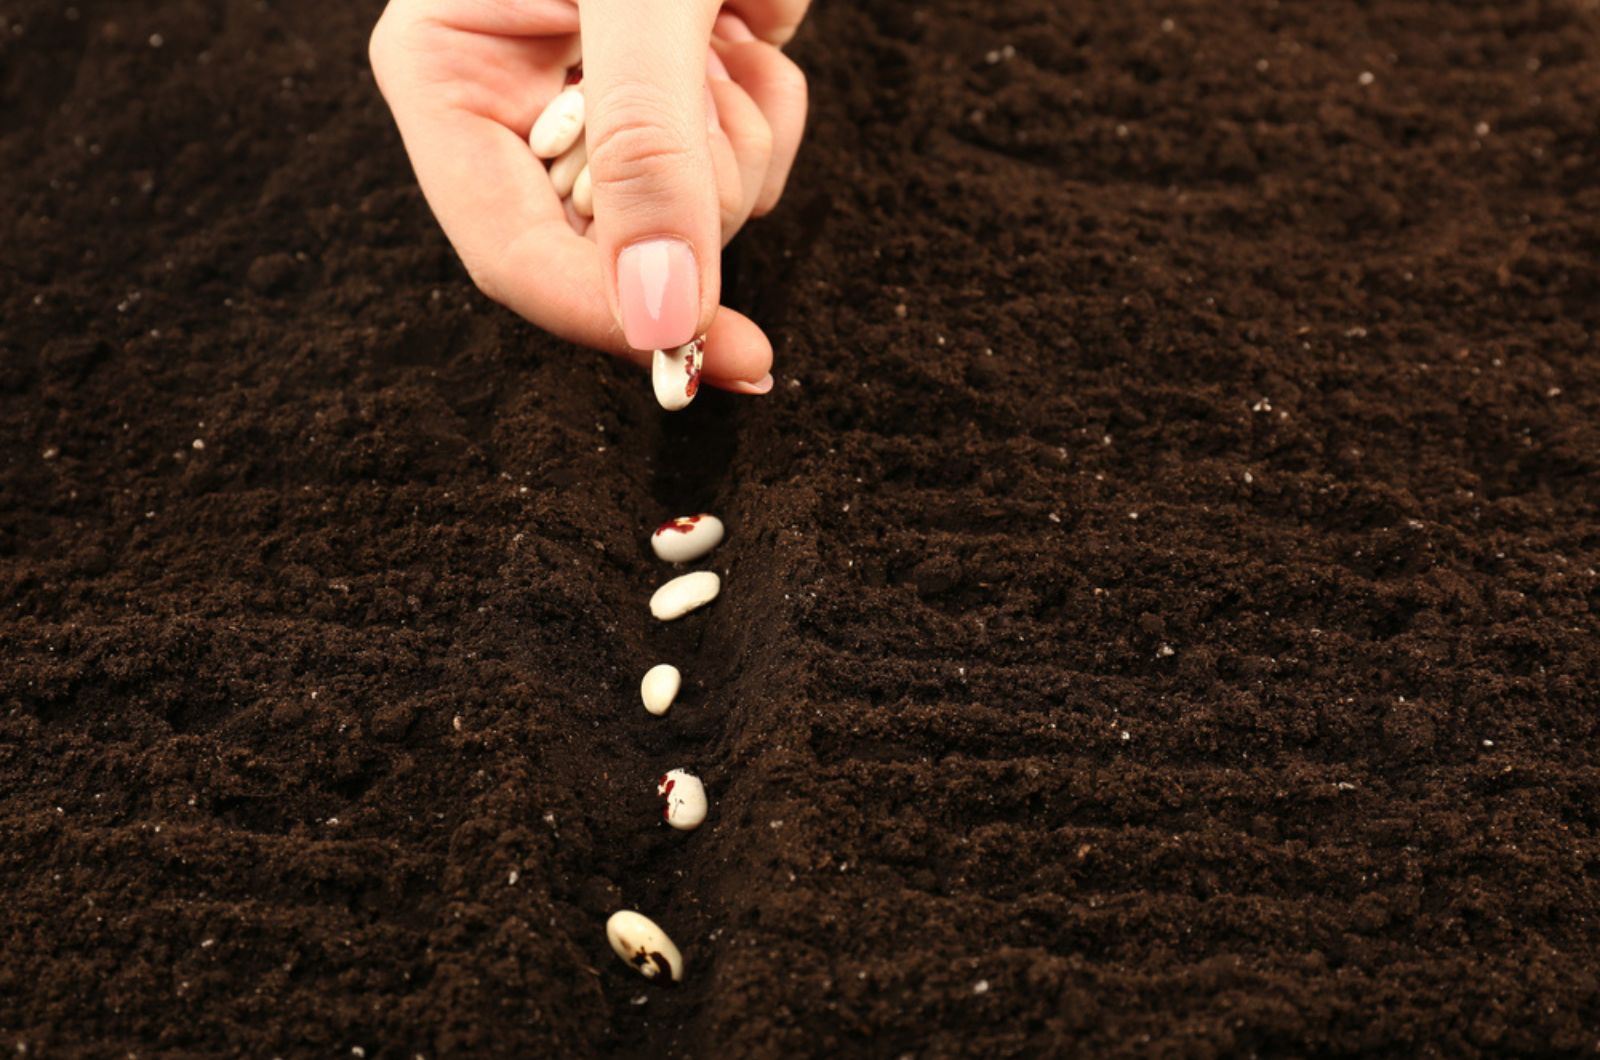
4. Learn More About Sowing Bean Seeds
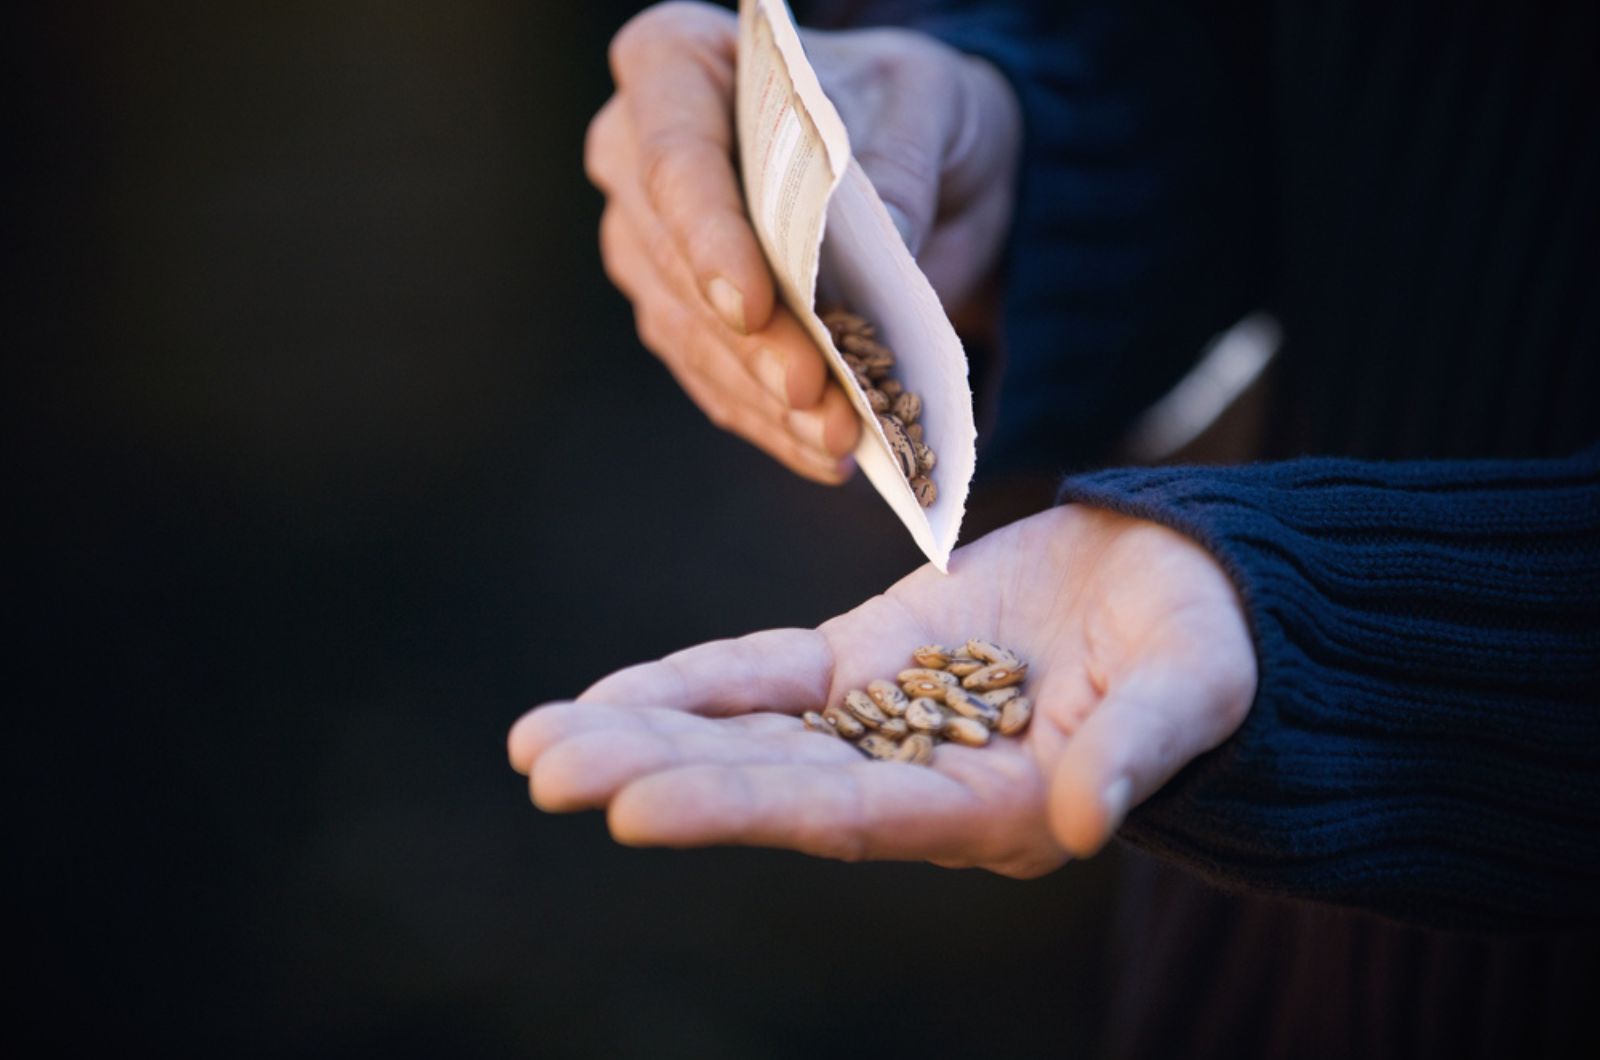
Where you start your bean seeds is crucial for their development. I highly recommend putting bean seeds directly into the ground.
Starting them indoors can lead to various problems; remember, the roots of these veggies are pretty delicate and may struggle to survive transplantation.
5. Install Trellis
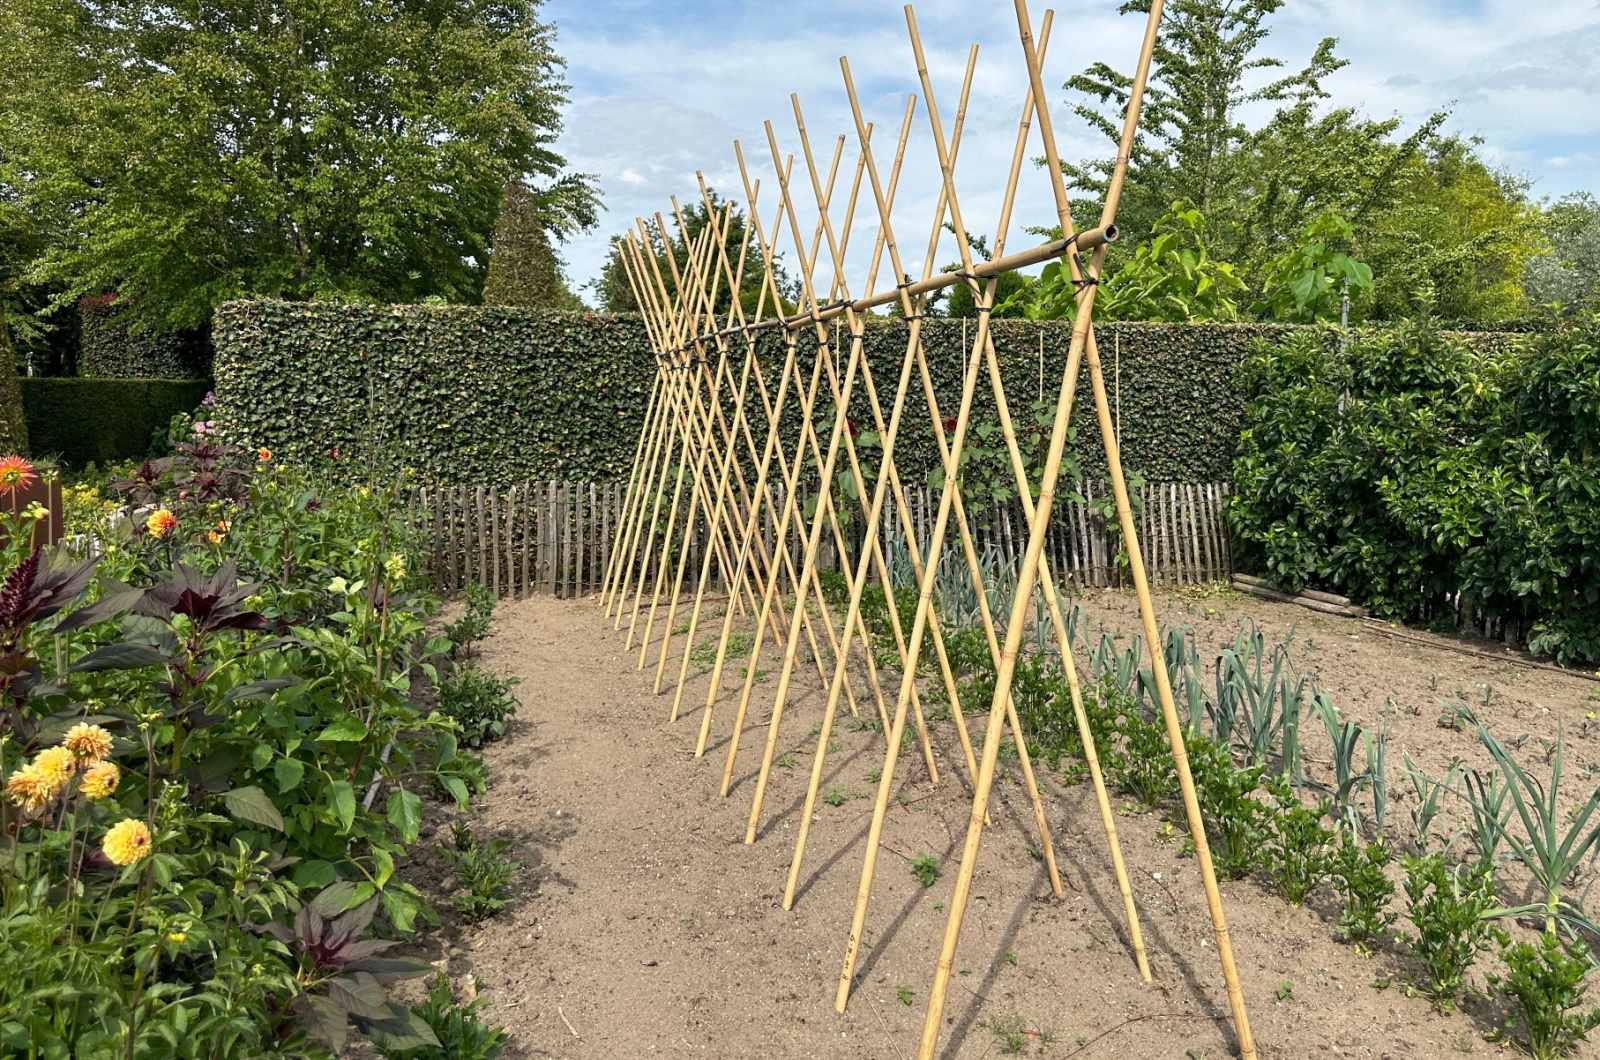
If you have selected bush beans, you can skip this step. As mentioned, pole beans need structural support and this is the perfect time to ensure it.
Install the trellis in the same spot where you sow the seeds. Make sure to install the structure deep into the ground so that it can’t fall over and damage your beans.
Your beans will spiral around the structure as they grow, and it will ensure healthy development and look visually appealing.
6. Plant
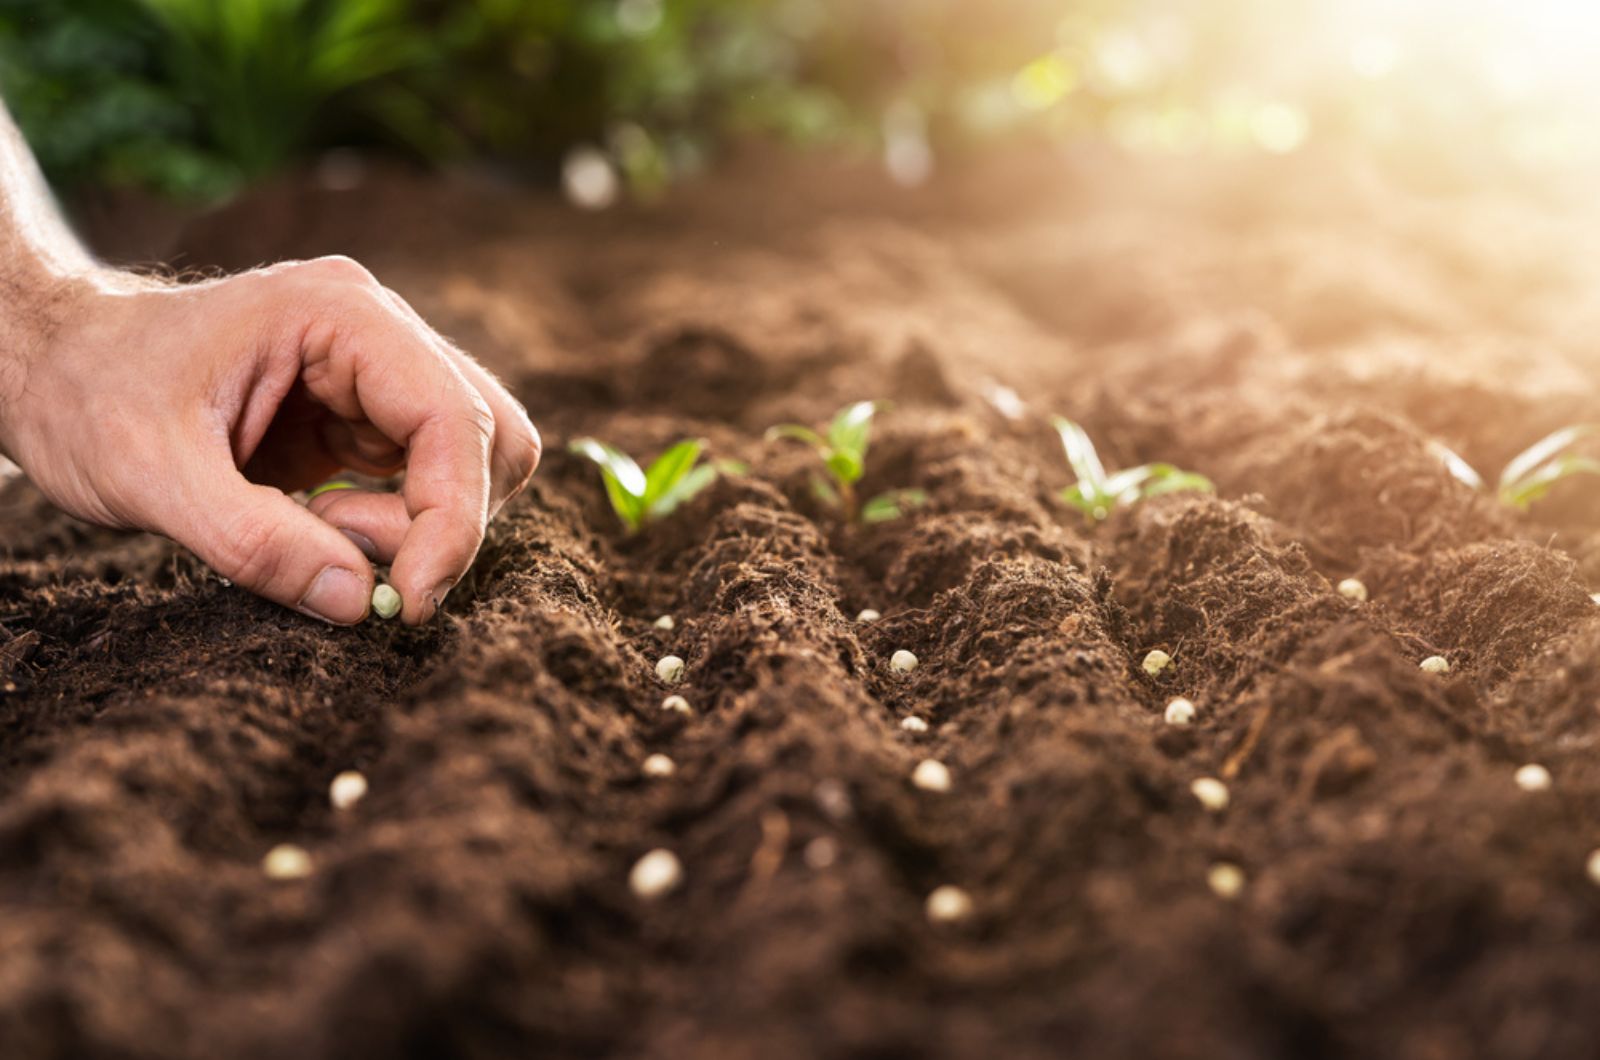
Your garden soil is ready and you installed the trellis, so now it’s time to plant the seeds. First, dig an inch-deep hole and then put the seeds in and cover them with soil lightly.
The recommended spacing for bean seeds is around 9-12 inches.
To help the seeds complete the germination stage, irrigate them regularly for 3-4 days. Water your beans approximately 2 times a week but make sure you don’t waterlog the soil.
7. Meet All Care Requirements
Once your beans start establishing and the seeds start sprouting, you should add a layer of mulch on the soil surface. Opt for a leaf mulch or use shredded plants.
You can enhance the growth of your beans by adding fertilizer. These plants are rich in nitrogen, so make sure to select phosphorus or potassium-rich fertilizer types.
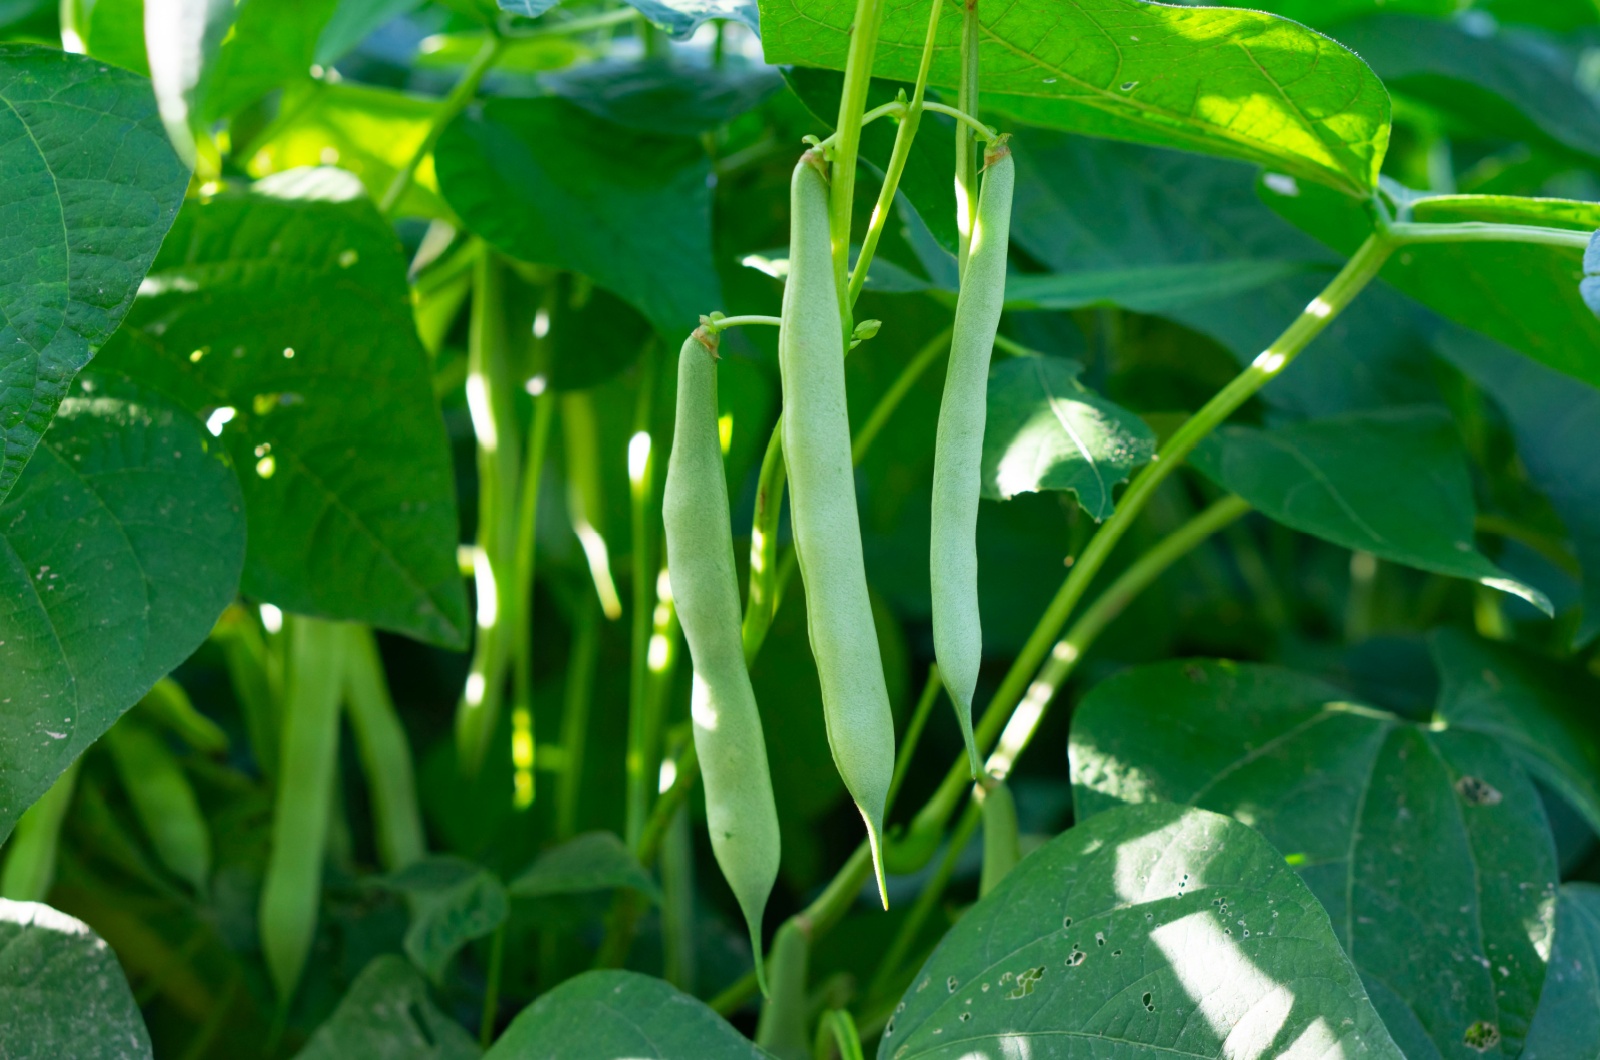
8. Harvest
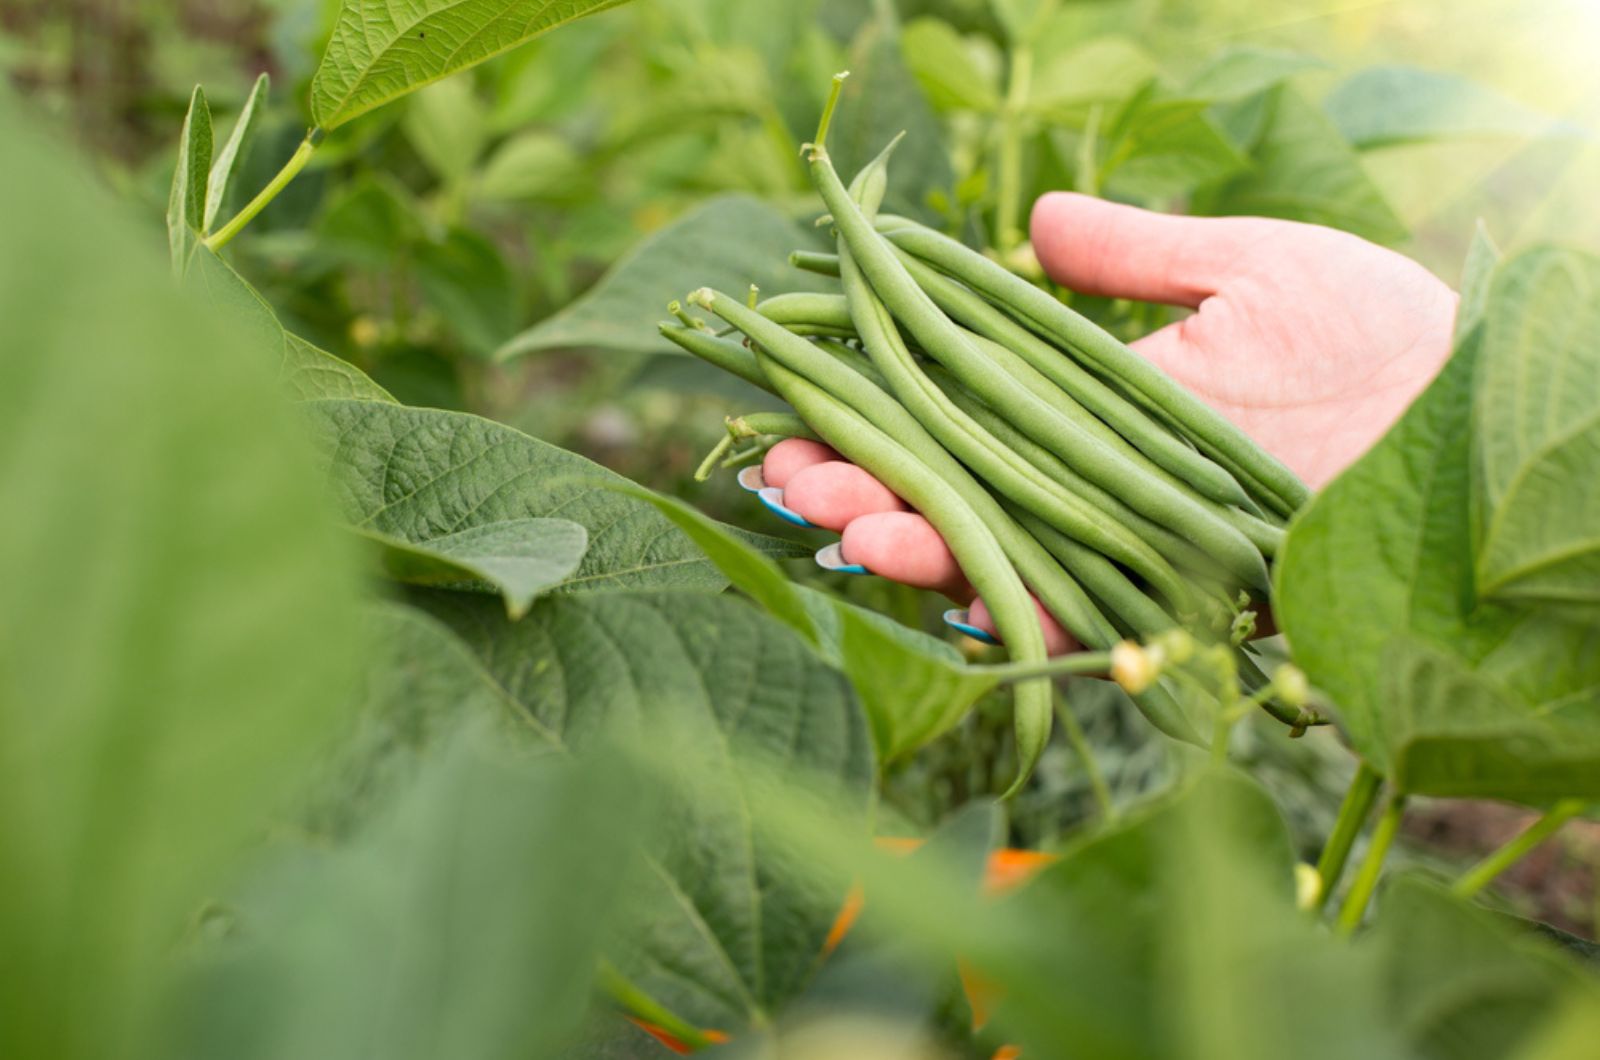
If you follow all the steps above, your beans are destined to thrive and generate healthy and delicious crops. It can be tempting to pick young pods but I recommend harvesting them when they’re large and full.
You’ll notice the shape of the beans and the pods will start drying up when they’re ready for harvest.
Be careful when harvesting to avoid damaging your bean plants; you don’t want them to stop producing more delicious crops!