Ultimate Guide On How To Grow Broccoli From Stem And Seed
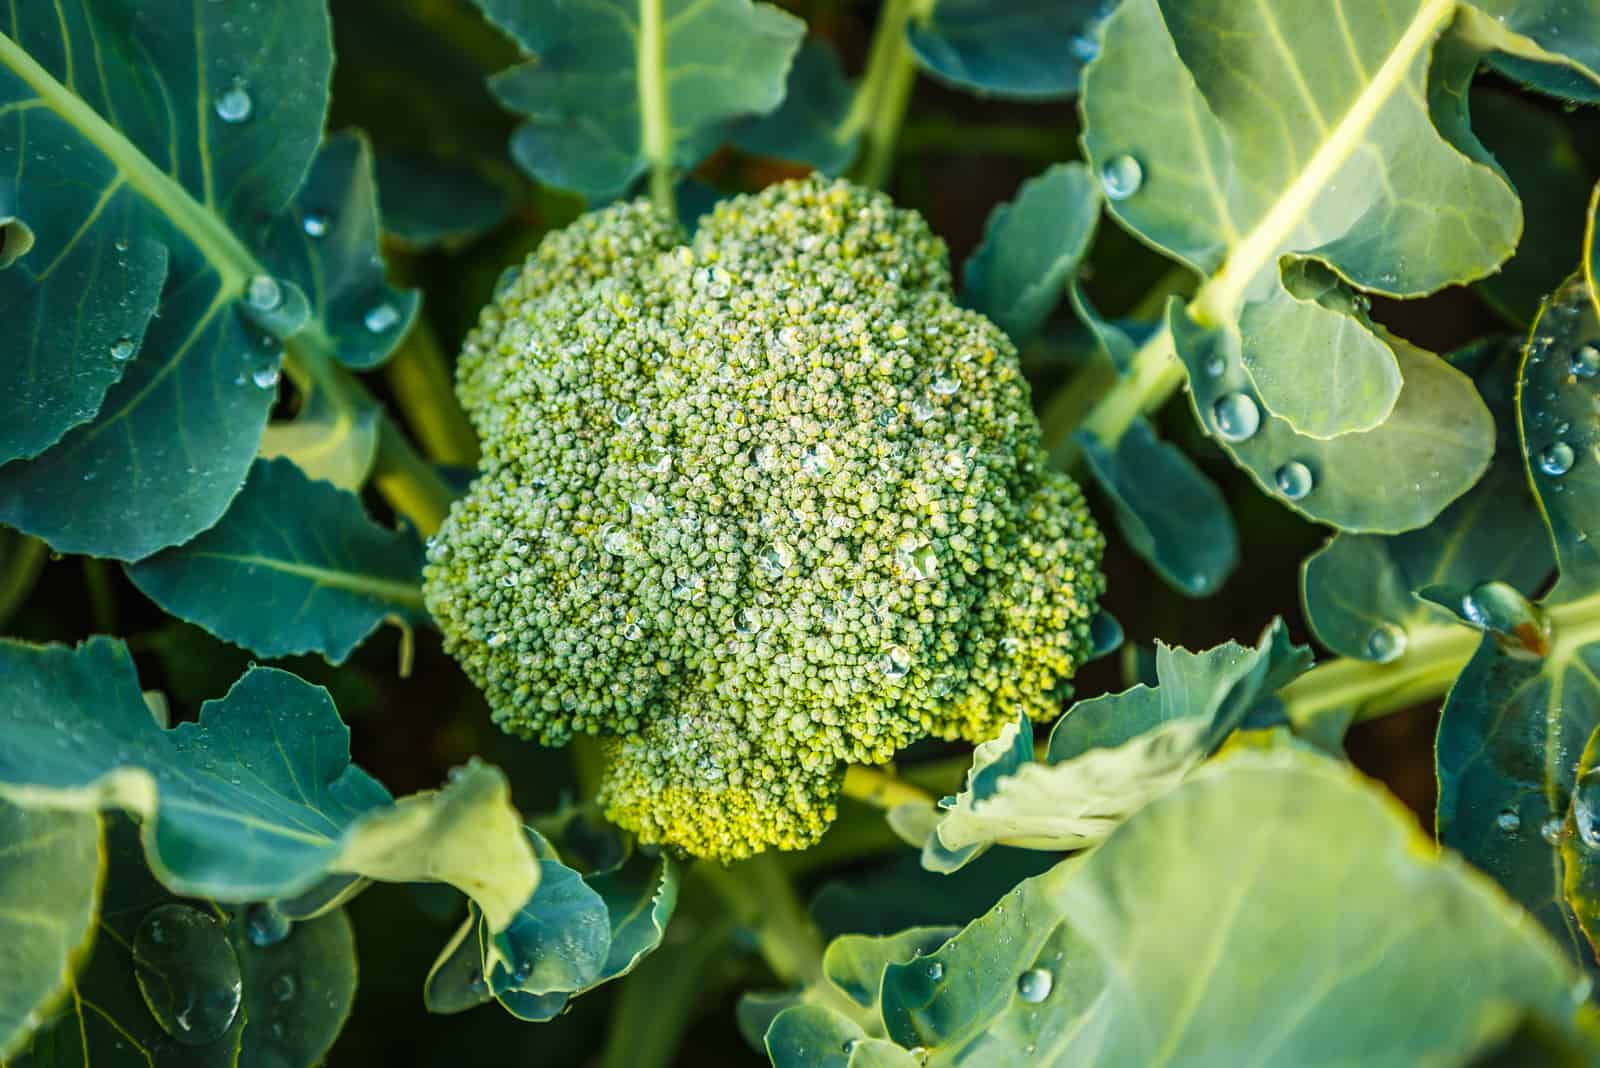
You wouldn’t believe how many interesting things there are about broccoli! This article brings you not only the most important things about growing this green veg, but will also teach you how to grow broccoli from stem.
And I know that we’ve all wondered how to grow broccoli from seeds, so we’ll discuss the main steps of this process as well!
However, before we get too carried away, here’s some basic info:
[table id=169 /]
Now we’ve got that out of the way, we can look a little deeper at beautiful broccoli. You’ll learn how to grow broccoli, how to care for it, when to plant it, and which variety to use.
Maybe it’s not so simple after all… Read on to find out!
How To Grow Broccoli From Stem
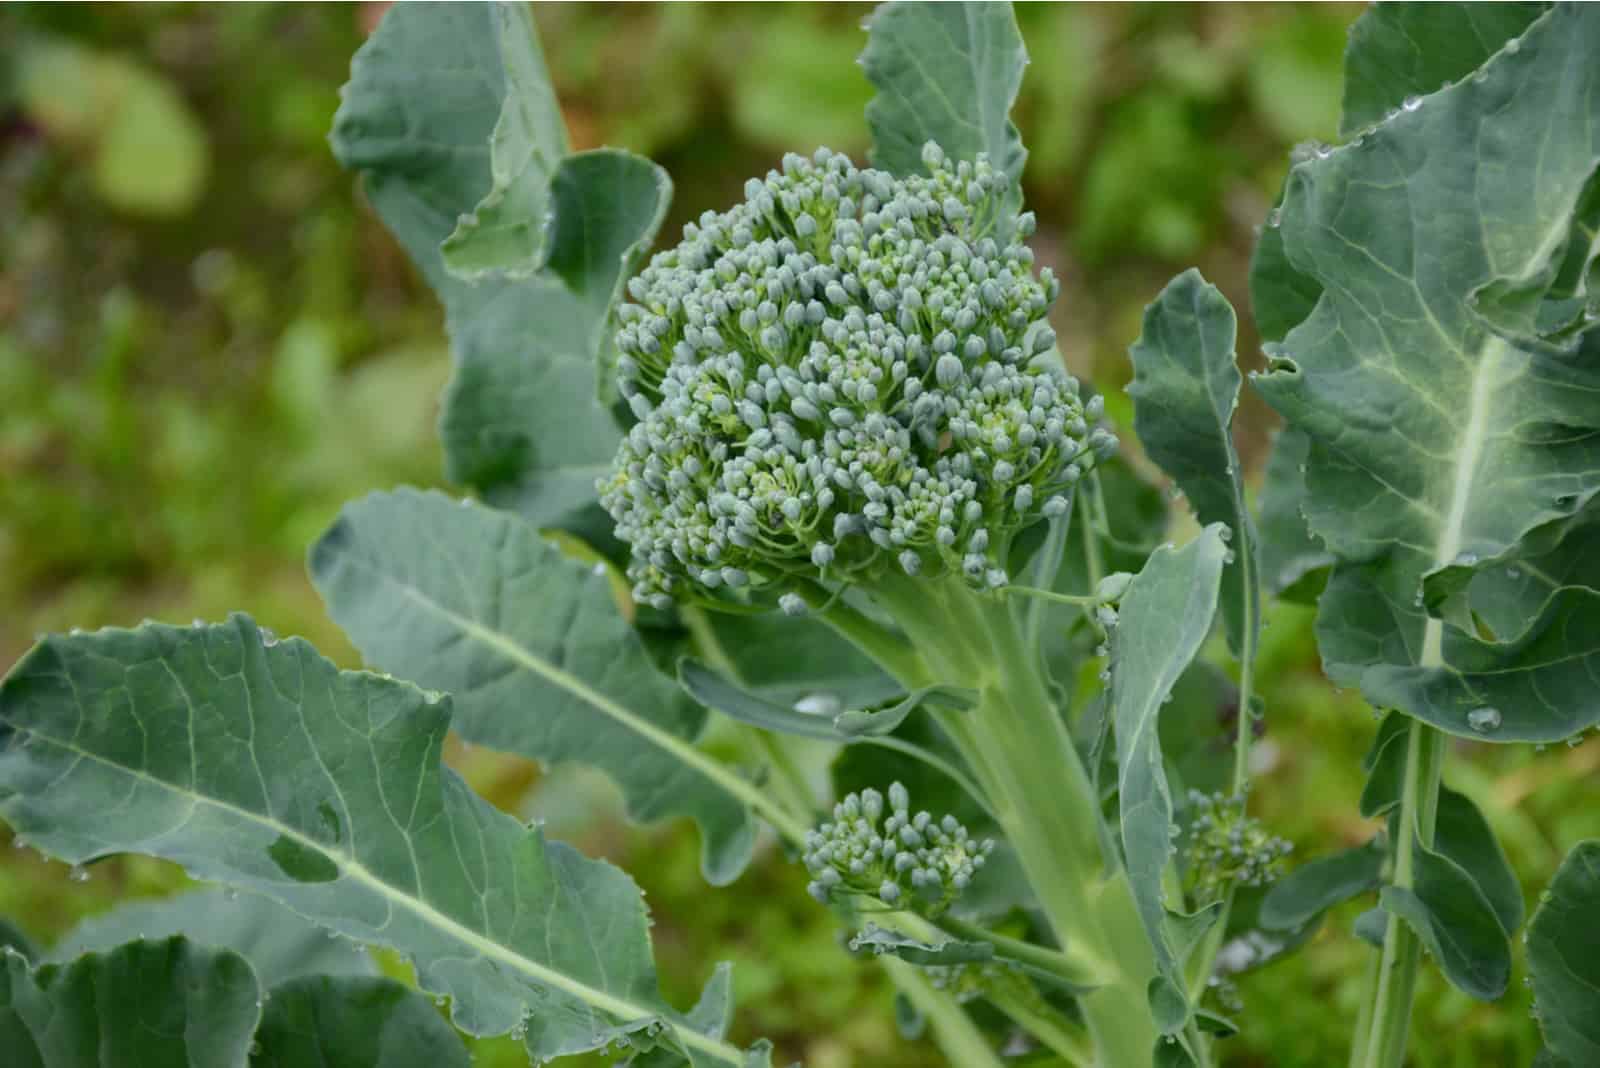
When growing broccoli from the stem, you need to cut and prepare the stalk, place it in water, plant it after the roots develop, and continue caring for it like for a regular plant.
This method has probably never crossed your mind, but you’re almost certainly tired of throwing away a part of something you put so much time and effort into growing.
Maybe you make compost instead of throwing it away, but you get the point!
Below you can read more about growing this cool-weather veggie from scraps, but before you do that, learning about the various stages of growing broccoli can help you care for this plant much more efficiently.
7 Tips For Growing Broccoli From The Stem
Growing broccoli from stems is an excellent way of recycling veggies.
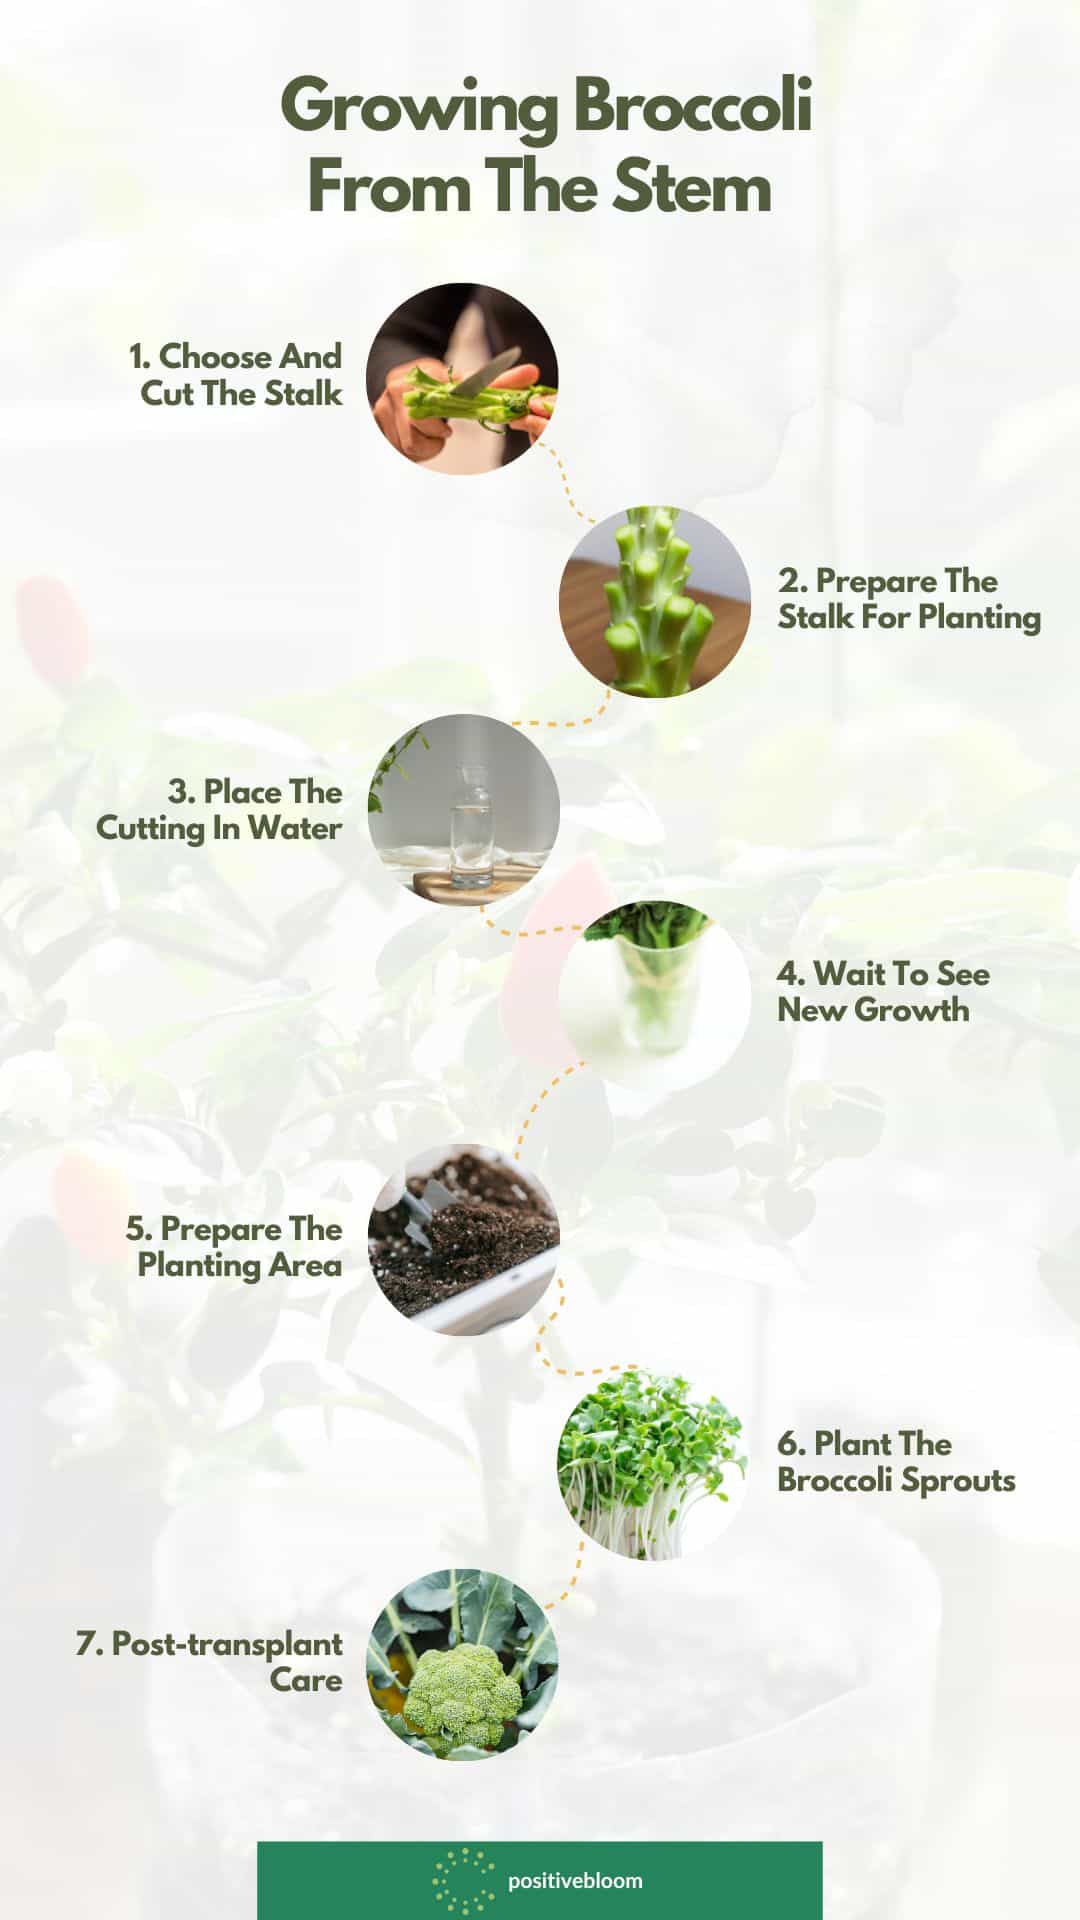
Here are the steps you need to follow in order to get a new broccoli head from the stem.
Step 1. Choose a healthy stem with no cuts, tears, and pest or disease damage.
Step 2. Shorten the stem to about 5 inches and remove the heads of broccoli, but leave some of the branches.
Step 3. Fill a glass jar with clean water and submerge the lower half of the cutting in it. Place the cutting in a bright spot and wait for the roots to develop.
Step 4. After a few days, you should start seeing the development of a new root system. Wait some time until the roots are strong enough, but don’t wait so long that the true leaves and roots start developing. At that point, the broccoli needs more nutrients than the water and sun can provide.
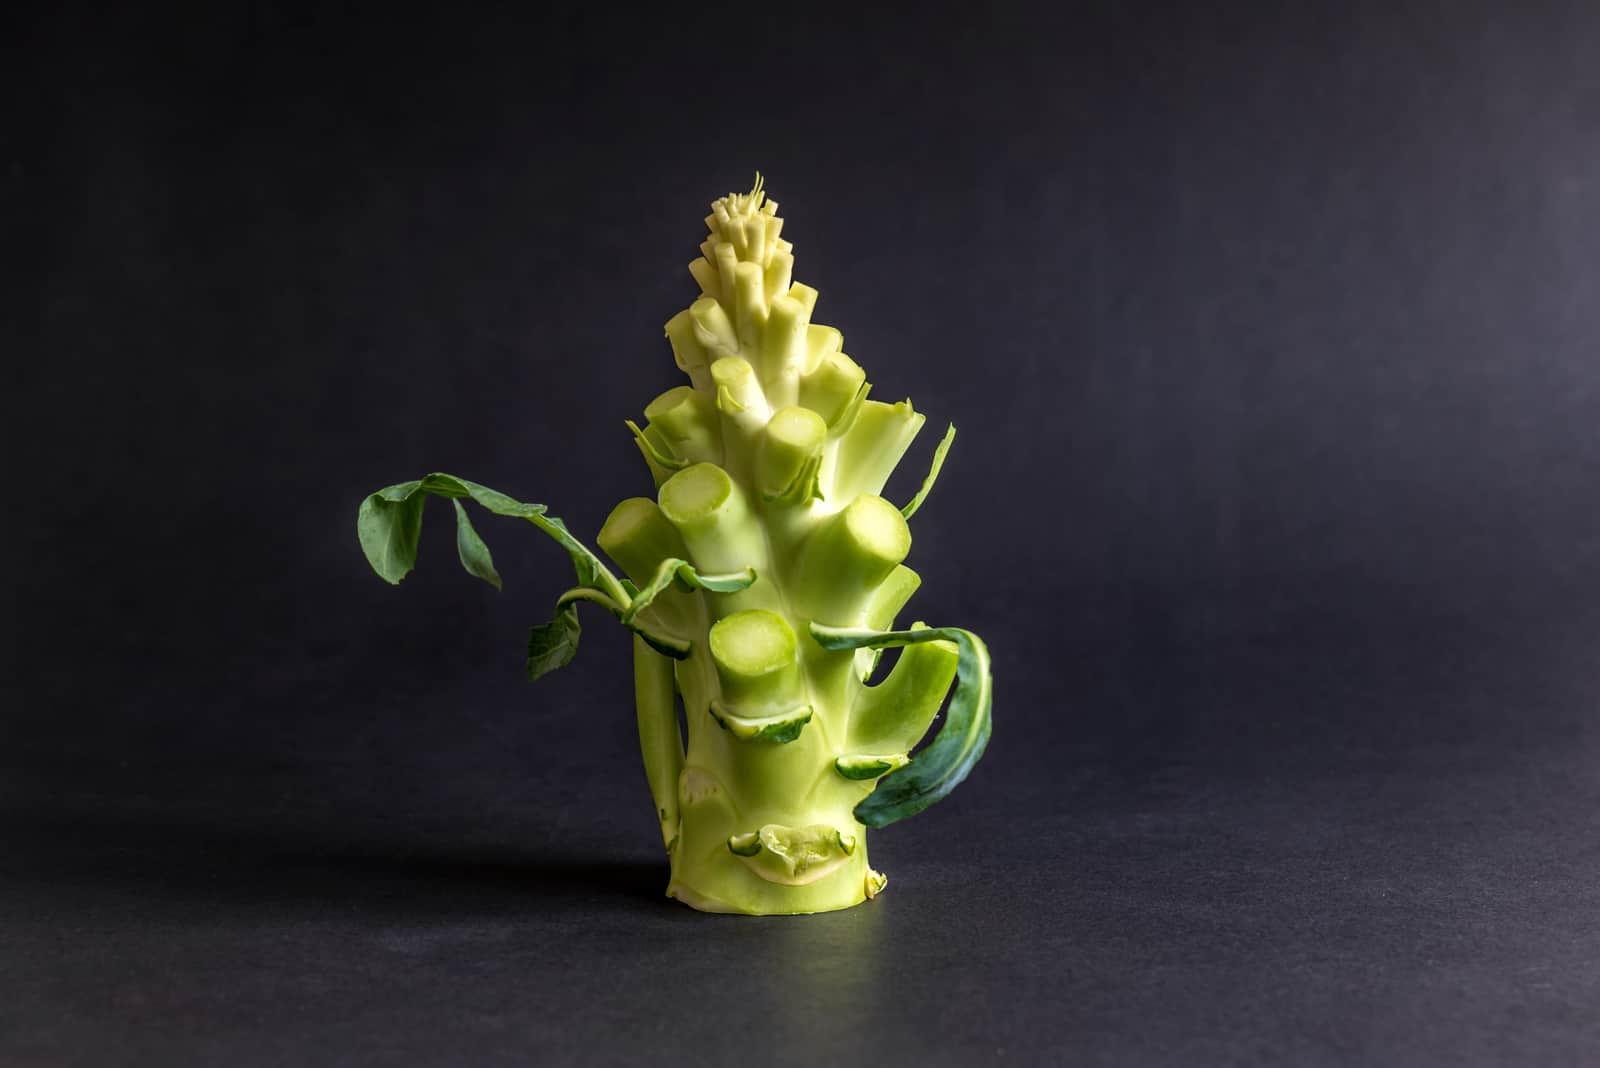
Step 5. As soon as you notice new root growth, start preparing the planting area. Get a container with drainage holes large enough to fit the broccoli plant and fill it with well-draining soil. You can also prepare the garden bed and amend the soil with compost made of loam, sand, and shredded wood if you prefer growing your broccoli in the ground.
Step 6. Plant the broccoli plants 3-5 inches apart in containers. If you wish to grow them in a vegetable garden, leave around 2 feet between each row so that they have room to grow.
Step 7. Keep the soil moist, feed your broccoli plants, and expose them to the full sun!
Here’s a video that will help you regrow your broccoli!
6 Steps Of Growing Broccoli From Seeds
You can also grow this amazing vegetable of the Brassica family from seeds, and the process is quite similar to the previous one.
Step 1. Choose a variety of broccoli suitable for your region. Calabrese broccoli prefers moderate climate conditions with temperatures around 65°F, and Destiny if you live in hotter regions (so you won’t have to deal with any yellow flowers).
Step 2. Broccoli is a cool-season crop, so you should plant it in early spring or fall if you want a large yield and a vegetable to go with your brussels sprouts. If you want to grow heat-tolerant ‘Destiny’, you can plant it in summer since it won’t open its green flower buds in higher temperatures.
Step 3. Choose the ideal location for your broccoli, which would be somewhere they can get direct light in the morning and are protected from the scorching afternoon sun.
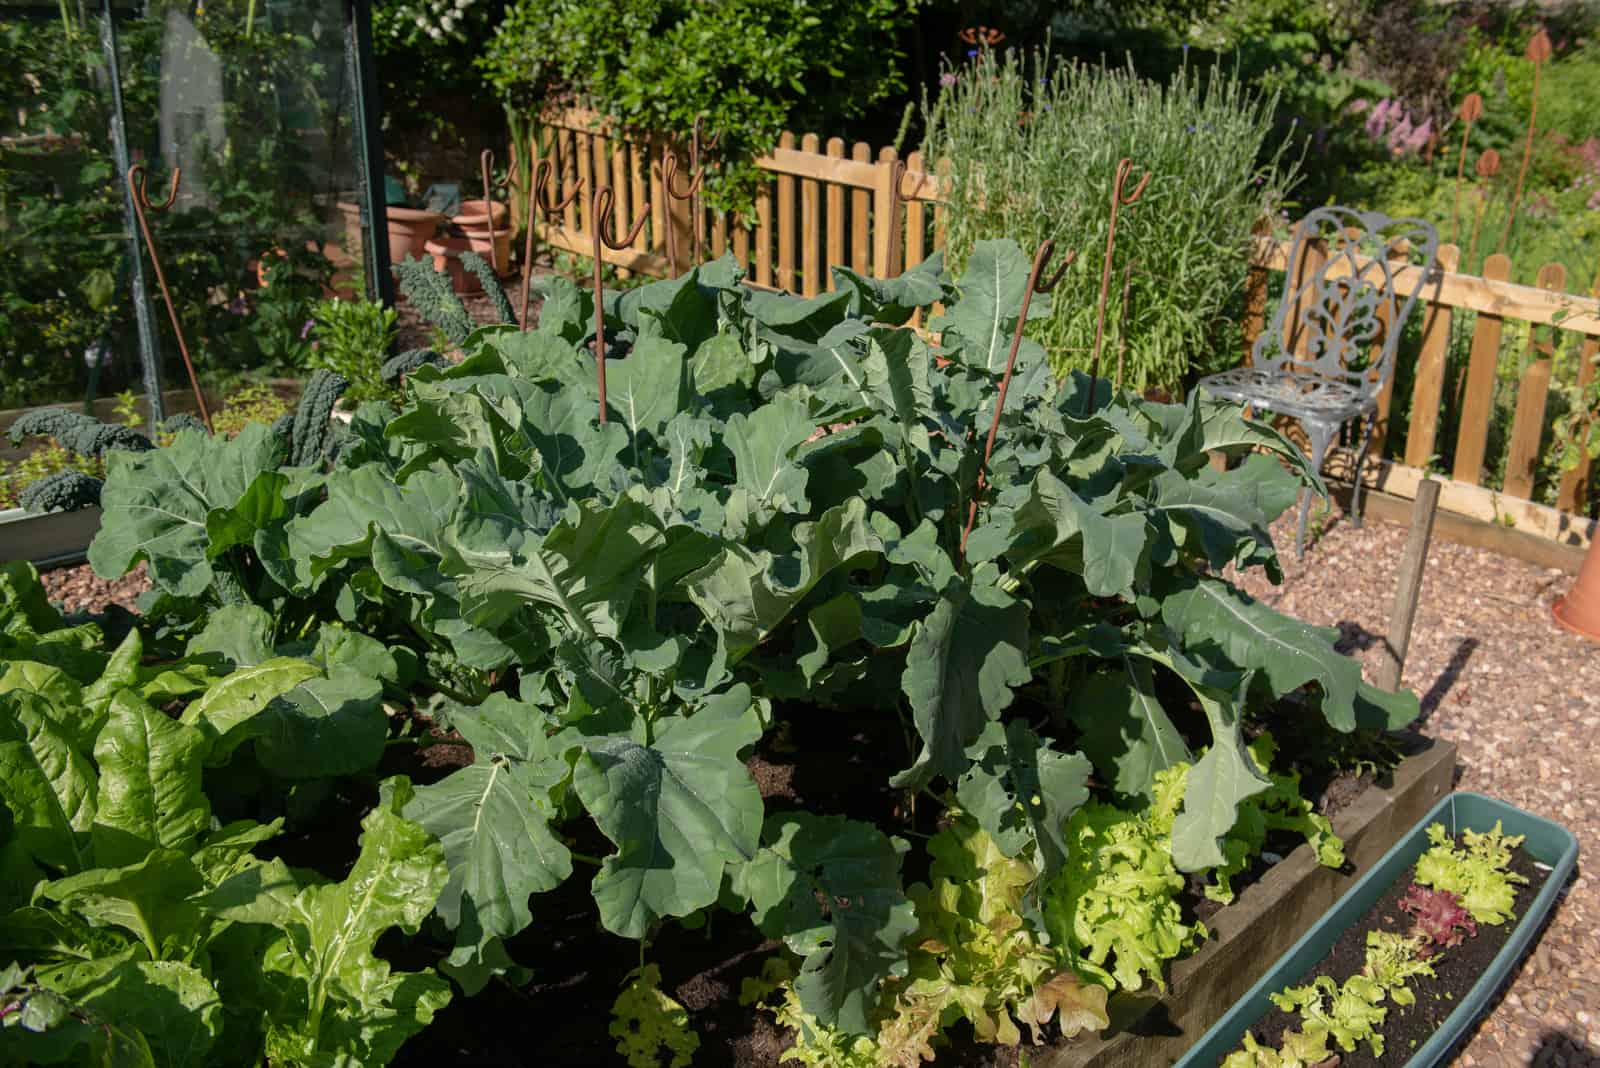
Step 4. If you want to grow broccoli seeds in a pot with drainage holes, you simply have to fill it with well-draining and fertile soil. If you want to sow seeds straight outside, find a location with direct light in the morning and shade so that the midday sun cannot burn the broccoli leaves or cause bolting. Amend the garden soil with nutrients and organic matter.
Step 5. Plant the seeds in holes about half an inch deep and 18 inches apart. Place two or three seeds in each hole and cover them with soil.
Step 6. Water the seeds to speed up germination, and they’ll sprout in about 5-14 days. Then, you can feed them with a low-nitrogen fertilizer once a month. Weed the area regularly and mulch the veggies to protect them from the sun. If the temperatures drop unexpectedly, you can protect your broccoli using row covers.
Pro tip: If you live in a cooler region, consider starting broccoli seeds indoors approximately seven weeks before the last frost date. Then, transplant the broccoli seedlings outside where they can get a few hours of direct sunlight.
Harvest Broccoli
Once your broccoli plant produces heads and opens the florets, you can begin the harvest, the most important (and satisfying) step in growing broccoli from stems and seeds.
Take your knife and cut the head together with 4-6 inches of the stem below. In a couple of weeks, the side shoots will also develop and you will be able to harvest them as well.
Just remember to gather the homegrown broccoli heads before they bolt since flowering broccoli has a bitter taste.
Care Guide For Successful Broccoli Growth
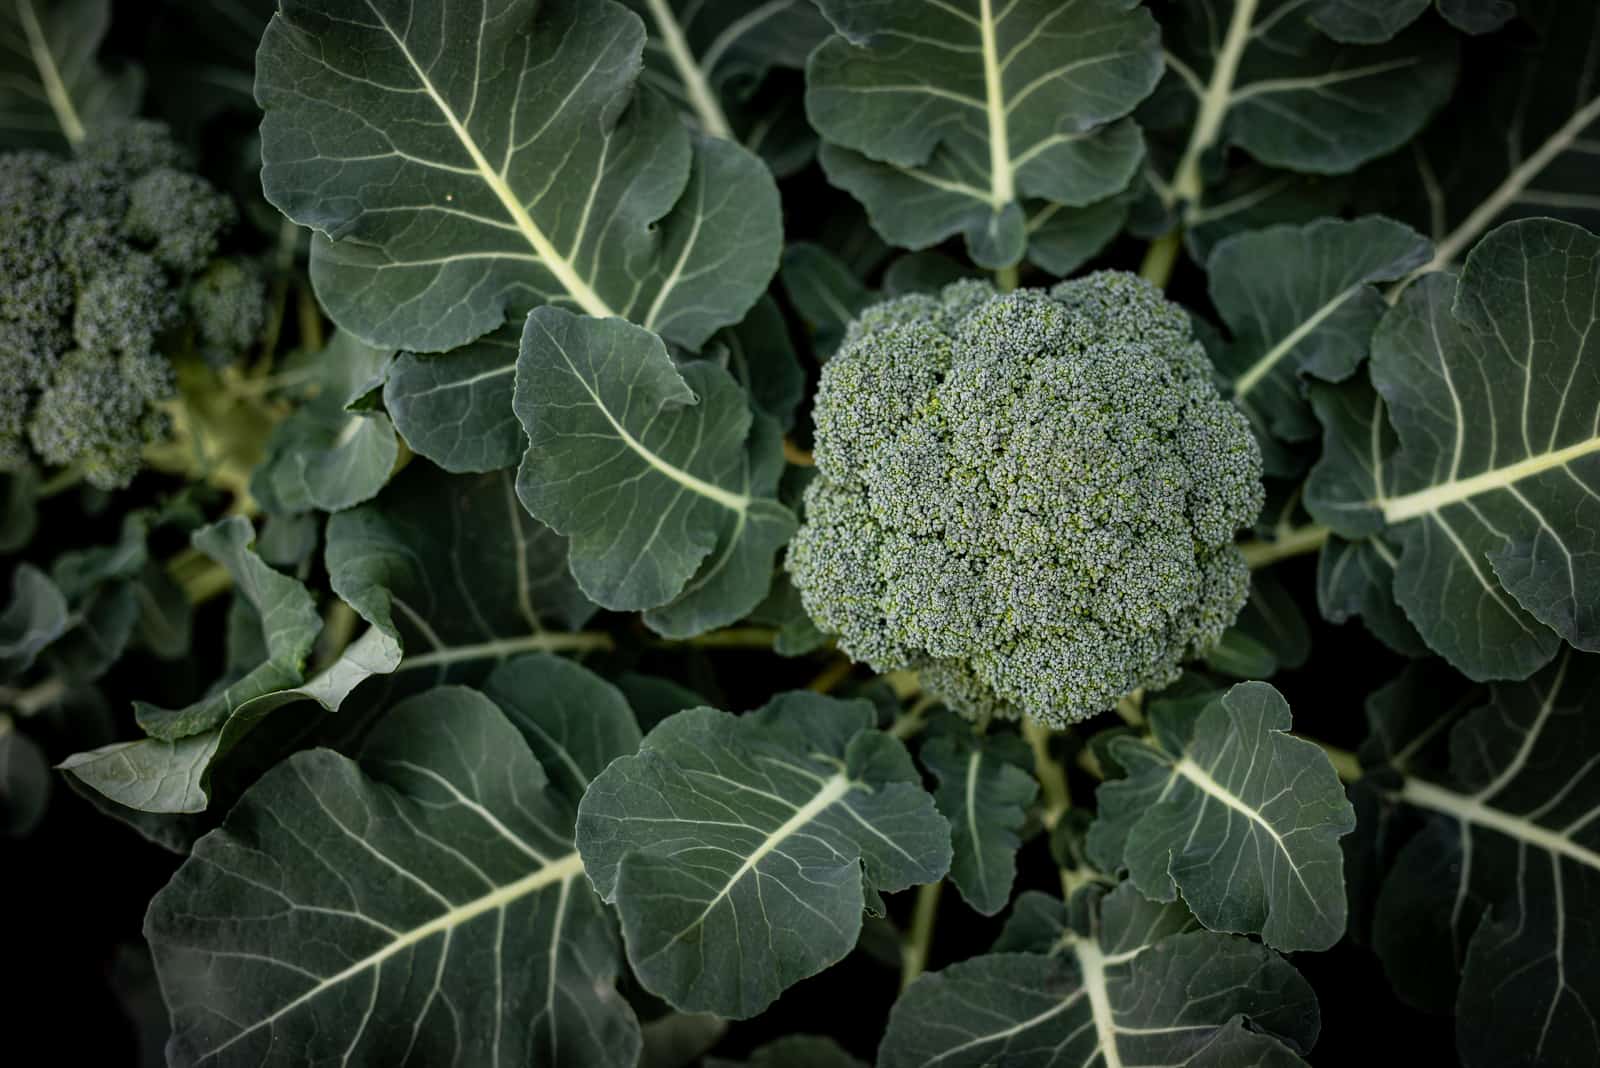
The best gardening tips for growing broccoli include exposing it to full sun, keeping the soil moist but never wet, and providing a planting substrate thats fertile and well-draining; a piece of cake, right?
Of course, there are some more details that we’ll talk about shortly, but these are the most important things to remember if you want to harvest broccoli. Without meeting these requirements you won’t even get to reap the main head, let alone any side shoots.
Finally, we know that many growers don’t have enough space at home, which is why they often wonder, “Can you grow broccoli in a pot?”. And the answer is yes!
You can implement the tips from below and start to grow your broccoli in containers.
Light Requirements
Broccoli thrives in full sun, and if the plant doesn’t get at least 6-8 hours of sunlight a day it can get leggy and produce below-average heads.
But if you live in a hot climate, you should protect it during the hottest parts of the day since too much heat can result in premature flowering, and the sun can scorch your plant.
For that reason, we love growing broccoli in containers on an east-facing windowsill. The morning sun is gentle and helps this tasty vegetable grow, whereas the afternoon sun indirectly lights the plant and keeps it safe and healthy.
Water And Humidity
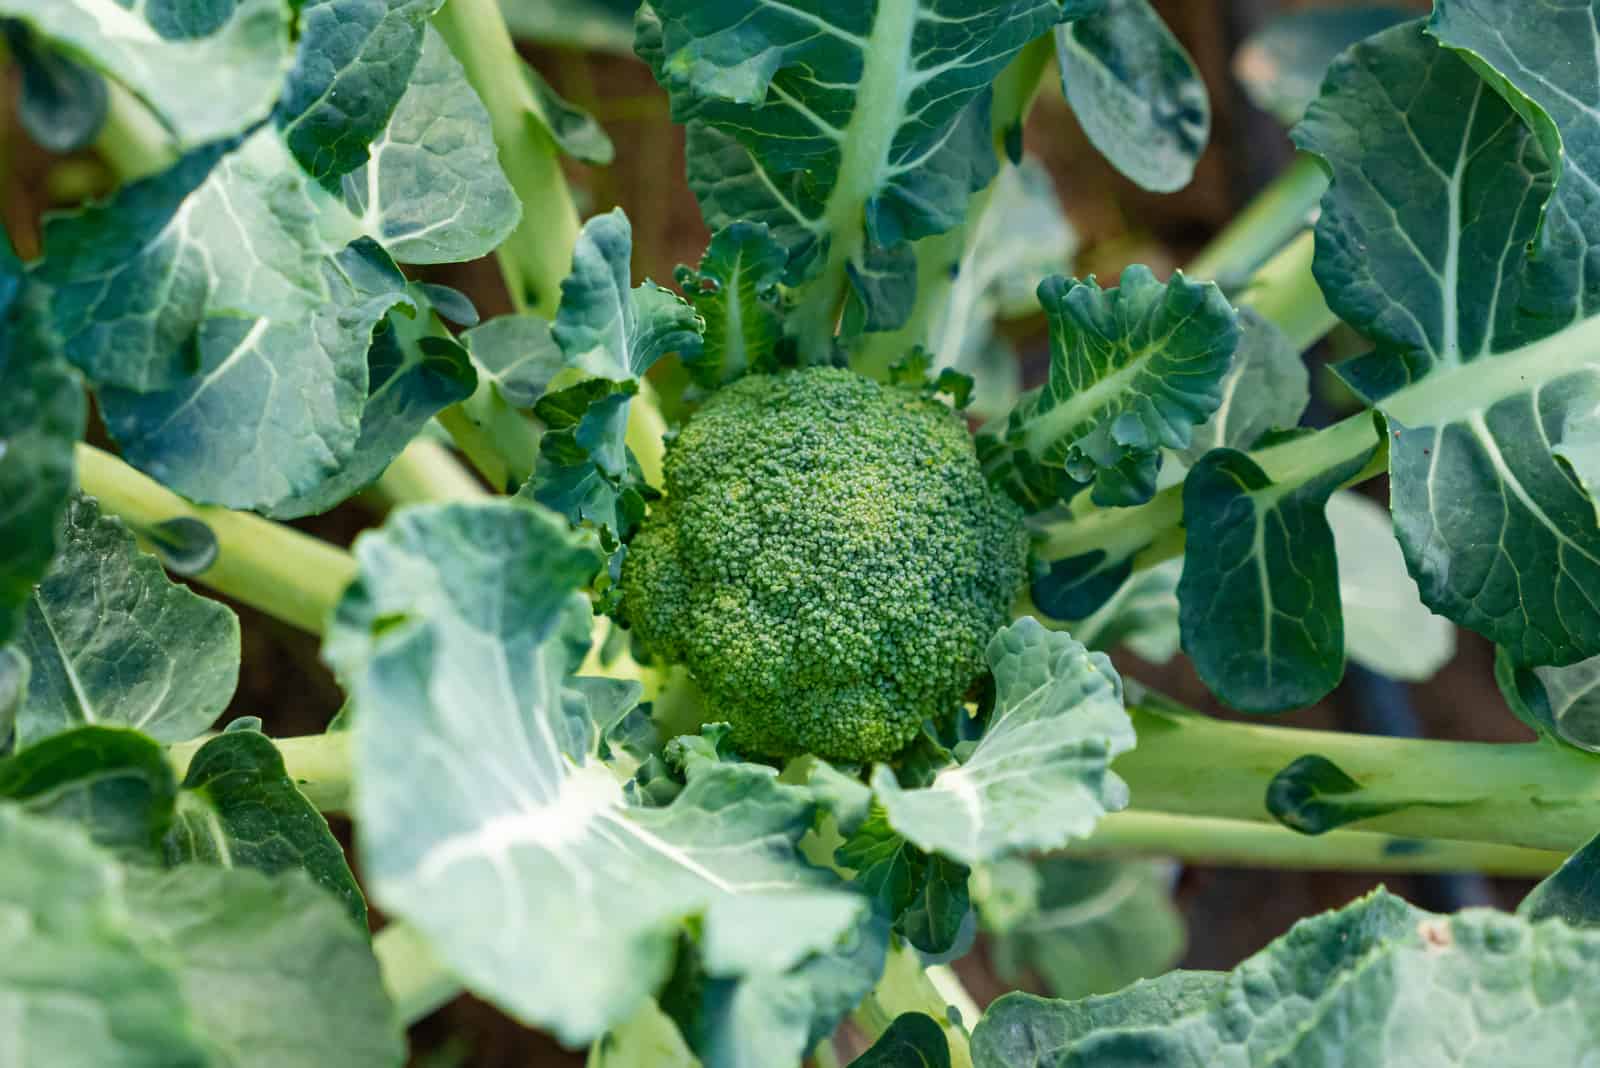
If you want to get lots of tasty florets, you should give your broccoli 1-2 inches of water in the morning to keep the leaves dry before the night comes and to maintain the proper soil moisture level.
Overwatering is your plant’s arch-enemy, so if you live in a rainy region you shouldn’t water broccoli grown outside – let Mother nature take care of that!
Temperature
Generally speaking, broccoli flourishes when the temperatures are between 60 and 70°F (15-21°C), but it can handle temperatures as low as 26°F (-3°C) and up to 95°F (35°C), although it greatly depends on the variety.
In most cases, temperatures above 80°F (27°C) lead to bolting, so it’s best to plant your broccoli earlier in the spring or fall for the largest possible harvest.
Soil And Fertilizer
When growing broccoli, ensure that the soil pH is slightly acidic to neutral, between 6.0-7.0.
We have mentioned this quite a few times, but it’s so important that we want to repeat it: this vegetable needs a fertile and well-draining planting medium. Always add compost to enrich the soil with nutrients and improve drainage.
Good drainage is essential, so you can even add some sand or other material to increase it. The key is to get the soil consistency between sandy soil and clay loam.
Fertilizer
Broccoli doesn’t require too much nitrogen, so the 5-10-10 formula works great because it contains enough phosphorus and potassium.
You can also use well-balanced fertilizers, but knowing how and when to use triple 14 fertilizer, for instance, is vital as you don’t want to over-fertilize your veggies.
Use a slow-release fertilizer at the beginning of the growing season and liquid fertilizer in the mid-season.
You should always follow the instructions on the package, and you’ll be harvesting those central heads in no time!
Transplanting
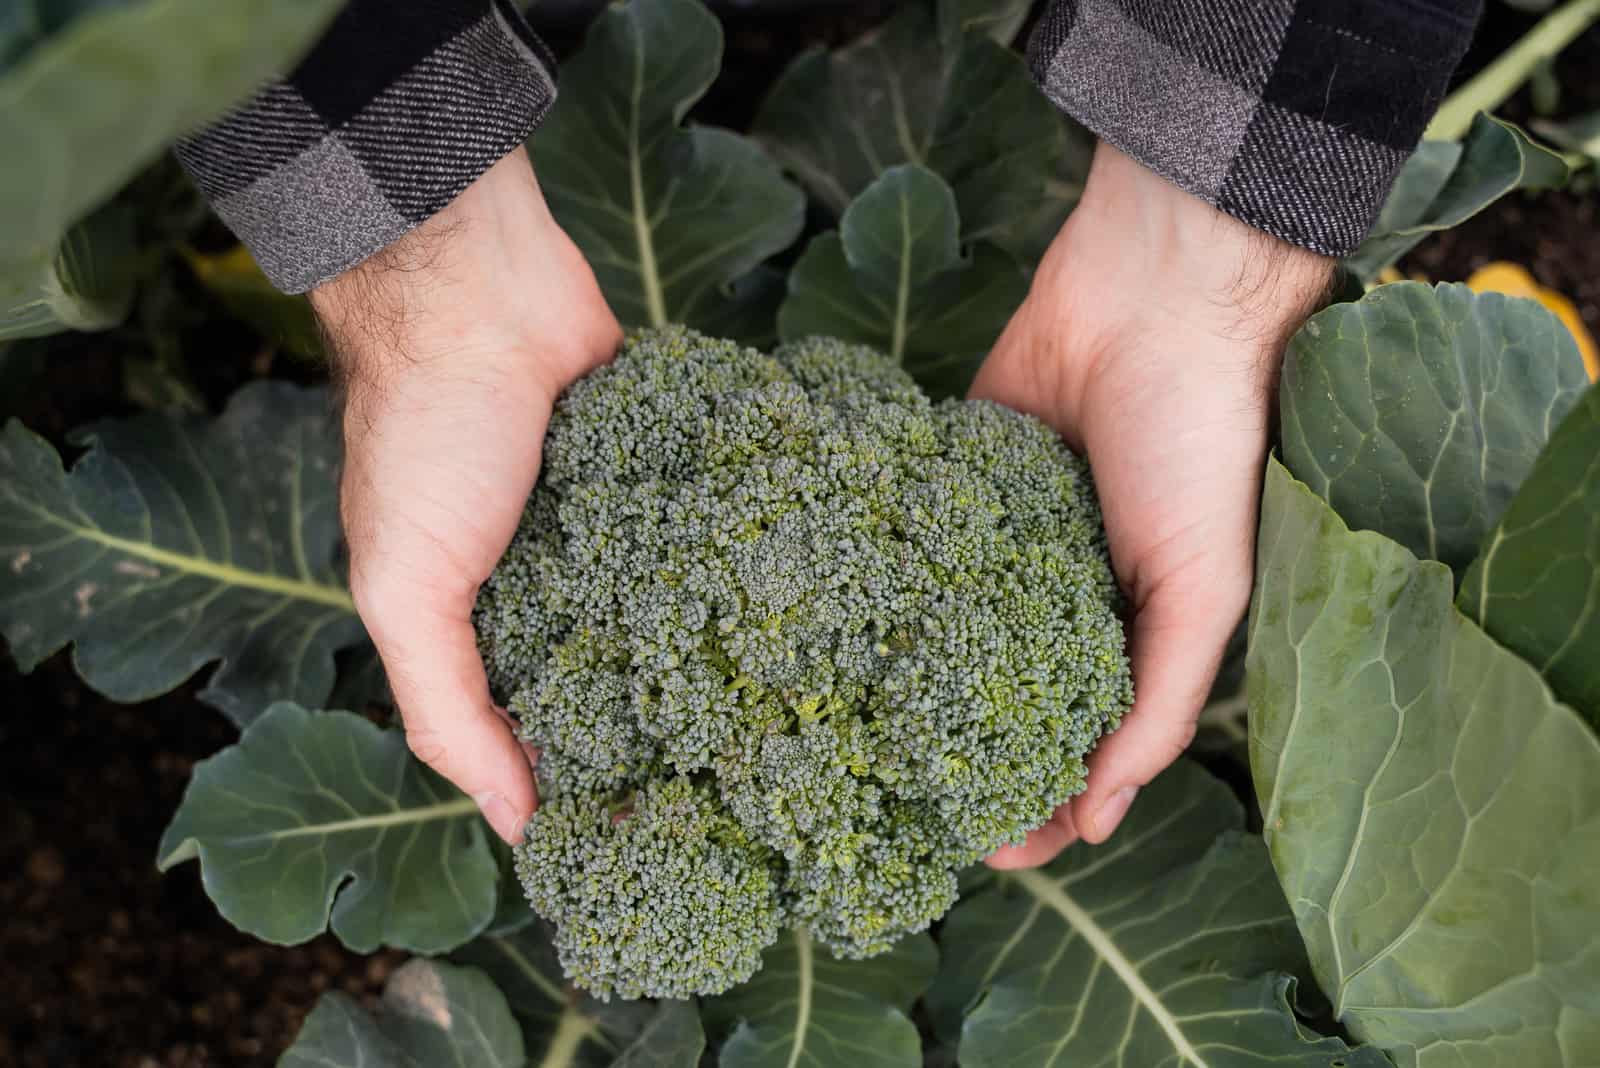
Broccoli is ready for transplanting once it has two sets of true leaves. Plant it outside in a nutrient-rich medium with good drainage around two weeks before the last expected frost date.
Choose a location where it can get plenty of sun and feed it with an organic fertilizer such as super seaweed or a formula such as triple 14 or 5-10-10.
Transplant the seedlings on a cloudy day to reduce the shock and water it thoroughly.
Pests And Diseases
The most common pests that attack broccoli are cabbage worms, cabbage loopers, and aphids. Sometimes worms and loopers can eat the entire plant and leave you with nothing!
Luckily, they are easy to get rid of, and spraying insecticidal soap over them can get you a long way. However, if the infestation isn’t too big or you simply don’t like using pesticides, you can always handpick any pests you notice.
Also, introducing some natural predators such as ladybugs and yellowjackets can do the job for you.
Diseases
Some of the most common diseases that attack this vegetable are Alternaria leaf spot and black rot. In this section, we’ll discuss the causes of these diseases and how to treat them.
Of course, you should always do everything you can to avoid this disease as prevention is the best cure.
Alternaria Leaf Spot
Alternaria leaf spot is not life-threatening, but your broccoli will produce smaller heads (or even no heads) if infected with this disease.
The cause is usually high humidity, so your plant will be safe as long as you avoid that. You can recognize it by small black spots that expand and turn yellow with a black circle that surrounds them.
Aphids are another reason this disease may attack your crop, but they cannot take all the blame. The fungus that causes this disease can be found in water, seed packs, tools, and can even linger on your clothes, so ensure you take all the precautionary measures when heading to your vegetable garden.
The good news is that you can save your plants with a good copper fungicide.
Black Rot
This disease has a terrifying name, and it is malicious. It manifests as a yellow splotch at the beginning, but it gets more prominent as time passes by so it’s not uncommon for it to go unnoticed until it’s too late.
Eventually, these spots become brown, the tissue becomes necrotic, and the plant withers and dies. Unfortunately, there’s no cure for this disease, but you can slow its growth with a copper fungicide.
If the heads aren’t infected they are perfectly good to eat, so you should harvest them as soon as possible.
The bacteria that causes this disease can be transferred by insects, water, tools, or your hands, and it flourishes in humid environments.
Can you grow broccoli from the head?
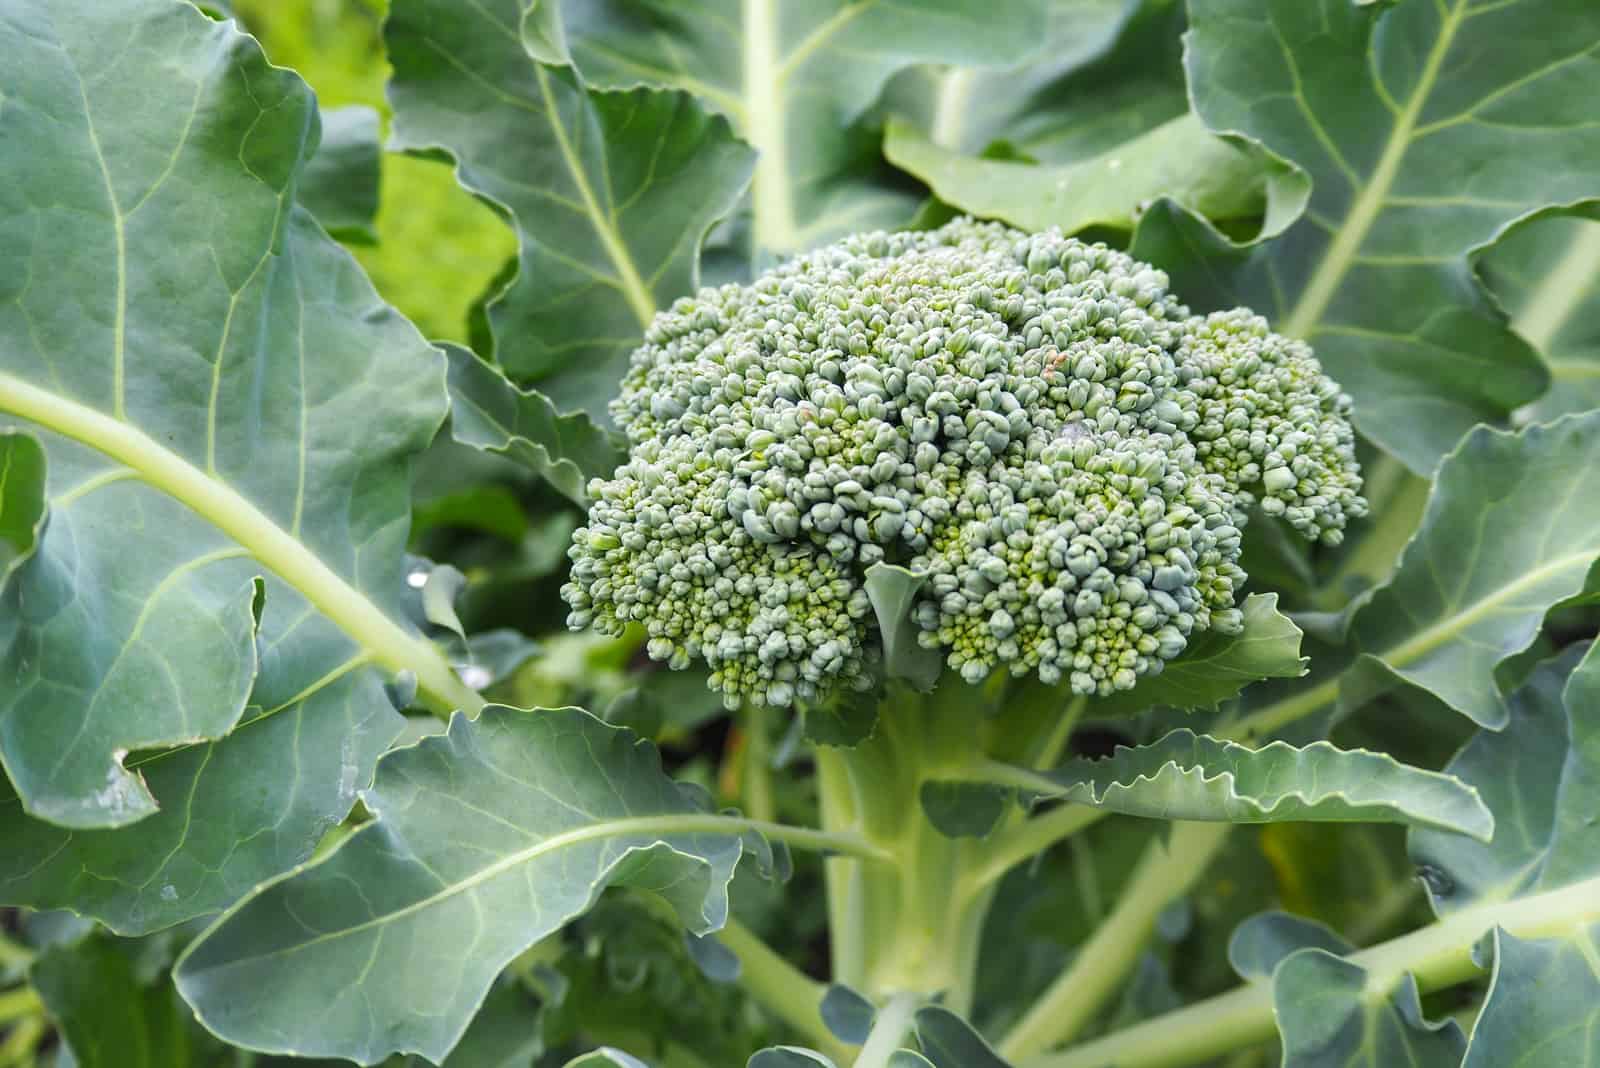
Broccoli is a man-made vegetable, and there is still no way to grow it from the head. But that’s not a bad thing! You can eat the broccoli head and plant the remaining stems in a pot to grow a whole new plant.
You simply have to give it enough water and sunlight, and when it grows roots you can replant this vegetable into a pot and continue caring for it until the harvesting time arrives.
Conclusion
All in all, broccoli is an amazing vegetable! What makes it so fantastic is the fact that you can grow it from both stems and seeds.
The two processes don’t differ that much. The only real difference is the growing medium; broccoli stems need to be put in water, whereas broccoli seeds should be planted in the soil right away.
Their care guide is virtually the same, and you just need to ensure that they have enough sunlight and are planted in a fertile substrate with good drainage, and that’s it.
You can also fertilize this veggie to increase the yield and make sure there isn’t too much humidity around to keep diseases at bay.
Finally, we can only wish you good luck and ask you to send us updates on your broccoli in the comments below, whether you grow it from seeds or stems.
Until next time!
Like this post? Share or pin it for later!


