5 Easy Steps To Grow Delicious Cherries Right In Your Own Backyard
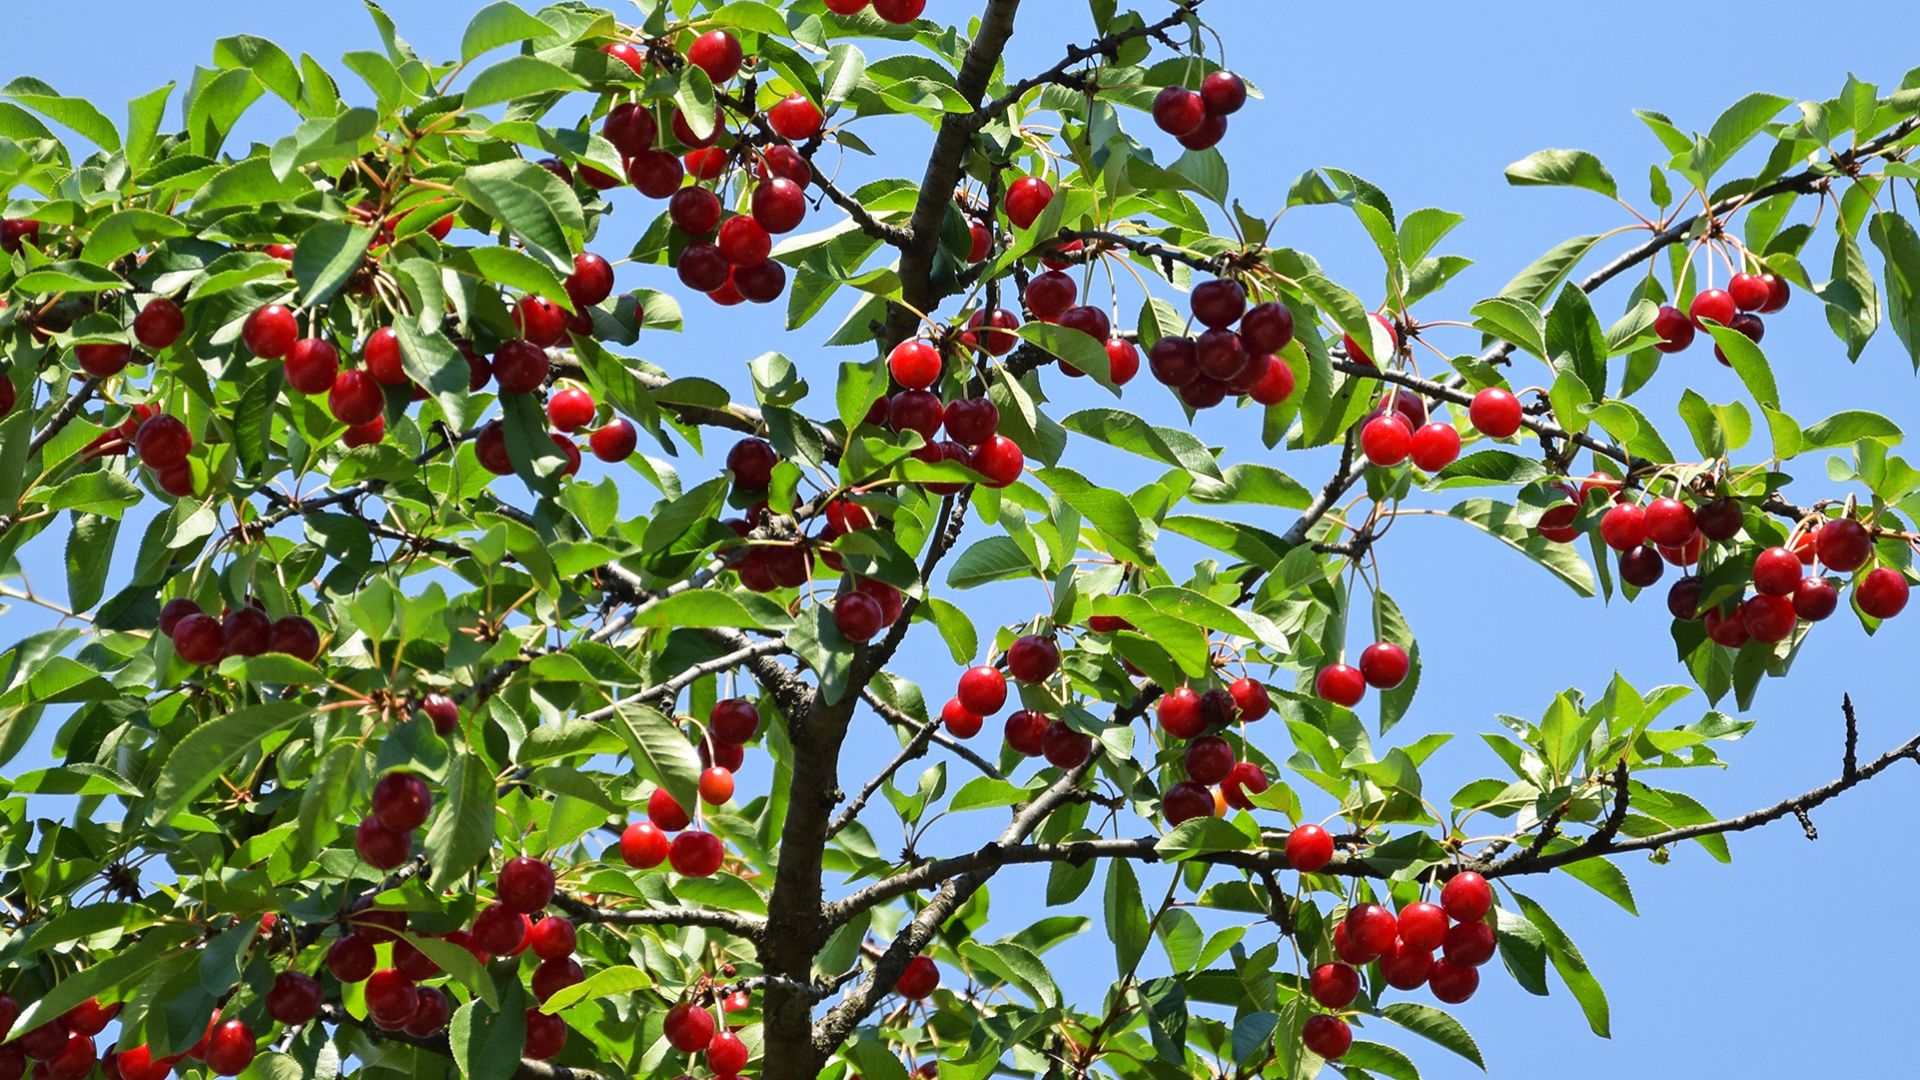
The first time I tasted juicy cherries plucked fresh from my grandma’s garden tree, I swore to myself that I would grow them in my own garden someday.
I don’t know, there’s just something about biting into a sun-warmed cherry right off the branch – it’s like a healthy candy, only better because you grew it yourself (and didn’t have to share it with your siblings).
After patiently waiting for a couple of years, I can proudly say that my cherry trees are thriving!
Each growing season, I get a bunch of tasty and delicious cherries (not to mention all the pies and cakes I make out of them). Plus, growing cherry trees from scratch? Easy-peasy!
Here are the steps I followed that will help you grow your own cherries and vines:
1. Start By Finding The Perfect Cherry Seeds That Are Ready For Planting
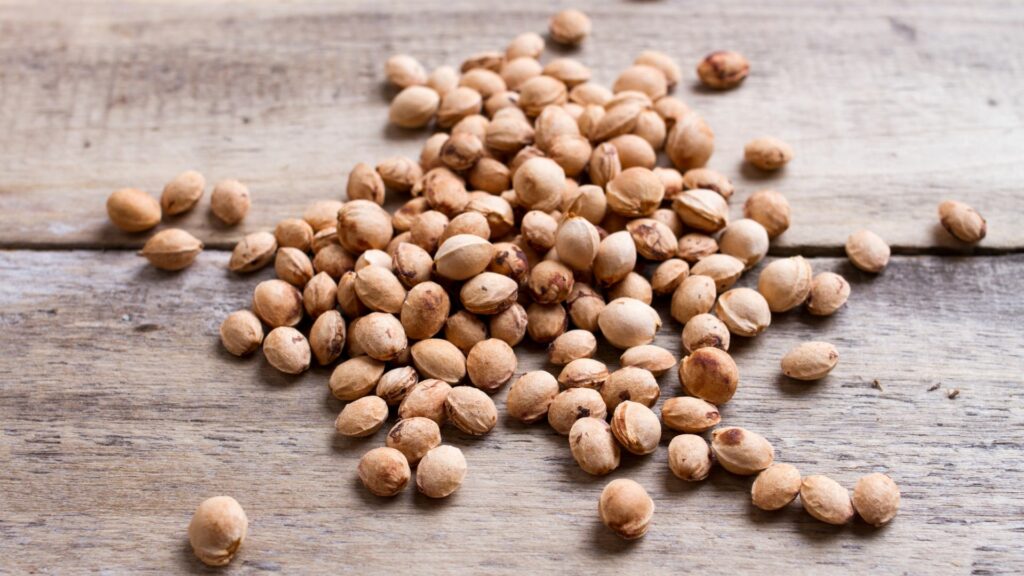
We are kicking things off with the fun part – eating some delicious cherries.
Whether you pick them fresh from a local tree or snag a bunch at the farmers’ market, make sure they’re the real deal. Supermarket cherries might not be ideal for this.
Once you’ve enjoyed those cherries (and maybe fought off the urge to share), it’s time for the next step. Take those pits (yes, those little seeds) and give them a quick dip in warm water. After a few minutes, scrub off any leftover fruit bits.
Now, lay the clean pits out on a paper towel in a cozy spot away from direct sunlight. Let them dry for a few days (and keep an eye on your future cherry trees).
Once they’re fully dry, store those pits in a labeled plastic bag or glass jar with a tight lid. Think of it as the first step towards growing your own cherry tree orchard (or at least starting one).
Also read: 10 Bare Root Fruit Trees Perfect For A Bumper Harvest Next Season
2. Then, Startify Those Seeds

Your cherry pits aren’t quite ready for planting right away. In fact, they need to go through something called stratification (which basically means exposing them to cold for a certain period of time).
Here’s how you do it: mix them with moist peat moss or sand in a container, and pop them into the fridge for about 10 weeks. Just make sure to keep them away from fruits like apples and bananas that produce ethylene gas.
Different cherry varieties may need different stratification periods, so make sure you do your research beforehand!
Why all this effort? Cherry seeds naturally go through a cold period during winter before they can sprout in spring.
Refrigerating them mimics this natural process, which is why we are giving them this cold treatment.
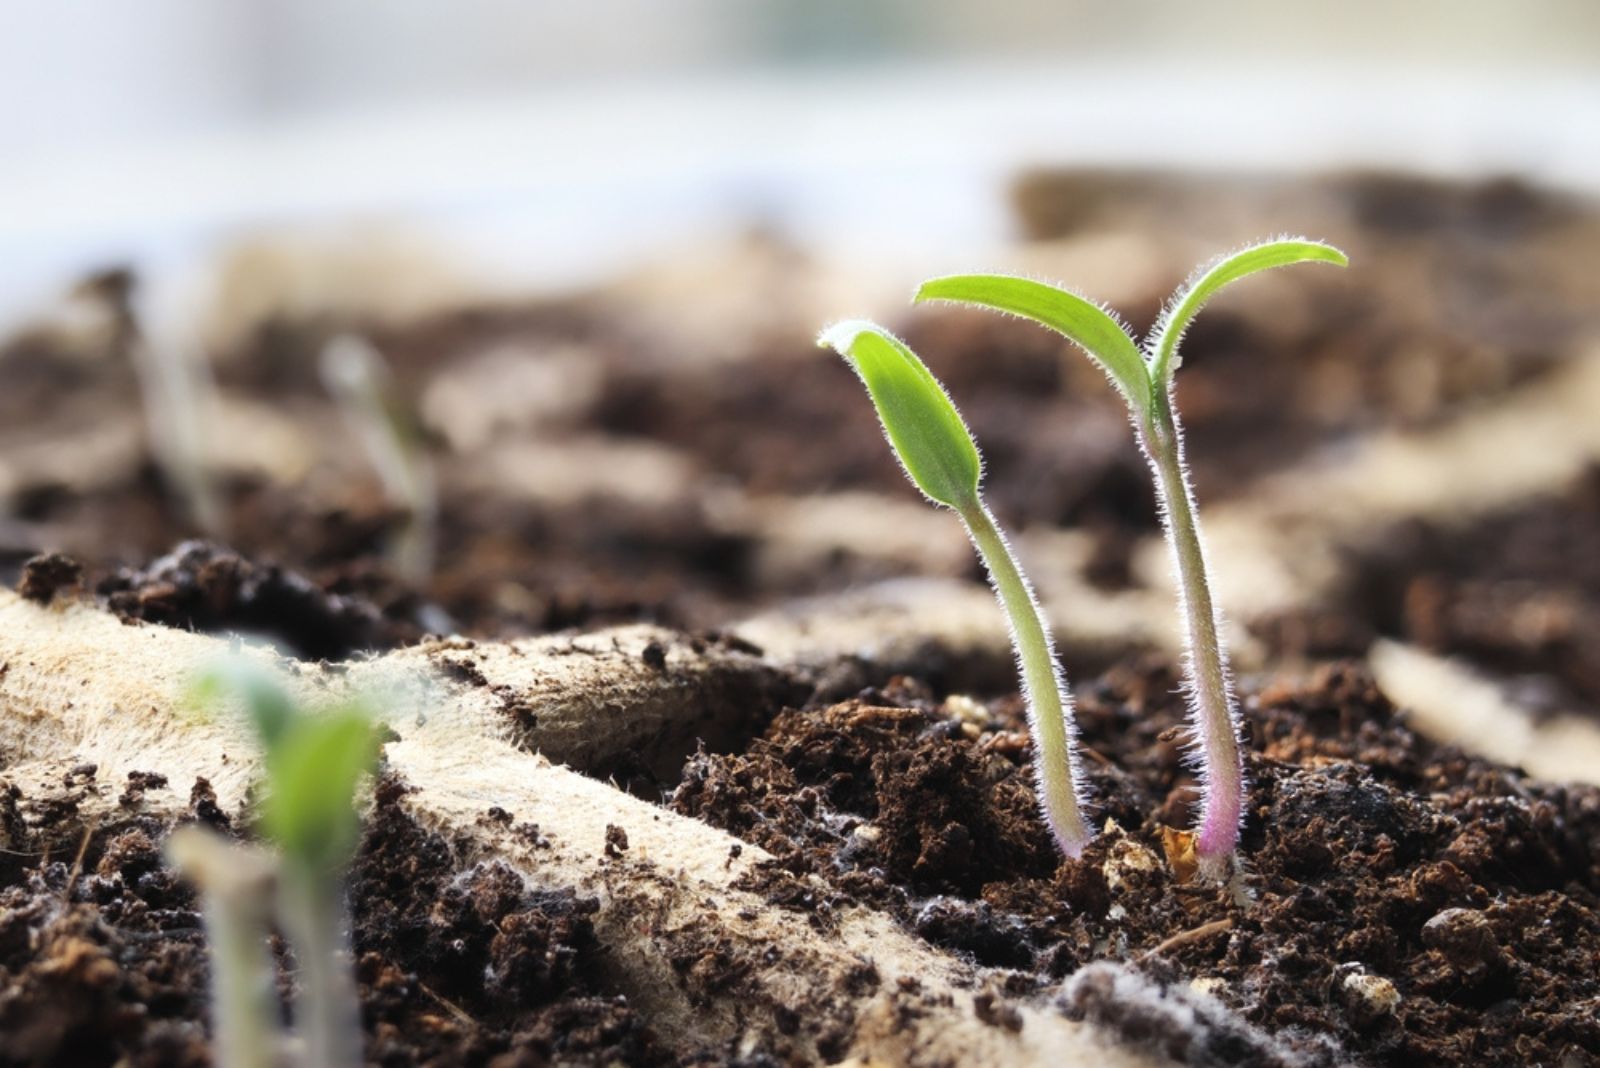
3. Patiently Wait For Germination To Happen
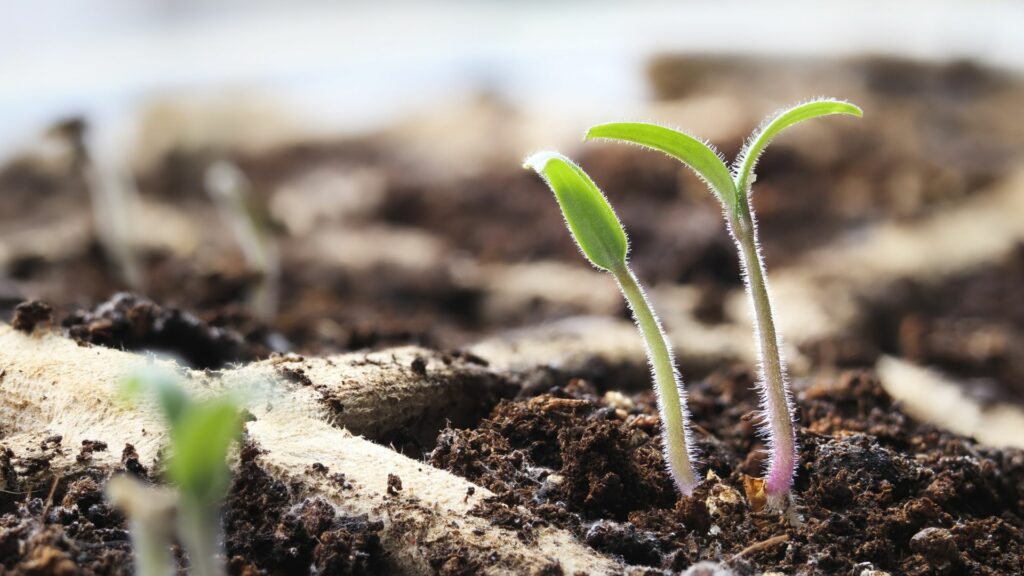
Once stratification is complete, it’s time to prepare small containers for planting.
Use a high-quality potting soil to fill these small containers, and then plant several pits in each one. Choose a sunny spot and keep the soil consistently moist, but avoid overwatering.
Soon enough, you’ll see them germinate and tiny seedlings will start to emerge. Now, you are one step further to growing your own cherry tree!
Also read: 9 Fruit Trees That Can Grow And Thrive Indoors
4. Don’t Forget To Thin Out The Seedlings
When your cherry seedlings reach about 2 inches tall, it’s time to thin them out.
I did this by removing the weaker plants first and then leaving behind the sturdiest seedling in each pot – this helps ensure that each seedling has enough space and resources to grow strong and healthy.
They need their own space, just like you and me!
5. Now, It’s Time For Transplanting
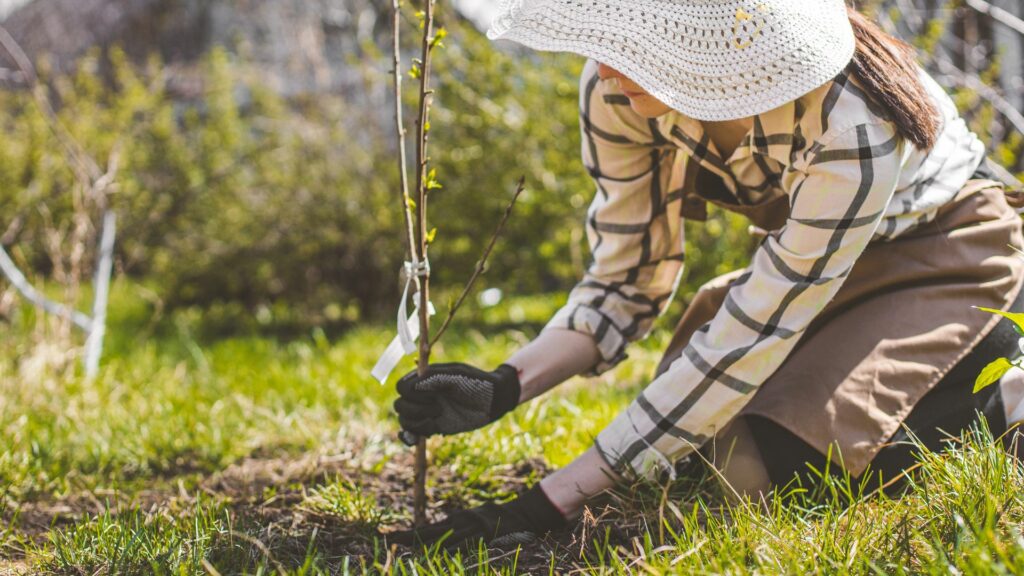
The area you live in will determine what you do next with your cherry seedling.
Most cherry varieties thrive in USDA plant hardiness zones 5 to 9 (varying on the type, of course). If you are within this range and have sufficient space, you can go ahead and proceed to planting your cherry tree outdoors.
If transplanting outdoors, wait until the danger of frost has passed and your cherry seedlings stand about 8 to 12 inches tall. If you’re planting multiple trees, ensure they’re spaced at least 20 feet apart for optimal growth.
For those preferring to keep their cherry tree indoors, opt for dwarf varieties that thrive in pots. Simply transplant your seedling into a larger container and find a sunny spot for it to flourish.
And there you have it!
Planting cherry seeds is straightforward, but the real challenge lies in the wait for those delicious cherries to ripen. But trust me, all this patience and hard work will be worth it afterwards!
Also read: These 10 Potted Trees Can Transform Your Tiny Outdoor Space Into A Mini Forest