A Step-by-step Guide On How To Grow Chickpeas Properly
Chickpeas are not just a nutritious addition to your diet; they can also be a rewarding crop to grow in your garden. Plus, it is quite easy to grow them!
So, whether you’re a pro gardener or just a beginner, learning how to grow chickpeas can be an exciting journey. In this article, we are going to share some tips on how to plant and grow these protein-packed legumes.
Let’s get started!
How To Plant Chickpeas
You can grow chickpeas in the western US, even though they are commonly grown in Australia and India. They will be a fantastic addition to your garden because not only do you get delicious beans, but you also end up with a beautiful flower display during the blooming period.
To start growing chickpeas, you will need a trowel, tiller, some chickpeas, and gloves to keep your hands clean.
Now, let’s go step-by-step through the planting process.
Step One: Choose The Right Variety
Before you start anything, you must buy the right chickpea variety for your region. These legumes grow best in USDA zones 2 through 10a. They are cool-season crops that usually take between 84 to 125 days to mature (though this varies depending on the type).
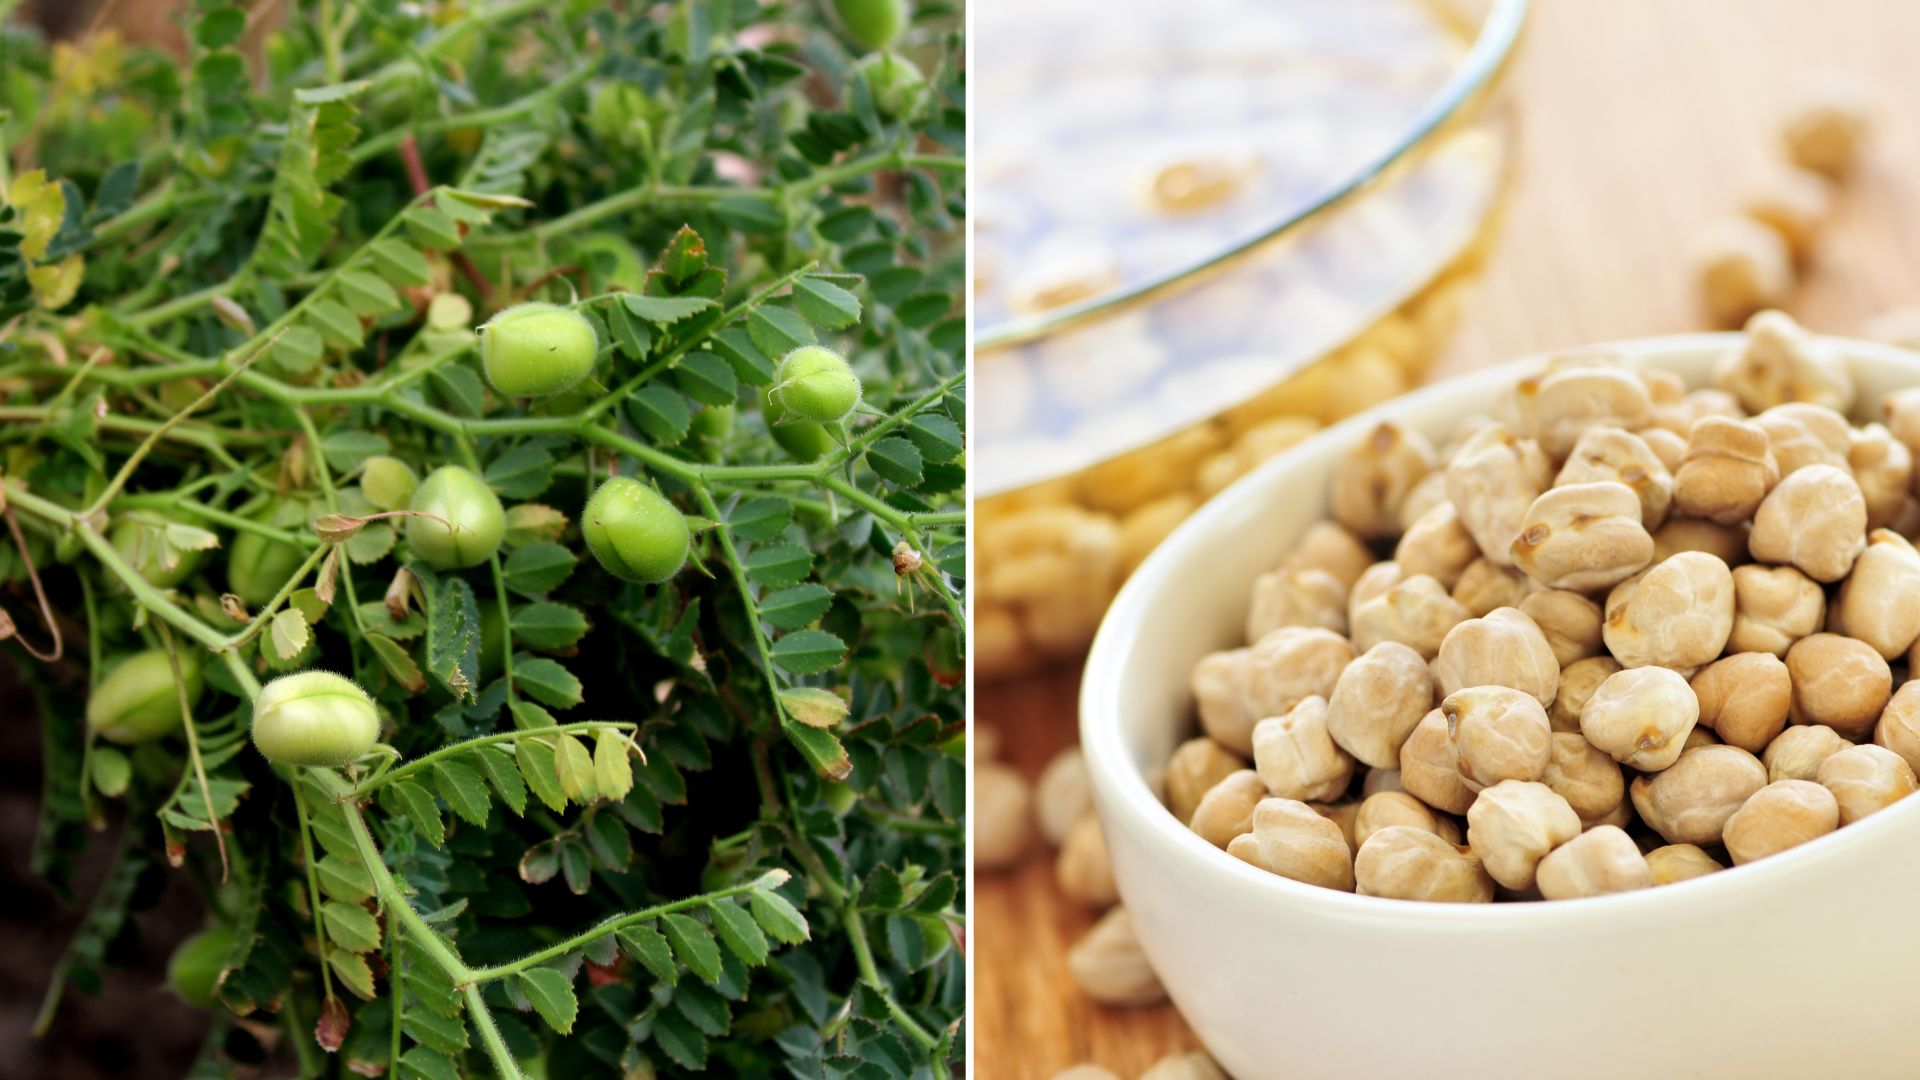
You can commonly find two types of chickpeas: Kabuli and Desi. Most types of chickpeas have leaves like ferns, while a couple of Kabuli varieties have a single leaf instead of numerous leaflets.
You can easily distinguish between these two types. For instance, Kabuli chickpeas have sort of a smoother, white coat and they are slightly lighter in color, while Desi chickpeas have a tough outer coat and dark colors.
Kabuli chickpeas prefer regions with frequent rains while Desi are remarkably drought-tolerant. Desi also grow smaller (about 10 to 20 inches tall), while Kabuli can reach up to 22 inches.
Famous Desi varieties include ‘Myles’ and ‘Sarah’ – these are adapted to growing in the United States. ‘Evans’, ‘Spanish’, and ‘Dwelley’ are Kabuli cultivars that thrive in the Pacific Northwest region.
Kabuli chickpeas are perfect for a longer growing season while Desi are more suitable for those with shorter growing seasons and periods of drought during the summer months.
You can simply buy chickpeas in your local garden shop, especially because they have viability for a year. Store-bought chickpeas can also be planted but they have a significantly lower germination rate.
Also check out: A List Of 25 Delicious Vegetables Grown Under The Ground
Step Two: Prepare The Soil
The best time to plant chickpeas would be in early spring. They are frost-tolerant and the soil temperature must be about 45 degrees Fahrenheit for chickpeas to properly germinate. So you should ideally sow them between March and May.
They shouldn’t be started indoors because they develop deep roots, which is why it is hard to transplant them.
When deciding on the soil type, keep in mind that these legumes thrive in silt, loam or sandy soils that are also well-draining. The pH of the soil should be between 6.0 to 8.0. You can always add lime to increase the pH or sulfur to decrease it.
Loosen the soil with a soil tiller to get rid of any crops before planting.
You don’t need to add any compost to the soil because chickpeas are nitrogen-fixating plants, which means that they absorb the nitrogen from the air and release it into the soil.
You might also be interested in: 8 Ways To Add Nitrogen To Your Soil + Busting 3 Myths
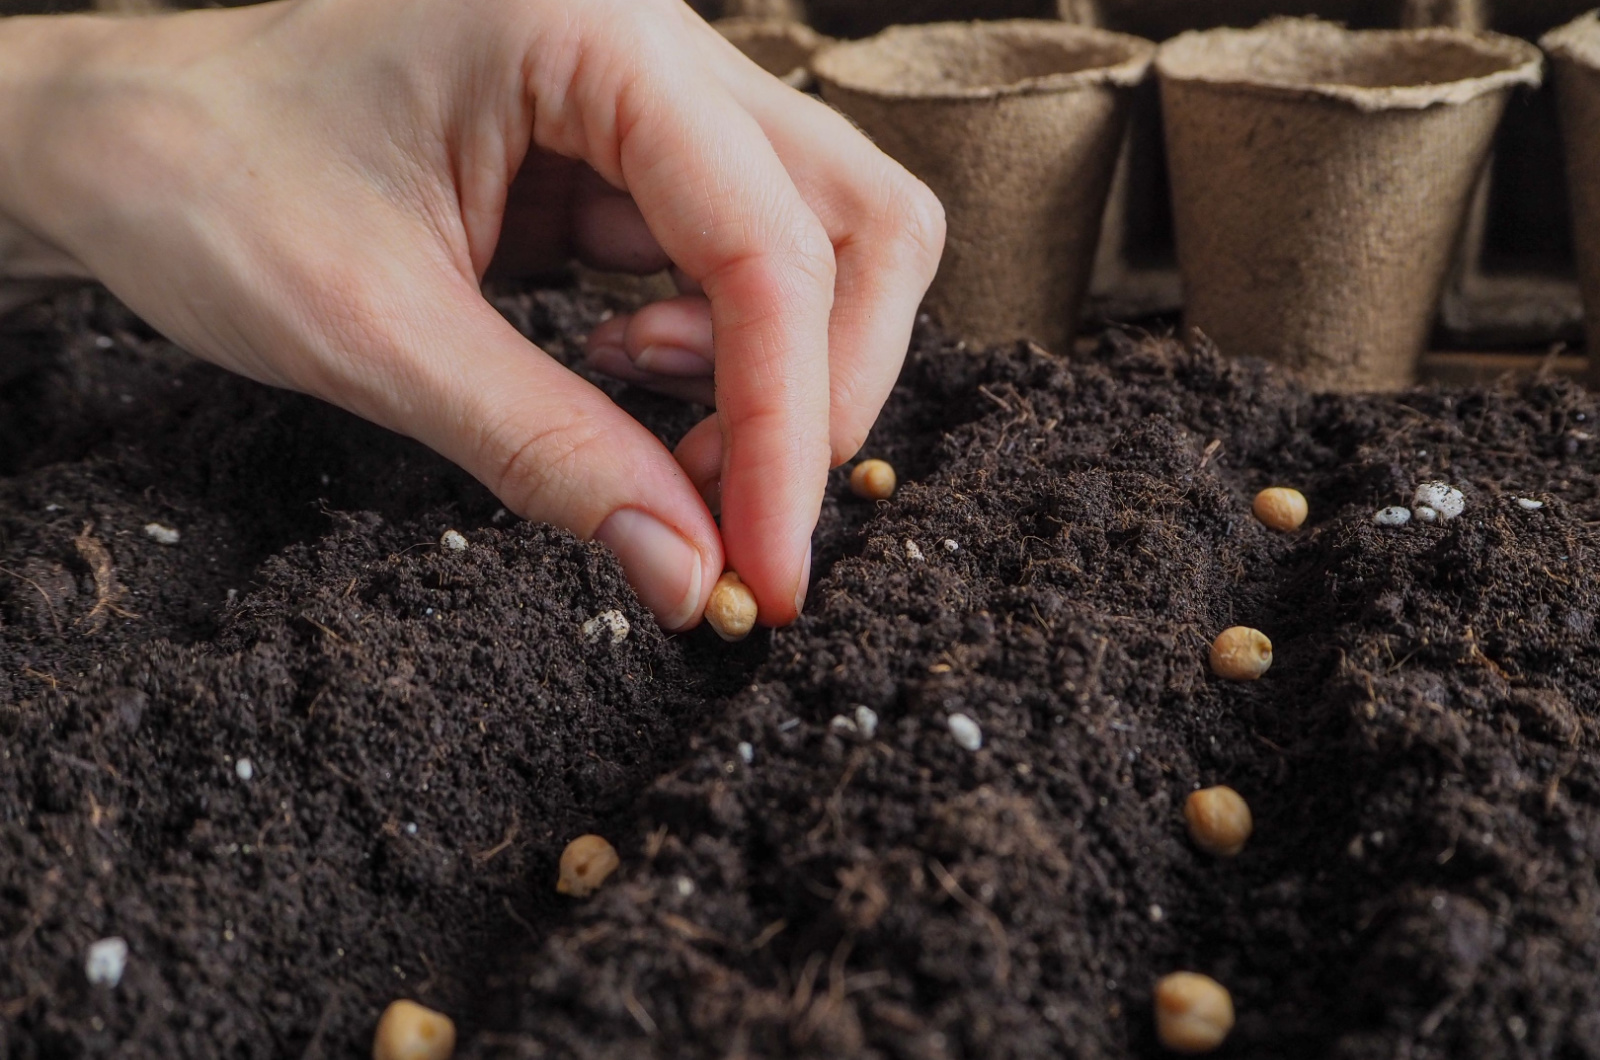
Step Three: Start Planting
Now that you have bought the variety you want and prepared the soil, it’s time to get your hands (or gloves) dirty and start planting. If you are using Desi chickpeas, you should space them at four seeds per square foot.
Kabuli varieties are spaced about three seeds per square foot. However, square-foot gardening should be used to plant four to five seeds per square foot, allowing the Kabuli types a little more room.
Desi chickpeas should be sown about 1 inch deep, whereas Kabuli cultivars should be planted at a depth of around 2 inches. If your soil can’t retain moisture adequately, then you should plant Kabuli varieties about 4 inches deep.
Once you have planted your chickpeas, lightly pack the soil on top and then water them thoroughly.
Step Four: Proper Care
Once you’ve planted your chickpeas, it’s time to provide them with proper growing conditions. Don’t worry, you won’t need to give them any special treatment – just make sure that they have enough moisture and sun exposure.
Chickpea plants generally need about an inch of water per week because they utilize around 9.8 inches of moisture from planting until harvesting. Regular watering every few days is necessary if you live in regions without frequent rains.
It’s best to water your legumes in the morning and to practice bottom watering – getting the leaves wet may attract various pests and fungal diseases.
Even during flowering, chickpeas are quite frost-tolerant and do best in temperatures between 70 and 80 degrees Fahrenheit during the day and 64 to 70 degrees at night.
However, consistent temperature drops below 59 degrees Fahrenheit will begin to impact growth and productivity.
Although we mentioned that chickpeas don’t require compost due to their nitrogen-fixating capabilities, you still have to provide them with other nutrients, such as phosphorus and potassium.
You can use fertilizers like ammonium sulfate and ammonium phosphate if a soil test reveals that any of these are deficient. Here’s how to make homemade fertilizer for your plants.
Step Five: Harvesting
If you have properly taken care of your chickpea plants, then you should expect to harvest them in no time!
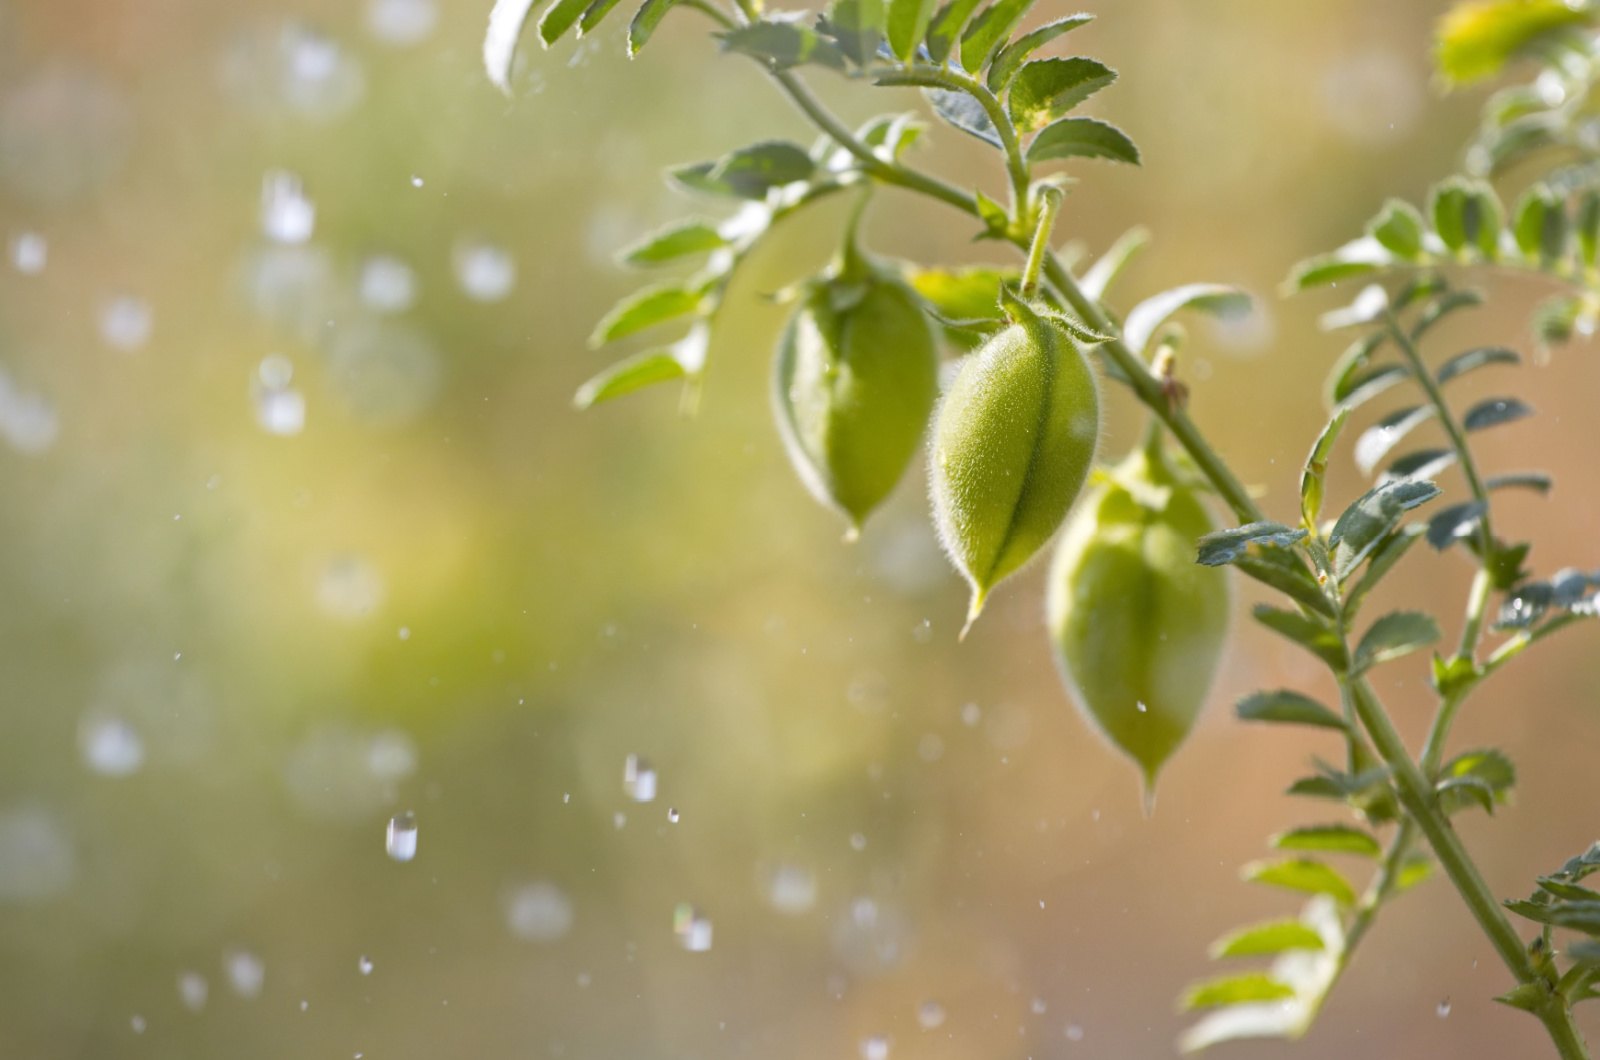
Luckily, these are self-pollinating plants that continuously flower and produce until they are prevented by harvesting or first heavy frost. A healthy chickpea plant will have about 13 to 14 nodes with each one holding a pod.
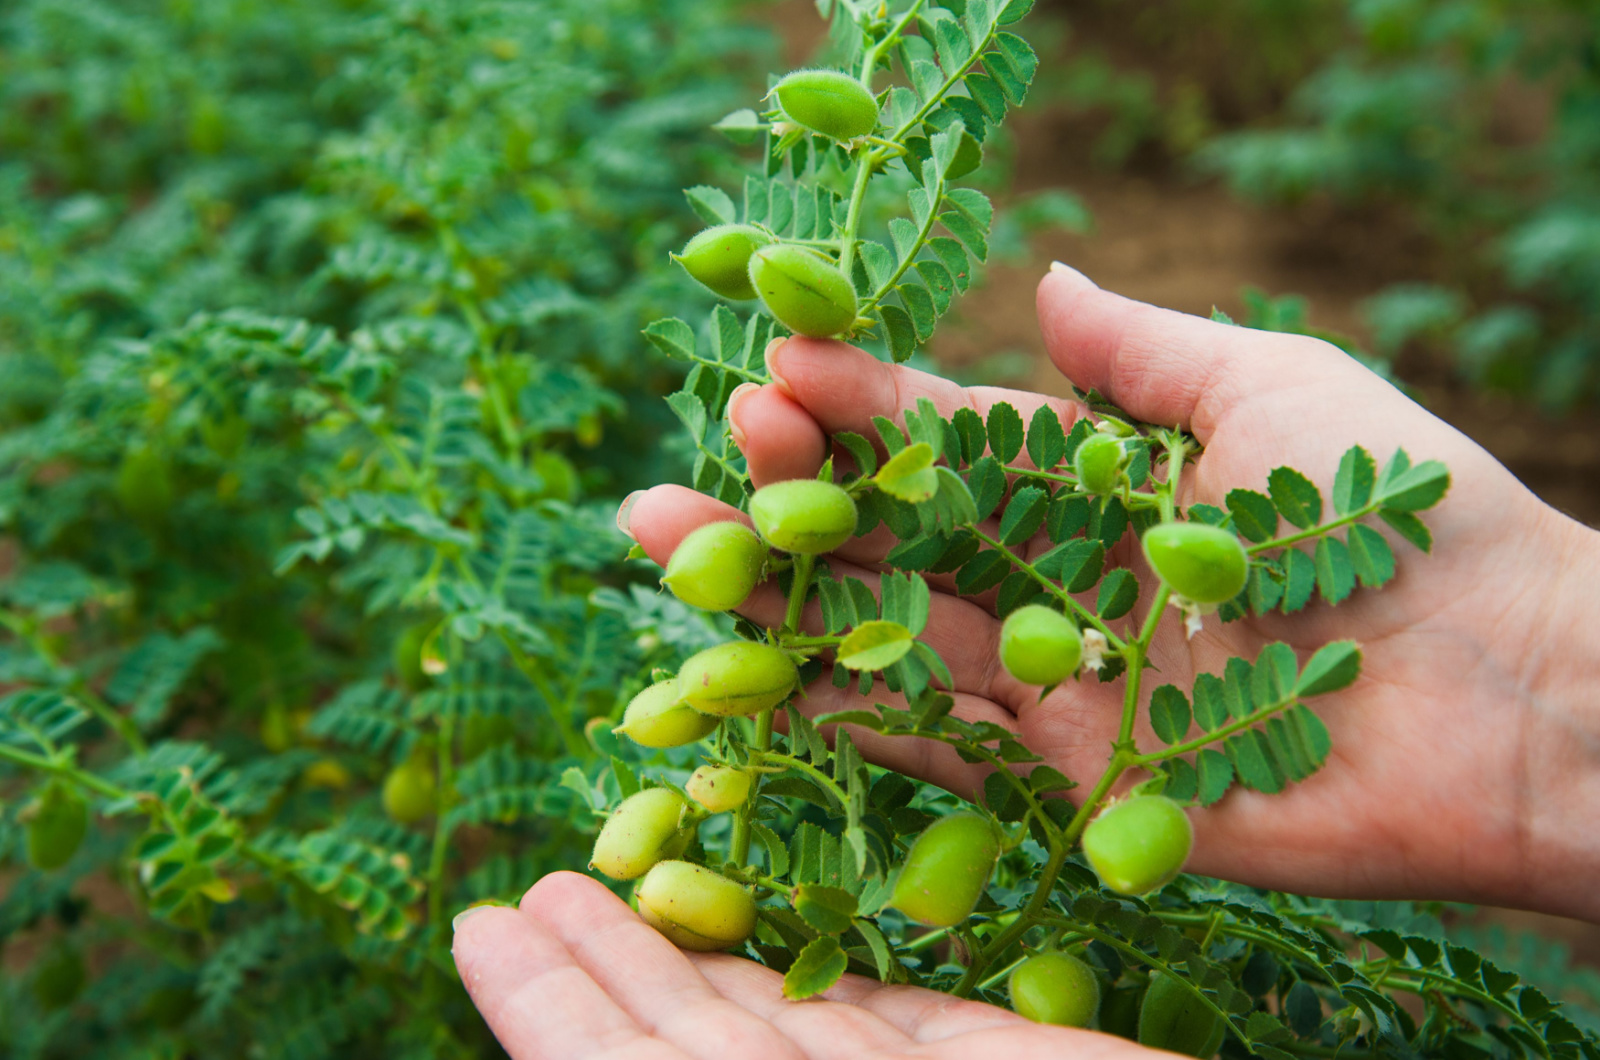
These pods contain one or two chickpeas. Your storing habits and the weather will determine the harvesting time. Start picking green pods from the plant if you want to get fresh chickpeas.
You can use pruning shears or gently squeeze the plant’s vine with your fingers to remove the green pods. Remove the outer pod and eat those delicious green chickpeas stored inside.
Leave the chickpeas until they are dry and brown if you want dried beans or you want to harvest them for replanting. Harvest the entire plant and put it flat to continue drying until the leaves have turned yellow and the pods are brown and dry.
Harvest the seeds from the pods as they begin to split and become completely dry. Then, you should store them in a dry, cold location and use them whenever you want!
You might also be interested in: Top Tips For How And When To Harvest Sweet Potatoes