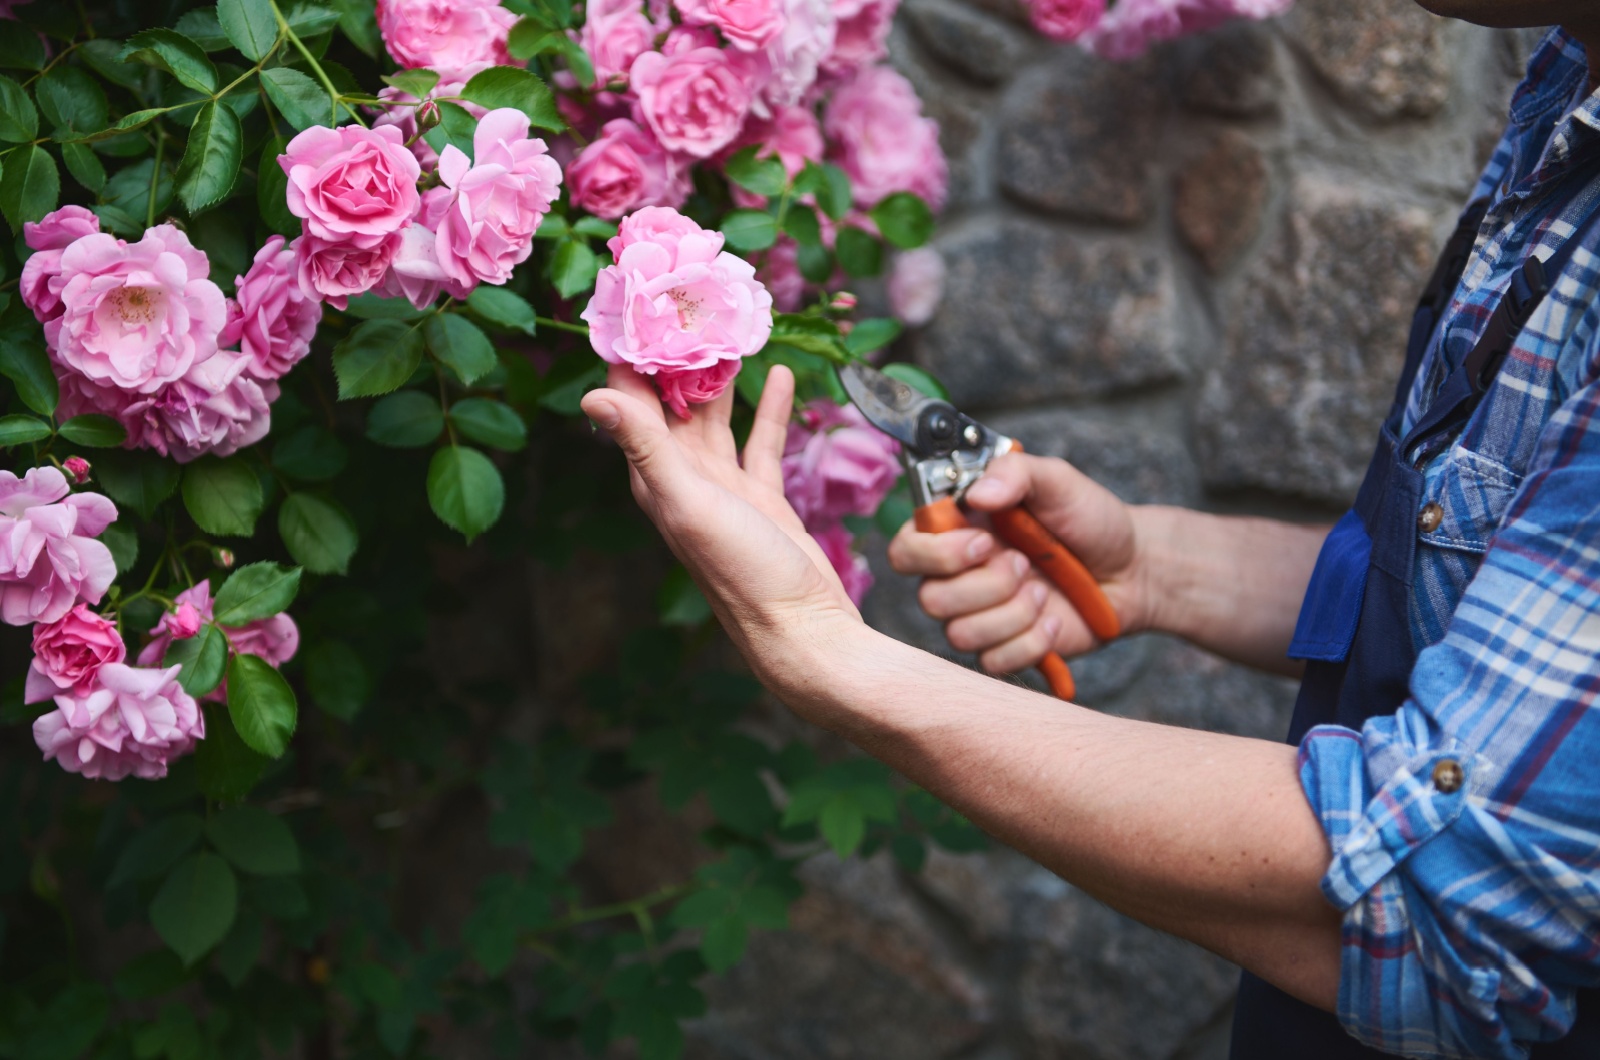
Let me share my story about growing climbing roses. It all started one sunny morning when I looked at a bare wall in my garden. I wanted to add some color, so I decided to grow climbing roses.
I didn’t realize how much work it would be, but I was determined to make it happen! I learned how to choose and train roses, and how to take care of them. Sometimes it was hard, like when the roses didn’t want to grow the way I wanted them to.
But I kept trying, and it was worth it in the end.
Now, I want to share what I’ve learned with you so you can have even prettier flowers!
1. Give Them Plenty Of Sunlight
When growing climbing roses, give them lots of sunshine.
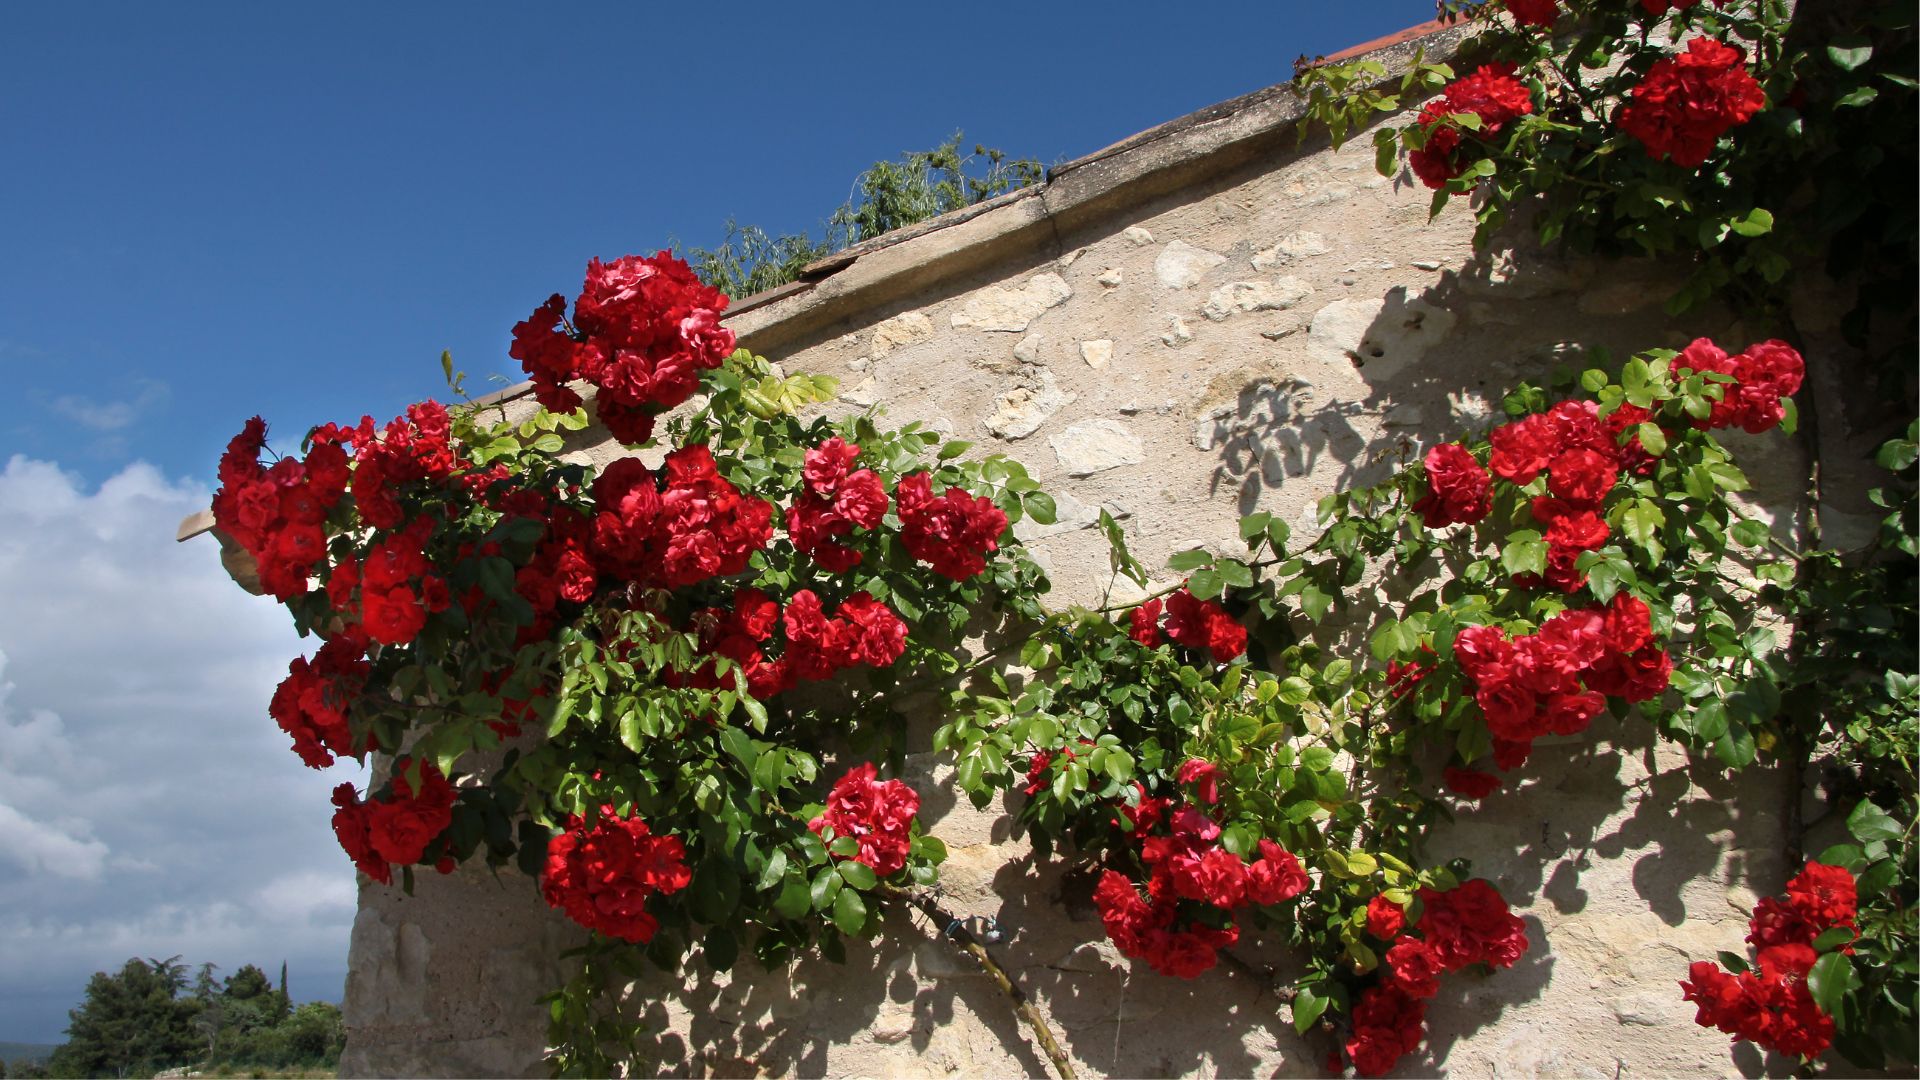
Luckily, my bare wall wasn’t in the shady part of my garden, so I managed to cover it up. But if you’re about to grow these beauties in shade, they won’t thrive or produce an abundance of flowers as they normally would.
I figured they need about six hours of sunlight every day. So, before you plant them, scout out the sunniest spots in your yard.
Watch the beauty unfold before your eyes!
Also read: Growing Red Roses From Buds Is Possible And This Is How You Do It
2. Train Them To Climb Properly
What I didn’t know about climbing roses is that they won’t climb up a support structure on their own like a vine would. Nope, without a little guidance, they’ll just hang out on the ground like a small shrub.
This is where training roses to climb comes along.
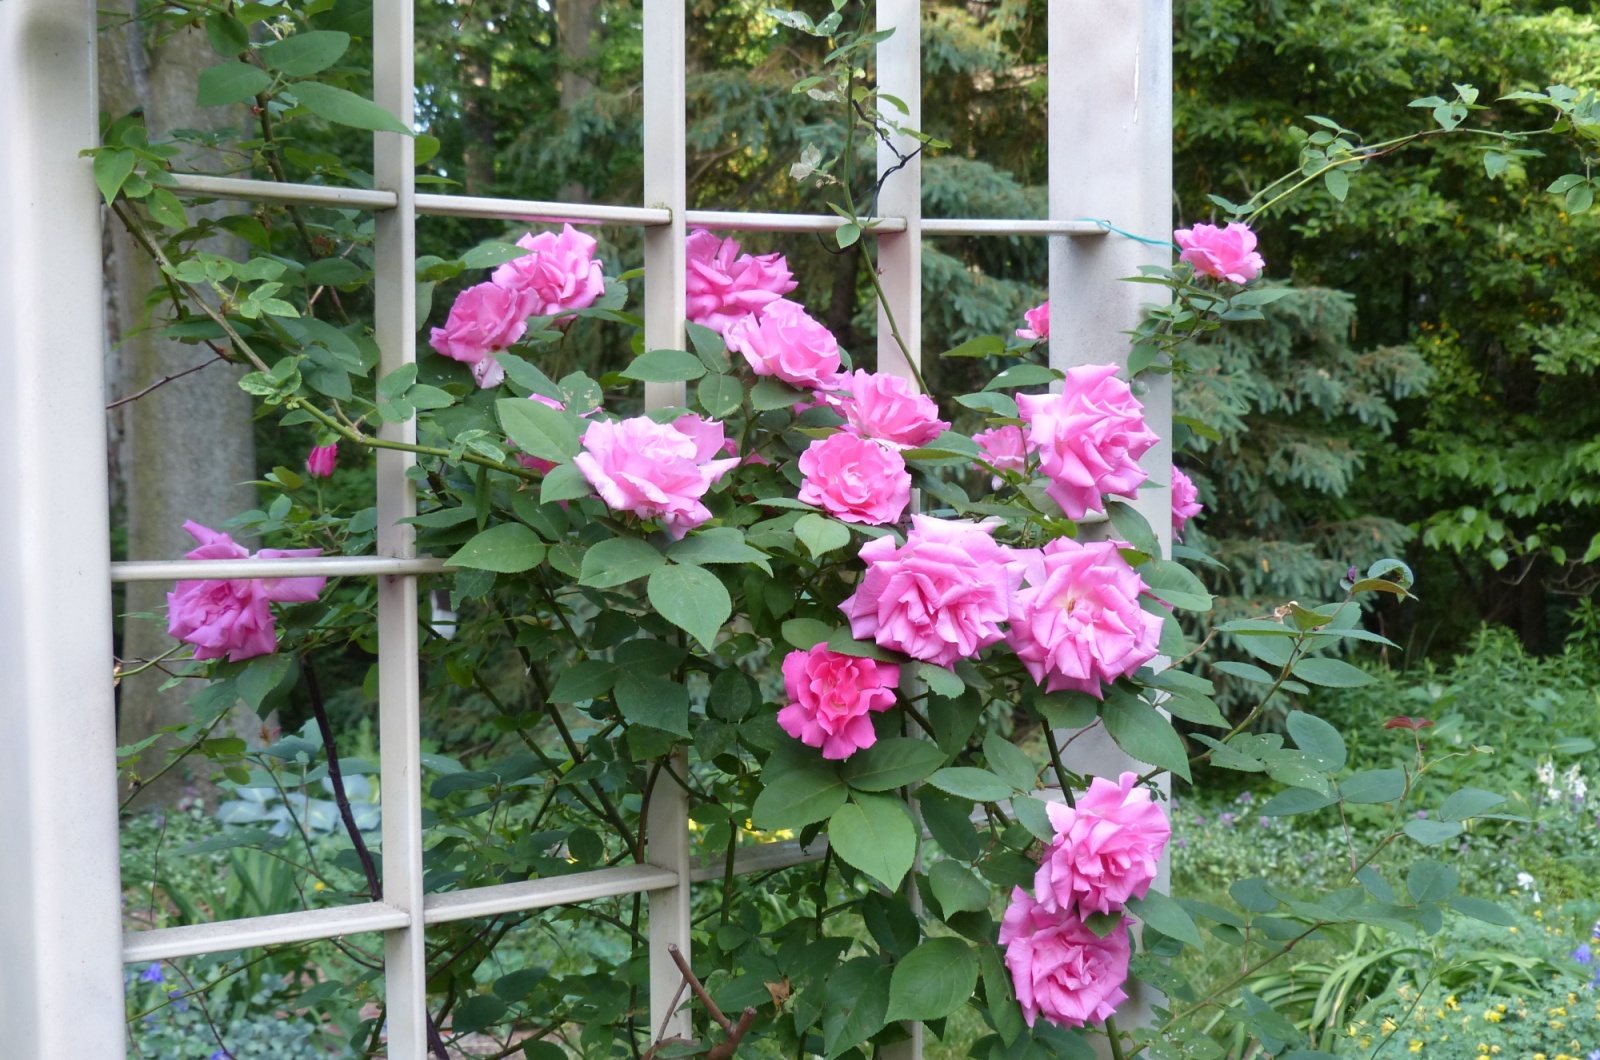
If you’re planning to grow them against a wall or trellis, plant them about 12 inches away from the structure. Why, you ask?
Well, this ensures that their roots get plenty of rainwater, as they won’t be blocked by any rooflines or gutter systems above.
But what if you’re dreaming of a romantic rose-covered arch or arbor? Ah, in that case, you can plant your climbing roses right up against the structure.
No need to leave any space here!
3. Wrangle Your Climbing Roses And Tie Them Up
Once your climbing roses start growing, you’ll need to help them along because they won’t hold onto the structure by themselves.
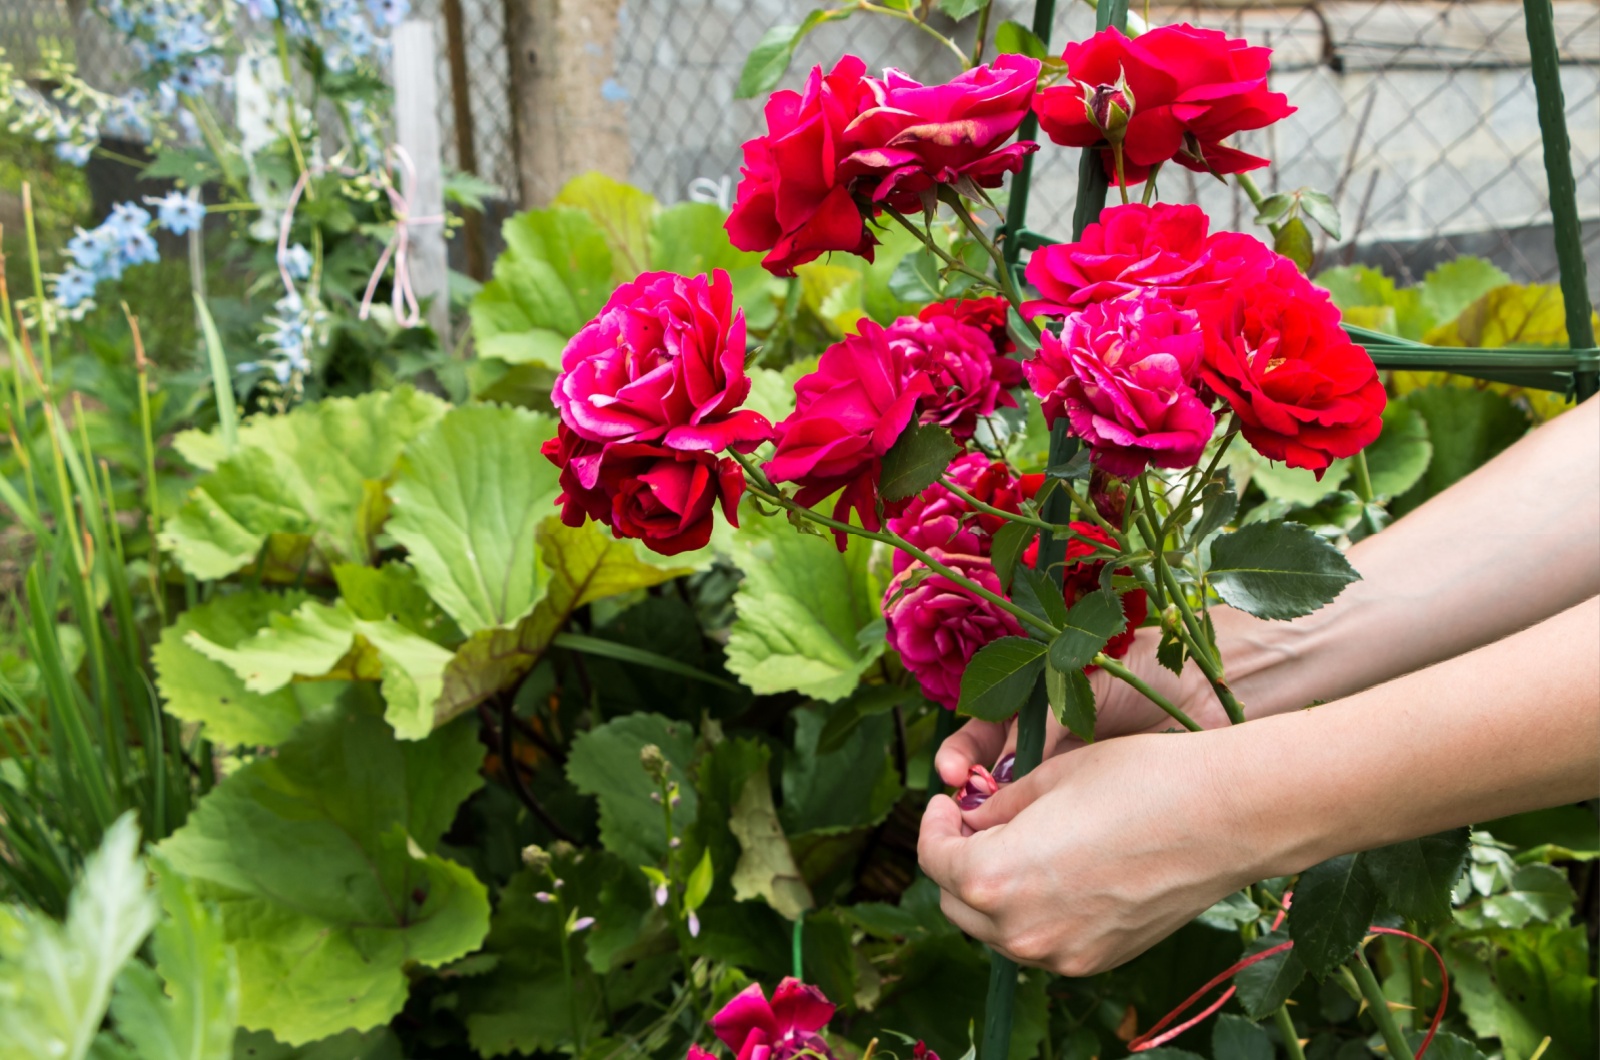
Use garden ties to attach the canes to the structure, starting about 1.5 feet off the ground and tying them every foot. This helps guide them upward.
To get more blooms, try twisting the shoots around the structure or bending them down in a method called “self-pegging” – this tricks the roses into producing more flowers along the canes.
With a little care, your climbing roses will reach new heights in no time, just like mine did!
4. Trim Your Roses When The Timing Is Right
What I didn’t know is that you need to hold off on pruning for the first couple of years to get the biggest and brightest blooms.
This is why you have to let them establish their roots without interference, as pruning too early can slow down their growth. Once they’re settled, time you’re pruning for just before they start sprouting new growth, usually in late winter or early spring.
Start by removing any damaged or dying branches when it’s time to prune, Then, focus on the lateral shoots, those side stems that grow horizontally from the main canes.
Trim these back by up to two-thirds of their length to encourage healthy growth and abundant blooms.
Occasionally prune off large, thick, structural canes as your climbing roses mature. This helps ensure that you get flowers not just at the top, but all along the length of the structure.
Aim to remove one main stem each year once the plant reaches four years old. This keeps your roses healthy and encourages new growth.
Just remember, a little pruning goes a long way in keeping your climbing roses happy and thriving.
I can tell you that growing these beauties has been a real adventure, filled with patience, care, and a whole lot of joy!
From those first tiny buds to the stunning blooms adorning my trellis, every step has been a delight.
Now it’s your turn! With a little know-how and a whole lot of sunshine, you can create your own floral haven. And once you do, please feel free to share a bunch of pics with me because I absolutely adore climbing roses!

