5 Steps For Growing Grocery Store Herbs
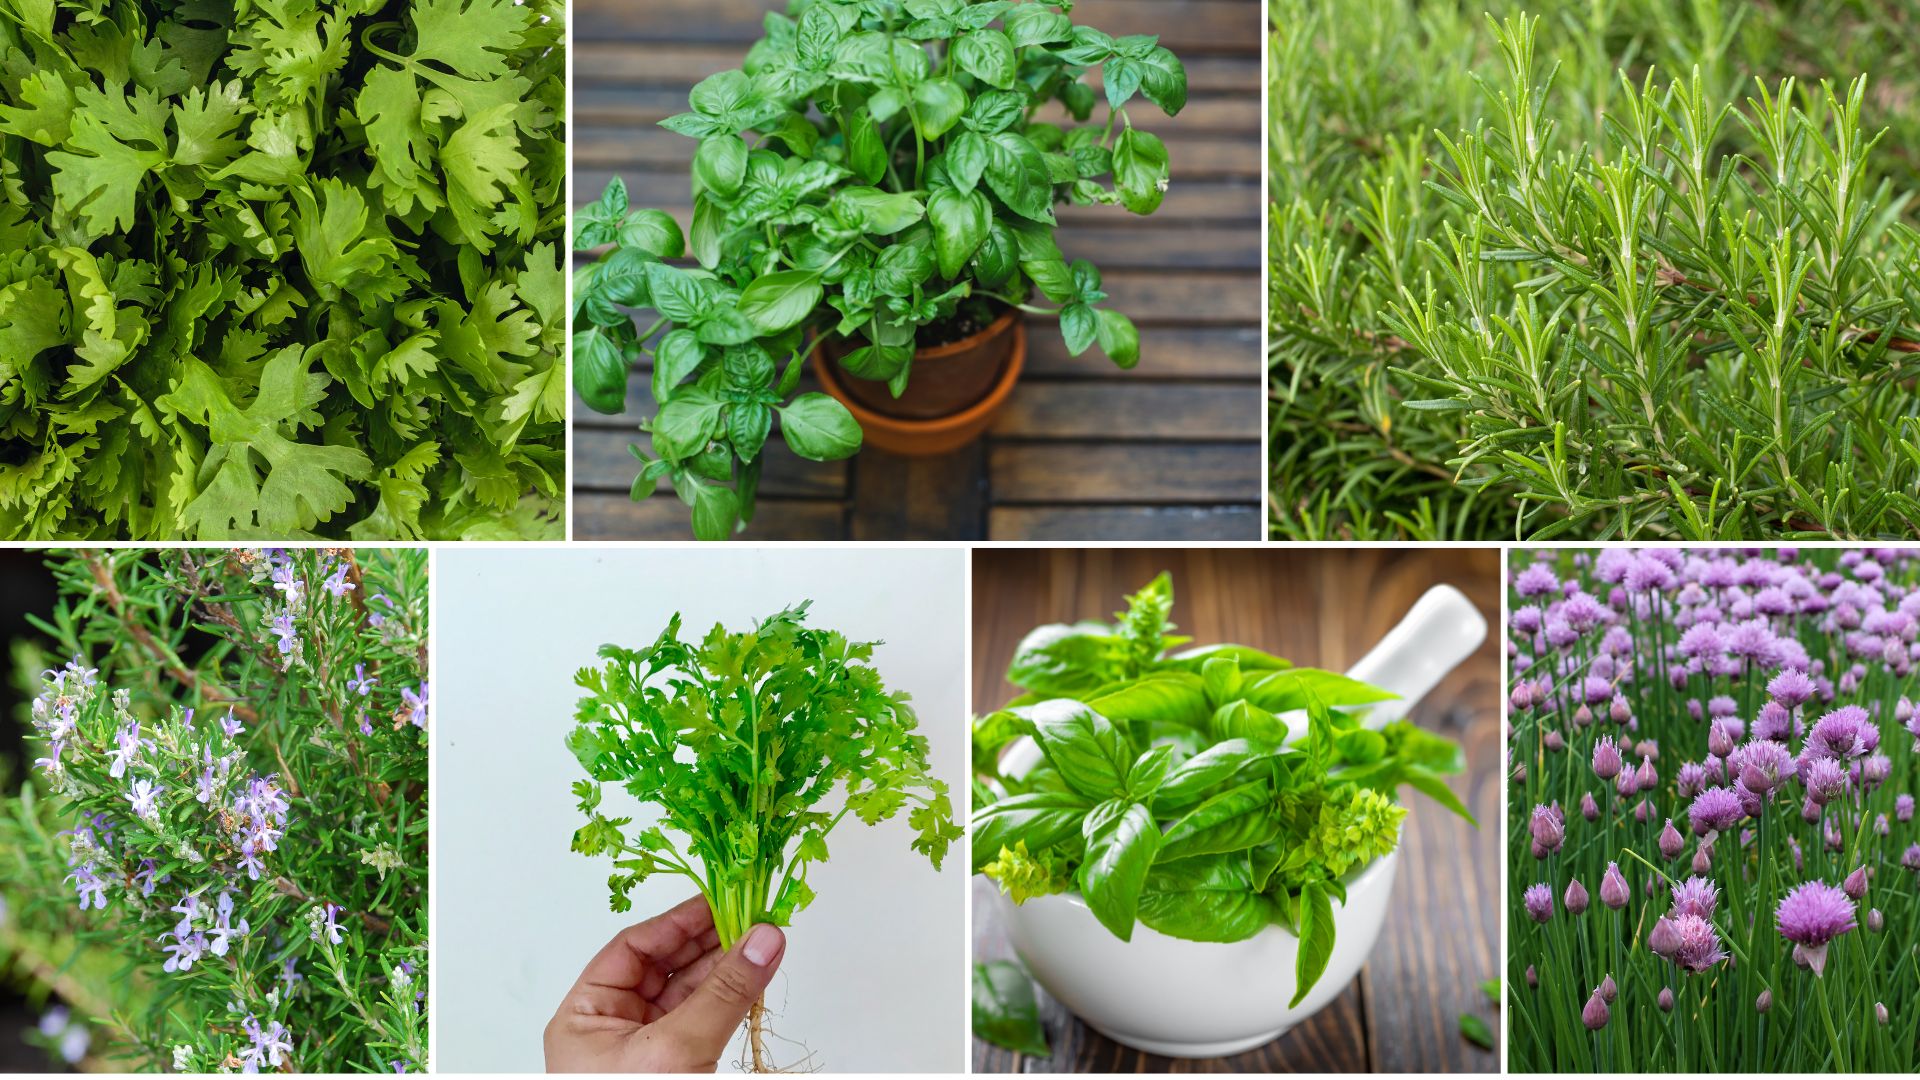
How many times have you opened your fridge and found at least one wilted packet of herbs you only recently bought? This is the main reason why many people decide on dried versions.
Well, what if I told you that you can have fresh herbs all the time with little effort? I’ll show you how to grow grocery store herbs in a few easy steps.
Starting your own indoor garden will save you money and time! And best of all, growing herbs indoors is fun and highly rewarding.
Let’s get started!
1. Choose The Right Herbs
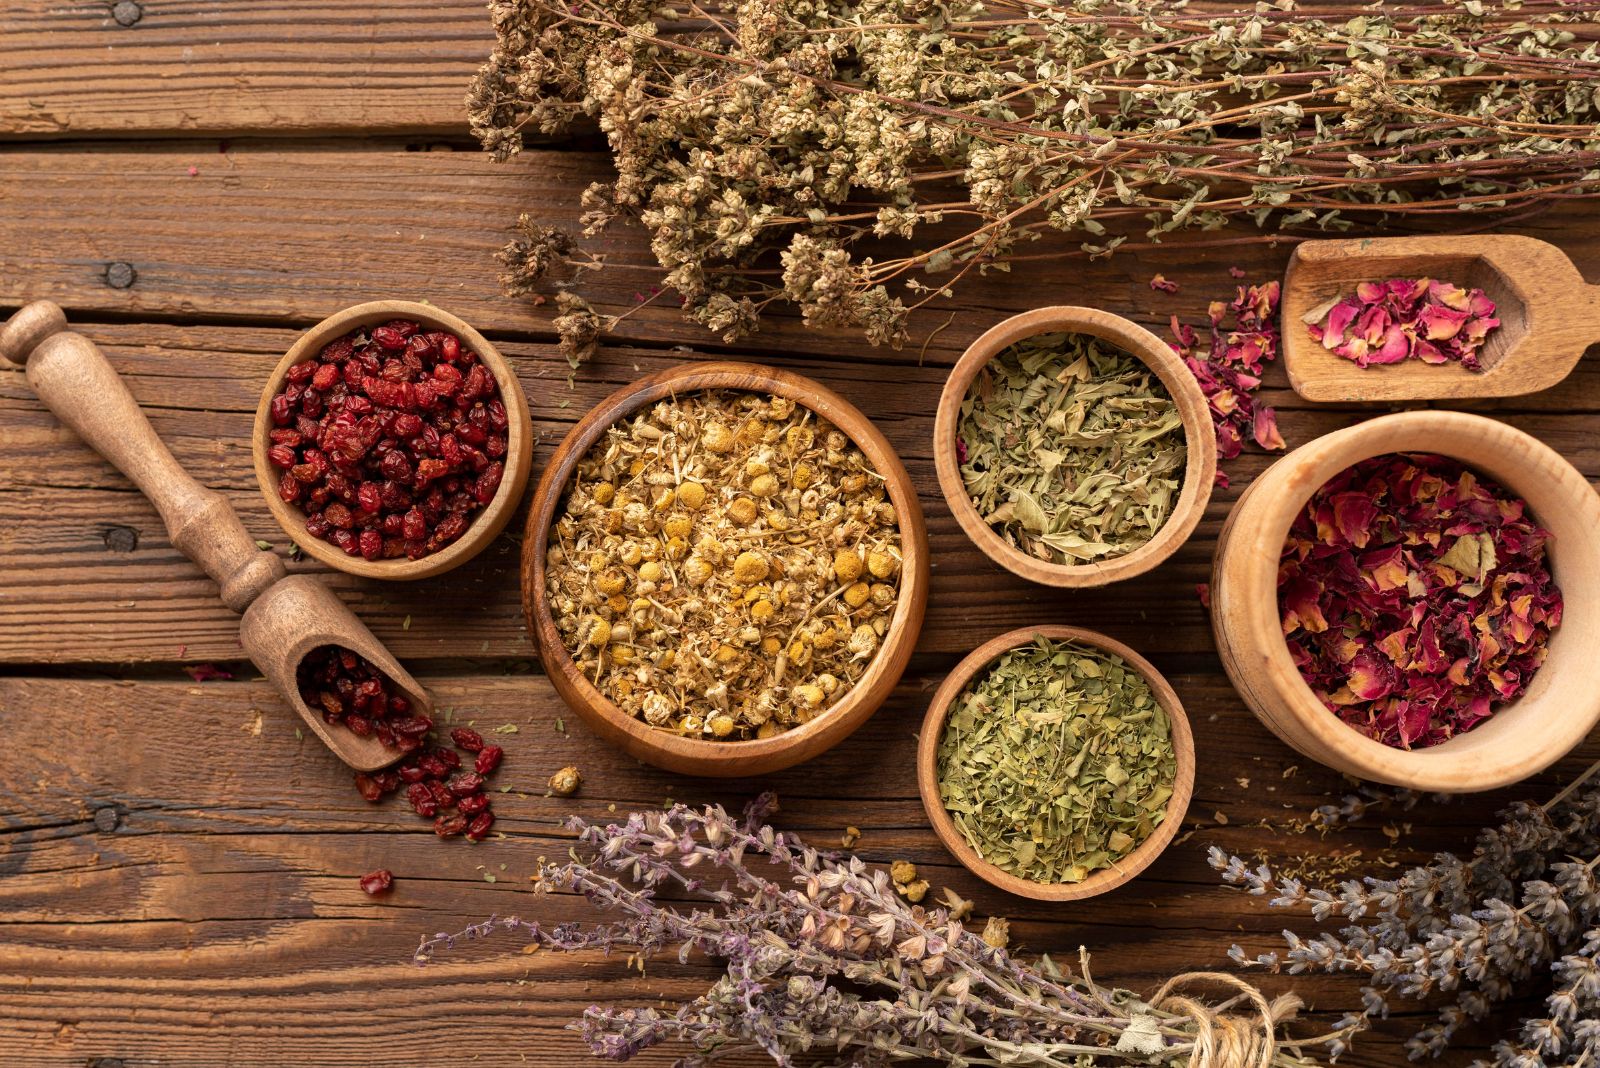
This is probably the hardest part of this journey. Remember that not every herb will thrive in your kitchen.
The main feature the herb you choose should have is good tolerance to environmental shock. Plants typically get stressed when transferred from one place to another, so your goal is to select species that can quickly recover.
Here’s a list of the most resilient and hardy herbs that will easily adapt to your indoor conditions:
• Sage
• Chives
• Rosemary
• Thyme
• Basil
• Coriander
2. Repot Them
Once you choose the herb and bring it to your home, leave it in the original pot for about 3-4 days. This way, you’ll help it adjust to new conditions.
During this short period of adaptation, keep the plant in bright indirect light and make sure it’s not exposed to drafts. You can mist the soil a little bit if you notice it’s entirely dry.
Now it’s time for repotting. Prepare a new pot preferably 2 inches larger in diameter, and make sure it has drainage holes and a saucer to collect excess water.
Carefully remove your herb from the pot and plant it in a new pot filled with potting mix.
3. Divide The Roots
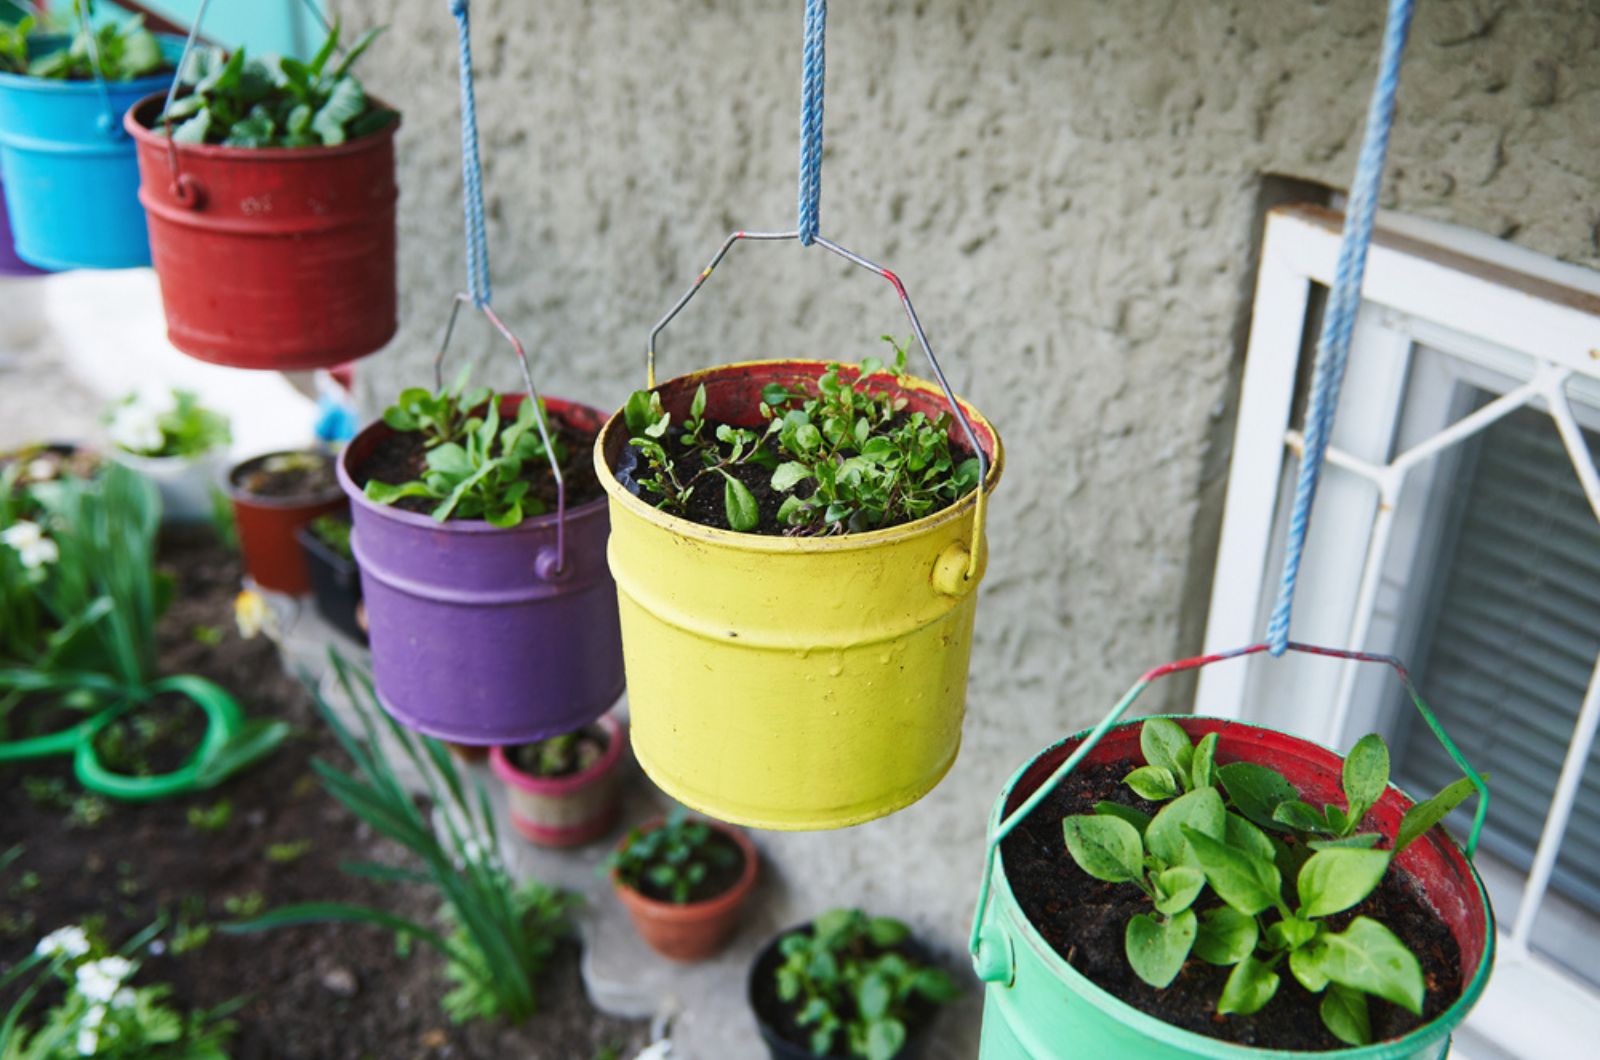
When it comes to grocery store herbs, you may be lucky enough to get more than one plant in the same container. However, you’ll need to divide them if you want them to develop further.
It would be best if you employed this technique in early spring or fall. Simply divide the root ball into sections and make sure each section has its own roots and stems.
You’ll notice that every root ball has natural points of separation, so there shouldn’t be any problems.
Plant each section into separate containers and enrich your indoor herb garden quickly and cost-effectively.
Growing herbs in containers actually often includes dividing the root system. We don’t use this method only to get new plants but rather to prevent overcrowding, which can significantly affect the health of plants.
4. Choose The Perfect Soil Mix
Once you get the best potting mix, everything becomes easier. You should go with soils that retain enough moisture and prevent excess water from accumulating at the same time. Additionally, your herbs will need a lot of nutrients in the soil to thrive.
I use standard potting soil and amend it with free-draining materials, such as coco coir, perlite, and horticultural sand. This mix ensures good airflow, which results in healthy development of the roots.
5. Ensure Enough Light And Water
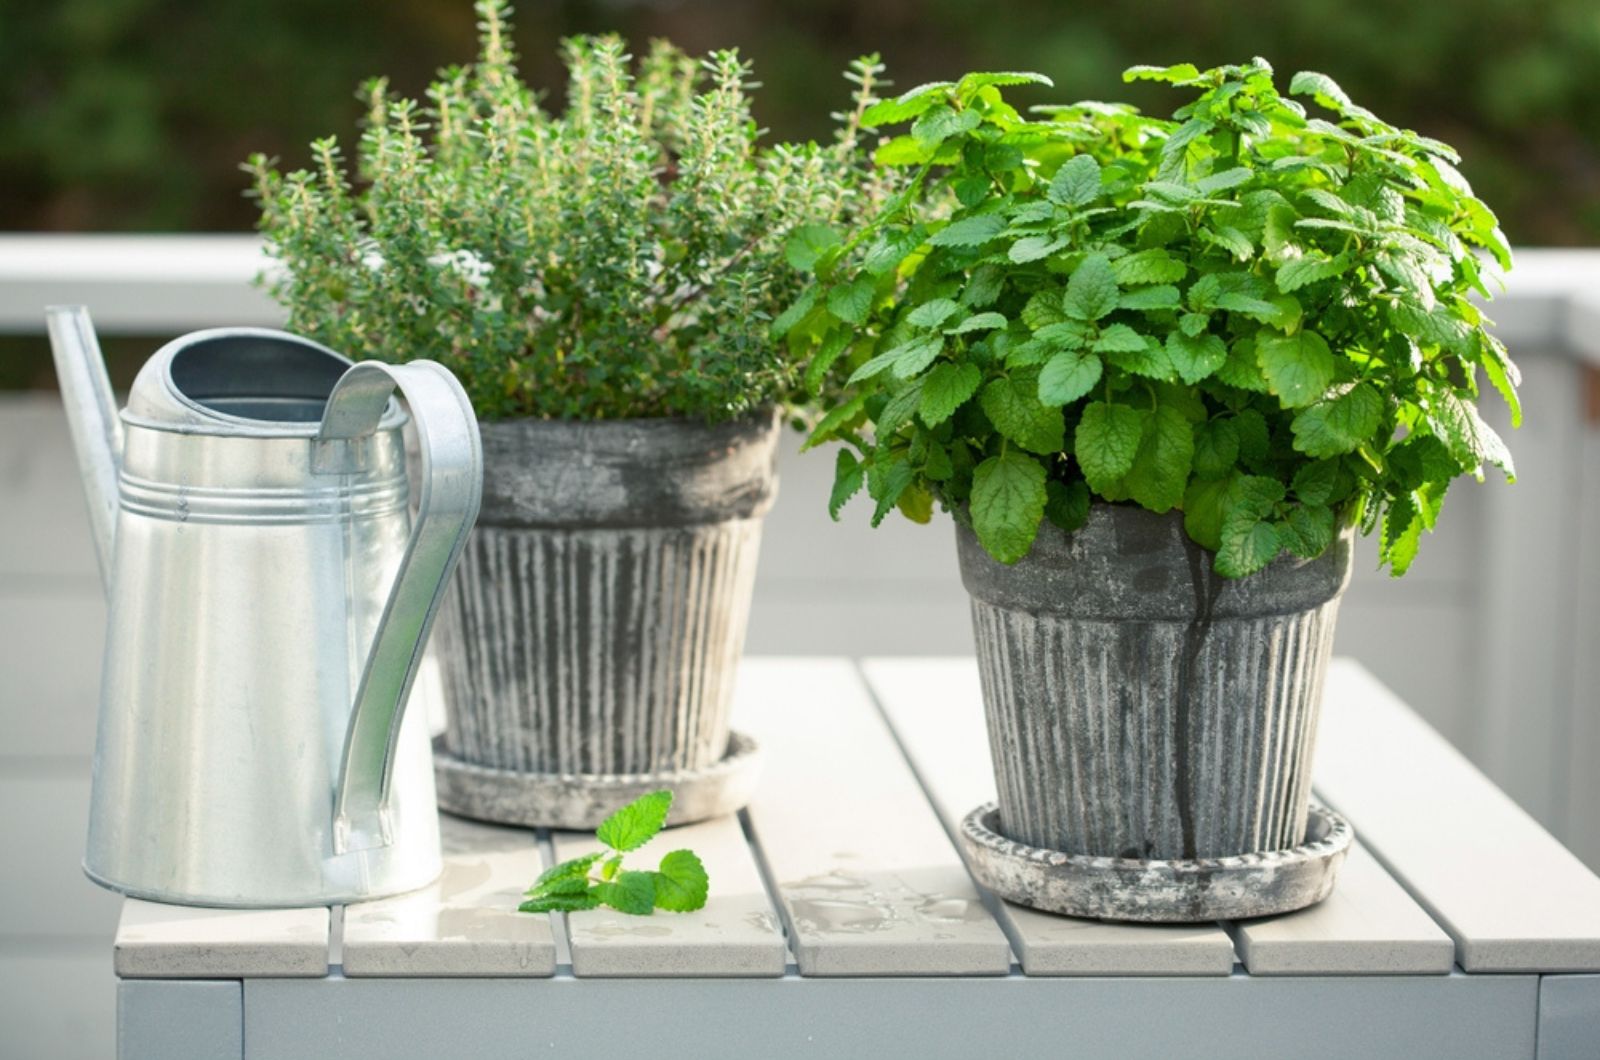
If you have successfully repotted your grocery store herbs, there are only 2 things left to make them thrive.
First, you need to ensure enough light so put your herbs somewhere they can get a lot of bright indirect light. Remember that harsh sun rays may scorch plant leaves so protect your herbs during the hottest parts of the day at all costs.
Herbs such as thyme, rosemary, and chives thrive if exposed to direct sunlight but only in the morning.
The second, and probably the most challenging aspect of indoor herb care, is watering. The key to healthy herbs is maintaining moist soil while not allowing the excess water to accumulate in the growing medium.
The potting mix I showed you above will help you avoid watering issues. Just add water approximately every 3-4 days, and you’ll have flourishing herbs in no time.
Should You Move Herbs Outdoors?
Even though herbs are mainly grown outdoors, you can keep them indoors after repotting. Of course, this applies to herbs that live in suitable conditions; warm temperatures, enough light, and space to spread.
Those growers who live in moderate climates can keep their herbs outdoors during spring and summer and take them back indoors when fall approaches.
These plants grow taller when grown outdoors but bear in mind that pests become more frequent visitors in this case.
Growing Herbs In Pots vs In Ground
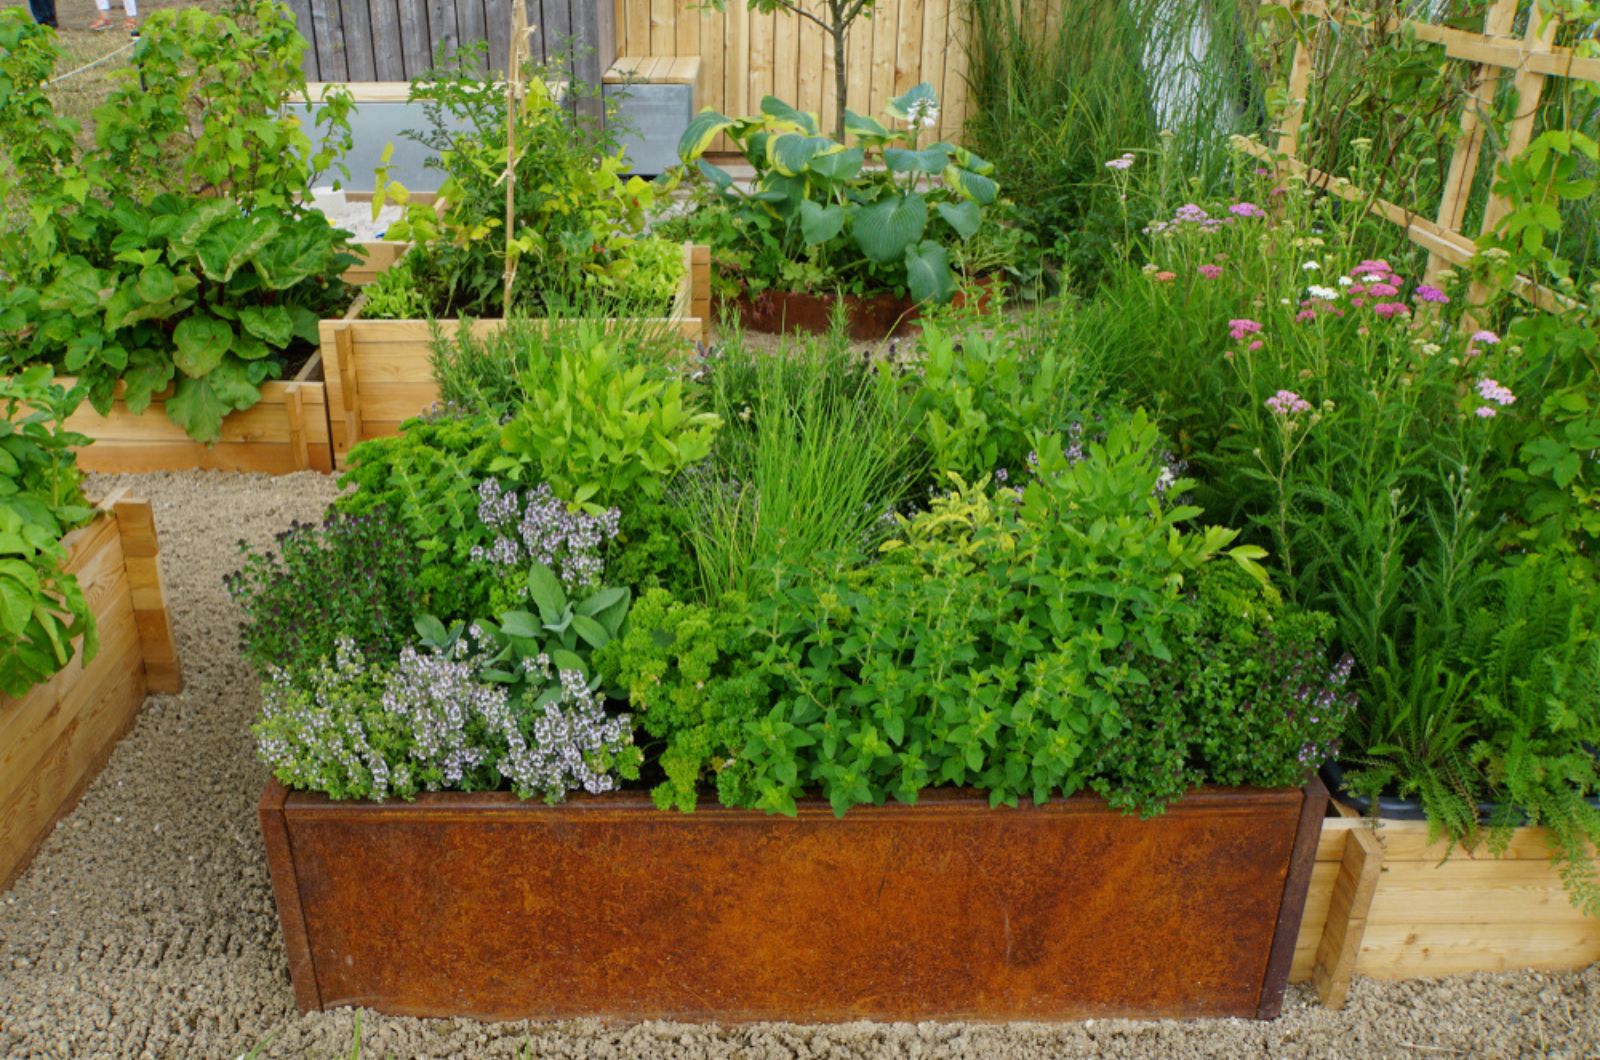
Indoor-grown herbs aren’t as resistant to cool temperatures when transplanted as ones grown directly in the ground.
Freezing temperatures and heavy rain may cause way more damage to herbs started indoors. For instance, basil is more likely to wilt if it’s first established in a pot and then transferred to the garden.
On the other hand, one of the biggest benefits of pot-grown herbs is their ease of relocation. If you live in cooler climates, in-ground herbs may face severe issues because of temperature fluctuations.
Some growers plant their herbs in the ground in spring then transfer them into pots in the fall and keep them indoors during cold months.
I plant cold-resistant herbs, such as oregano and sage, in the ground while my mint and basil stay potted year round.
The most important thing is that your herbs, including grocery store herbs, will thrive as long as they have enough sun, warmth, and space. Simply follow our guidelines and fresh chives, rosemary, oregano, mint, or thyme will be available all the time!


