How To Grow Mint Easily In Plastic Bottles In Oregon
Mint is one of those herbs that every gardener wants until they plant it directly in the ground and spend the next three years watching it take over everything within a five foot radius. It’s aggressive, it’s relentless, and it has absolutely zero respect for boundaries.
The good news is that there’s a way to grow it that keeps all the flavor and none of the chaos. Plastic bottles are having a serious moment in the gardening world, and for good reason.
They’re free, they’re everywhere, and they turn out to be a surprisingly effective container for growing mint in a controlled, manageable way.
This method works especially well in Oregon, where gardeners are always looking for creative ways to extend the season, maximize small spaces, and keep herbs productive without a ton of extra effort.
Simple, sustainable, and genuinely clever. Growing mint has never been this easy or this tidy.
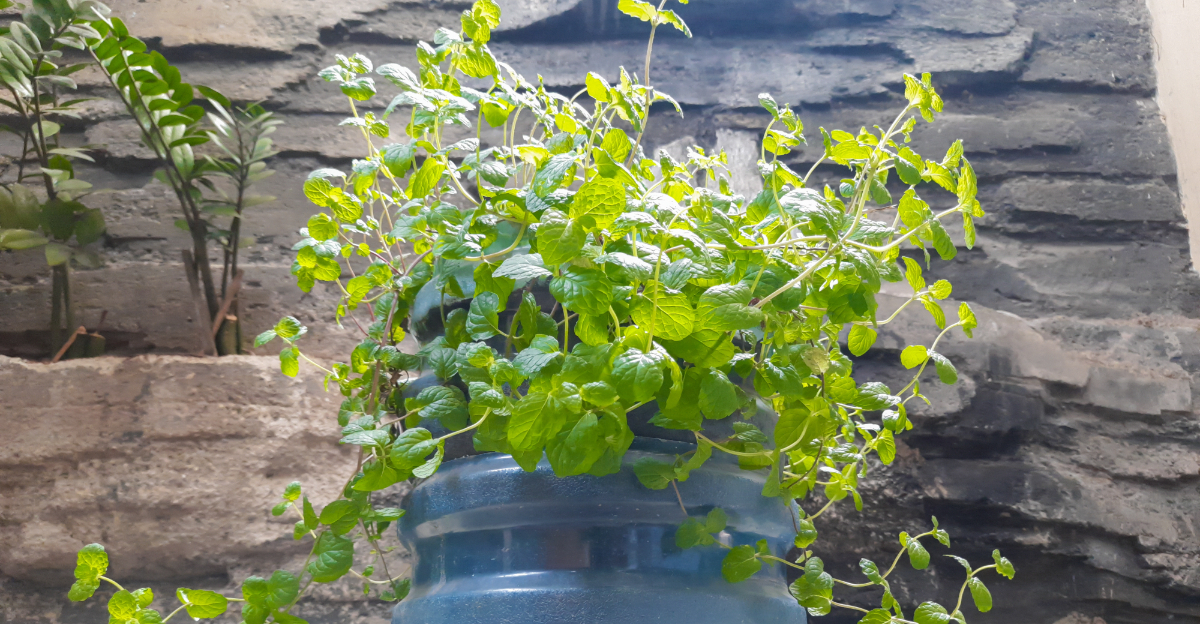
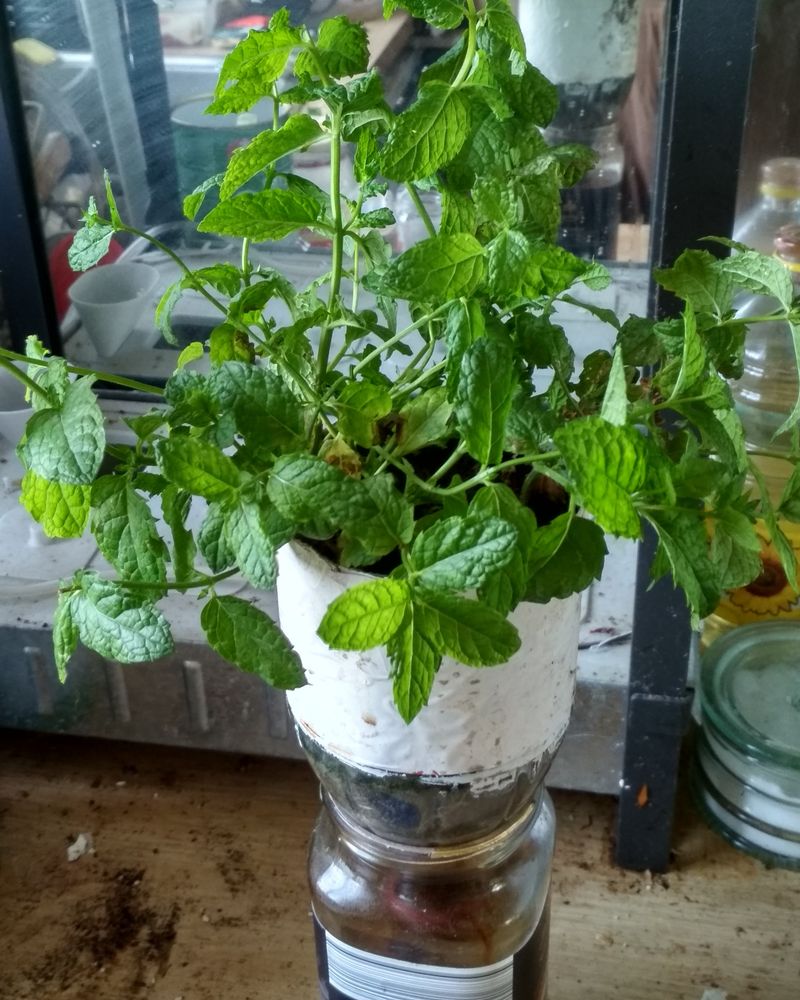
1. Choose The Right Bottle
Not all plastic bottles are created equal, and picking the right one can make a big difference in how well your mint grows. For the best results, go with a bottle that holds between one and two liters.
Bigger bottles give the roots more space to spread out, which means a healthier and fuller plant over time.
Transparent or semi-clear bottles are a smart choice because you can actually see the roots growing and check the moisture level of the soil without digging around. This is especially handy for beginners who are still learning how to water properly.
In Oregon, where spring rains can be unpredictable, being able to monitor your soil is a real advantage.
Make sure the bottle is clean before you start. Rinse it out well to remove any leftover soda, juice, or other residue.
Old residue can affect the soil chemistry and mess with your plant’s health. A quick wash with warm soapy water followed by a good rinse is all you need.
Starting with a clean bottle sets your mint up for the strongest possible beginning right from day one.
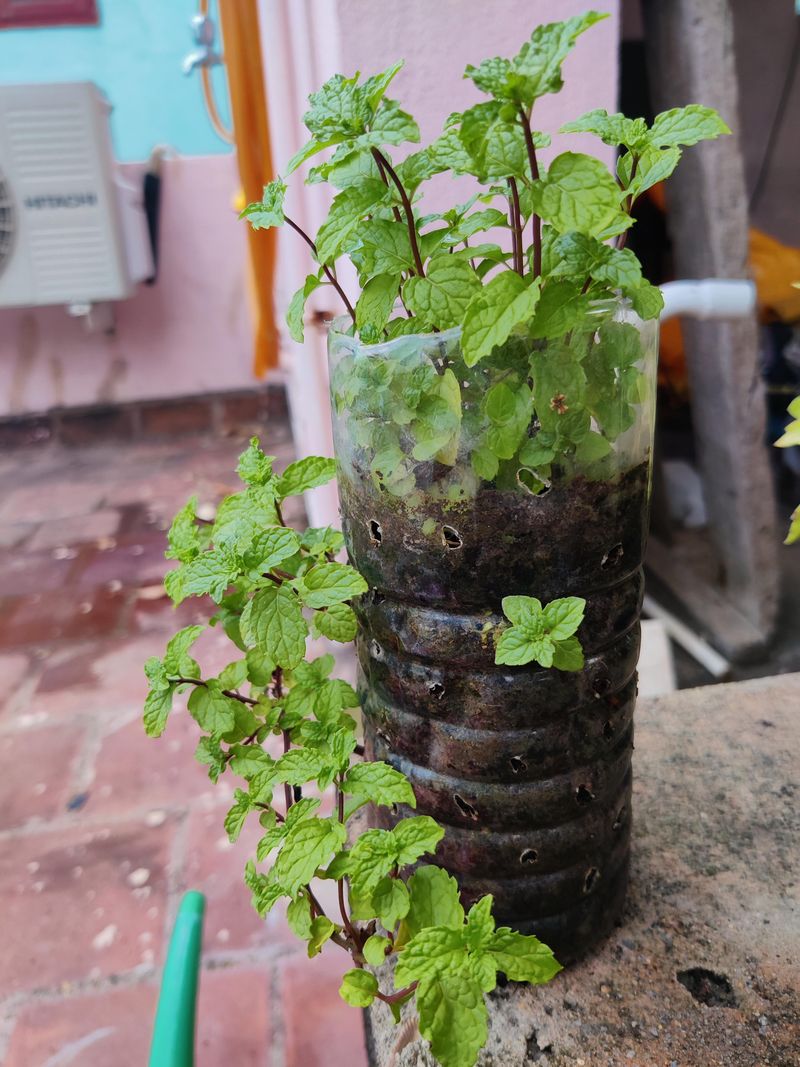
2. Add Proper Drainage Holes
Mint loves moisture, but sitting in soggy soil is a fast track to root rot. That is why drainage holes are absolutely non-negotiable when growing mint in plastic bottles.
Without them, water pools at the bottom and suffocates the roots over time. Luckily, adding drainage is super easy and only takes a minute or two.
Use a heated nail, a sharp skewer, or a small drill bit to punch four to six small holes in the very bottom of the bottle. You want the holes to be big enough to let water drip out freely but small enough to keep the soil from falling through.
If you are using a two-part bottle setup where the top is inverted into the bottom, make sure water can still flow freely between the sections.
Oregon gardeners know that even during dry summer months, overwatering is a common mistake. Proper drainage takes the guesswork out of watering and protects your mint from one of the most common problems new gardeners face.
Your Oregon Garden Changes Every Week. Your Plan Should Too.
Gardening in Oregon changes quickly throughout the season. Every Friday you’ll receive a simple weekly plan showing exactly what to plant, prune, fertilize, harvest, and protect so you never miss the right timing.
Once your holes are in place, set the bottle on a small tray or dish to catch any runoff. Your mint will thank you with lush, healthy growth all season long.
3. Use Light, Rich Soil
The soil you choose is just as important as the container itself. Mint thrives in a light, well-draining mix that holds just enough moisture without becoming heavy or compacted.
A standard all-purpose potting mix works well, but adding a small amount of perlite and compost takes it to the next level.
Perlite improves drainage and keeps the soil from clumping together, while compost adds natural nutrients that feed the plant over time. Aim for a mix that feels fluffy and crumbles easily in your hand.
Avoid using heavy garden soil straight from the ground, because it tends to compact inside small containers and can block drainage.
In Oregon, the natural soil varies widely depending on where you live. The Willamette Valley has rich loam, while coastal areas tend to have sandier soil.
Since you are growing in a bottle, none of that really matters because you are creating your own perfect environment. Fill the bottle to about an inch below the rim to leave room for watering.
A good soil foundation means your mint will establish quickly, grow vigorously, and produce plenty of fragrant leaves for you to enjoy throughout the growing season.
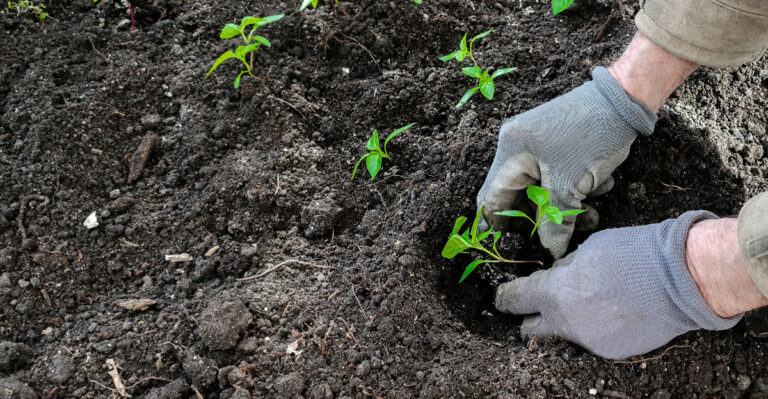
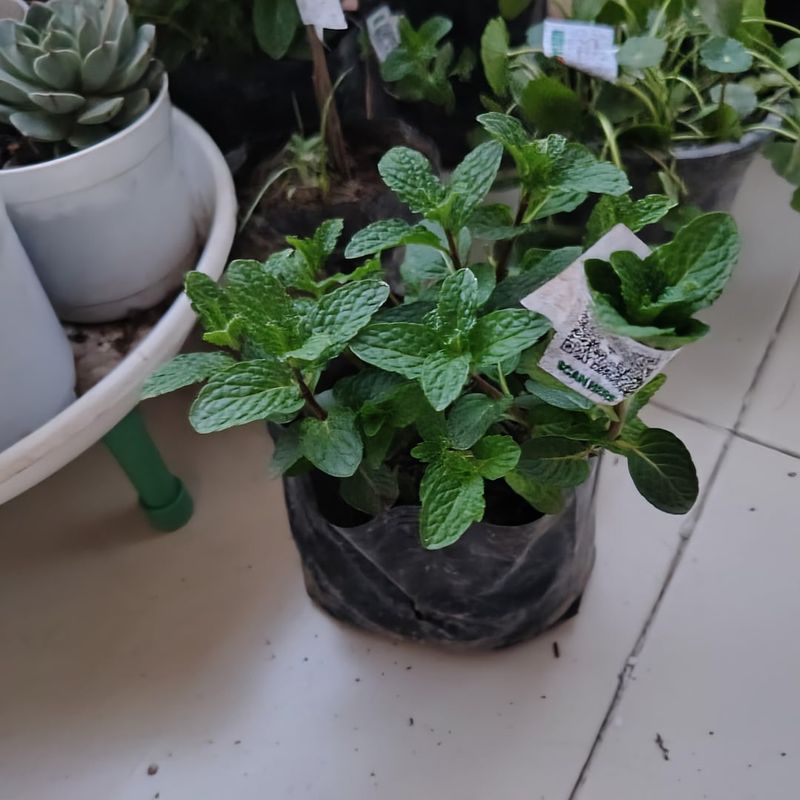
4. Plant Mint Cuttings Or Starts

Starting mint from cuttings is one of the easiest and most satisfying ways to grow this herb. Head to a local Oregon nursery or ask a neighbor with a thriving mint plant for a few healthy stems.
Look for stems that are about four to six inches long, free from yellowing leaves, and showing no signs of pests.
Once you have your cuttings, strip the lower leaves off so only the top few remain. Place the bare stems in a glass of water and set them in a bright spot indoors.
Within two to five days, you will start to see tiny white roots forming at the base. That is your cue to plant them in your prepared bottle.
Gently push the rooted cutting into the soil so the roots are fully covered and the leafy top sticks up above the surface. Press the soil lightly around the base to hold the cutting in place.
You can also use starter plants from a garden center if you want to skip the rooting step entirely. Either way, mint establishes quickly and will begin putting out new growth within just a week or two of being planted in Oregon’s favorable spring climate.
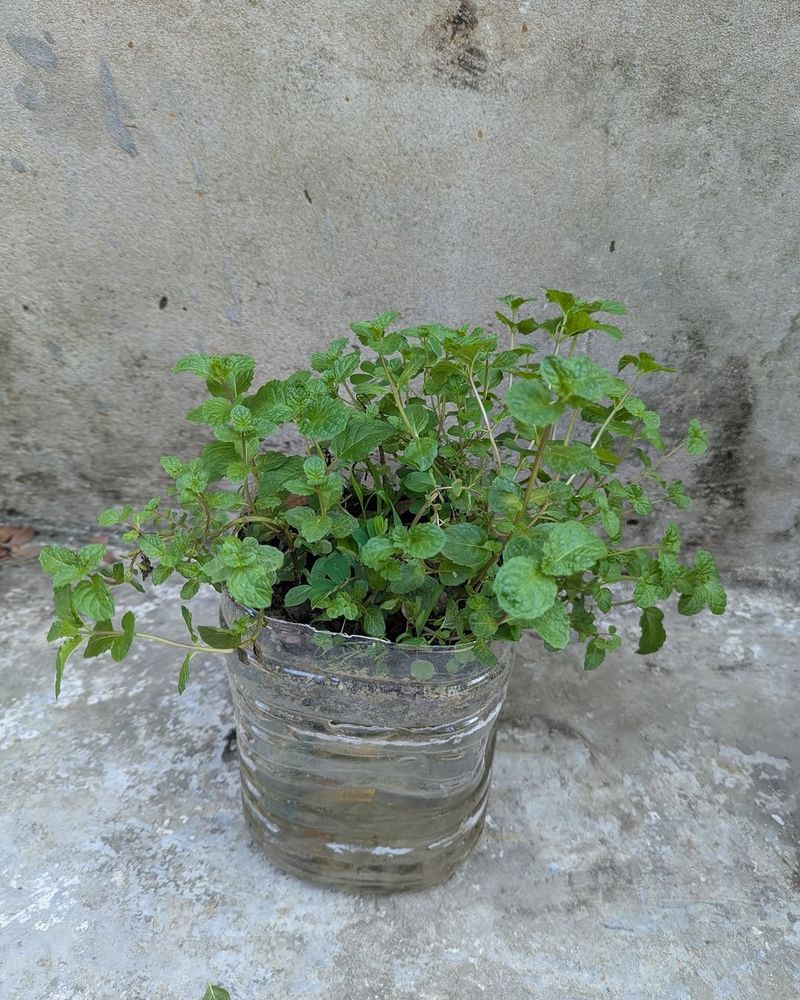
5. Place Bottles In Bright Light
Sunlight is the engine that drives your mint’s growth. Mint does best with around four to six hours of bright light each day, making a south or east-facing windowsill a perfect spot indoors.
If you are growing your bottles outside, a porch, balcony, or raised surface that gets good morning sun works wonderfully.
Oregon’s weather can be a bit cloudy, especially from fall through early spring. During those grayer months, consider moving your bottles to the brightest window in your home or using a small grow light to supplement natural light.
Even a basic LED grow light can make a noticeable difference in how quickly and fully your mint grows during the darker seasons in cities like Portland or Salem.
One thing to watch out for is harsh afternoon sun during Oregon’s warmer summer months. Too much direct midday heat can stress the plant and cause the leaves to wilt or turn brown at the edges.
Bright, indirect light during the hottest part of the day is the sweet spot. Rotate your bottles every few days so all sides of the plant get equal light exposure.
This simple habit leads to more even, balanced growth that looks great and produces more harvestable leaves.
6. Water Without Overdoing It
Watering mint sounds simple, but getting it right is one of the most important skills to develop as a bottle gardener. Mint likes consistently moist soil, but it does not want to sit in water.
The goal is to keep the soil damp, kind of like a wrung-out sponge, not soaking wet and not bone dry.
A good rule of thumb is to stick your finger about an inch into the soil. If it feels dry at that depth, it is time to water.
If it still feels moist, wait another day and check again. In Oregon, rainfall can sometimes do the watering for you during spring and fall, so keep an eye on the forecast before reaching for the watering can.
During hot Oregon summers, you may need to water every one to two days, especially if your bottles are sitting outside in direct sun. During cooler months, watering every three to four days is usually enough.
Always water slowly and evenly so the moisture reaches all the roots. Using room-temperature water is a small but helpful detail, as very cold water can temporarily shock the roots and slow down new growth.
Consistent watering leads to consistently happy mint.
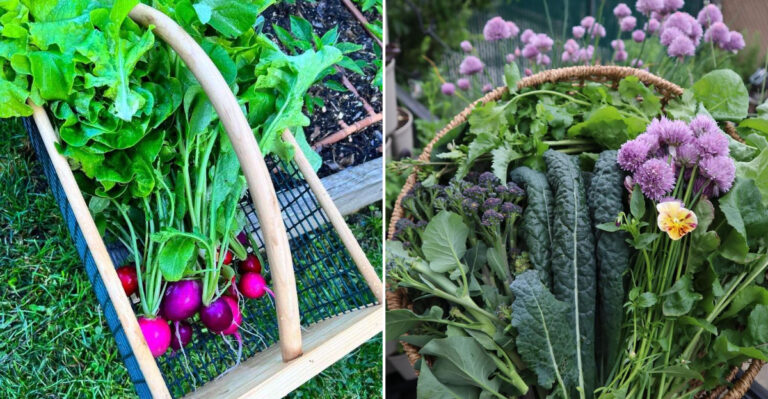
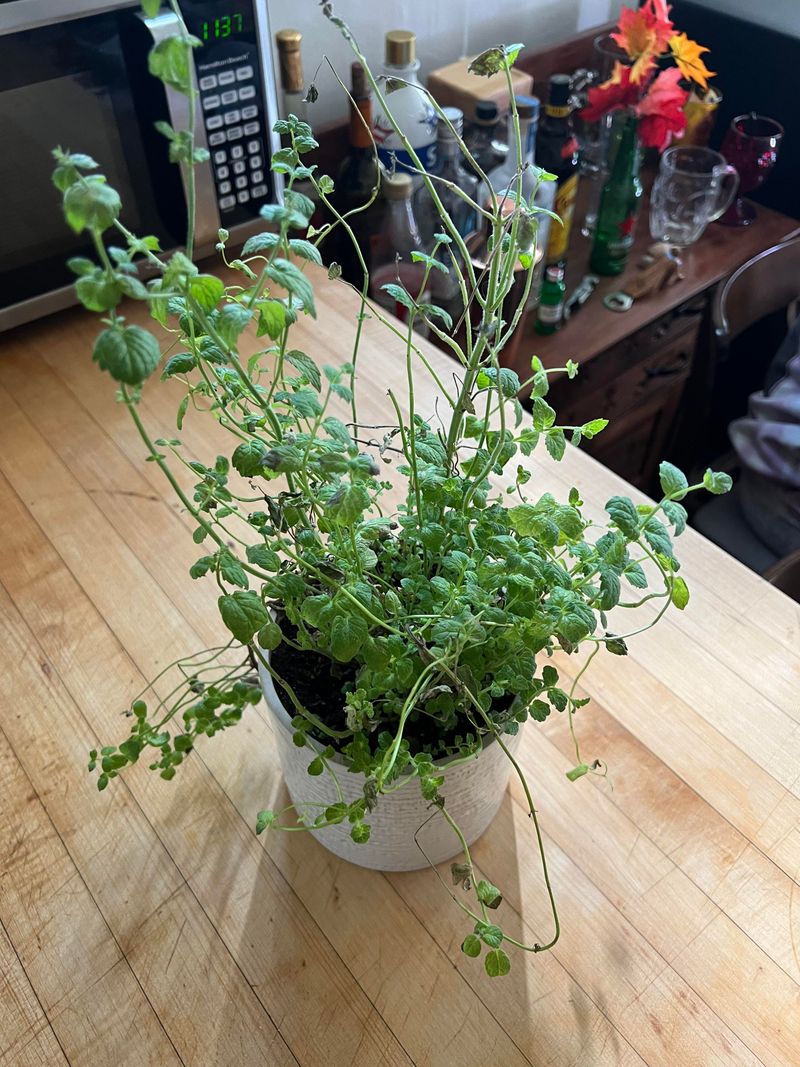
7. Harvest Often For Bushy Growth
Here is a fun gardening fact: the more you harvest mint, the more it grows. Regularly snipping stems and leaves actually encourages the plant to branch out and become fuller and bushier over time.
Letting it grow wild without trimming often leads to long, leggy stems with fewer leaves, which is the opposite of what you want.
Wait until your mint plant is at least four to six inches tall before you start harvesting. Use clean scissors or garden snips to cut stems just above a leaf node, which is the point where leaves meet the stem.
Never remove more than one-third of the plant at a single time. This keeps the plant healthy and strong while still giving you a good handful of fresh herb to use in your kitchen or tea.
In Oregon, the mint growing season typically runs from late spring through early fall. During peak summer, you can harvest every week or two.
The more you snip, the more the plant rewards you with thick, fragrant growth. Use your fresh Oregon-grown mint in iced teas, mojitos, salads, or even as a natural air freshener around your home.
Regular harvesting is truly the secret to keeping your bottle mint lush, productive, and beautiful all season long.