How To Grow More Lavender From Cuttings In Georgia Gardens
Lavender is one of those plants that makes gardeners oddly protective once it finally starts thriving. Getting a healthy plant through
Georgia humidity already feels like a win, so the idea of turning one good lavender plant into several more is hard to resist.
The best part is that cuttings usually root much faster than most people expect when timing and conditions are right.
A strong parent plant can produce plenty of new starts without spending extra money at the garden center every season.
Watching tiny cuttings slowly push fresh growth is also a lot more satisfying than buying another small plant in a plastic pot and hoping it survives summer.
The tricky part is that lavender does not always behave the same way in humid climates as it does in drier regions. Small mistakes during propagation show up quickly once moisture and heat start building outdoors.
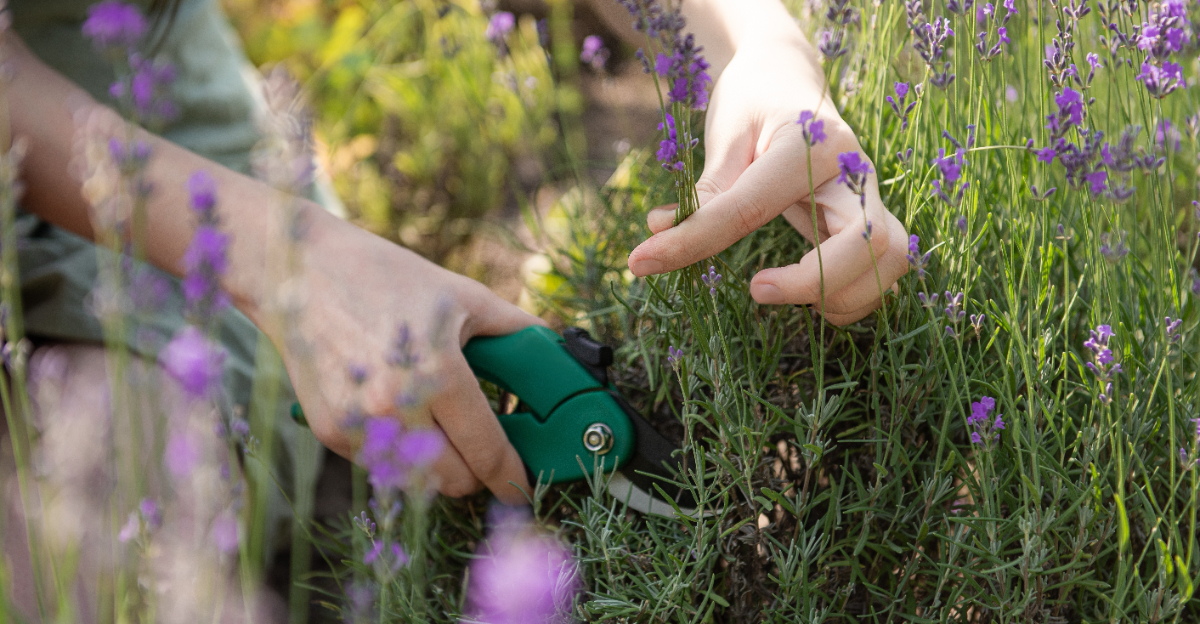
1. Take Soft Stem Cuttings Before Summer Heat Peaks

Timing is everything with lavender cuttings. Soft stem cuttings taken in late spring give roots the best chance to develop before the brutal summer heat sets in.
Look for stems that are green and flexible, not woody or stiff. Woody stems root much more slowly and often fail.
Soft new growth from the current season works best.
Aim for stems that are about 3 to 4 inches long. Each cutting should have at least two or three sets of leaves near the top.
Avoid stems with open flowers since blooming stems put energy into flowers rather than roots.
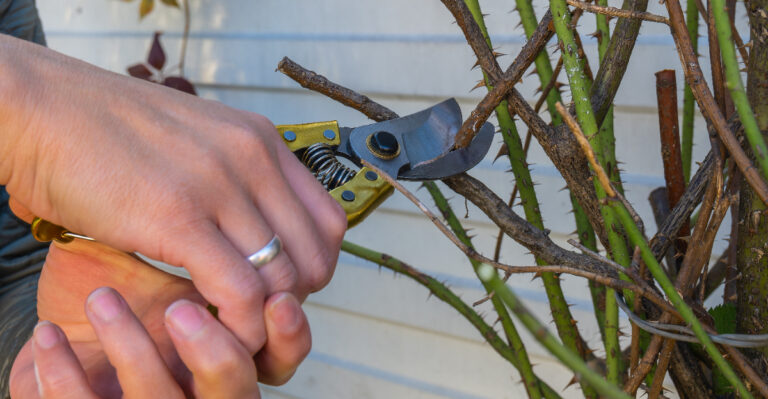
Use clean, sharp scissors or pruning shears. A clean cut reduces the risk of disease spreading from one plant to another.
Take cuttings in the early morning when the plant is well hydrated. Stems cut during the heat of the day tend to wilt quickly before they even reach the pot.
Morning cuttings stay fresh longer and root more reliably.
Plan to take a few extra cuttings than you actually need. Not every cutting will root successfully, and having backups saves frustration.
2. Remove The Lower Leaves Before Planting

Bare stems root far better than leafy ones. Stripping the lower leaves before planting is a small step that makes a big difference in how well your cuttings take hold.
Leaves left below the soil line will rot. Rotting leaves create conditions that hurt the stem before roots even have a chance to form.
Keep only the top cluster of leaves and remove everything below.
Pinch the lower leaves off with your fingers or use small scissors. Be gentle so you do not tear the stem.
A torn stem is more vulnerable to disease than a clean pinch or cut.
Leave roughly an inch to an inch and a half of bare stem at the bottom. That bare section is where the roots will emerge.
More exposed stem means more surface area for root development.
Some gardeners also scrape the bottom half-inch of the stem lightly with a knife before planting. This technique, called wounding, can speed up rooting by exposing more of the inner stem tissue.
Your Georgia Garden Changes Every Week. Your Plan Should Too.
Gardening in Georgia changes quickly throughout the season. Every Friday you’ll receive a simple weekly plan showing exactly what to plant, prune, fertilize, harvest, and protect so you never miss the right timing.
It is optional but worth trying if your cuttings have been slow to root in the past.
After stripping the leaves, dip the cut end into rooting hormone powder or gel. Rooting hormone is not required, but it does boost success rates noticeably.
3. Use Fast-Draining Soil To Prevent Rot

Wet, heavy soil is the fastest way to lose lavender cuttings. Lavender roots need air as much as they need moisture, and dense soil suffocates them before they get started.
Mix equal parts coarse sand and perlite with a small amount of regular potting mix. That ratio keeps the soil light, airy, and well-draining.
Lavender naturally grows in lean, rocky soil in the wild, so replicating that matters.
Avoid using straight potting mix from the bag. Most commercial mixes hold too much water for lavender cuttings.
Adding perlite or coarse sand loosens the texture and improves drainage significantly.
Small terracotta pots work better than plastic containers for this stage. Terracotta breathes through its walls, which helps excess moisture escape.
Plastic traps moisture and raises the risk of stem rot.
Fill the pot to about an inch below the rim. Use a pencil or stick to create a small hole before inserting the cutting.
Pushing the stem directly into dry, gritty mix without a guide hole can damage the cut end.
Make sure every pot has drainage holes at the bottom. Standing water at the base of the pot is just as damaging as waterlogged soil at the top.
Elevating the pot slightly on feet or a tray allows water to flow out freely.
4. Keep Cuttings In Bright Indirect Light

Direct sun will stress a cutting that has no roots yet. Without roots to pull up water, a cutting sitting in full sun dries out faster than it can recover.
Bright indirect light hits the sweet spot. Think of a spot that gets morning sun and afternoon shade, or a covered porch where light filters through without baking the plants.
That kind of light keeps the cutting active without pushing it past its limits.
A north-facing or east-facing windowsill works well if you are rooting cuttings indoors. West and south-facing windows tend to get too intense during afternoon hours.
A sheer curtain can soften the light if those are the only options available.
Outdoor spots under a tree canopy or along the shaded side of a fence are great choices in summer. Dappled light from overhead leaves provides enough brightness without the scorching intensity of open-sky exposure.
Just make sure air circulation is decent to prevent moisture buildup around the stems.
Rotate the pots every couple of days if they are near a window. Rotating keeps all sides of the cutting exposed to equal light.
Uneven light causes lopsided growth and can weaken the stem on the shaded side.
Avoid placing cuttings in deep shade.
5. Water Lightly Without Soaking The Soil

Overwatering is one of the most common mistakes people make with lavender cuttings. A little moisture goes a long way during the rooting stage.
Water just enough to dampen the top layer of soil. The goal is consistent, light moisture rather than soaking the entire pot through.
Soggy soil stays cold and oxygen-poor, which slows root growth.
Check the soil before each watering by pressing your fingertip about an inch into the mix. If it still feels slightly damp, wait another day.
Only water when the top inch feels dry to the touch.
A small watering can with a fine rose head works better than pouring water directly from a cup. Fine droplets settle evenly into the soil without displacing the cutting or compacting the surface.
Gentle application keeps the cutting stable in the pot.
Misting the leaves lightly once a day can also help during the first week. Cuttings without roots absorb some moisture through their leaves.
A light mist in the morning gives the cutting a small boost while the roots are still forming.
Avoid misting in the evening. Leaves that stay wet overnight are more prone to fungal issues, especially during humid stretches.
Morning misting gives leaves time to dry off before nightfall.
6. Watch For New Growth Before Transplanting

Patience is a real skill in propagation. Moving a cutting before it has established roots often sets the whole process back to square one.
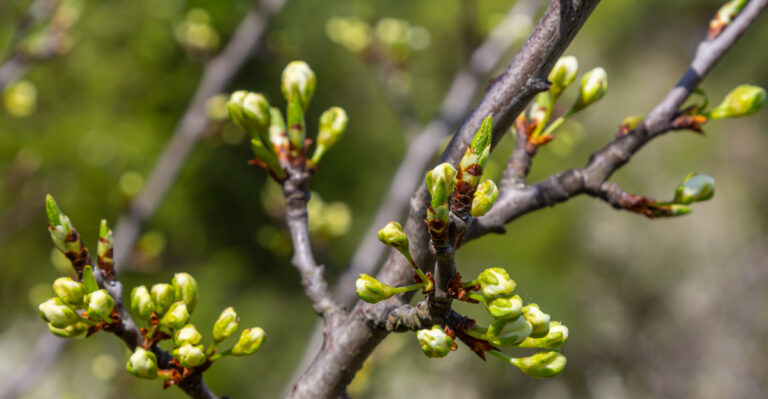
New leaf growth is the clearest sign that roots have formed. When a cutting pushes out fresh green buds or small new leaves, it means the root system below is active and working.
That is your green light to think about transplanting.
Another reliable test is the gentle tug method. Grip the base of the cutting lightly and give it a very soft tug.
If it resists and holds firm in the soil, roots have anchored. If it slides out easily, it needs more time.
Most lavender cuttings taken in late spring will show visible new growth within three to six weeks under good conditions. That window can shift depending on temperature, light, and humidity.
Do not rush the process just because a few weeks have passed.
Check the drainage holes at the bottom of the pot. Small white roots poking through the holes are a great sign.
Visible roots at the base confirm the cutting is ready for a larger home.
7. Move Rooted Lavender Into Full Sun Gradually

Rooted lavender is tough, but sudden exposure to full sun after weeks in shade can shock even a healthy plant. A gradual transition protects the progress you have made.
Start by moving the rooted cutting to a spot that gets about two to three hours of direct morning sun. Keep it there for three to four days.
Morning sun is gentler and gives the plant time to adjust without intense heat stress.
After that first stretch, increase sun exposure by an hour or two each day. Work toward full sun over the course of one to two weeks.
Slow transitions let the leaves toughen up and adapt to brighter, more intense conditions.
Watch for wilting during the transition. A little afternoon droop is normal as the plant adjusts.
If wilting is severe or lasts into the next morning, move the plant back to partial shade for a few more days before trying again.
Once the plant handles a full day of sun without wilting, it is ready for its permanent spot in the garden bed. Choose a location with at least six to eight hours of direct sunlight daily.
Lavender planted in Georgia gardens thrives in open, sunny beds with excellent drainage and good air circulation.