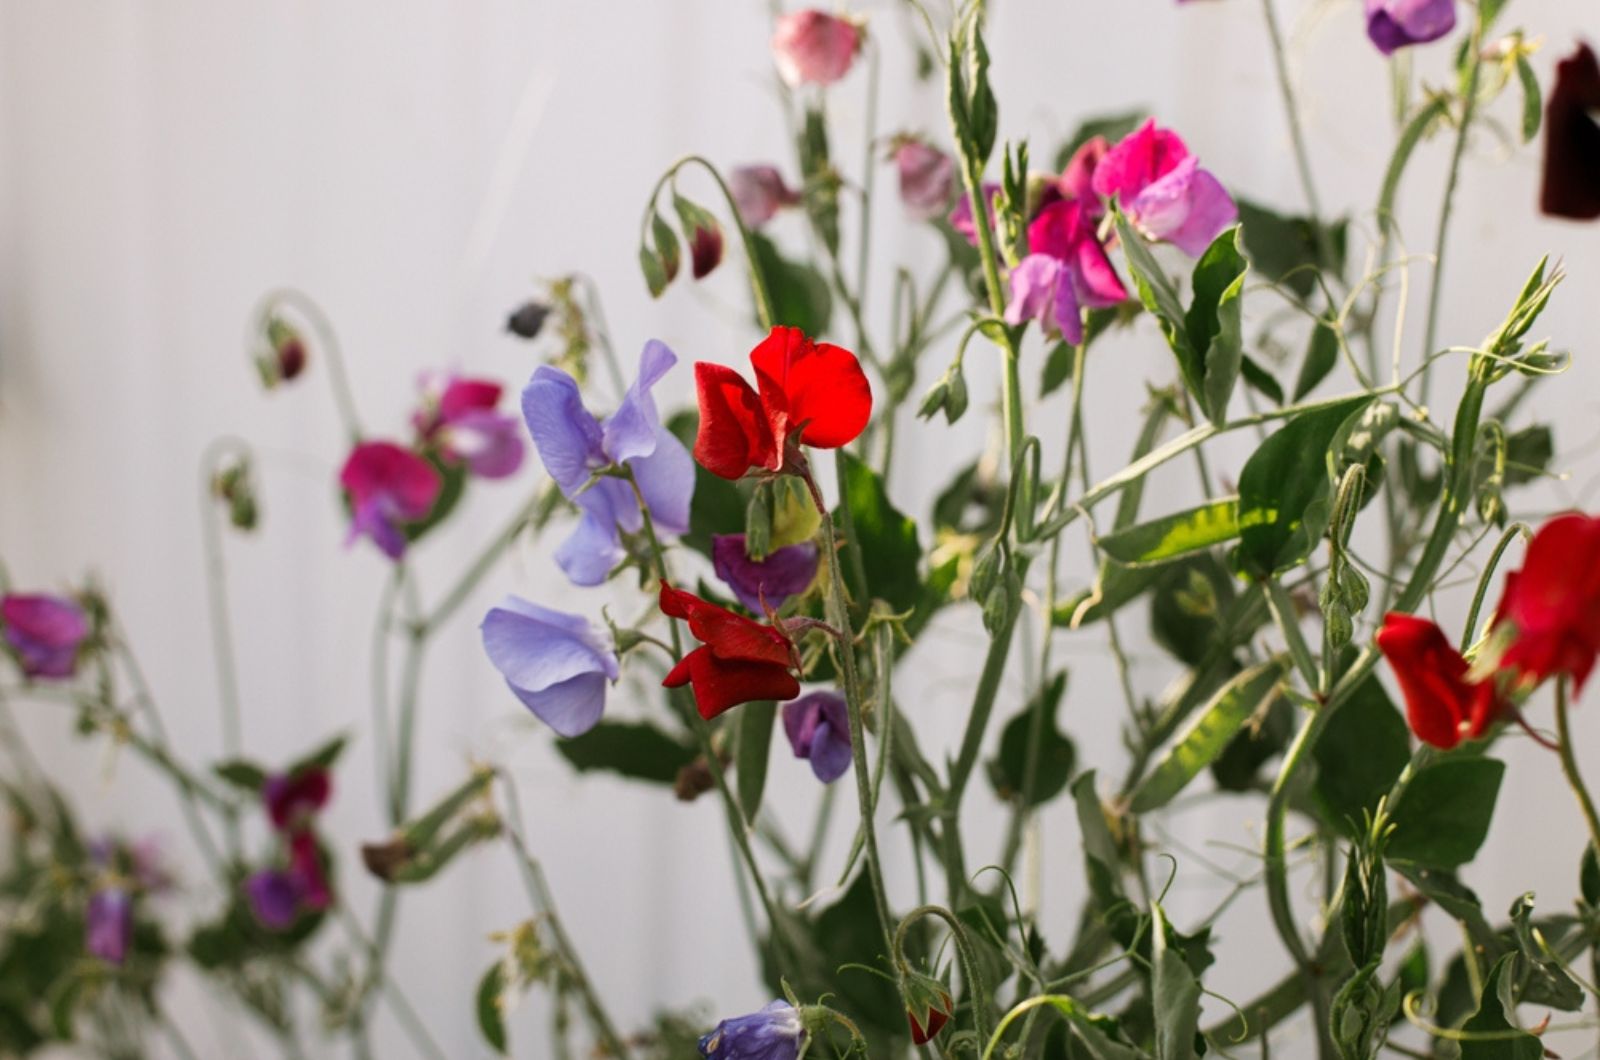
Follow These 6 Steps For Growing Sweet Peas In Pots And Transform Your Patio Into A Colorful Oasis
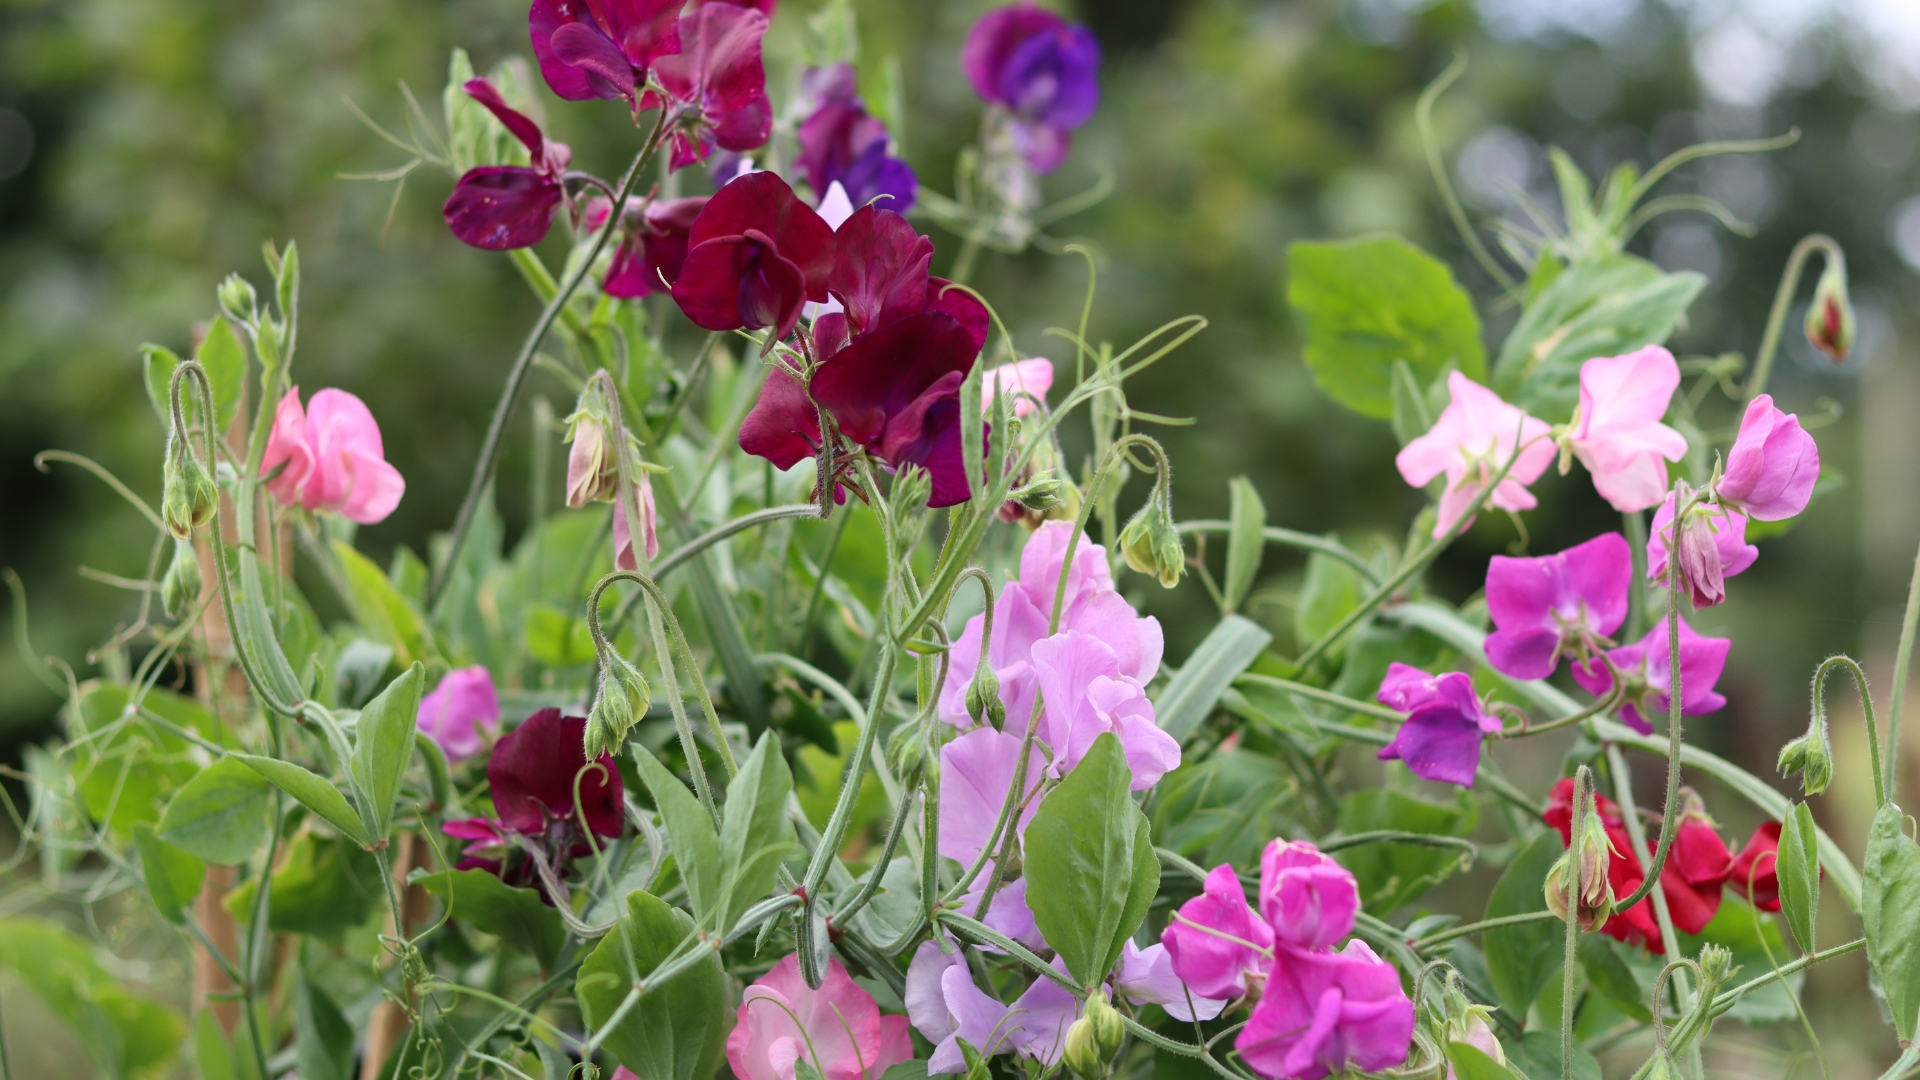
The time for filling your patio with potted plants has finally come! Many growers decide on standard plants, such as pansies and petunias. Yes, these varieties look breathtaking, but I found something even better: sweet peas!
It’s definitely not a plant you’ll see on every patio but that does not diminish its beauty. In my humble opinion, it makes it even more special.
Some of you may be surprised to learn that sweet peas perform well in containers. Maintenance is really easy but the only problem is that this plant lives only a year. So, there is a bit of pressure, but with good instructions you’ll navigate the process smoothly!
Curious to discover how to turn pressure into progress? I’ve got you covered!
1. Make A Decision: Seeds Or Plugs?
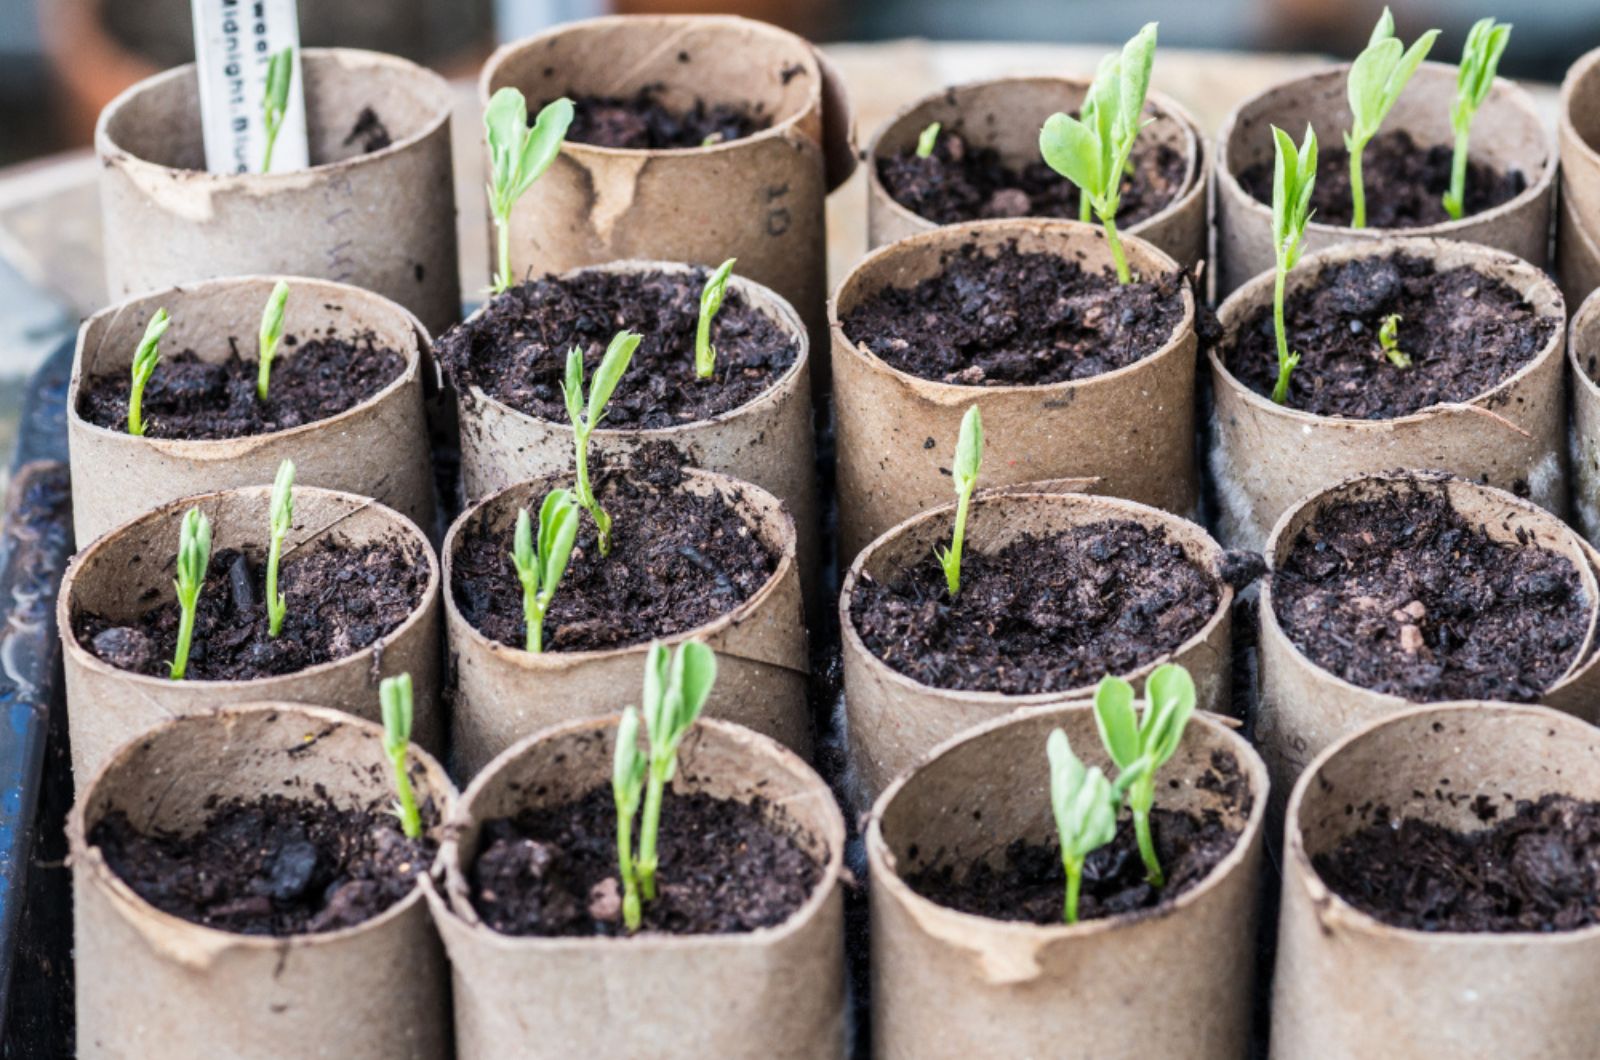
Your sweet pea journey begins with one important decision: to start them from seeds or plugs. Just to clarify, there isn’t a wrong choice here.
I started my first potted sweet pea from plugs. These are basically established plants you buy in nurseries and they start growing and flowering pretty quickly. The results were fantastic; I didn’t put a lot of effort and the plugs bloomed abundantly.
Downside? The price. I bought 4 plugs for around $13, and that’s pretty expensive.
Of course, I bought the seeds next. For a package with 100 seeds, I paid only $6; it’s hard to beat the value!
Downside? It takes more time for the seeds to establish and the sweet pea plant to produce blossoms.
The decision is yours to make, but if you’re new to growing sweet peas, starting with plugs might be the way to go.
2. Your Pot Needs Some Compost
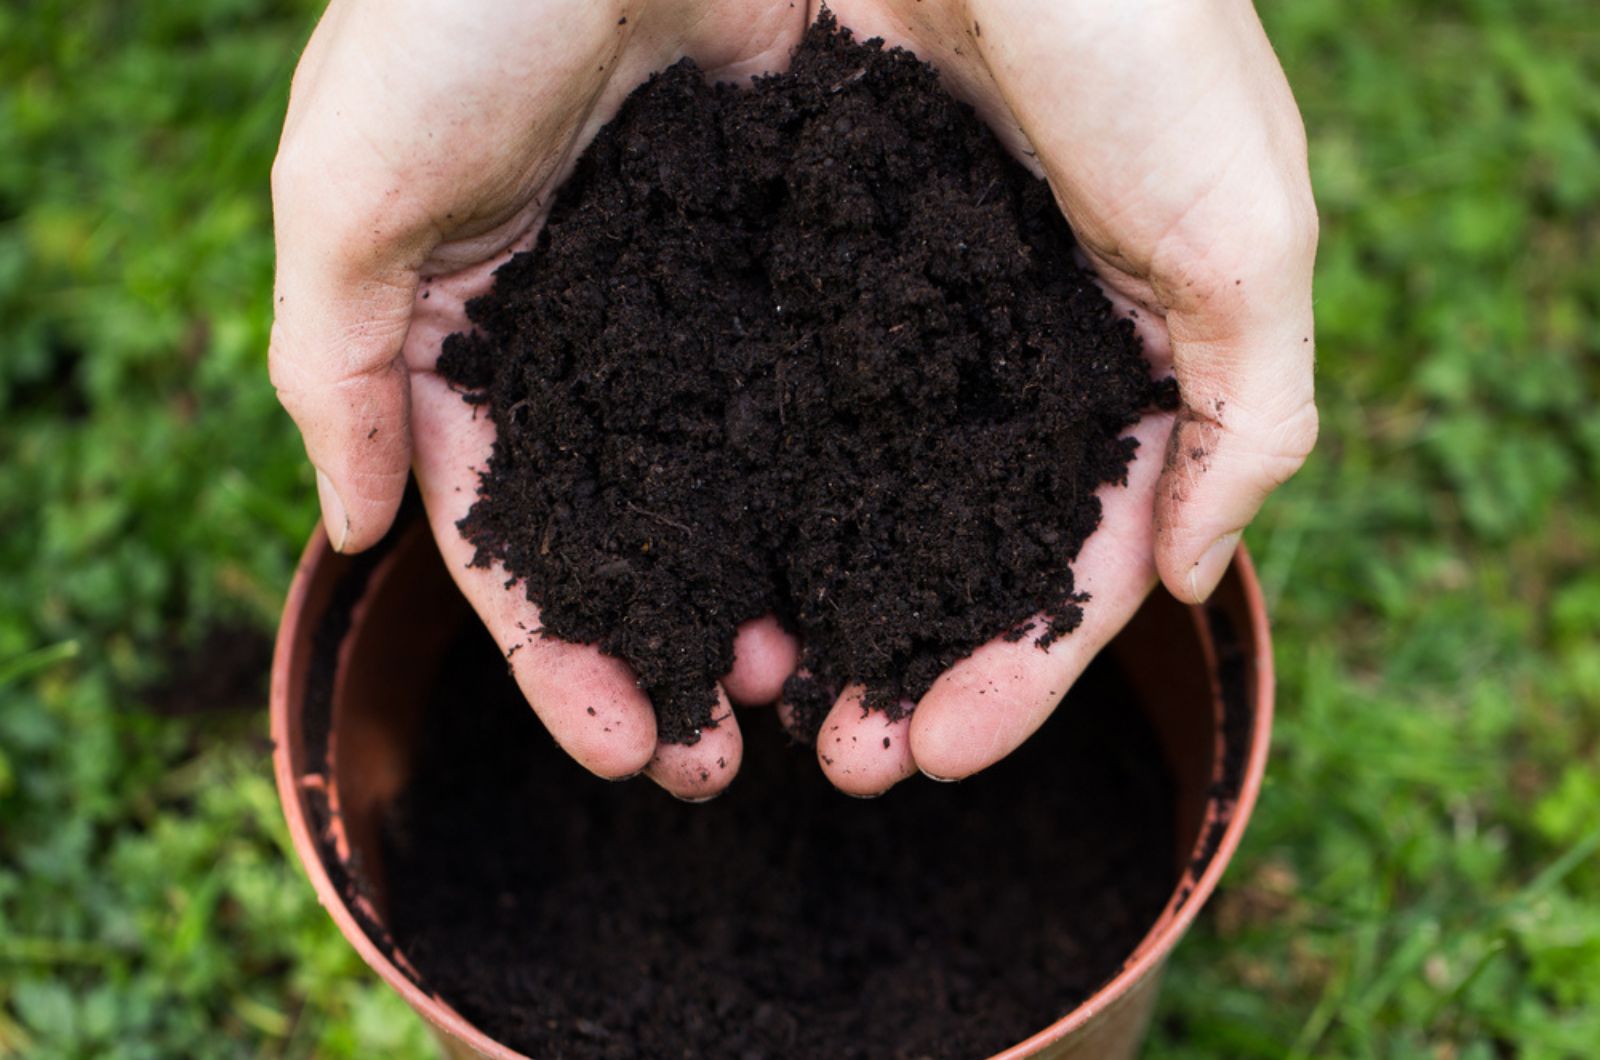
I’m sure you already know that all plants need nutrients to develop, and sweet peas aren’t an exception. But what makes this plant different from others is the deep root system.
This means you’ll need to choose a larger pot and fill it with a lot of soil. Sweet peas are pretty sensitive to overwatering but I always use pots with drainage holes to avoid this issue.
You should also choose a rich soil type and, for me, loam-based compost is the best! It will ensure all the nutrients but it will also enhance drainage and prevent waterlogging. It’s a win-win situation!
3. Support Matters!
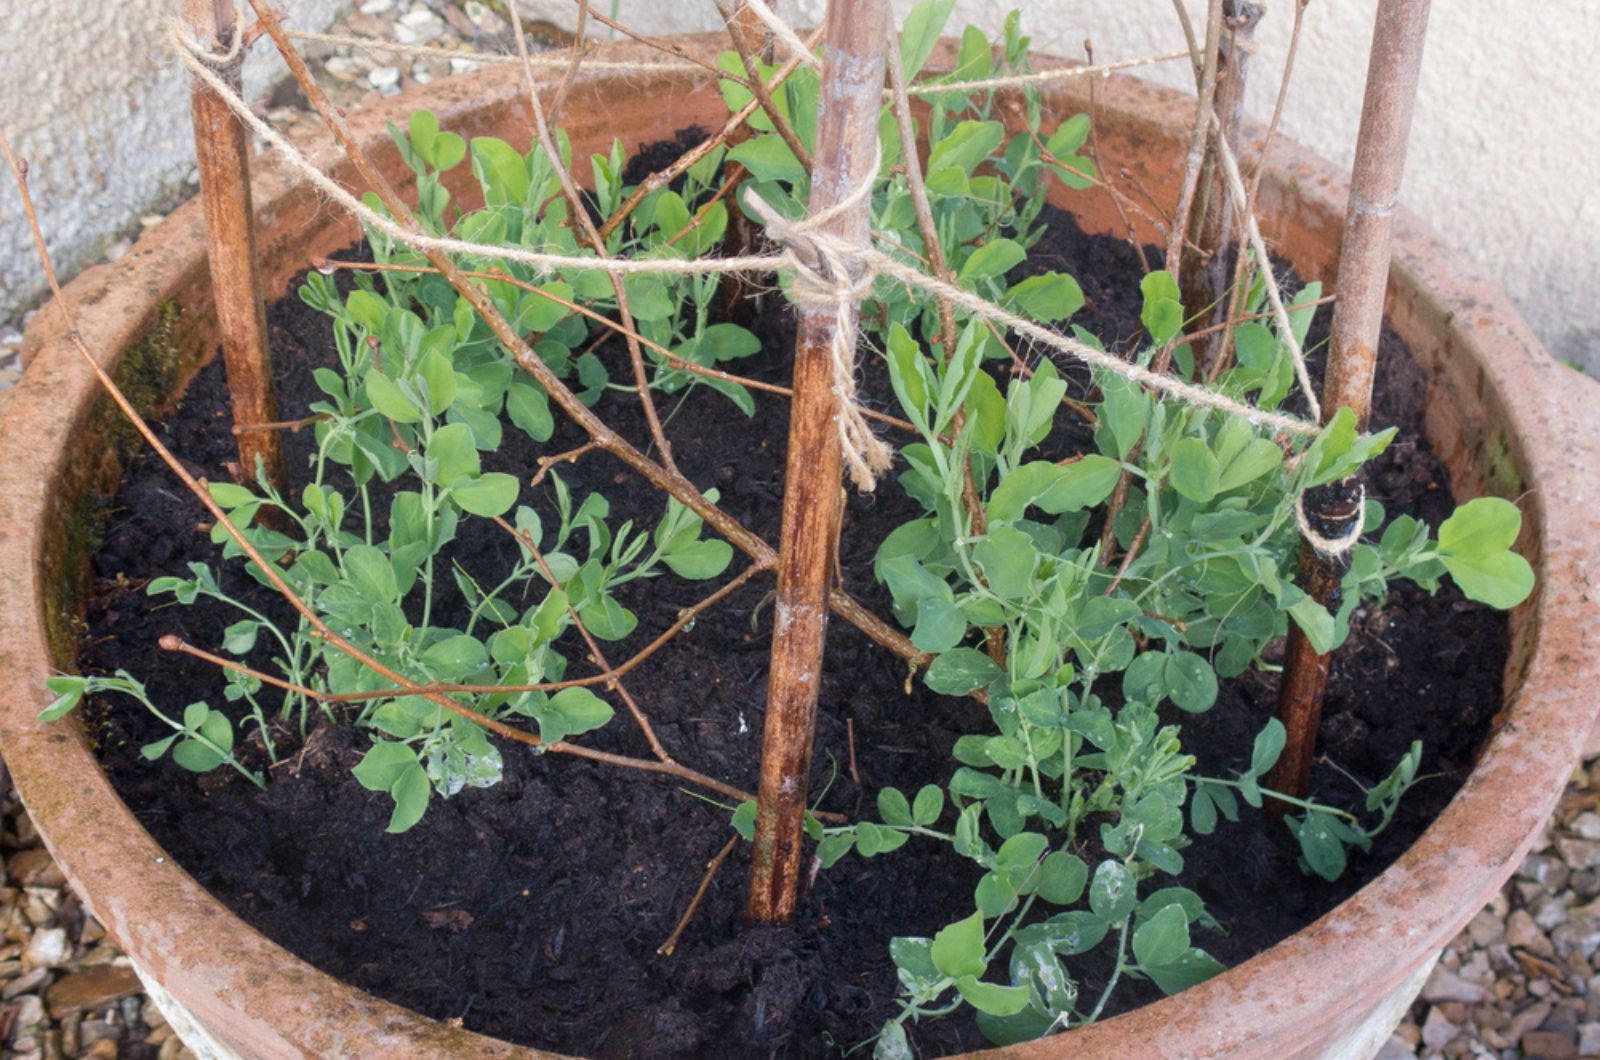
Sweet peas are vining plants, making them perfect for arbors or trellises. If you want a happy and healthy sweet pea plant, you need to provide it with vertical support.
I thought that potted sweet peas didn’t need it, but I was proven wrong. I ended up with a lot of side shoots and the plant really looked unsightly.
So, before you plant your sweet peas, I highly recommend installing support. I use bamboo sticks but you can go with other types, such as frames.
As your sweet peas are developing, secure them to the canes using strings but be careful not to break the plant.
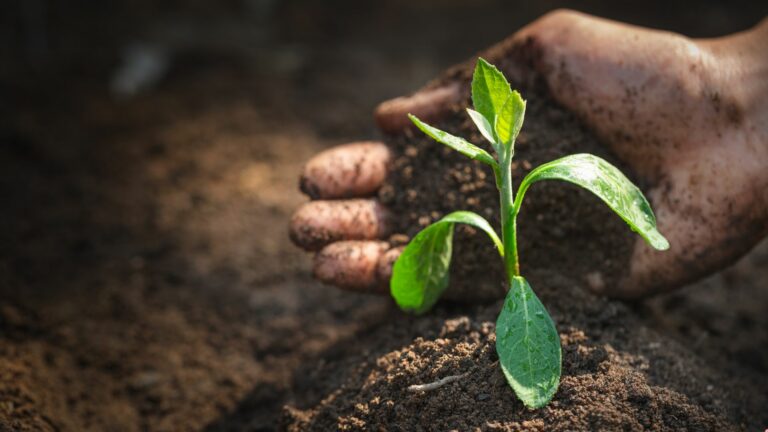
4. Now It’s Time To Plant
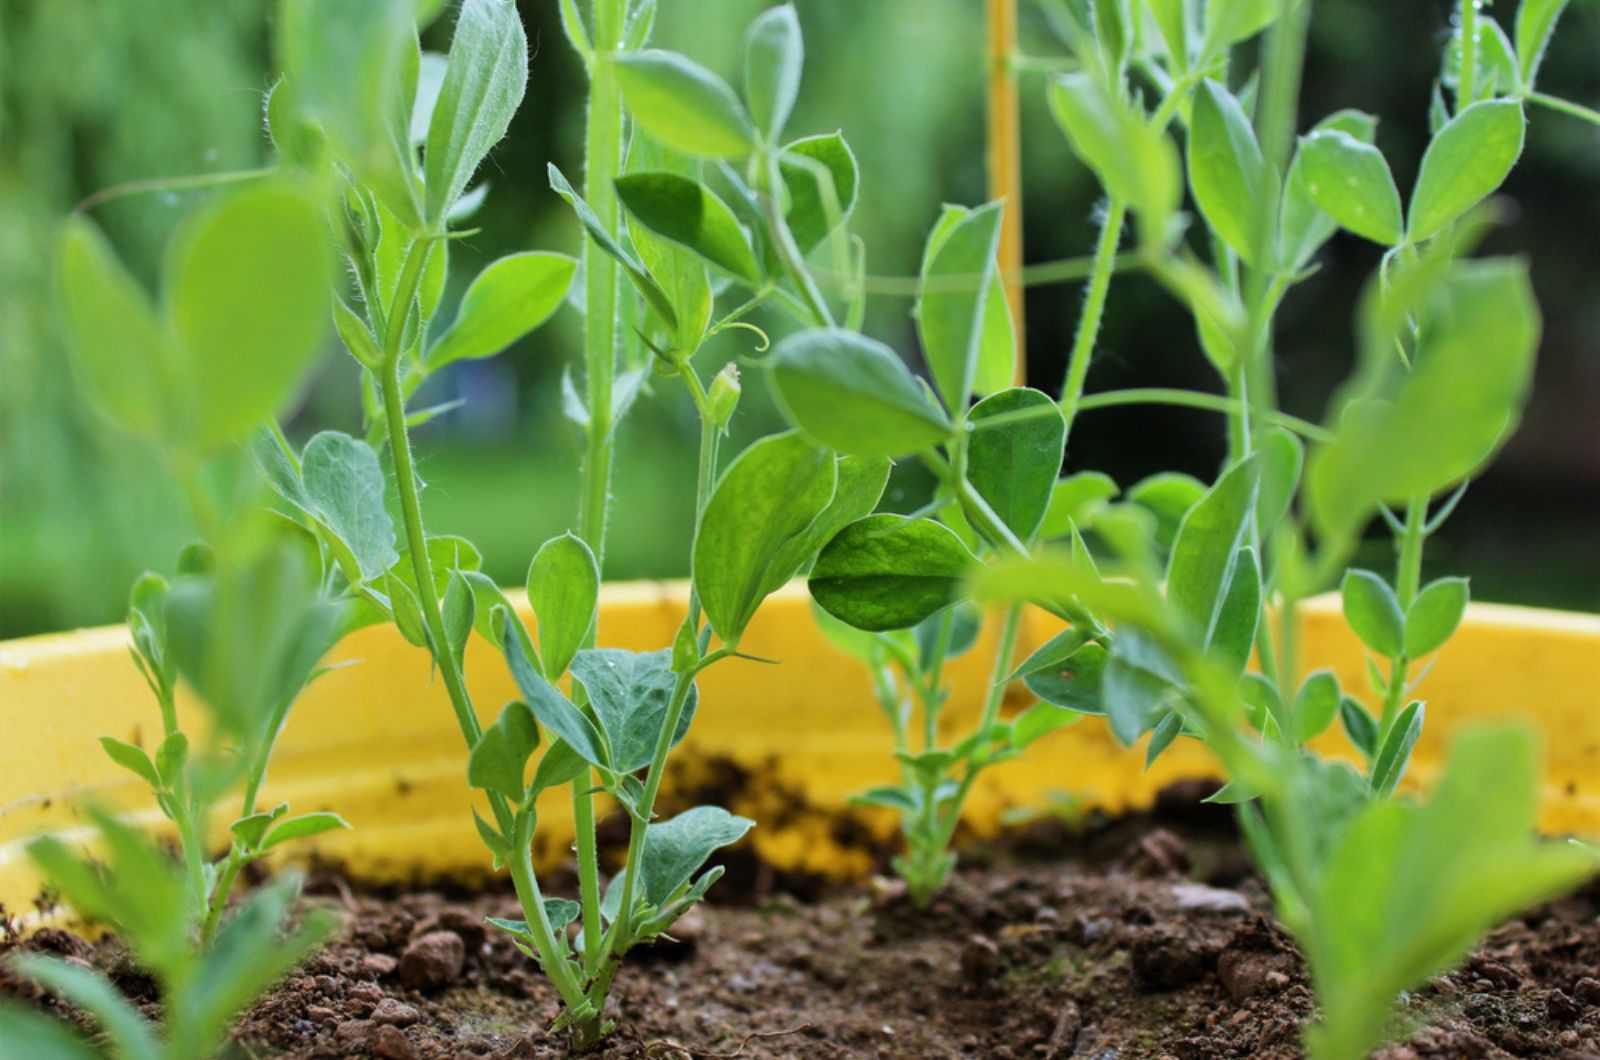
Who would’ve guessed that there are so many things to prepare before planting sweet peas? Well, we want only the best for them!
It doesn’t matter if you started your sweet peas from seeds or plugs, it’s essential to plant them as near the supporting structure as possible.
Make a small hole for the plugs, put them into it, and press the soil around the base to keep them in place.
Another thing to pay attention to is how many plants you add per pot. If you have a 5-inch pot, you should grow 2 sweet pea plants.
I put 3-to-4 plants within the same container to achieve a bushier look. This may be trickier to handle because of support, but if you’re up for a challenge, go for it!
5. Give Your Sweet Pea Some TLC
Once you plant your sweet pea plant, it’s time to ensure all the conditions needed for healthy growth! First, let’s find a perfect location.
My patio is sunny and my sweet peas enjoy it there. If your sun exposure is scarce, you can move the plant to a brighter spot in your garden. This is actually the beauty of container gardening because you can manipulate the conditions by moving the pots when necessary.
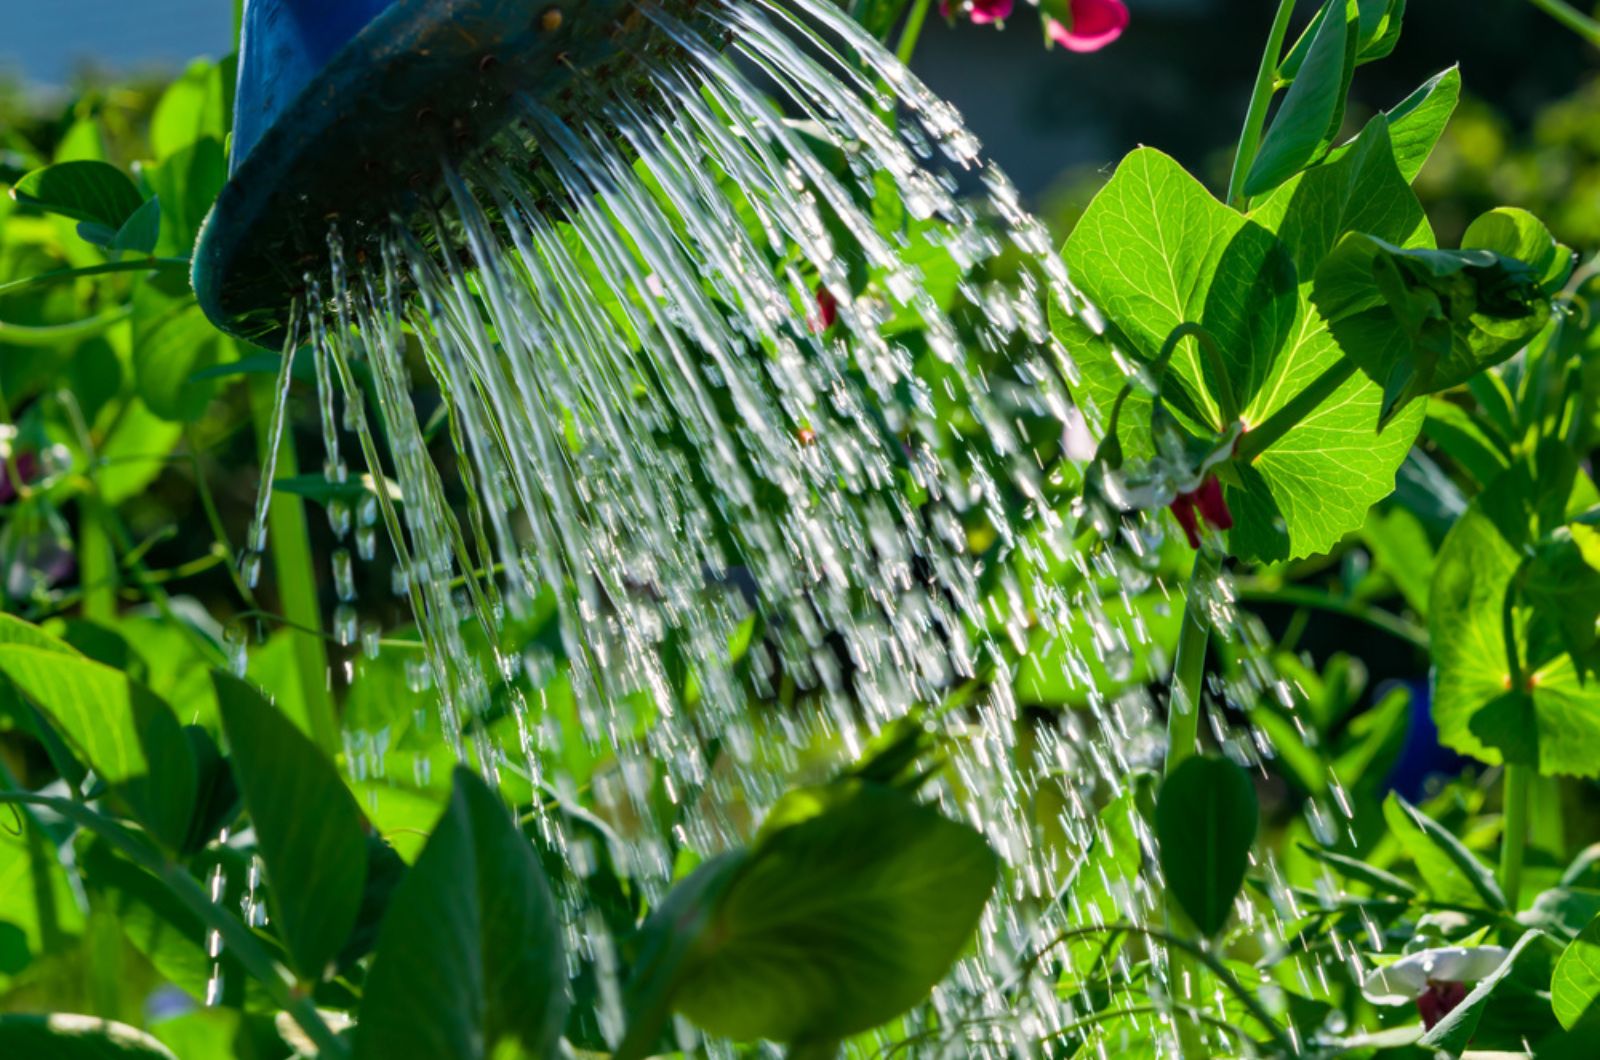
Of course, you’ll need to water your sweet peas, especially during hot and dry days. Here in Florida, summers are pretty hot and I water my sweet pea plant weekly.
If you live in Kentucky, Kansas, or lower USDA hardiness zones, you don’t need to water your sweet peas that often. Remember, it’s sensitive to overwatering and could quickly rot! You’ll know your sweet peas are thirsty if the upper part of the soil is dry.
Even though some growers don’t feed their sweet peas at all, I found out mine performs better and produces more flowers if fertilized during the blooming season. I use seaweed fertilizer but you can also go with comfrey tea.
6. And Don’t Forget To Pinch Your Sweet Peas!
All the tips above will give you a healthy sweet pea. However, for a fuller and more spectacular look, there’s one method pro gardeners always use: pinching.
This simple technique encourages the sweet pea plant to produce more side shoots and prevents legginess.
I pinch my sweet pea as soon as it reaches around 8 inches. I trim it above a cluster of leaves located at the tip of the central stem.
That’s it! Now it’s time to begin your potted sweet pea adventure and add a splash of color and fragrance to your space. And remember, you’ve got this!