Follow These 9 Simple Steps To Grow Tulips In Water And Have A Wonderful Flower Display
Everything looks better with tulips! They add an elegant touch of beauty to gardens, indoor spaces, and flowering bouquets.
There’s one trend plant enthusiasts use to accentuate the beauty of their tulips. Instead of standard soil cultivation, gardeners use water as a tulip growing medium.
This is an excellent way to enjoy the blossoms with little effort and no mess.
In this article, I’ll show you a few easy steps for growing tulips in water.
Let’s get started!
1. Prepare The Equipment
You should never start any gardening project without preparing all the equipment first. Trust me, gathering tools and supplies in the middle of the job will make things way more complicated.
So, if you want to grow your tulips in water, here’s all you need to prepare.
• Healthy tulip bulbs
• Glass jars or vases
• Clean and fresh water
• Decorative stones, pebbles, or glass beads
Have you gathered all the necessary materials? Let’s move to the next step.
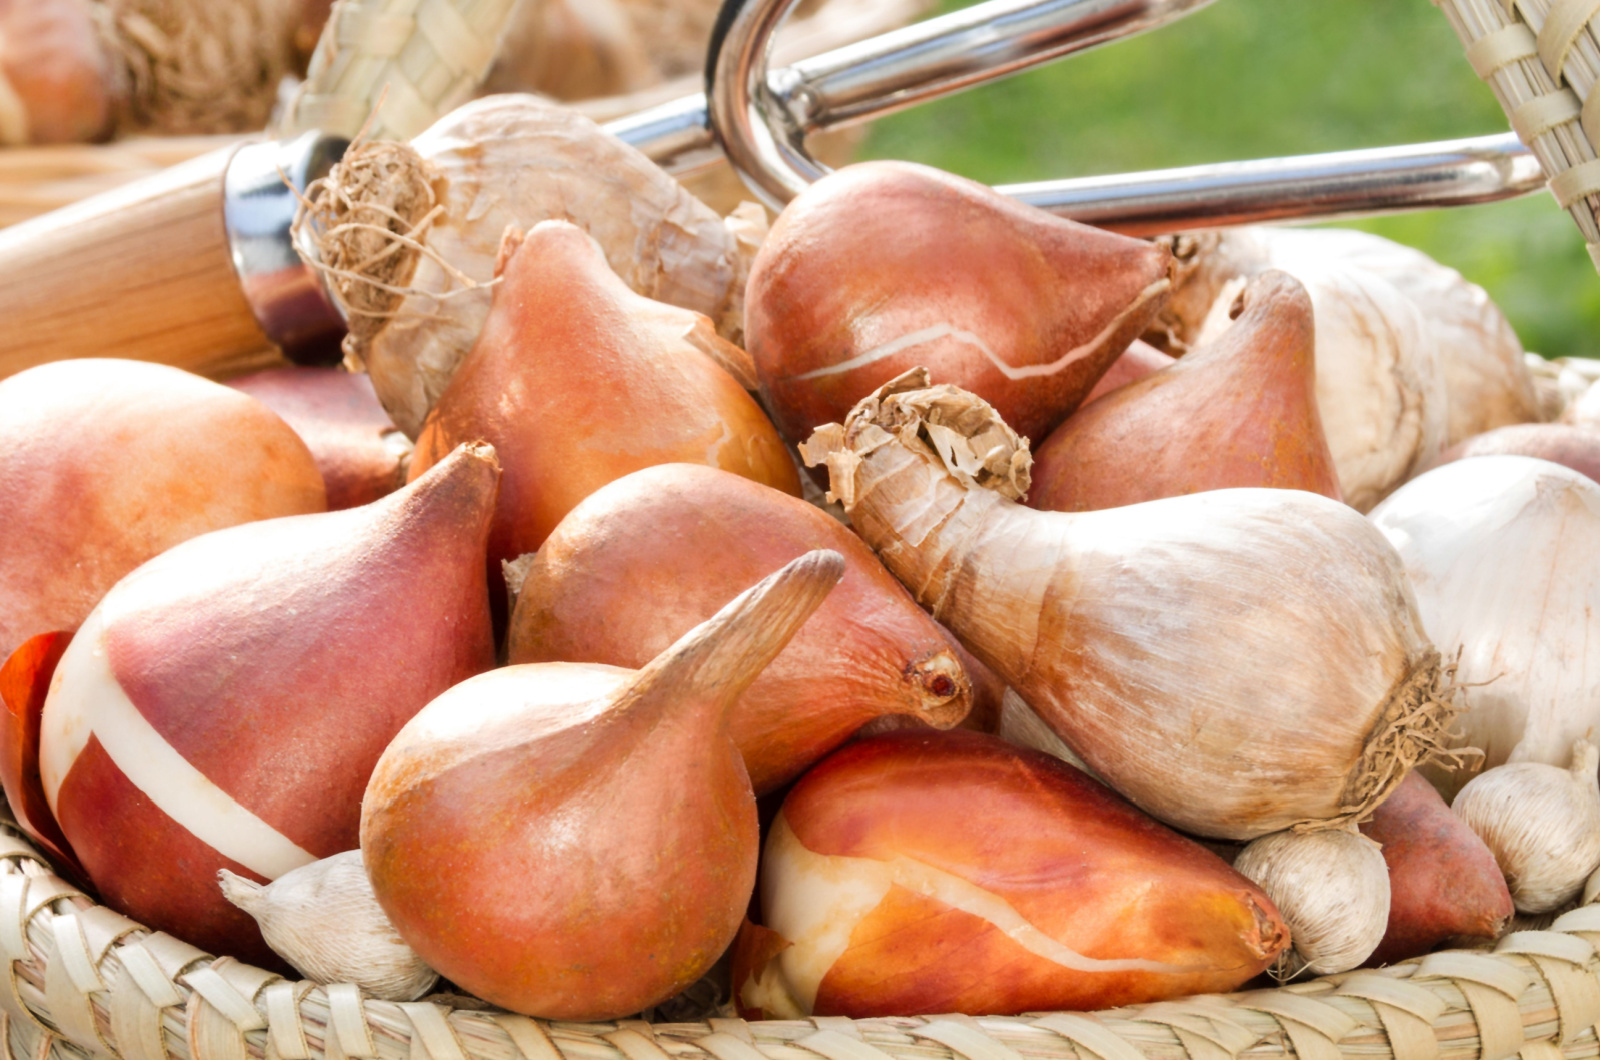
2. Prepare The Bulbs
The perfect time for planting tulip bulbs in your garden may be tricky to determine. But if you decide on water cultivation, you can start your tulips anytime.
All you need to do is to take a few healthy bulbs and allow them to soak in warm water for approximately 2 hours.
This step is essential because it will trigger the bulbs to display new growth.
3. Choose The Best Vase/Jar
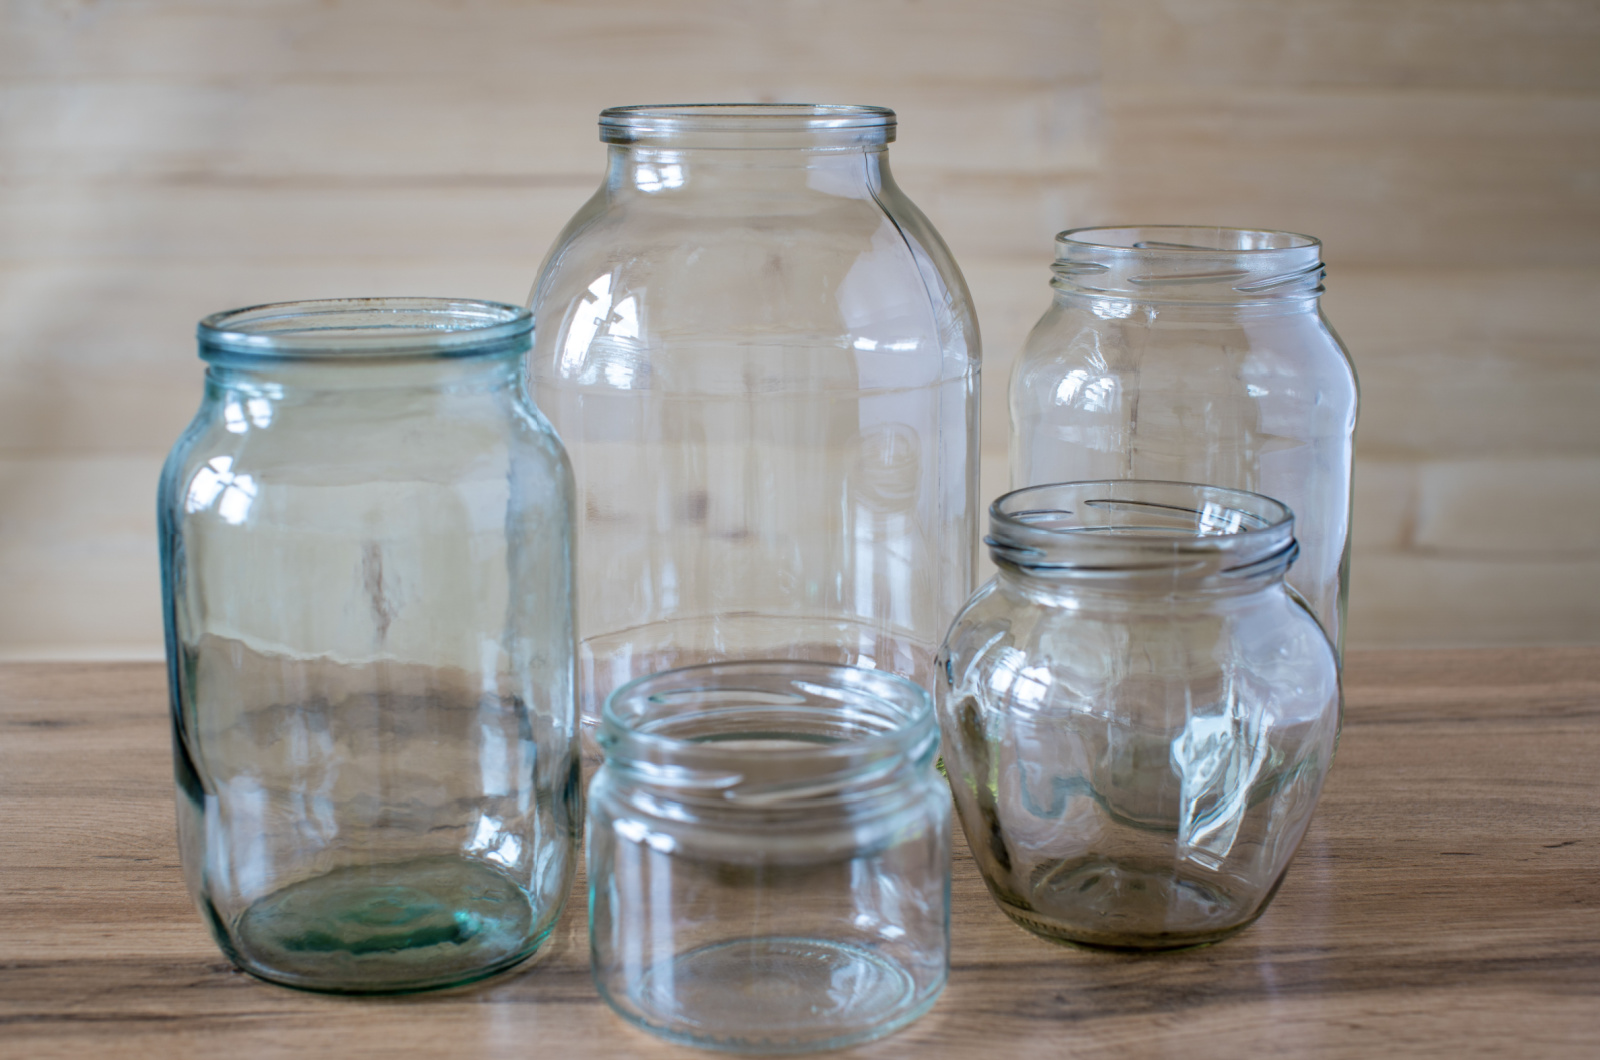
Well, the most important factor when choosing the vase or a jar for your tulips is the size. Make sure the bulbs can fit in the selected container.
I also recommend using clear containers because nothing is more exciting than watching your tulips develop.
Make sure the vase/jar is completely clean before you move to the next step.
4. Add Pebbles
You may think that pebbles or similar materials are just used for accentuating the beauty of tulips but they actually have their purpose.
Add pebbles or decorative stones to the bottom of the selected container and they’ll help your bulbs stay in place.
5. Add Water
It’s time to fill your vase with water but make sure the water you use is fresh and warm (room temperature or slightly warmer).
You should aim to add water so that its surface is just below the pebbles or decorative stones. If you think that this isn’t enough water, don’t worry, this amount is perfect for your tulips.
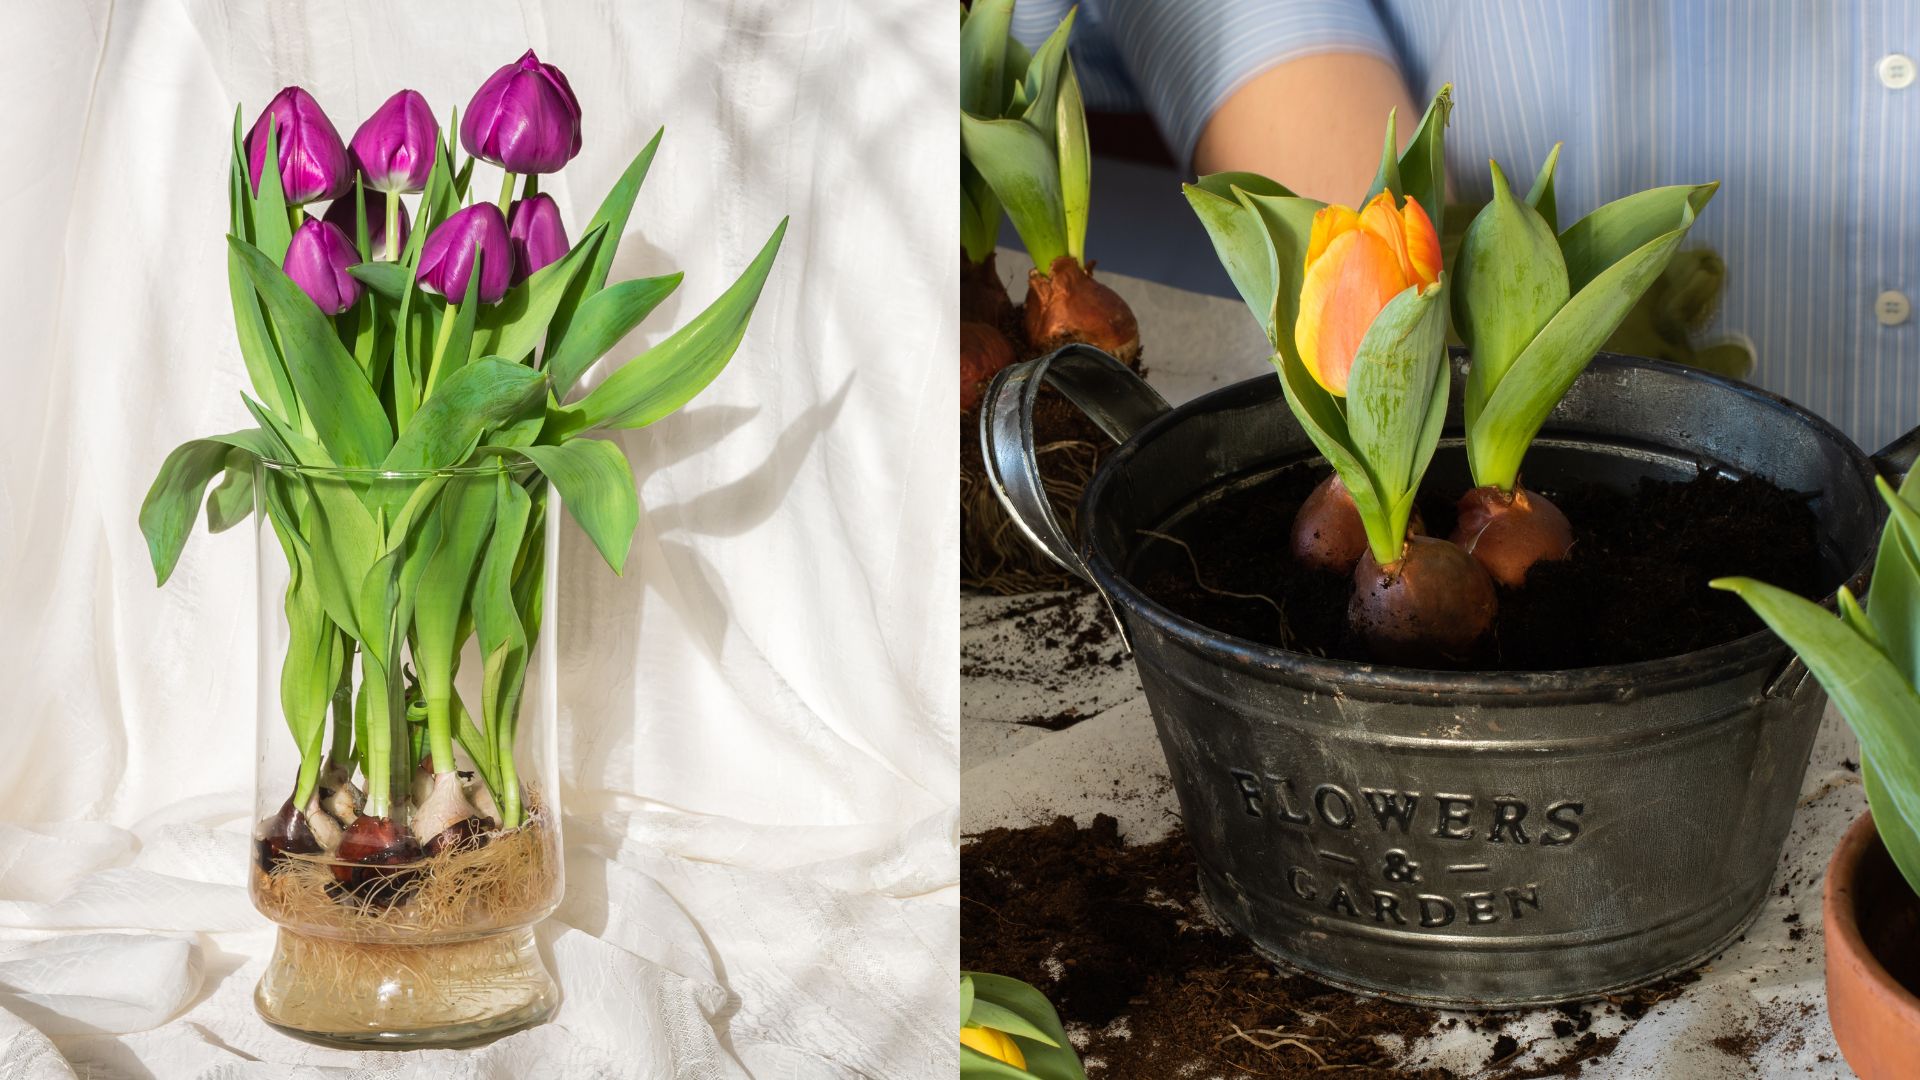
6. Put The Bulbs In The Vase
Here comes the fun part! Place your tulips in your selected container and make sure the tip of the bulb faces upwards.
Pay attention to the water line because the bulbs should never be in contact with water during root development.
7. Put The Vase In A Cool And Dark Spot

There’s one unusual technique used for enhancing the rooting process in tulips. It’s commonly referred to as a cooling period and its main purpose is to enhance root formation.
So take your vase and put it in a dark and cool area and keep it there for approximately 4-6 weeks.
I always recommend growers who are interested in this method to use more bulbs and start them at different times so that there’s a constant supply of blossoms.
8. Find A Sunny Spot For The Vase
Once the cooling period ends and your bulbs generate new roots, it’s time to give them some sun to encourage blooming.
Find a sunny spot in your home, put the vase there, and make sure to change the water every couple of days.
9. Enjoy Watching Your Water-grown Tulips
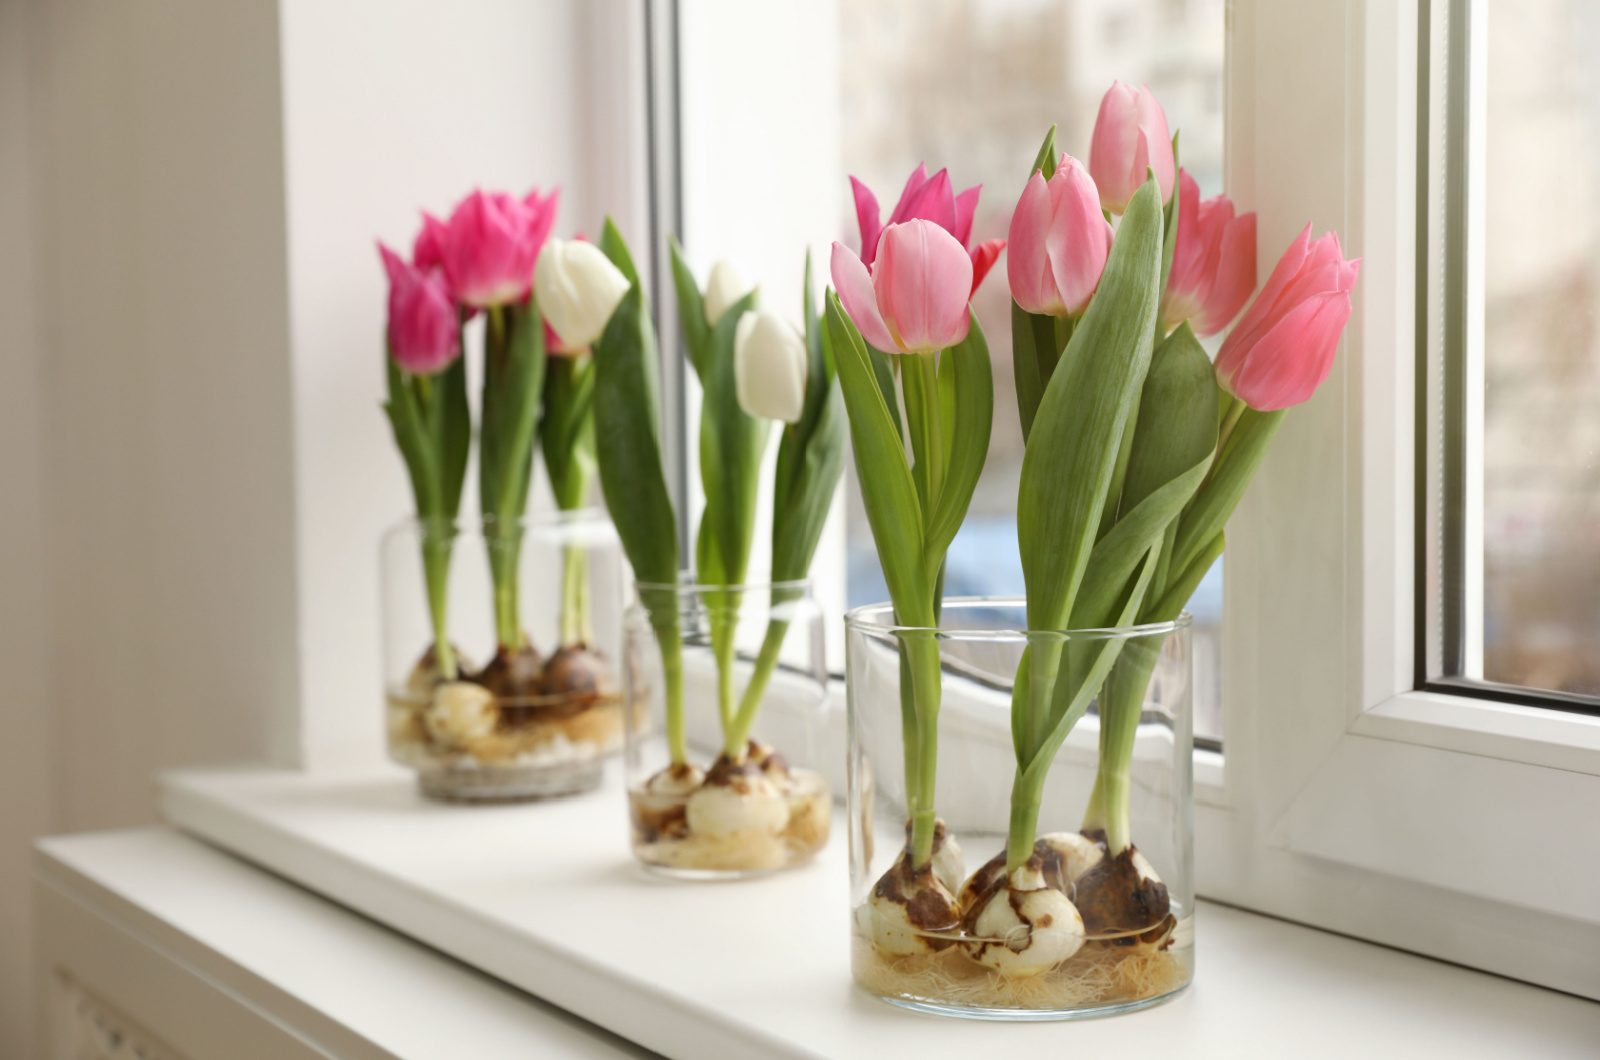
Technically, this isn’t a step but rather a reminder to enjoy your water-grown tulips. It typically takes a few weeks for water-grown tulips to start flowering.
Each blossom will last for a couple of days so make sure you admire them during this time. You can discard the blossoms after they wilt and use the bulbs to repeat the process.
What To Do With Water-grown Tulips After Flowering
If you don’t want to start your tulip bulbs in water again after blooming, you can store and save them for the following season.
The first step is to remove all the flowers from the stems. Then allow the foliage to die back, making sure the water level in the vase is as recommended. It’s possible for some new bulbs to form after the foliage dies back but you shouldn’t touch them.
Cut off all foliage and leave the roots on the bulbs. Keep your bulbs in a cool and dark room until November. You can plant the bulbs in your garden and the exact time depends on your USDA hardiness zone.
You can also compost your tulip bulbs if you don’t have enough space in your garden to plant them.
That’s it! This is a truly unique gardening experience and you’ll have the best-looking tulips with just a little effort!