How To Harvest And Cure Black Walnuts In North Carolina
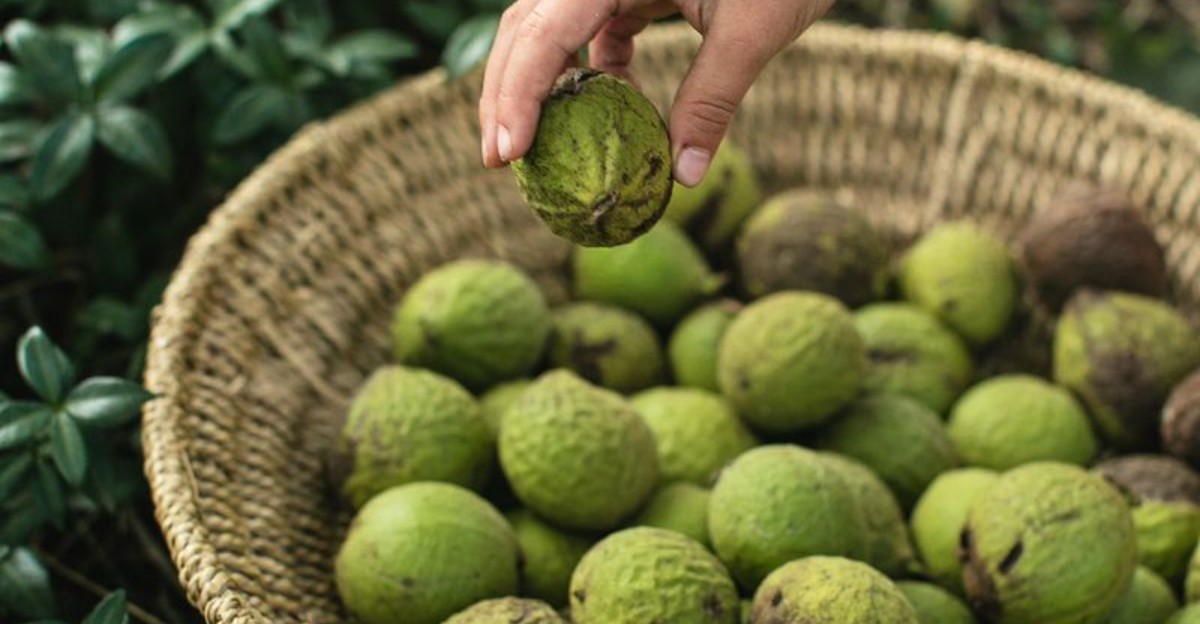
Each fall, heavy green balls start thumping onto lawns across North Carolina like little slow-motion baseballs. They smell sharp and citrusy, and they leave dark stains on fingers, shoes, and anything they touch.
Many folks rake them up and toss them aside, grumbling about sore ankles and stained, messy driveways. Hidden inside each rough shell, though, sits a rich, earthy treat that cooks happily pay for.
Getting to that treasure takes patience, old clothes, and a simple plan you can actually follow. Skip a step, and you might end up with moldy kernels that taste musty.
Fall weather in North Carolina can help, since cool nights and mild afternoons often create good drying conditions. Your garage, porch, or shed can quickly turn into a cozy workshop for this backyard project.
1. Pick Up Nuts As Hulls Turn Yellow-Green
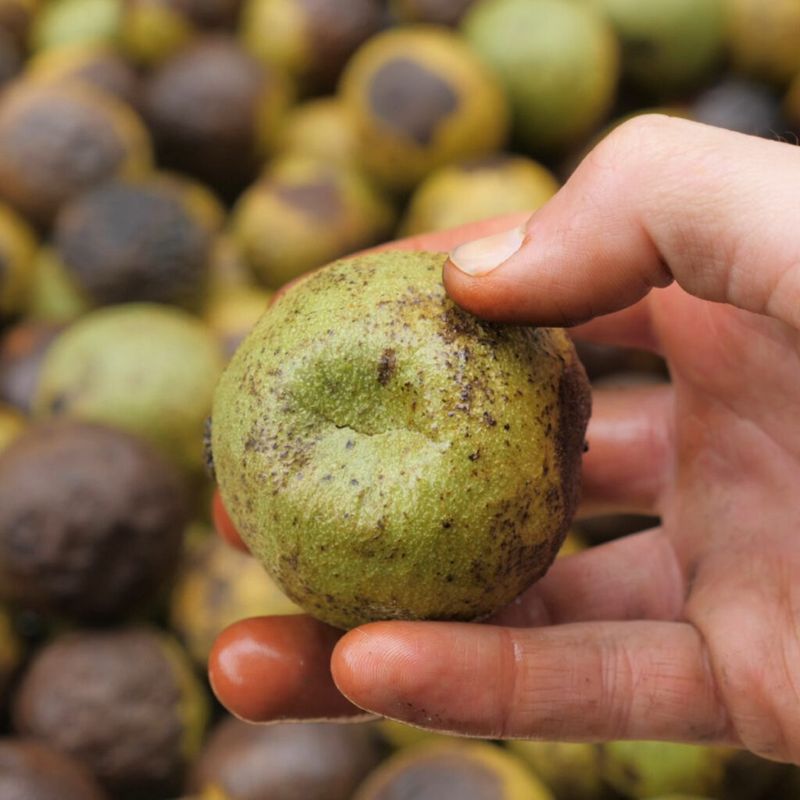
Picture a crisp October morning in the Piedmont, with round green hulls scattered under a tall, leafy tree. That scene tells you harvest time has arrived, and the nuts are finally ready for gathering by hand.
In North Carolina, most black walnuts drop from mid-September through October, though timing shifts with region, elevation, and weather. Trees in cooler mountain areas may drop later than those in warmer parts of the state.
Look for hulls that have shifted from bright green to a softer yellow-green shade with a slight give. Press your thumb into one, and a ripe hull should leave a small dent that stays put.
Hard, bright green hulls usually mean the kernel inside still needs time to fill out and sweeten up. Shaking a branch gently can bring down the ripe ones, while unready nuts mostly stay attached to the tree.
Gather fallen nuts every day or two, because squirrels in your neighborhood are watching the same tree closely. Those bushy-tailed neighbors can carry off a lot of nuts within a day if you let them.
Leaving nuts on the ground too long also lets the hulls blacken, which can darken the shells and affect the flavor of the kernels. Mushy, dark hulls sometimes hide tiny worm-like larvae, so quick gathering helps keep your harvest clean and tasty.
A five-gallon bucket or a sturdy wheelbarrow makes collection easier, especially when one big tree drops a lot of nuts. Some gardeners use a rolling nut gatherer, which scoops nuts up without bending over again and again.
2. Wear Gloves To Avoid Staining Hands
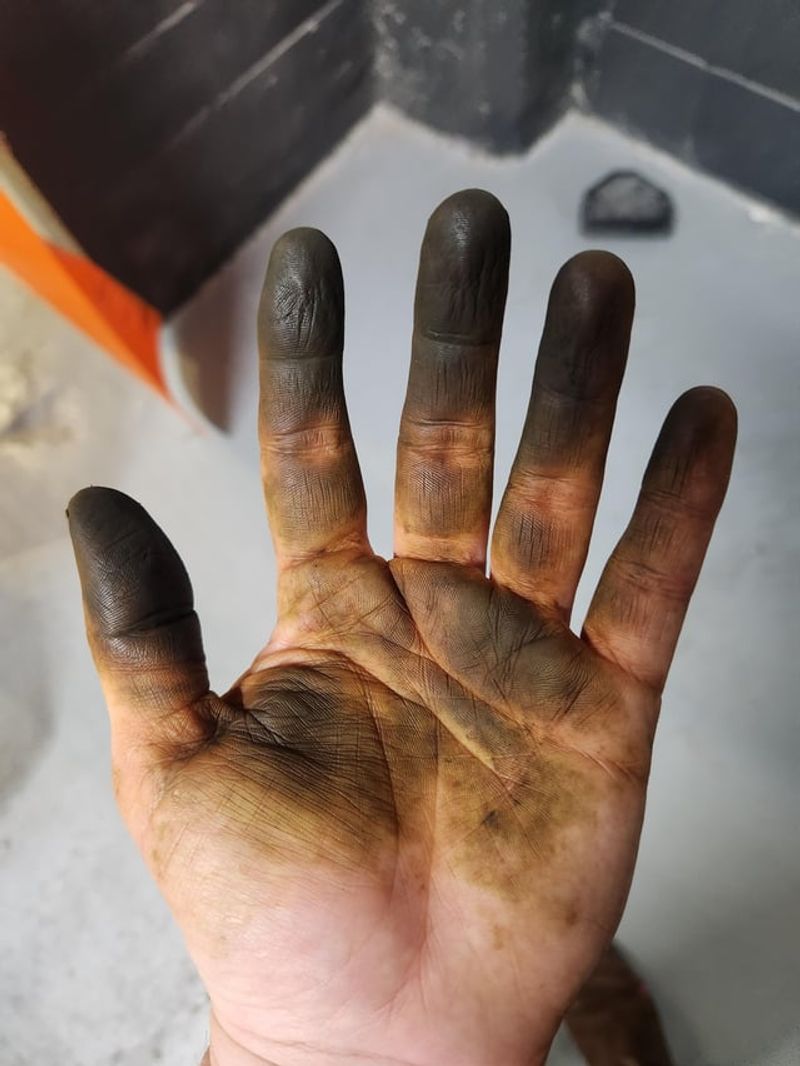
Ask anyone who has handled these nuts barehanded, and they will probably show you brown fingers that lasted weeks. The juice inside each hull contains a natural compound called juglone, and it clings to skin stubbornly.
Fun fact: people have long used walnut hulls to dye cloth and baskets. That same staining power still works today, which explains why your hands might look painted after one afternoon.
Waterproof rubber or nitrile gloves work best, since cloth gloves soak up the juice and pass it through. Pick a pair that reaches past your wrists, because splashes tend to sneak in around the cuffs.
Your North Carolina Garden Changes Every Week. Your Plan Should Too.
Gardening in North Carolina changes quickly throughout the season. Every Friday you’ll receive a simple weekly plan showing exactly what to plant, prune, fertilize, harvest, and protect so you never miss the right timing.
Heavy-duty dishwashing gloves from the grocery store are cheap, comfortable, and tough enough for rough hull work. Keep a spare pair nearby, since rough shells and sharp edges can poke small holes in the fingertips.
Your clothes need protection too, so wear old jeans, a worn shirt, and shoes you do not love. Walnut stains rarely wash out of fabric, and they can also leave marks on concrete patios and decks.
Laying down a tarp or working on a gravel area helps keep the mess away from nicer surfaces. Some folks also wear safety glasses, since squished hulls can squirt juice in surprising directions without warning.
If you do get stained, a good scrub may lighten the color a little. Mostly, though, you just wait it out while the brown slowly fades as your skin renews itself naturally.
3. Remove Hulls Within A Few Days
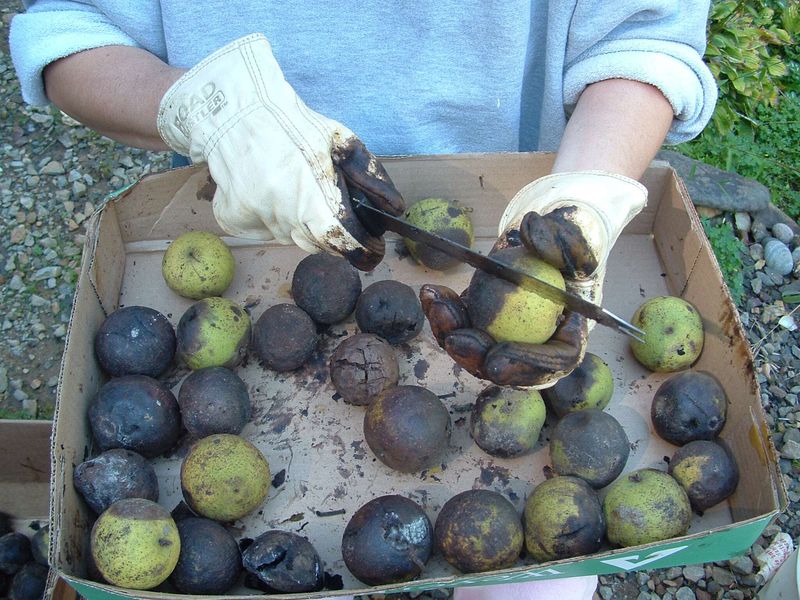
Timing matters more than muscle here, and a slow start can turn sweet kernels into bitter, dark-tasting nuts. Once nuts hit the ground, their hulls begin softening and breaking down, releasing dark juices toward the shell.
Those juices can seep through tiny cracks and give the nutmeat a harsh flavor that few people enjoy. Aim to remove hulls within a few days of gathering, while the outer layer is still fairly firm.
One popular trick involves spreading nuts on a gravel driveway and rolling over them slowly with a car. The tires press the hulls loose, and you simply pick up the shelled nuts once the job is done.
Another method calls for pressing each nut underfoot with a sturdy boot, then twisting your heel to pop the hull. Kids often love this step, since it feels a bit like popping giant bubble wrap on a fall afternoon.
Hand tools work too, and some people use a hammer or a board with a hole drilled through it. Pushing a nut through a snug hole strips away the hull quickly, leaving the hard shell behind for washing.
Toss the removed hulls in a spot away from tomatoes, potatoes, blueberries, and other garden plants that dislike juglone. That natural chemical can stunt sensitive crops, so keep hull piles far from your vegetable beds and flowers.
Working in small batches helps you stay ahead, especially when a big tree drops nuts faster than expected. Spread unhulled nuts in a single layer in the shade while you wait, so they stay cool and dry.
4. Wash Nuts In A Bucket Of Water
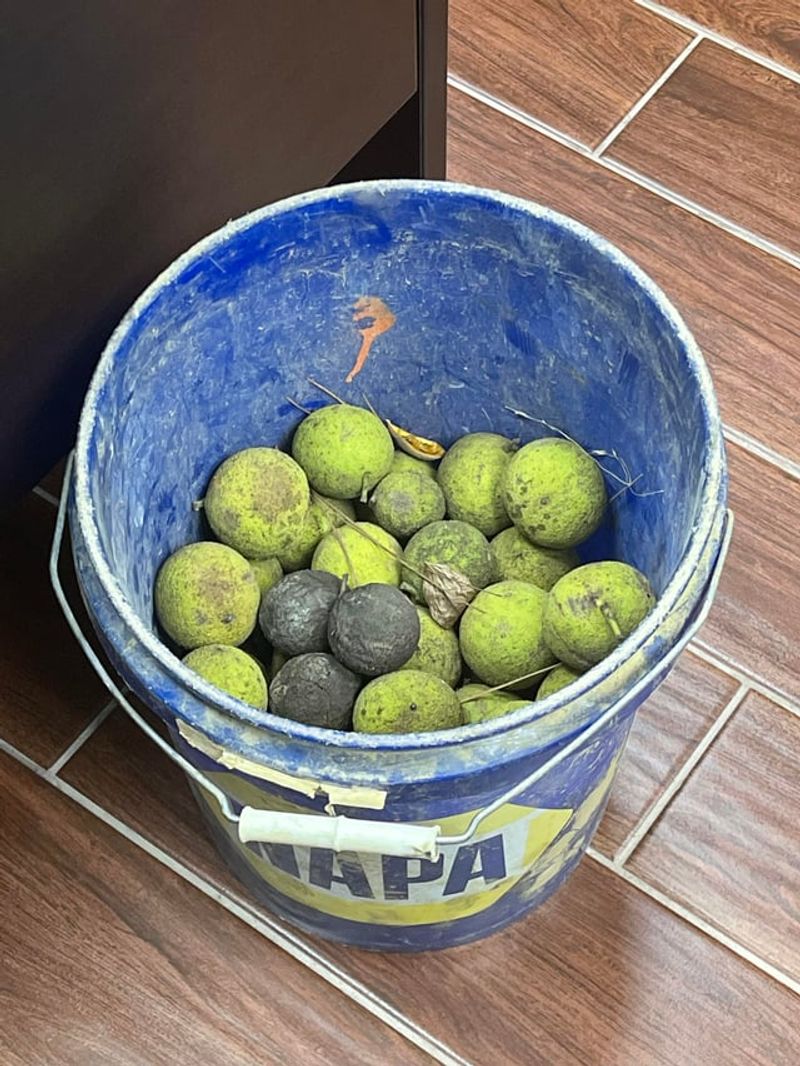
Freshly hulled nuts look like they just crawled out of a mud puddle, coated in sticky black goo. Washing them now keeps that gunk from drying into a crusty layer that attracts mold during the curing stage.
Grab a five-gallon bucket, fill it about halfway with water from the hose, and add a few scoops of nuts. Avoid packing the bucket too full, since the nuts need room to tumble and rub against each other.
Stir the batch with a sturdy stick or a gloved hand, and watch the water turn dark brown. Dump that murky water, refill the bucket, and repeat the process until the rinse water looks mostly clear.
Some folks attach a paint mixer to a cordless drill, which spins the nuts around like a mini washer. Others toss a handful of gravel into the bucket, letting the small stones scrub stubborn bits from the shells.
A stiff brush helps with any tough spots, though you do not need shells to look shiny and perfect. A little leftover stain is fine, as long as the slimy hull pieces have been mostly cleared away.
Pour the dirty wash water somewhere far from your garden, since it carries the same juglone found in hulls. A gravel corner, ditch, or patch of lawn away from flower beds usually handles the runoff without trouble.
Washing on a breezy October afternoon lets the shells begin drying quickly once you pull them from the bucket. Keep the bucket handy afterward, because the next step uses a fresh batch of water to sort the good nuts out.
5. Discard Nuts That Float
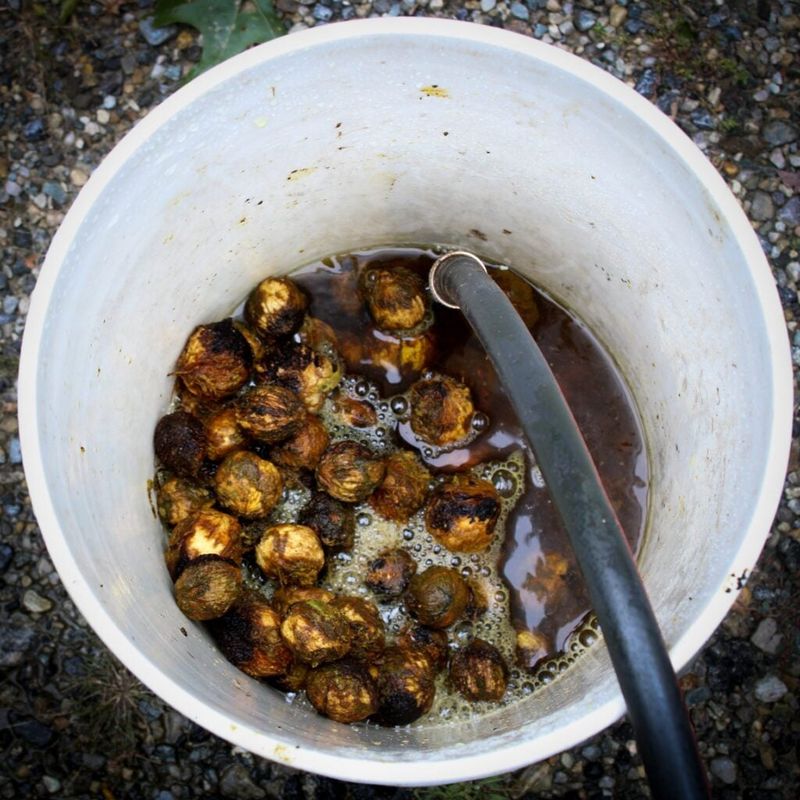
Water offers the simplest quality test in the whole process, and it requires only a few minutes. Healthy nuts are heavy with plump kernels, so they usually sink straight to the bottom of the bucket.
Floaters, on the other hand, often have shriveled, empty, or insect-damaged kernels hiding inside their tough shells. Air pockets inside a poorly filled shell act like a tiny life jacket, keeping the nut bobbing on top.
After your final rinse, fill the bucket with clean water and give the nuts a gentle stir with your hand. Wait a minute or two, then skim off anything floating with a kitchen strainer or a small fishing net.
Expect a handful of floaters from nearly every tree, especially after a dry stretch stressed the branches. A few floaters rarely signal trouble, but a whole bucket of bobbing nuts may point to pest problems.
Weevils and other insects sometimes lay eggs in developing nuts, leaving damage you cannot see from outside. Cracking open one or two floaters can show you exactly what went wrong and satisfy your curiosity too.
Toss the rejects into a compost pile far from your garden, or scatter them in the woods for wildlife. Squirrels, chipmunks, and blue jays may happily pick through them, even if the kernels look small and sad.
Sinking nuts should come out of the bucket next and head straight to a spot where they can drain. Sorting now saves time later, because you will not waste weeks curing shells that hold nothing worth eating.
6. Dry Nuts In A Ventilated Spot
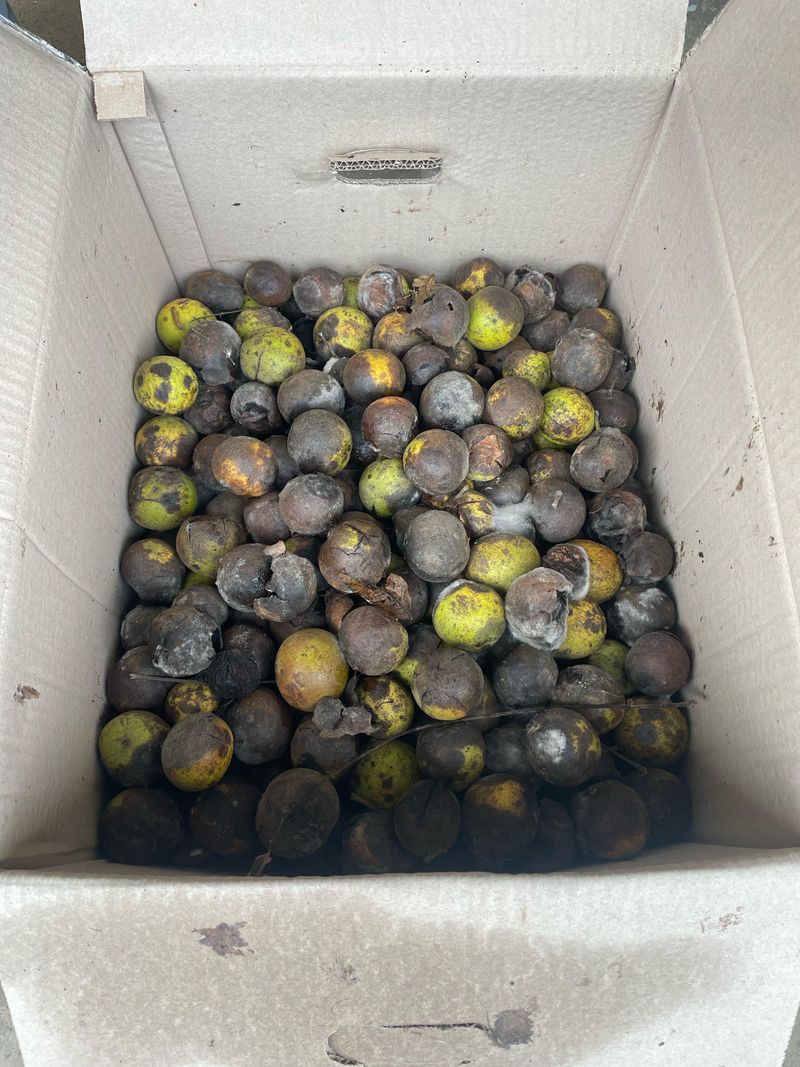
Moisture is the biggest threat to a nut harvest, and damp shells can grow fuzzy mold in just days. After washing, your nuts need a dry, airy place where breezes can move freely around each shell.
A garage, barn loft, or covered porch often works well, as long as rain and direct sun stay away. Hot sunshine can cook the oils inside the kernels, leaving them with a stale, slightly rancid taste later.
Spread the nuts in a single layer on old window screens, wire racks, or shallow trays with plenty of holes. Raising the screens on bricks or sawhorses lets air flow underneath, which speeds drying and stops soggy spots from forming.
October in North Carolina often brings cooler, drier air, which makes this step easier than in muggy months. Coastal homes may still feel a bit humid, so a small box fan can give the airflow a helpful boost.
Stir or turn the nuts every couple of days, so each side gets equal time facing the moving air. Check for any shells that look slimy or smell musty, and remove them before trouble spreads to neighbors.
Squirrels and mice are clever and persistent, so cover the trays with hardware cloth or chicken wire for protection. Hanging screens from the rafters can also keep curious critters from reaching your hard-earned harvest while you sleep.
Shells usually feel dry on the surface after about one to two weeks, with no dampness or dark wet patches showing on the outside. The nuts then keep curing in the same spot.
7. Cure Nuts For Several Weeks
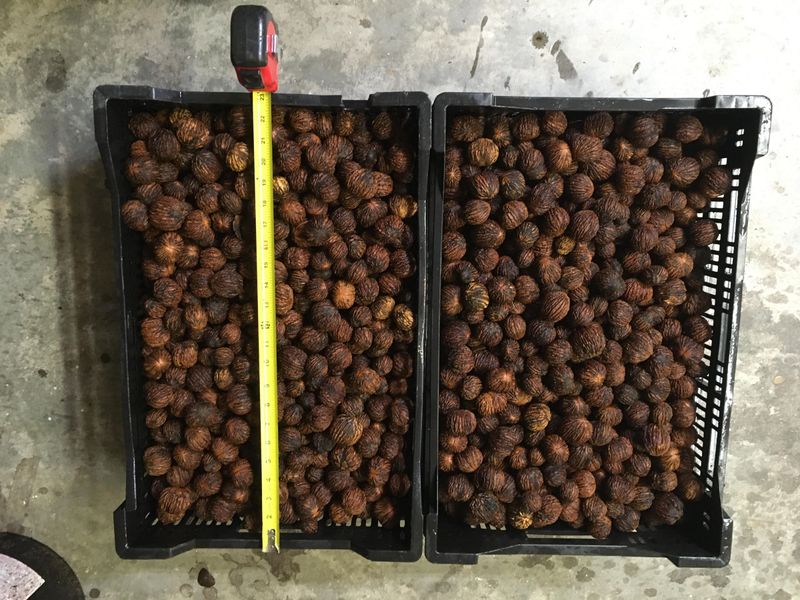
Patience pays off here, and the reward is a kernel with deep, buttery flavor and a satisfying crunch. Curing lets moisture slowly leave the nutmeat itself, not just the shell, so flavors can mellow and settle.
Many sources suggest about two to four weeks of total drying and curing, though some folks happily wait even longer. Fresh, uncured kernels can taste rubbery and a little bitter, which surprises many first-time harvesters.
Keep the nuts in that same cool, dry, shaded spot, ideally somewhere around 60 to 70 degrees Fahrenheit. Shallow layers on screens or in mesh trays still work best, giving each shell its own breathing room.
To check readiness, crack one sample nut and try snapping the kernel cleanly between your thumb and finger. A crisp snap means curing is finished, while a bendy, rubbery kernel needs another week or so.
Hearing a gentle rattle when you shake a nut is another clue that the kernel has shrunk and dried. That small sound brings a surprising amount of joy after weeks of waiting and checking your trays each day.
Nuts gathered in early October are often cured and ready for cracking by early November. That timing works out nicely, since holiday cookies, fudge, and banana bread are just around the corner.
Fun fact: black walnut kernels have a bolder, wilder taste than the English walnuts sold in most stores. Many Southern bakers say that strong flavor is worth every stained finger and every minute spent curing.
8. Store Cured Nuts In Mesh Bags
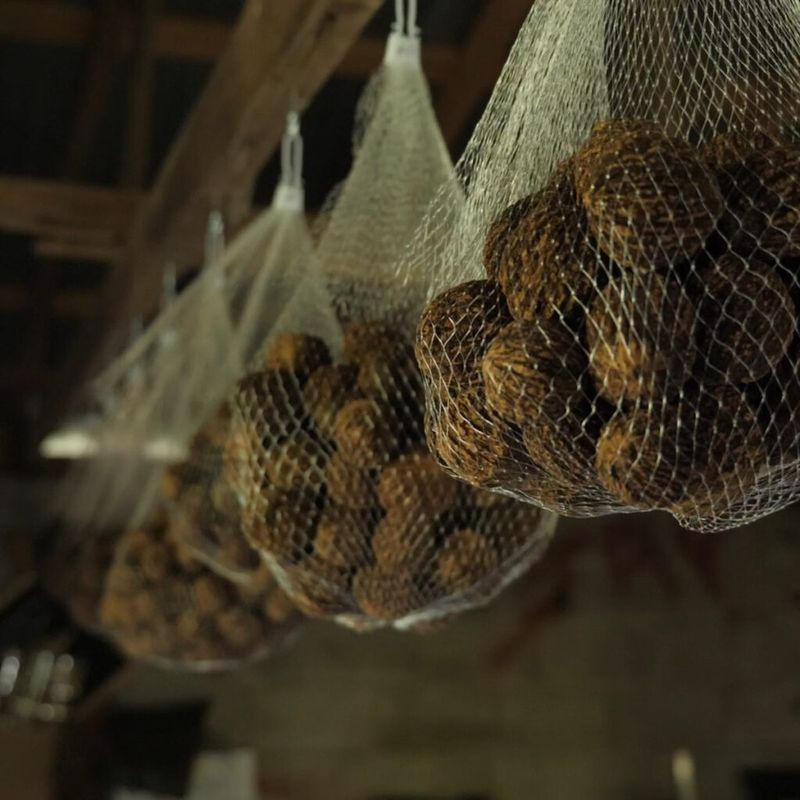
Onion sacks, produce bags, and old laundry mesh all make wonderful homes for your freshly cured walnut collection. Mesh lets air keep circling around each shell, which helps prevent hidden moisture from turning into mold.
Plastic bags and sealed tubs trap humidity, so they are best saved for shelled kernels kept in the fridge. Whole nuts still in their shells prefer to breathe, much like potatoes or onions stored in a pantry.
Hang the filled bags from hooks in a cool basement, garage, or shed where temperatures stay fairly steady. Hanging keeps them off damp floors and makes life harder for mice hoping to sneak a winter snack.
Stored this way, in-shell black walnuts can stay tasty for many months and often up to a year. Cracking small batches as needed keeps the kernels fresher, since shells act like natural little storage boxes.
Once you shell the nuts, move the kernels into airtight jars and keep them in the refrigerator or freezer. Shelled kernels hold their flavor for several months in the fridge and up to a year or more frozen.
Label each bag with the harvest date and tree location, especially if you gather from several spots nearby. Comparing trees over the years can be fun, since some produce noticeably bigger, easier-to-crack nuts than others.
Check stored bags every few weeks through winter, sniffing for musty odors and removing any moldy shells promptly. A little attention goes a long way toward keeping your harvest fresh all winter.