6 Steps For Planting A Bulb Lawn
There are loads of great gardening trends, but the one that definitely stands out for me is the bulb lawn. It isn’t complicated and doesn’t require master gardening skills, so everyone can make it.
The main goal of this trend is to get a breathtaking display of colors in the spring by planting bulbs in certain areas on your lawn using a natural approach.
Best of all, the plants you grow using this technique will come back every year!
Let’s see how to plant a bulb lawn!
1. Start Planting In Late September
Everything starts with determining the perfect time to plant this type of lawn. So, you need to plant spring bulbs in the fall, but the exact date depends on your climate.
A rule of thumb is to plant any of these species about 2 weeks before the first frost hits your region. Well, you’ll need to check the forecast and rely on it.
For instance, if you live in USDA hardiness zones 5 through 7, the best time to plant is September.
On the other hand, if you live in warmer USDA zones, such as 8 or 9, you can plant either in October or early November.
Those who live in tropical or subtropical climates, such as in zone 10a, can start planting in November or even December. Since these regions aren’t affected by frost, some bulbs can confuse winter for spring. That’s why it’s better to plant in November or December.
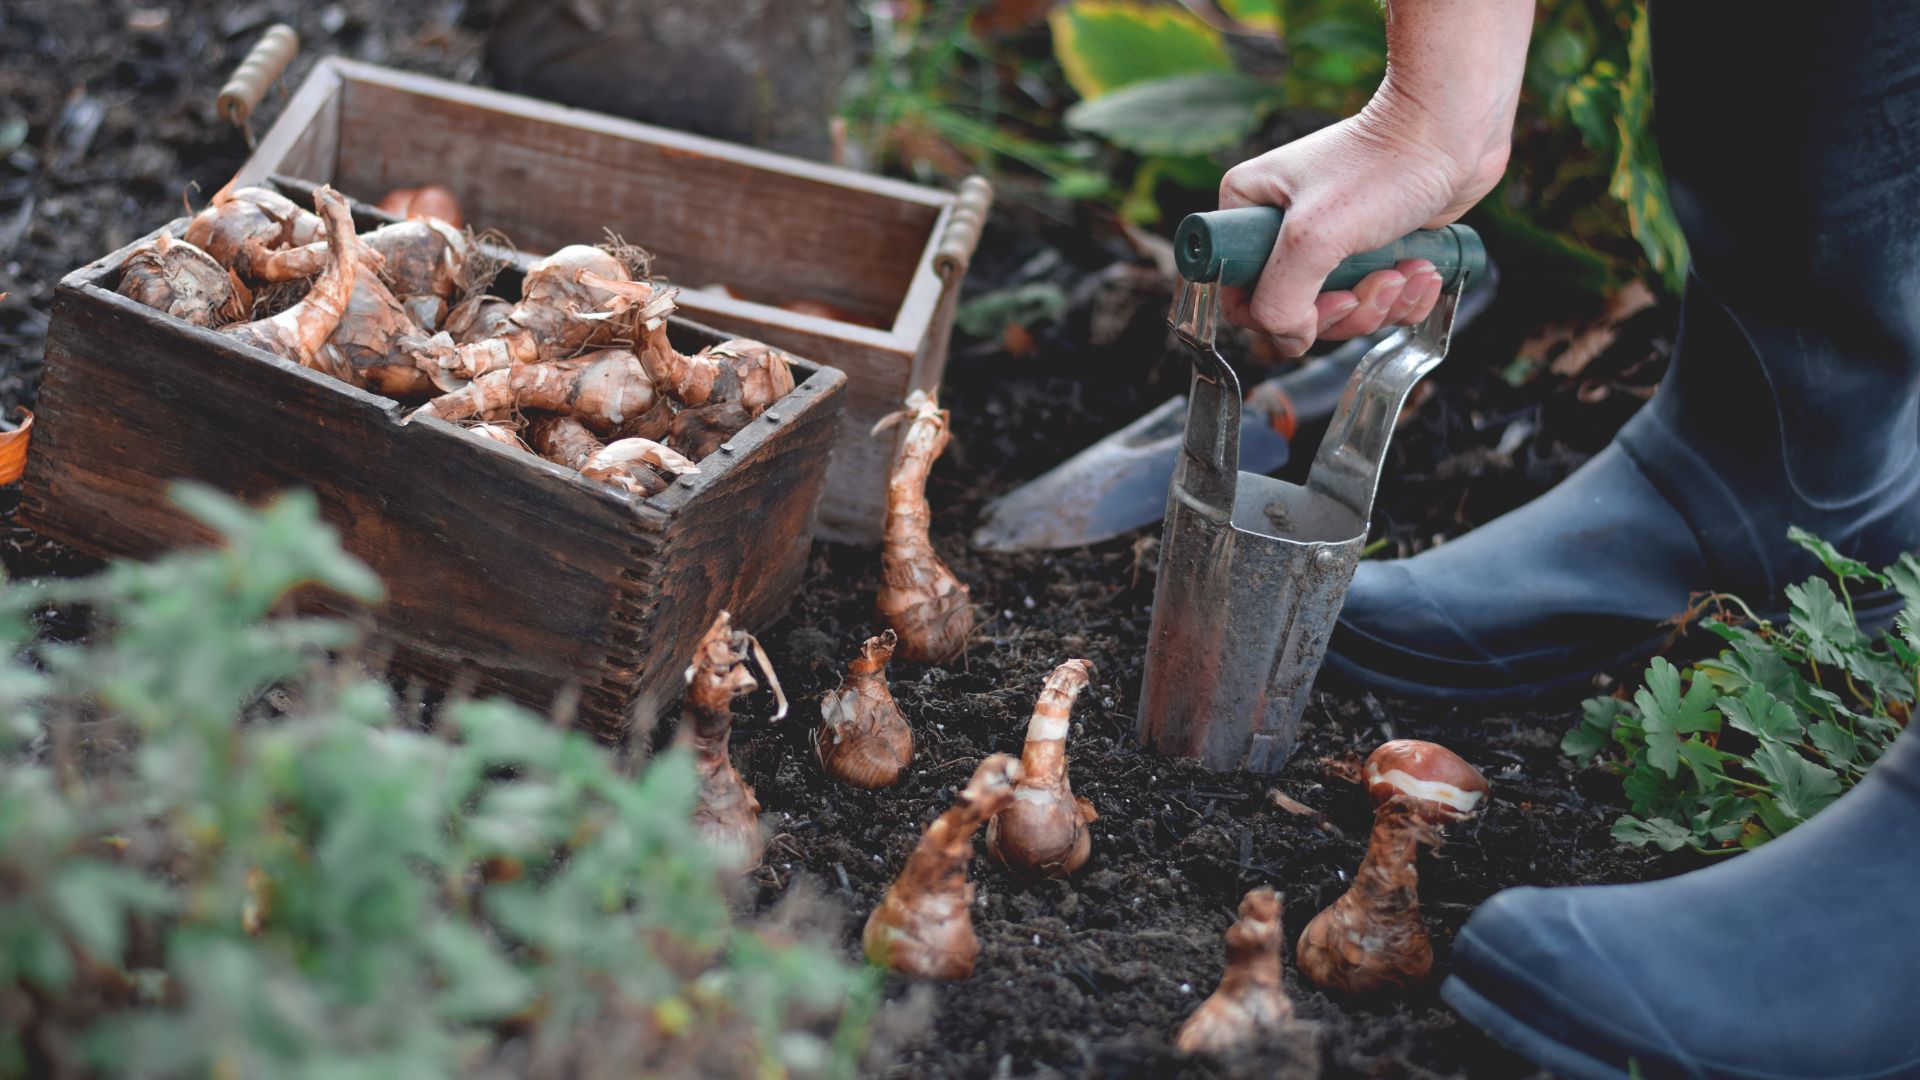
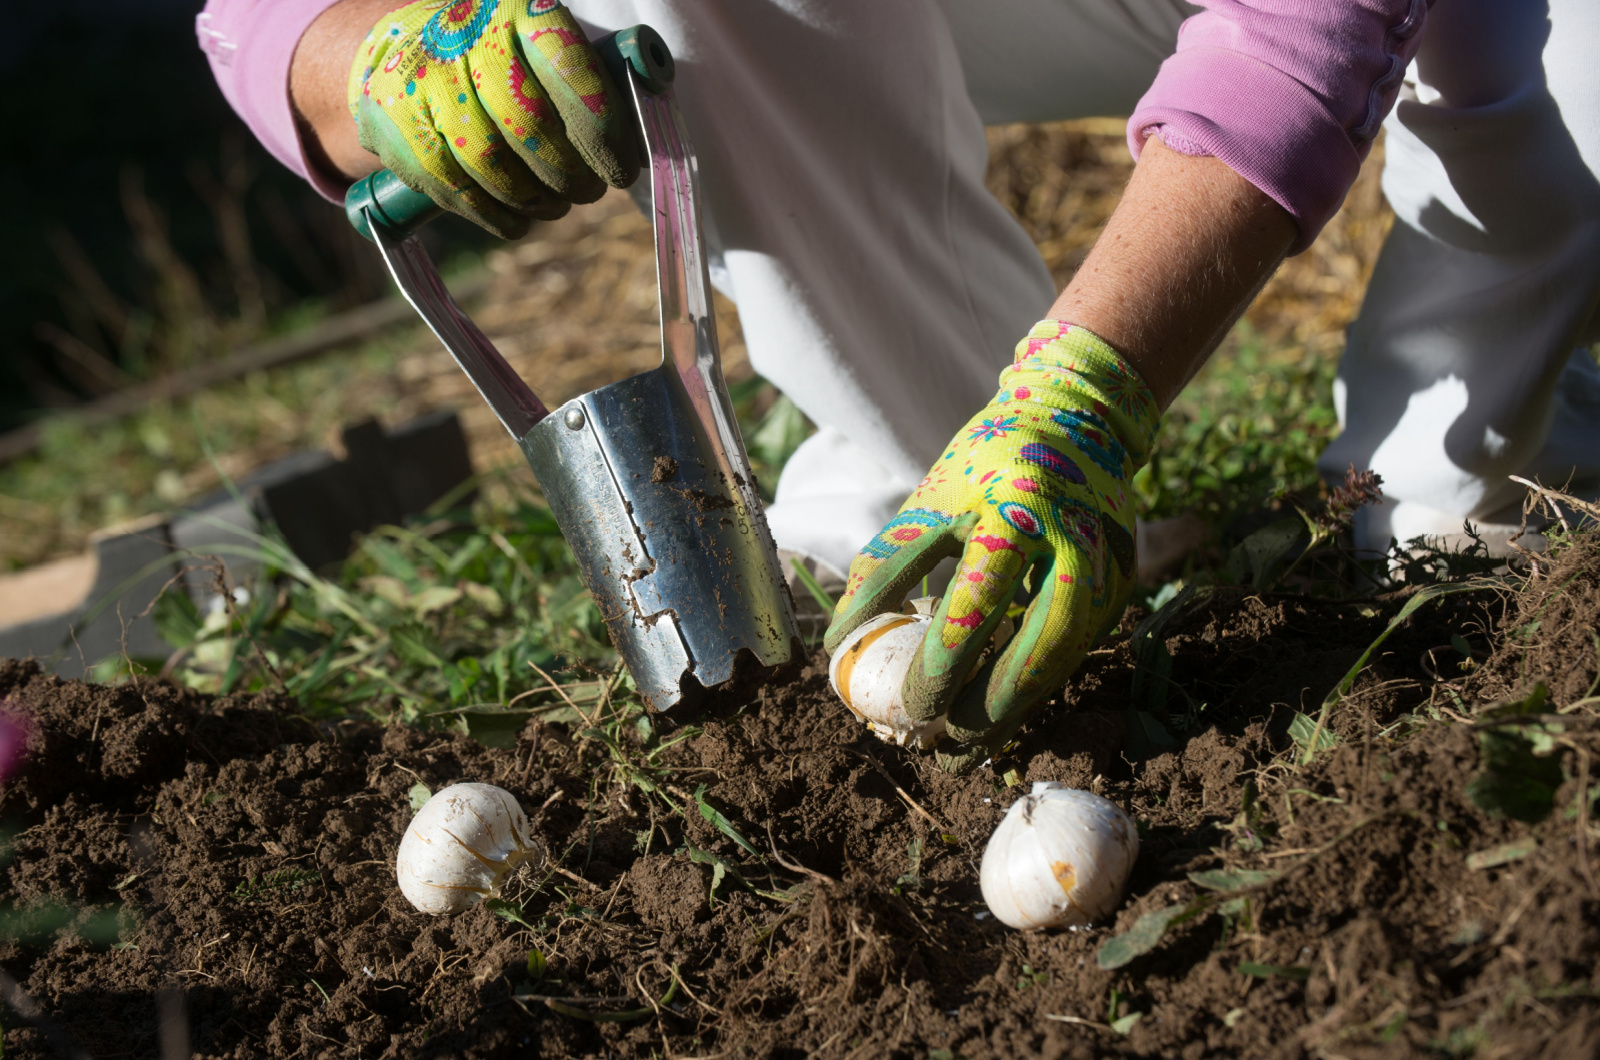
2. Consider Investing In A Bulb Planter
I’m sure many of you know how to plant bulbs, but what about equipment to make things simpler?
A long-handled bulb planter is a lifesaver! This tool will make digging into grass simple and avoid it turning it into a nightmare.
Simply position it on the desired spot and push down on it using your foot to take out a round portion of lawn and soil.
Then, plant your bulbs in the hole you made and pack it with the soil you extracted.
If you want to do this job easily and quickly, consider investing in a bulb auger. The simple definition of this tool is that it’s a drill intended for use in the ground.
These tools come in various widths, so choose the one that fits your selected bulbs in size.
The main benefit of this tool is that it allows you to put a lot of bulbs in the ground at the same time. However, there’s one drawback to this method; it can damage your lawn, so you need to be very careful.
The third tool is a handheld wooden dibber, and I prefer to call it old but gold. It’s way cheaper than the 2 previous tools and can’t damage your lawn. However, it does take more time and effort if you plant your perennial bulbs using this tool.
3. Have A Scattergun Approach
The main goal of bulb lawns is to get a natural look, and that’s why you should plant bulbs directly in the soil.
Foot traffic may damage bulbs, so choose a foot traffic-free spot if possible. Additionally, bulbs thrive best if exposed to the sun, so a sunny location on your lawn is desirable.
You can either plant your bulbs into clusters or plant them all around the lawn for a more natural look.
I recommend avoiding planting in any specific patterns because it will affect their ‘natural appearance’.
Take a bulb planter, wooden dibber, or any other tool and dig holes that are approximately 2-3 times the size of the bulb. Put your bulbs in the holes, making sure the tip is facing upward, and pack everything well with soil.
Pay attention to spacing because each bulb needs a few inches to spread healthily. After you plant all your bulbs, irrigate the soil well.
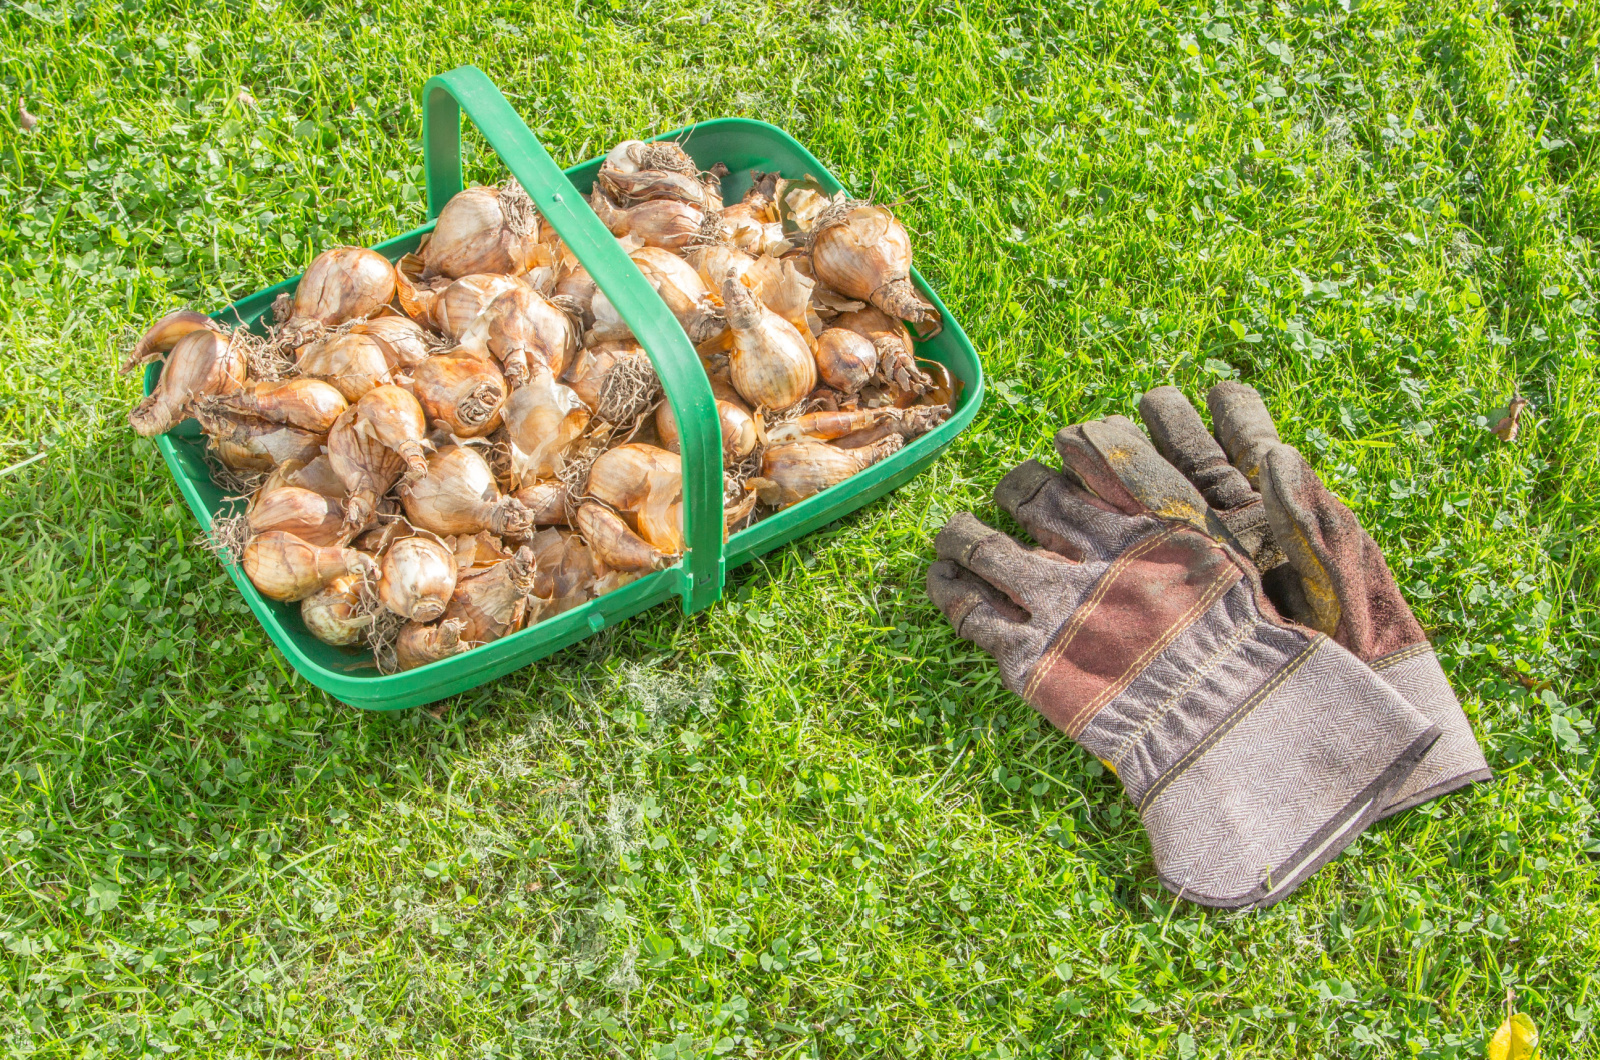
4. Purchase Bulbs In Bulk
The size of your lawn will determine the number of perennial bulbs you need. Many gardeners who decide on bulb lawns start with about 100 bulbs.
One of the best things is that you can purchase bulbs in bulk. They’re widely available in garden centers during this time of the year.
5. Go With Bulbs You Like Most
There are various perennial bulbs, so it’s actually up to you which one to choose. For instance, if you want blossoms on your lawn as soon as February arrives, you can go with early-blooming plants.
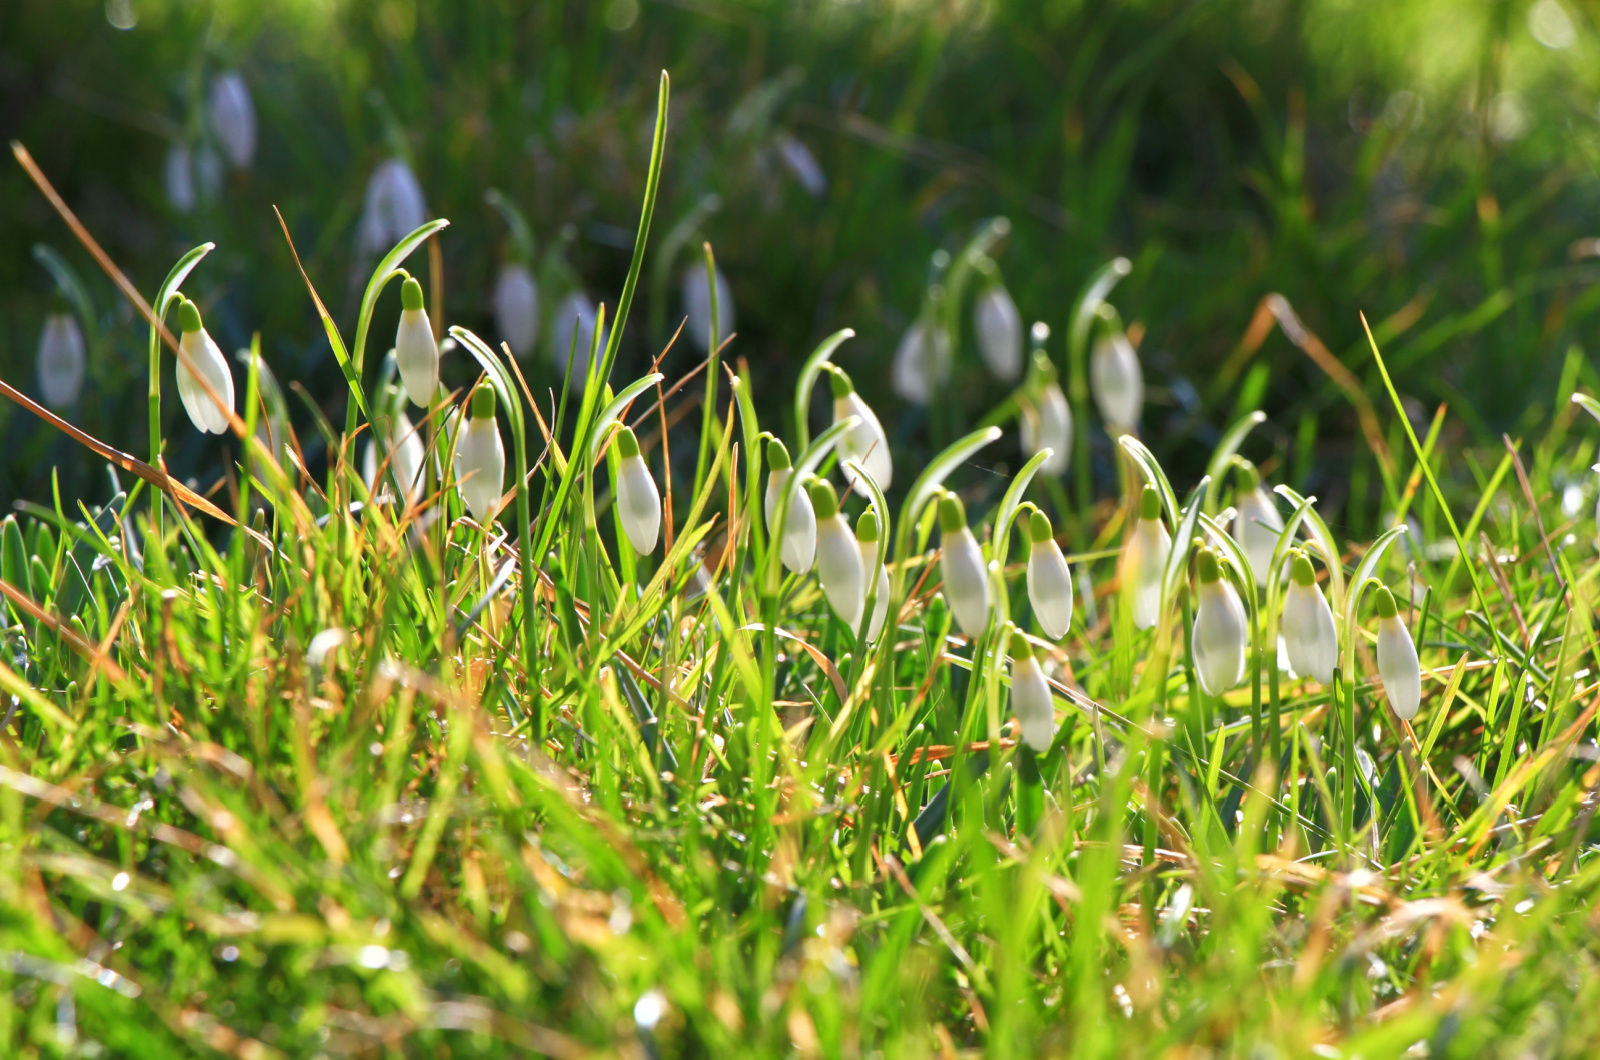
Some of these early bloomers include winter aconites, muscari, and snowdrops. These are miniature bulbs, so they’re perfect for those with smaller lawns.
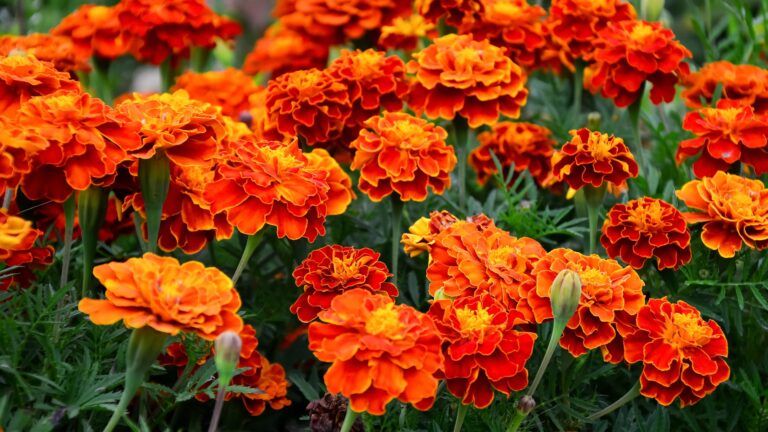
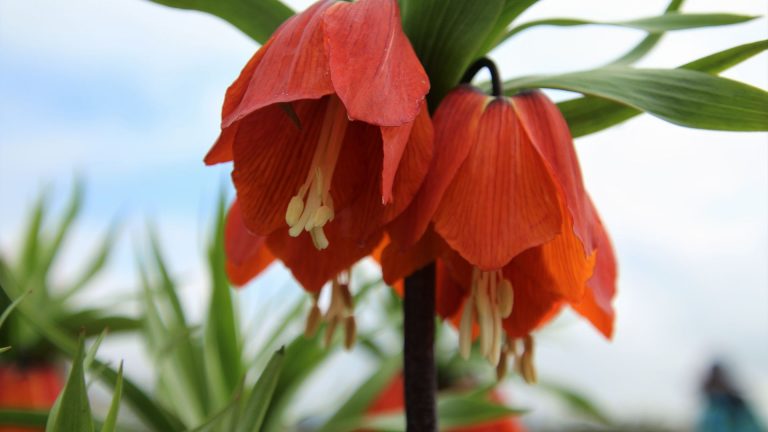
If you want to add a more dramatic touch to your lawn, you can plant alliums or hyacinths.
6. Maintain Your Lawn
The great thing about this lawn type is that it is really easy to maintain. After the blooming season, you need to set your mower at higher settings and mow to encourage growth the following season.
It’s essential to wait for the leaves and blossoms to turn yellow and dry entirely before mowing them. If you cut them during the active growth, they won’t come back next year. Even if they do come back, they won’t be as healthy and strong as they should be.
May is the optimal time to mow because it will give a good head start before the first trimming.
It’s also a good idea to aerate your lawn to break the compact soil and give the new shoots of the bulbs an opportunity to protrude from the ground.
You may damage some bulbs after aerating your lawn but don’t worry, these plants will propagate on their own.
Bulb lawns are definitely one of the best gardening trends. They look stunning and best of all, they aren’t hard to maintain. Simply follow our instructions and enjoy the beauty of your bulb lawn when the spring arrives!