How To Prepare Raspberry Bushes For Winter
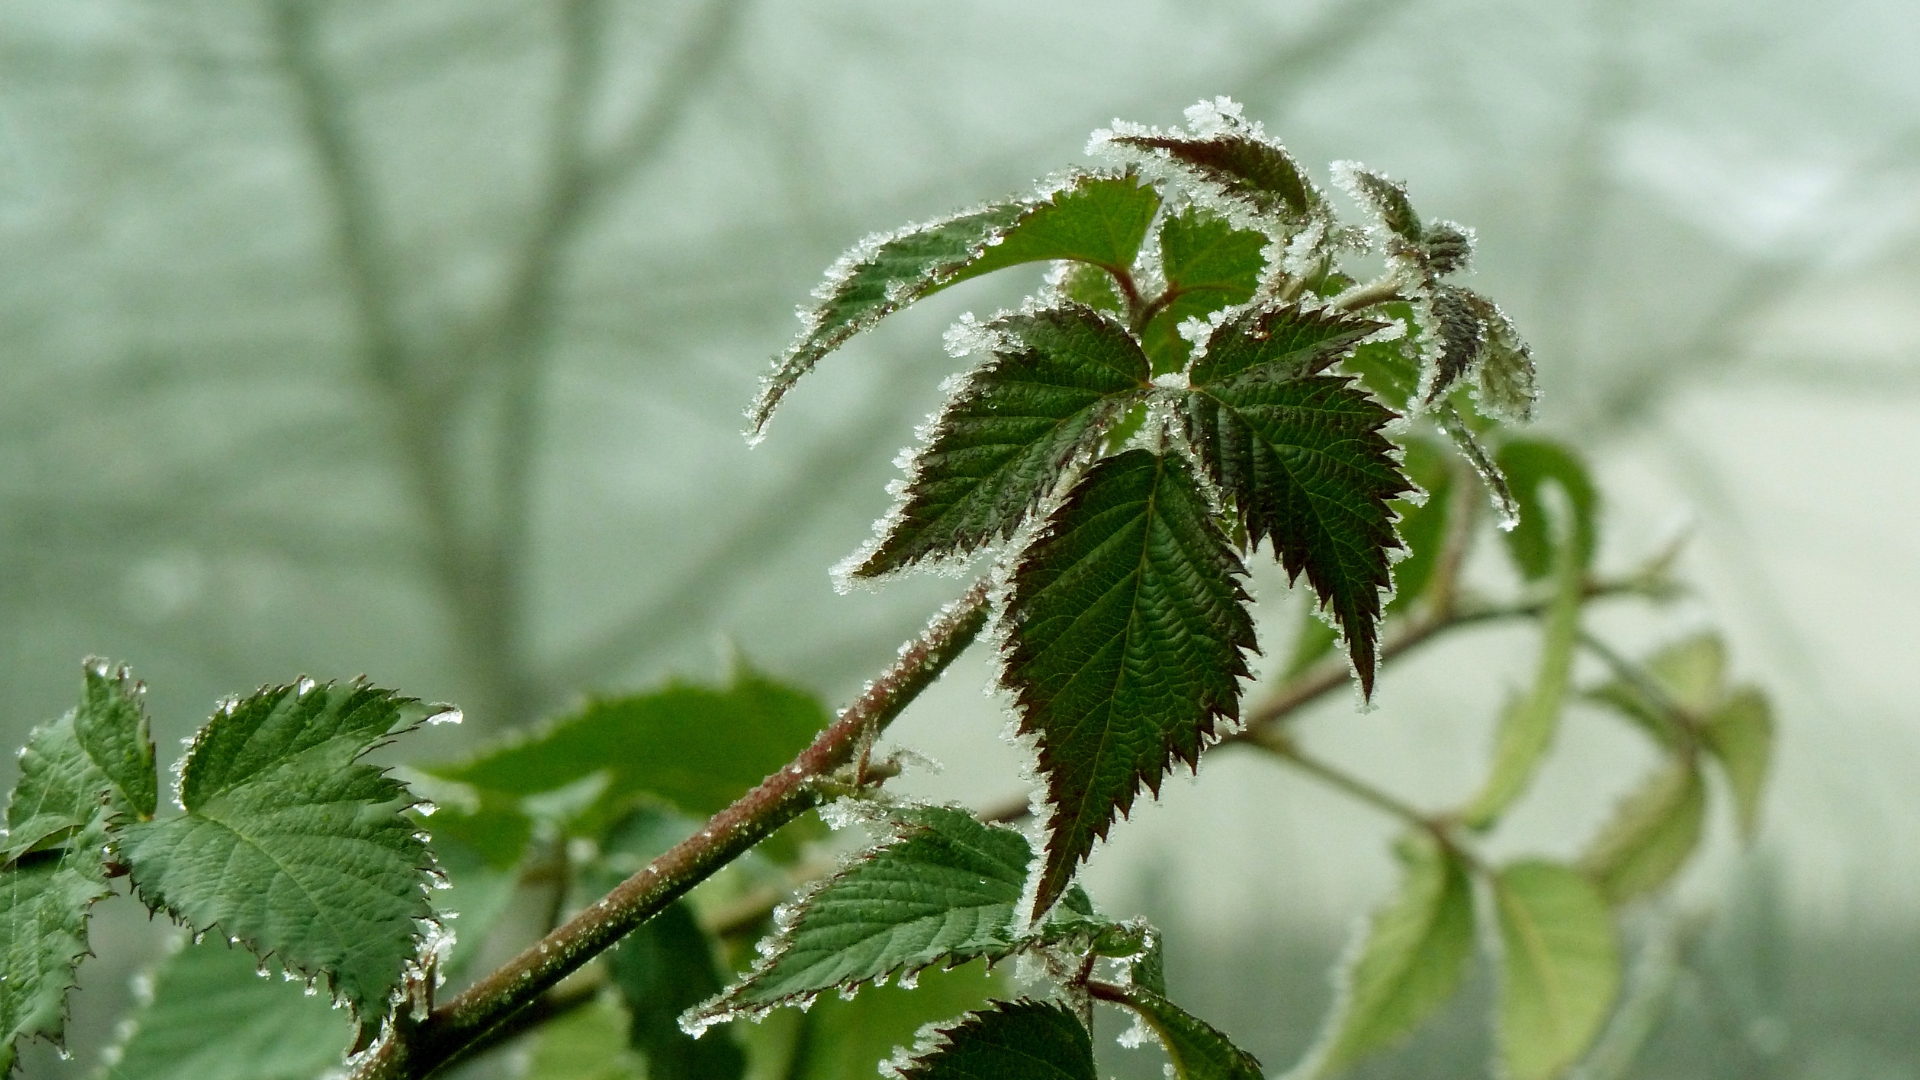
As winter arrives, it’s time to ensure your raspberry bushes are ready to weather the cold and emerge thriving in the spring!
Isn’t it always better to enjoy fresh berries from your own garden instead of buying bland ones at the grocery store?
So, to have a bountiful raspberry harvest, it’s crucial to take some steps during the winter and prepare your bushes for colder weather. Let’s go through a step-by-step process to protect your raspberries!
Step 1: Get Rid Of The Weeds
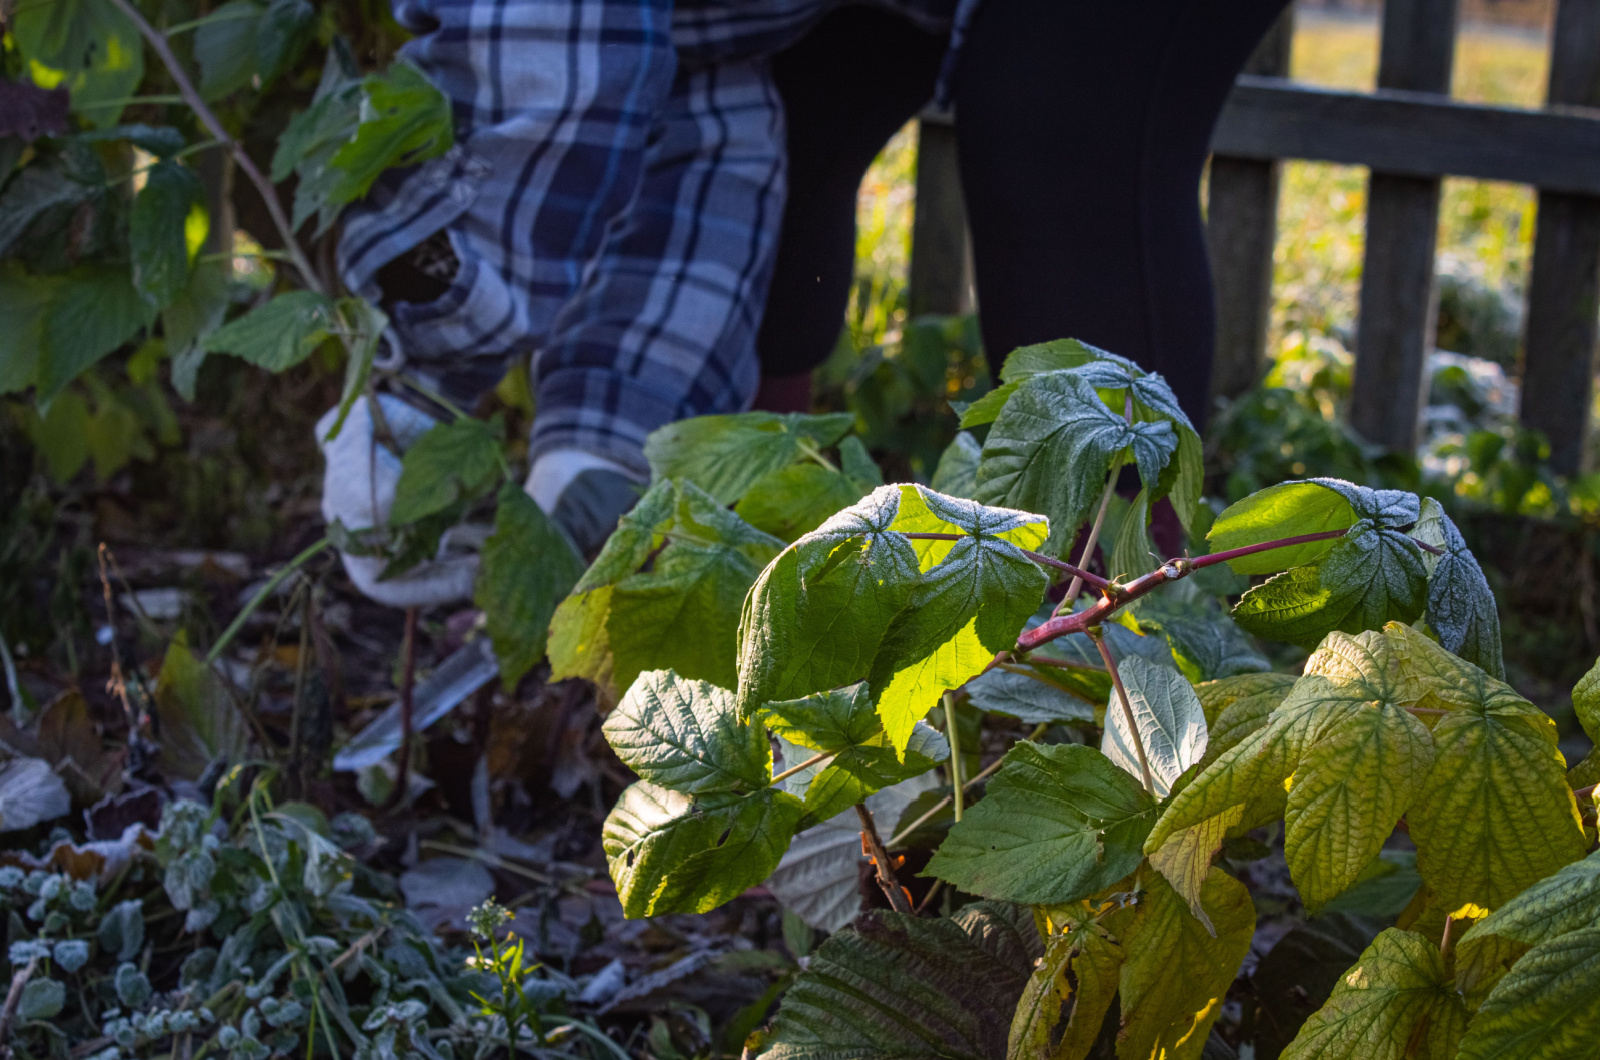
Start by clearing away any weeds around your raspberry bushes. Weeds can compete for nutrients and water, and removing them helps your raspberry plants focus on storing energy for the winter.
If the area was grassy before, you might have to weed it out a couple of times a year. Consider tarping the area or using landscape fabric to prevent weeds, but don’t use it as a permanent solution because new canes have to grow and develop!
Cleaning out any weeds also helps to prevent pests and diseases that would otherwise overwinter and harm the bushes.
Related: Don’t Spend Money On Weed Killers, Use Vinegar Instead
Step 2: Water Regularly
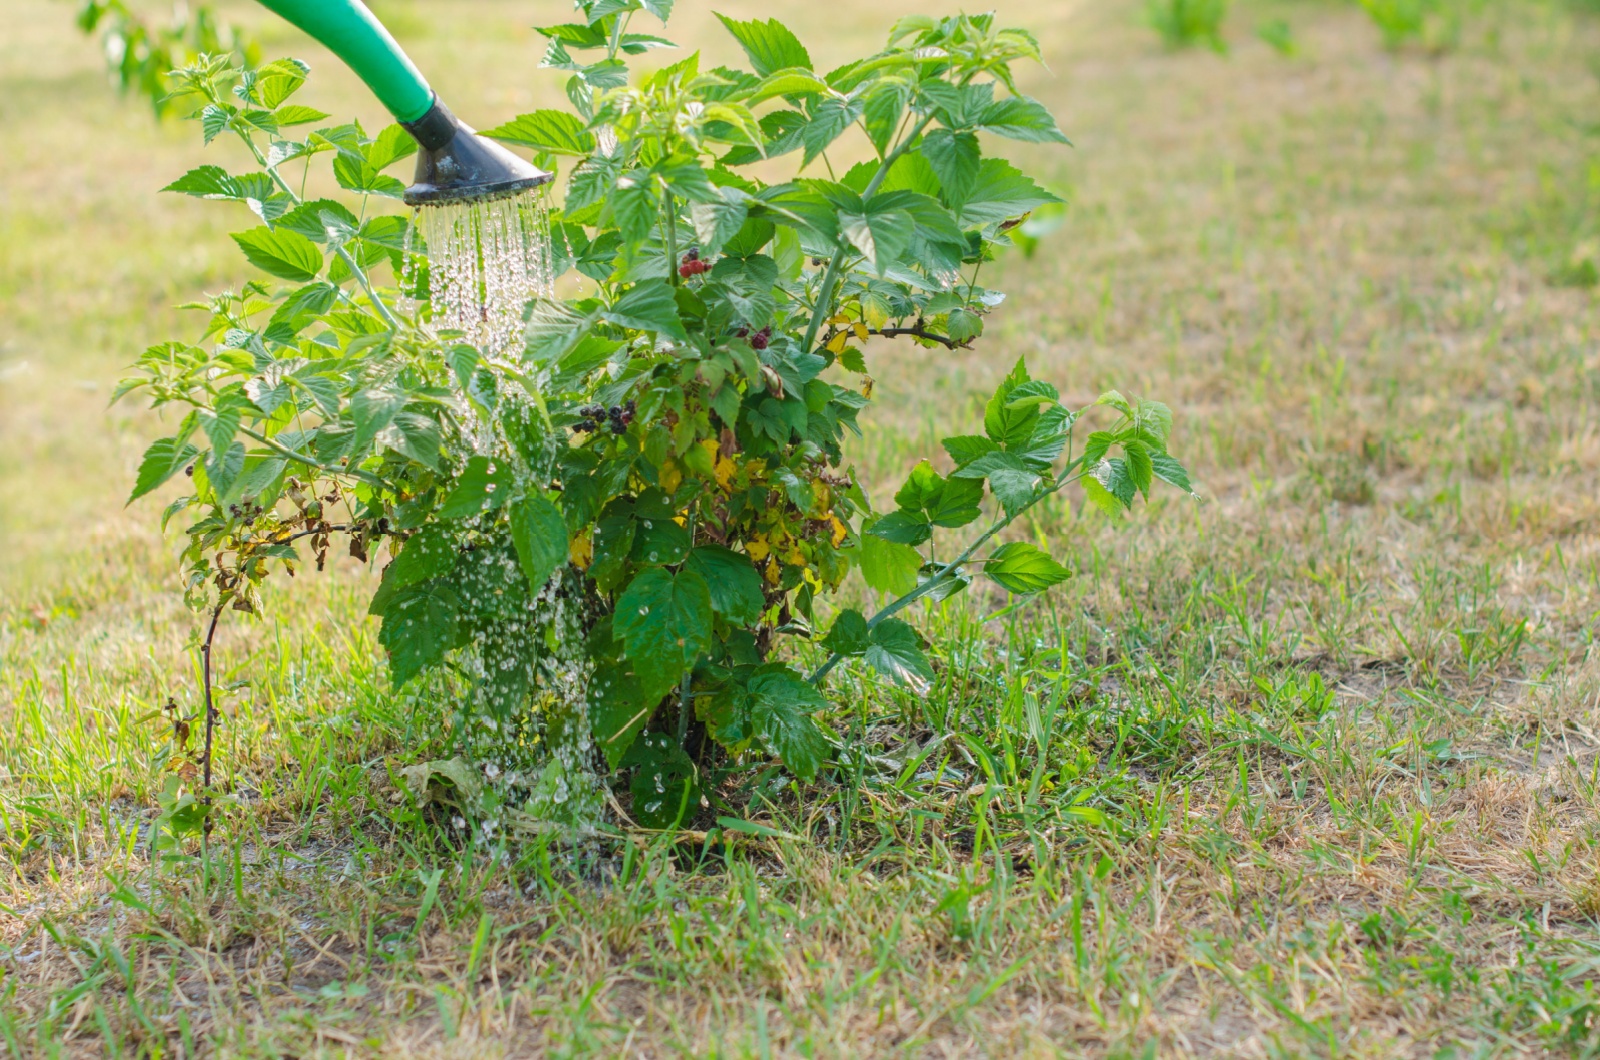
Keep your raspberry bushes well-hydrated before winter sets in. Even though they may not be actively growing, providing adequate water helps the plants stay healthy and better withstand winter conditions.
Provide consistent and thorough watering until the soil freezes. To prevent overwatering and underwatering, consider using a water gauge that can identify if the plants need watering.
Don’t continue watering during the winter season as overly wet conditions might lead to rotting. The bushes will receive enough moisture from rain and snow.
Step 3: Thinning Out Is Crucial
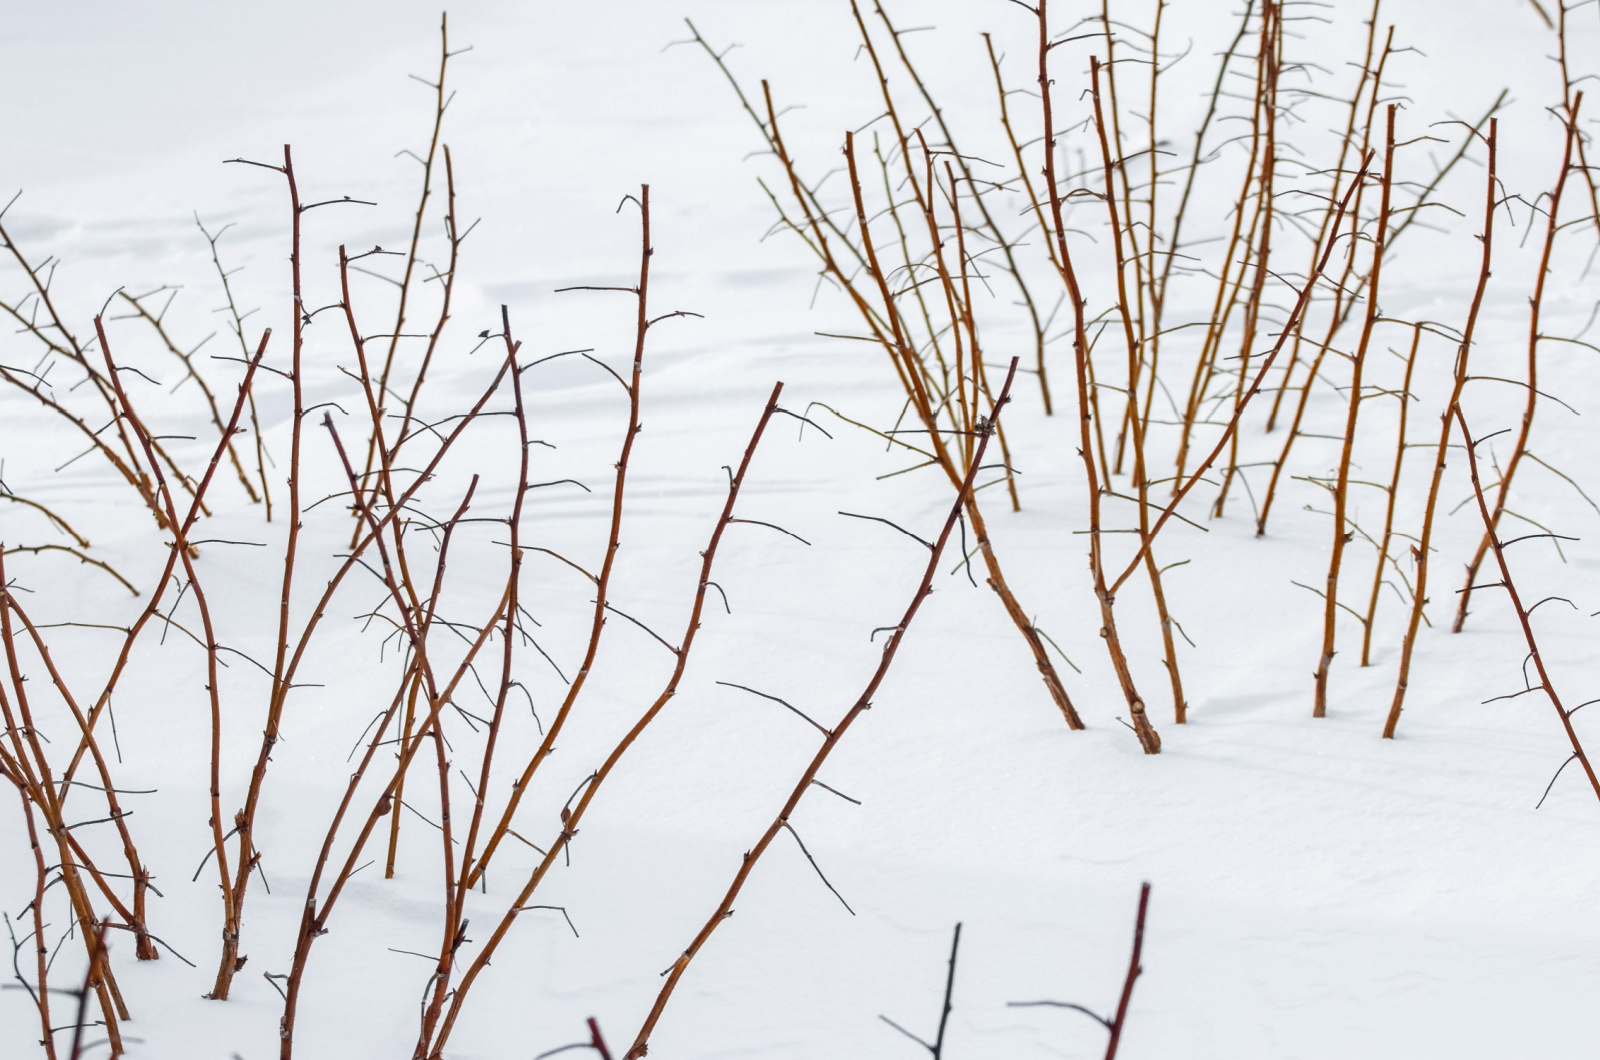
Thinning out the raspberry canes is a key step. Remove any weak or damaged canes, leaving behind sturdy ones. Remove any excess canes to allow better airflow and sunlight, which reduces the risk of diseases during winter.
Completely pull out any other canes that have been growing and spreading in the wrong location, leaving those that you want to keep unharmed. You can pot these in fertile soil to grow a brand new bush.
Each root ball or plant should have three to four healthy canes by the time your thinning session is up, and they should be placed 18 to 24 inches apart.
Step 4: Remove Old Canes
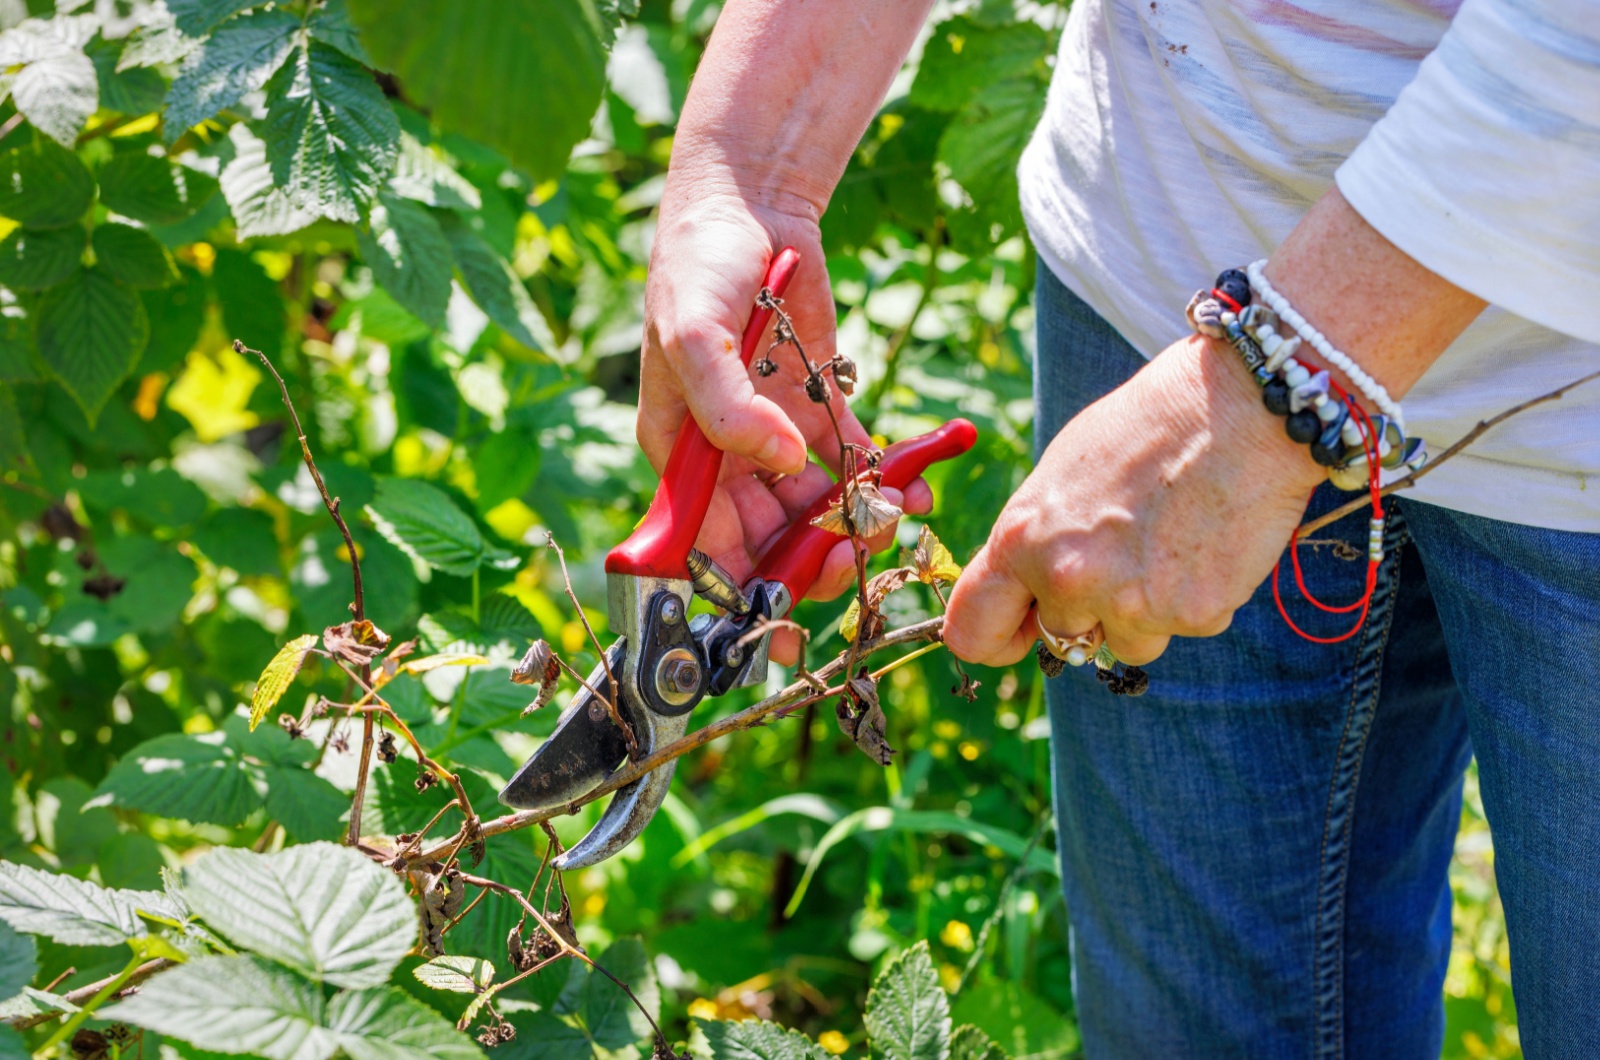
It’s time to bid farewell to the old canes. Remove any canes that have already borne fruit during the summer. This encourages new growth and ensures your raspberry bushes have room for fresh, productive canes.
Old canes will look gray and dry – they crack without any effort. Once pruned, utilize the dried wood for kindling.
If you are growing bushes for the first time, there’s no need to remove old canes. Figure out what variety you’re growing and when the best time is to prune them (more information about varieties below).
Related: 6 Tips For Starting New Raspberry Canes For A Bountiful Harvest
Step 5: Trim Back Canes
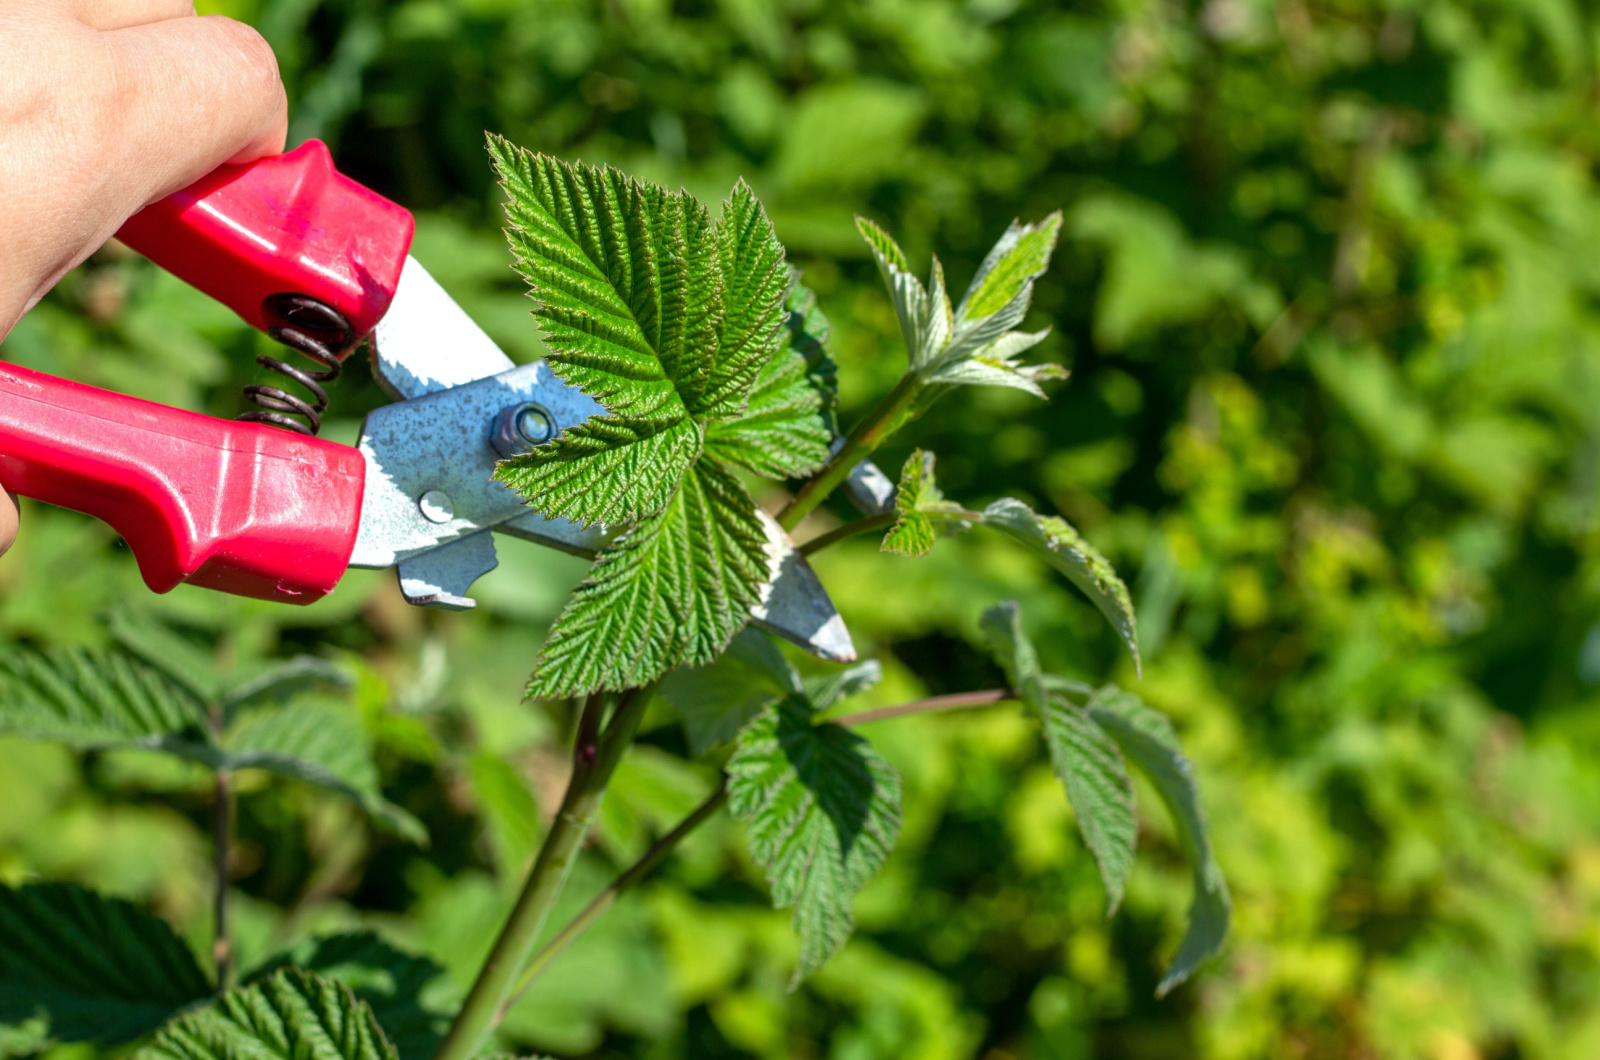
After thinning out and removing old canes, it’s time to give your bush a little haircut. Cutting back will send a signal to the plant and it will focus on developing the root system instead of sending energy for fruiting and growing above the ground.
If you are growing a floricane variety, remove only the old wood and don’t cut any new growth. If you are using trellis for your raspberry plants, trim back the canes to just above the trellising wires.
If not, you can trim them back so that they are about 8 to 10 inches above the ground, or roughly the same height as the canes when you planted bare-root plants.
Floricane vs Primocane Varieties
Different types of raspberries should be pruned and taken care of differently.
For starters, primocane raspberries should be pruned all the way every fall, while with floricane raspberries, only canes that have produced fruit that year should be cut.
Primocane varieties are generally easier to maintain and they produce berries quicker. But floricane varieties can also be heavy producers once they are fully matured and established.
Related: When And How To Prune Raspberries
Step 6: Protect Your Raspberries
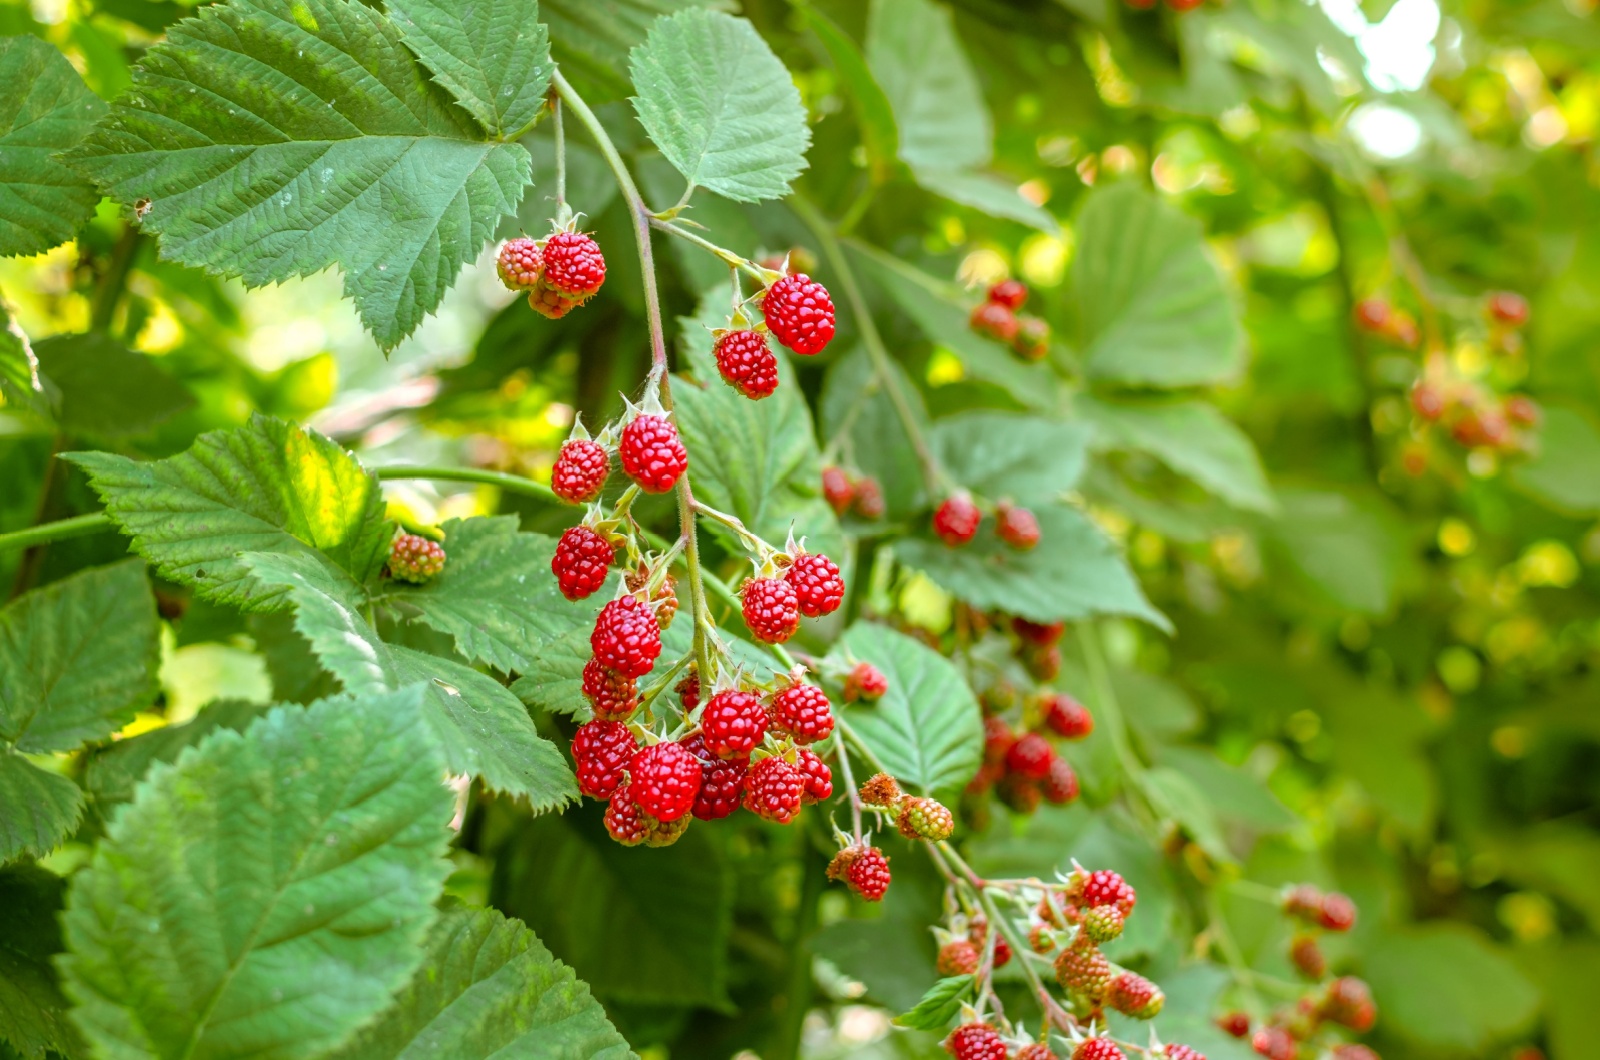
Shield your raspberry bushes from critters like deer and rabbits. They’ll keep coming back to munch on the delicious foliage and berries.
Here are a few options you can use to protect your raspberry bushes:
• Scare tape – hang it in the right locations to keep deer, birds, and skunks away.
• Fence – put up a fence around your bushes. Make sure that they are tall enough so that deer can’t reach them.
• Tins – put pie tins on a string so that the noise can keep them away.
• Hair – scattering some hair (human or pet) will throw out a scent that wild animals avoid.
• Radio – playing the radio in the garden to scare away the critters.
• Cayenne pepper – natural repellent against many pests and critters.
• Deterrent plants – grow deterrent plants with strong fragrances, such as alliums and mint.
• New feeding area – provide food for wildlife far away from your raspberry bushes.
Step 7: Add Mulch
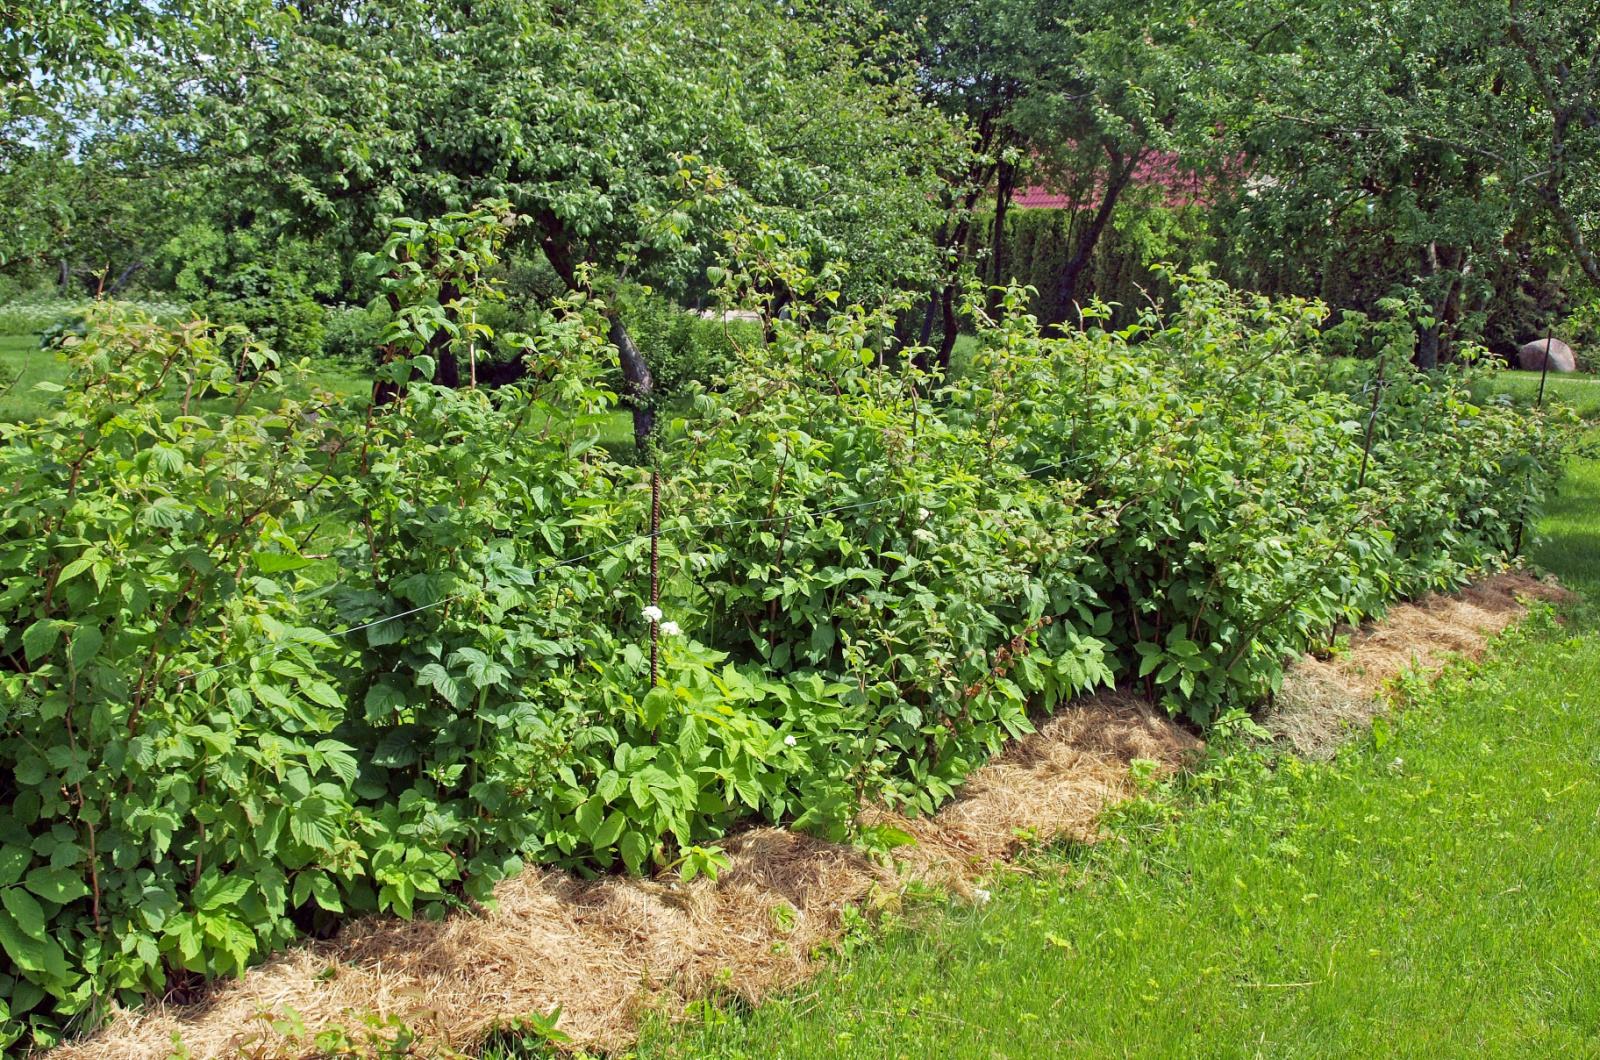
Provide a cozy blanket of mulch around the base of your raspberry bushes. This helps regulate soil temperature, prevents freezing and thawing that can harm the roots, and keeps weeds at bay.
You can use well-aged manure compost, organic straw, grass clippings, wood chips, wood shavings, or mulched leaves. These are all relatively good and safe mulching options.
Another option is to use brown cardboard, but make sure that it has no additives or colored ink.


