Use These Methods To Propagate Boston Fern
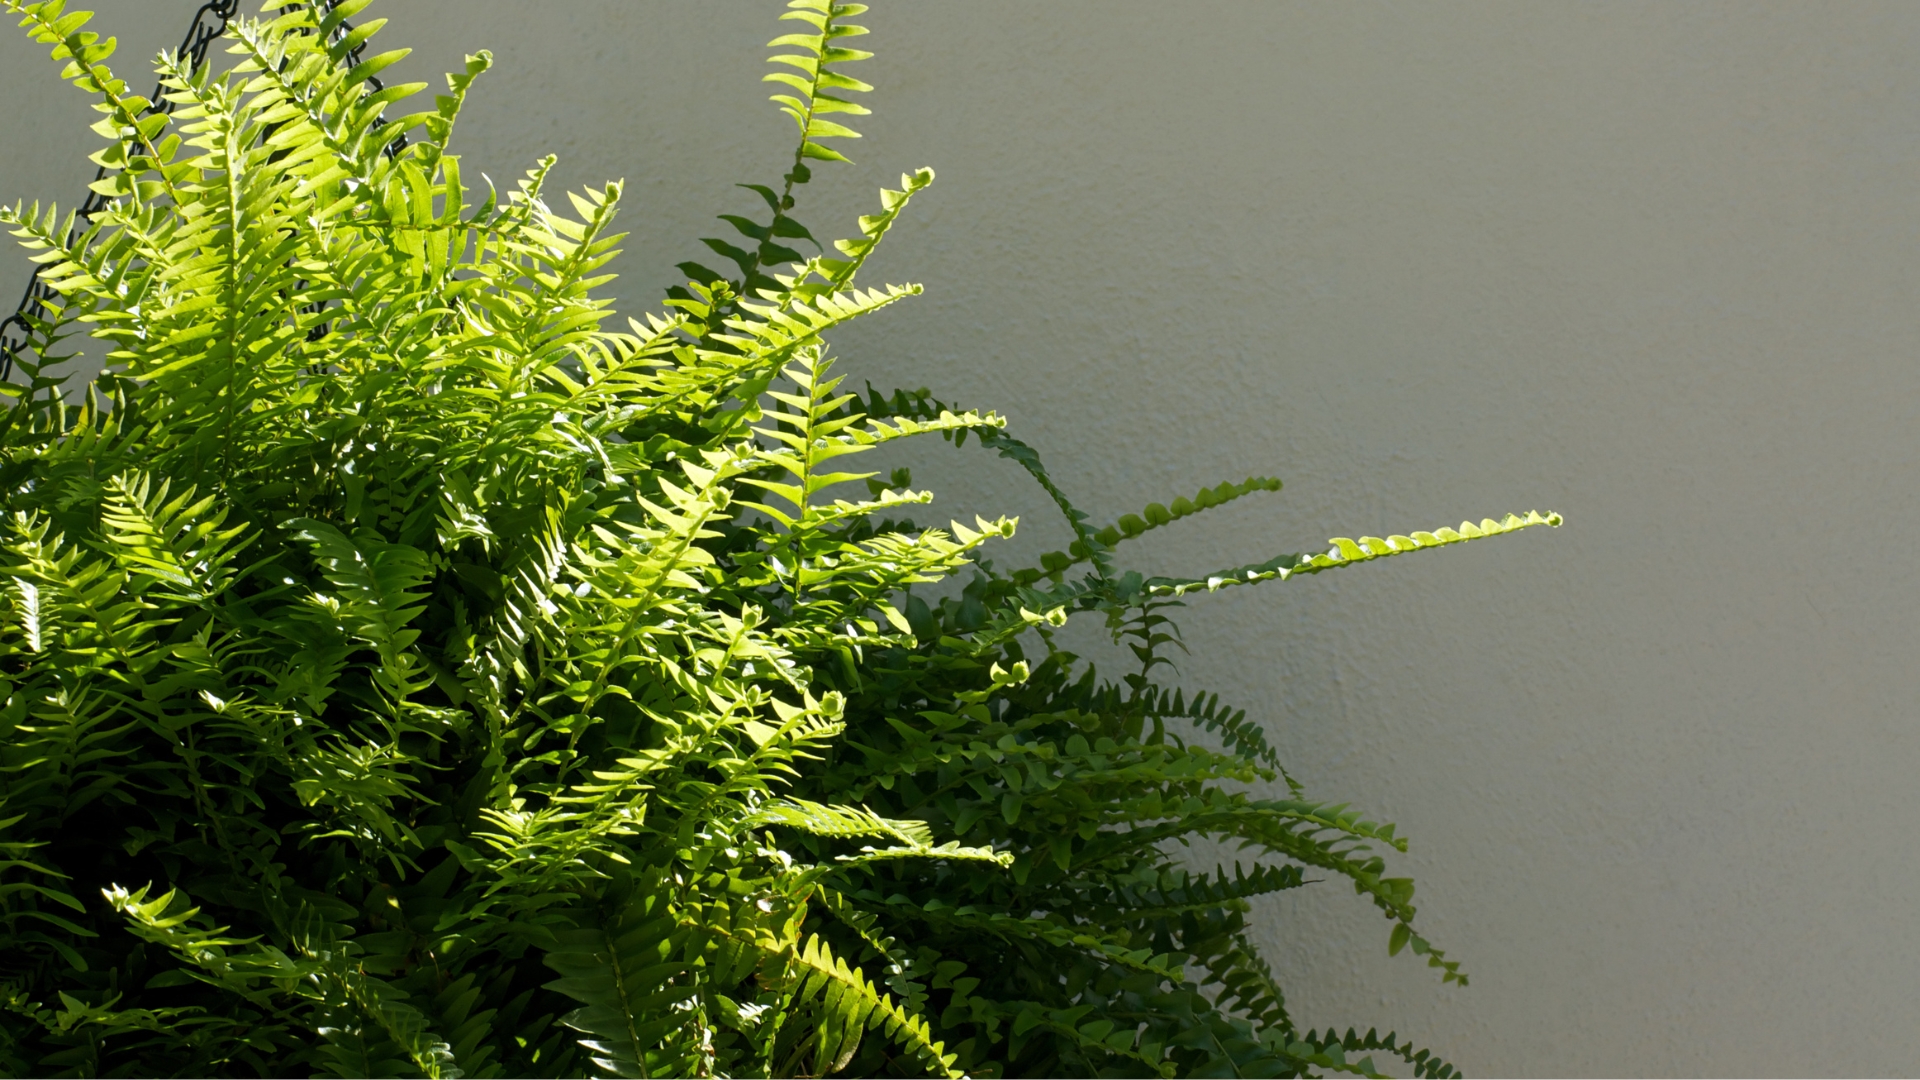
Want to have more fluffy plants laying around? Easy, all you have to do is propagate them properly!
While Boston ferns aren’t typically the easiest plants for propagation, there are still some tips and tricks that you can use to multiply them successfully. With just a few simple methods, you can propagate these elegant plants and spread their lush green beauty.
And in this article, we are going to share some useful tips and help you create the best Boston fern collection!
Use Runners

The long strings growing off your plant are called stolons or runners. These are actually stems that the plant produces to grow and spread in the surrounding soil. Therefore, they can be used to create an entire new plant!
Here’s how to do it:
1. Find runners on your fern. They should be long enough to reach a second container.
2. Simply press the end of the runner into some damp soil in the second container. Gently press it so that it stays and develops roots.
3. Don’t break the runner from the mother plant because it still needs energy and nutrients to grow. It should take a couple of weeks for the runner to develop.
4. Cut the section off the mother plant once the roots are formed.
Related: Fluffy Ruffle Fern Care: All Your Questions Answered
Use Cuttings
This method is not recommended for Boston ferns, yet some gardeners swear by it.
Start by cutting off a section with at least two inches of stem and planting it in a container with some moist soil. To improve the humidity, put your pot of cuttings inside a transparent plastic bag.
Keep the soil consistently moist until you notice new growth, then adjust your watering schedule accordingly.
This might be useful: Learn All About This Dollar Tree Garden Gem For Effortless Plant Propagation
Or Divide Them

The most popular propagation method is probably division. With Boston ferns, it should be done in spring so that the plant has enough time to adjust and grow during the summer months.
Here’s how to do it properly:
1. Start by watering the plant thoroughly.
2. Lift the plant and gently remove it from its container.
3. Separate the roots into sections, ensuring that they have new shoots.
4. Put the separated section into fresh soil made out of multipurpose compost and soil-based compost.
5. Use a container large enough to fit the entire section.
6. Discard any wilting or dark-colored roots as they won’t grow into a healthy plant.
Also read: Jade Plant Propagation Methods For Beginners & Pros

